Making Over My Son’s Room Part 6: Rope Ladder
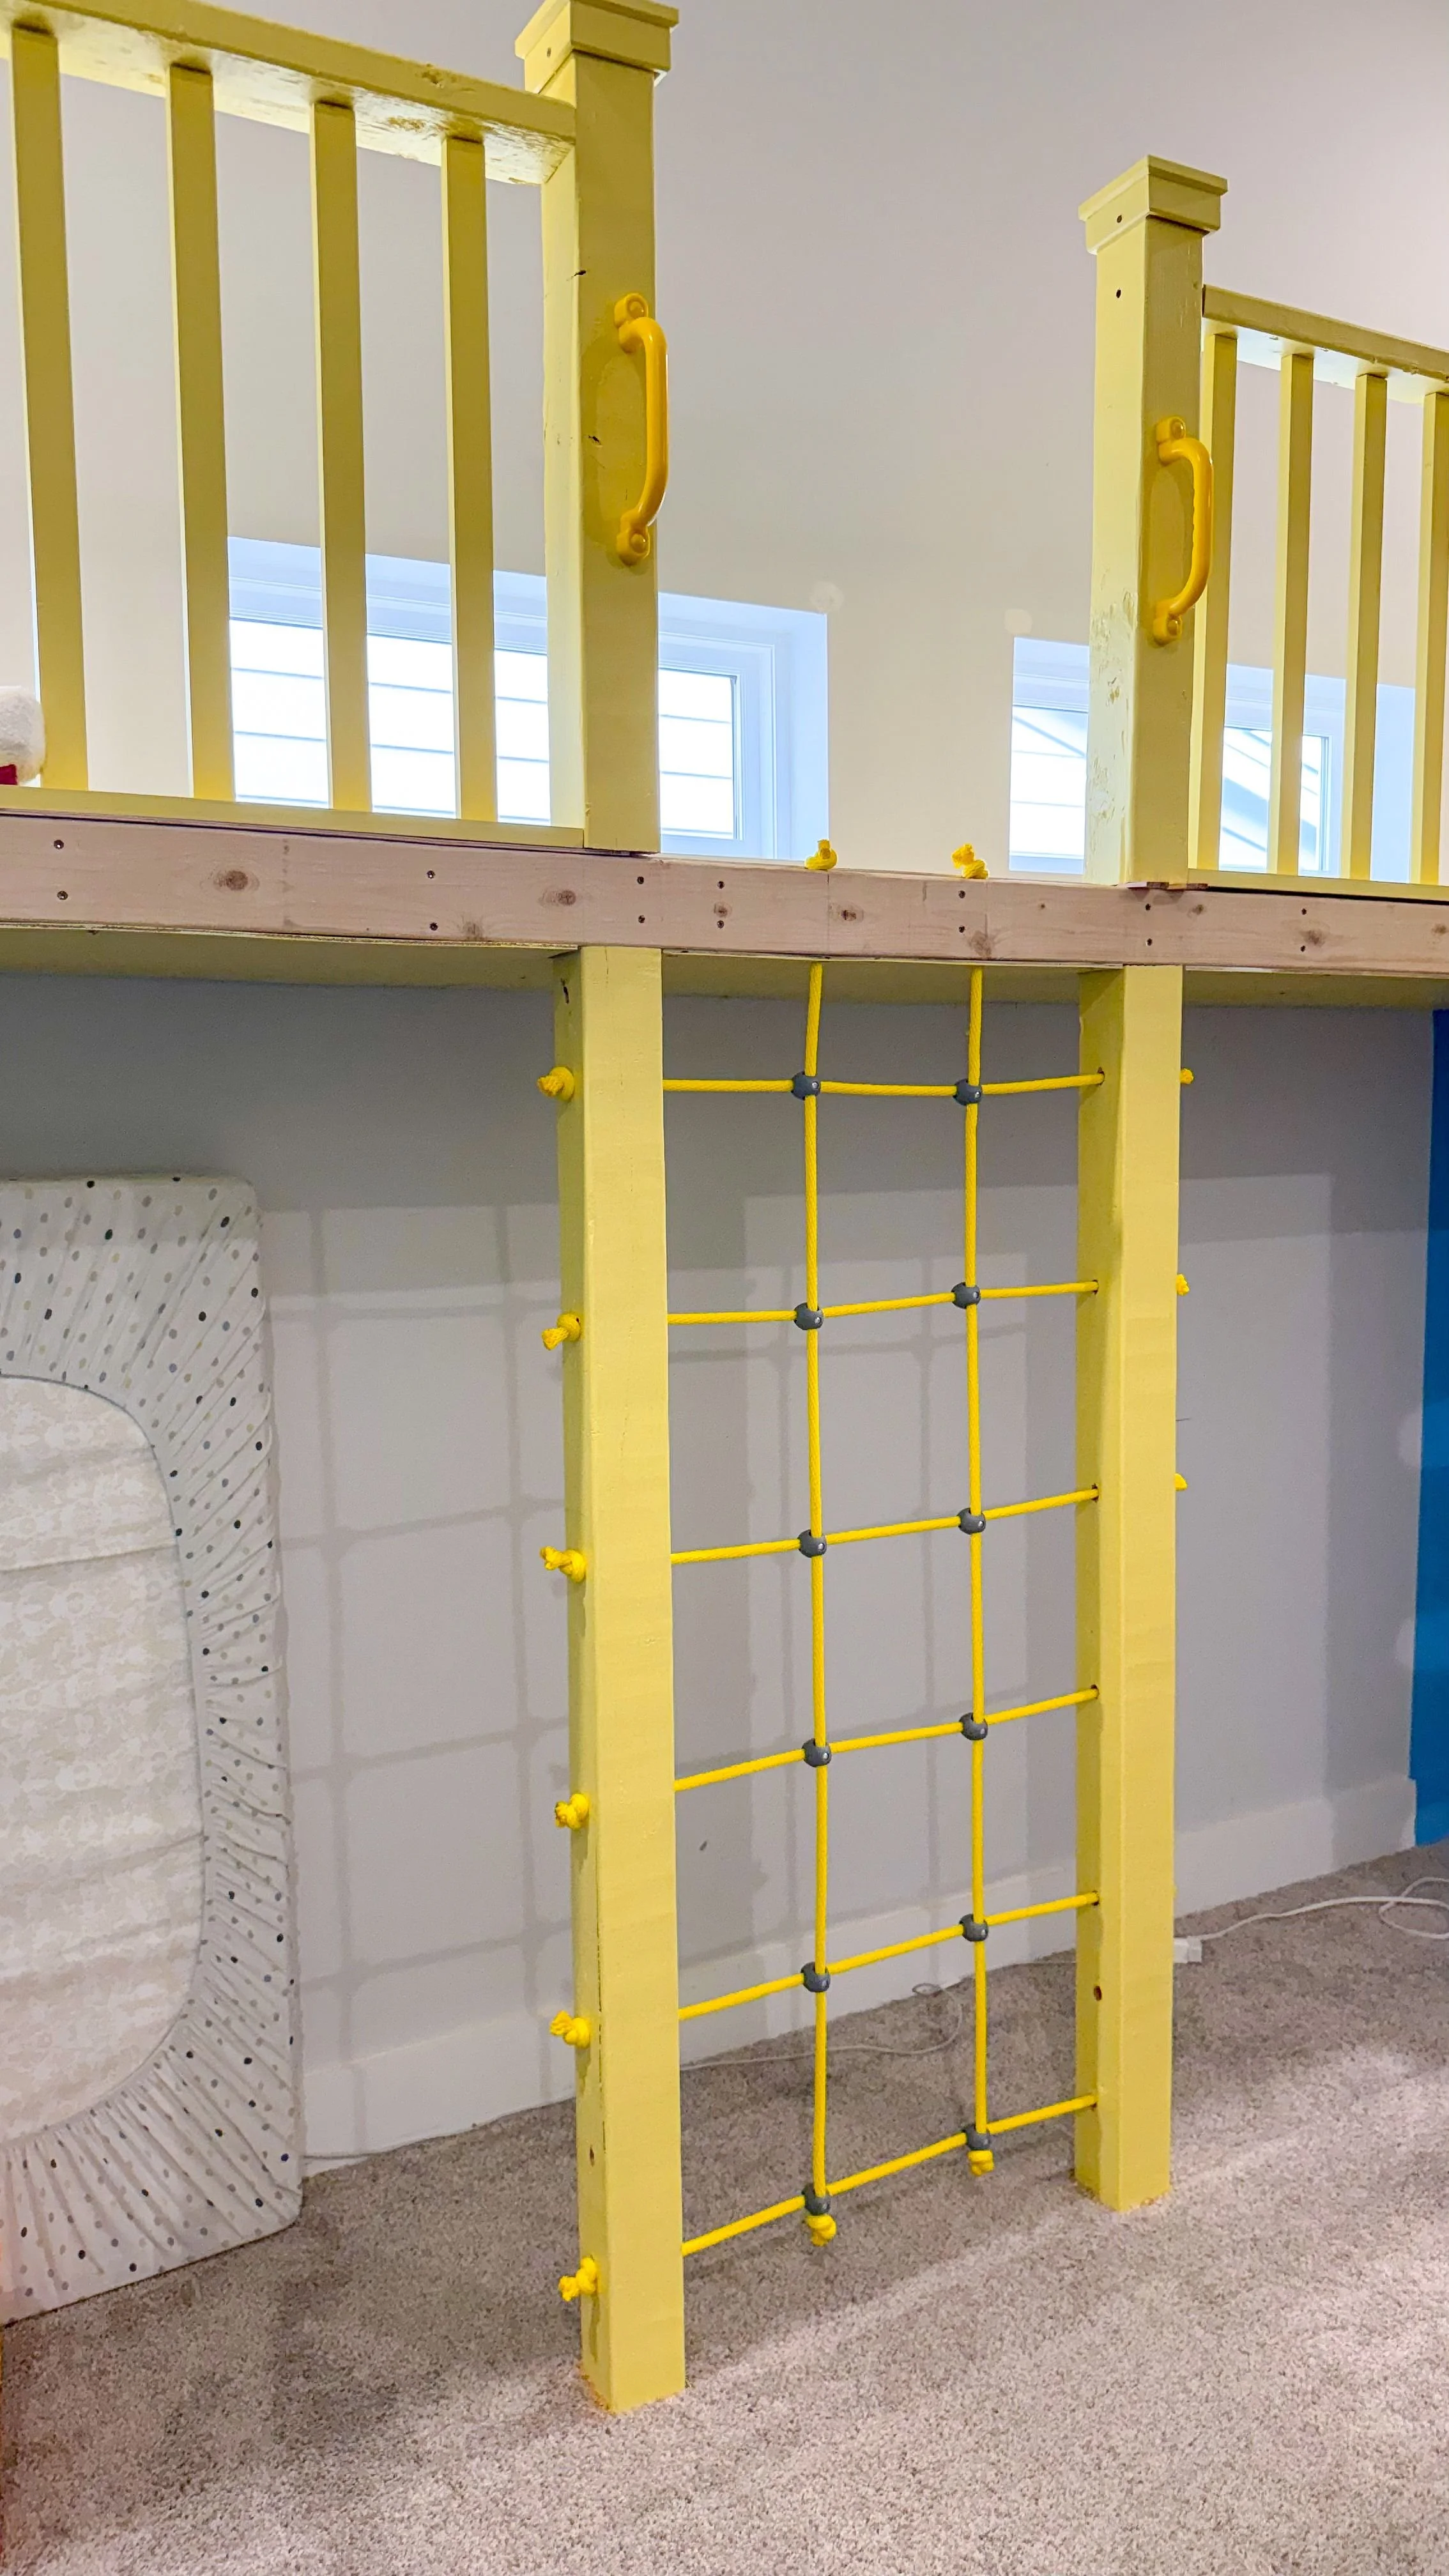
We're back at it again with part 6 of my son's epic room makeover. So far I've done the bed, slide platform, reading nook, the bridge between the bed and slide, the railing, and the loft above the bed. Today I'm doing the rope ladder, which wasn't originally planned, but I really wanted something in this original plan. When I was building the slide platform, both of my kids loved jumping off and wanted us to catch them. After talking with my husband, we decided that adding a dedicated jumping off spot was going to be the best and safest option. After adding this, I wanted to add an additional way for them to climb up because there is enough space for that. Deciding exactly what to do took some time. I ordered something and it came and when it came it was too wide because the space was only 24 inches. Most rope ladders are 30 inches minimum so it was a bit tricky. I ordered one thinking I could modify it a little bit, but I was wrong. After a lot of back and forth, I finally decided to just make my own because I was pretty convinced I could do it.
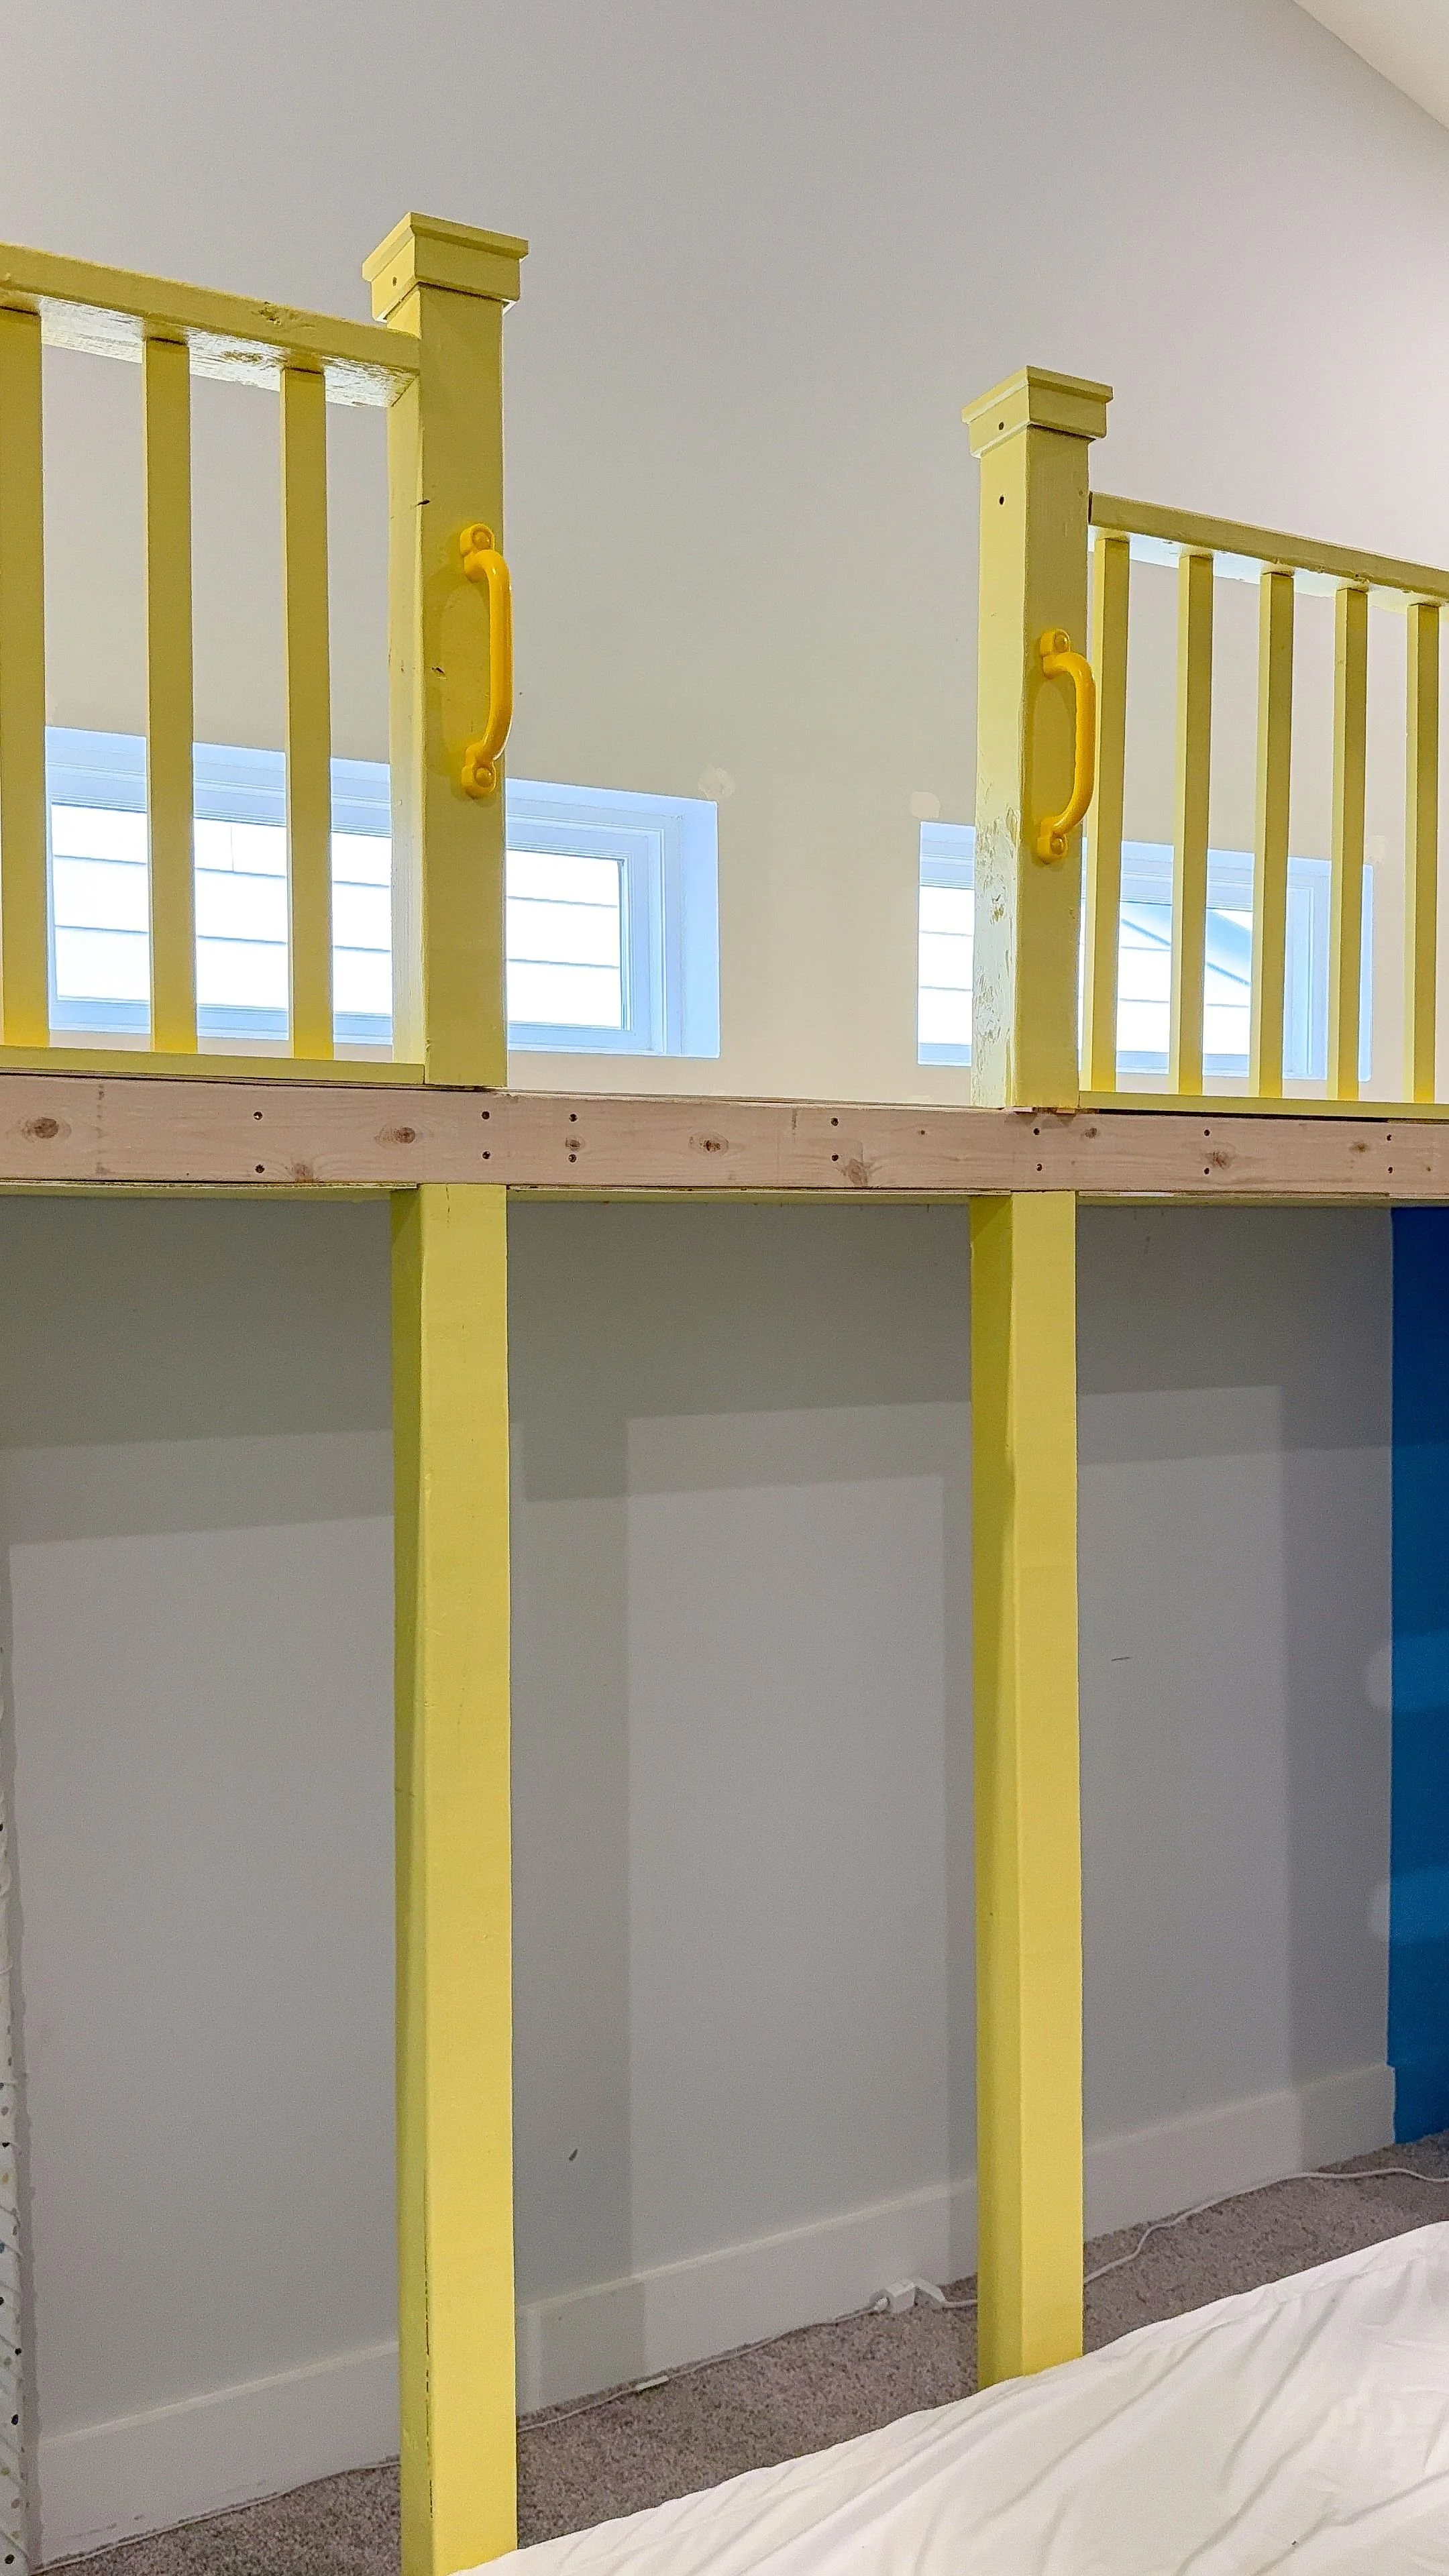
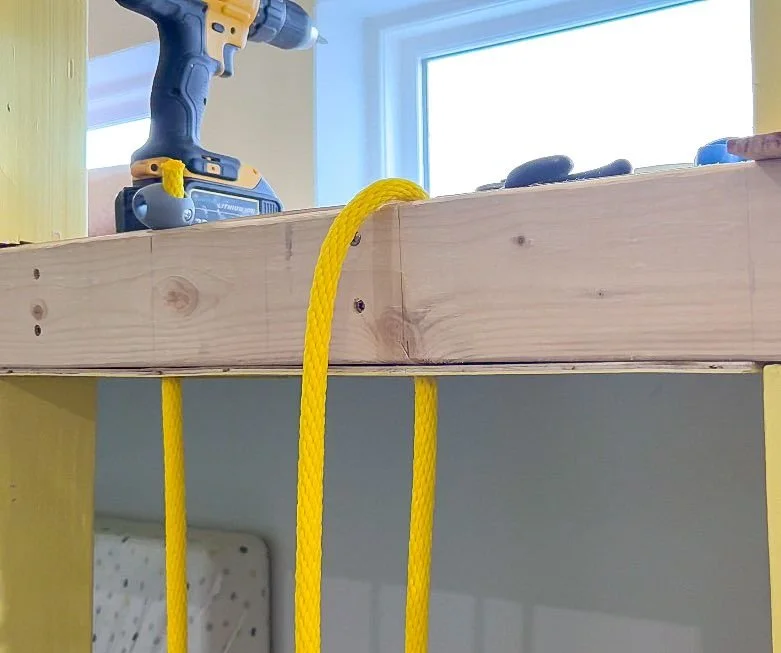
I got 50 feet of a rope I liked and measured out how much I thought I would need. I only ended up needing 25 feet, but the rope was really inexpensive so I doubled it in case I needed extra for mistakes. Making the ladder is actually super easy, especially since I already had the structure with the two pillars and top piece to secure everything to so now it was just about creating the actual ladder. I measured where I was going to put the two sections of long rope at the top. I marked 8 inches away from the post and then drilled holes at those eight inch marks and made sure that they went all the way through the 2x4 I had because I wanted the rope to be tied in a knot at the very top so it was super secure.
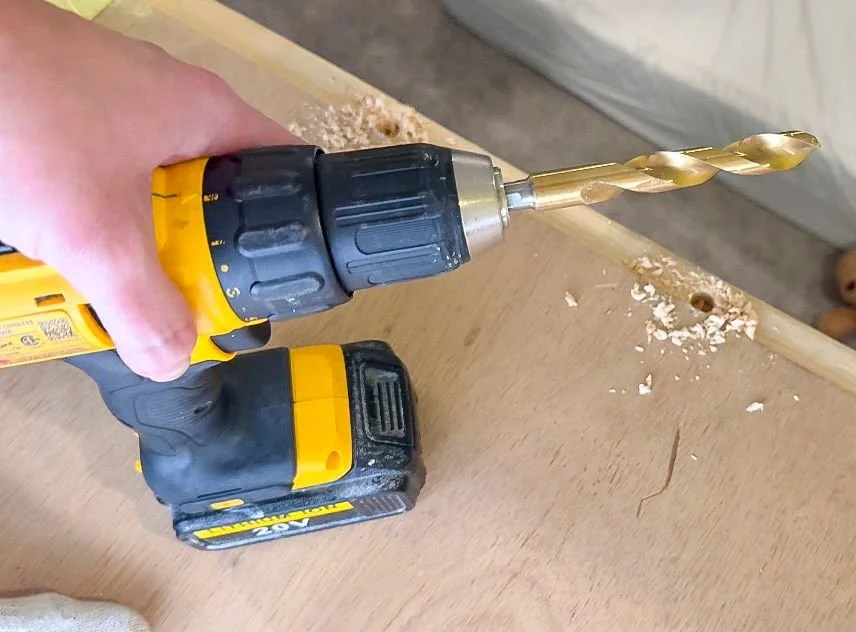
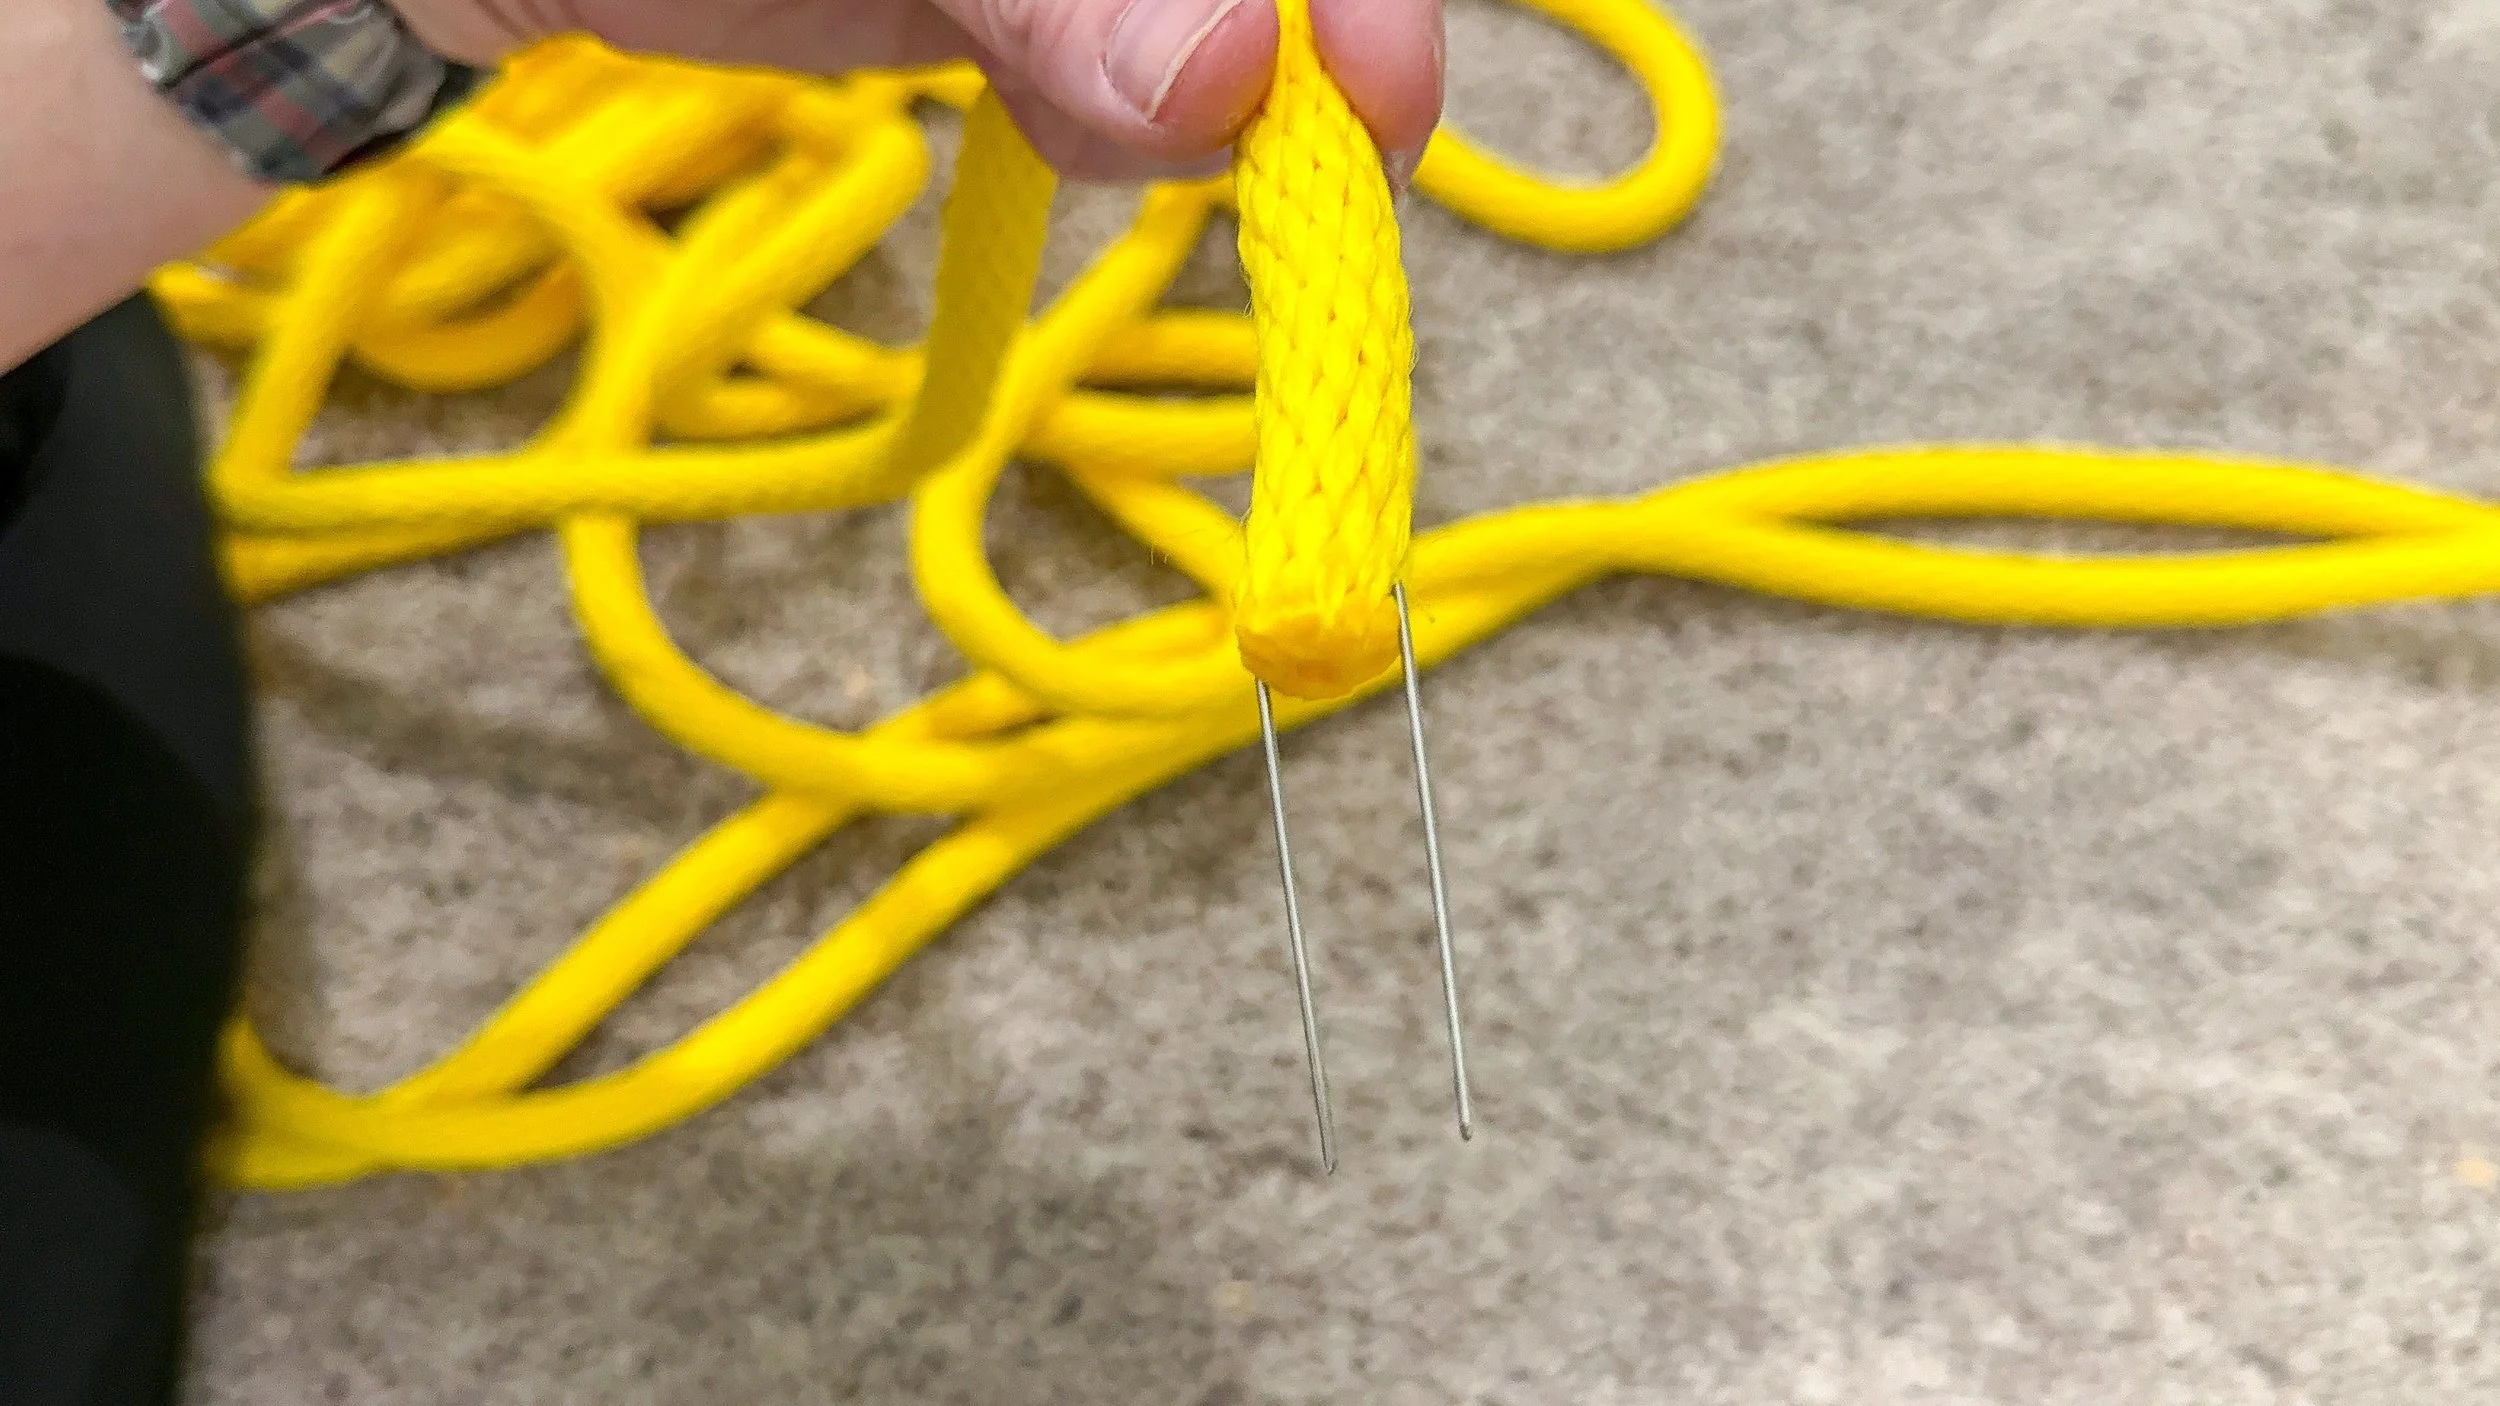
I drilled holes just slightly smaller than the diameter of the rope and used a push pin to push the ropes through so I could pull it through each hole fairly easily. I ended up needing to use a screwdriver to help force the rope through a little bit, and then used needle nose pliers to get a grip onto the pin, and then I was able to pull the rope through. At the top, I actually put the rope through the attachment pieces that I bought. I bought 30 of them not sure how many I would end up needing.
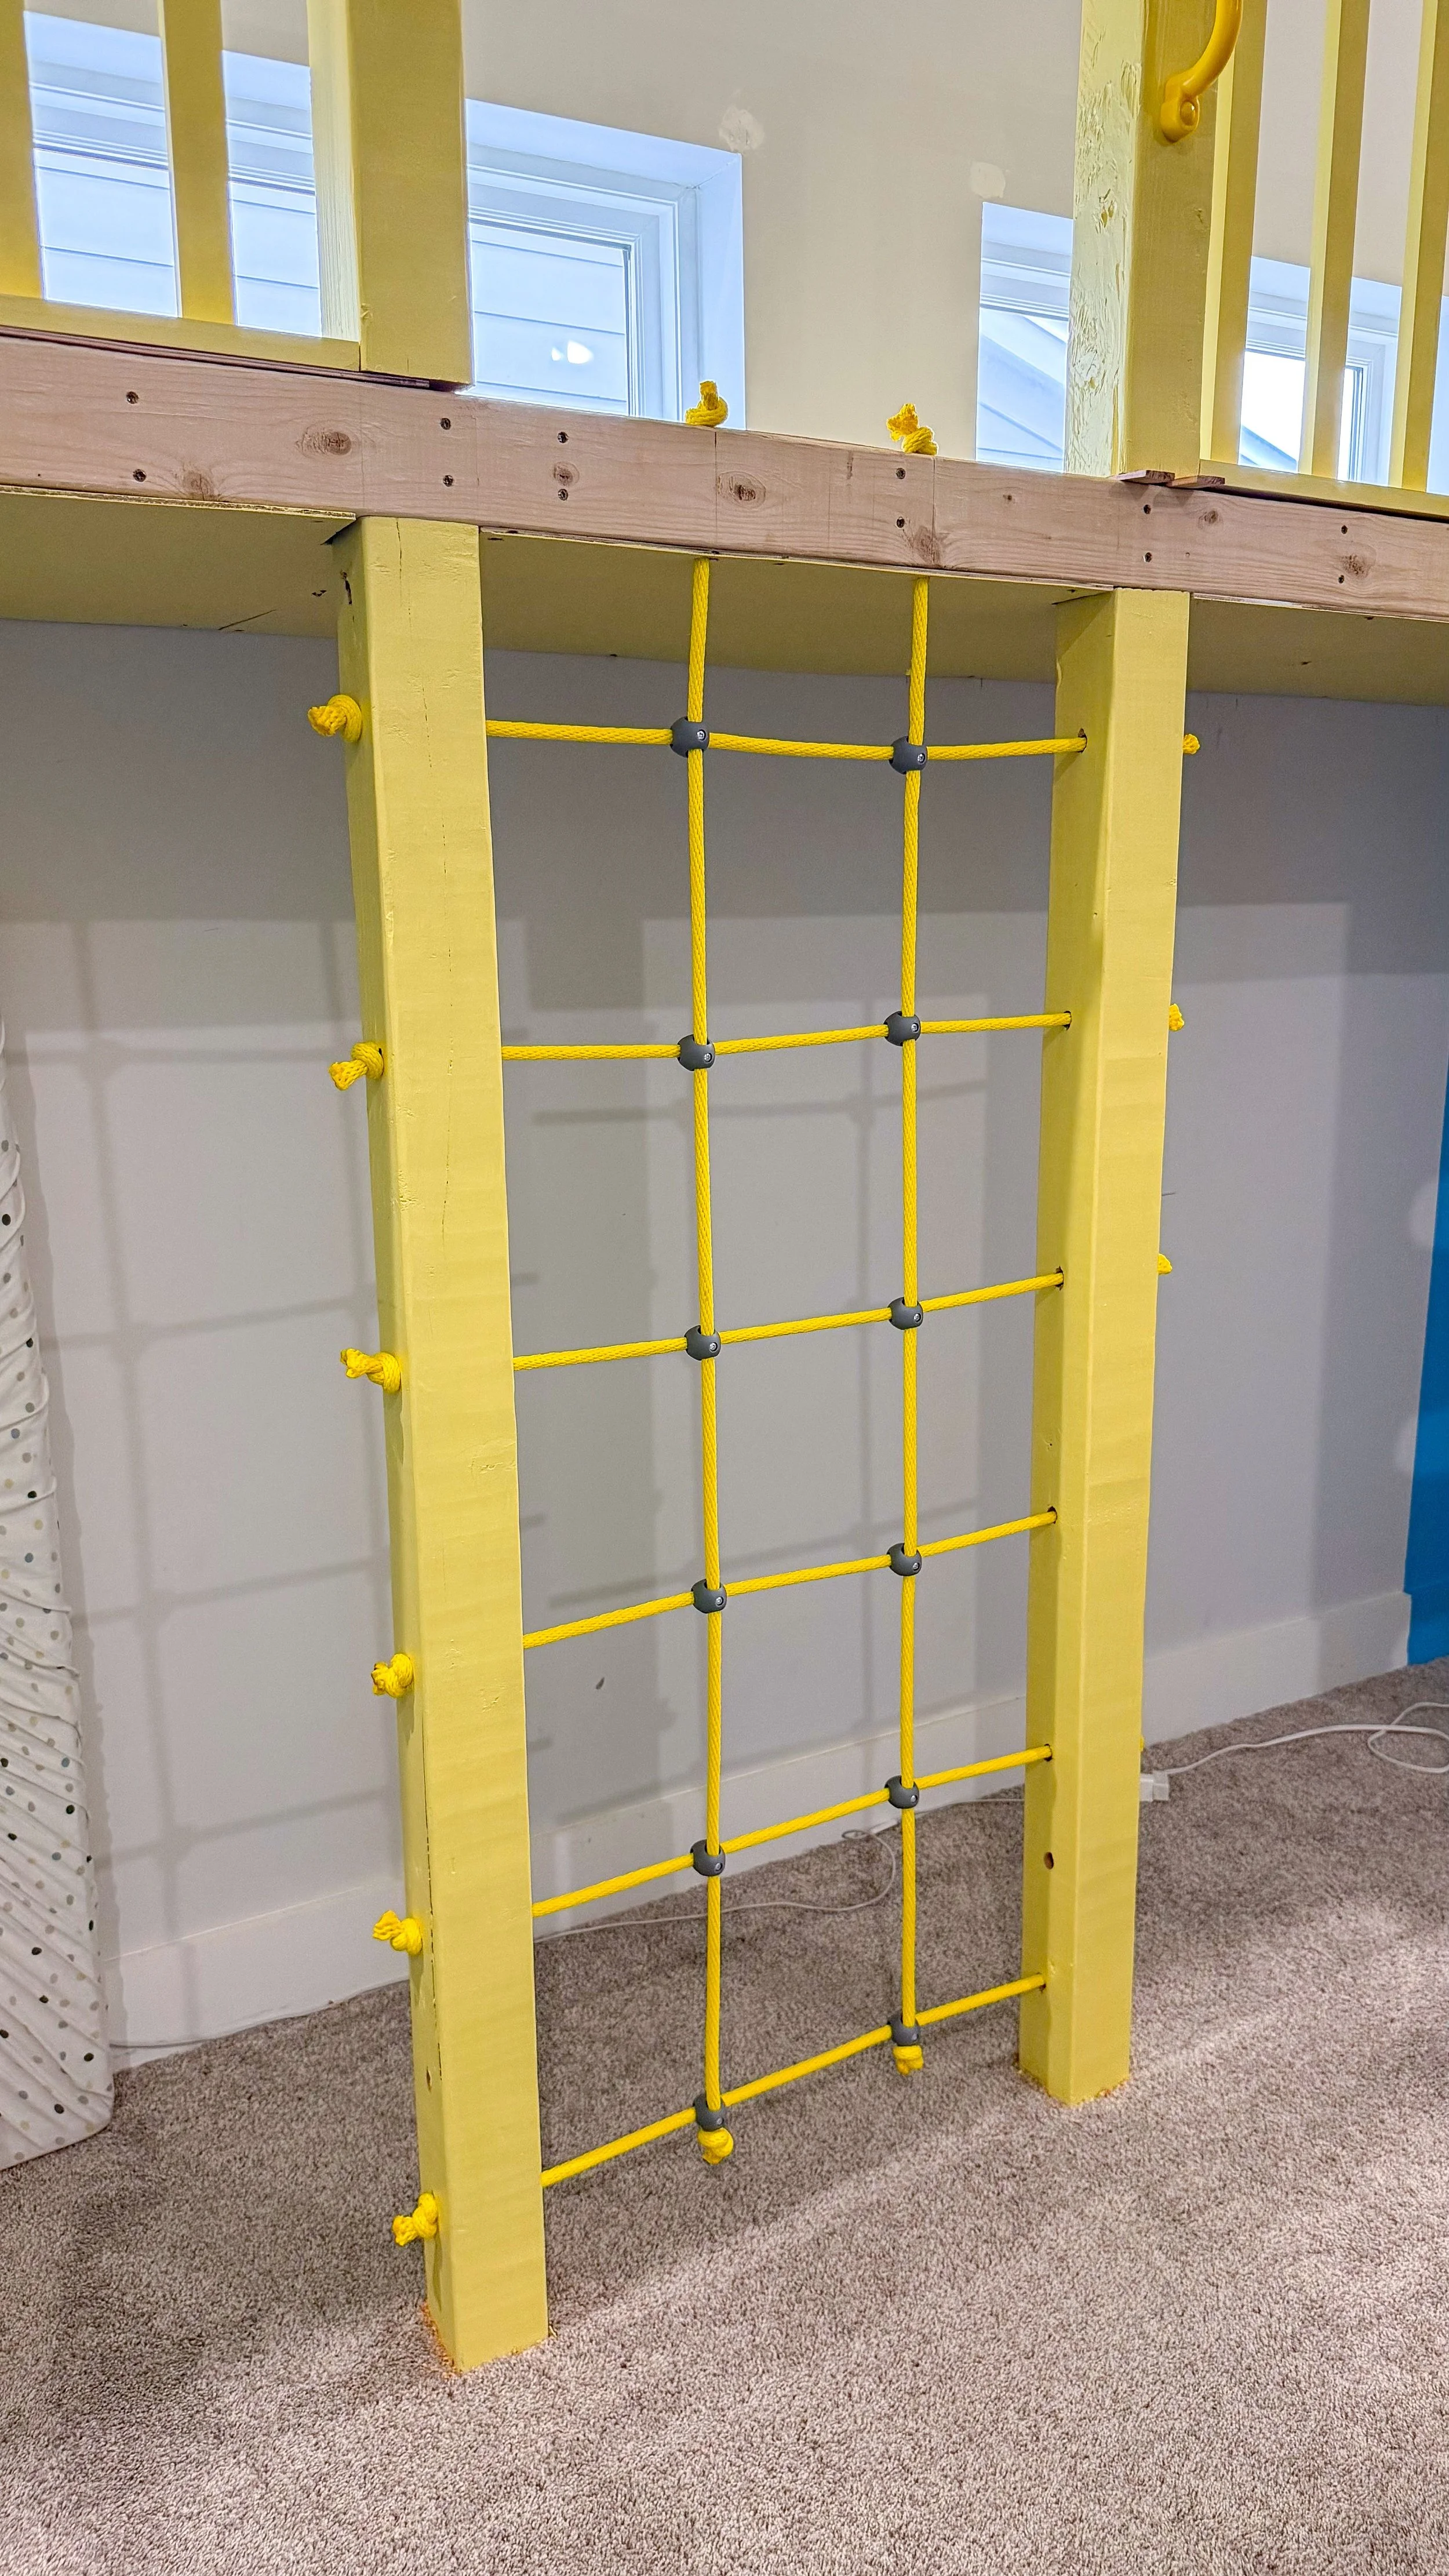
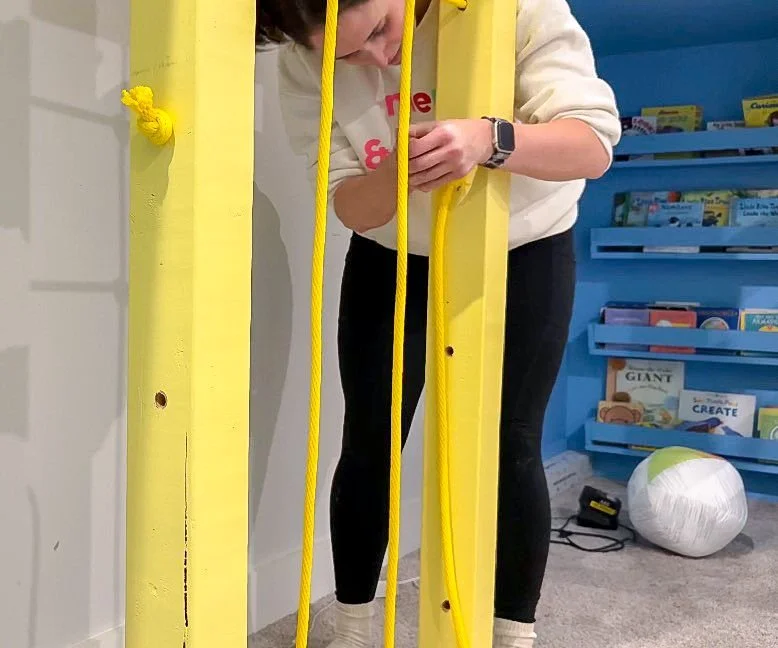
Once I had this figured out for the first hole, the second hole was a lot easier. I took the two ropes, measured them all the way down to the floor, and gave myself about two feet of excess to make sure I had plenty of rope to work with. On the support post, I marked every five inches going down on the sides and then switched to every 10 inches. I did the first step before drilling the holes for the rest of them. I was able to pull the rope through, tying a knot on the outside to keep it secure, and then I put the fasteners for the rope through the rope before then threading it through the other side.
I decided it would be easier to fasten all of the fasteners and screw together after I had assembled the whole rope ladder. After I was done with all of it, I tied a knot on the outside, on the other end so it was secured to the outside again, then cut off the rope so I could repeat it for the next set. I repeated this process all the way down every 10 inches. I realized at the very bottom I had accidentally drilled a hole at 15 inches instead of 10, requiring me to add an additional hole.
There were a few times I needed to cut the very end of the rope I was pushing through the holes because it was getting frayed, and when I was finished I burnt the rope ends to stop them from fraying anymore. Sometimes I had to widen the holes with my drill bit, because they were a little too tight, but overall it took me about two hours to do with all of the adjusting and threading through.

Once I got to the very bottom, I did the exact same thing I had previously done and left a little bit of rope at the bottom to make sure I had space to tie it off when I was done. Since I had finished putting everything through the pieces that secure the rope, I was then able to use the screws to secure the rope, ensuring it wouldn't move at all. At the very bottom I secured the attachment to hold the rope together and tied a knot at the bottom. I love the finished product and love that the colors match the aesthetic of everything else making everything more cohesive. There is finishing work I need to do but I'm going to do the finishing work on everything once I'm done. I have another mini project for his room next week, so come back for that. I'm super excited to show you what that is as this project gets closer and closer to being finished.