DIY
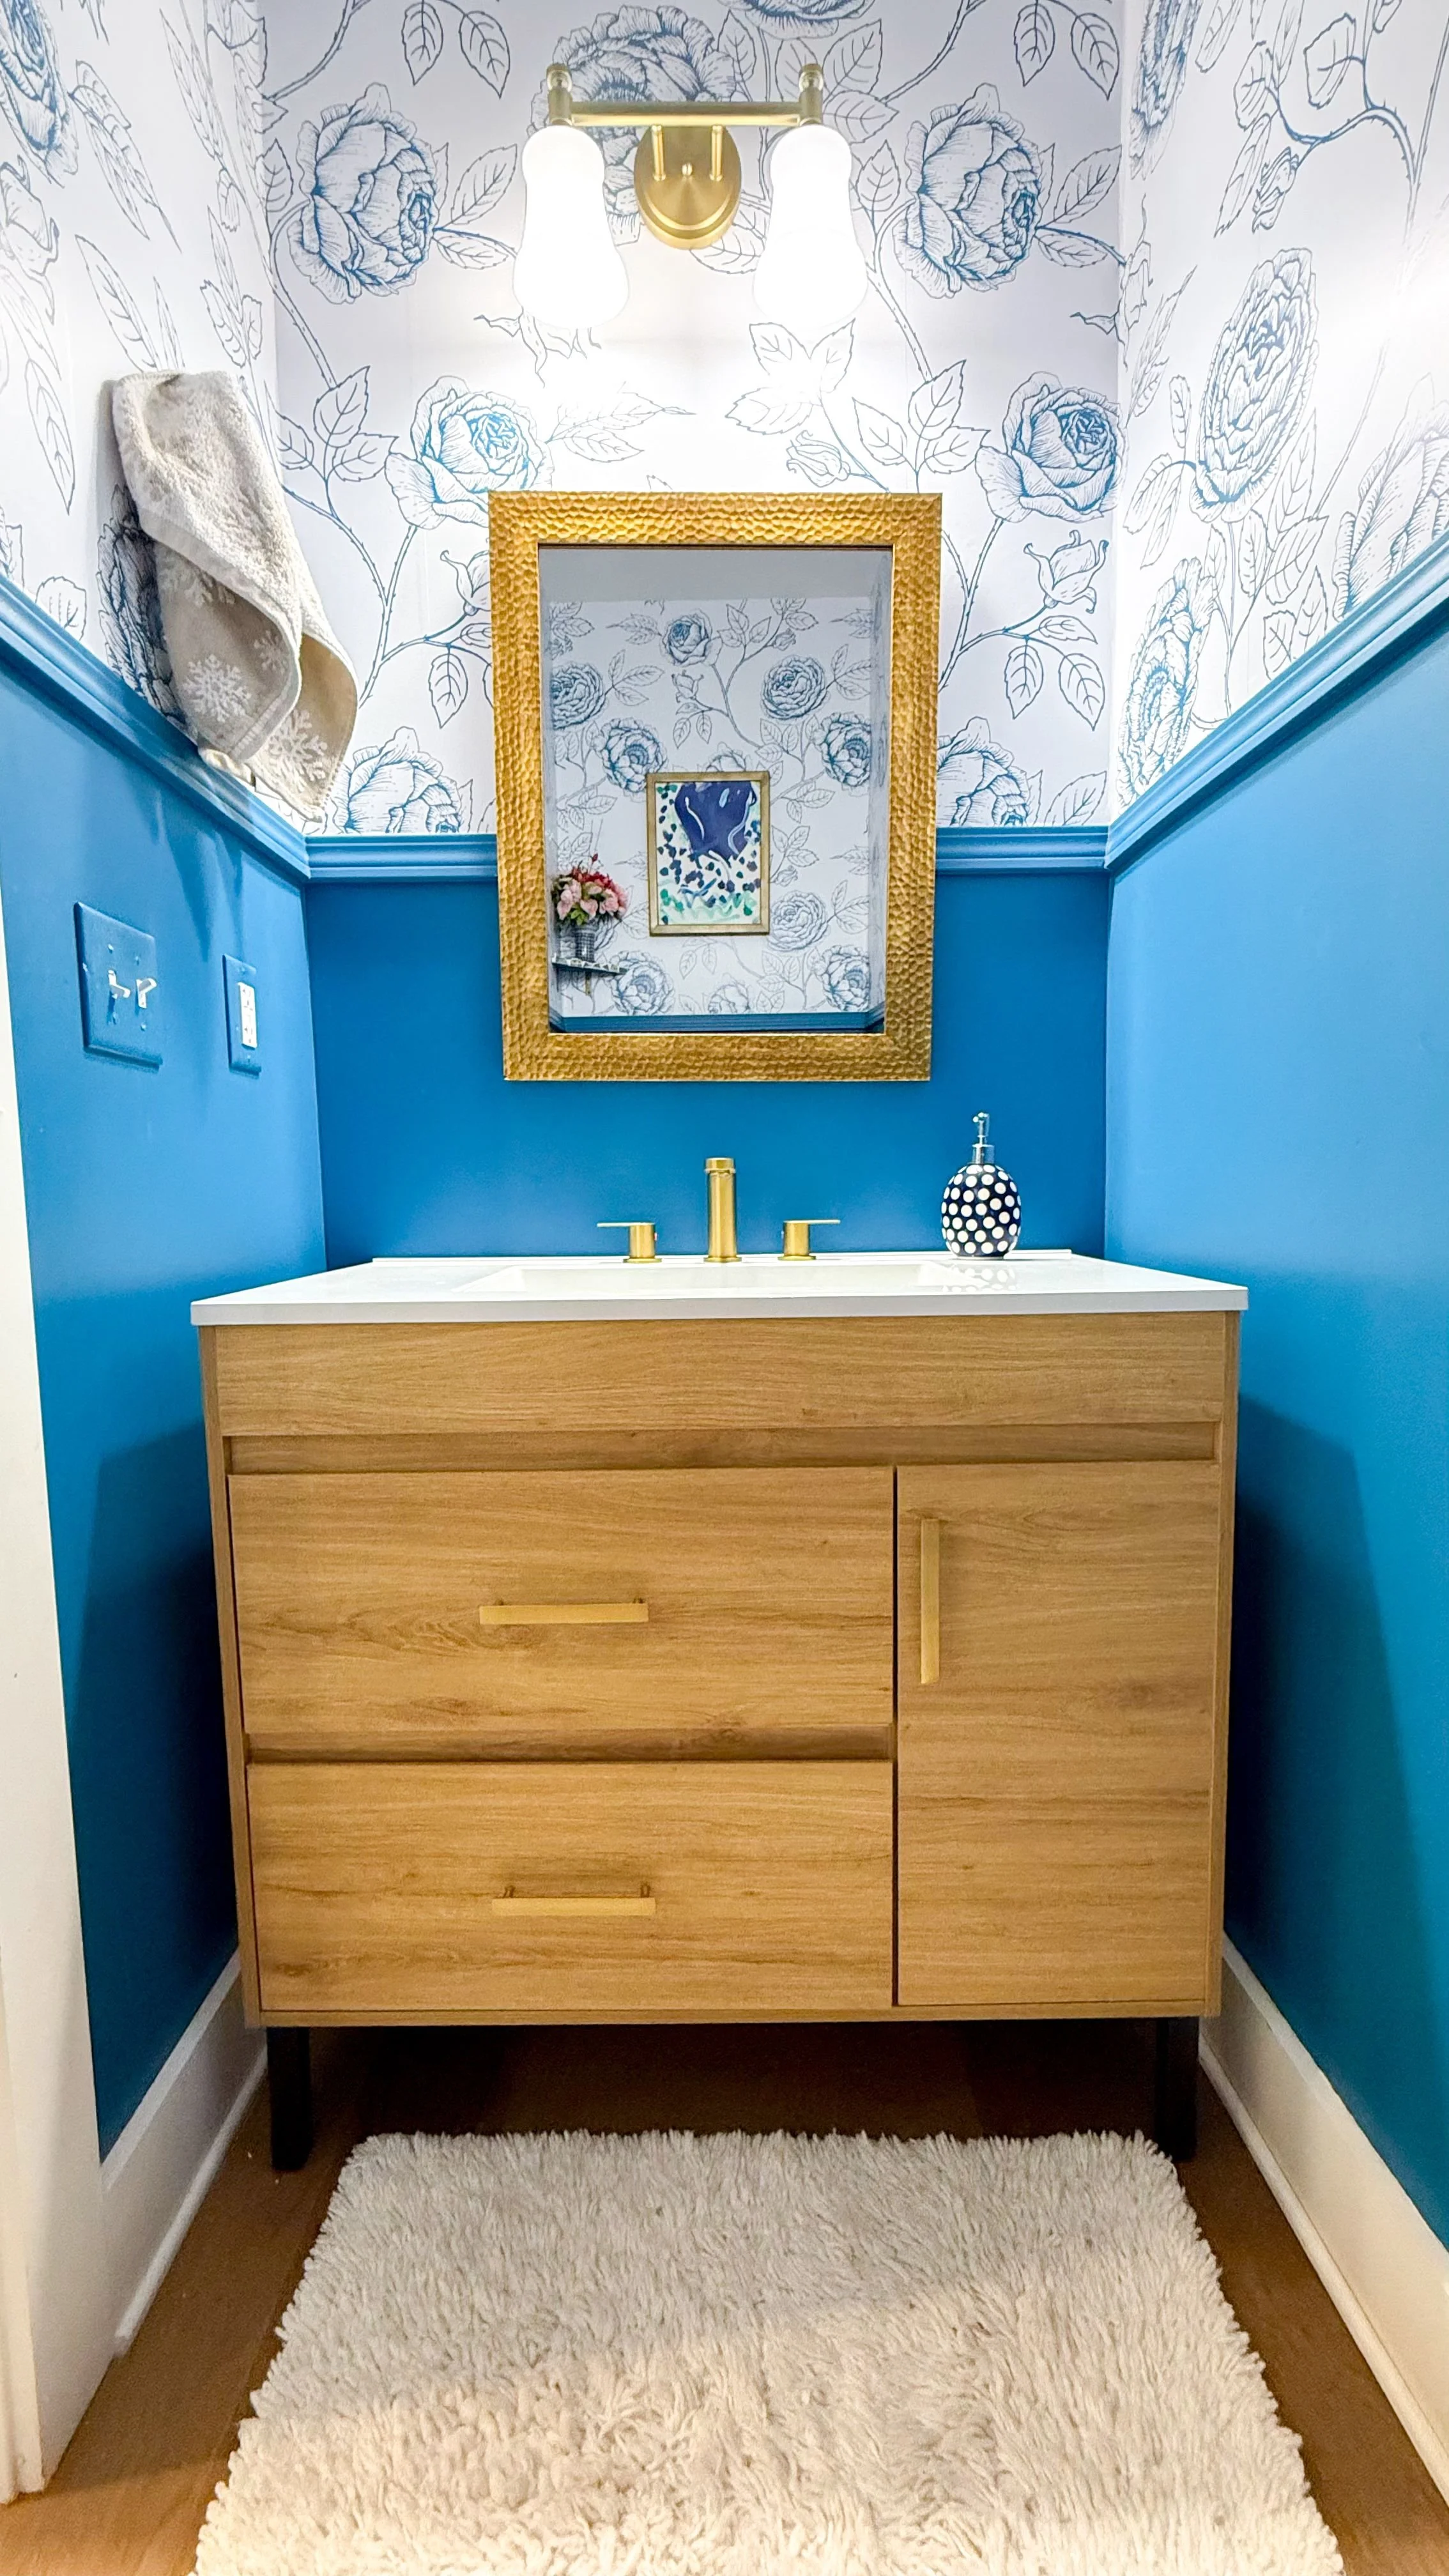
We have three full baths and one half bath in our home. When we moved into the house 5 years ago we only had a pedestal sink in the half bath. The house in general is VERY low on storage so I have spent 5 years adding storage wherever I can but have put this bathroom on the back burner. My husband works from home in our bedroom, so I usually get ready for the day downstairs so I can keep an eye on my son while I do. However, having all of my hair/makeup stuff downstairs makes the kitchen area really cluttered so I decided to finally bite the bullet and create storage in the bathroom.
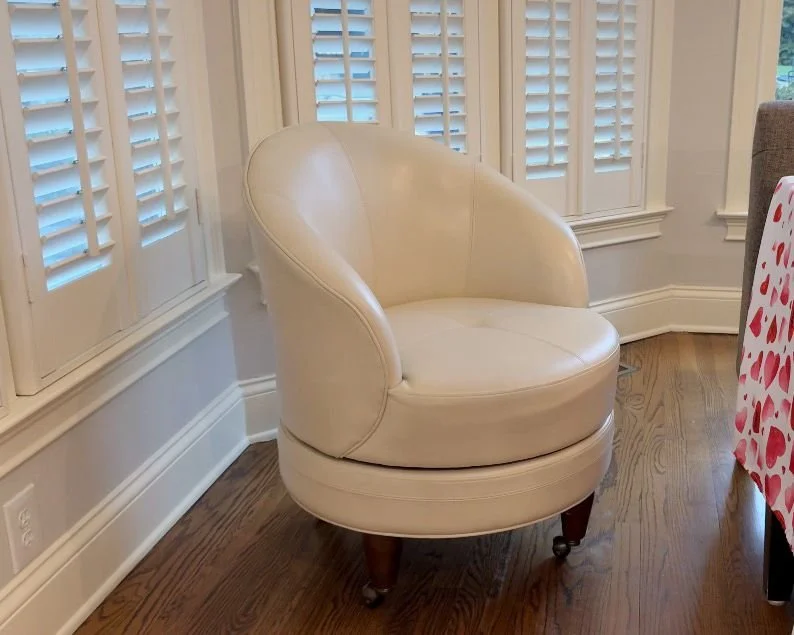
My parents bought these chairs when they moved into their current house about 5.5 years ago. My mom got them to go at the ends of her dining table since she has long benches flanking both sides. However, they have always been kind of short, making them an awkward height to the table. We found some wheels that we liked to go on them hoping that they would give the chairs some height, but initially I didn't think they would work because there was a rubber plate in the way. Well, we revisited that this week and it turns out it is a lot easier than I initially thought!
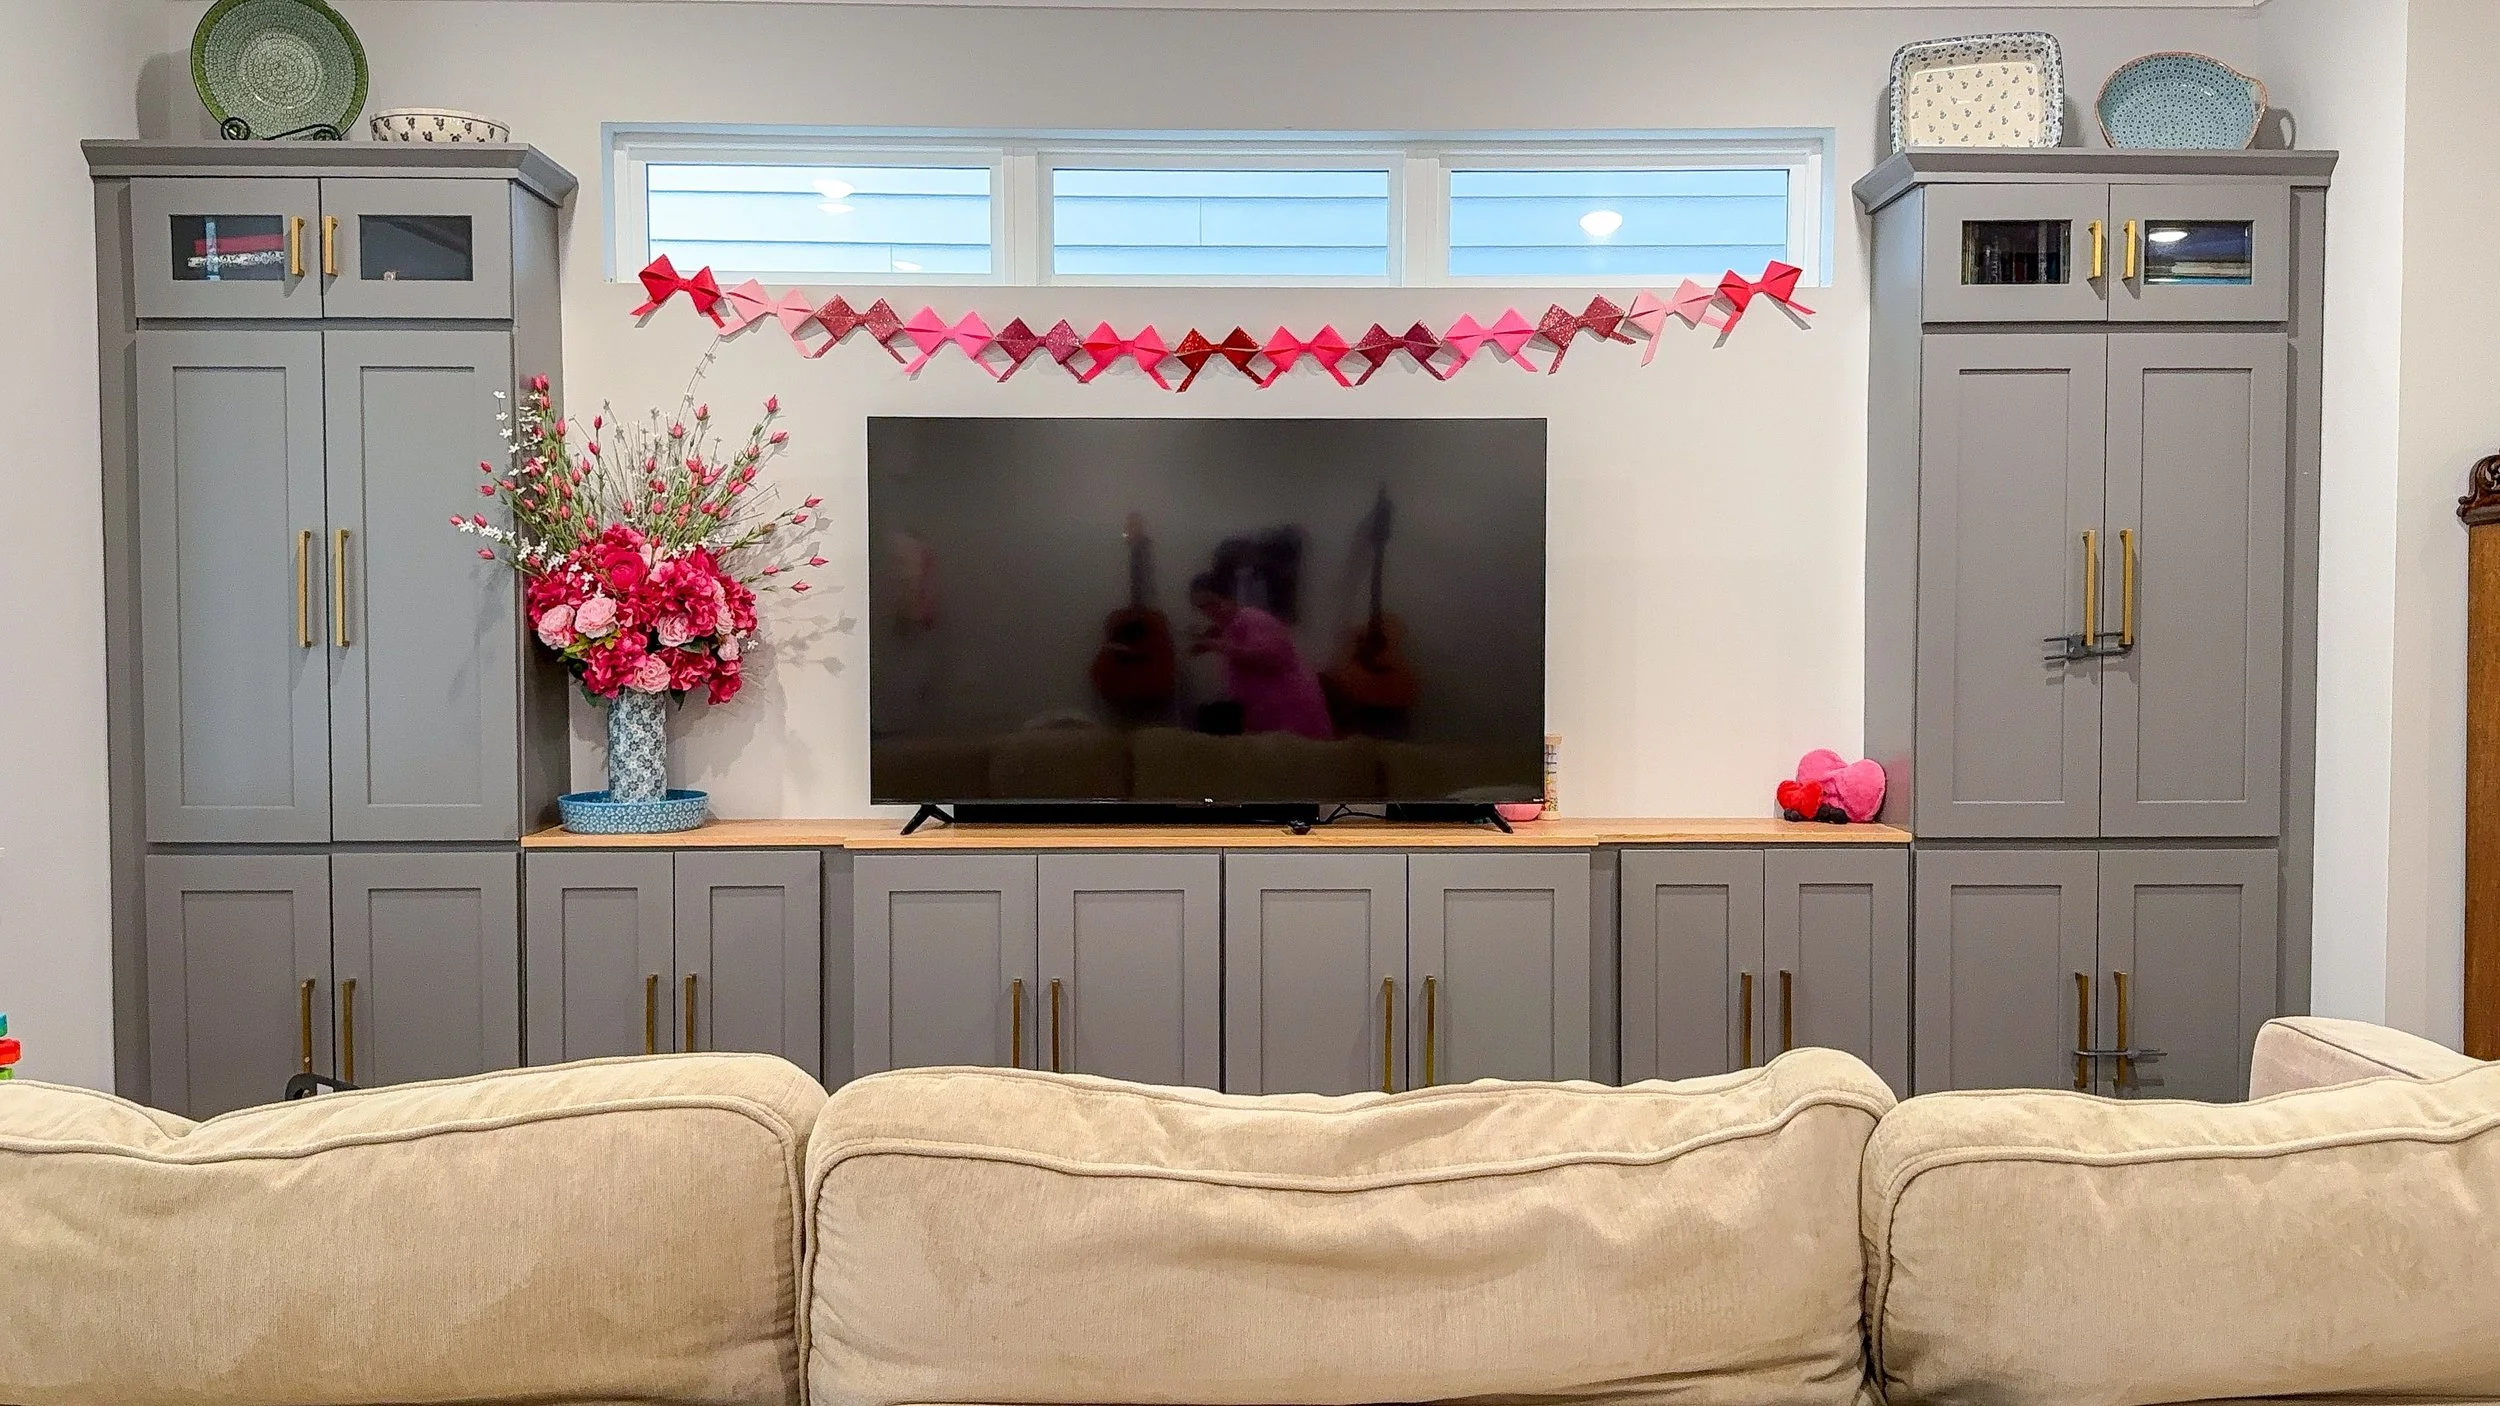
Valentine's Day is just around the corner, and after a year of not feeling really like myself where I didn't do a lot of crafting projects I decided I want to get back to crafts that spark joy for me. Valentine's Day crafts in particular have always been something that I enjoy so I did a few this year that I wanted to share with you. Most of these crafts are pretty simple and require minimal supplies but are fun all the same.
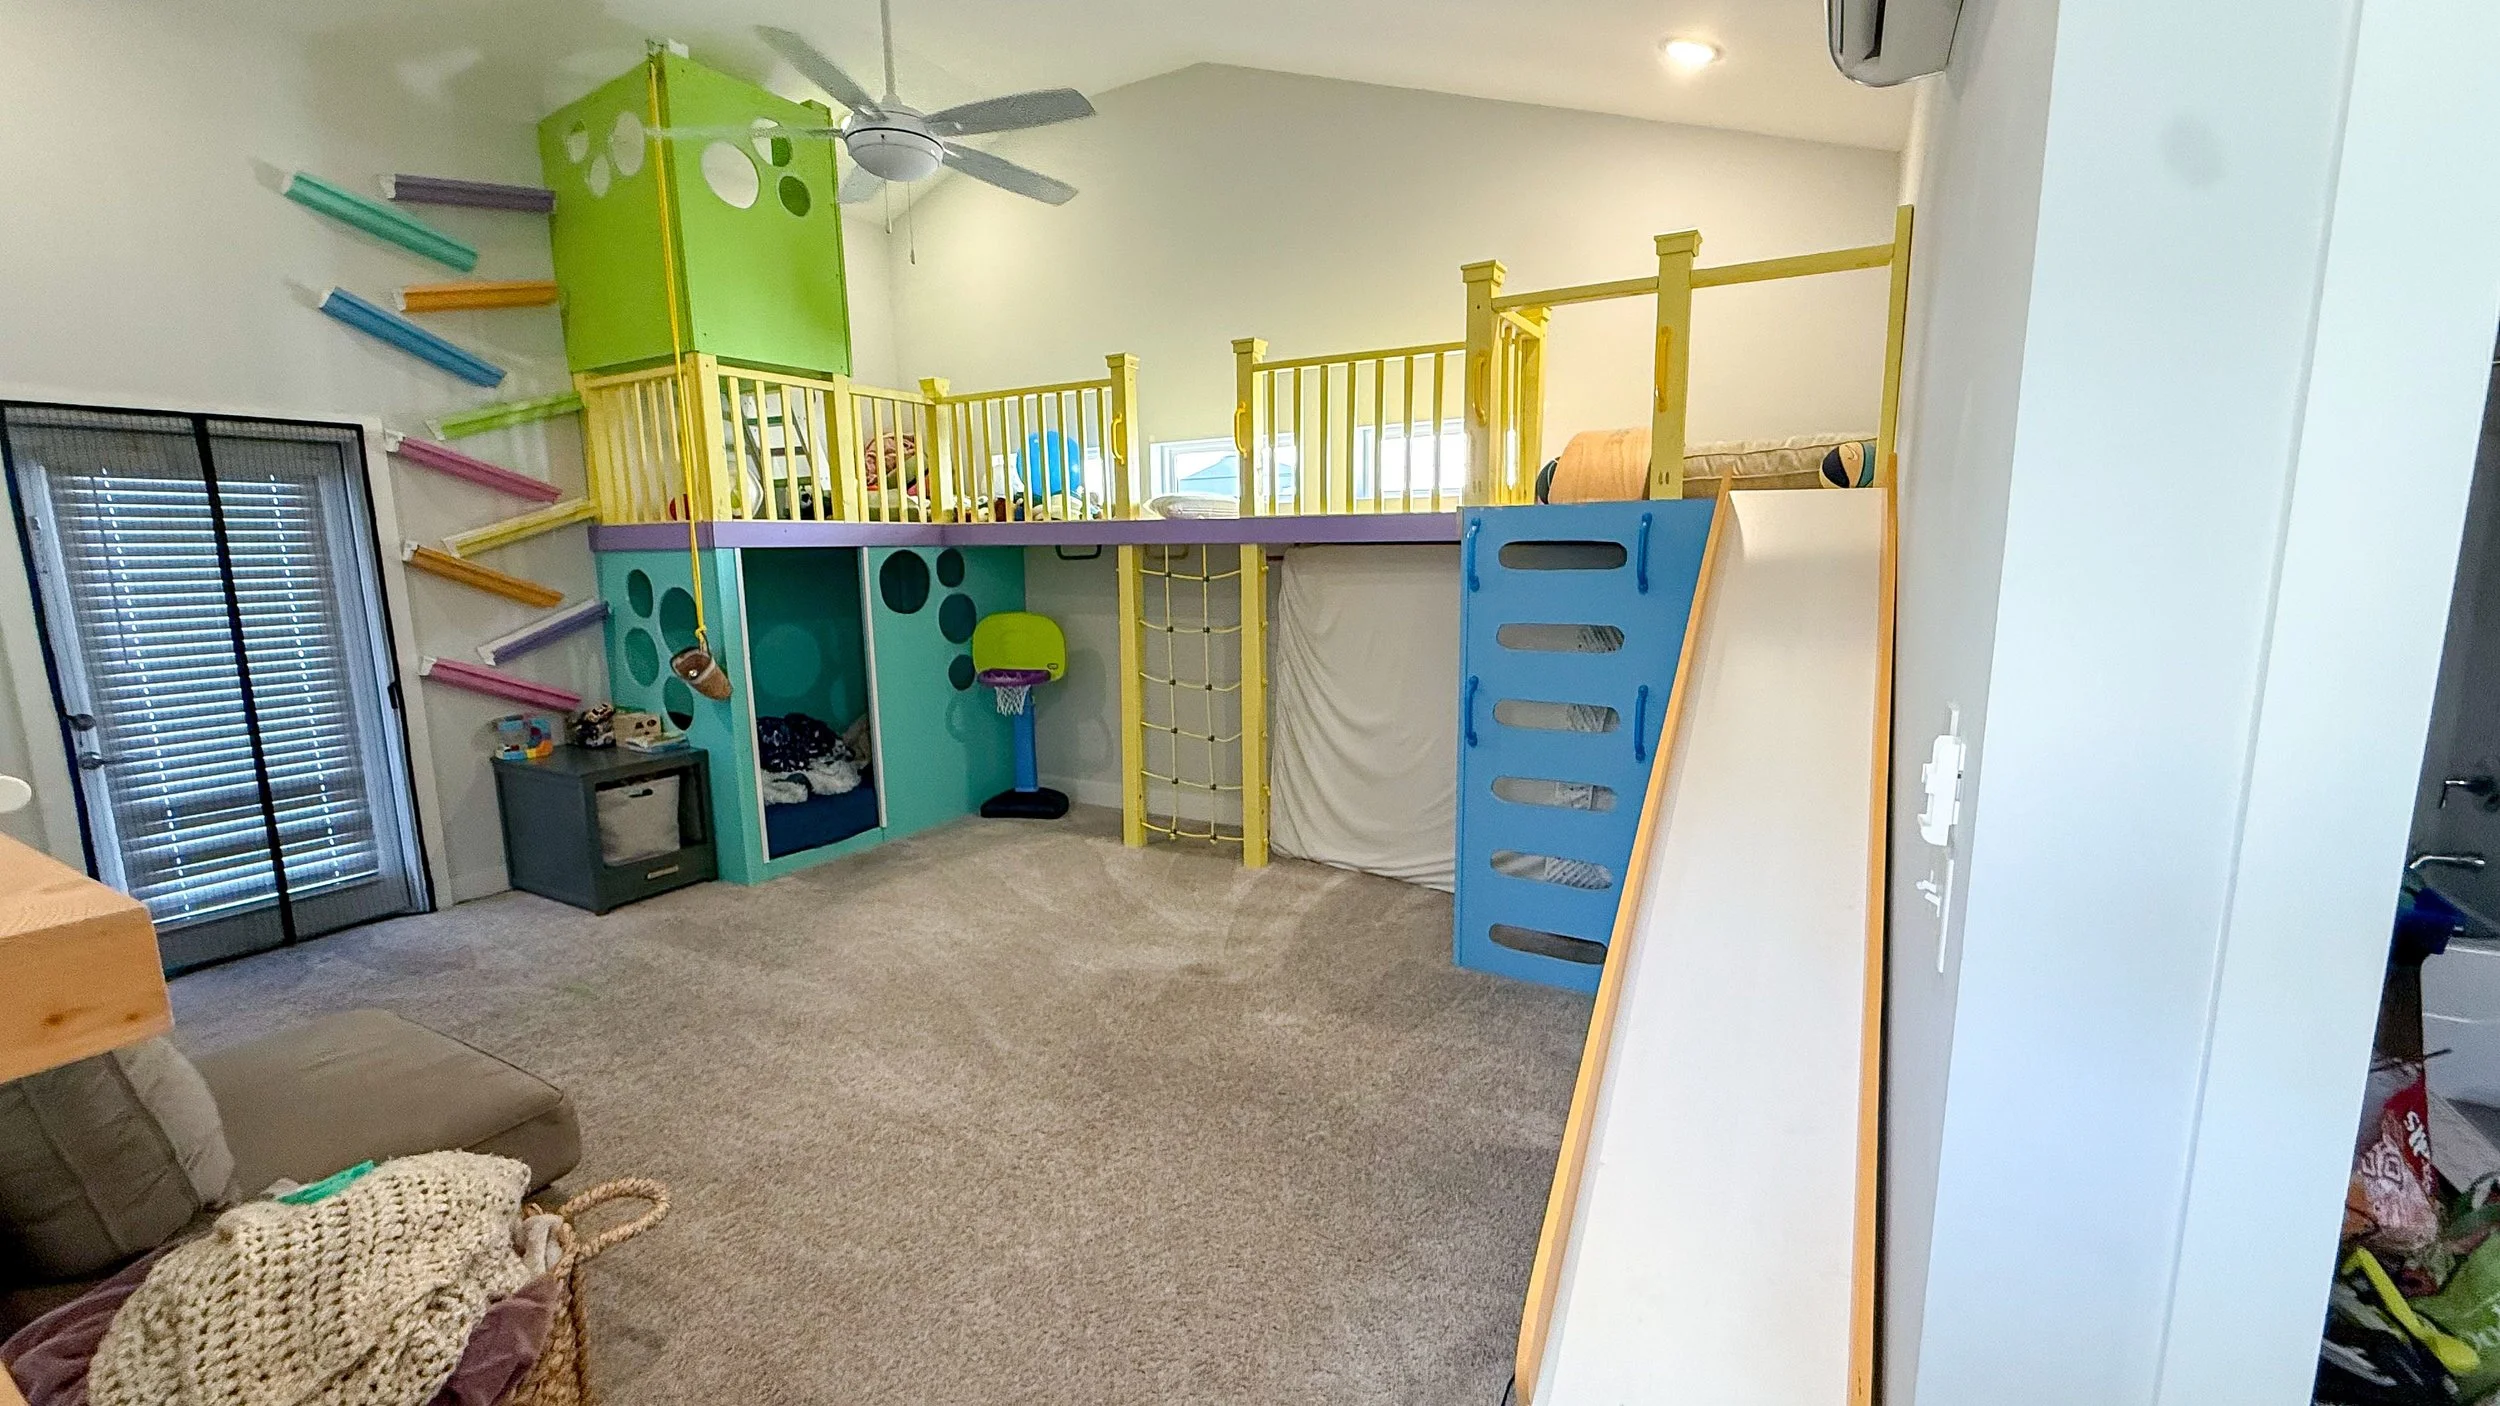
After a break over the holidays, I'm back to share the most recent updates and additions to my son's room. I tried to add a few fun things to the space to give it an extra dash of fun as well as finishing up the trim.
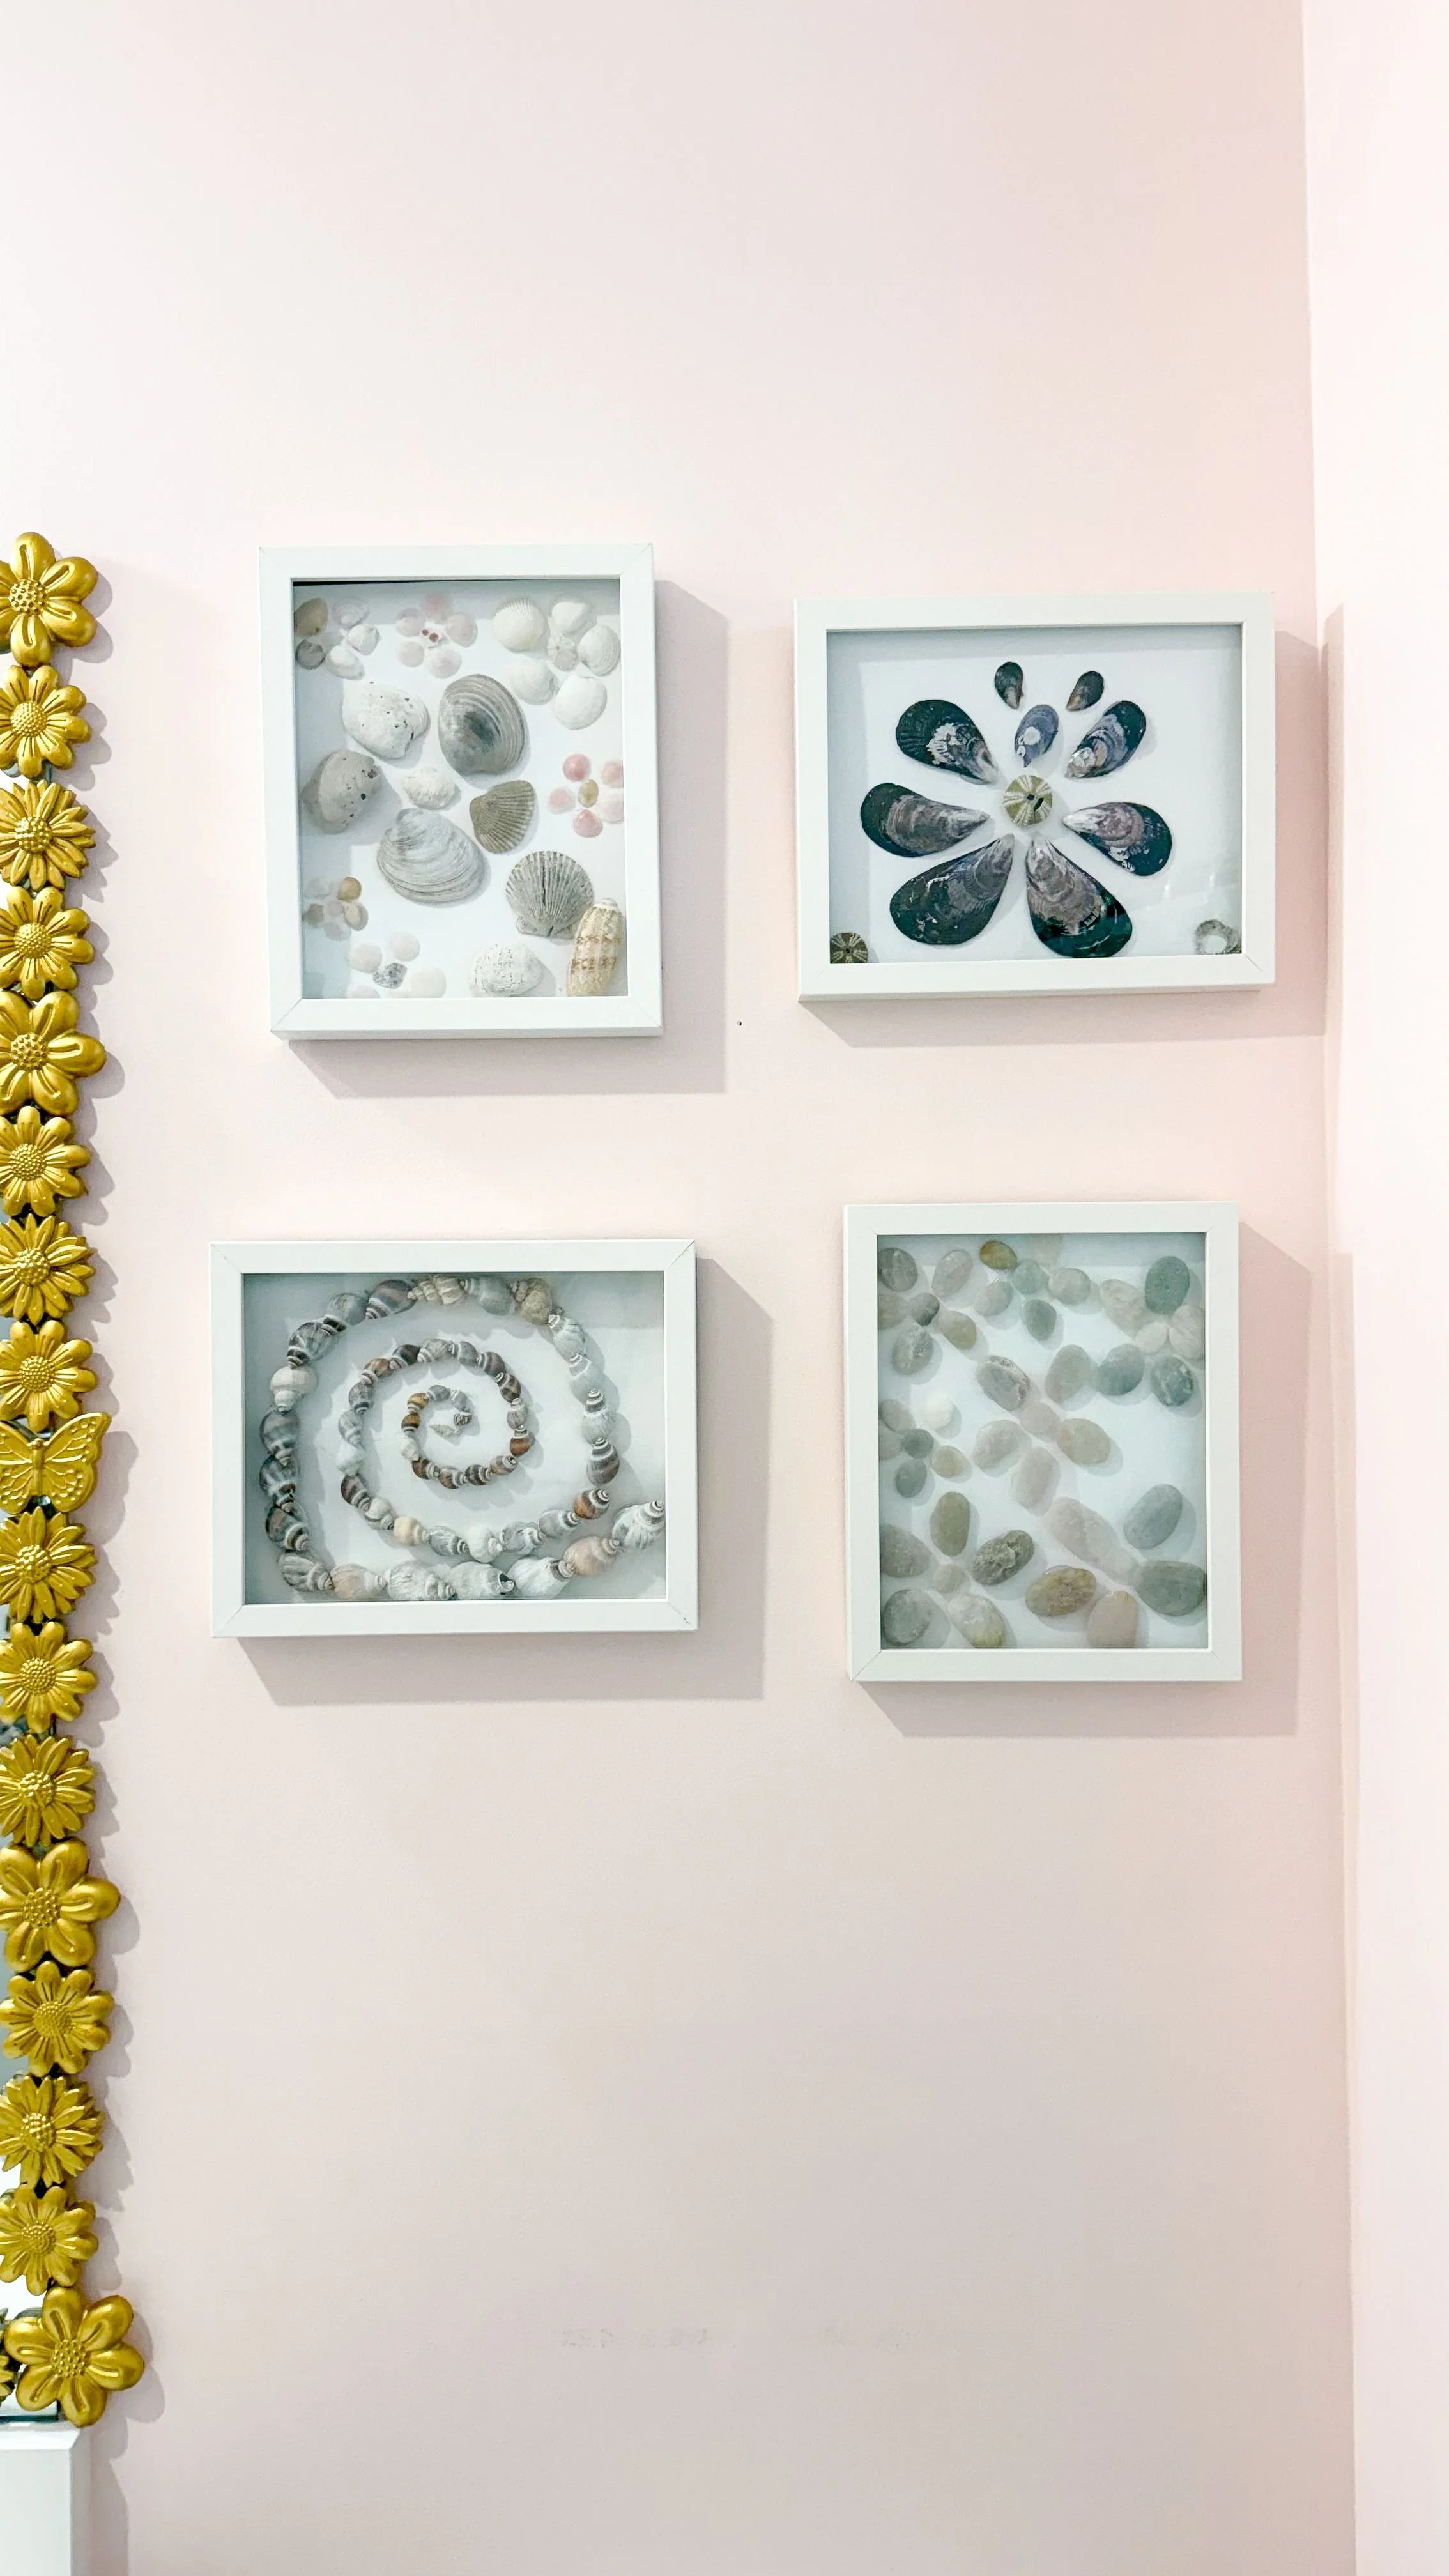
Let's talk seashells. I know that it seems incredibly random, but bear with me. After talking to other people ADHD, especially women, I've found that many of us share a common interest: collecting seashells. My daughter and I have loved picking seashells anytime we go to a beach however I'm always stumped about what to do with them once we have collected them. Up until recently our collected seashells have just been sitting in a glass jar on my daughter's bathroom counter, which in hindsight was not a great plan. My daughter accidentally knocked it over and it shattered, so to be safe we're not doing glass jars on the counter anymore. So I wanted to find a creative way to display them that wasn't just sitting on the counter.
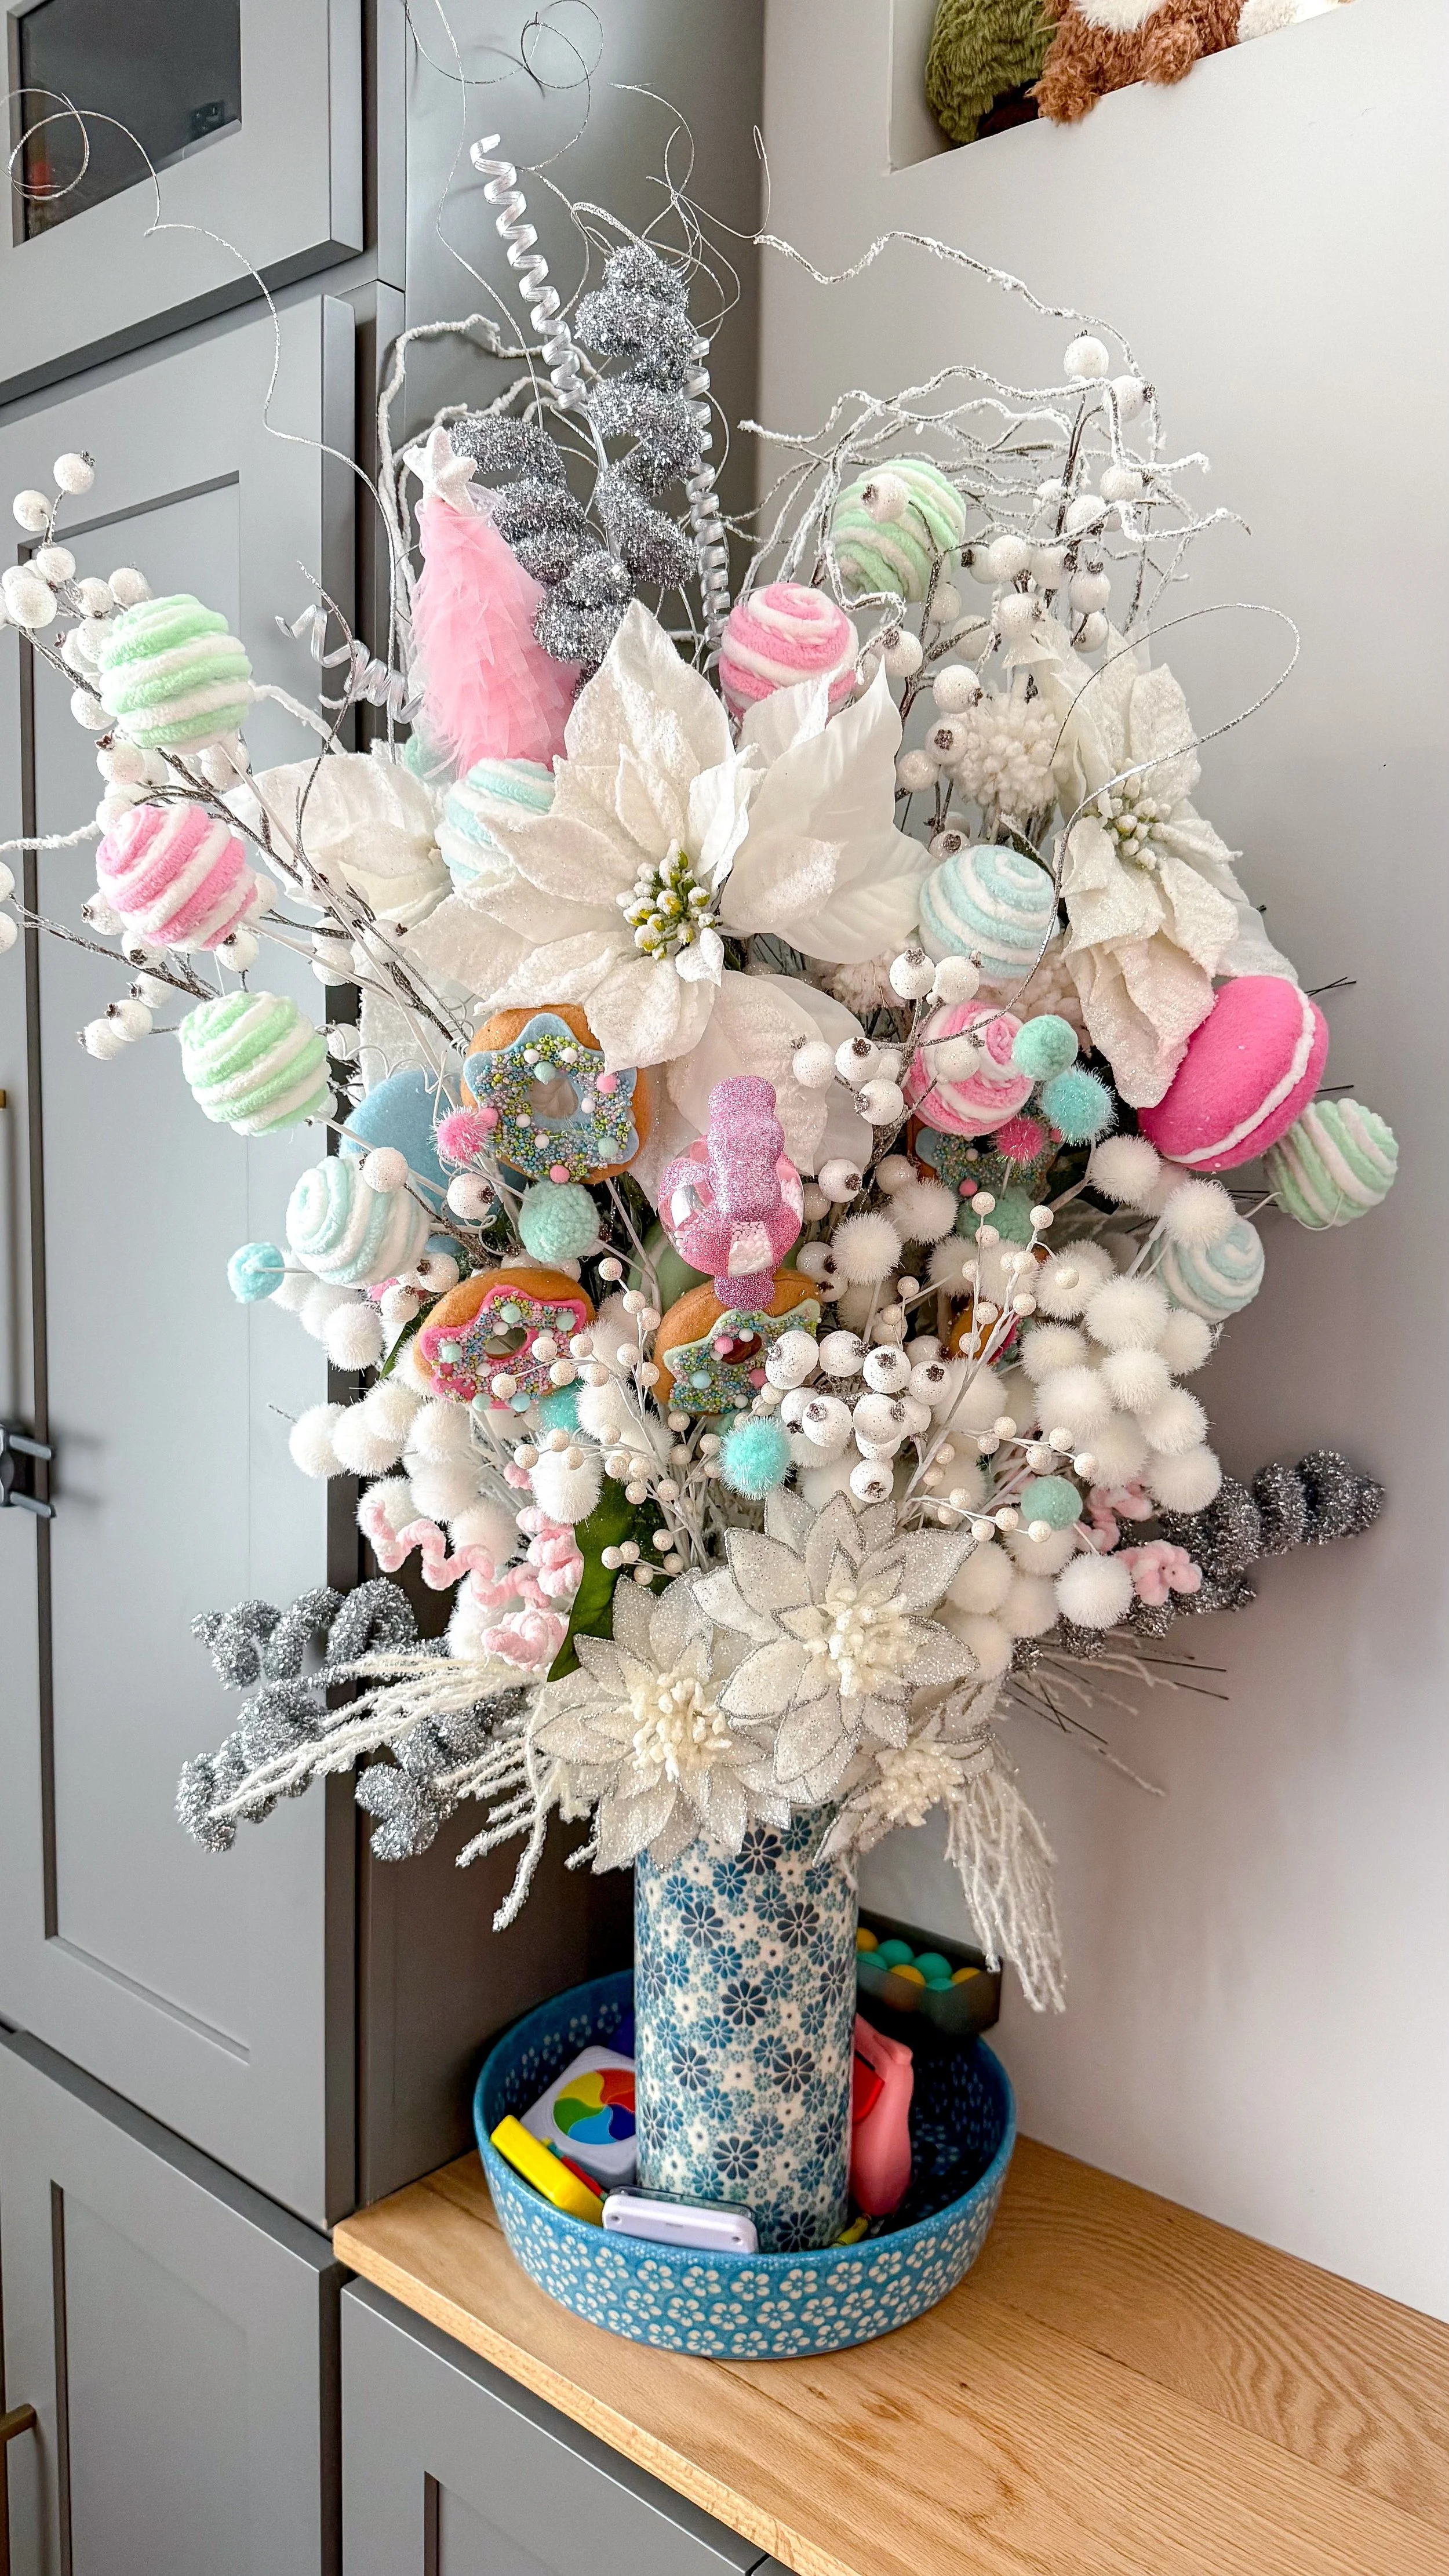
My mom, Paris, creates incredible faux floral arrangements. She changes them based on season and they are stunning and does a set for her house and mine. It is something she really enjoys and is really good at. I was with her when she did my arrangements this year, so I asked her to share some of her tips and tricks for making these kinds of arrangements, because they always turn out beautifully.
Breezing Through contains advertising and affiliate links. Sponsors, brand collaborations & affiliate links make Breezing Through possible. I do receive compensation for purchases made from clicking on affiliate links. Thanks for supporting Breezing Through!
DIY TOOLS

DIY PRODUCTS


