
Adding Storage Cubbies
As most of you know, I have been gradually adding storage all over our house because it's always lacked in the storage department. Well, the day has finally come for me to share the storage cubbies I made in my daughter’s room! I've shown you how I made the chair for her, how I organized all of her toys for this space, and I'm now finally done with the cubbies.
Adding Storage Cubbies | Getting Started
When we bought the house, I liked the concept the builder had done with the space. The longer we've lived here, the more I realized they didn't do a good job with storage. My daughter’s room, for example, desperately needed storage. She has a lot of toys and knickknacks she loves and they were starting to consume the space. In order to support that, I am added more shelves to her room so she has designated places for her items. She already has a set of built shelves in her room I built abut three years ago that have helped, but I wanted even more storage as well as a desk and chair where she can enjoy being creative.

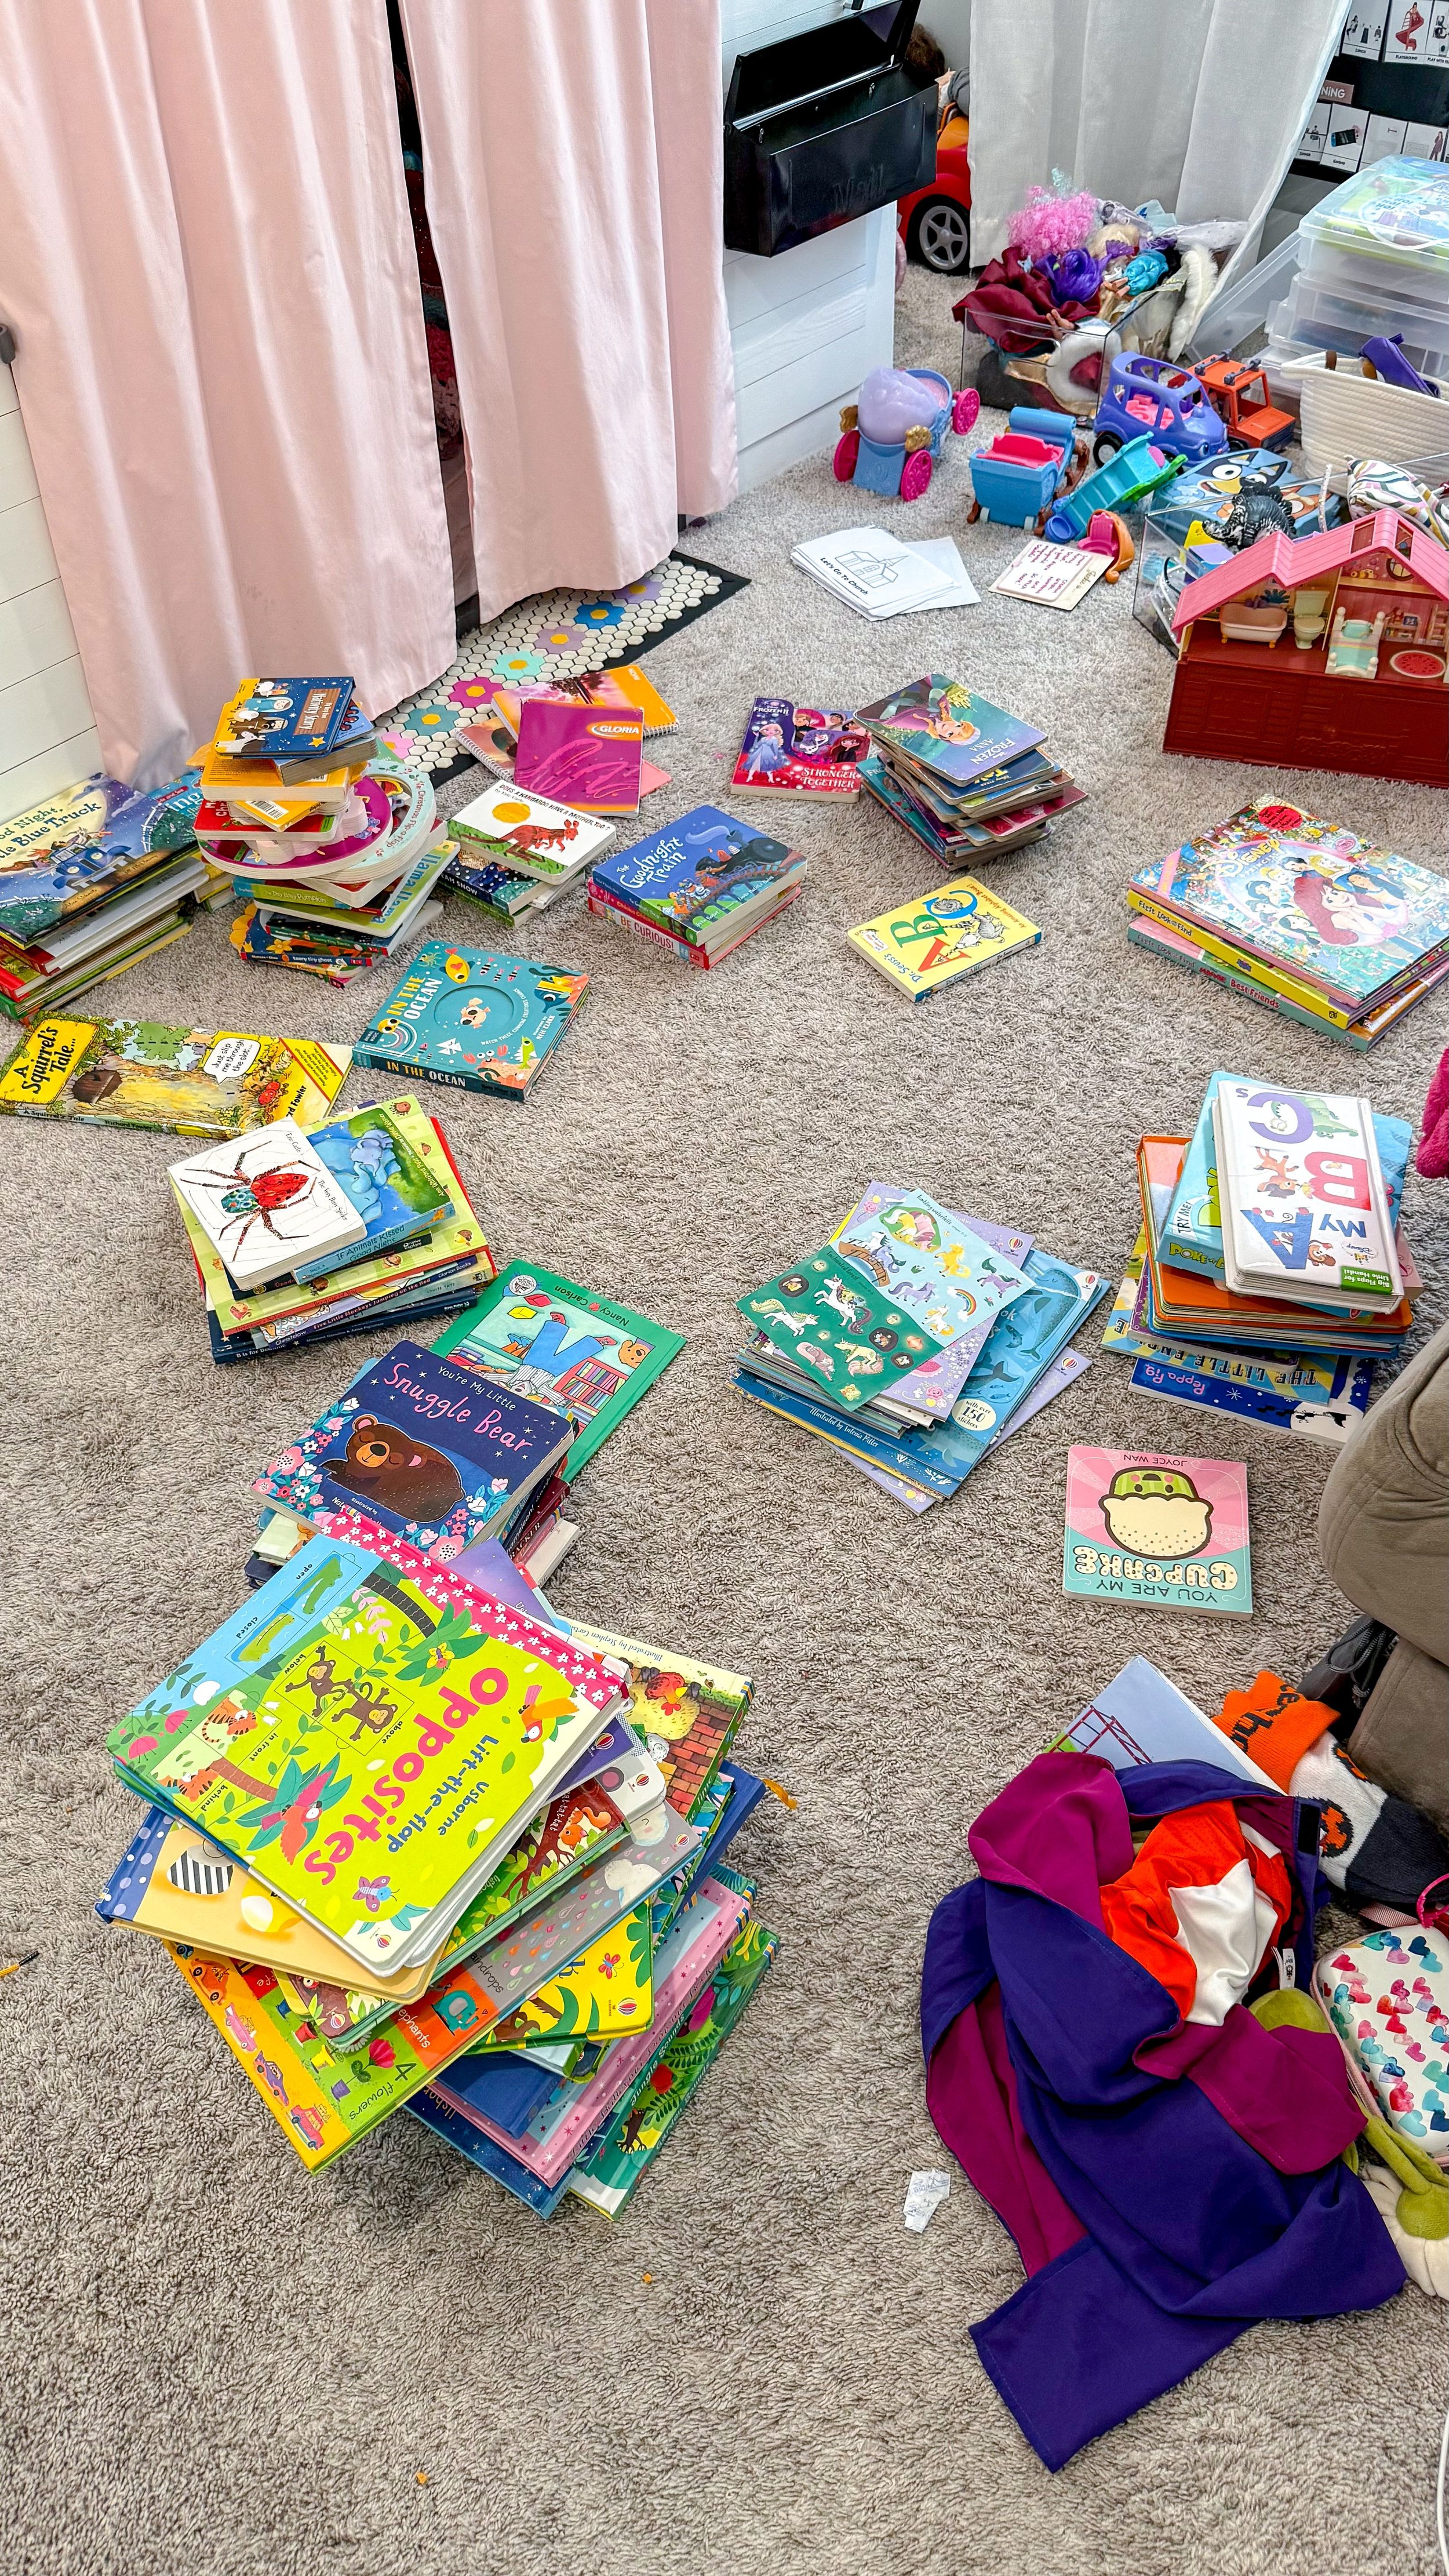
After clearing out all of her toys, I took the curtains down because they were floor length and needed to be shortened. Then it was time to measure and design how I wanted the space to be laid out. The wall with the windows in her room was the only wall that could fit the design we were going for. After talking to my daughter, we decided to do the cubbies sitting height not standing which meant I couldn't do them super tall. I decided to do two sets of cubbies with four cubbies on each side and a desk between them.

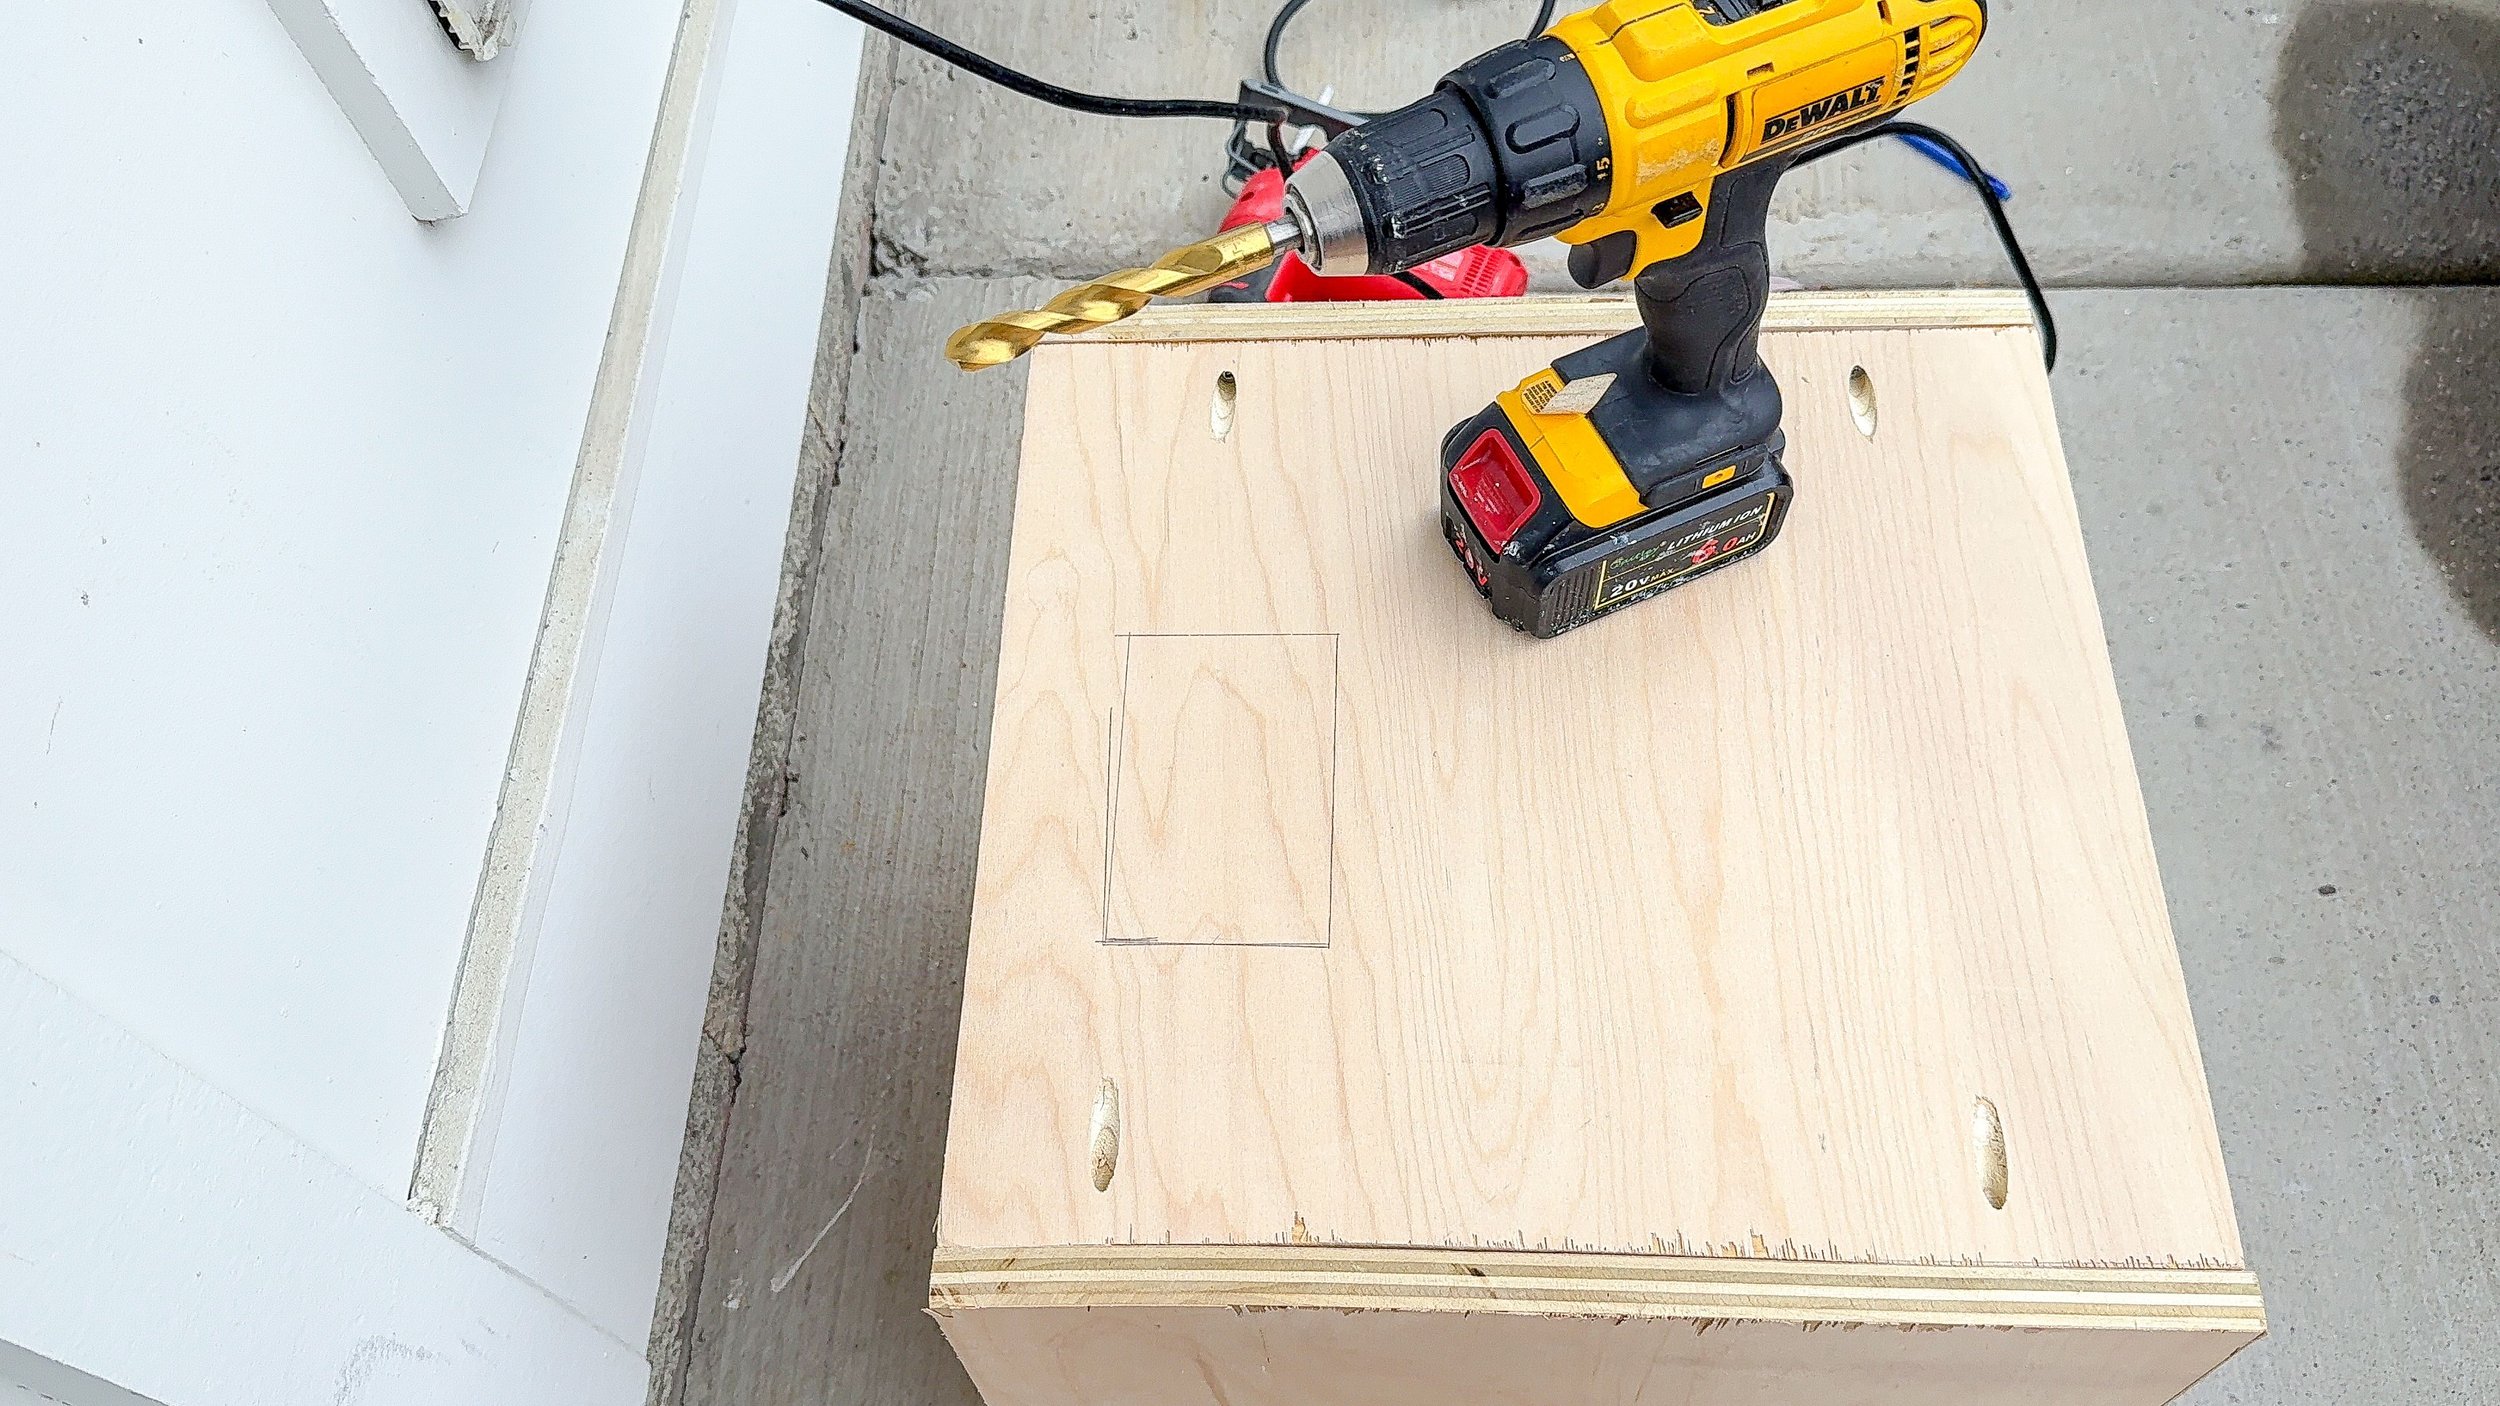
The first thing I did was build a base for each side, making sure to add supports where the cubbies would be. I cut down all of the wood for the cubbies and then added pocket holes to the side pieces for each box so I could secure the boxes together with screws and glue. Once I had all of the boxes made, I patched any holes on the wall and started installing everything.
Adding Storage Cubbies | Install
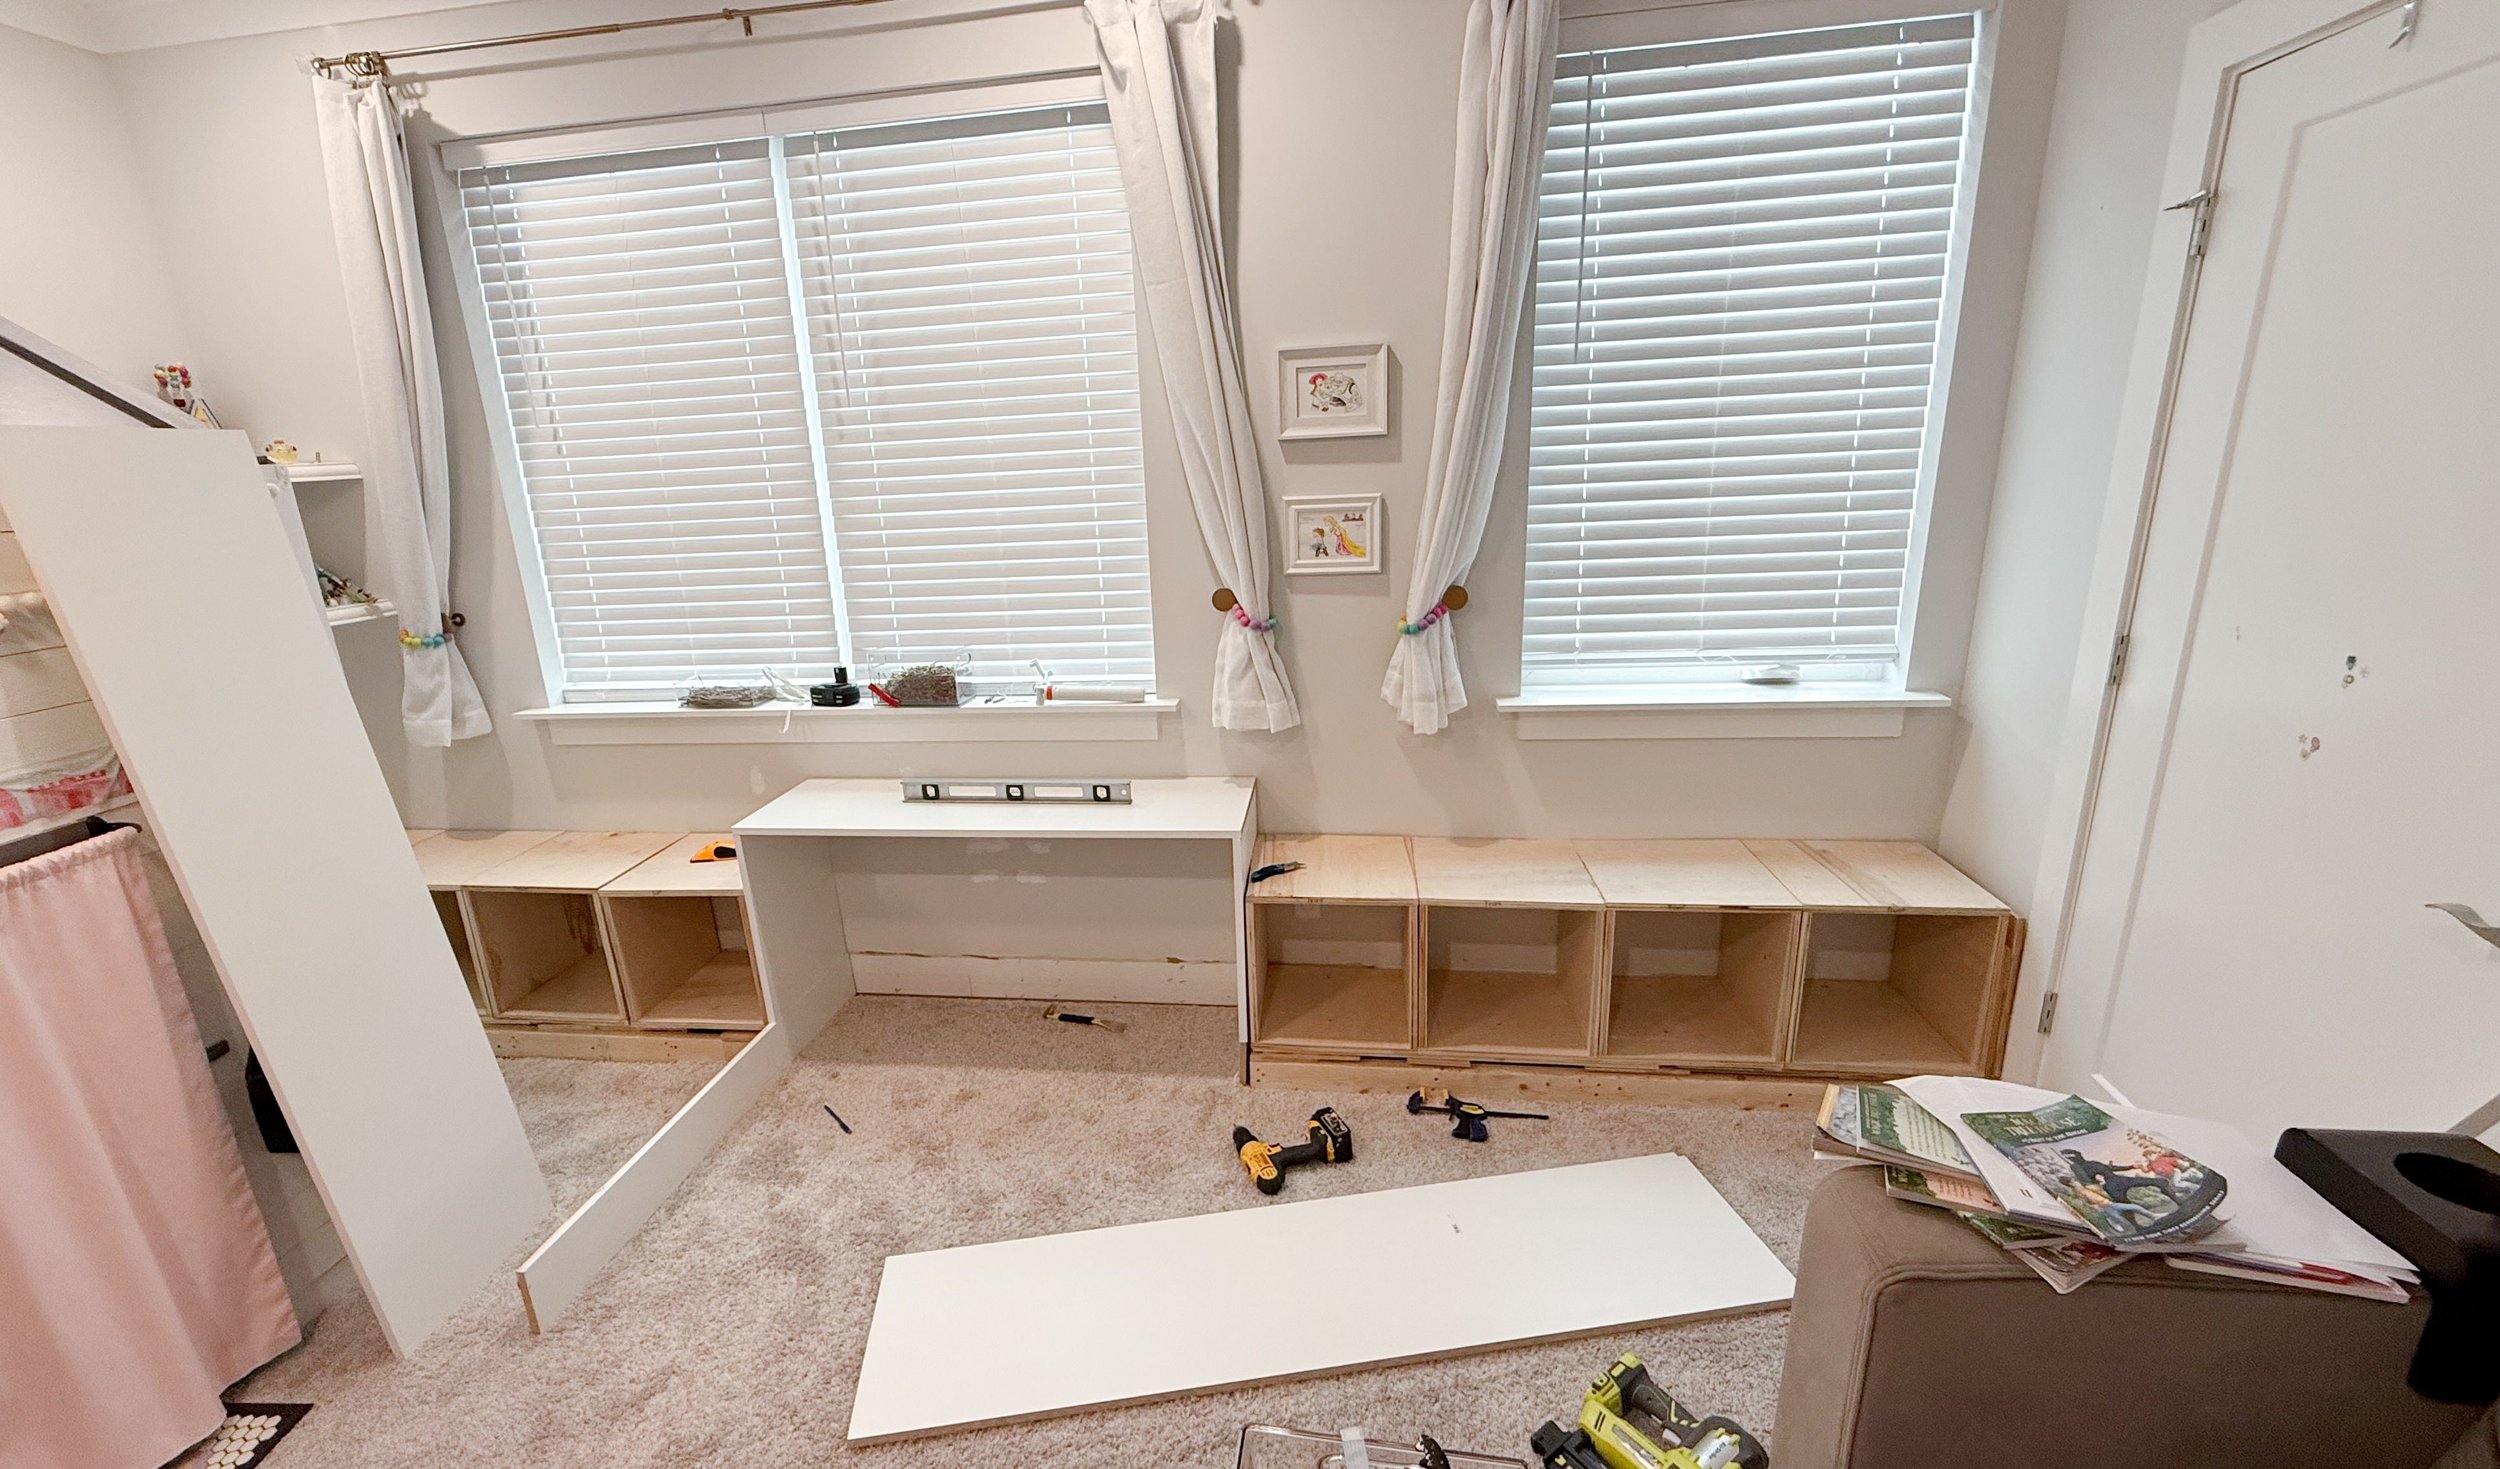
I marked where I was going to need to cut both the drywall and the carpet to place the base and then removed the baseboards. Once I had the baseboards removed, I marked again where I was going to be removing carpet and removed both the carpet and the carpet pad underneath it. I added some additional scrap wood on top of the base so it was the height I wanted. The goal was to have the base the same height as the baseboards so the bottoms were flush to the wall. Then I added the four cubbies on top of that. I did a dry fit to make sure everything looked good and was exactly the way I wanted it to look, and then I started securing everything.

I secured the cubbies to the base and each other. I didn't worry about having a back to these because it isn't necessary for stability and makes it easier to access outlets. Once they were secure, I added a melamine top. I decided to do melamine instead of wood because it was already the exact width I needed, and was much more cost effective. I used my jigsaw to take a notch out of this side of the cubbies for the top because of the frame around the door. Once I took that notch out, it fit like a glove on the top of the cubbies. For the desk, I actually added two pieces of melamine at the end, which covered up the ends of the cubbies, and then put another piece of melamine across the top using dowels and glue to secure. Once I had all of the pieces in place, I started adding trim. The trim is what will make this look truly built in. I used 1x2 trim to add a bit more to the front and bulk them out a little bit which made the rest of the trim flush with the baseboard.

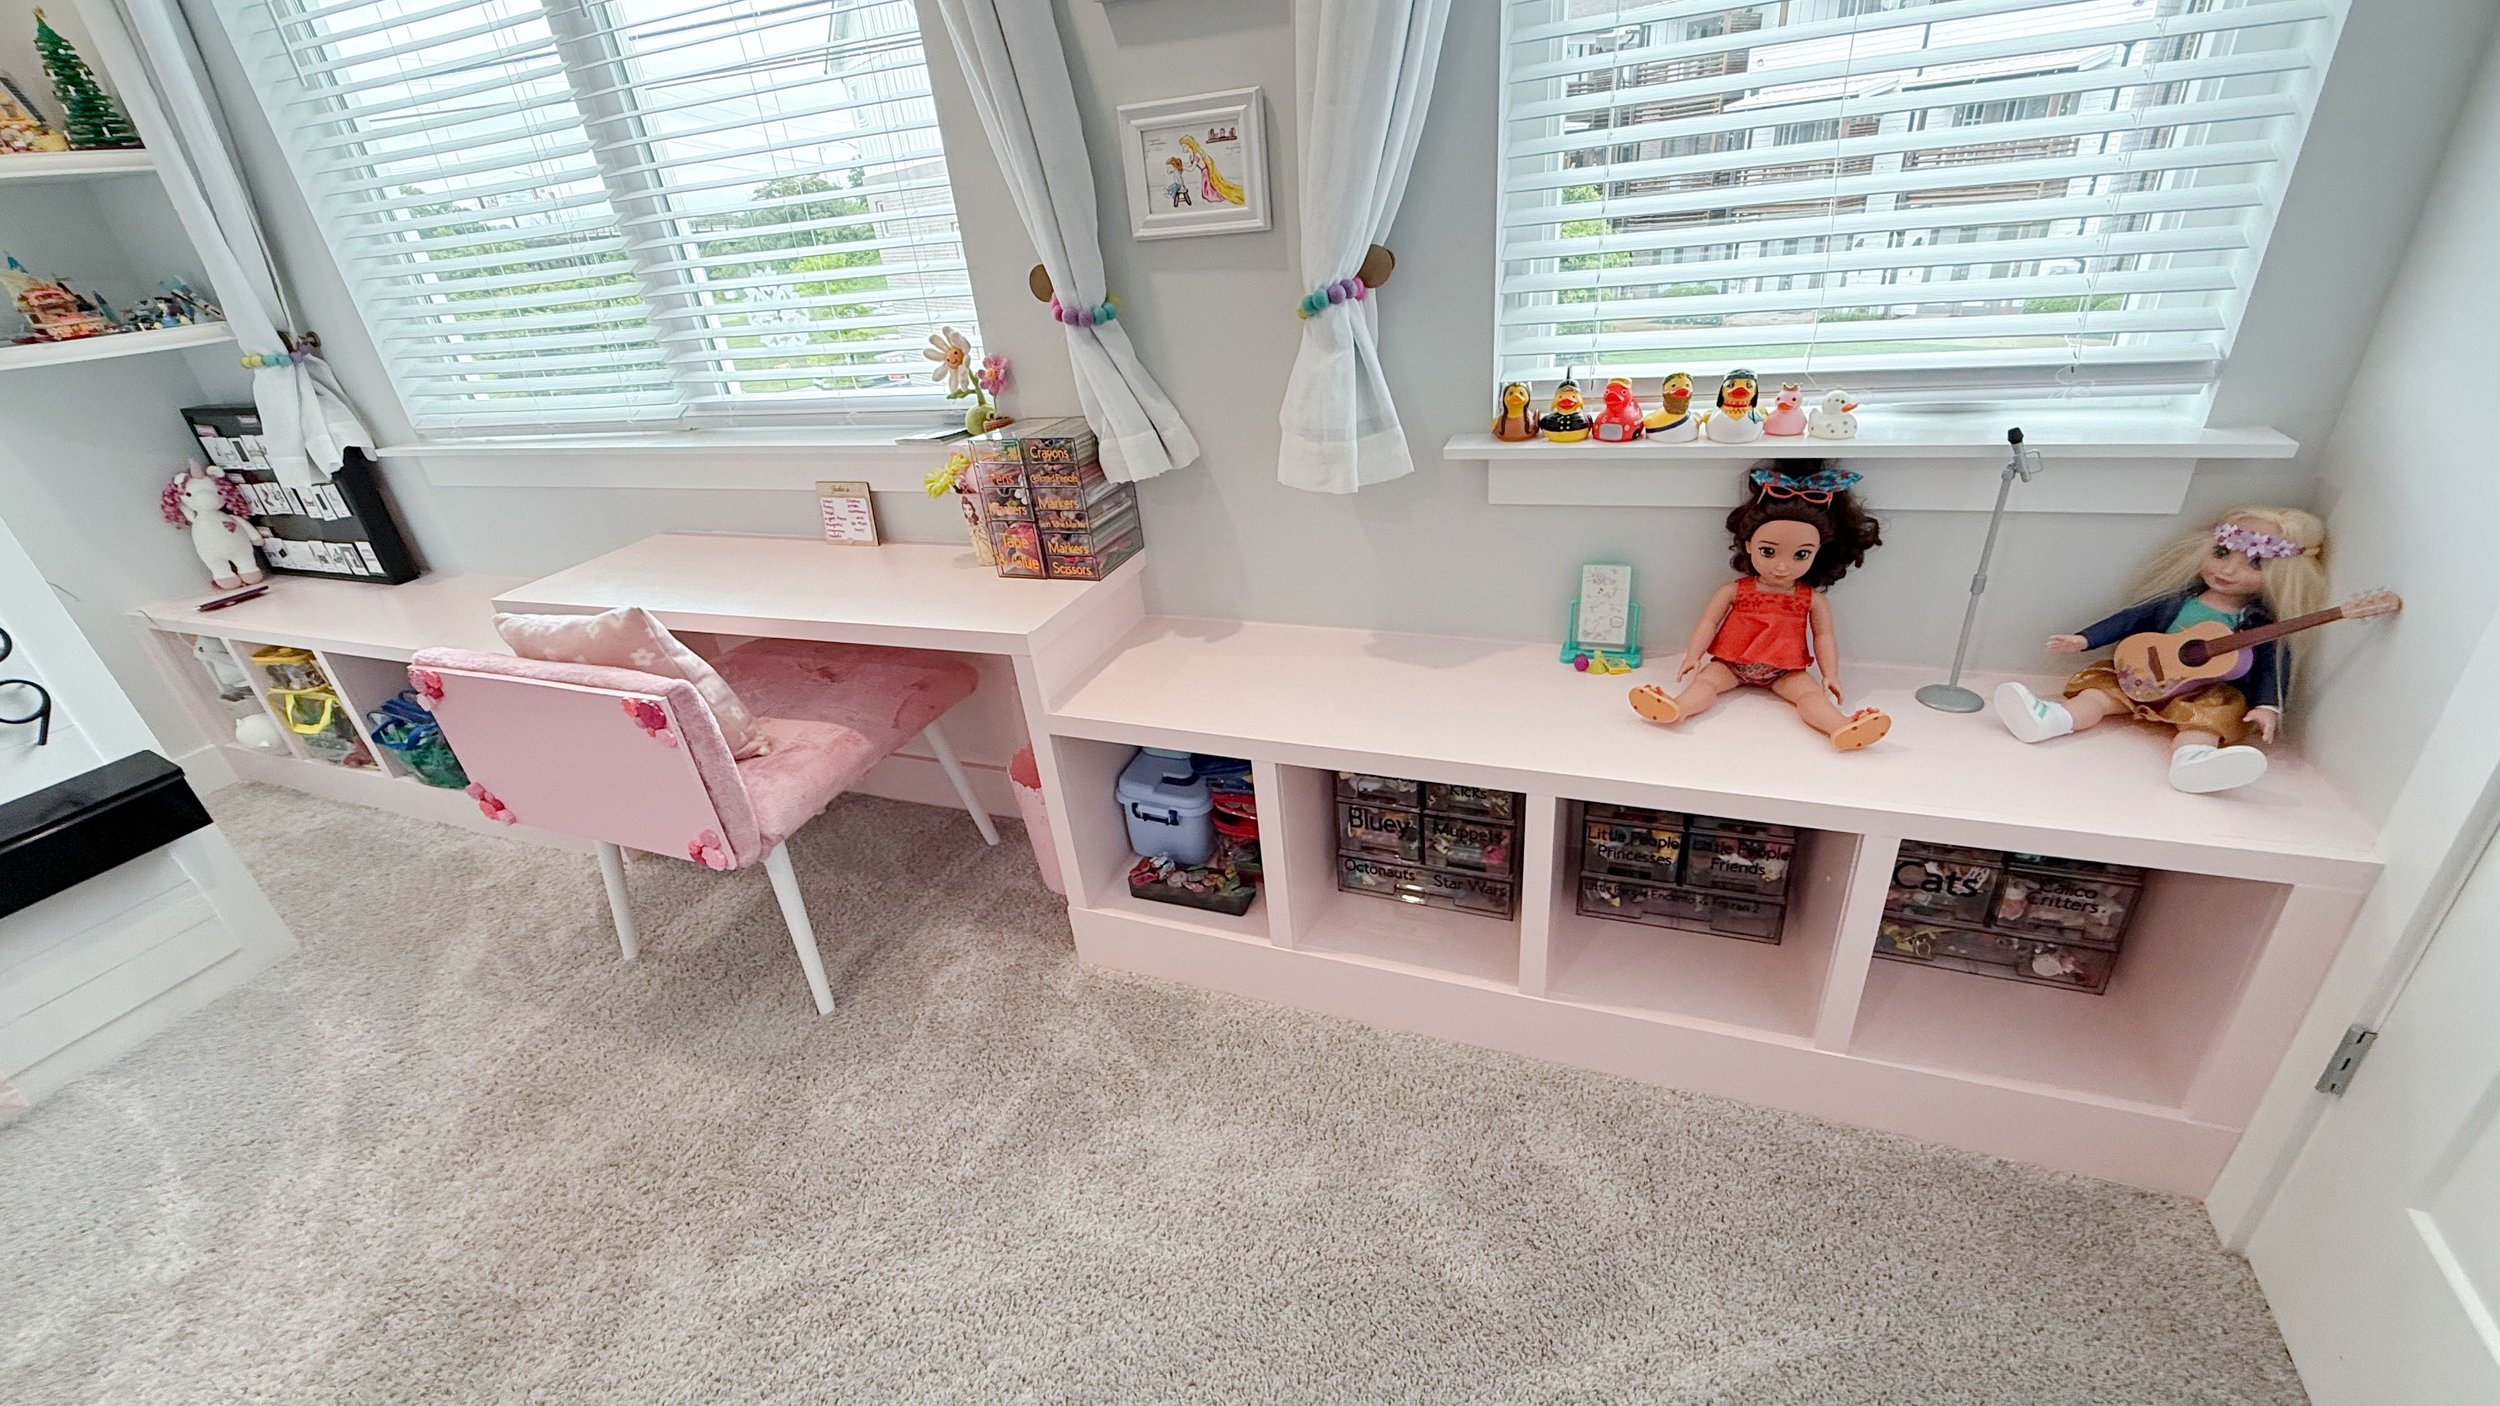
I put all of her organized toys in the cubbies and it was done! I absolutely love how it turned out. It just leaves her room so much more organized. It's so much easier for her to find stuff, and everything has a place so she knows where they go for clean up. She loves it and I can't wait to watch her create and use her imagination in this space. Make sure you check out how I made the custom desk chair and how I organized the toys in separate posts.