
Organizing My Autistic Daughter’s Toys

I'm currently building wall to wall built-ins in my daughter’s room. She is autistic and one of her special interest is toys. She has SO many little figurines she collects and knows and plays with each of them. I'm building this so she has a place to keep all of them and we can still stay organized. I want to go over how exactly I'm organizing all the stuff to best fit her needs, so today we are going to sort, label and dejunk her room.
Organizing My Autistic Daughters Toys | Sort and Label
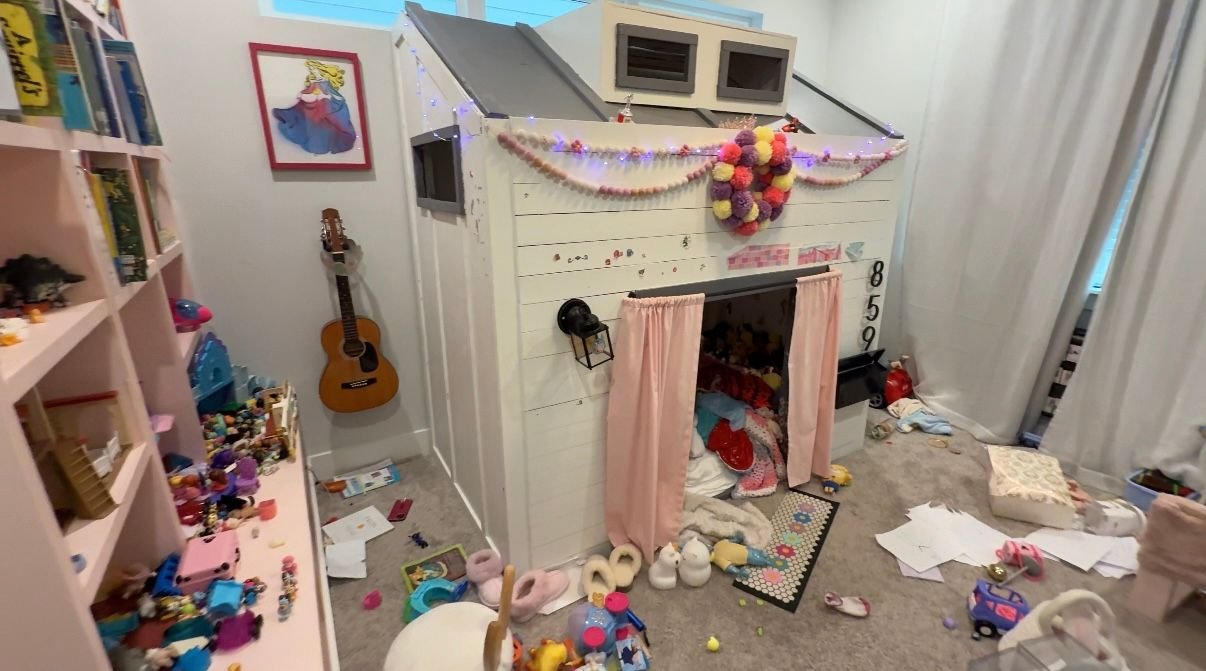
It took me a minute to get the motivation to start since the room was admittedly a really big mess, but I started going through her papers and books. She's really creative and likes to make paper dolls and creatures. This started when we were in Argentina and she didn't have access to all of her toys because we left most of them in the US while we were gone. The paper creatures are everywhere as well as the trash that comes along with them. Once I had all of the papers taken care of I started sorting the toys. My mom got her these awesome drawers off of Amazon that stack on top of each other. They can be put in different configurations and I was able to get them just the right size that would fit nicely in the cubbies in the built-ins.
I tried to sort them based on type of toy category/TV show they're from. I really tried to get her input on how SHE would categorize them so she is able to organize them herself when she's cleaning up. I have classic Disney princesses in one drawer, Octonauts in another and the animators collection Disney princesses in another. As I continued to sort, I was able to get rid of things she hasn't played with in months as well as things that were broken and not worth repairing. I have a system when I remove things from her room and I keep it for about a year in a separate space. If she asks for it, I give it back to her and if she doesn't, then I donate it after that year mark.

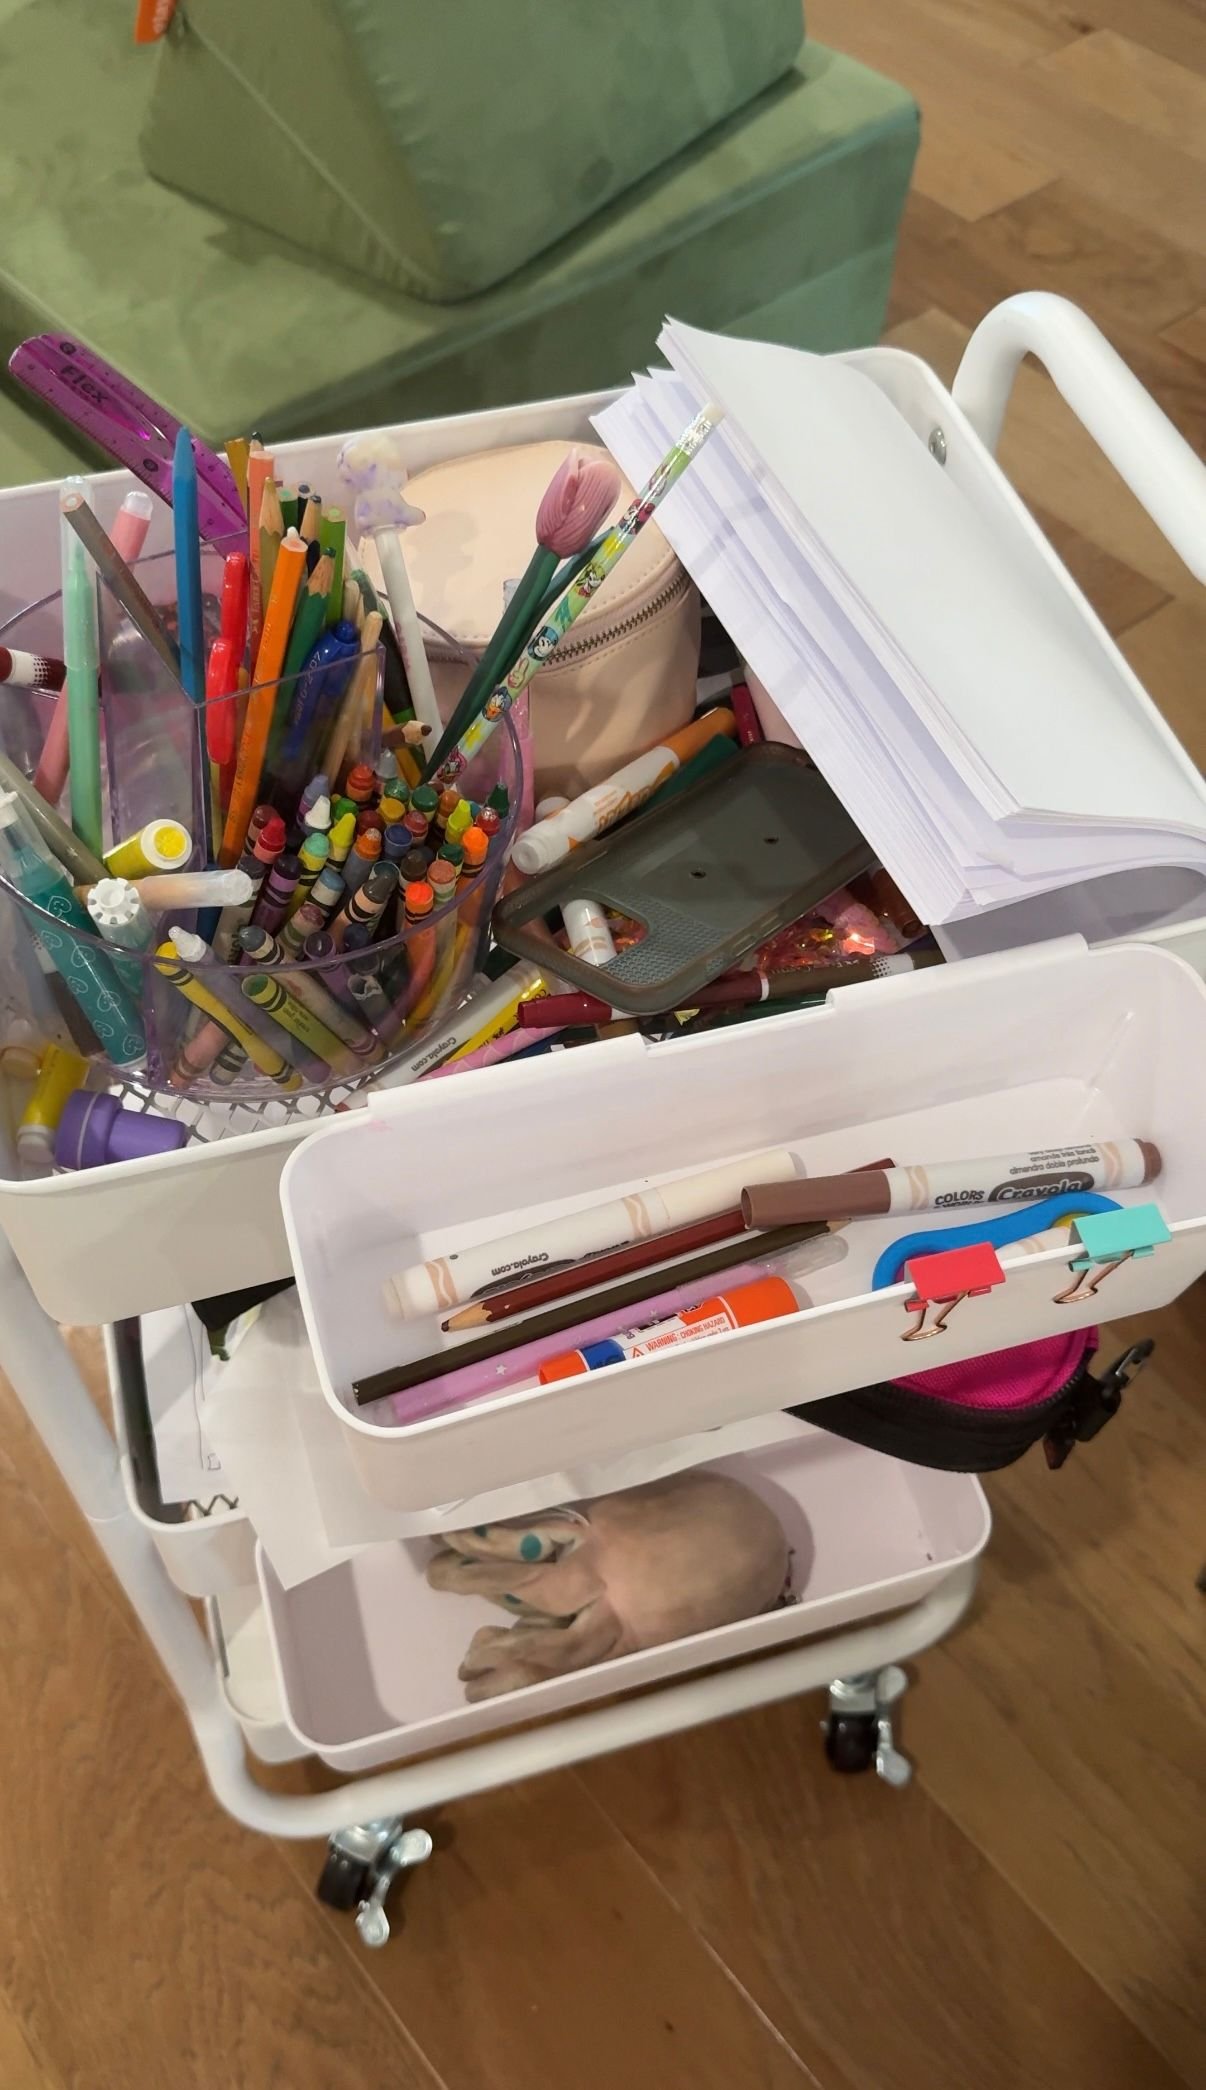
Once all of the little toys were organized and sorted, I moved on to her art supplies because I'm also creating a desk space for her set into the built-ins. I gathered them all together and started sorting them into two sets of drawers. My mom got her another set of drawers that are really good for pens, markers, pencils, scissors, glue, tape, all of that stuff. These are taking the place of the art cart we have in the closet under the stairs so we have more room for outside and bigger toys there. Once I was done sorting and organizing everything, it was time for my favorite part: making labels.
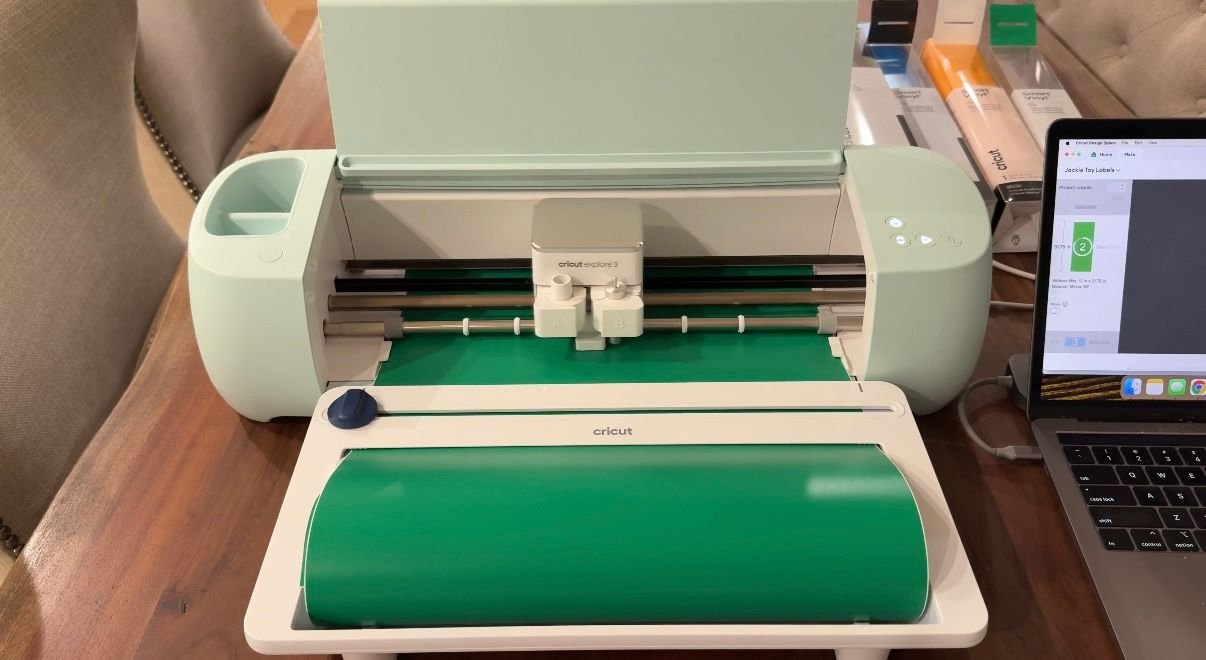
I have a Cricut Explorer 3 that I use to make labels. I like using the Cricut because I can chose the size, color and font as opposed to a standard label maker. I wrote down all of the different labels I needed, and then started sorting them by color. Blue is for office supplies, black is for all of her notebooks and paper, purple is for purple is for toy drawers and green is for the bags that we are using as containers for other stuff as well. I resized all of the labels based on the size of the drawer or the container they were going on, and printed them out on the Cricut. Besides having to change colors, the Cricut makes it pretty easy to make the labels. For the most part, I can set it and walk away. Once all the labels were cut, I weeded out all of the extra pieces of vinyl I didn't need and got them prepped to put onto each container and drawer.
Organizing My Autistic Daughters Toys | Assembly

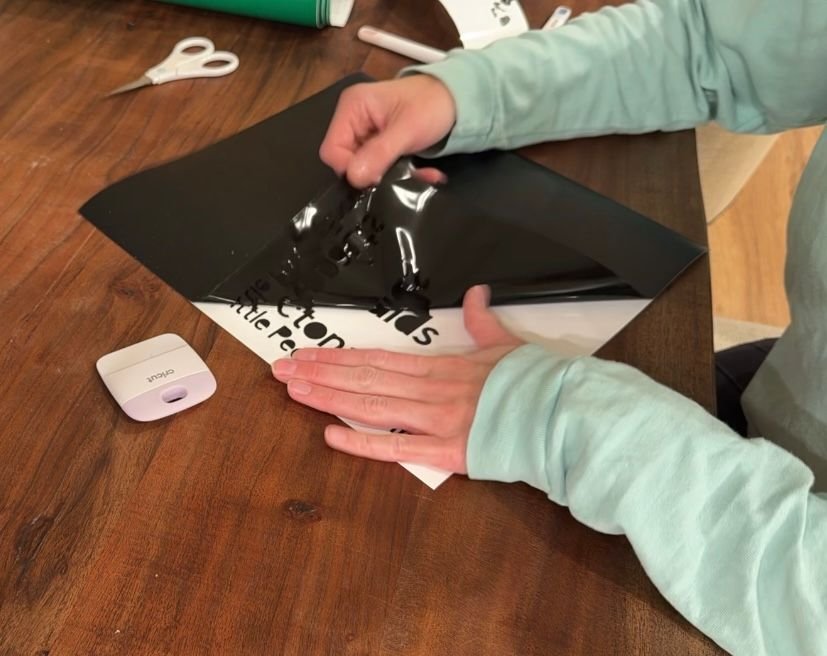
In order to successfully add the labels onto the containers or the drawers, you need to use the transfer tape. In the past I bought a very large role of off-brand transfer tape, but it's terrible. It's worth it to get the Cricut brand transfer tape, it will save a lot of headaches and mistake in the long run. I cut several large pieces of the transfer tape to fit onto the larger labels and then was able to reuse that same transfer tape cut down for the smaller pieces. The process for this transfer is pretty easy. I put the transfer tape on top of the label and then use a flat scraper tool tool to rub the back of it and then peel off the vinyl backing so I was left with the label only on the tape. Then, after making sure everything is aligned, I put the tape on my intended surface and use the same scraper tool to scrape onto the surface and carefully removed the transfer tape. It can get tricky depending on the material you're using. For example, it was much harder to get the labels onto the plastic bags as opposed the drawers where it came off super easily.

Once everything was organized and labeled, I arranged the placement of where they will go in the cubbies. The hard plastic containers are her desk items: activities, stickers, books, blank paper, stuff like that. I probably could have fit more in here if I had stacked them horizontally as opposed to vertically, but in order to make it easier for her to access everything this is what works. Next up are the sets of drawers. There are five drawers here, four of the more square ones, and one longer one. Lastly the plastic bags have things like magnetic tiles. I can probably fit six bags in one of these cubbies.

Its already so much better and gives me some breathing room. Her room has been something I haven't wanted to touch for a while because it was so overwhelming so I'm so glad I bit the bullet and got around to it. I love seeing everything organized and can't wait for you to see it all when the cubbies are done!