
DIY Custom Desk Chair

I recently started on a big project in my daughter's room: adding more cubbies. If you've been around for a little bit, you might remember that I added shelves and a play area to her bedroom a few years ago and painted them pink to match her bathroom. It's been great thus far, but over the years she's acquired a lot more stuff. She's autistic and collects things, particularly toys so we needed more space to put her stuff. Since her room has almost zero storage, I needed to come up with a solution. My mom suggested wall to wall cubbies with a desk in the middle. I'm in the process of working on that, but in the meantime I built a custom desk chair to go with it.
DIY Custom Desk Chair | Getting Started
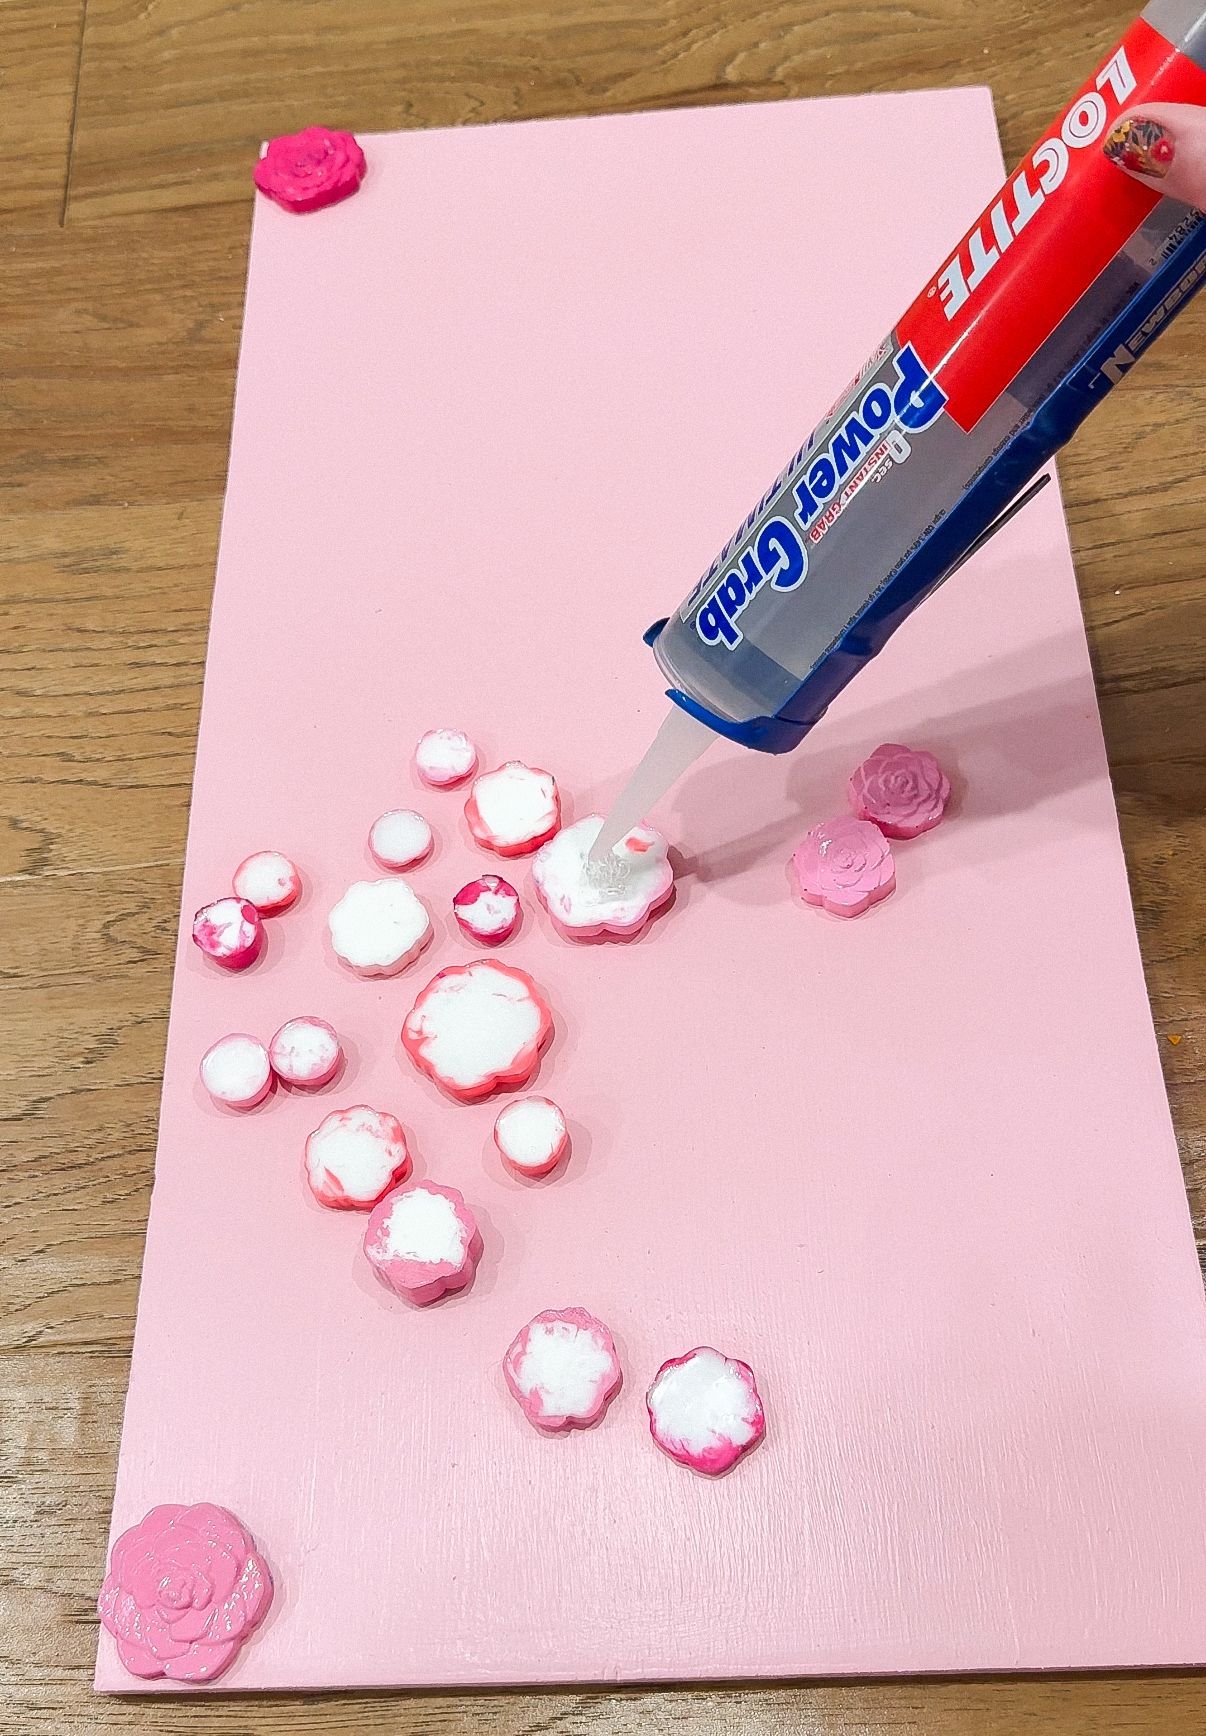
I recently decorated the mirror in her bathroom with resin flowers. I had some left over so I knew I wanted to use some of those flowers on the chair I was making her. The other thing I wanted was for her to have a chair that she could sit any way she wanted on. I needed the base to be really big with a back that isn't super tall because she doesn't tend to lean back very much.
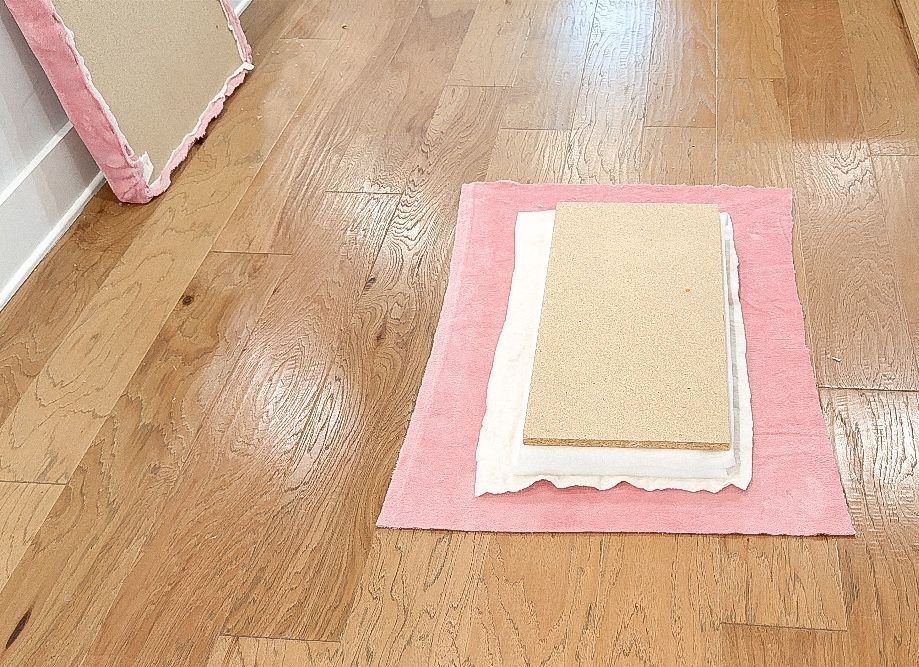
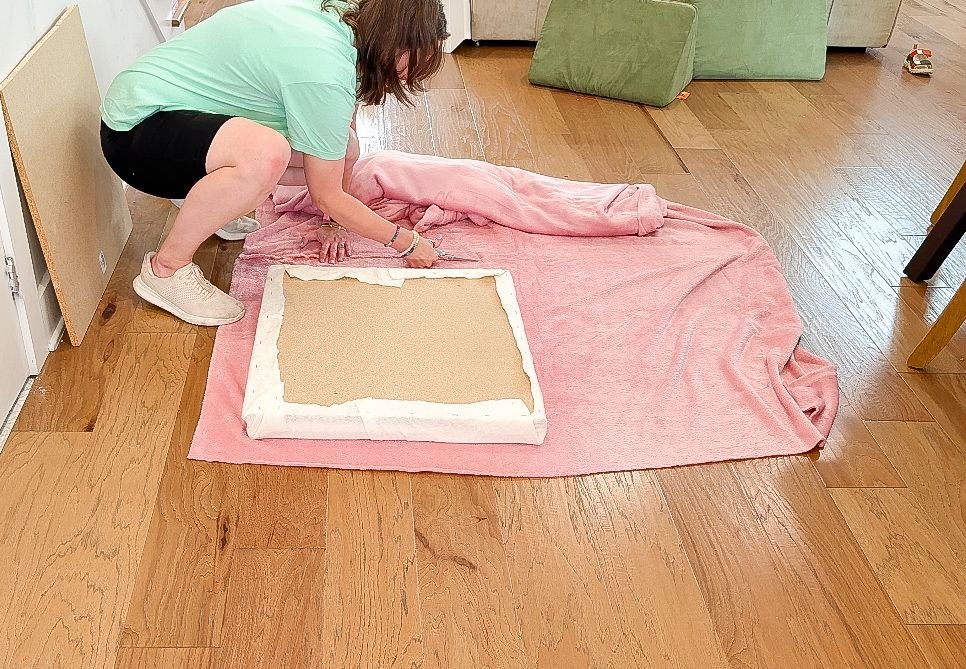
I started off with a sheet of 2x4 composite that I cut in half leaving me with two 2x2 pieces for the base. I went to the fabric store and got 4 yards of two different kinds of fabric as well as a roll of one inch foam. I cut the foam down into two 2x2 squares and put that on top of the composite wood. I didn't want to buy a whole new thing of batting, so I just used some scraps I had which works because it still covers the entire 2x2 square. I pulled the batting nice and tight and secured it to the board using my stable gun. I did this all the way around the square, making sure the two pieces of batting overlapped, and stapled those together to make sure there wasn't going to be any gapping and it wouldn't come loose.

I didn't want another whole 2x2 square for the back of the chair so I decided to make it half that width. I took the other 2x2 square that I had from cutting the original board in half and cut that in half making a 1x2 piece. I had one piece of foam left, so I cut that in half as well making it the same size as the board. I had a little bit of batting left and it was just the right amount to cover this one by two board. I repeated the same thing on the back that I did for the seat where I stapled the batting to the board, followed that up with stapling the fabric to the board. I didn't love that you could see the staples for the upholstery on the back of the chair so I took the other half of the 1x2 board and painted it pink. I primed the front and the sides and once that was dry, I went in with two coats of the pink. I decided to add some of the extra resin flowers I had from the mirror project to the pink board as well.
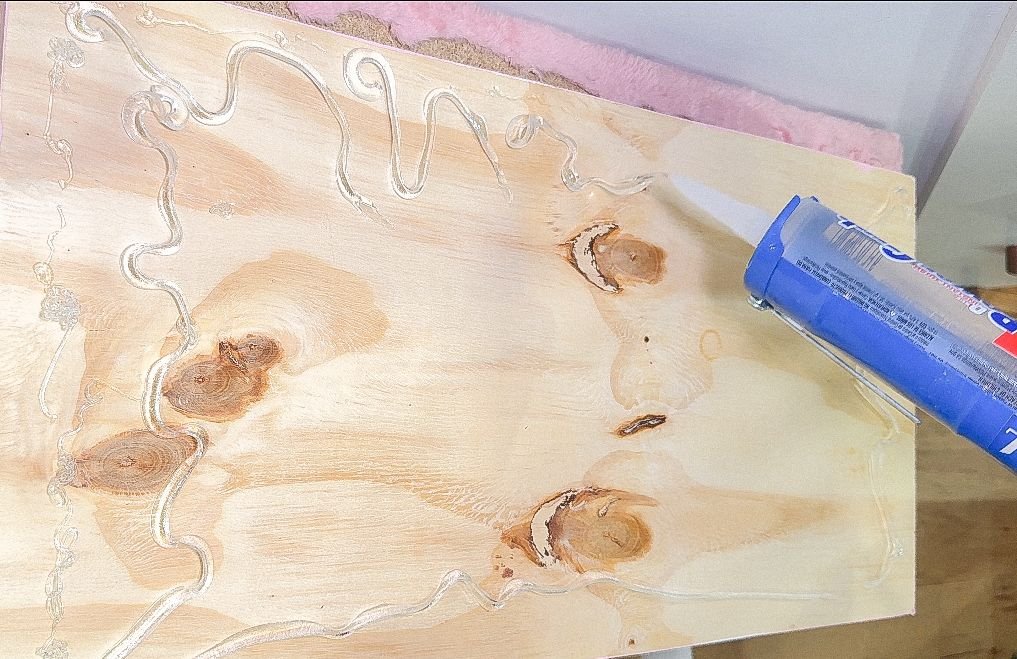
Before I glued up the flowers, though, I needed to have a way to secure the pink board to the back cushion. I tried a few different ways of doing this. First, I used 1x2s and painted some of them so that the edges that would be seen were pink. Then, I secured them to the back of the cushion. My thought process for this was that I would use the pieces that are sticking off the end to secure the bottom cushions of the seat, and the pink board would lay on top. Unfortunately, that didn't provide the support the chair needed. I really needed something that was long on both the back and the bottom of the chair. So, I removed everything and tried again. I found some gold brackets on a shelf that really wasn't being used. I secured the longer part of the bracket to the back of the chair and then the shorter part to the seat, attaching the two parts together.
I found some white chair legs on Amazon that came with two different brackets that you can attach to whatever you're adding your legs to. They can either be straight or they can be at an angle and I decided to do an angle to fit the aesthetic of her room. Once the brackets were attached to the bottom of the chair, all I had to do was screw on the legs.
I was now able to work on adding the flowers to the back of the chair. I used the same construction adhesive I had used for the flower mirror frame, and attached them to the edges of the board. I left it overnight to make sure everything stayed in place and dried nicely. Once it was dry, I took the chair to my daughter's room, and I'm going to be honest, I was not thrilled with it.

DIY Custom Desk Chair | Finishing Details
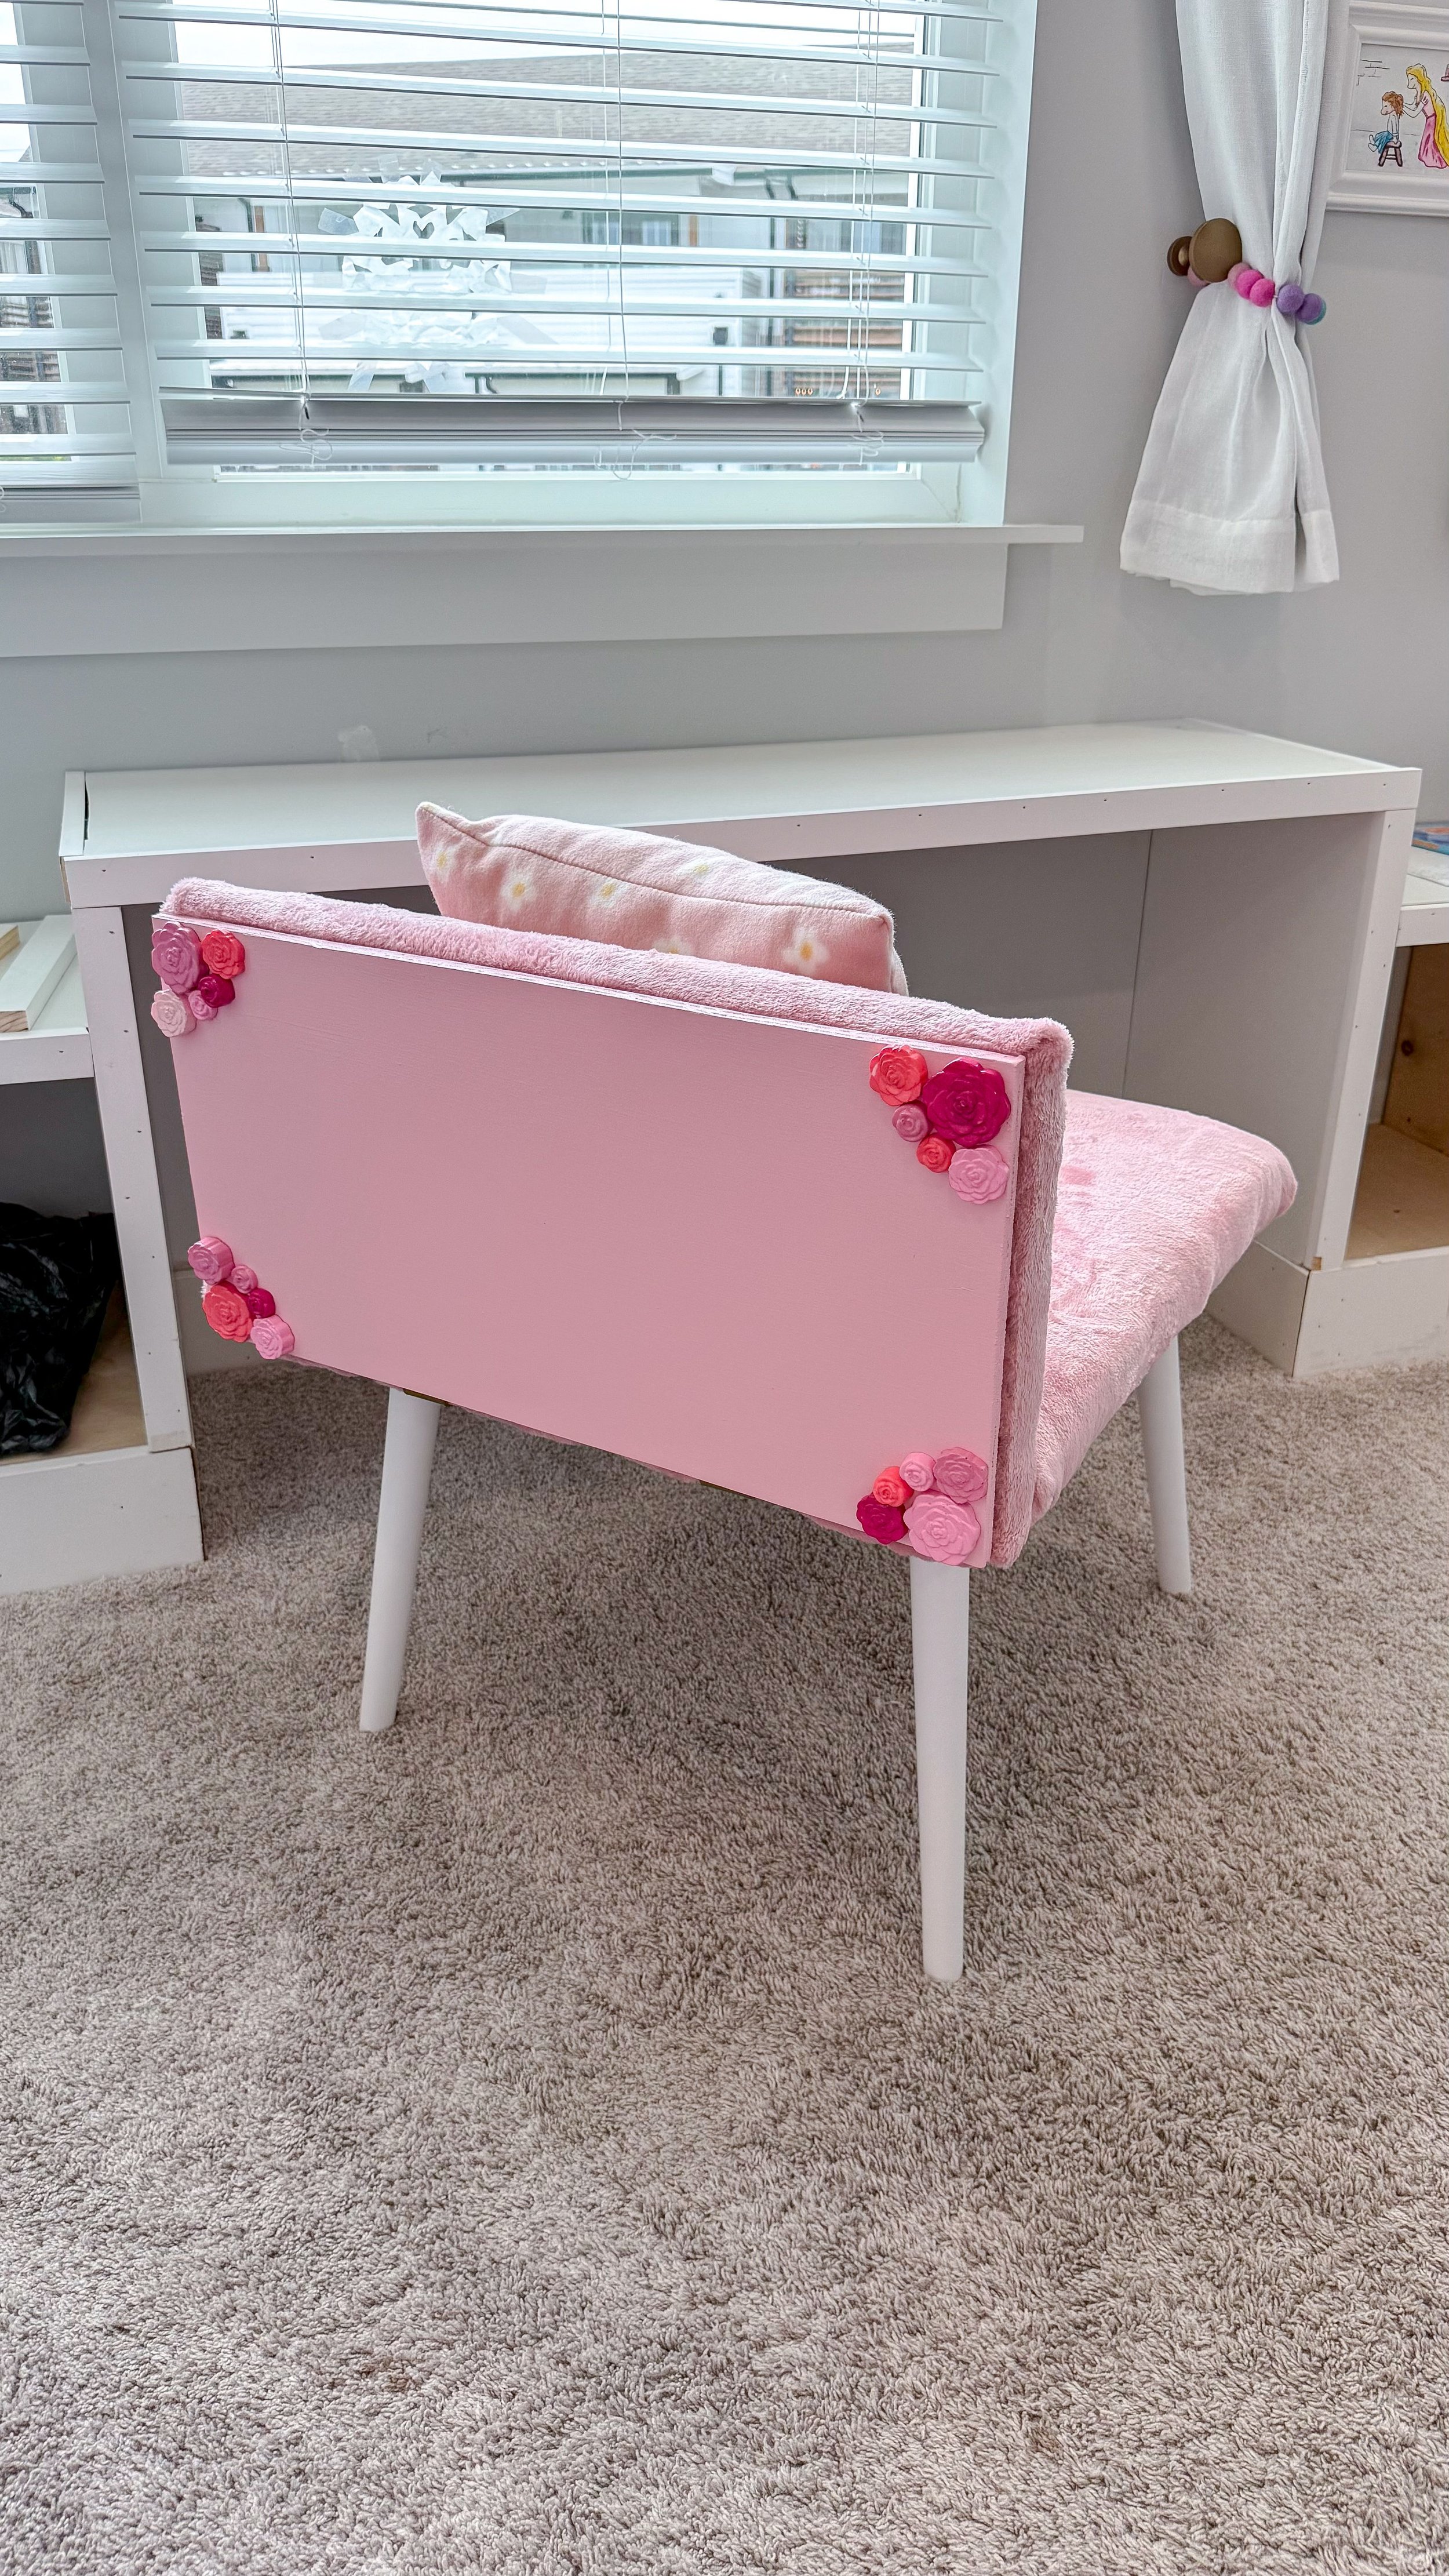
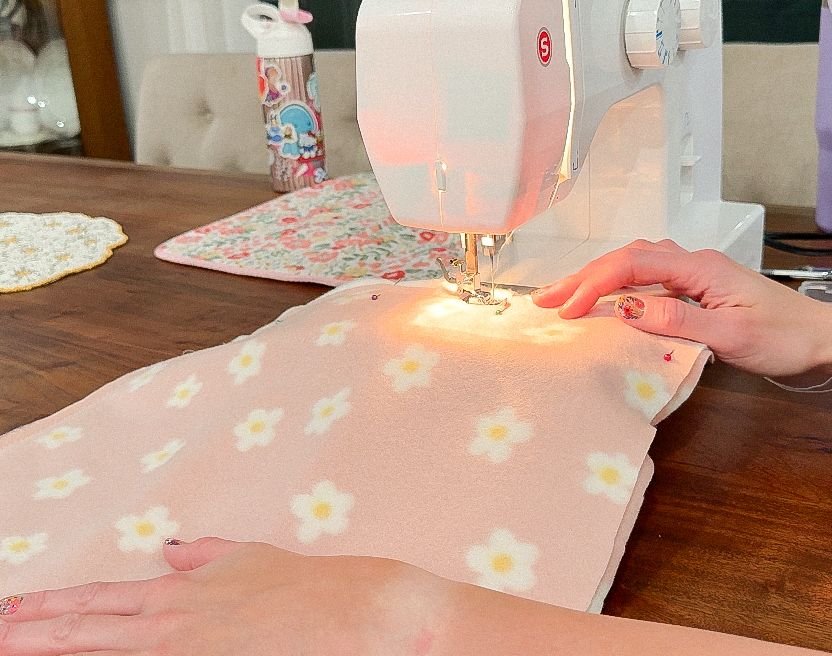
I felt like there was something missing. Obviously it is a handmade, custom piece, but I still felt like something was missing. I decided to use the other fabric I got at the fabric store to make an extra cushion because the seat is so big. I cut out two 17x17 inch squares, sewed those together and left a little gap at the end on one side of the pillow. I then flipped it inside out, stuffed it with some extra stuffing I had on hand, and then hand sewed it shut. I like how the pillow turned out and feel like it added a little something extra to the chair.
So what do you think of the final product? I really struggled with attaching the back of that chair and am very glad I found those brackets. It's definitely a different chair but my daughter loves it and its perfect for her. She already spends so much time sitting on the chair and is anxiously waiting for the rest of the desk to be done. Stay tuned for how the desk and storage wall turns out!
