
Textured Accent Wall
Hi friends! My name is Sydney. I'm the resident craft queen here on the Breezing Through team. I love anything crafty or creative that lets my artistic side shine and am an expert at over-ambitious party decor, accent walls and the regular ADHD hyper-focus. There is a wall in my kitchen I have been debating about doing something to for a while. It's a central focal point in our home, so I knew I wanted to do something special. There were a few things I knew I wanted on this wall. I was adamant about adding texture and depth and knew I wanted a bold color. I looked at different wall papers but wasn't happy with the price point. So, with no concrete plan in mind and a lot of unwarranted confidence, I grabbed some joint compound and some floral stencils and went to work.
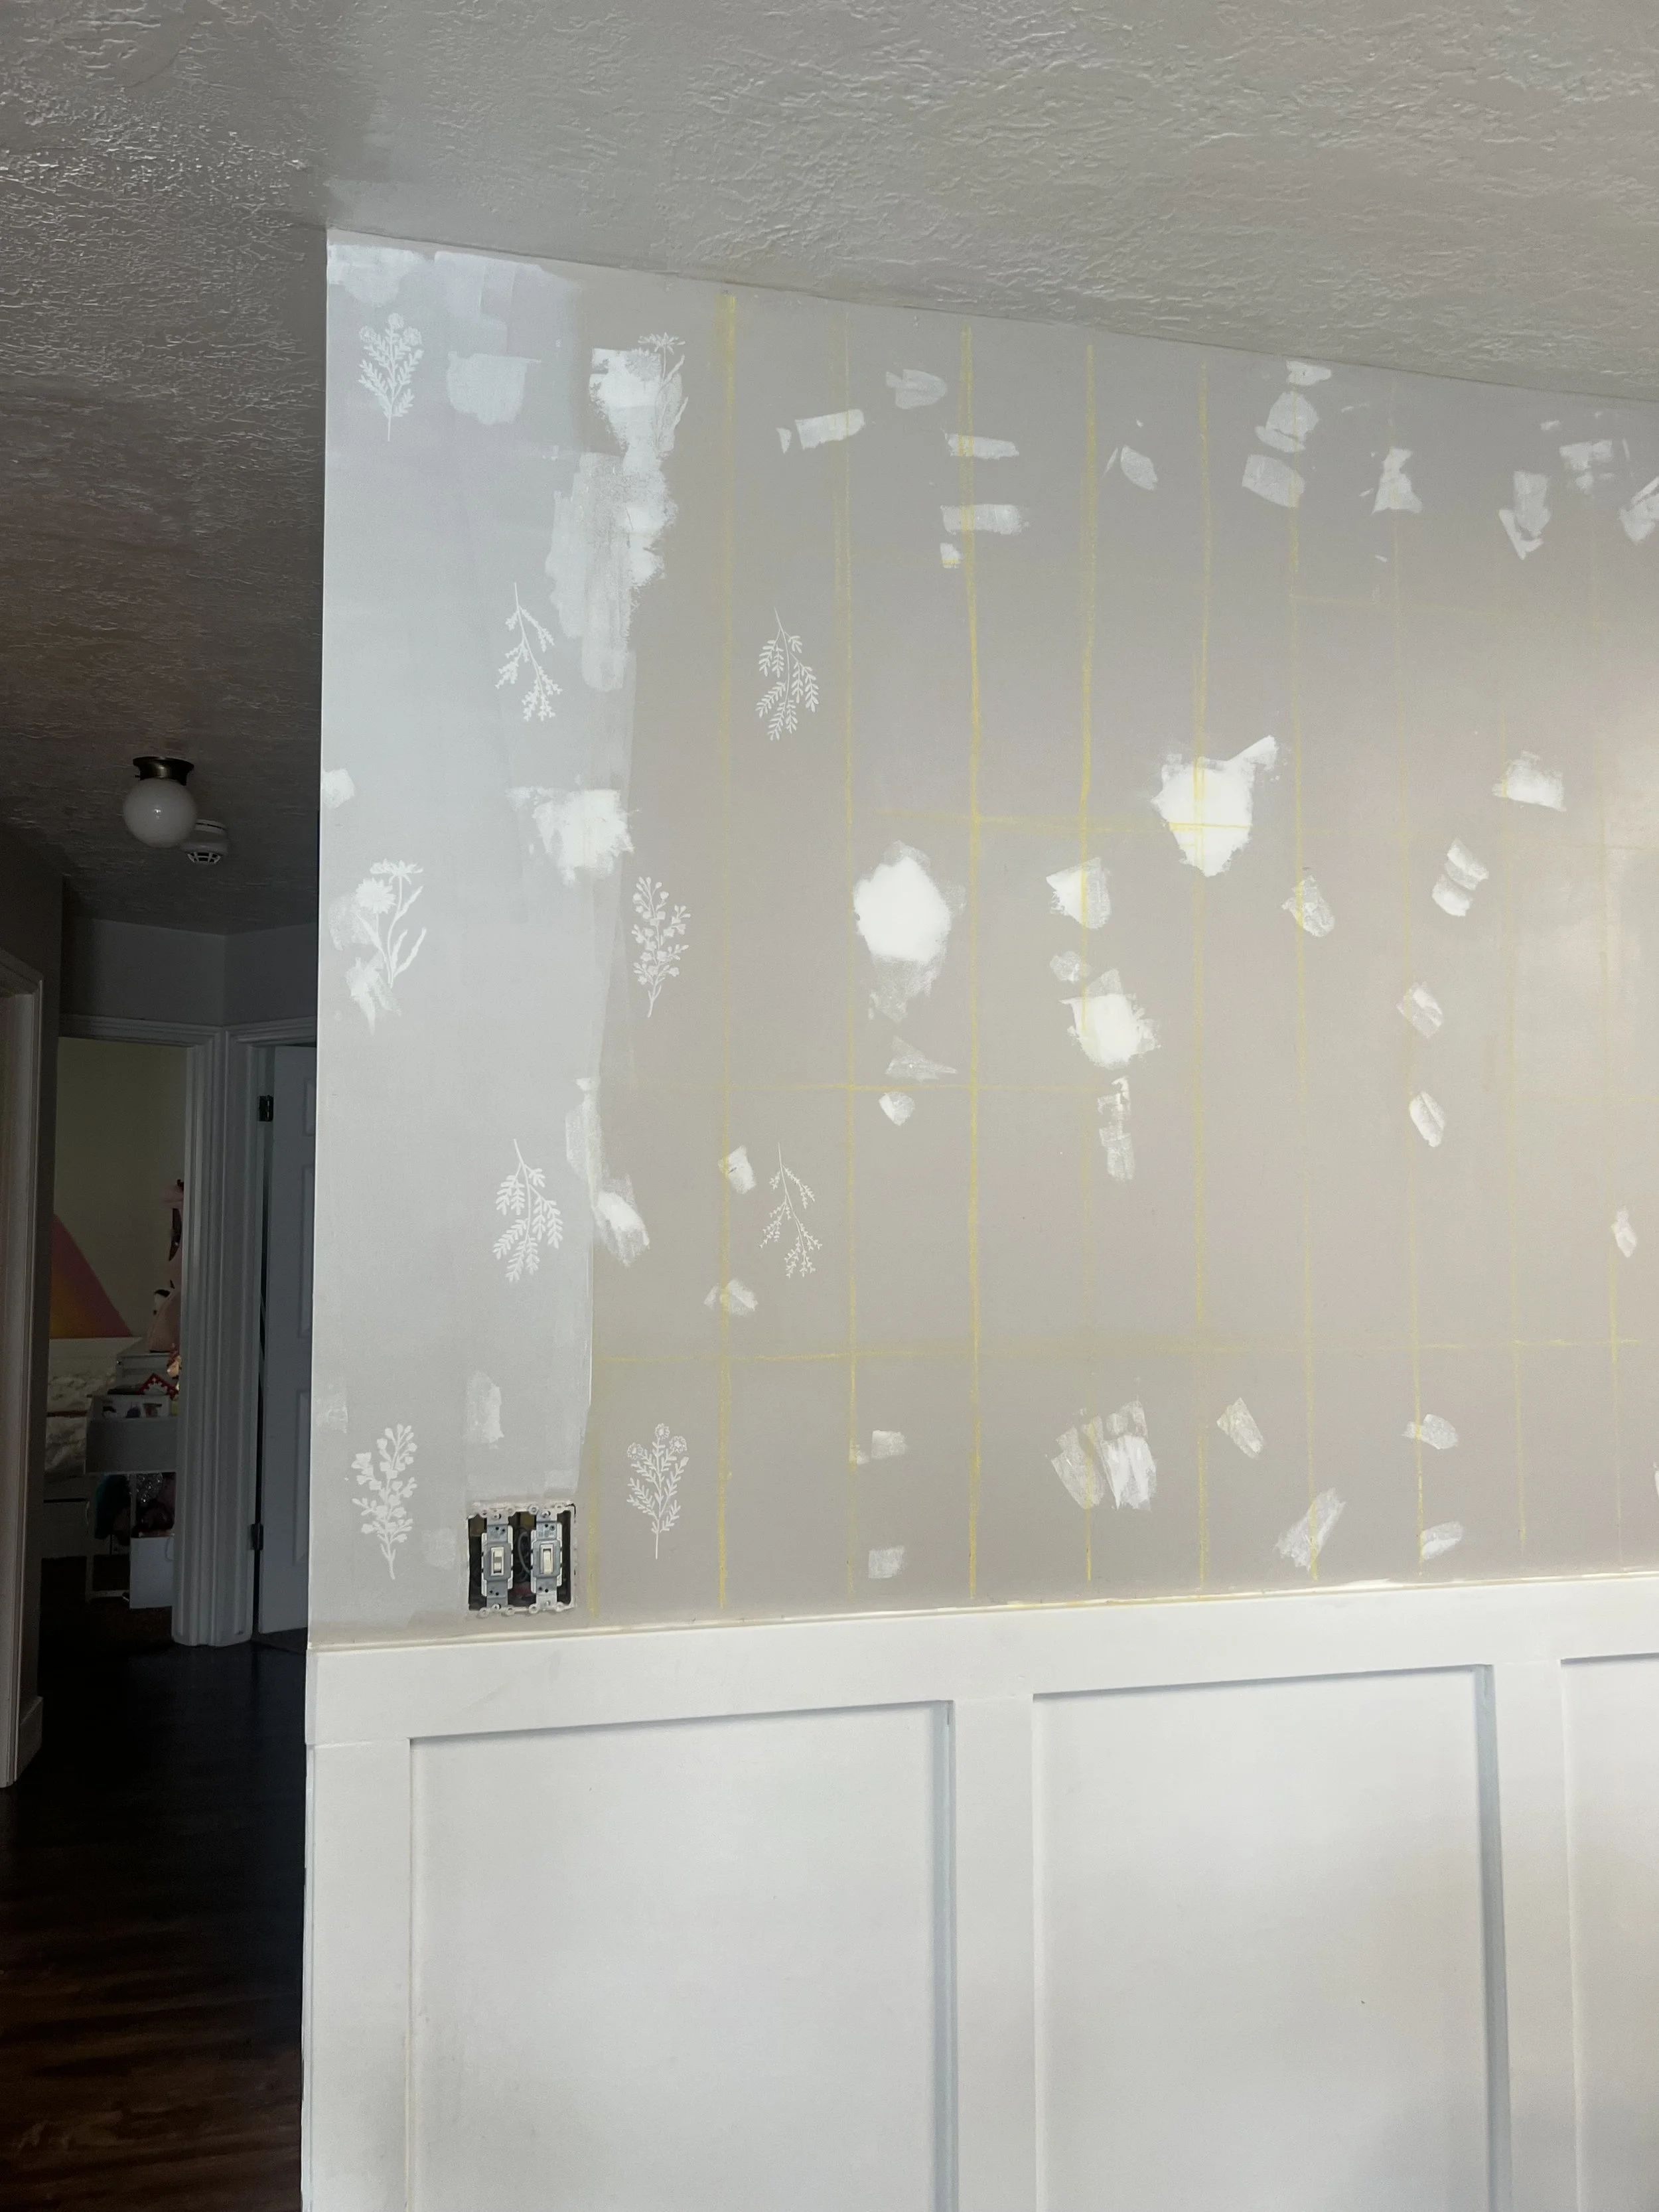
The first thing that I did was patch all of the existing holes in the wall. This wall is where I create party accent walls for my kids’ birthdays every year so it has seen some wear and tear. After patching, sanding and priming the holes, we were finally able to tackle the fun part. The section of the wall I was working with is 148" across and 53" tall. I drew a grid in chalk with 5 rows and 29 columns. Each square in the grid was roughly 10.5" x 6 ". This process took me a while because I wanted the spacing to be as even as possible.

The actual stenciling was pretty simple, I just put a small amount of joint compound on the stencil, scraped it off and carefully peeled it up. You can easily clean any excess off with a baby wipe or paper towel. Once everything was dry, I lightly sanded down any rough spots on the flowers and then primed the whole wall. I was worried that the paint roller wouldn't get in between the crevices of the flowers so once the primer was done I went in with a brush and painted each flower.
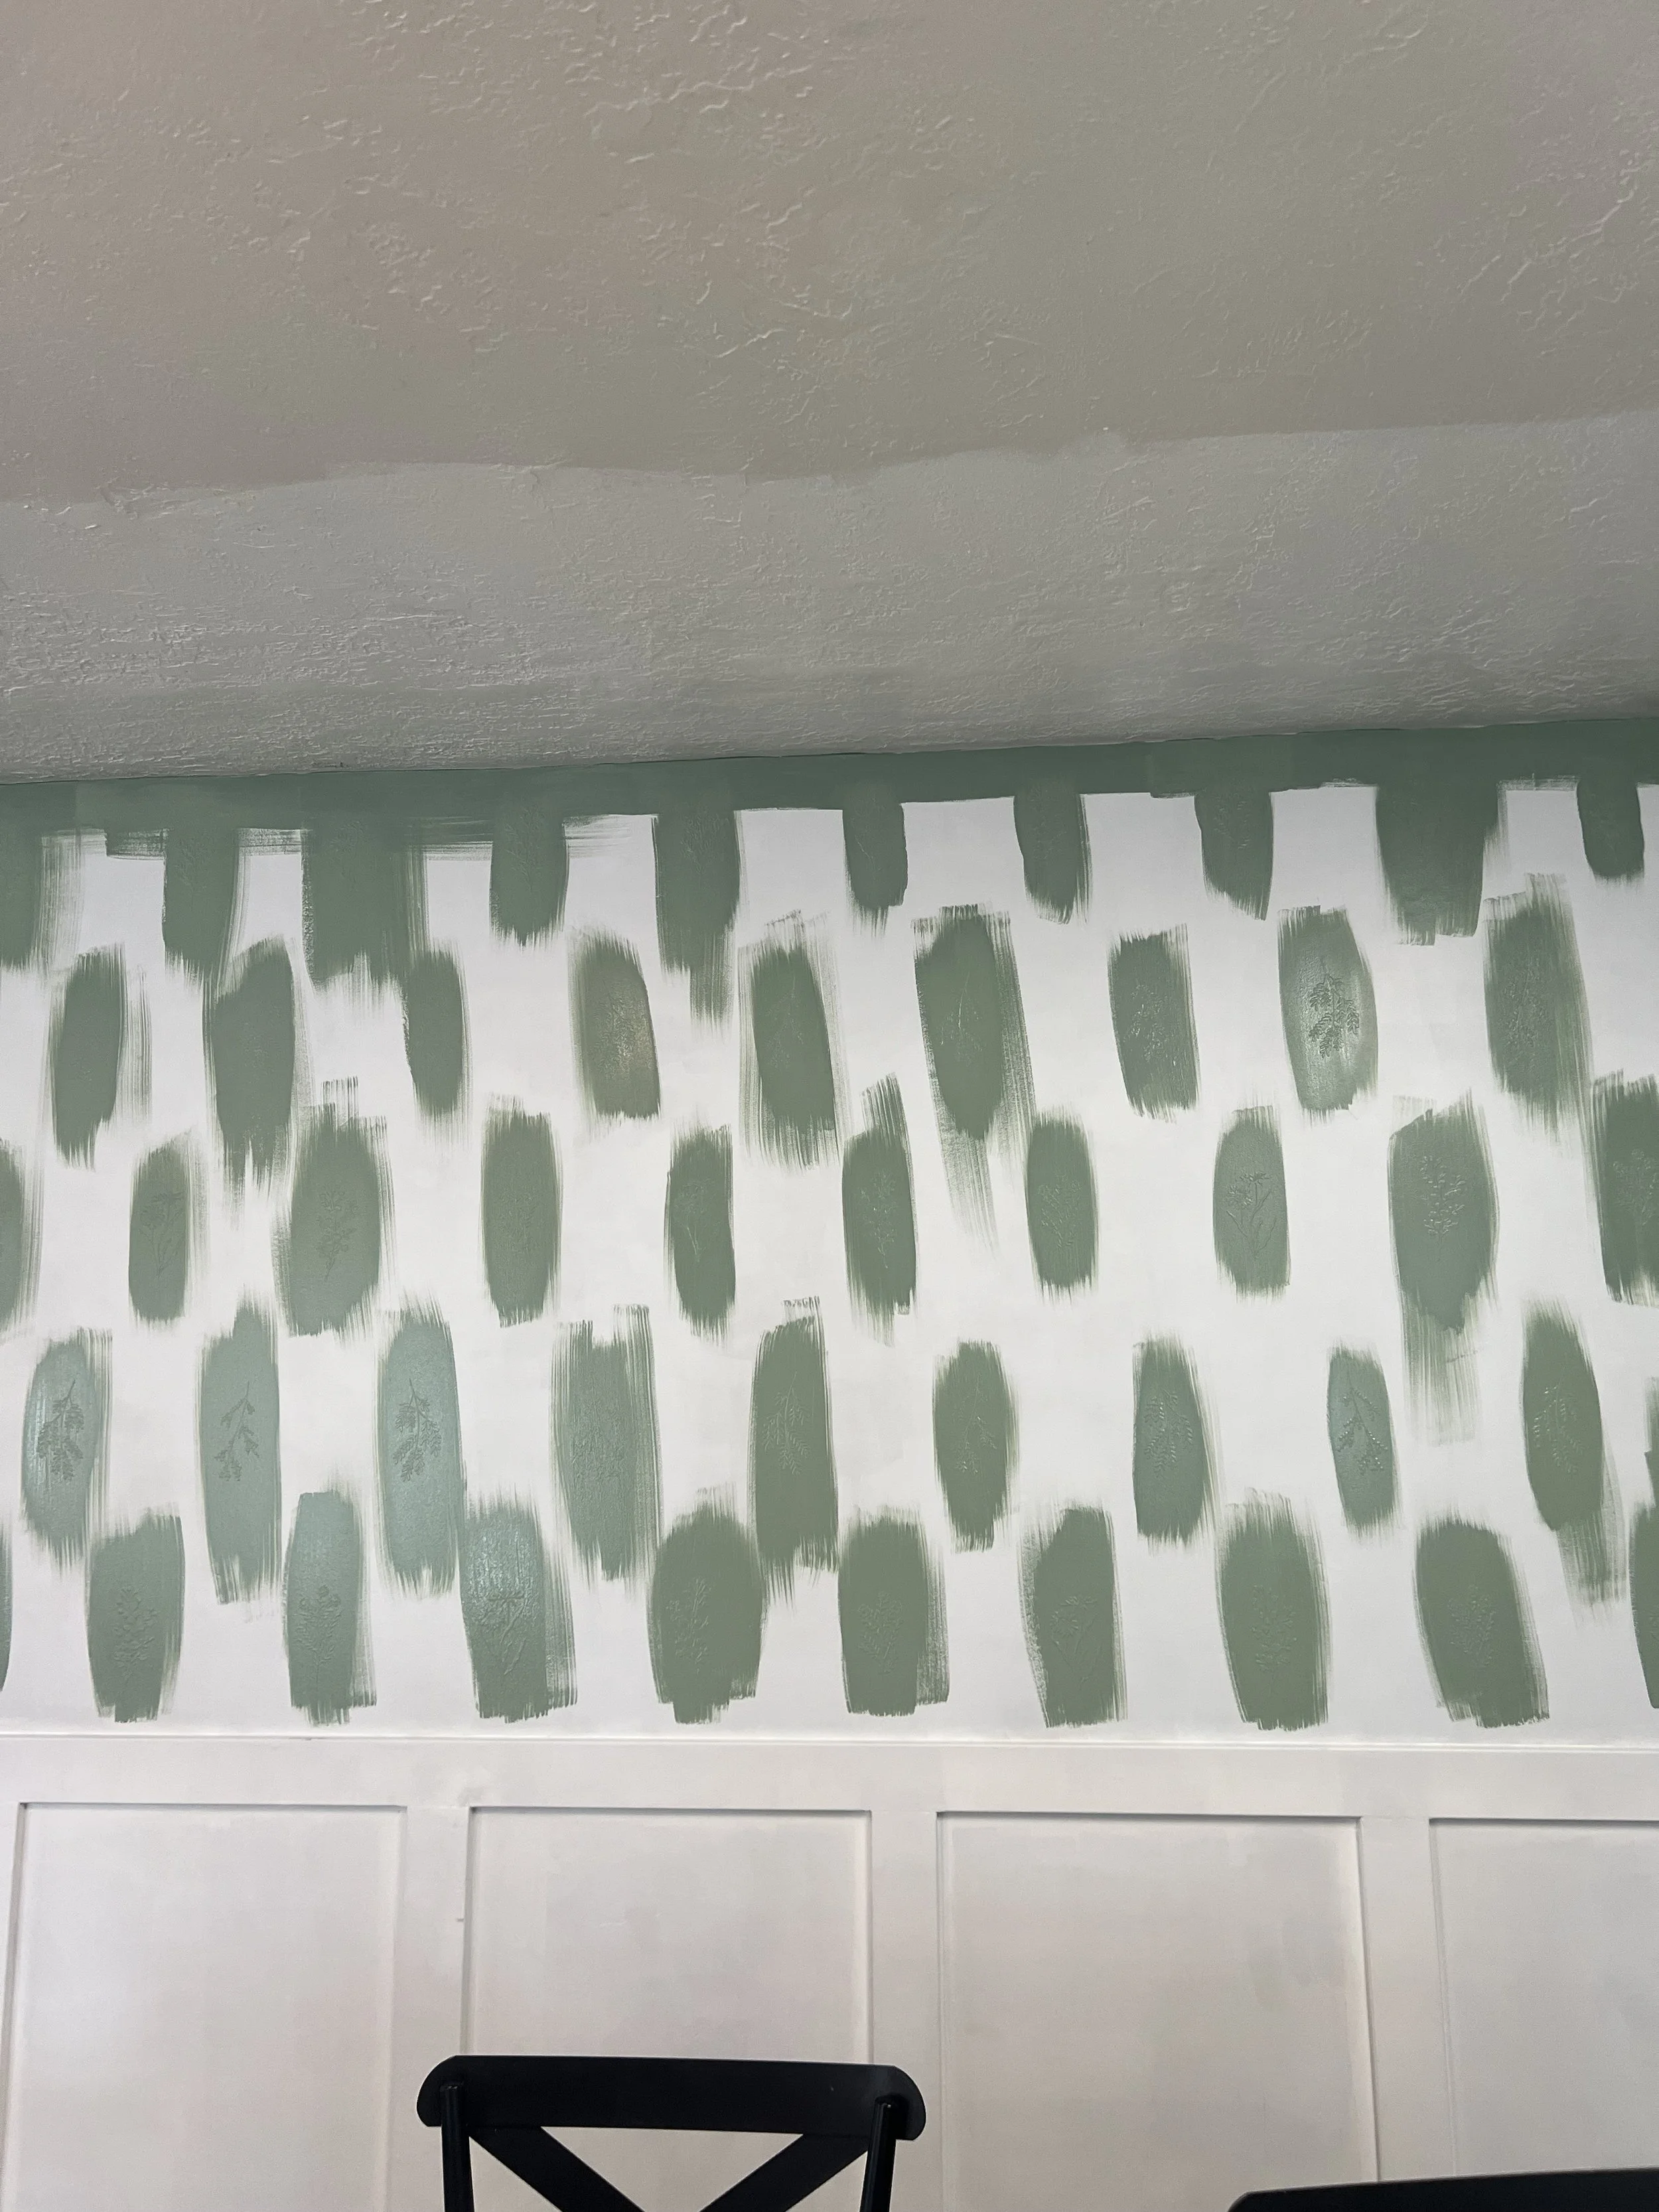
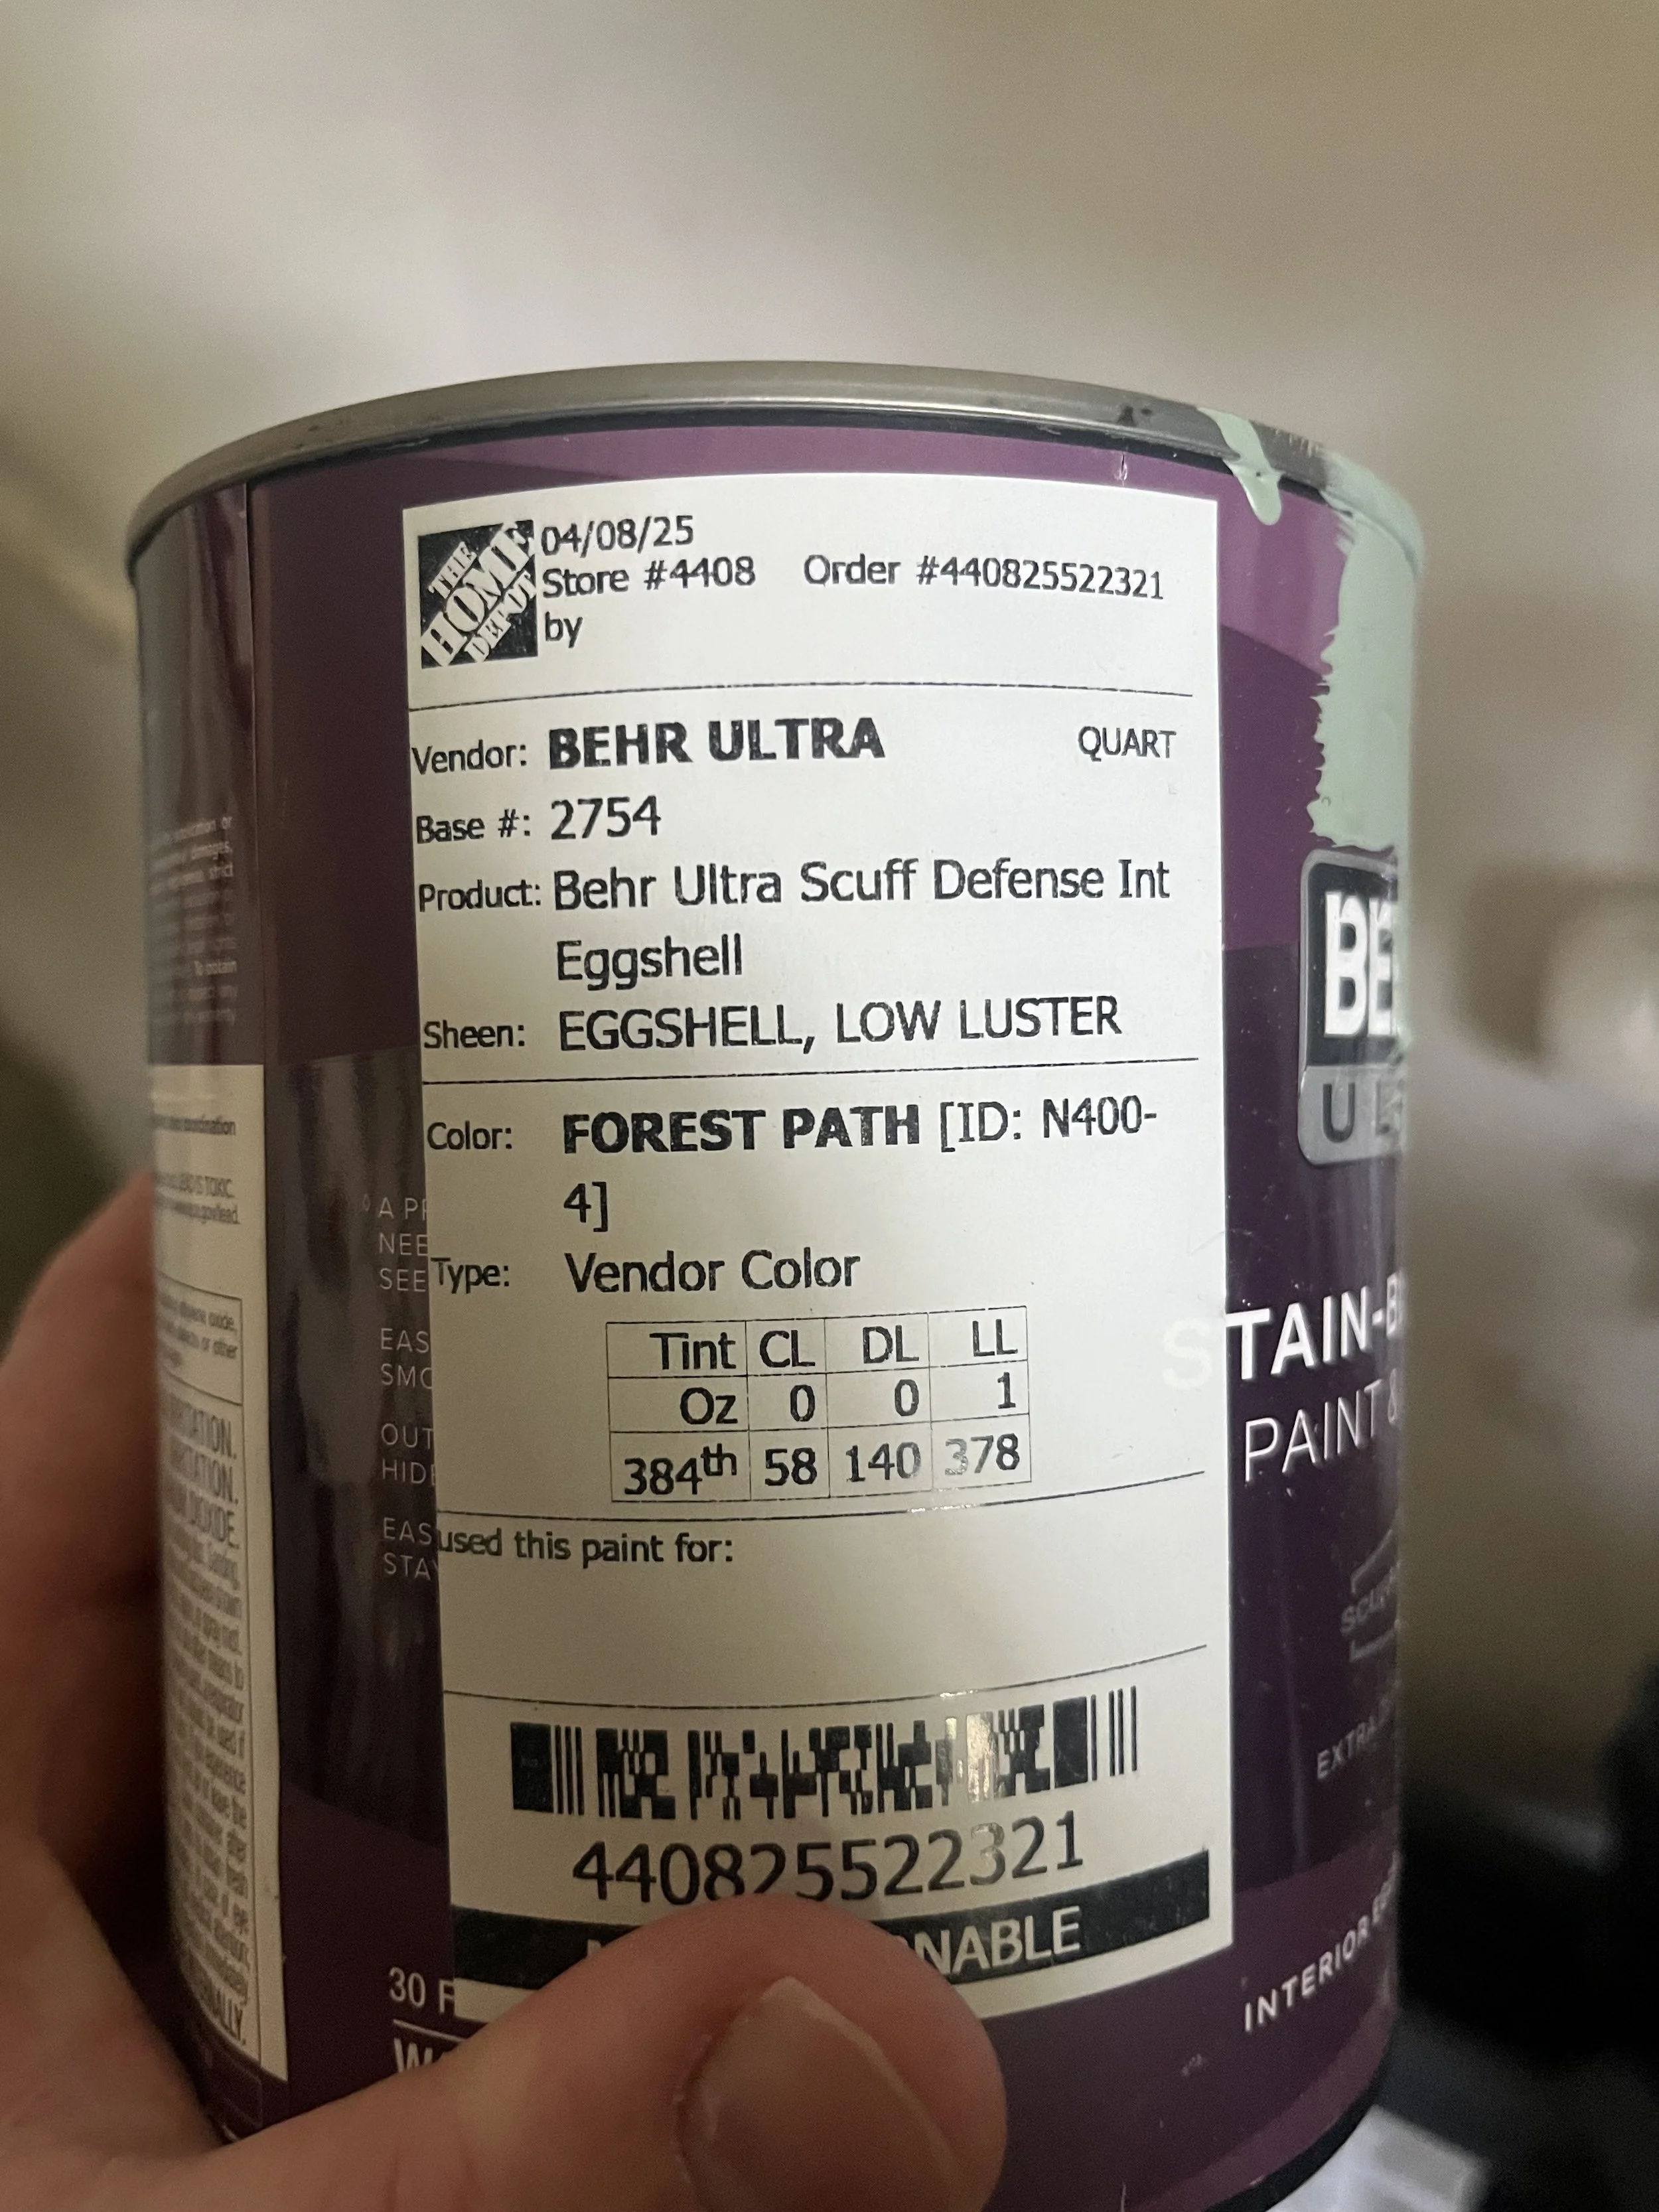
I used Behr Ultra Scuff Defense in Forest Path to paint the whole wall. This sage green has been my favorite color for as long as I can remember. It was even my only wedding color with just some accents of cream and gold. At the time (this was almost 10 years ago), it was so hard to find anything sage green. So hard, in fact, that I had to search high and low and DIY almost everything for the wedding! For this project, I originally got it in a satin finish, which turned out to be a problem because you could barely see the stenciling. I was really frustrated because I wanted the florals to actually stand out. After consulting with Emily, we realized the problem was probably because satin is a shinier finish which catches the light and takes away from the stencils. So I headed back to Home Depot and got the same paint in an eggshell finish.
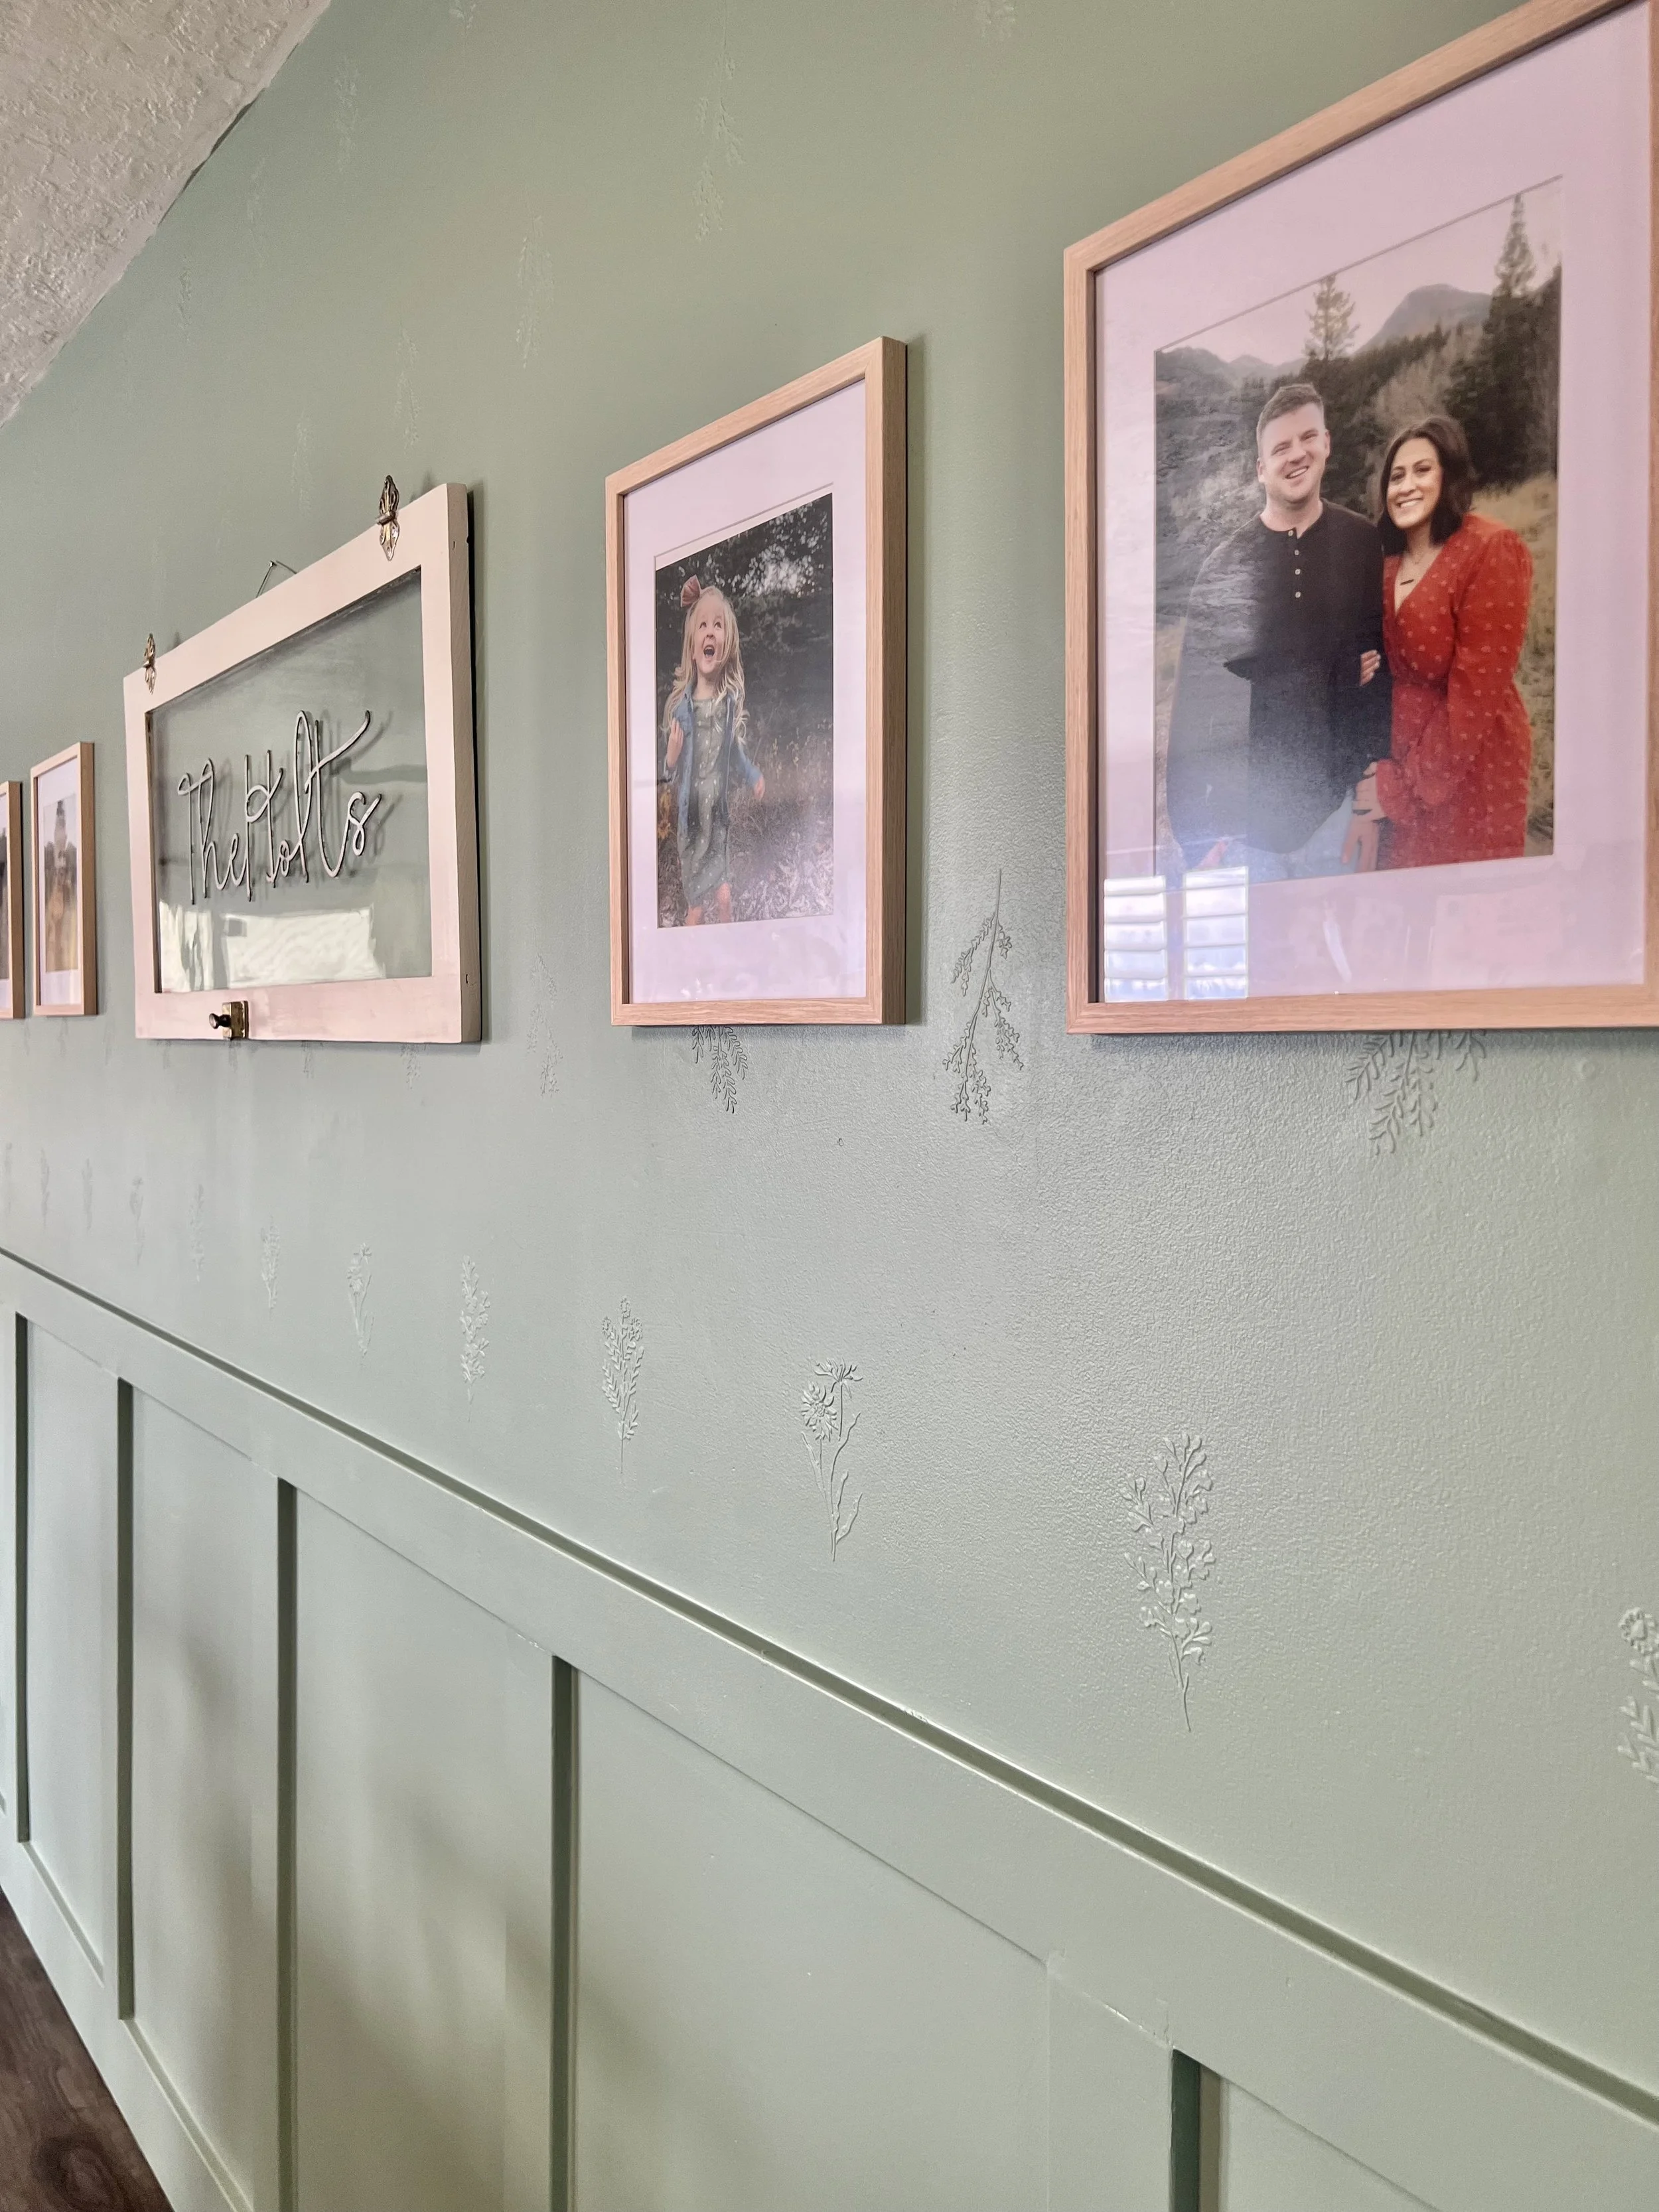
After painting the entire wall in the eggshell, I decided to go an extra step and combine the paint with a little bit of white paint to make a SLIGHTLY lighter shade that I painted onto only the flowers to make them stand out just a little more. Once everything was dry I was able to add some simple decor, including this vintage window pane I thrifted and painted cream.
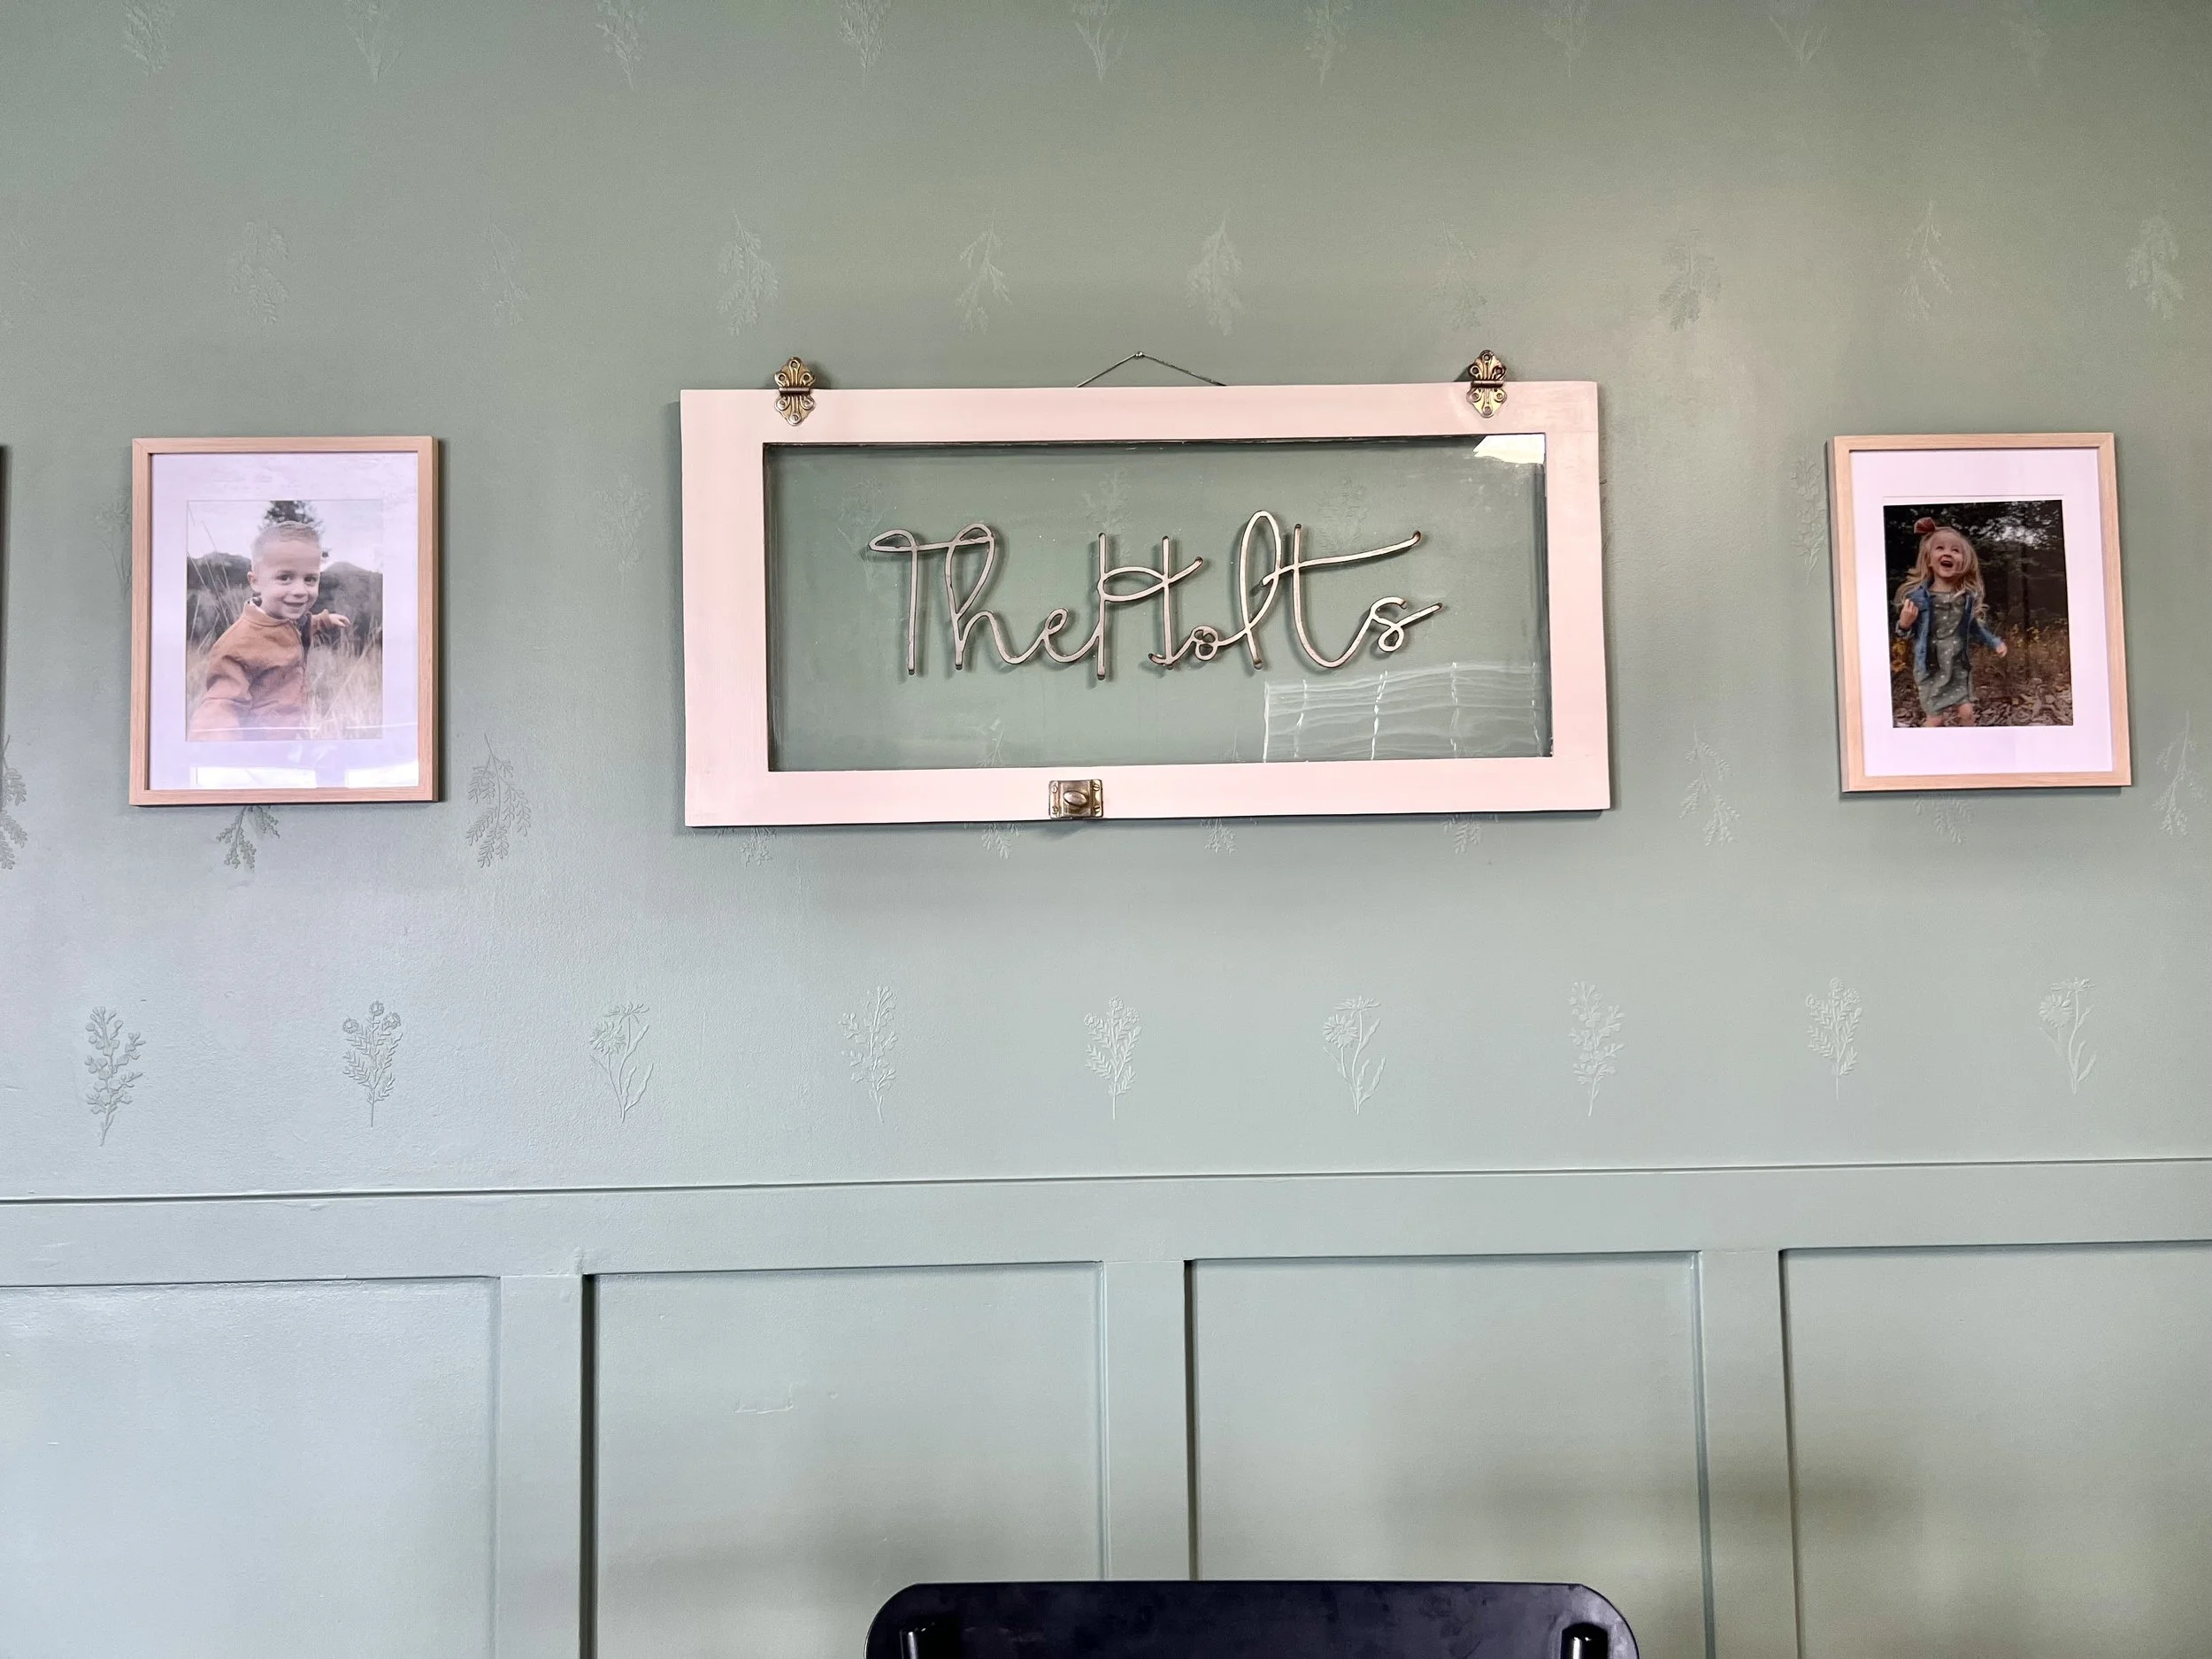
I absolutely LOVE how the wall turned out and honestly can't stop staring at it. I love that it is a focal point in the house and I get so many compliments on it.
Stay tuned for future posts on how I decorate this wall for holidays and use it to make party accent walls. Happy crafting!