DIY Nails
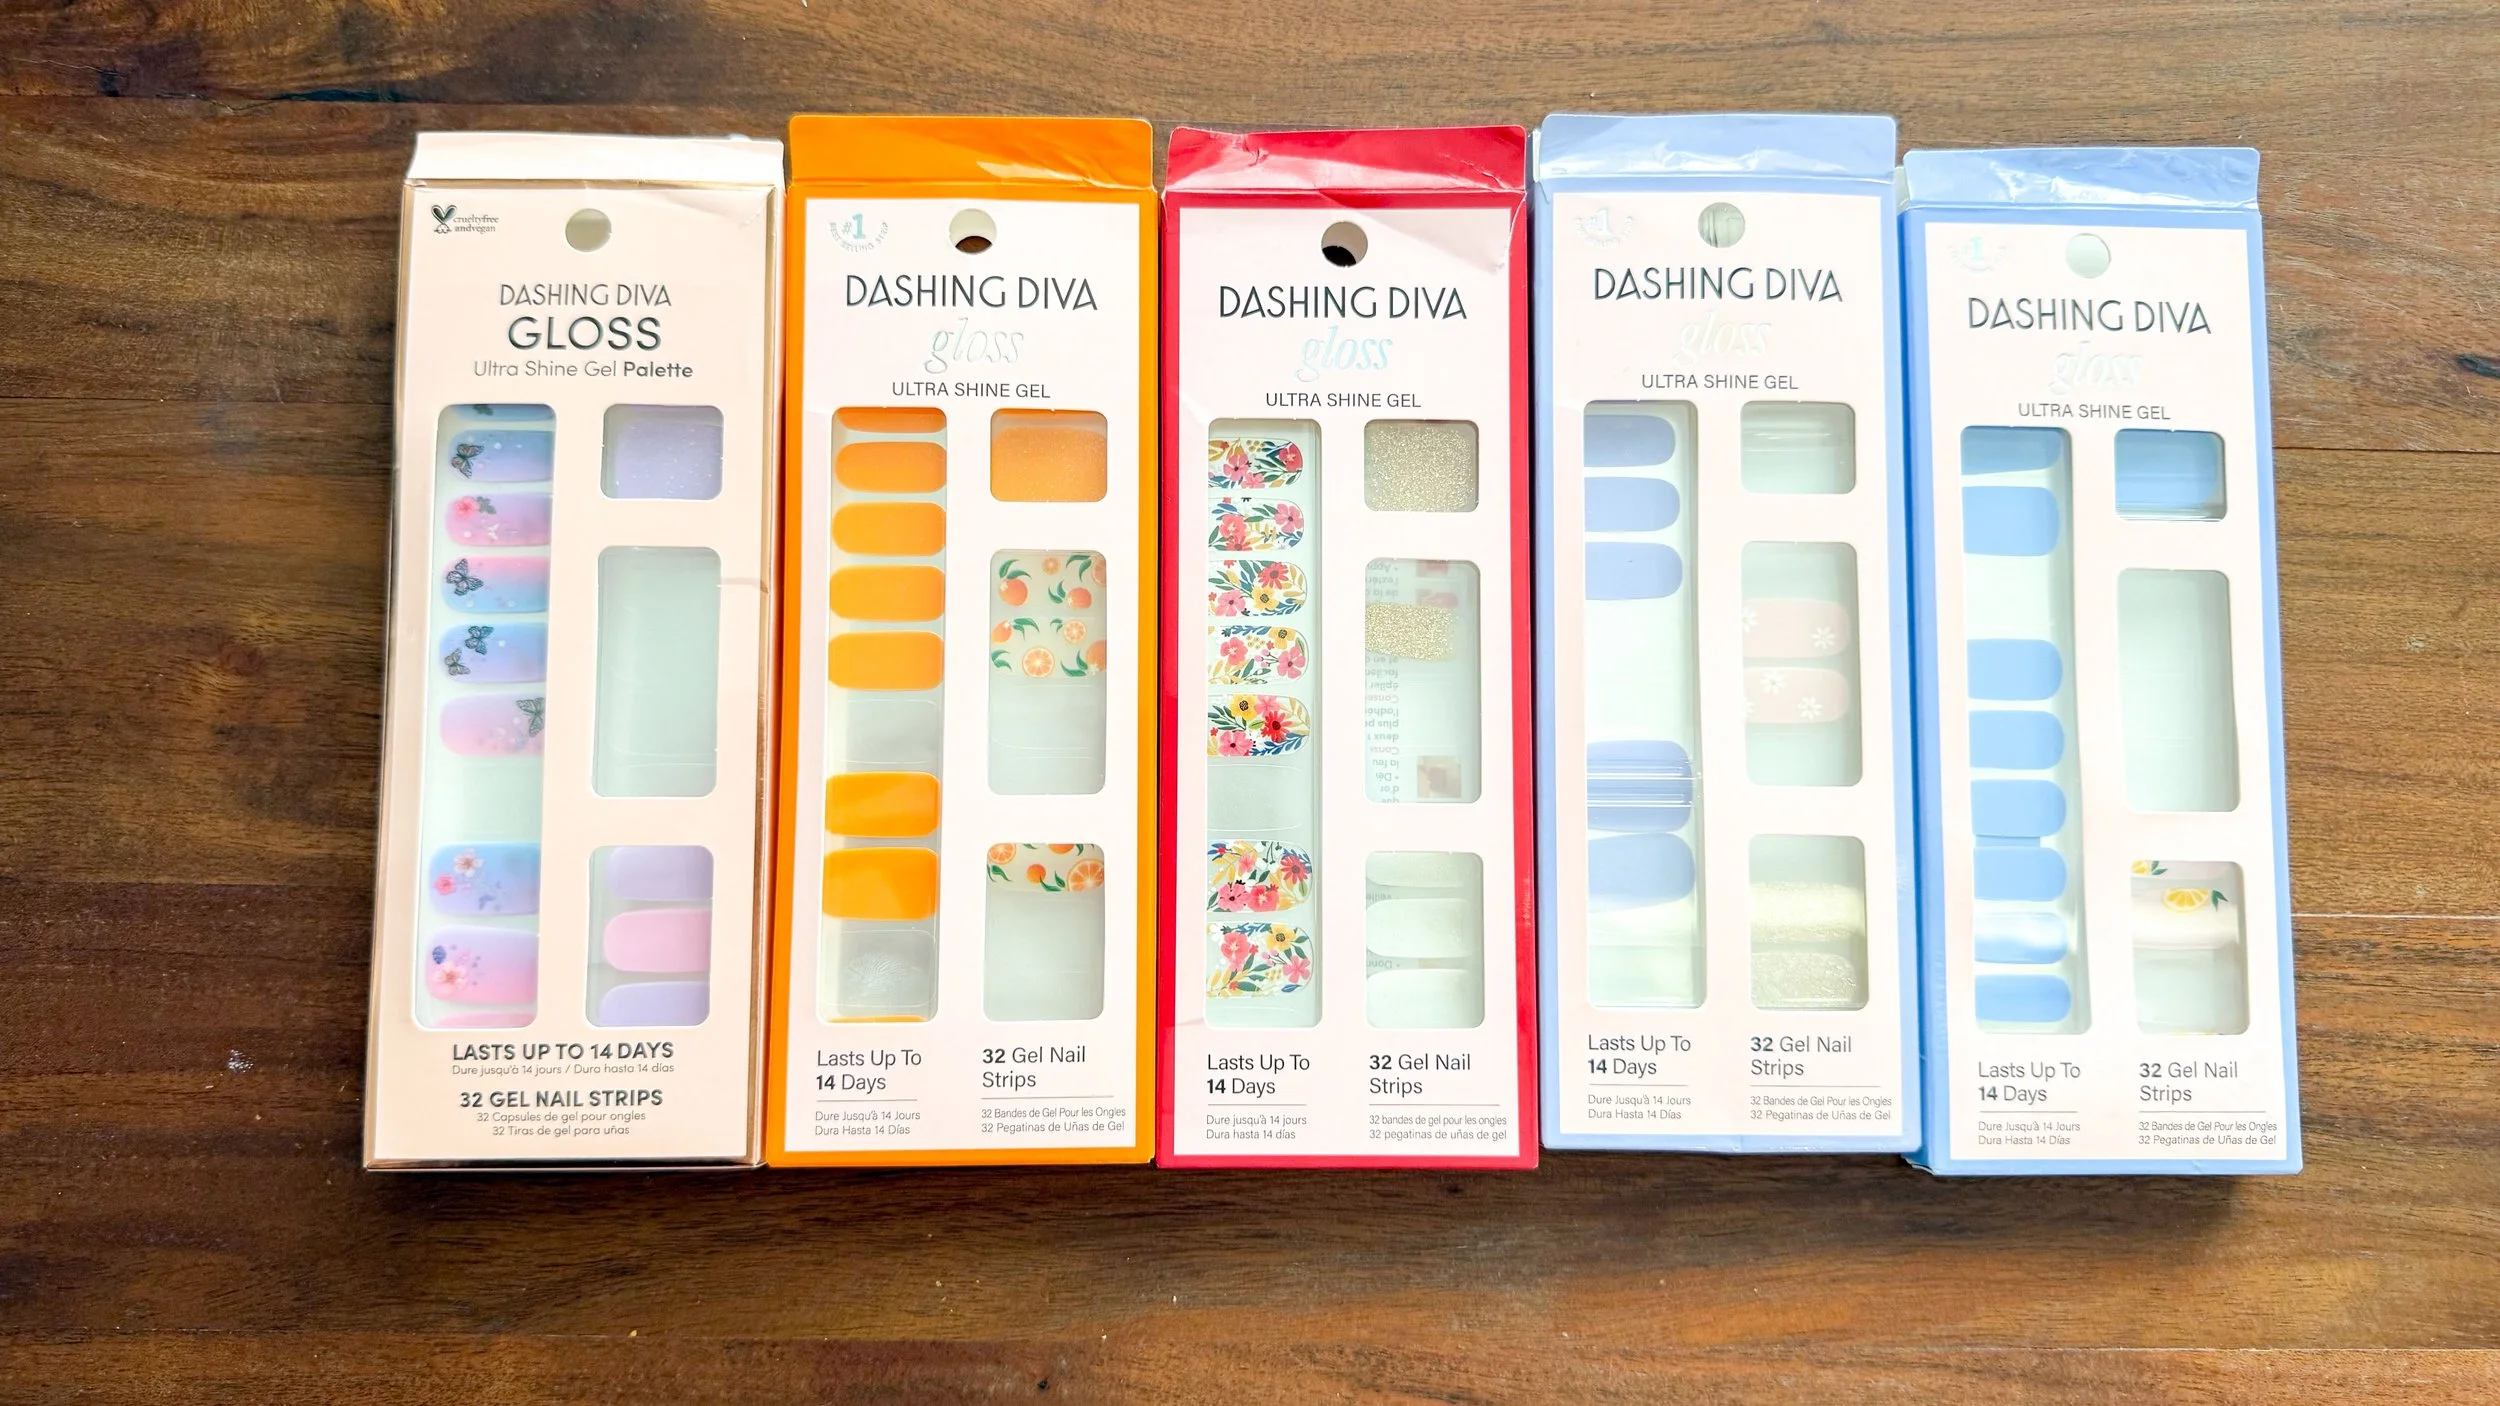
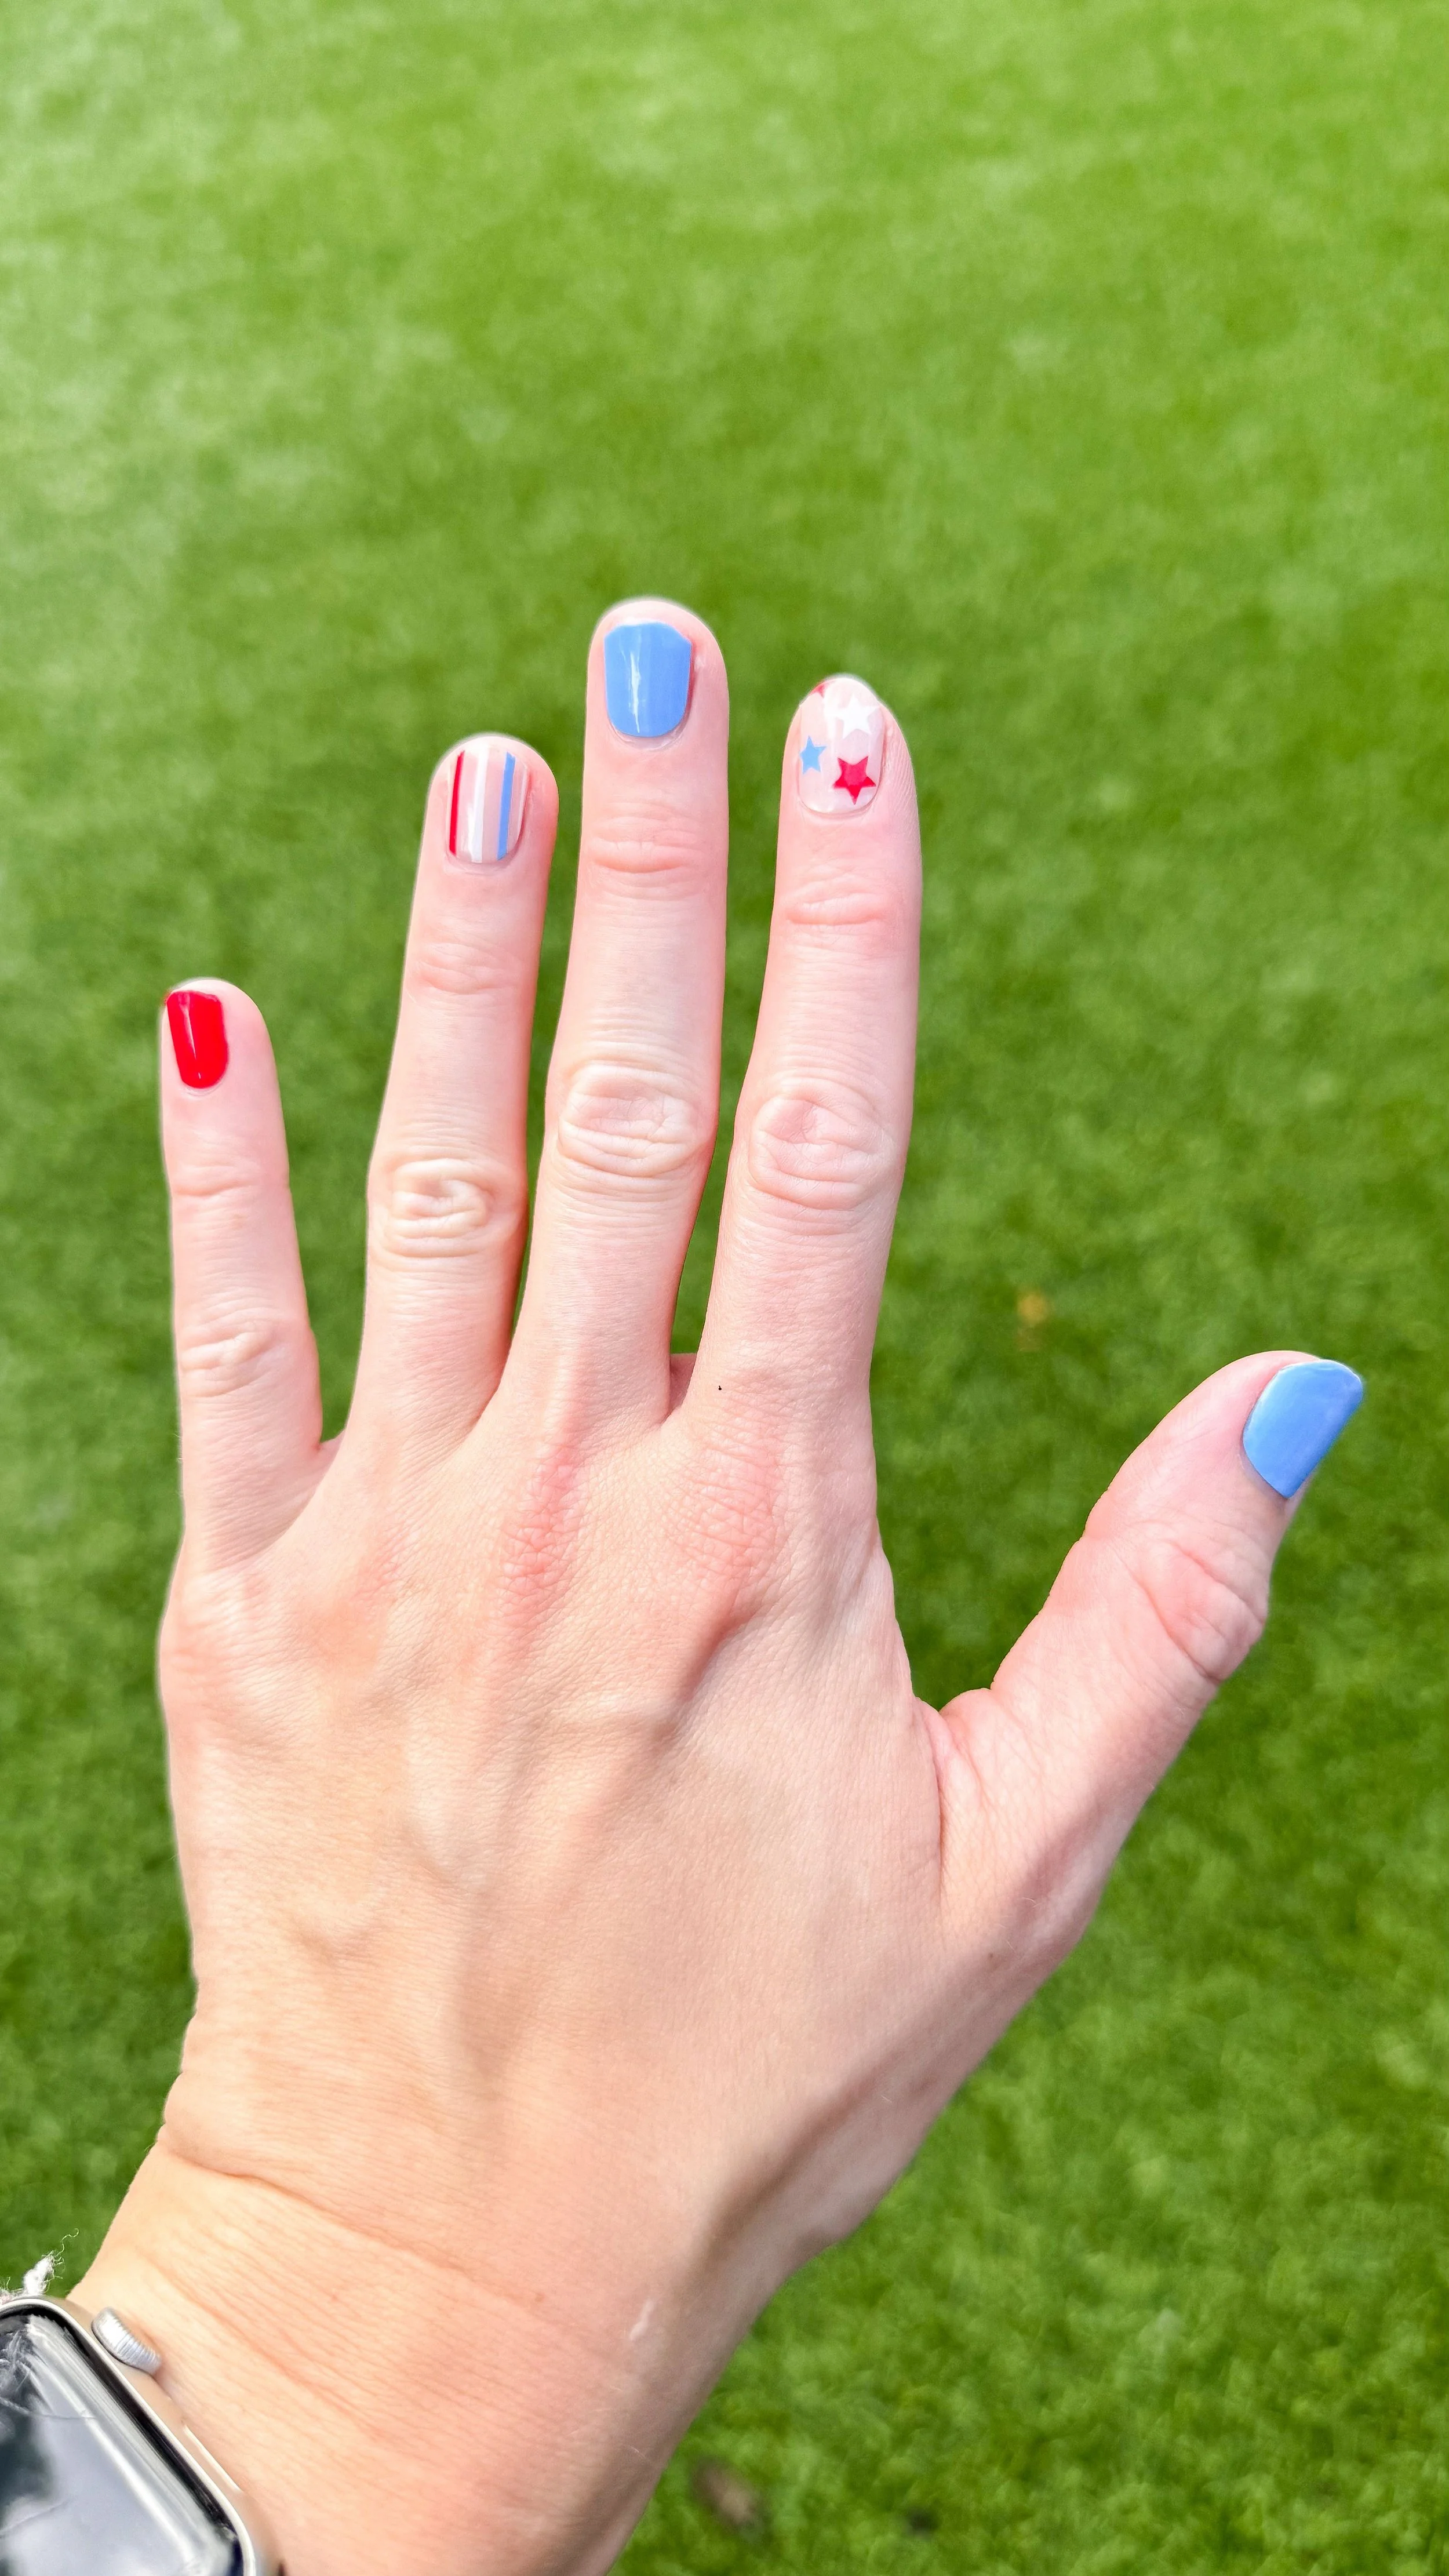
Today I want to deviate from my normal DIY/neurodivergent content and talk to you about something I constantly get compliments on: my nails. As a mom of two who creates content for a living, is always doing a DIY project, is super involved in our community and the PTA, I just don't have time to go get my nails done. Frankly, even if I could I know I would have a hard time sitting to have my nails done. For the last six years, I have been using Dashing Diva Gloss nails. They're basically nail stickers and come in a ton of different palettes. They also come in straight colors, but I love the palettes because you're able to mix and match while still having art on your nails. The bonus is they are only about $9. I recently did a set for 4th of July with subtle Americana vibes that I loved and got SO many compliments on. Sometimes I take a little break between sets depending on the projects I'm doing, but it's time for a new set so I wanted to show you my process of putting them on to help them stay on for a long time.
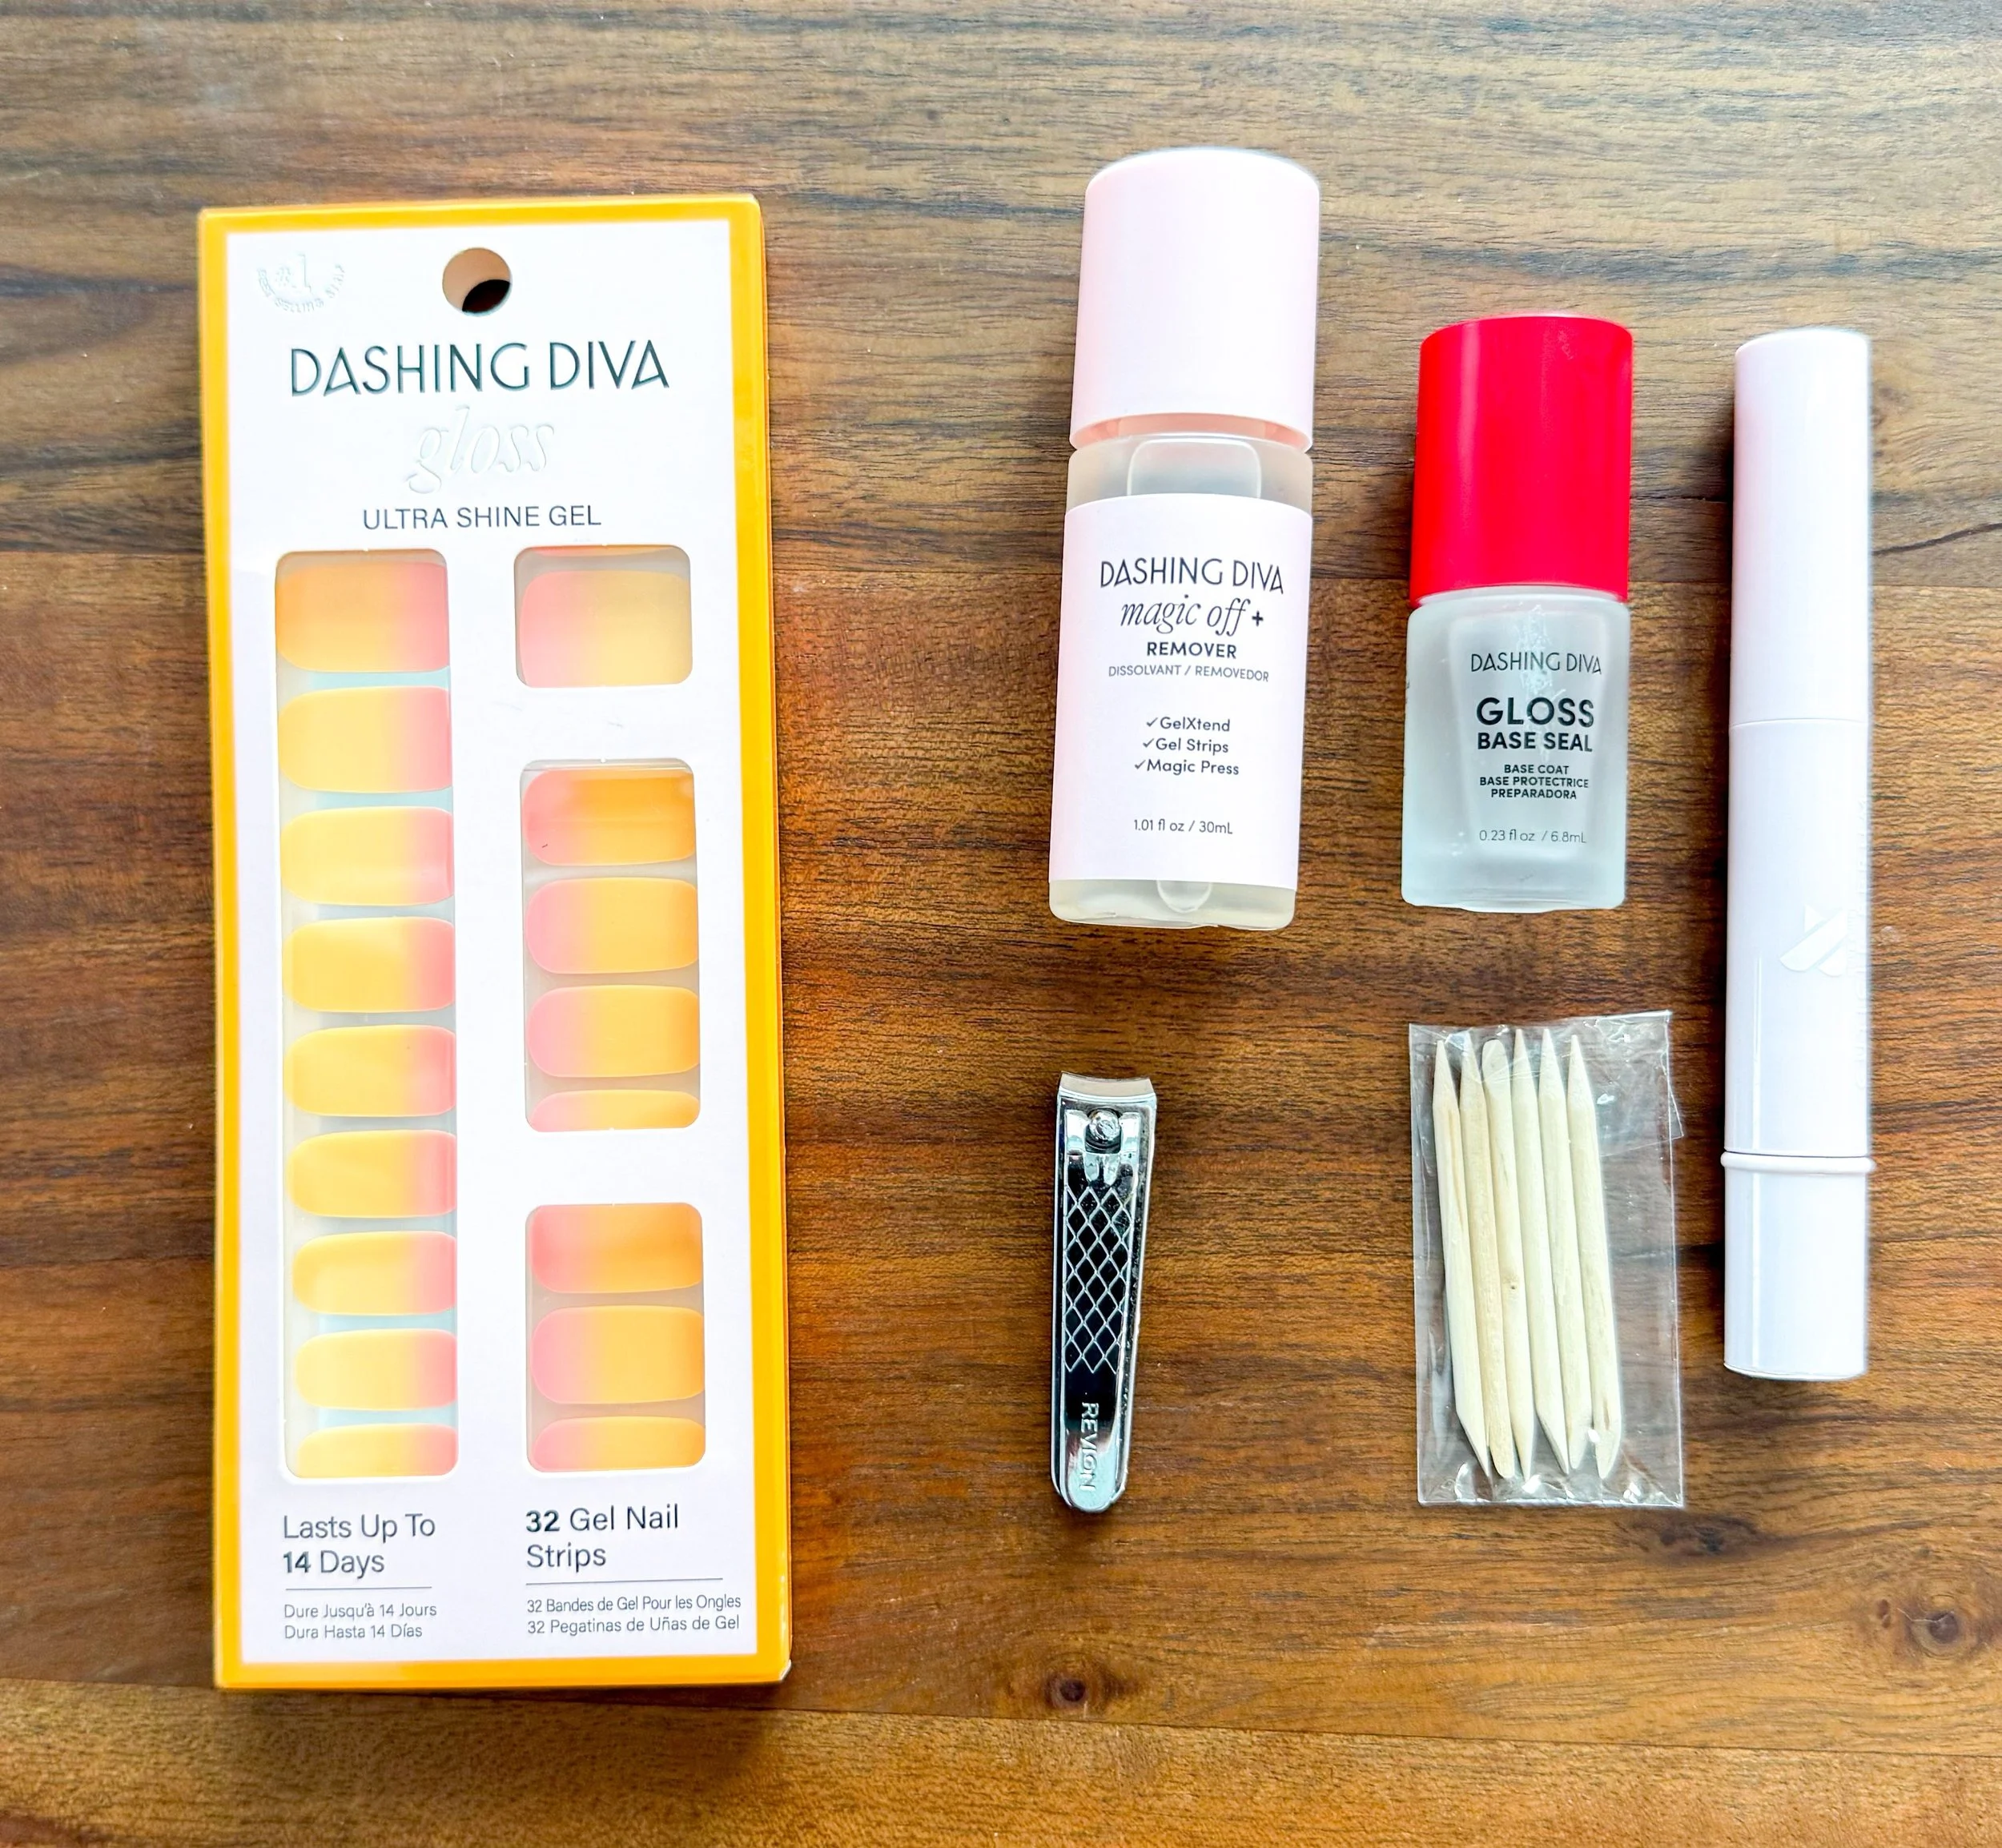
When I'm putting on a new set I have a list of supplies I use. I have the Dashing Diva gloss base seal, Olive and June cuticle serum, wood cuticle sticks, the Dashing Diva magic off remover, a pair of nail clippers and a pack of Dashing Diva nail strips. The nail kits come with a small nail file, and an alcohol swab they call the prep pad. I've discovered that If you're using the gloss base seal, you don't need the alcohol prep pad. My first step is always to prep my cuticles. I take the cuticle serum and rub it all along each cuticle then use the cuticle sticks to push the cuticles back on each one of my fingers. This gives the strip more of your actual nail to adhere to and will ensure they stay on longer. Once I am done prepping my cuticles, I do the gloss base seal on each finger. I use a good amount of seal on each nail and give it a little bit of time to dry. I think this sealer because it makes a big difference, but doesn't have a strong smell like a lot of other base coats do. Once the gloss base is totally dry I start sizing the nails.
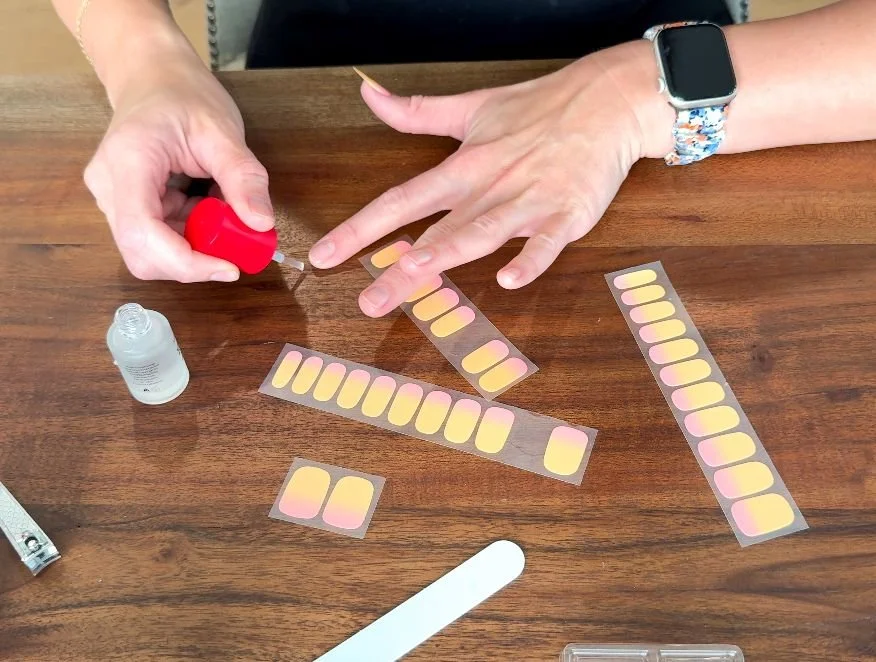
I start by figuring out what size is best for each finger. I have done this enough that I know the second largest one is best for my thumb because there is no overlap. Another thing I really love about these nail strips is you have two different shapes depending on your nail shape/style. On each side of the nail strip, one is more square and one is more rounded, so you can pick what you want to use based on what your nail bed looks like. Once I've picked the size, I am are able to stick it directly onto the nail. There is a little bit of wiggle room if you need to move the strip around, but if you do that too many times you're strip will lose its stickiness and need to be replaced. The most important thing is to make sure the majority of the nail is covered and not touching any of the nail bed or skin. Once it’s on, I press it down and smooth it out really well. I like to do all of the nails on one hand before I start filing them down so I can find the right sizes and get everything into place.
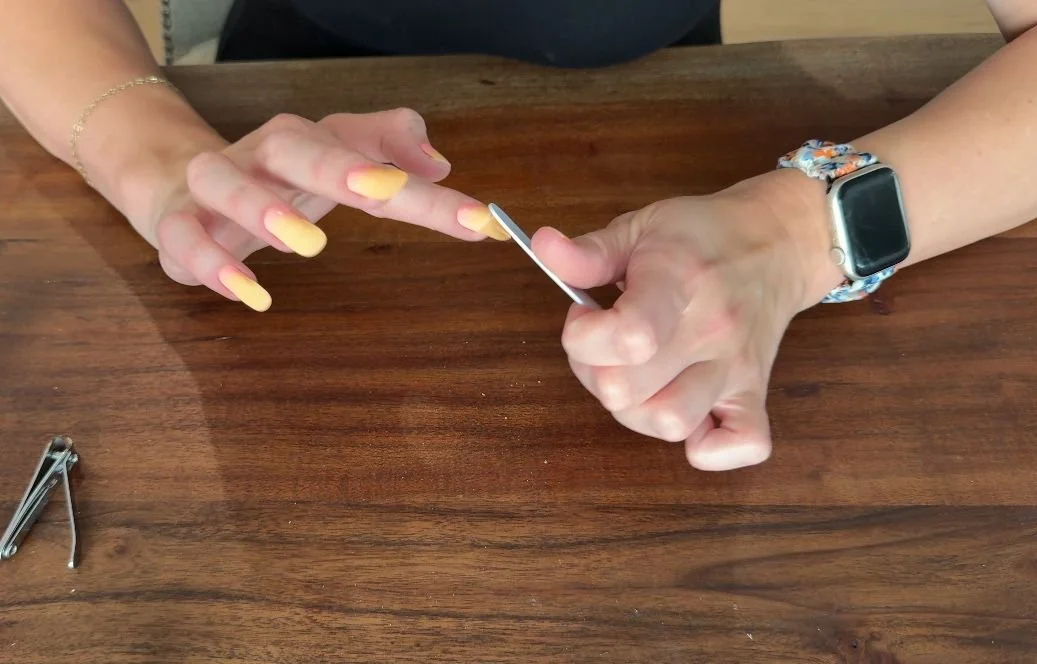
Once I get all the nail strips on, I start filing them down. The best thing to do is push the edge down and use a nail file. The file is going to be your best bet because nail clippers tend to pull on the nail strips and then you can end up with uneven edges. It's important you don't pull with your fingers. Simply file until the strip comes clean off. If you need to move the strip around a little bit, file at different angles, but avoid pulling because it will mess up the whole nail. When I've filed down my entire hand, I spend a little bit of time cleaning up the edges and making sure everything smooth and rounded. When that is done, I repeat the process with the other hand and it's done!
I love that this type of manicure has a lot of flexibility to it. I can have different length and shape nails and adjust what the nail strip looks like. If I am feeling indecisive, I have the ability to easily take off a strop and replace it with a new one. I love how easy the whole process is and I'm able to change my nails whenever I want.

I've noticed the sets with glitter in them tend to last longer because the glitter nails are slightly thicker so they hold up better, but overall all of the sets hold up really well. Like with most manicures, whether it's a DIY at home with nail strips or one from the salon your best hope for longevity is to protect them when you can with gloves. Another great thing about these nail strips is how portable they are. It's super easy to carry a set around with me, and am able to quickly replace a singular nail if I need to. When I need to remove them, I can soak them in hot water and they will come off pretty easily. I can do this super fast since I have streamlined the process and only takes about 20 minutes tops. I love that I'm able to multitask, and watch a movie with my husband, listen to a podcast or lay with my kids while they're falling asleep which is always a big deal for me and I love that they're so affordable. So, if you're looking for an easy manicure, check them out!