
Making Over My Son's Room Part 1: The Closet

I'm starting a big project in my son's room and have decided to turn it into a whole series! To give you a little bit of background, when we bought our house it was listed as 3 bedrooms and 3.5 bathrooms. The third bedroom is the entire third floor of our house with a walkout to an outside deck space we absolutely love. However, it is not really a bedroom. Yes, it has a closet (that also has a hot water heater) and a giant bathroom. There wasn't even a door to this space as it had just a long staircase without a door at the top or bottom of it. So it was "technically" a bedroom but didn't have any privacy at all. About a year after we moved into this house, we put a door at the bottom of the stairs to give some privacy which ended up helping with the echo from the staircase as well. The room has functioned as a guest room/playroom until our son was born and we turned it into his nursery/guest room combo. It has always been my intention to turn the guest bed into a Murphy bed to save on space. After 5 years of living in this house, I'm finally starting the process! There's so many things I want to with this room to better utilize space, make it a fun area for both kids and build a custom bed for my son. To start this process I need to utilize the space in the closet. Let's get started!
Making Over My Son's Room Part 1: The Closet | Decluttering and Organizing
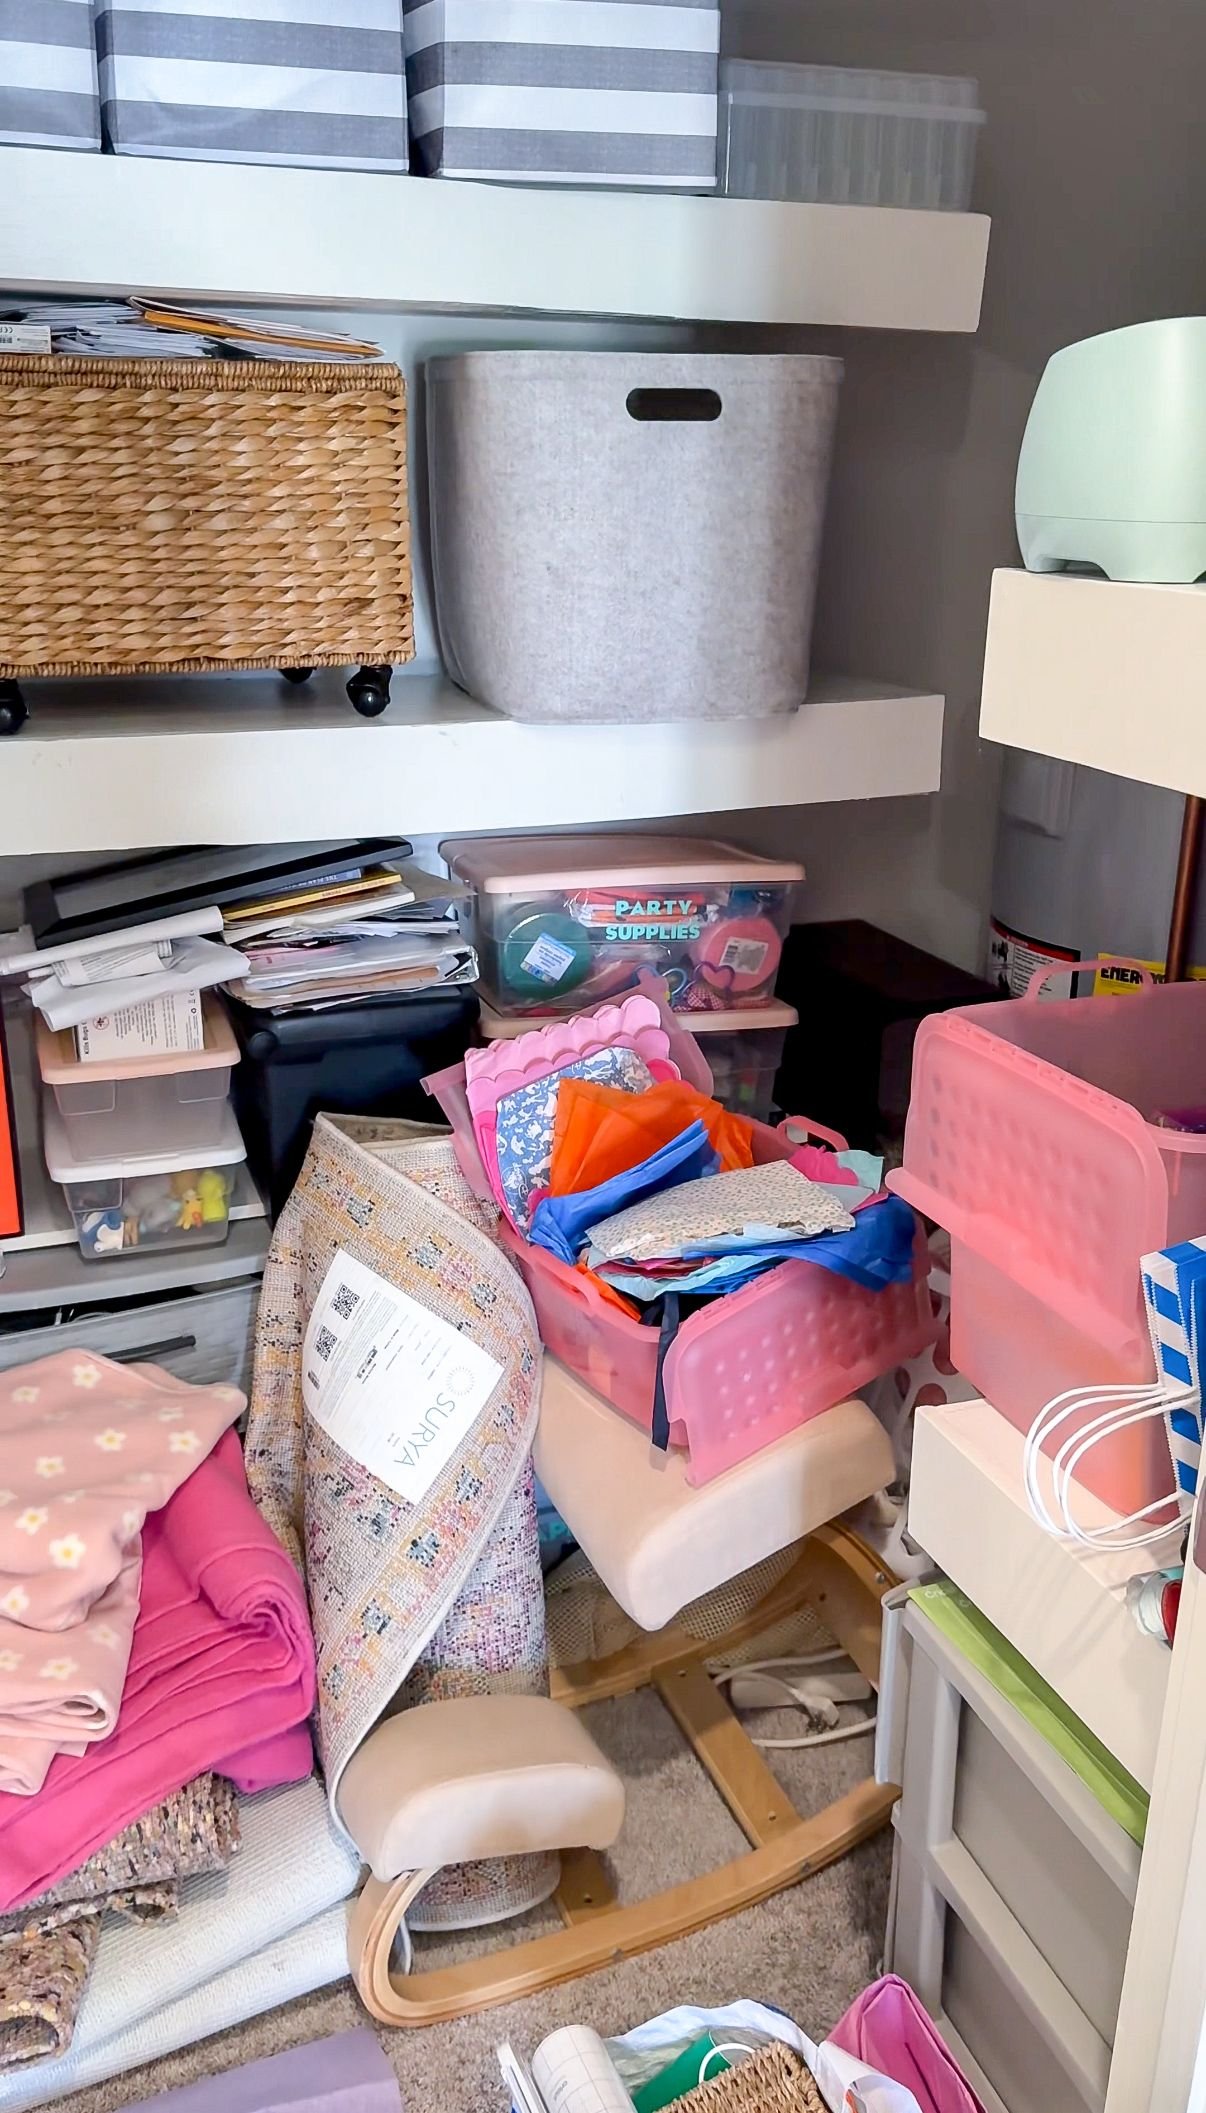
The closet is obnoxious because the builder decided to put the hot water heater in this closet which takes up a lot of space and always has the possibility of leaking. One of the first projects I did when we moved into this house was put shelves in the closet and add some drawers to better utilize the space for us at the time. Now that I'm redoing the closet again, my plan is to take the dressers from the room and put them in the closet. I redid these dressers with the intention to use them for my son's clothes but it turns out we haven't needed to use them. For us, it works to have his pajamas in the master bedroom where he showers and his clothes down in the main living area where we get him dressed. It seems much more efficient to use the dressers for all of the stuff that is in the large closet so they're actually being utilized. I took everything out of the closet so I could take inventory of everything. It turns out I collected a lot more stuff than I originally thought. I started to organize things into categories: things to sell, stuff that belongs somewhere else, things I need to get rid of and things that WILL stay in the closet, but I have to further organize it.
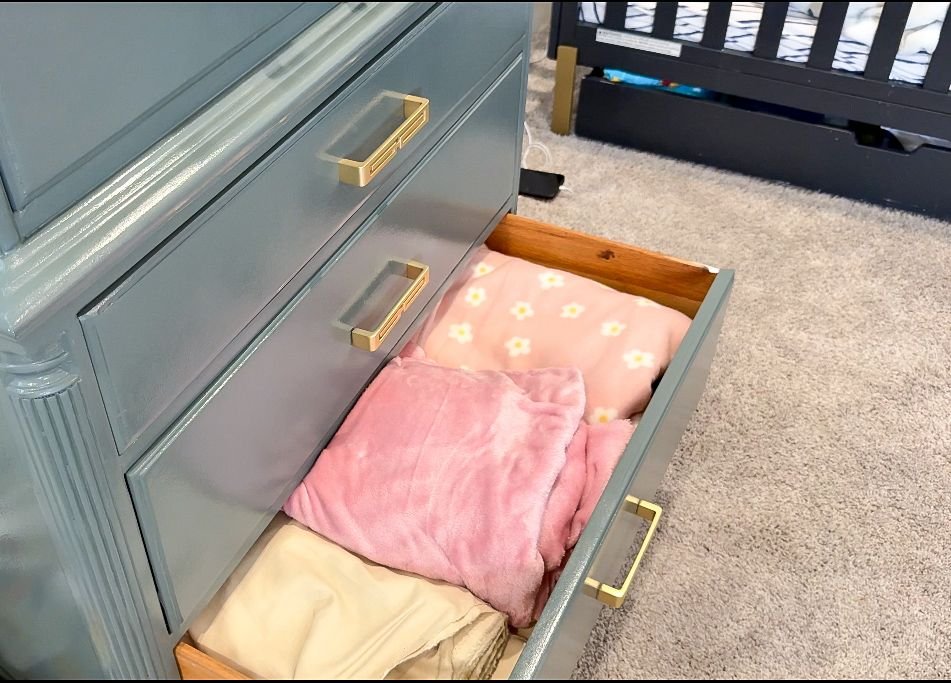
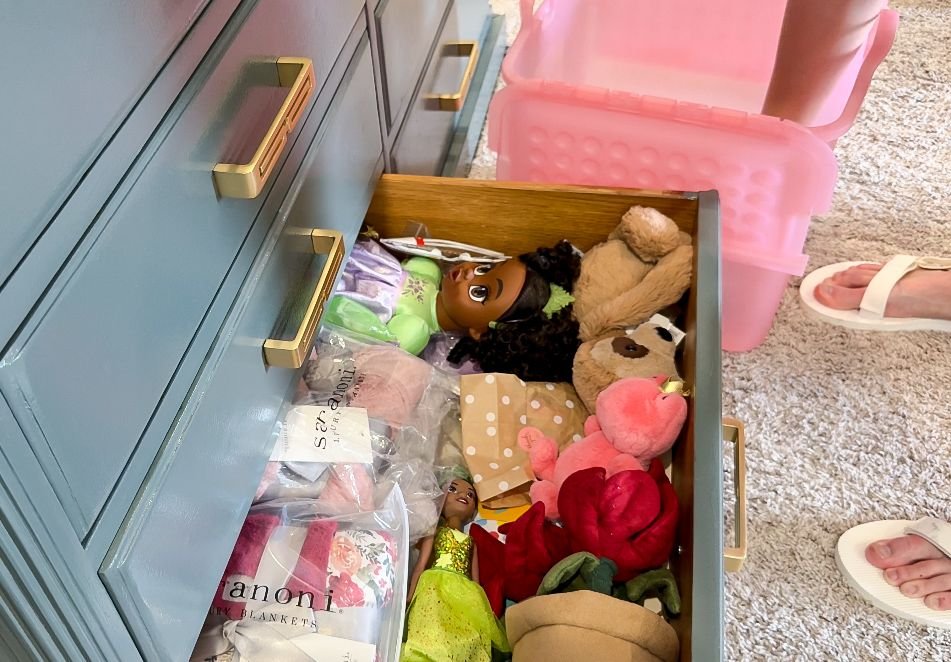
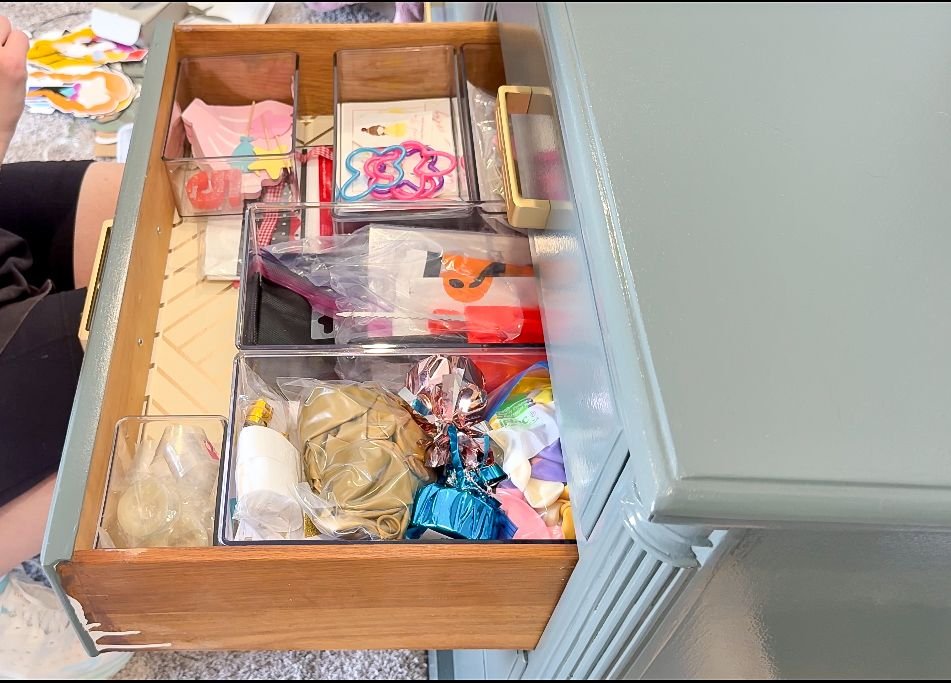
I decided I was going to organize all of my crafting supplies like my fabric, Cricut supplies, etc. into the tall dresser. It is so much nicer to have everything in one dresser as opposed to the multiple organizers I had before. The only thing that didn't fit inside of the dresser was my actual Cricut. The shorter/longer dresser was the perfect place for all of my gift wrapping stuff, extra gifts to have on hand and things I get for future gifts for my kids that need to stay hidden as well as all of my party supplies. Before, all of this was stashed between one set of drawers, multiple small buckets and a couple of bags so I love that it all fit in one dresser with a drawer to spare!
Once I filled up the drawers, I sorted through everything else that needed to go back into the closet. If you've been here long enough, you know I love a good purge. Cleaning and reorganizing a couple of times a year is super therapeutic for me. Part of this process was putting stuff back into my organizing system. I have a download in the shop for the file system that I use to track of all of our important documents, which makes this process so much easier because I already have the system in use. There were a bunch of documents that we had to get in order to go to Argentina like visas, passports, etc that hadn't mad their way to the system so this step was super necessary. The last thing to sort through was all of my kids paperwork that needed to go in their forever boxes. This is another download from the shop that makes it super easy to keep all of their important papers, art from each year, milestones, etc in one place.
Making Over My Son's Room Part 1: The Closet | Removing the Shelving
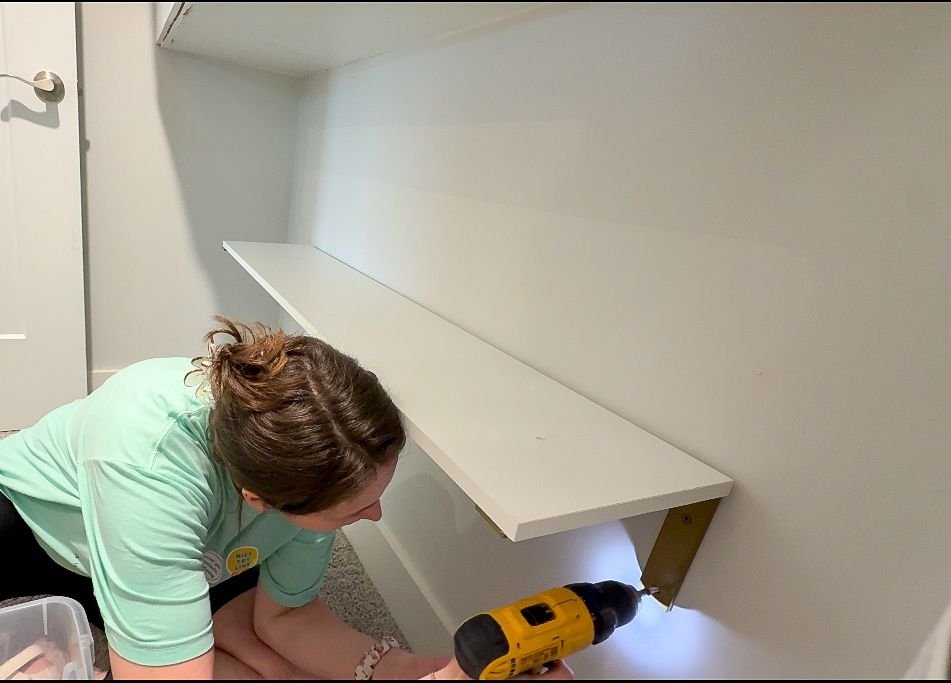
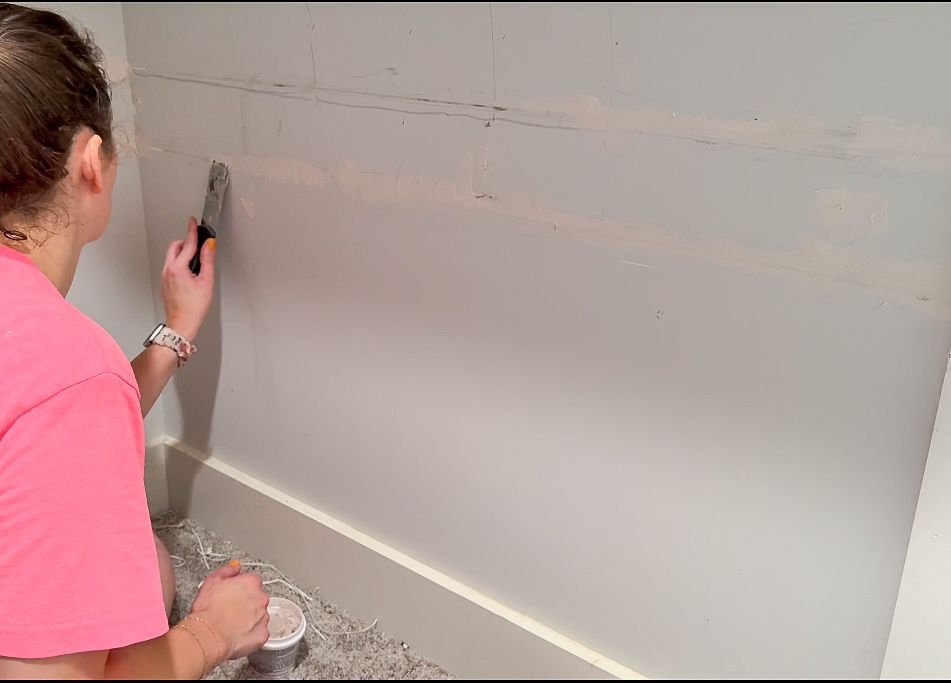
The first shelf on the longer wall was I attached with some screws and brackets, so it was super easy to pull out the shelf, patch up the wall, and paint it. It doesn't look like it was even there. The shelf on the other side of the wall was a little bit trickier. They were really sturdy and thick floating shelves that were able to hold a lot of weight and they were really hard to get out. I had to pry the covers on the outside of the shelves and remove all of the screws that were secured in the studs. I was originally planning on removing the two lowest shelves on this wall in order to fit the dresser in here but my mom suggested I take the feet off the dresser off so it would fit underneath and I would only have to remove one set off the shelves, which made things much easier. To my surprise, there was not a lot of damage to the wall, so all I had to do was make sure all the caulk was off, sand everything down and paint again.

I removed the drawers of the dressers so they were easier to move into the closet. You're probably wondering why I filled the drawers and then took them out of the dressers instead of doing it the other way around. I did it this way because my brain needed to visualize everything at once what I was able to organize and what would go in the dressers. I thought this was the most efficient way to do it without destroying my son's room and having a giant mess for a couple of weeks.
Making Over My Son's Room Part 1: The Closet | Reassembly

I started off with the lower, wider dresser because it needed to go against the back wall. I was able to maneuver it pretty seamlessly myself. I just had to make sure tit didn't impact the water heater or how the door would open and close. The larger, taller dresser was a different story. I took all of those drawers out and the feet off of that dresser, which was pretty simple. As I was moving it into the closet, though, things got interesting. I knew the dresser would block the light switch, so I made sure that it was far enough off of the wall that I could still reach the switch. The issues came when I was trying to get the drawers back into the dresser. The bottom drawers wouldn't easily go in because of the pipe from the water heater so I had to scoot the dresser back out, put those bottom two drawers in, bring it back, fill them, and then put the rest of the drawers in.
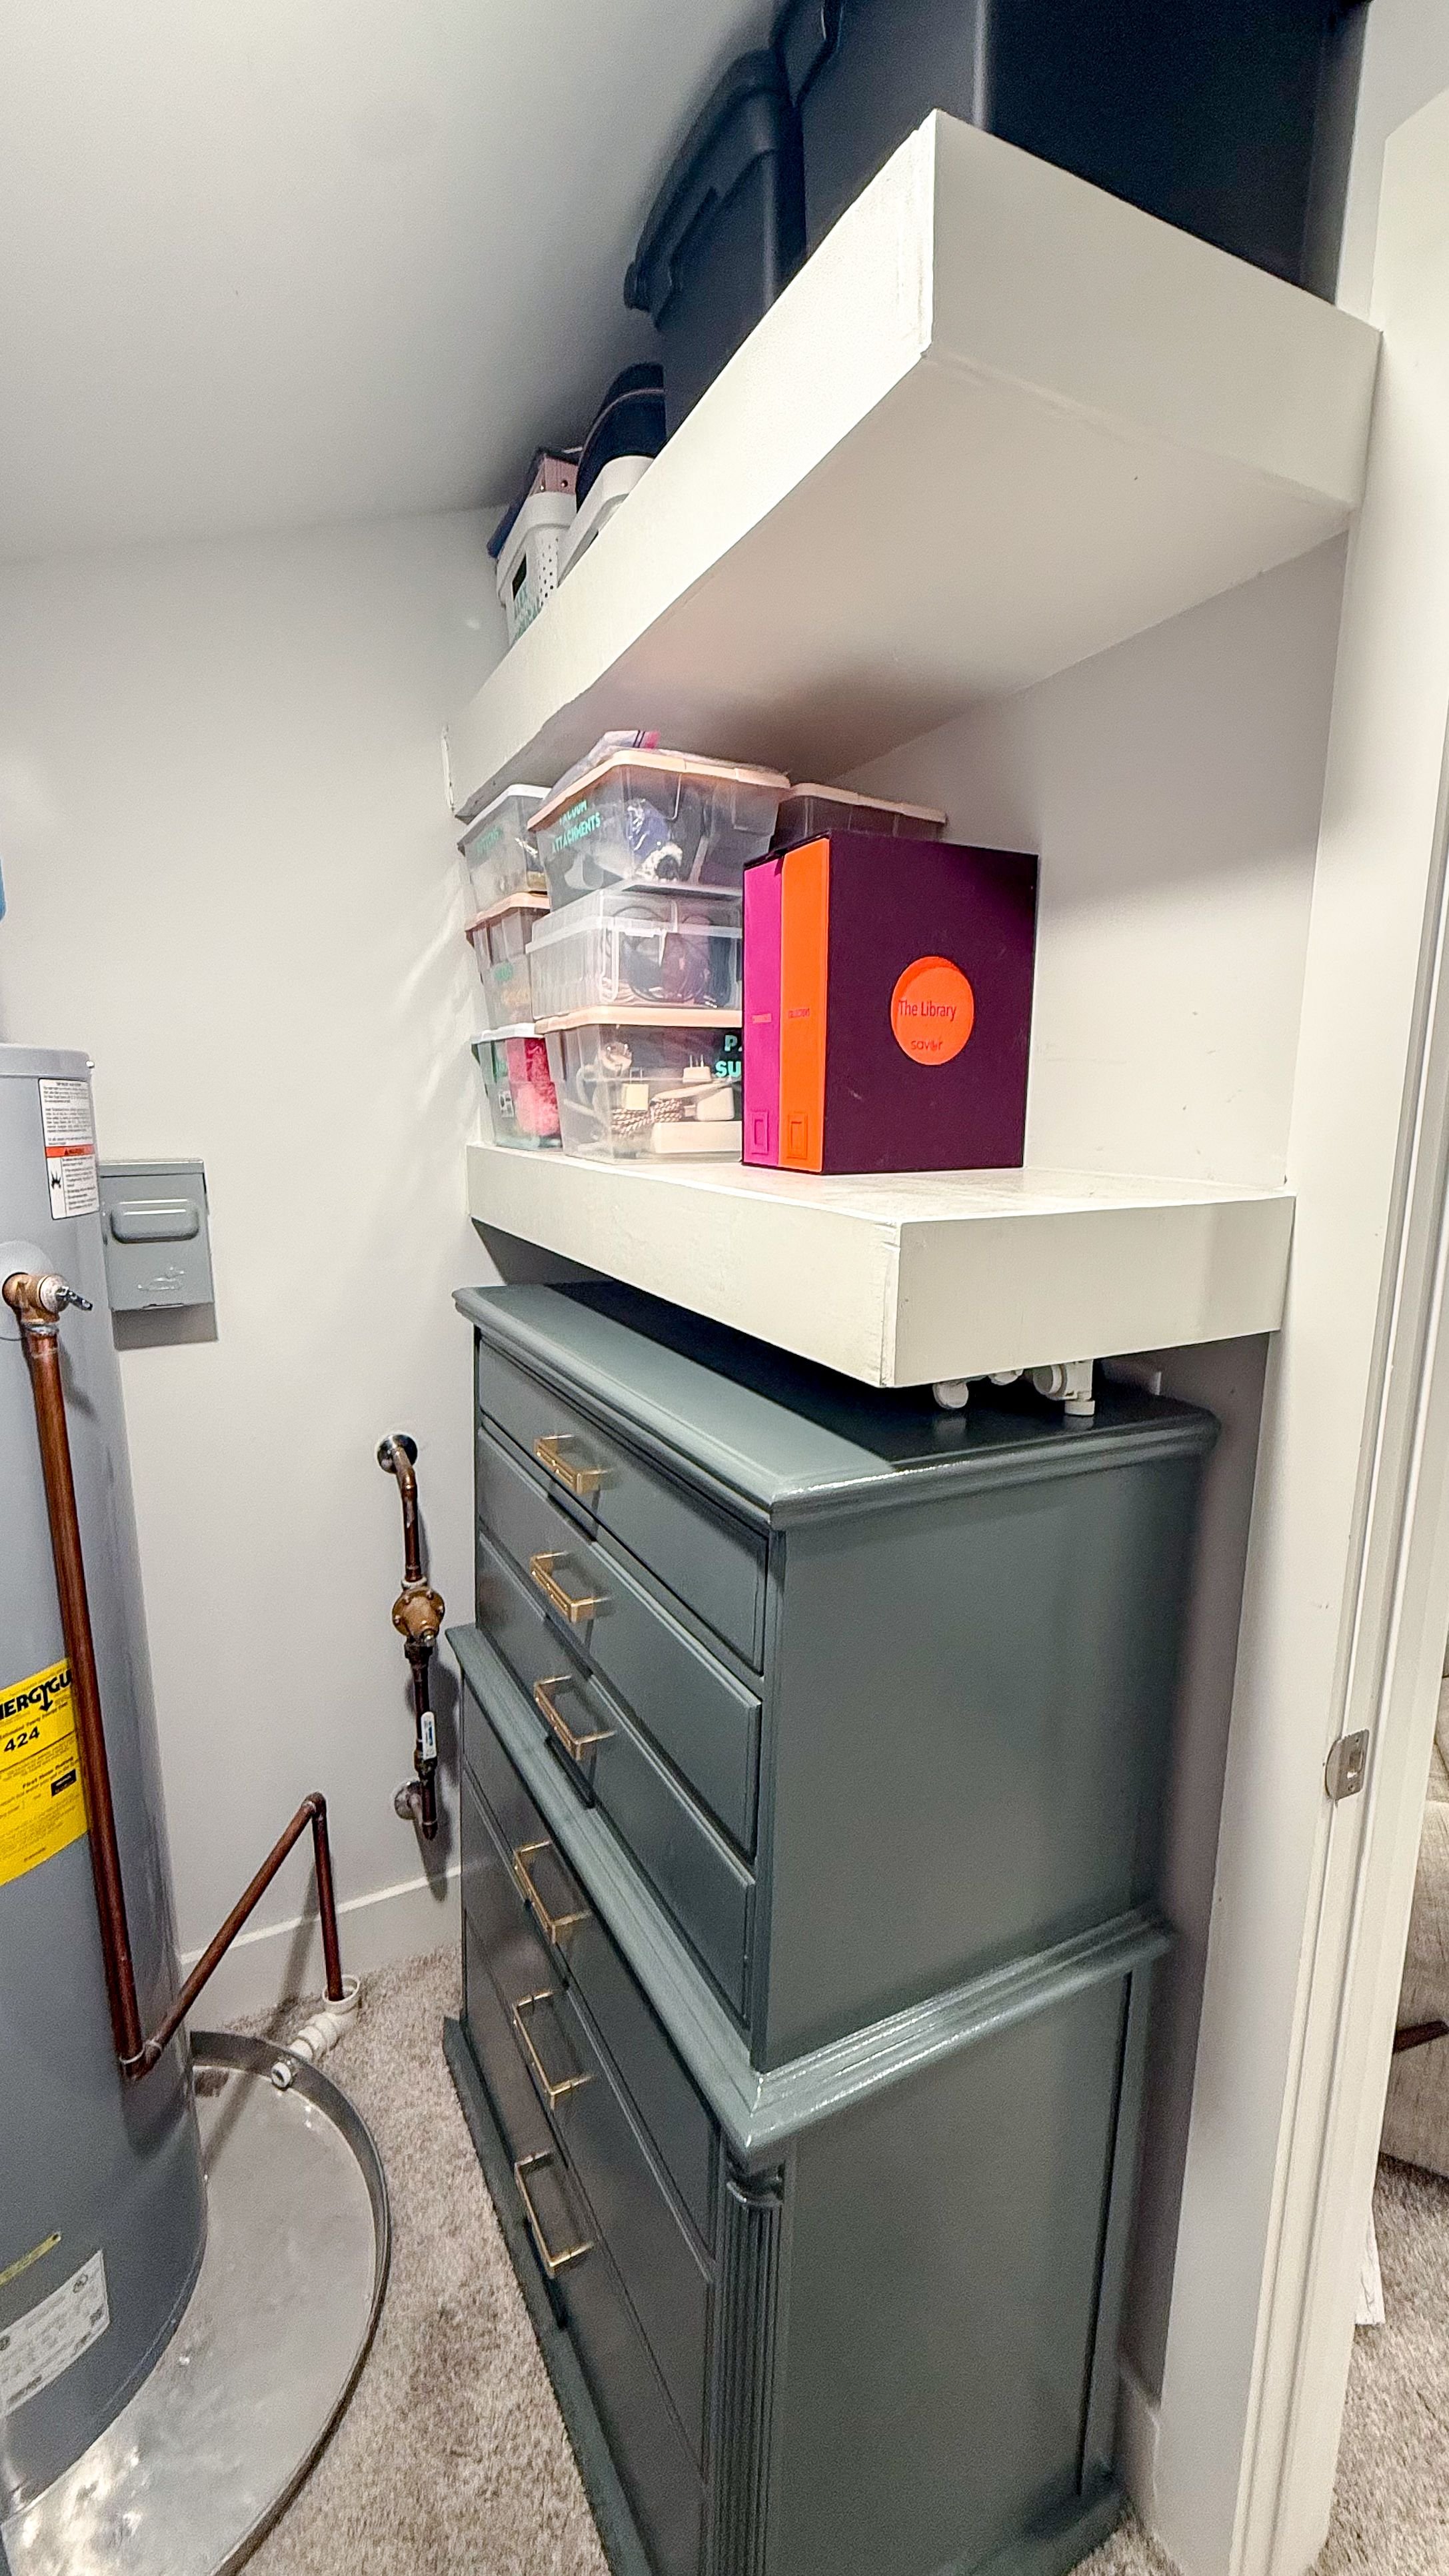
Once both of the dressers were in, I was able to put in the last of the bulkier things I needed on the remaining shelf. I added new labels to the closet because for my little neurodivergent family labels are a necessity. The last few things that made their way into the closet were toys for my son that I am holding onto for a toy rotation. These are all toys that I'm going to hold onto and just pull out when my son wants them.
I absolutely love how the closet looks now. I actually have quite a bit of leftover space thanks to my purging at the beginning. I'm pretty floored with how much stuff the dressers were able to hold and with how much room moving them made in my son’s room. The next step in this series will be doing the Murphy bed which will take some time, but I am SO excited for so stay tuned for that!