
Making Over My Son's Room Part 3: Reading Nook and Slide

In case you've missed it, I'm turning my son's room into the ultimate playroom and bedroom space. The room has vaulted ceilings so it was the perfect space to really go big. Today we're wrapping up the section of the room we've been working on the last few weeks: the reading nook and slide.
Making Over My Son's Room Part 3: Building the Structure
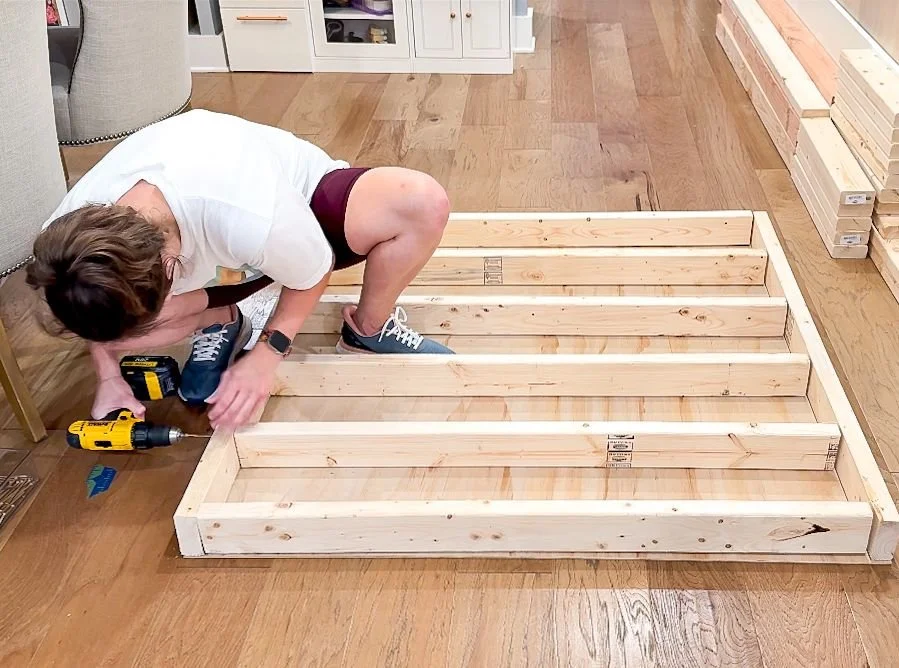
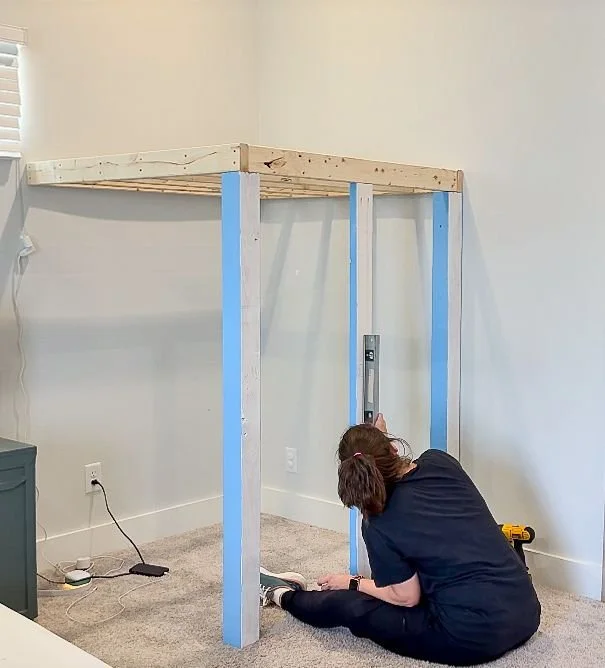
I started off with the frame/platform by using 2x4s. I wanted a 48" by 48" platform so I could make it easy on myself and just use one sheet of 48" by 48" plywood for the underlayment. Then, I could put flooring on top of that. I attached the boards to each other using 3 inch wood screws and used two for the end of every board. I didn't worry about painting it because it will be covered once the project was done. To support the frame for the platform, I used two 4x4 posts and one 2x4 post. I ended up painting these because they would be visible. I did two coats of primer and then two coats of Benjamin Moore Sea to Shining Sea paint. I primed all four sides, but only painted three sides because one side of each board was going to be covered. Then I got started attaching it to the wall.
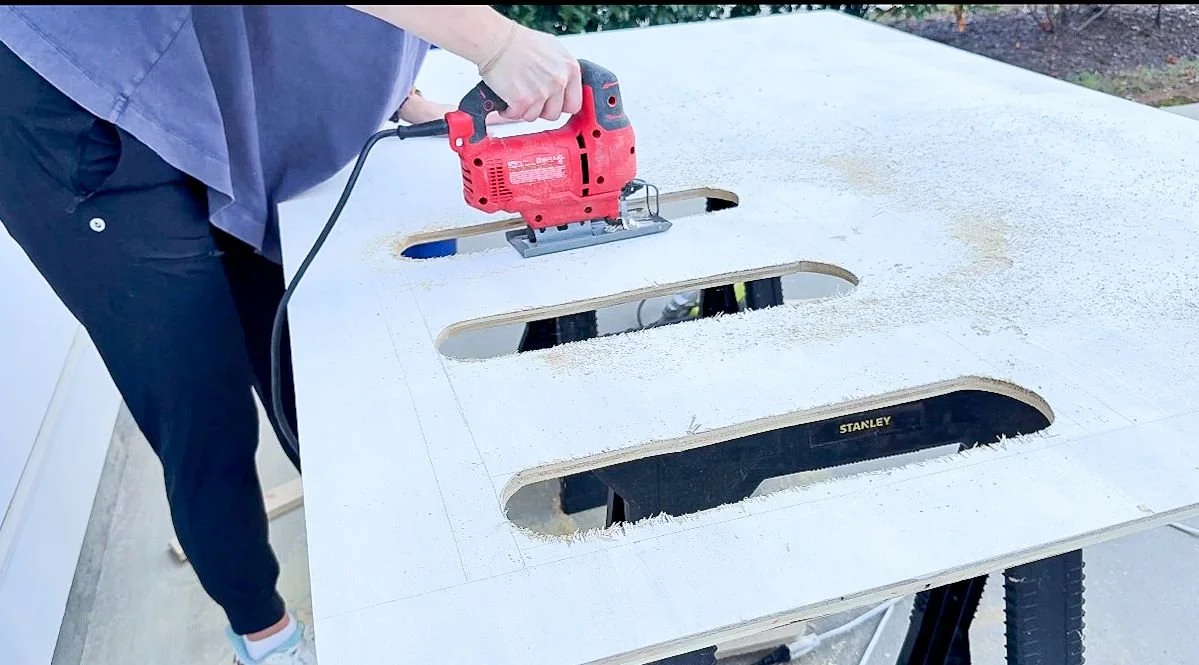
I measured how far it was going to be from the back wall to where I needed to cut in the baseboard and cut enough room for the 4x4 post. I added a half inch on the far side because there will be a piece of plywood as the face for the area. Once that piece was in, I secured the second 4x4 post to the platform. Then lifted that up and secured the platform to the first post, which was attached to the wall. I secured the platform along both walls to the studs in the wall, which I had previously marked. When I was finished, the platform had supports in the front, and it was secured fully to the studs too. I added the additional 2x4 to the front between the two 4x4 posts to act as an additional support for the plywood. Using another piece of plywood, I used my jigsaw to cut out oblong ovals with the curved ends into the plywood, sanded them smooth and then primed and painted them. I chose to wait until it was installed to paint, but looking back I should've just painted it first. I used 2 inch wood screws and secured the plywood to the 2x4 used wood filler to fill in holes.
Making Over My Son's Room Part 3: Slide
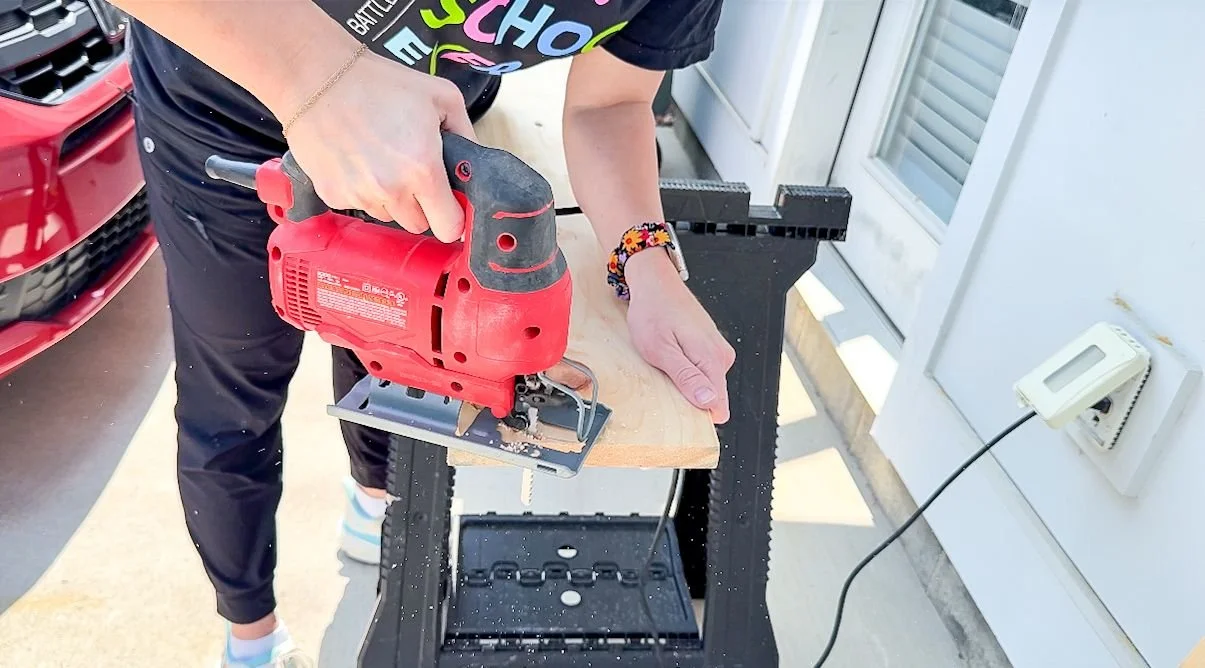
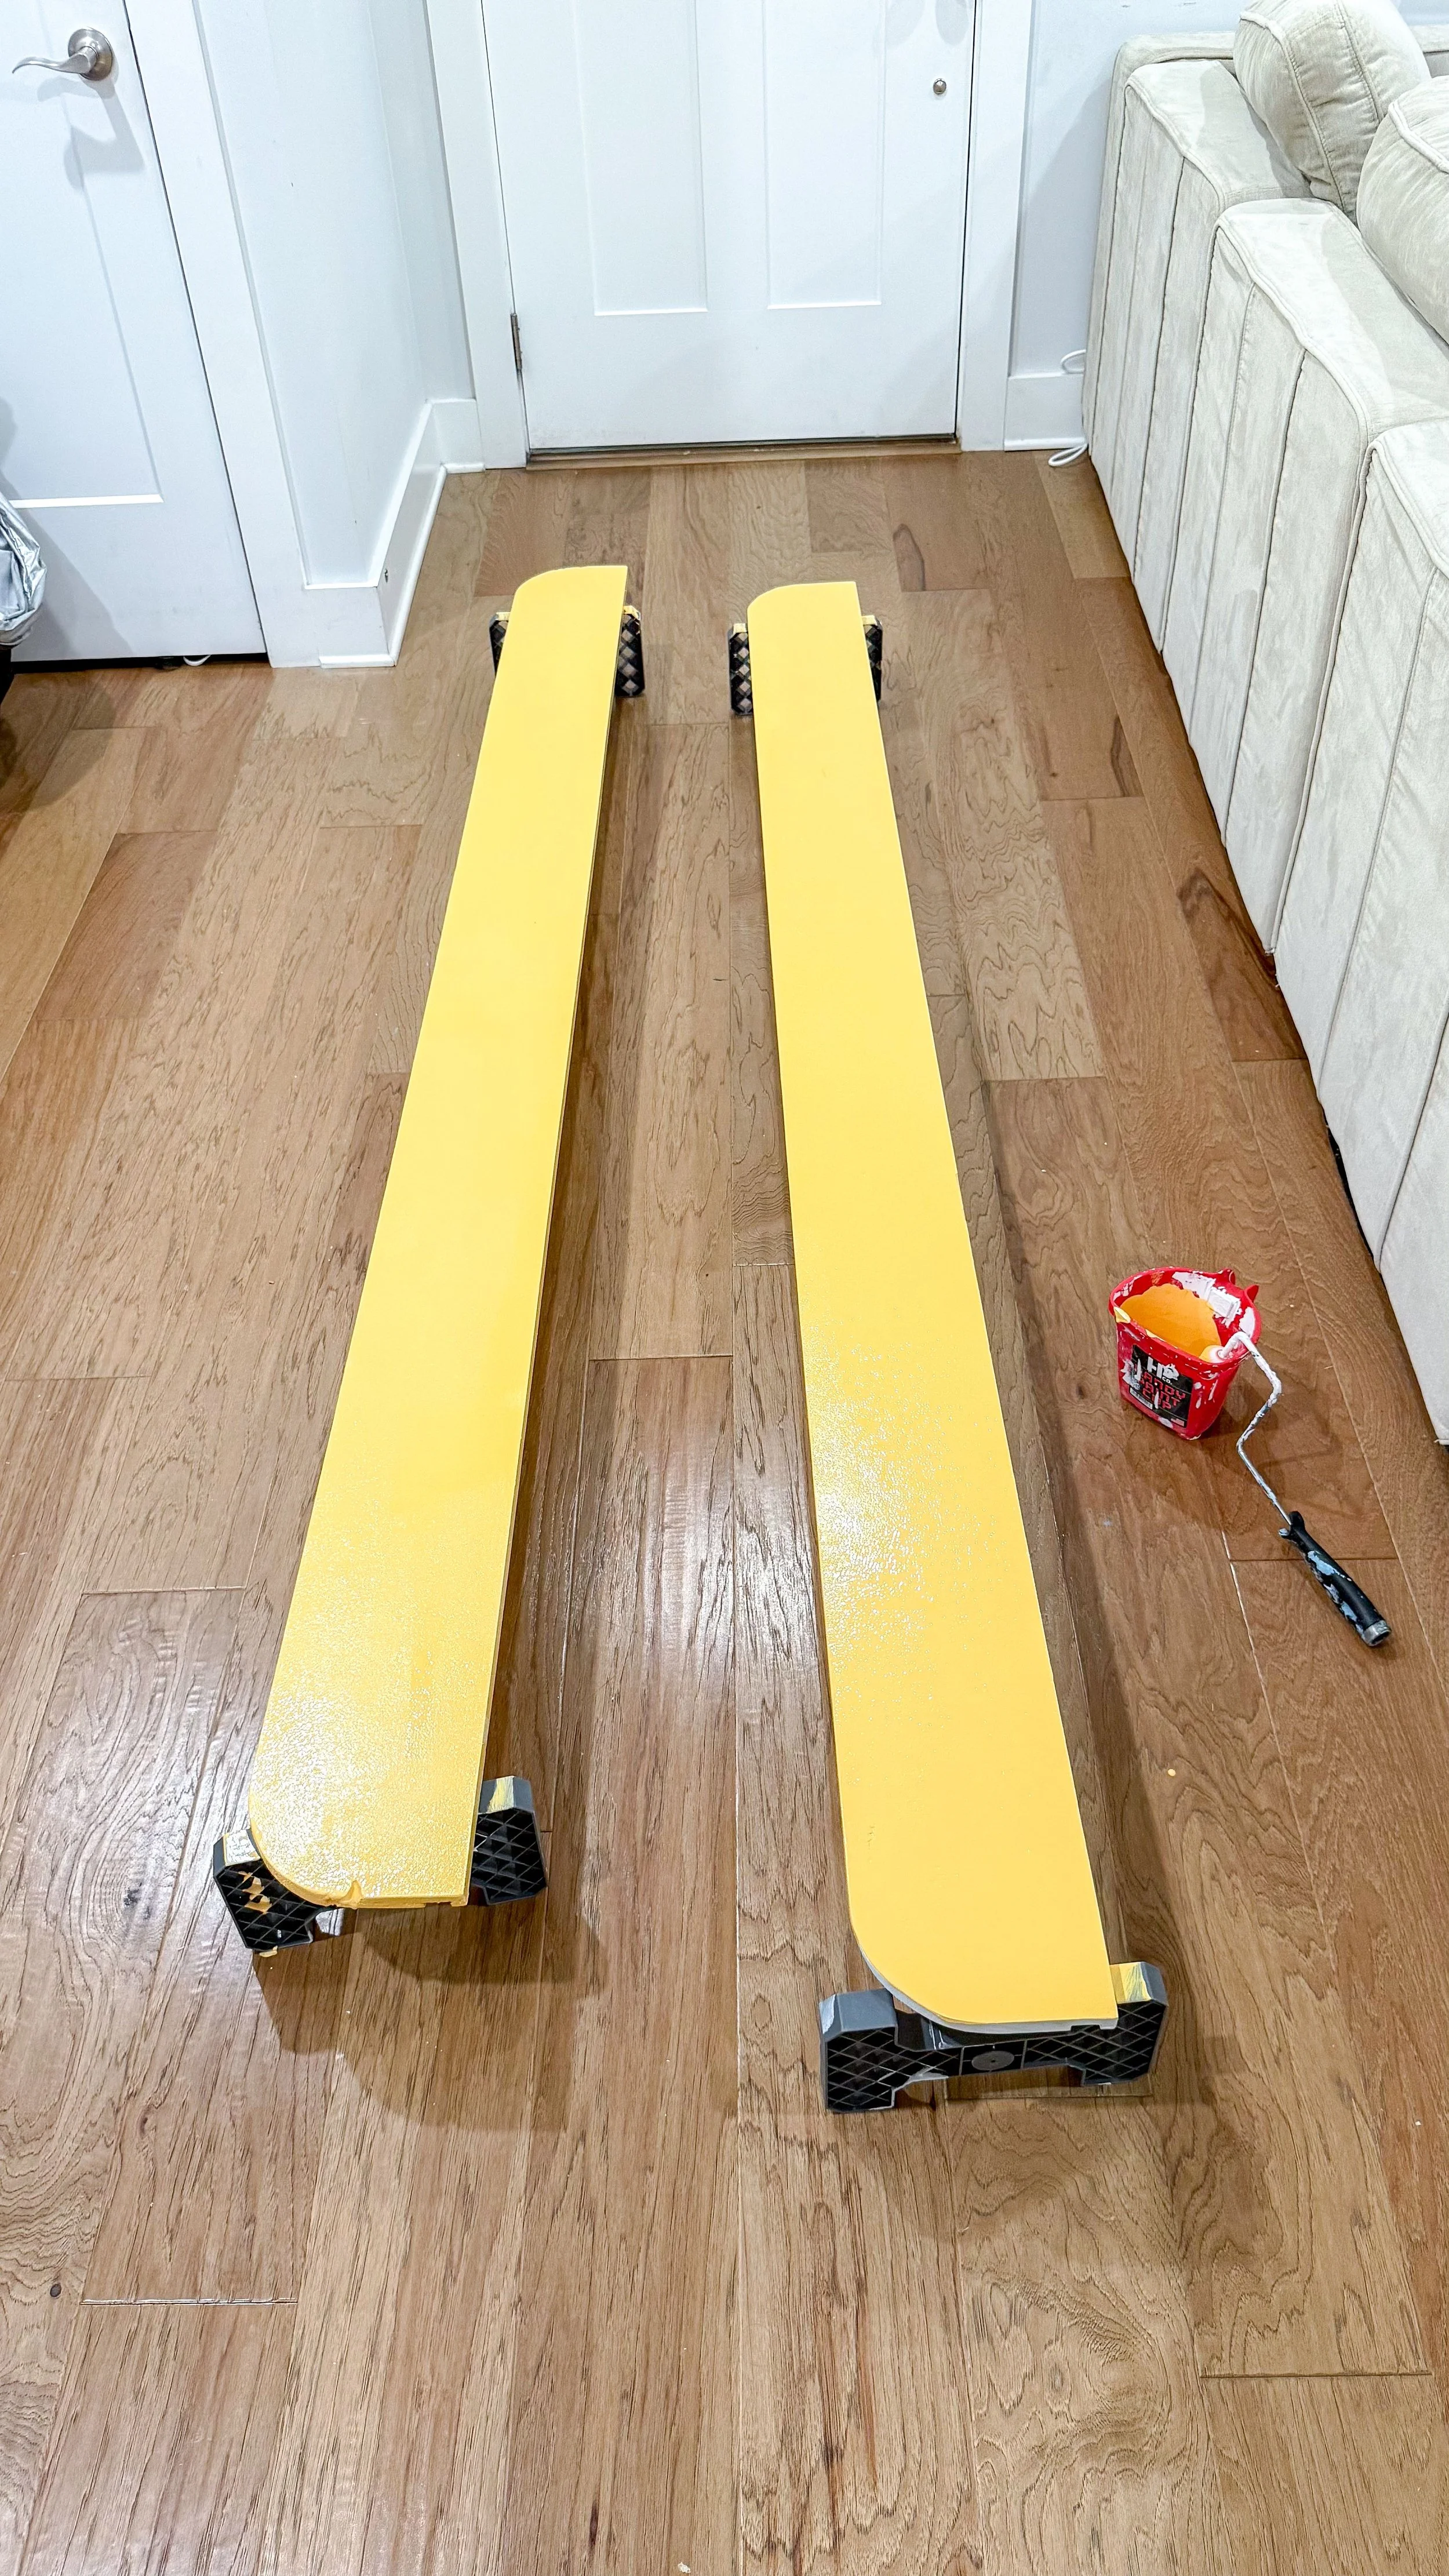
After finishing the base I moved onto making the slide. I have a separate post that goes into depth on how I made the slide that you can refer to if you're interested. I used wood and melamine to make the slide. I attached the wood pieces to the melamine after I ran them through my router table to get a nice inset for the melamine to rest in. I painted the wood sides of the slide with Honey Bell paint by Benjamin Moore. I love that this paint gives a really nice finish at the end, and is super easy to clean. Once the boards were painted, I attached them to the melamine using 2 inch screws. I pre-drilled into the panels and into the melamine so I didn't have any cracks or splitting.
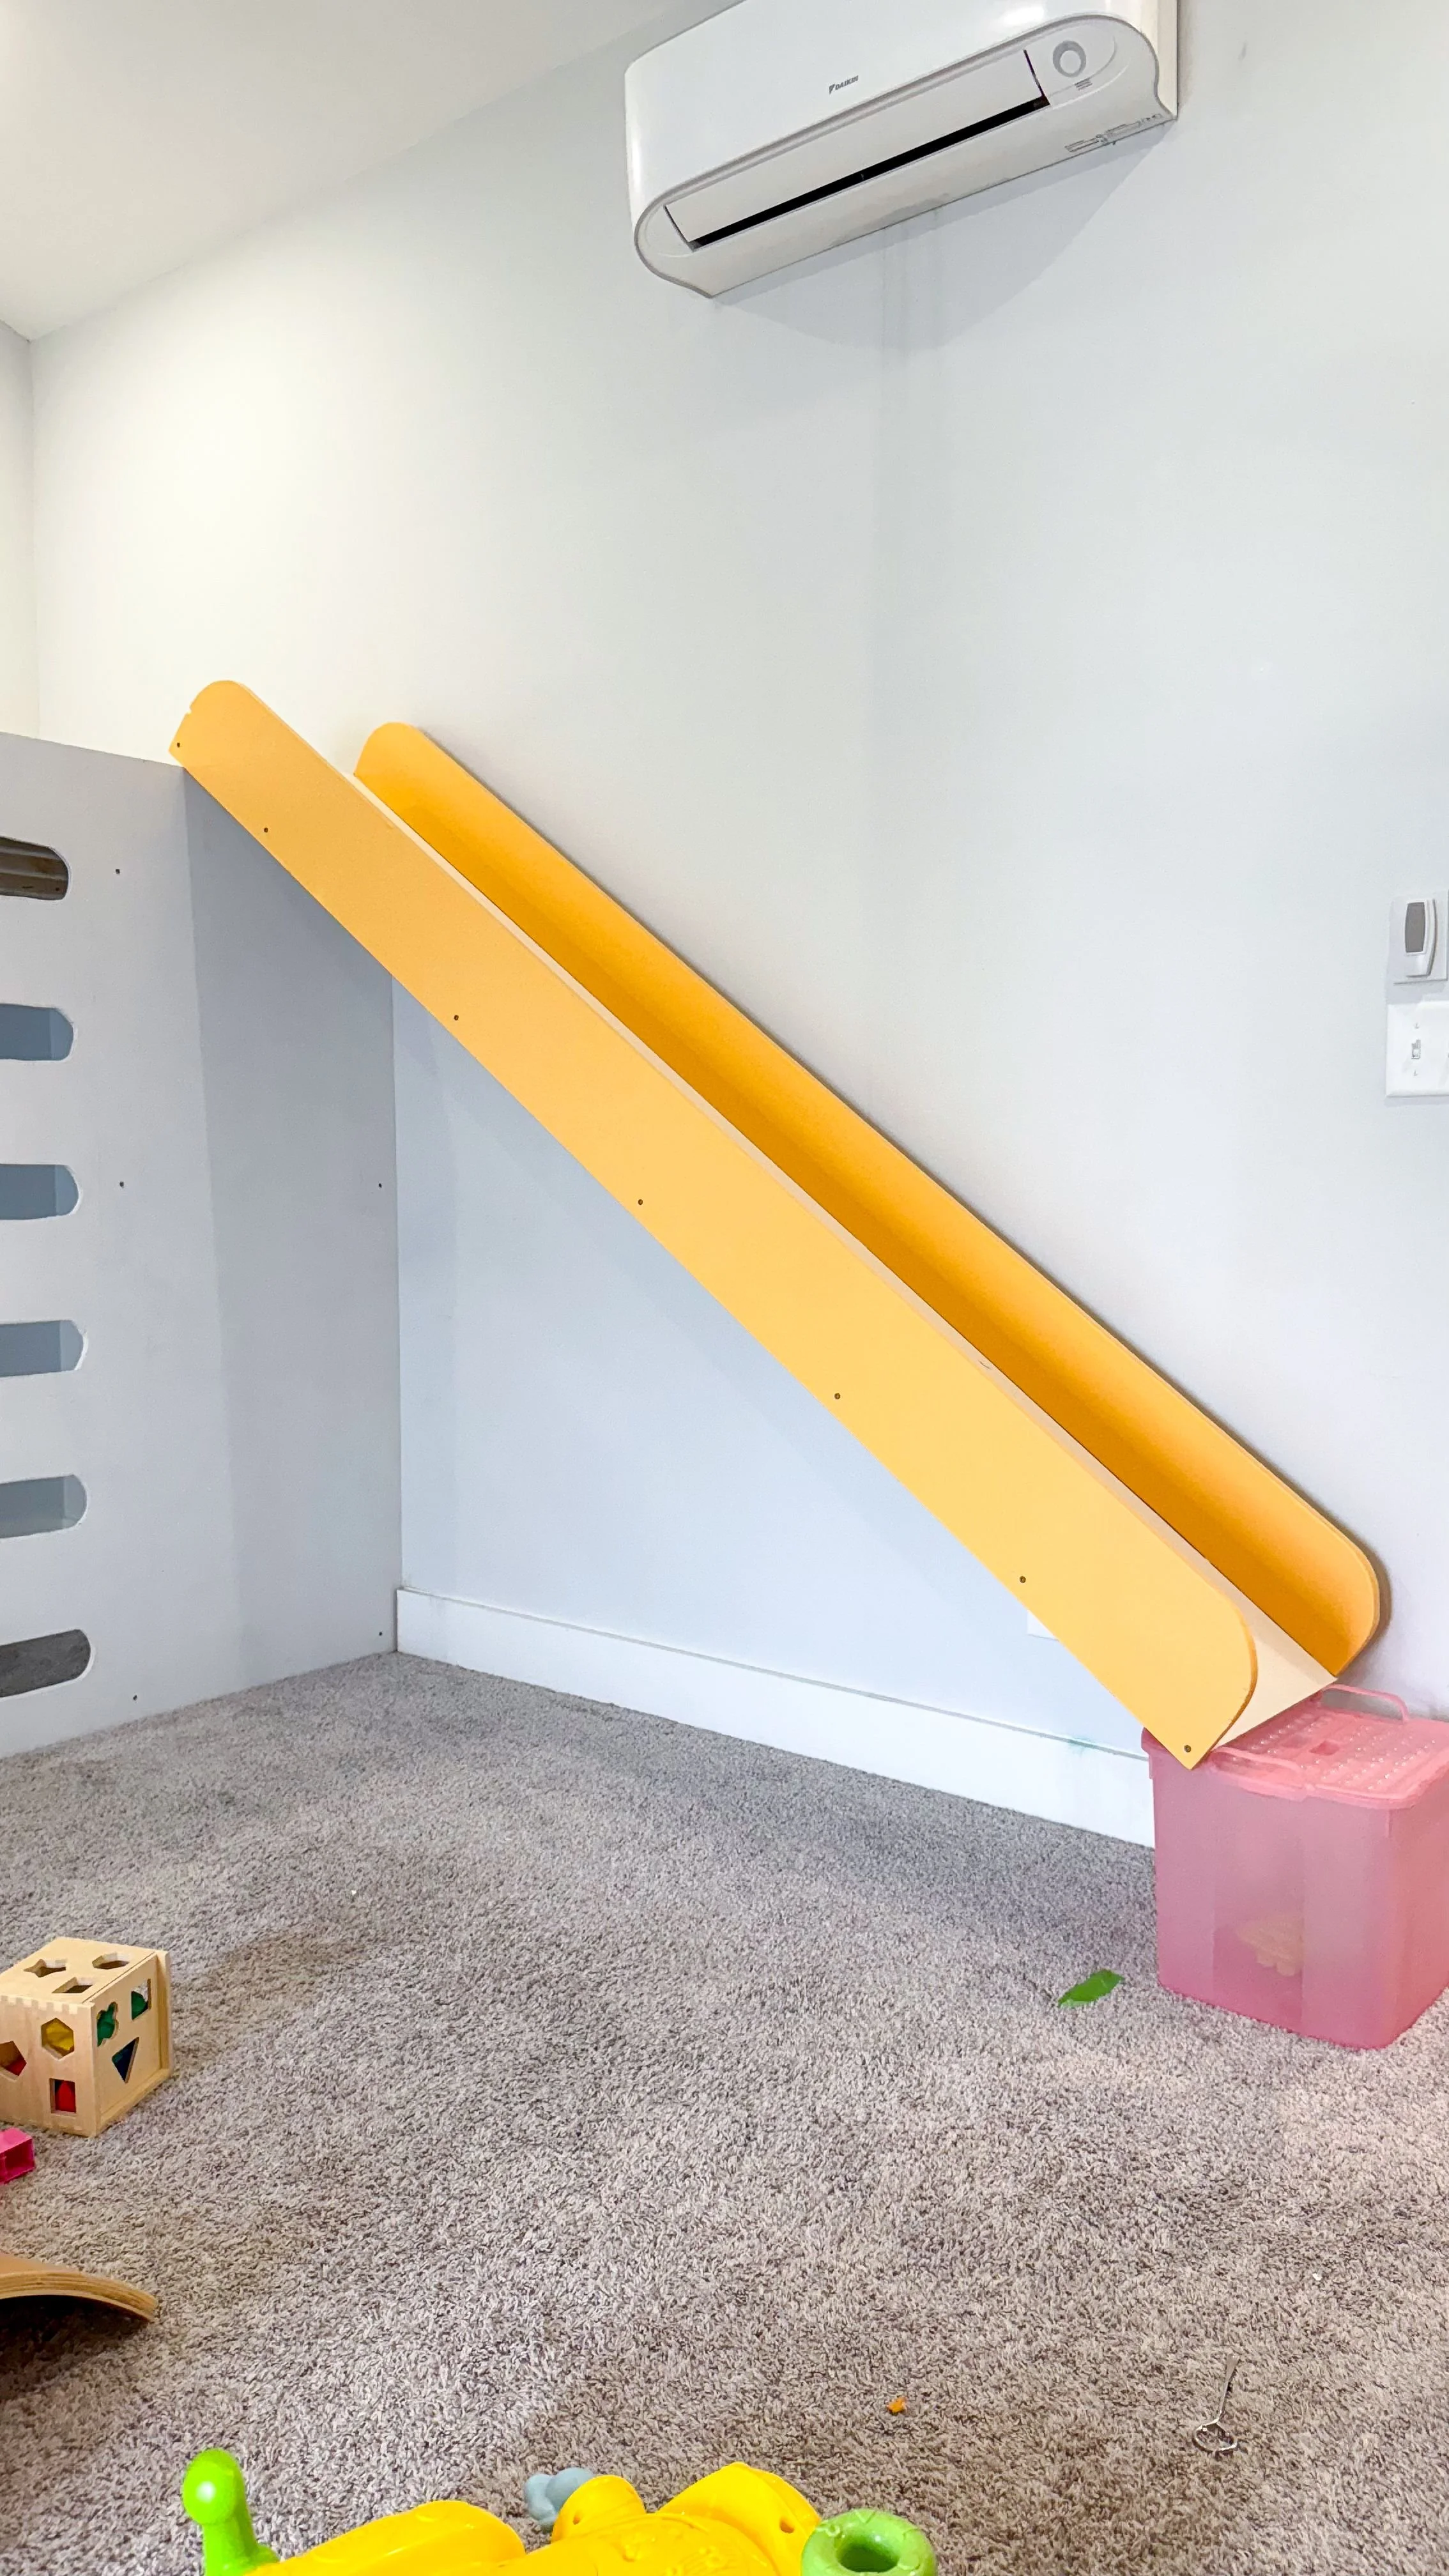
I originally was not going to raise the slide up at all, but after doing a test slide I decided it was too steep so I built a 12 inch platform to raise it up a little bit. I installed the slide onto the platform using brackets and bent them into place and repeated this when I attached it to the platform at the bottom. Then I got started on the reading nook.
Making Over My Son's Room Part 3: Reading Nook
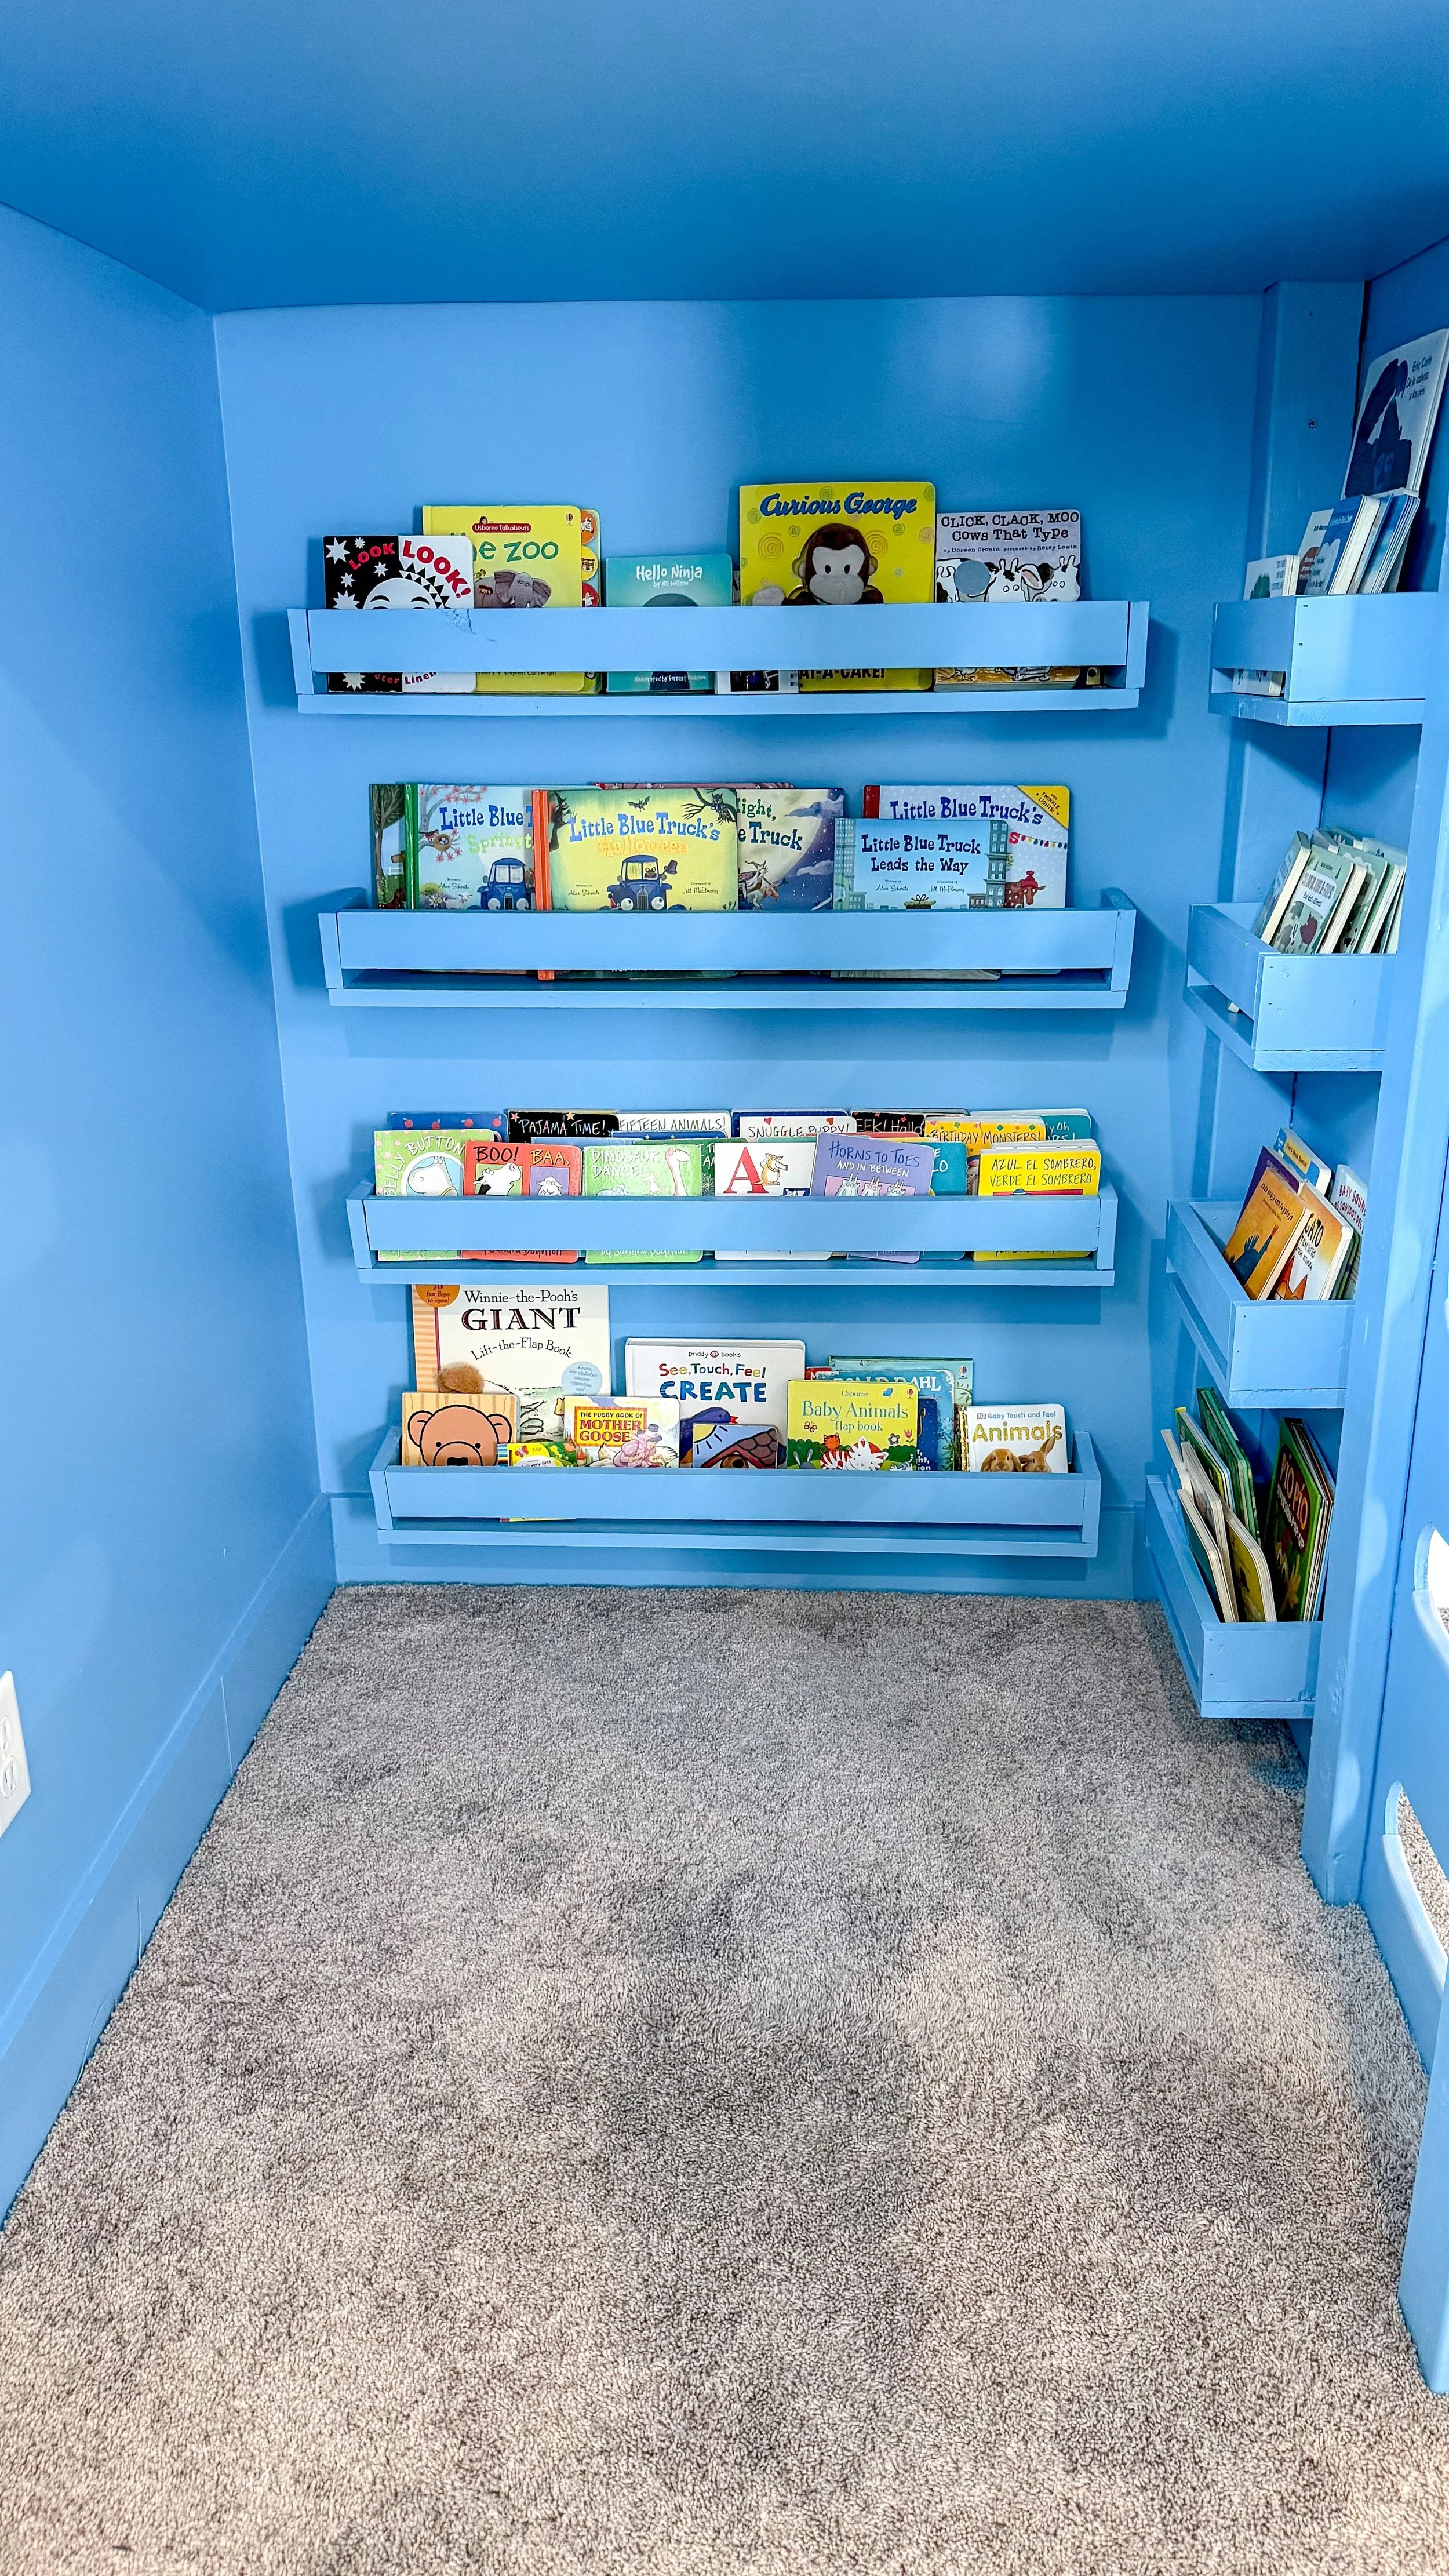
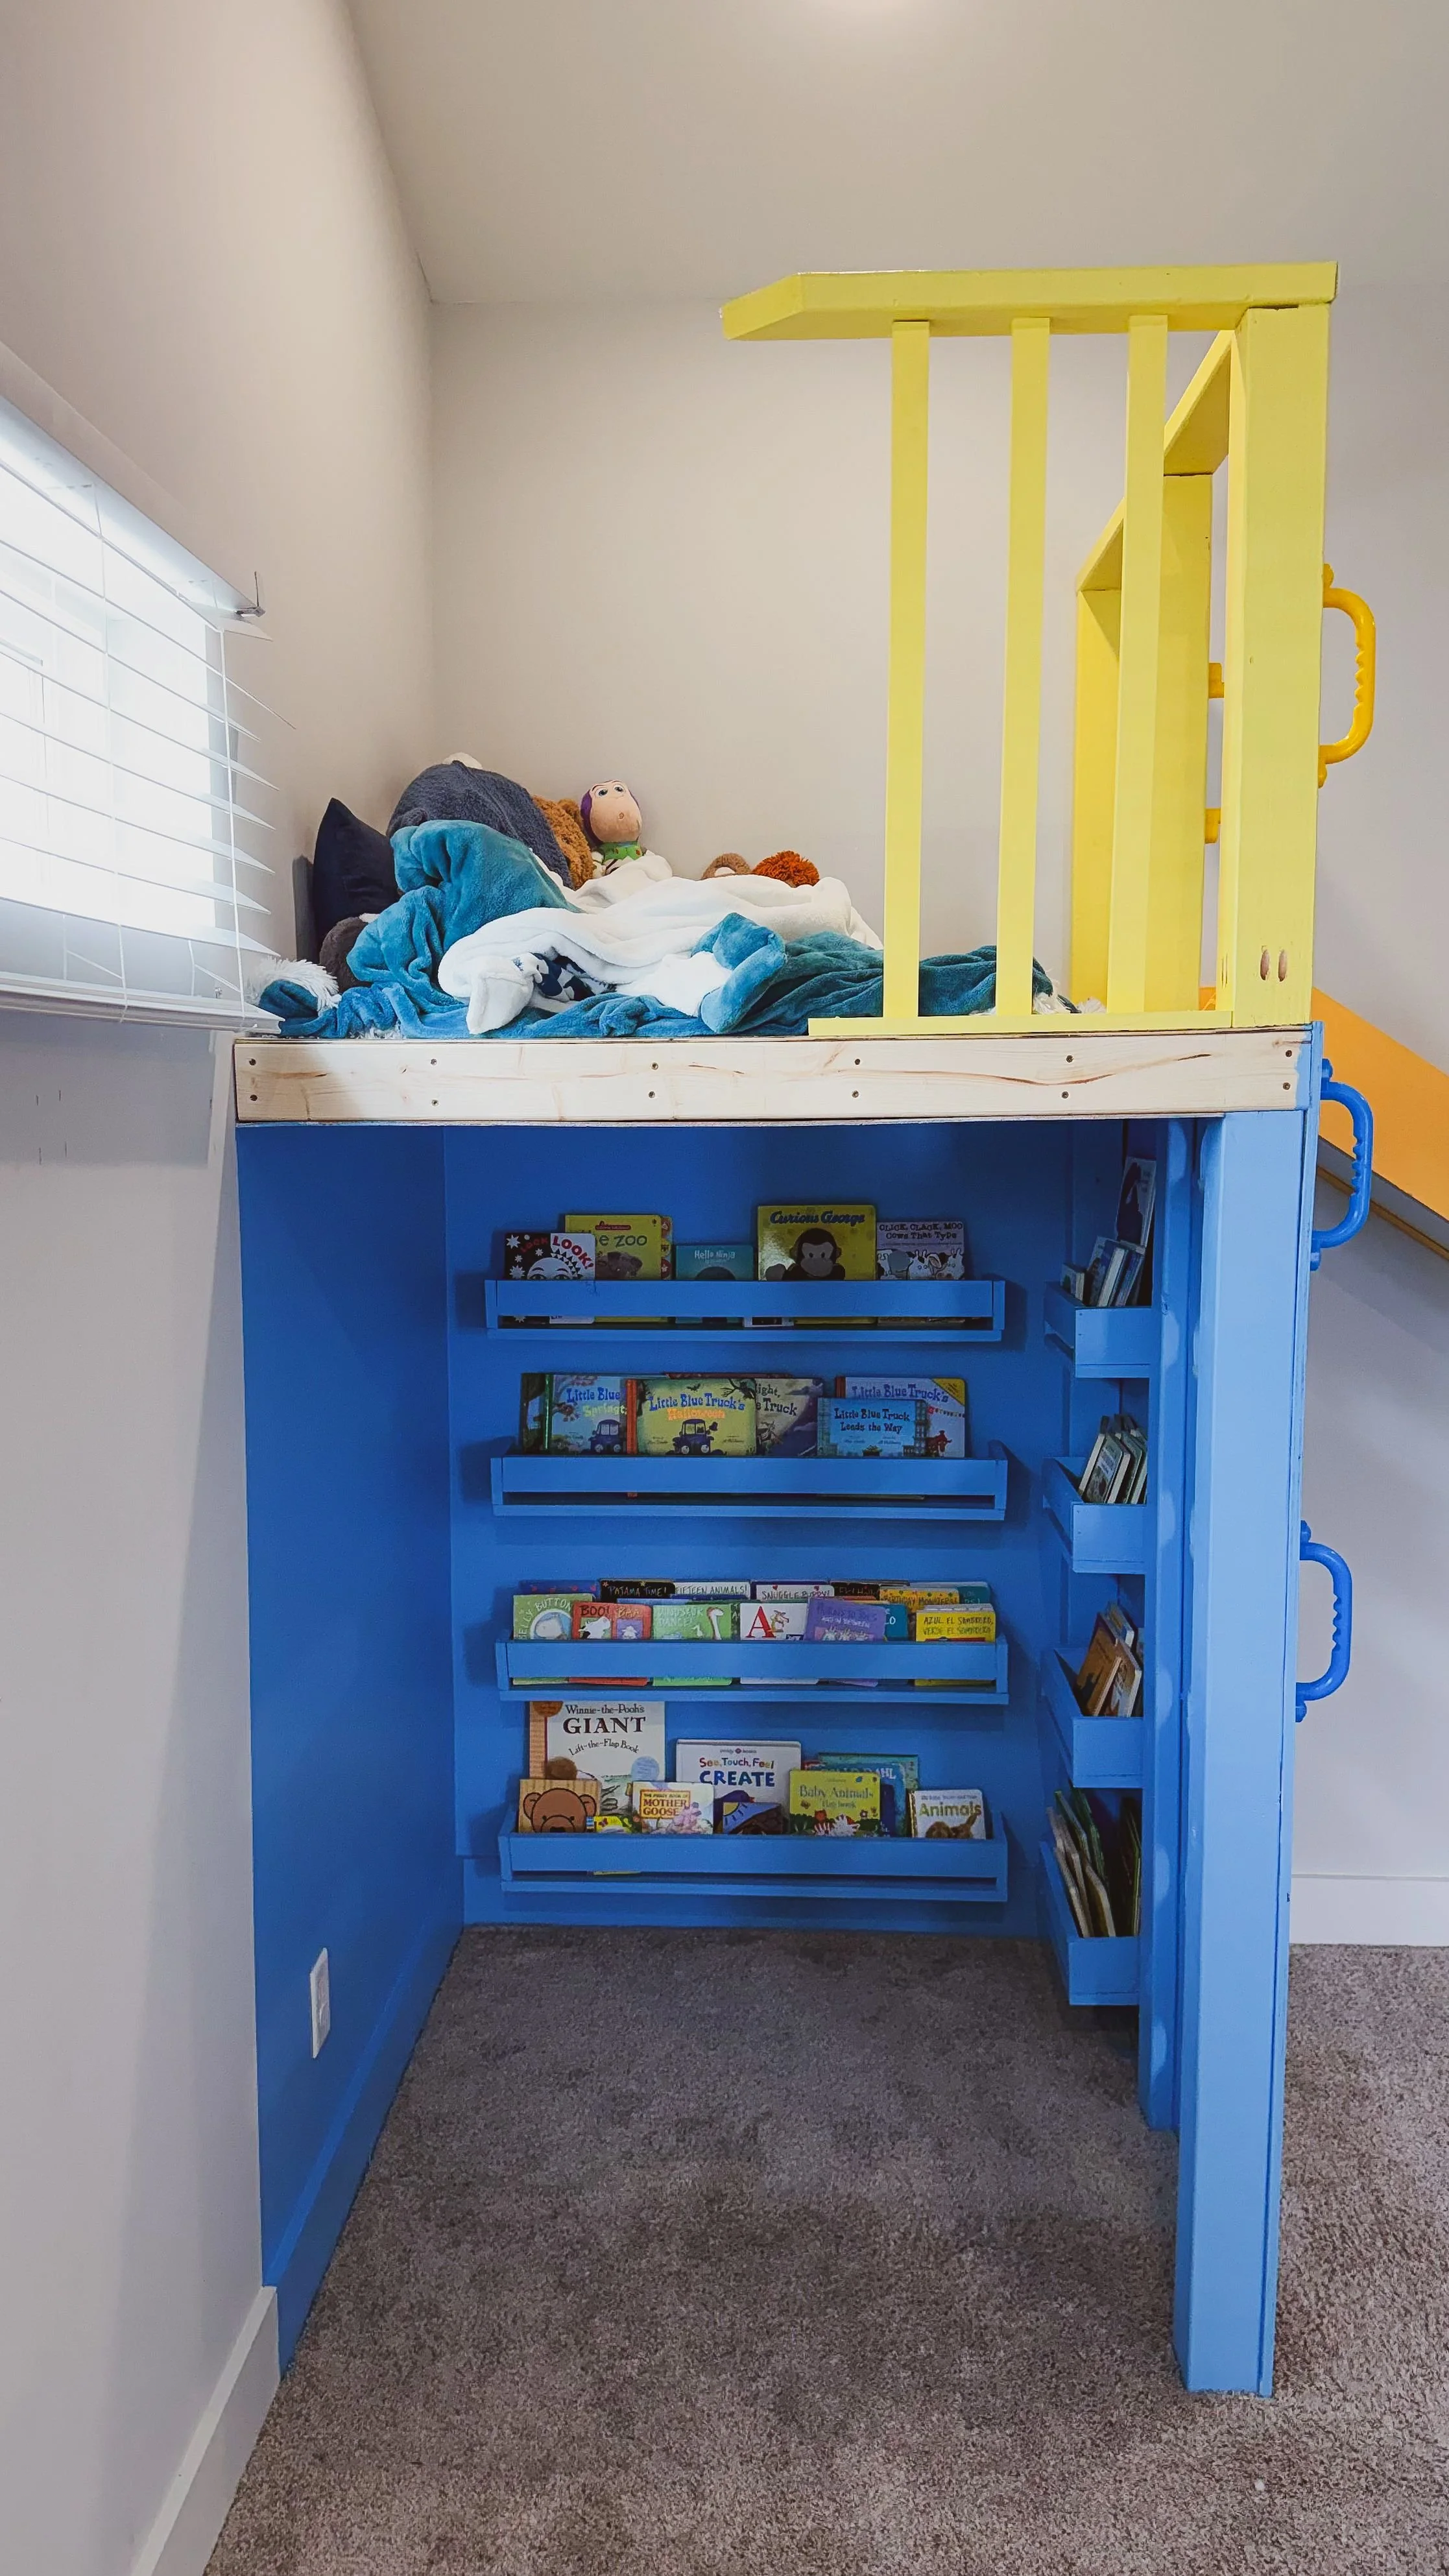
I started off with the floating shelves. Again, there's a separate post about this so you're welcome to look back to that for all of the details. I made a total of eight floating shelves for the reading nook. Four shelves were 36 inches long and the other four were 15 inches long. I didn't completely cover the walls with shelves because I wanted there to be a spot for the kids to sit and read. I cut the boards down and I used Sea to Shining Sea by Benjamin Moore again to paint them. I attached the boards to each other to make the shelves and then attached them to the walls in the reading nook. I used brackets and attached them to the actual shelves so that they were all ready to go.
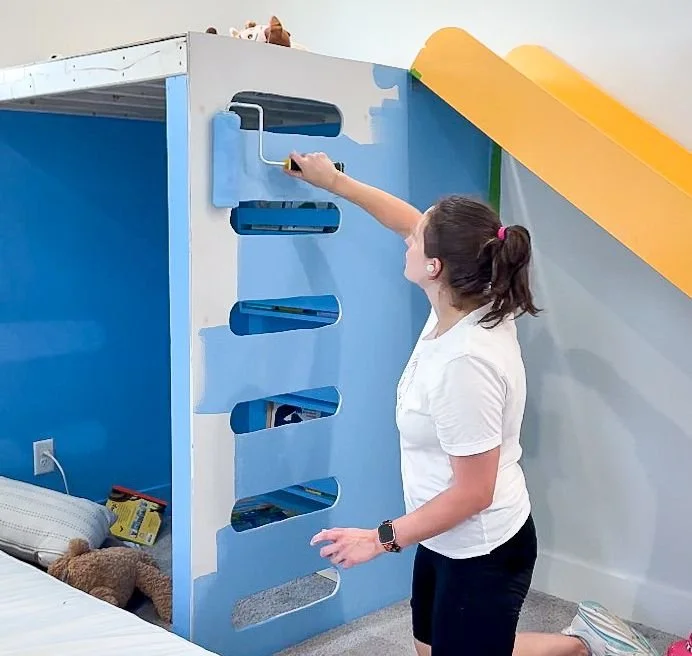
I prepped the actual reading nook with the same paint from the shelves so they looked cohesive. I painted the inside of the space and used painters tape to create a distinct line separating the reading nook from the other areas in the build. After the paint was dry, I installed the shelves. I already had the brackets on so all I had to do was measure where I was going to install the shelves. I wasn't able to secure them to the studs so I used wall anchors to fill in the gaps.
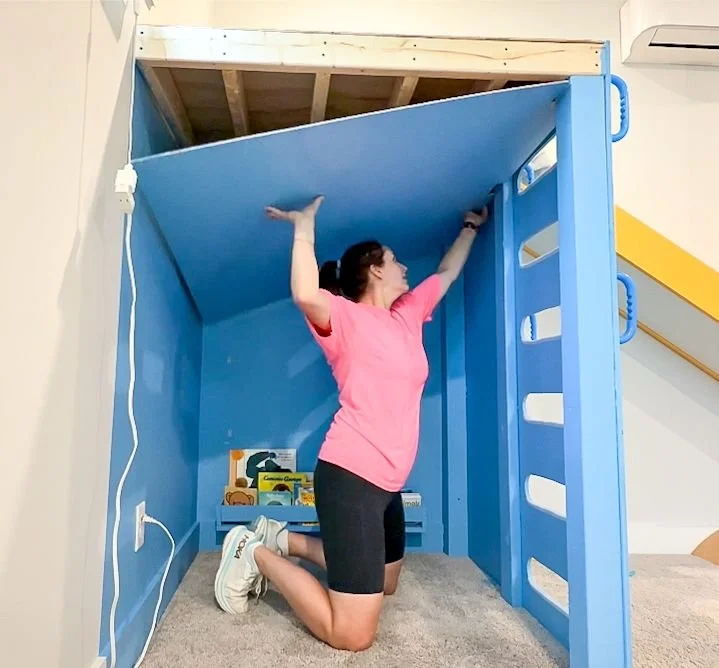
I painted the outside the same color to, again, designate where the reading nook is. I used another piece of painted plywood to cover the frame that I built for the slide platform. When I went to install the painted plywood to the ceiling of the reading nook, I had to remove a few of the shelves to get it to fit correctly, so if you decide to do this make sure you add the ceiling board first.
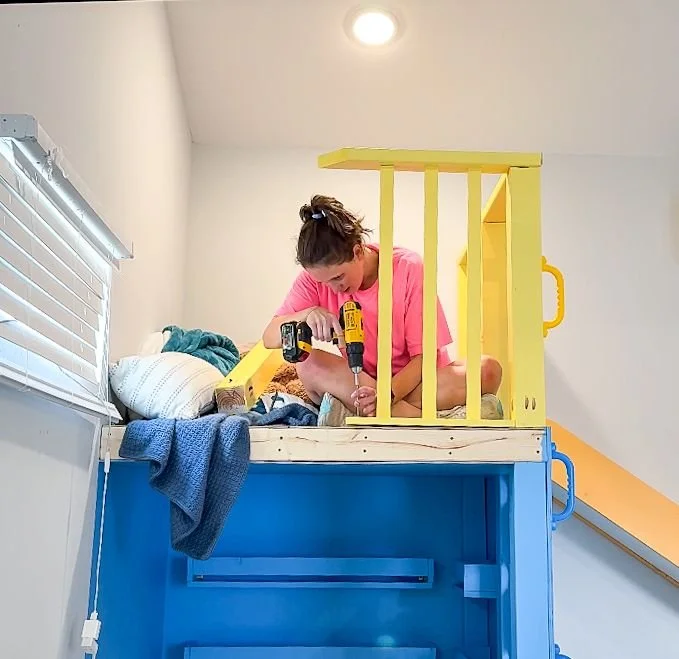
Lastly, I added a railing, something my kids were not too happy about since they've loved jumping off of the platform, but I wanted it there for safety. I used a 2x4 post up against the wall and 4x4 posts along the rest of the platform. I also attached handles to the two railings above the ladder, and added additional handholds along the ladder just to make it a little bit easier to go up and down. I did a mini railing with only three rails as my experiment since there will be a lot more railings in the next phase of the project.
I already love how this project is going and my kids love playing on it. Stay tuned for the next phase of the project to see what I do next!