DIY Floating Bookshelves
I'm back again with another small project in my son's room before we reveal another section of the room. We did a slide last week and we're tackling some bookshelves this week. It's a pretty simple project, but I wanted a complete tutorial anyone could access to make their own. I recycled some wood from the guest bedroom headboard for this project and made a plan for a set of shelves with a bar in front so we can fit big and small books on the shelf without them falling off.
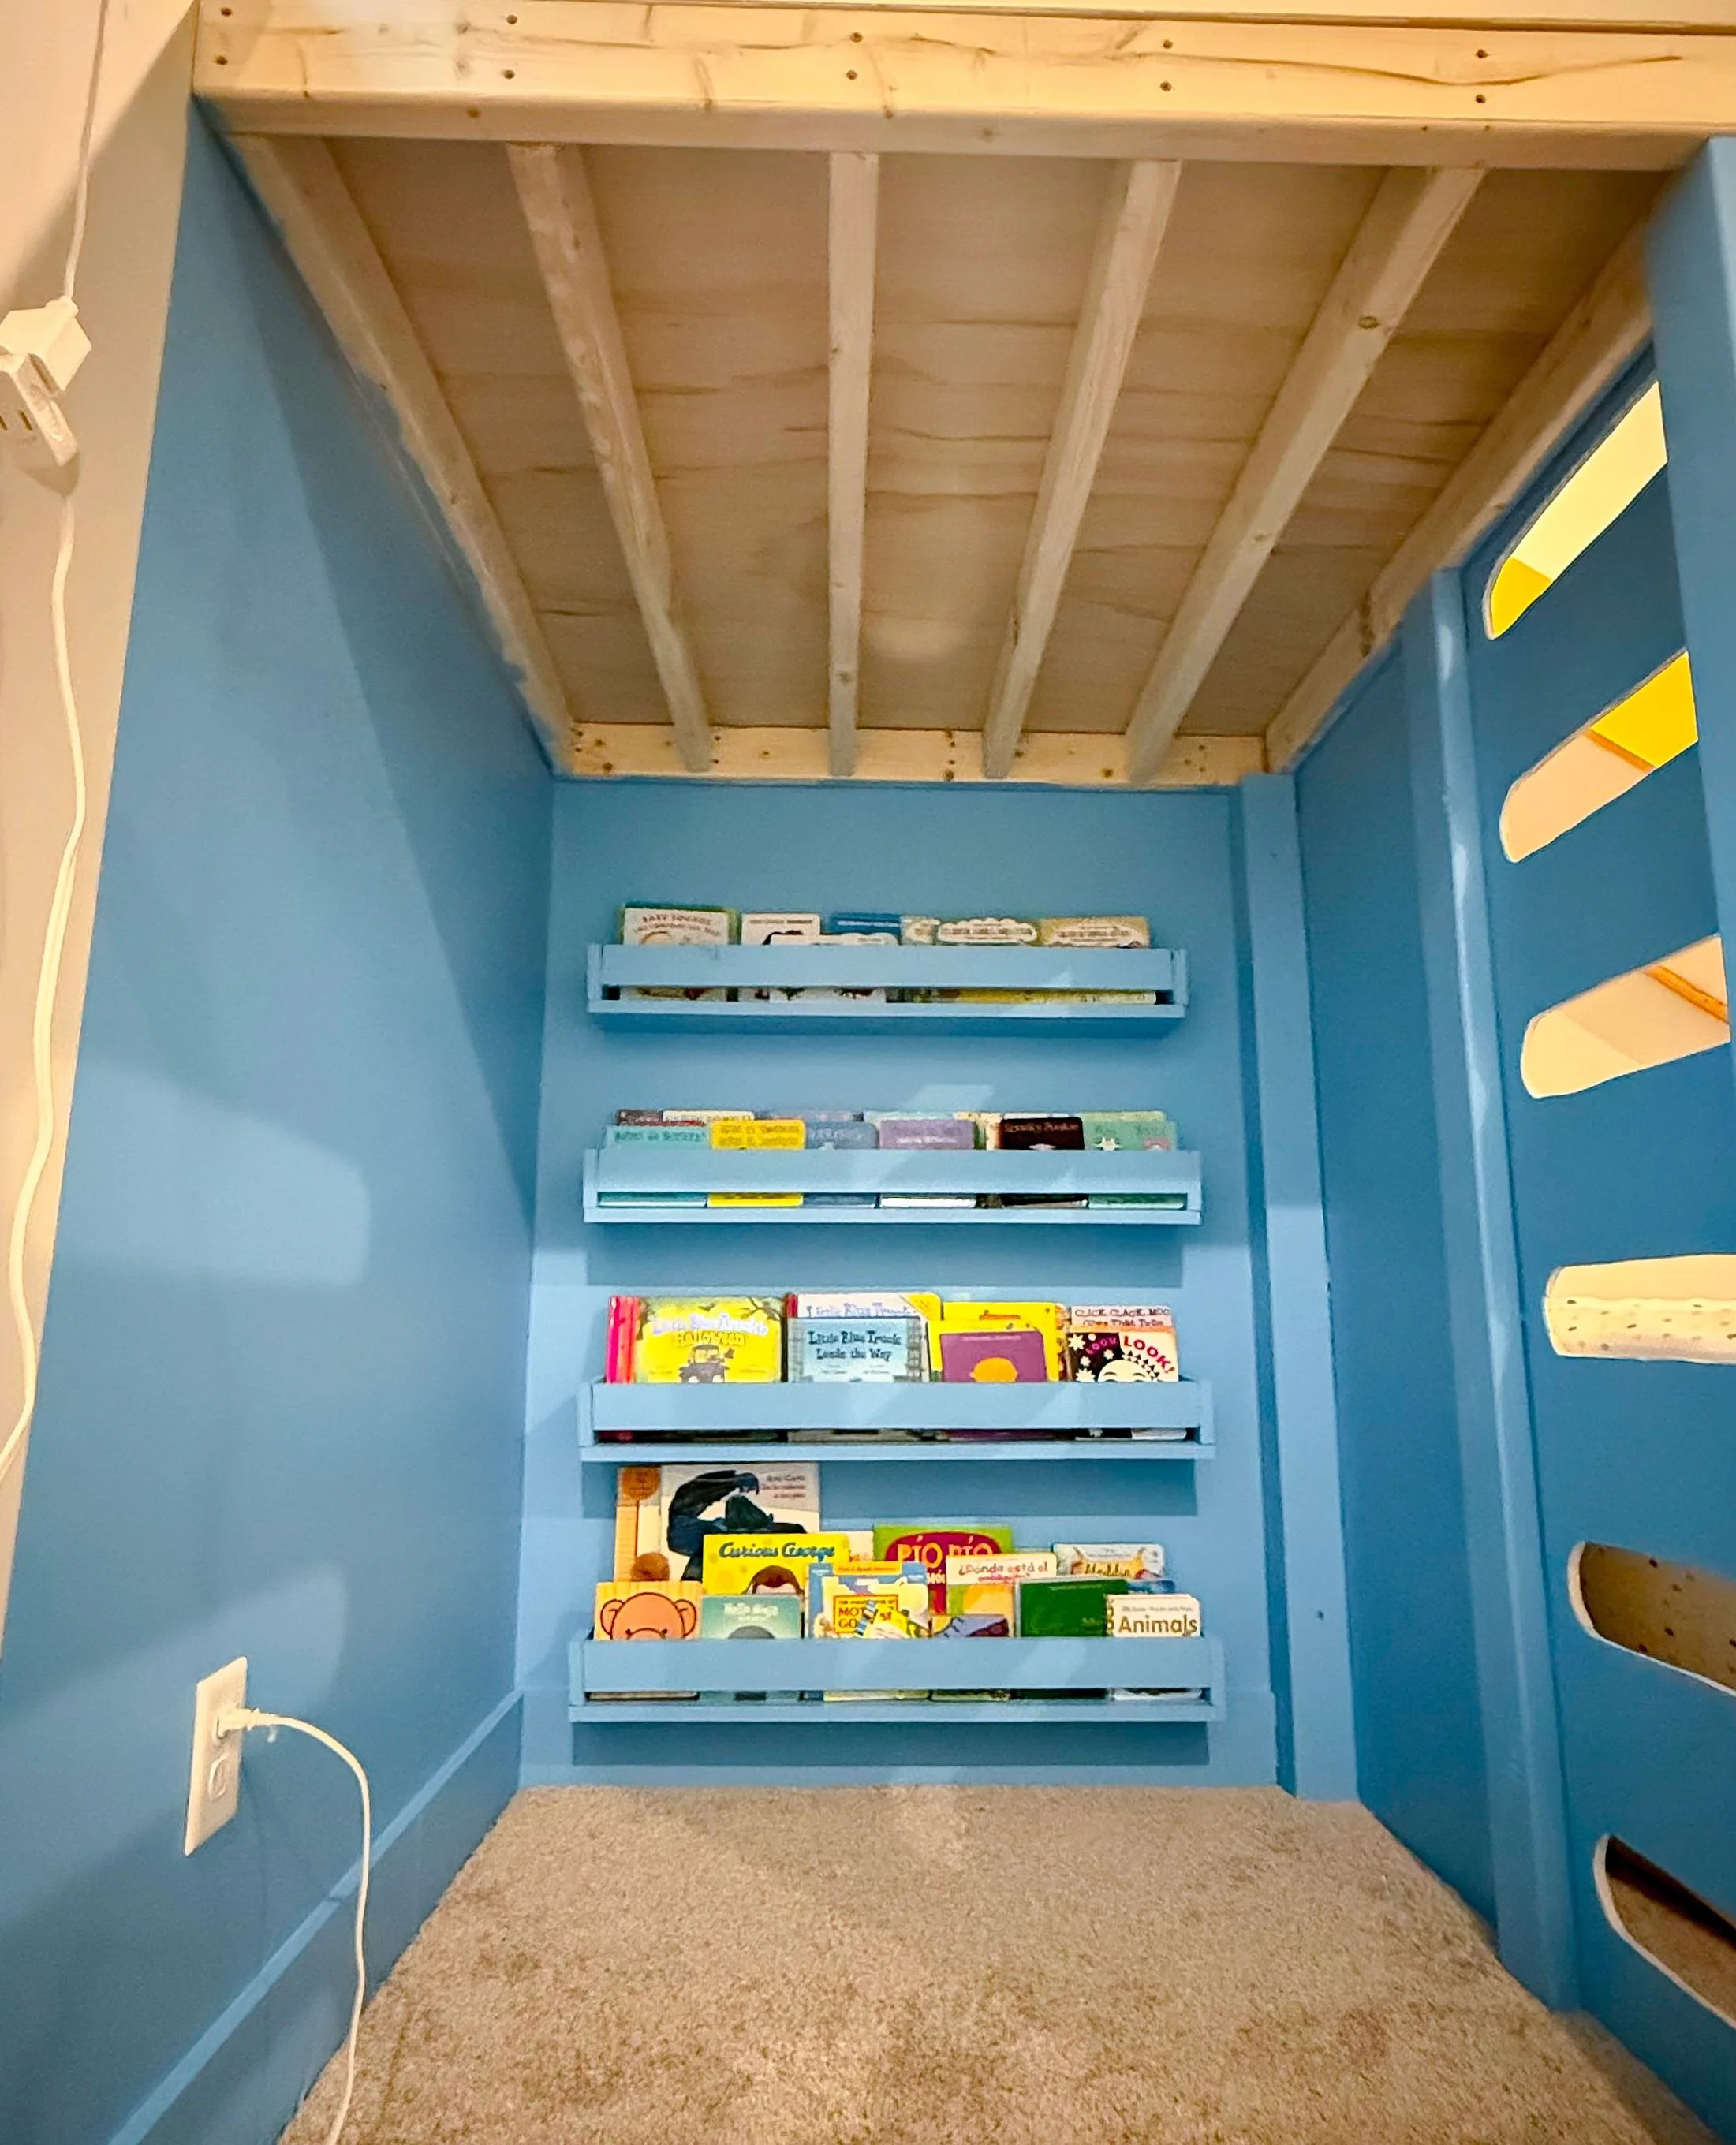
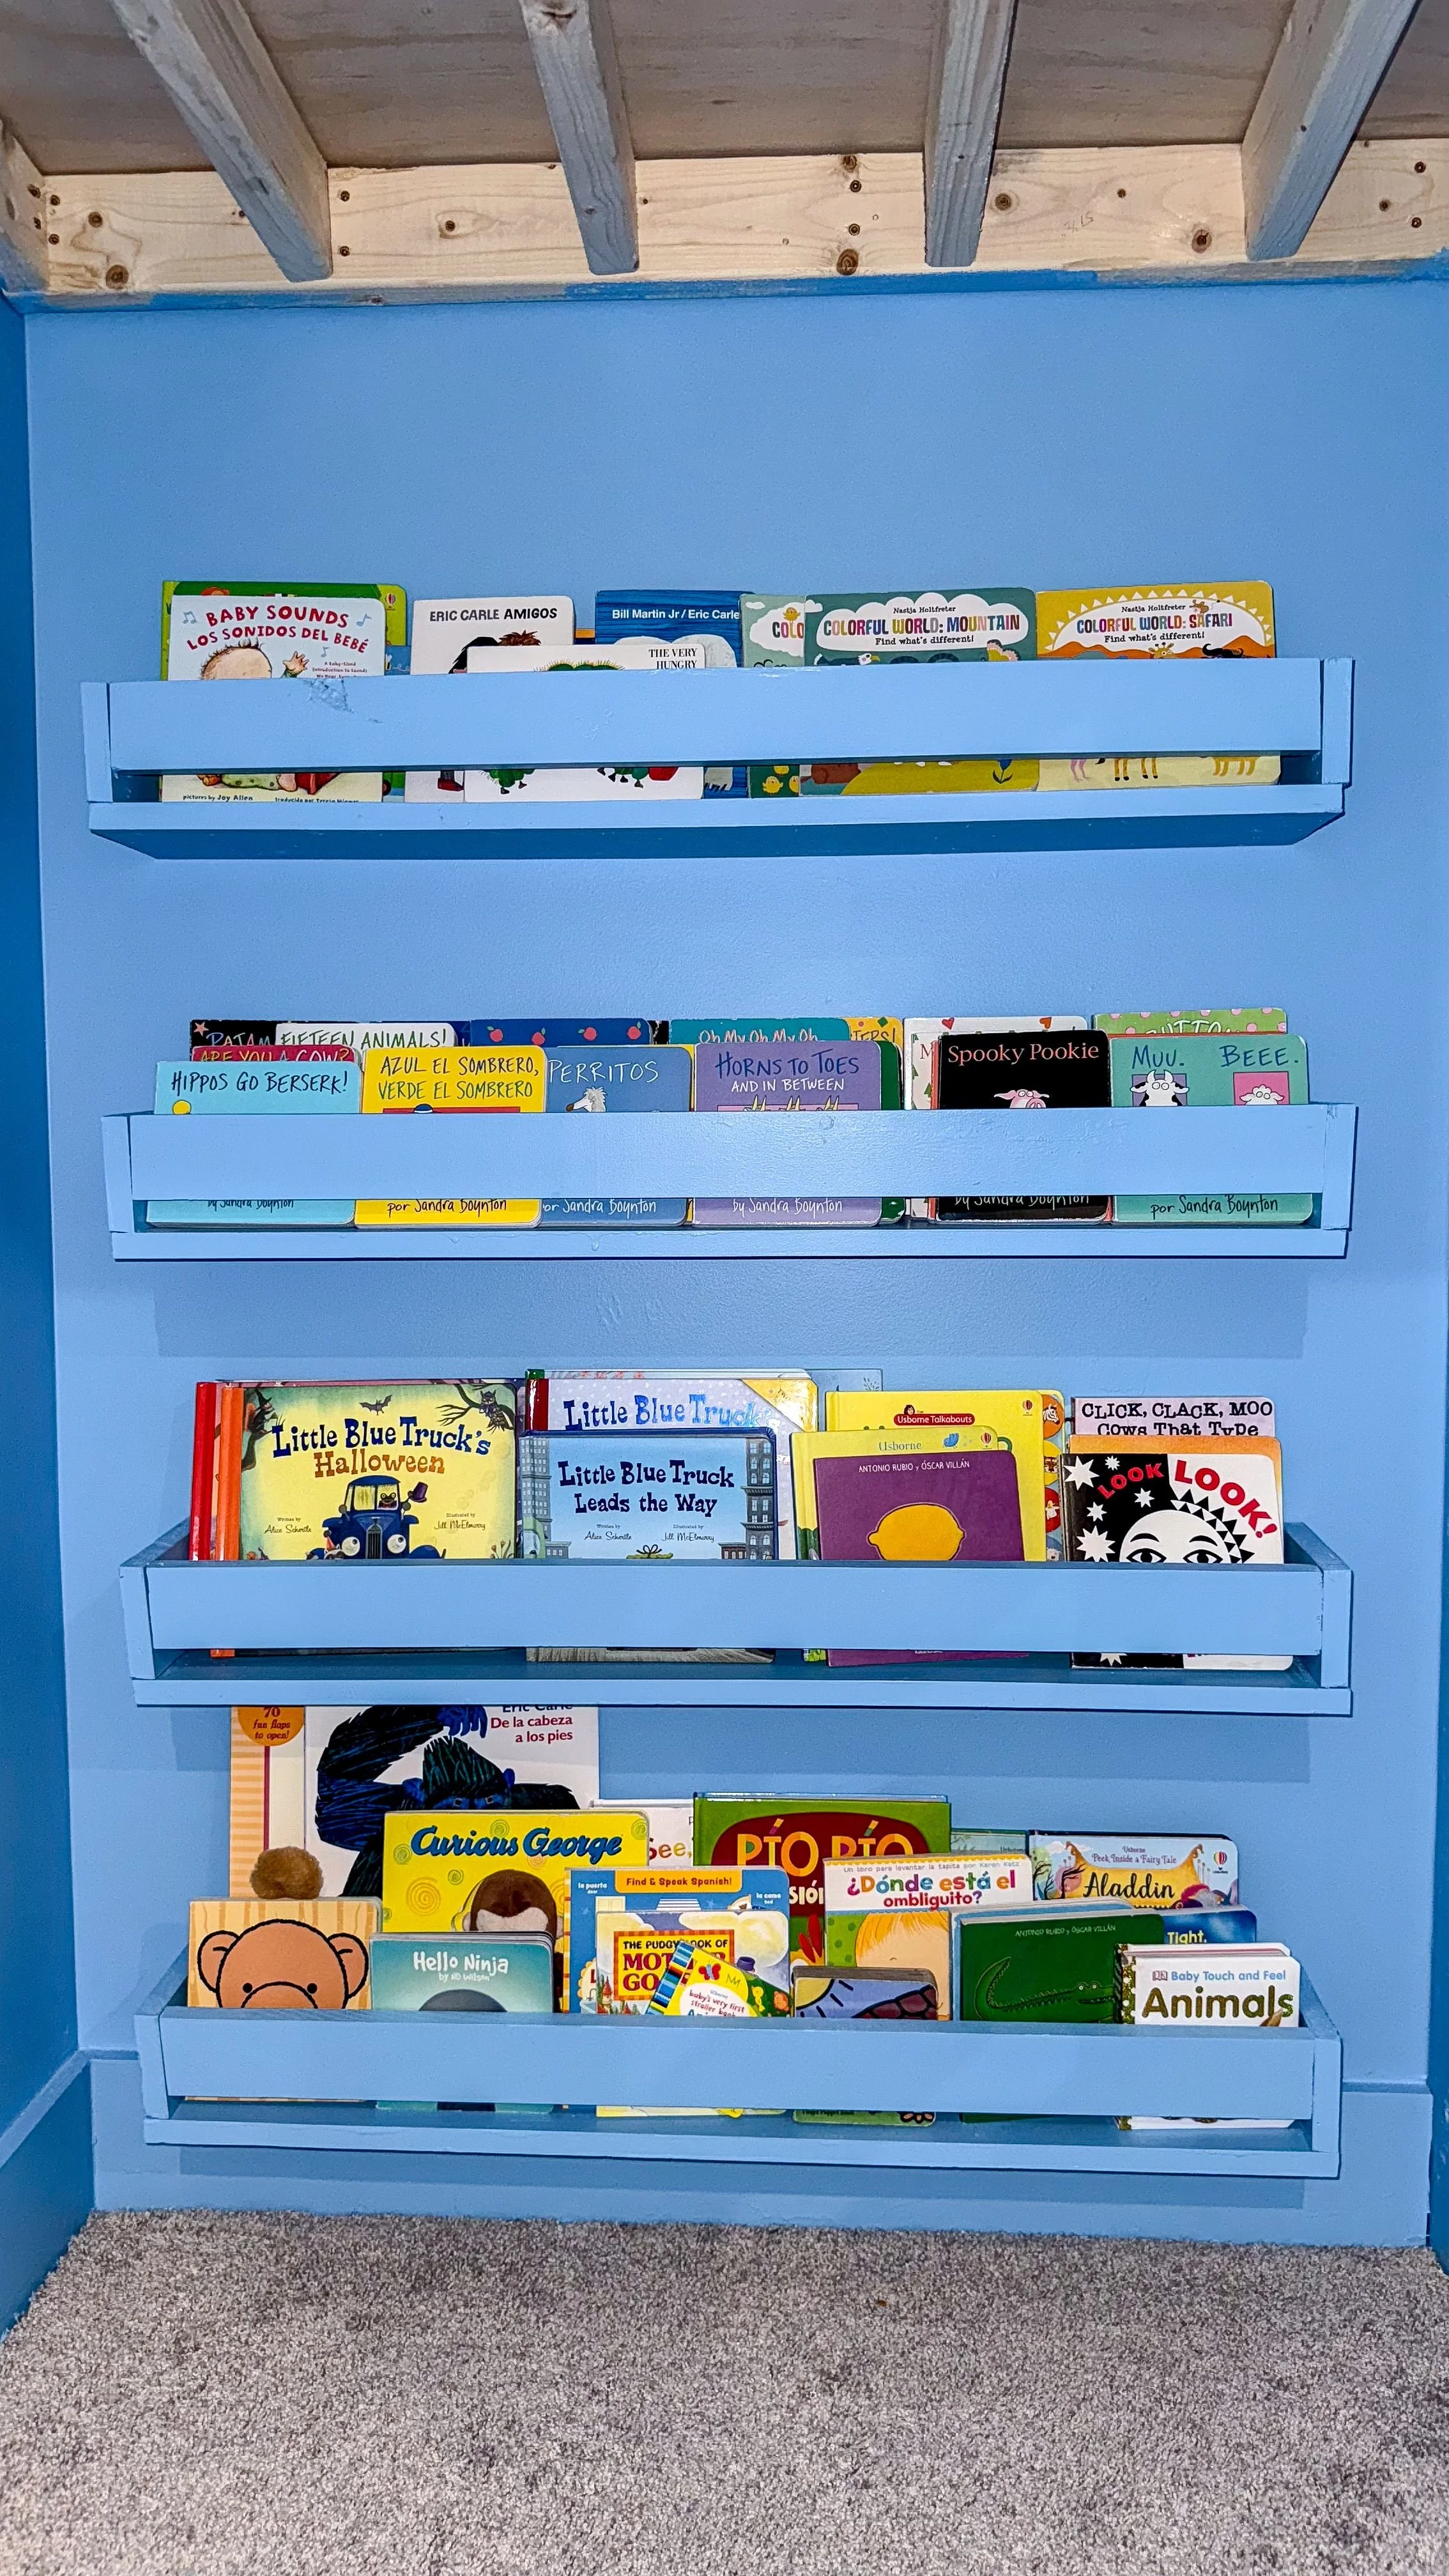
First, I took apart the headboard from the guest bed so I could use the 1x6 boards for the bookshelves. I had to remove all of the staples from the upholstery, which took some time, but overall pretty easy. Once I was done, I cut all of the boards down. I did four shelves that are 36" long and four shelves that are 15" inches long. I'm doing a set of shelves along one wall and then another set of shelves on part of another wall. It's the same wall the ladder is on for the slide platform. I wanted to leave a solid wall with nothing on it so there was a place to sit for the reading nook.
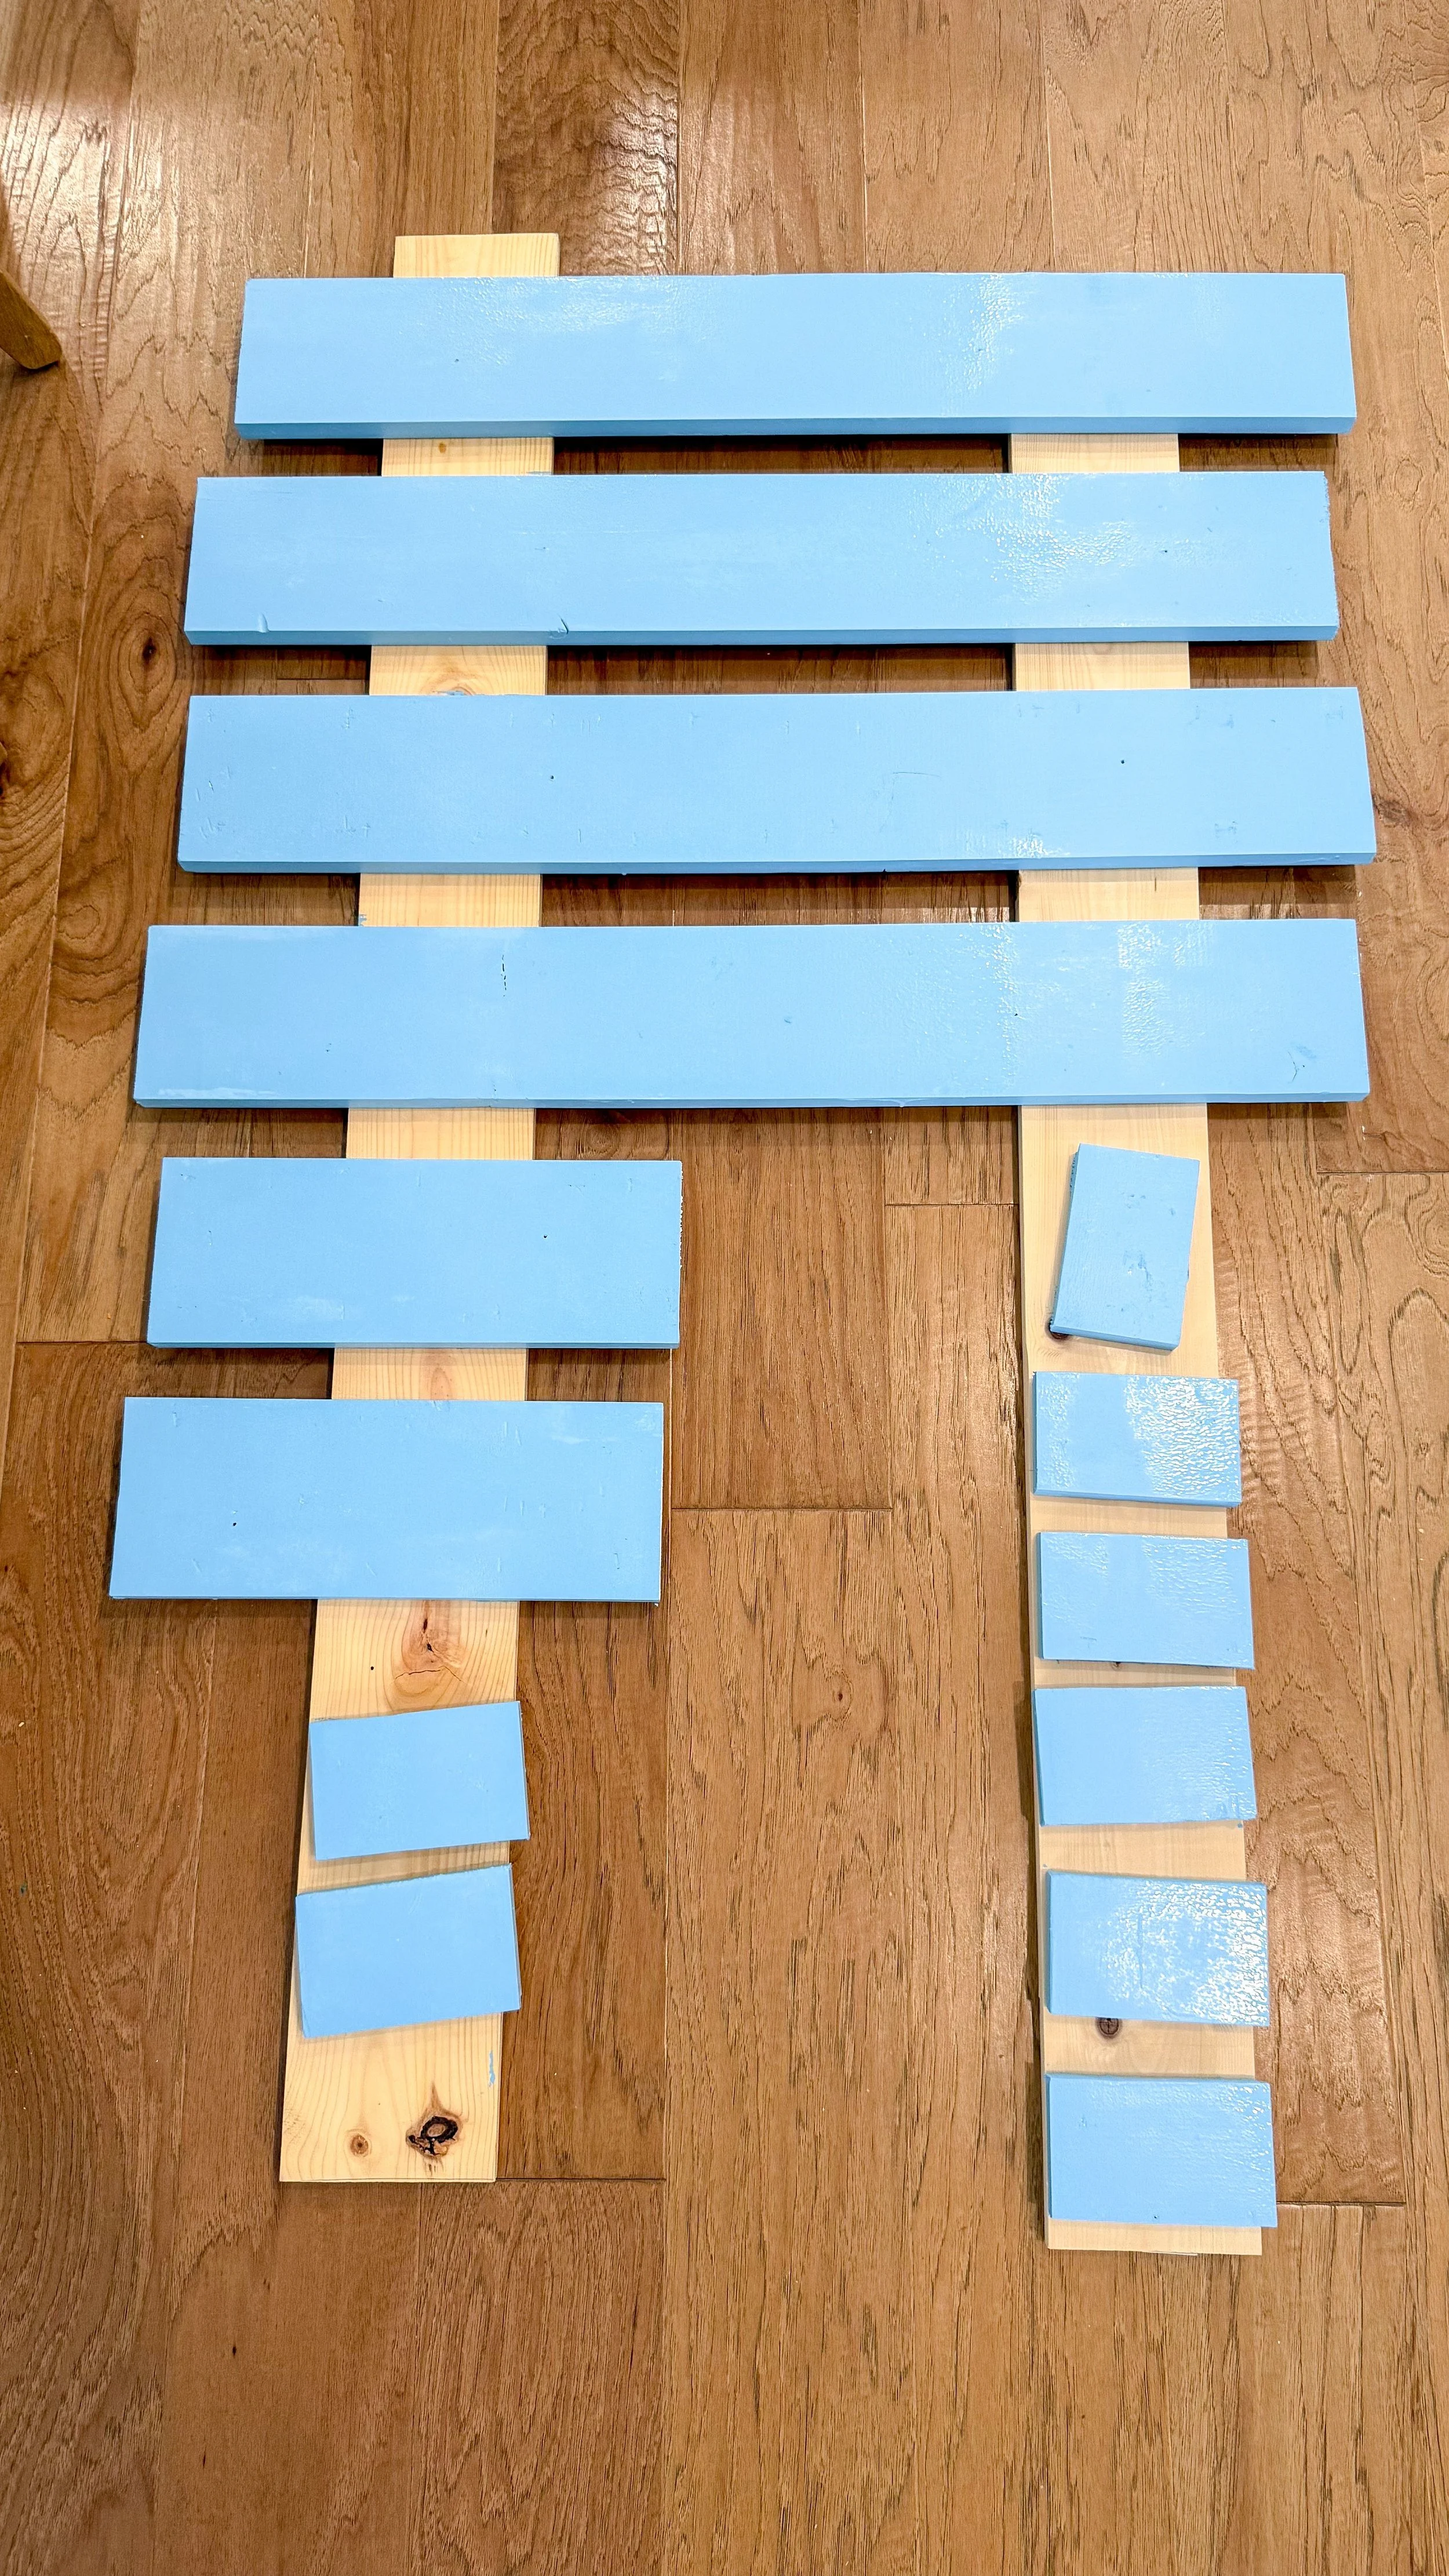
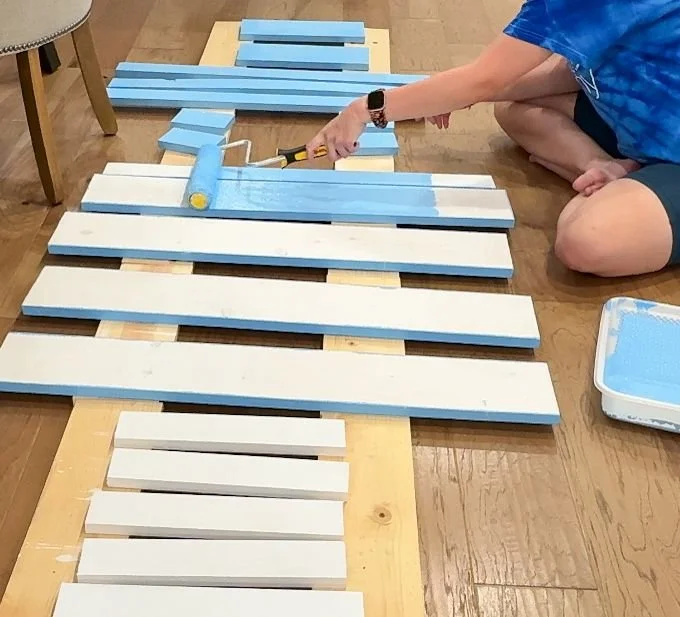
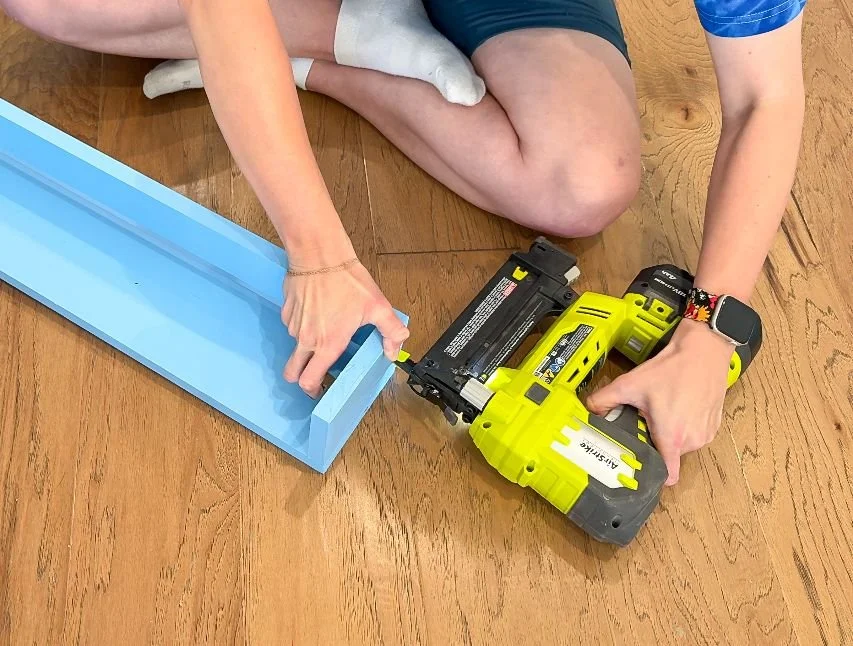
I cut four 36" pieces, four 15" pieces, and sixteen 3.5" pieces. For the fronts of the shelves, I used leftover 1x3 boards from the slats for my son's bed and cut four boards down to 34.5". For the 15" shelves, I cut four boards to 13.5". Once everything was cut, I did my typical painting technique with two coats of primer and two coats Sea to Shining Sea by Benjamin Moore paint. It's the same color as the walls in the reading nook because I wanted to them to look built in. When I was done painting, it was time for assembly. I took one shelf, two small pieces and a front piece. I put the 3.5" pieces on the ends of each shelf and then used my brad nailer to secure them to the shelf. Then I secured the front piece to the top, leaving a small gap at the bottom. As long as all of your measurements are right, this is actually a really easy shelf to assemble.
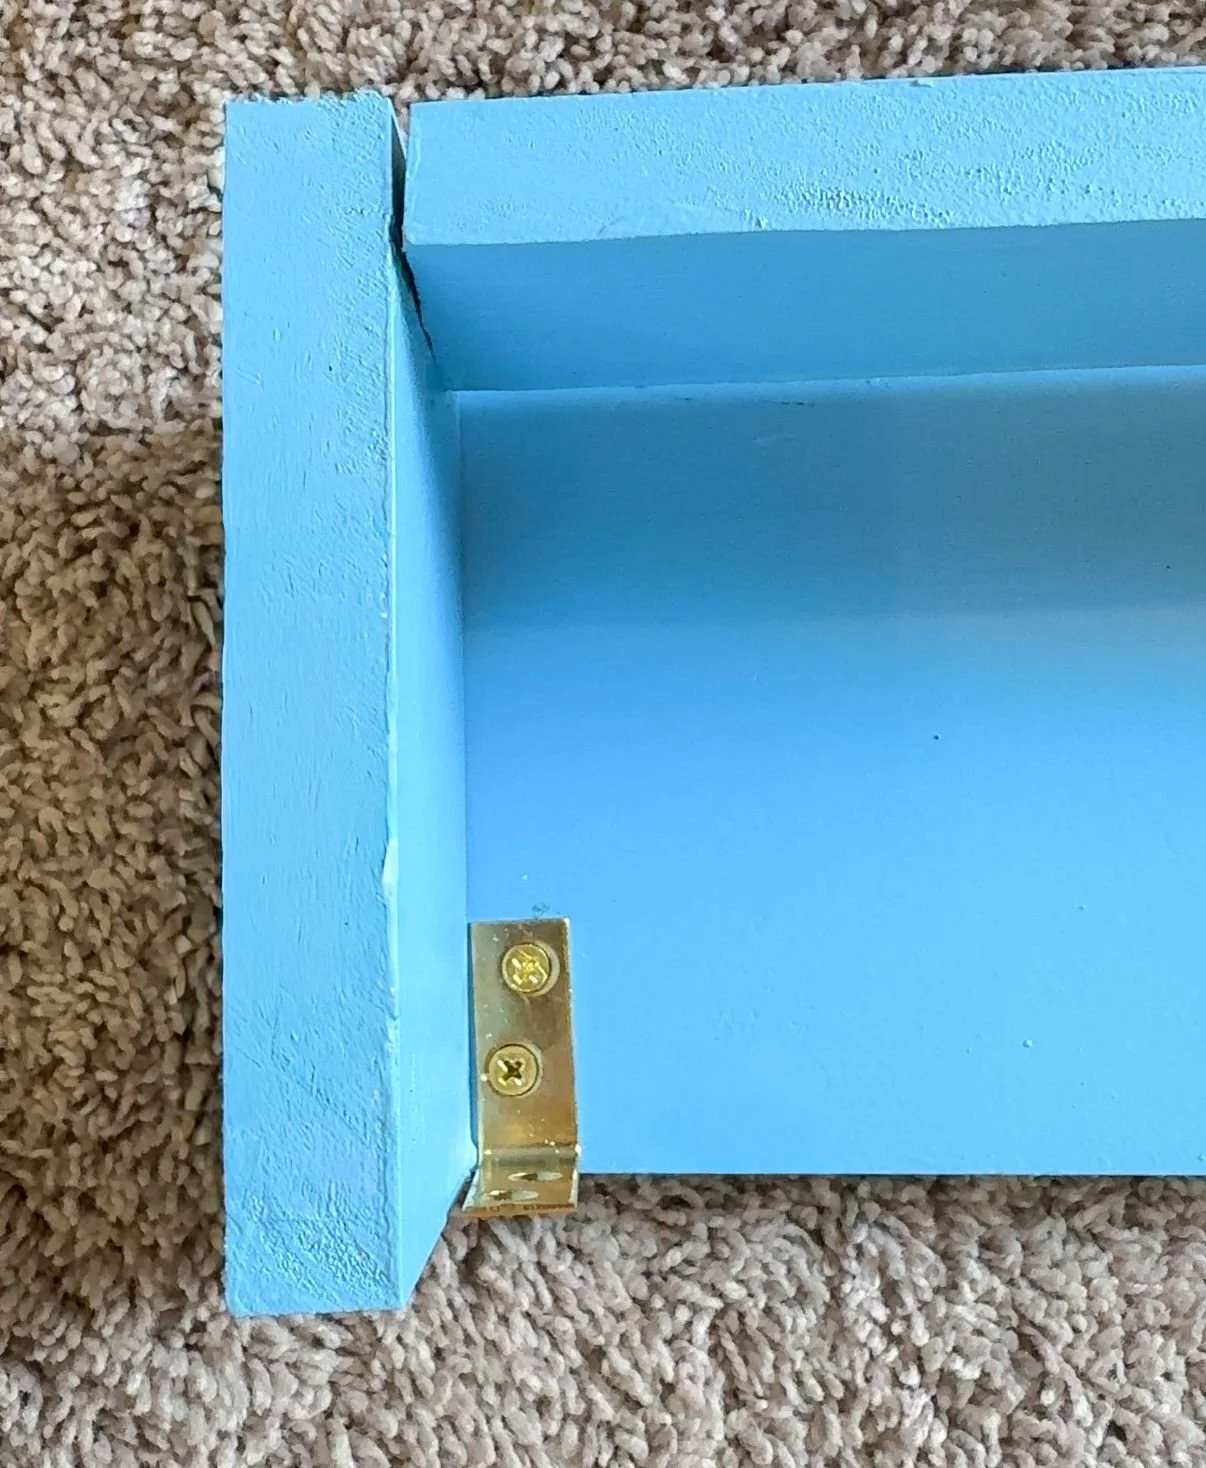
My biggest hangup was how I was going to attach these to the wall because I didn't really want to use my router to carve out a spot to hang them on a nail and I wanted these shelves to be beginner friendly and easily accessible for anyone else to do them. I went to my local ACE hardware and found some L brackets that hold pretty decent load. For the 36" shelves, I used 1.5" brackets and for the 15" shelves I used the 1" brackets. I secured the brackets to the shelves first because then I could mark where to screw in each shelf on the wall without having to move stuff around.
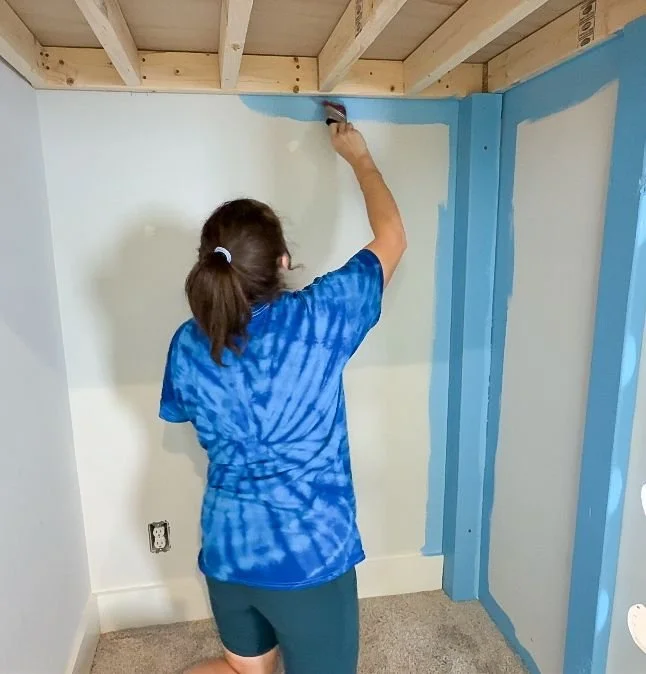
Once the shelves were all ready to go, it was time to paint the reading nook. I made sure I cut in all of the corners and painted the three sides. I created a line on the left hand side because that wall continues down to my son's bed, and I want this color to clearly mark where the reading nook is. I'm really loving all of the color blocking that this room is getting! When the paint was all dry, I was able to move on to hanging the shelves.
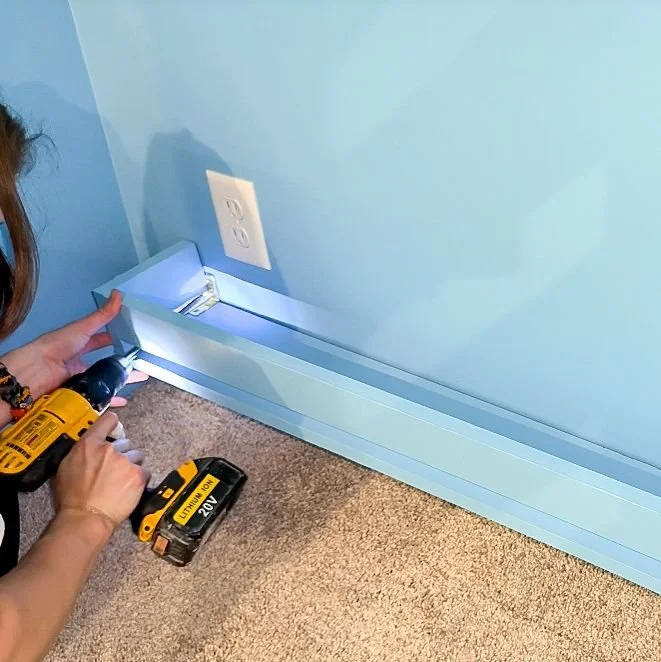
I decided to hang the first shelf as low as possible so it was resting on the baseboard. I made sure it was level and then I marked where I needed to drill the holes. I'm not drilling into studs since they're not in a convenient spot so I'm using drywall anchors. I pre-drilled and put the anchors in and then secured each bracket into the drywall anchors. I repeated that for all four shelves. I only did the drywall anchors for the 36" shelves because the 15 inch shelves are being attached to plywood. I didn't actually measure the space between each shelf, instead just eyeballed it but I did make sure that they all lined up and then secured each shelf above it until I'd secured all four shelves.
We added some of my sons books to see how everything looks. He has a bunch more books to add, but we should be able to fit everything with all of the shelf space we now have. I love how it turned out and how easy and cost effective this project was. Stay tuned for next week when we reveal the next section of the room!