
DIY Melamine and Wood Slide
I'm still hard at work on my son’s room makeover. Today’s task is building a melamine and wood slide. I couldn't find any tutorials that were exactly what I wanted so I took pieces of different ideas and started dreaming up what I wanted from scratch. Being able to get creative with planning and giving myself the challenge is one of my favorite things to do! You've probably seen a fair amount of slides people are adding to their playrooms. They are getting pretty popular but the plastic slides are SO expensive. I did a little digging and found a couple of people who had made wood and melamine slides but they didn't give a step by step tutorial. So, once I figured it out for myself, I knew I wanted to share it so you can make one, too!

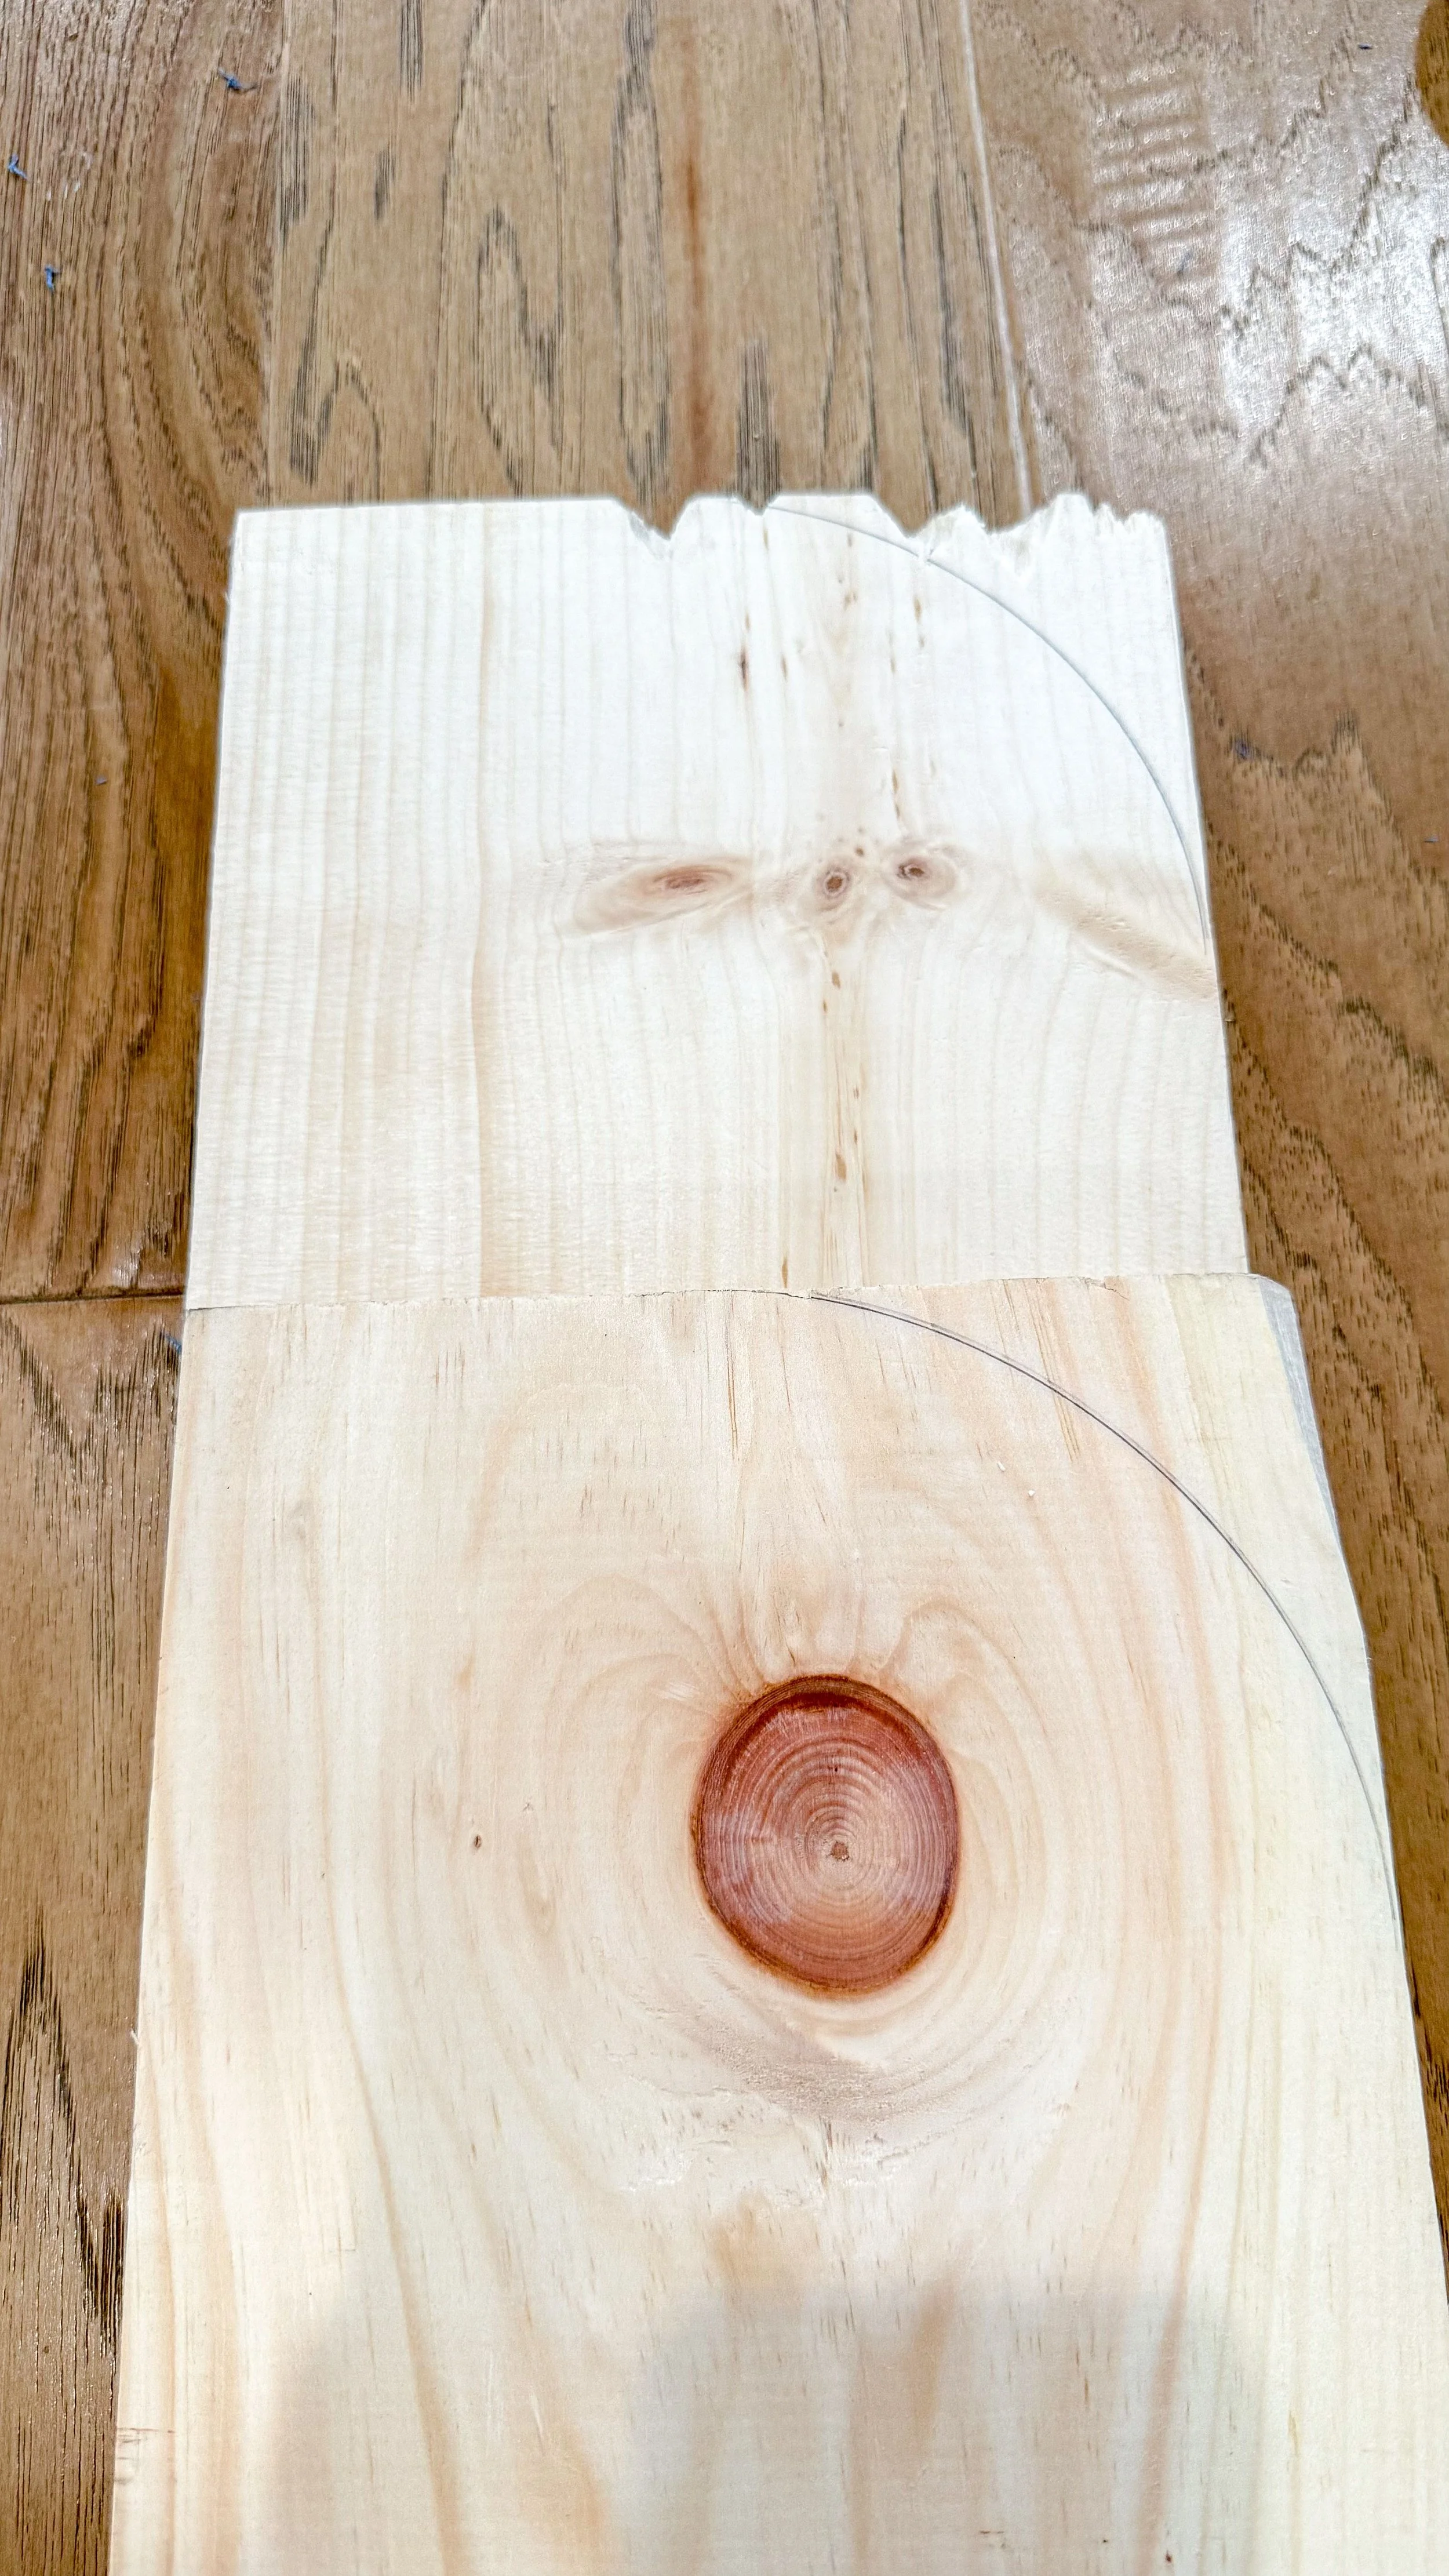
For this project I needed two 1X8 boards and one board of melamine. I decided to make the sides of the slide curved. I ended up tracing a bowl to make the curve I wanted. Once I had those drawn, I used my jigsaw to cut the curves. To prevent any sharp edges, I sanded down the curves a bit to get a nice smooth edge.
Once everything was smooth, it was time to make the grooves for the melamine to set in. The melamine is 3/4 inch, so I needed to make 3/4 inch grooves in the side panels. I used my router table but a palm router works, too, if it’s all you have. The router bit I used gave a square edge, so I had to pass the boards through a few times to get the right depth. Once I'd reached the right depth, I gave everything another good sanding, focusing where the router grooves were to prevent splinters. When everything was smooth, it was time to move onto painting and priming.
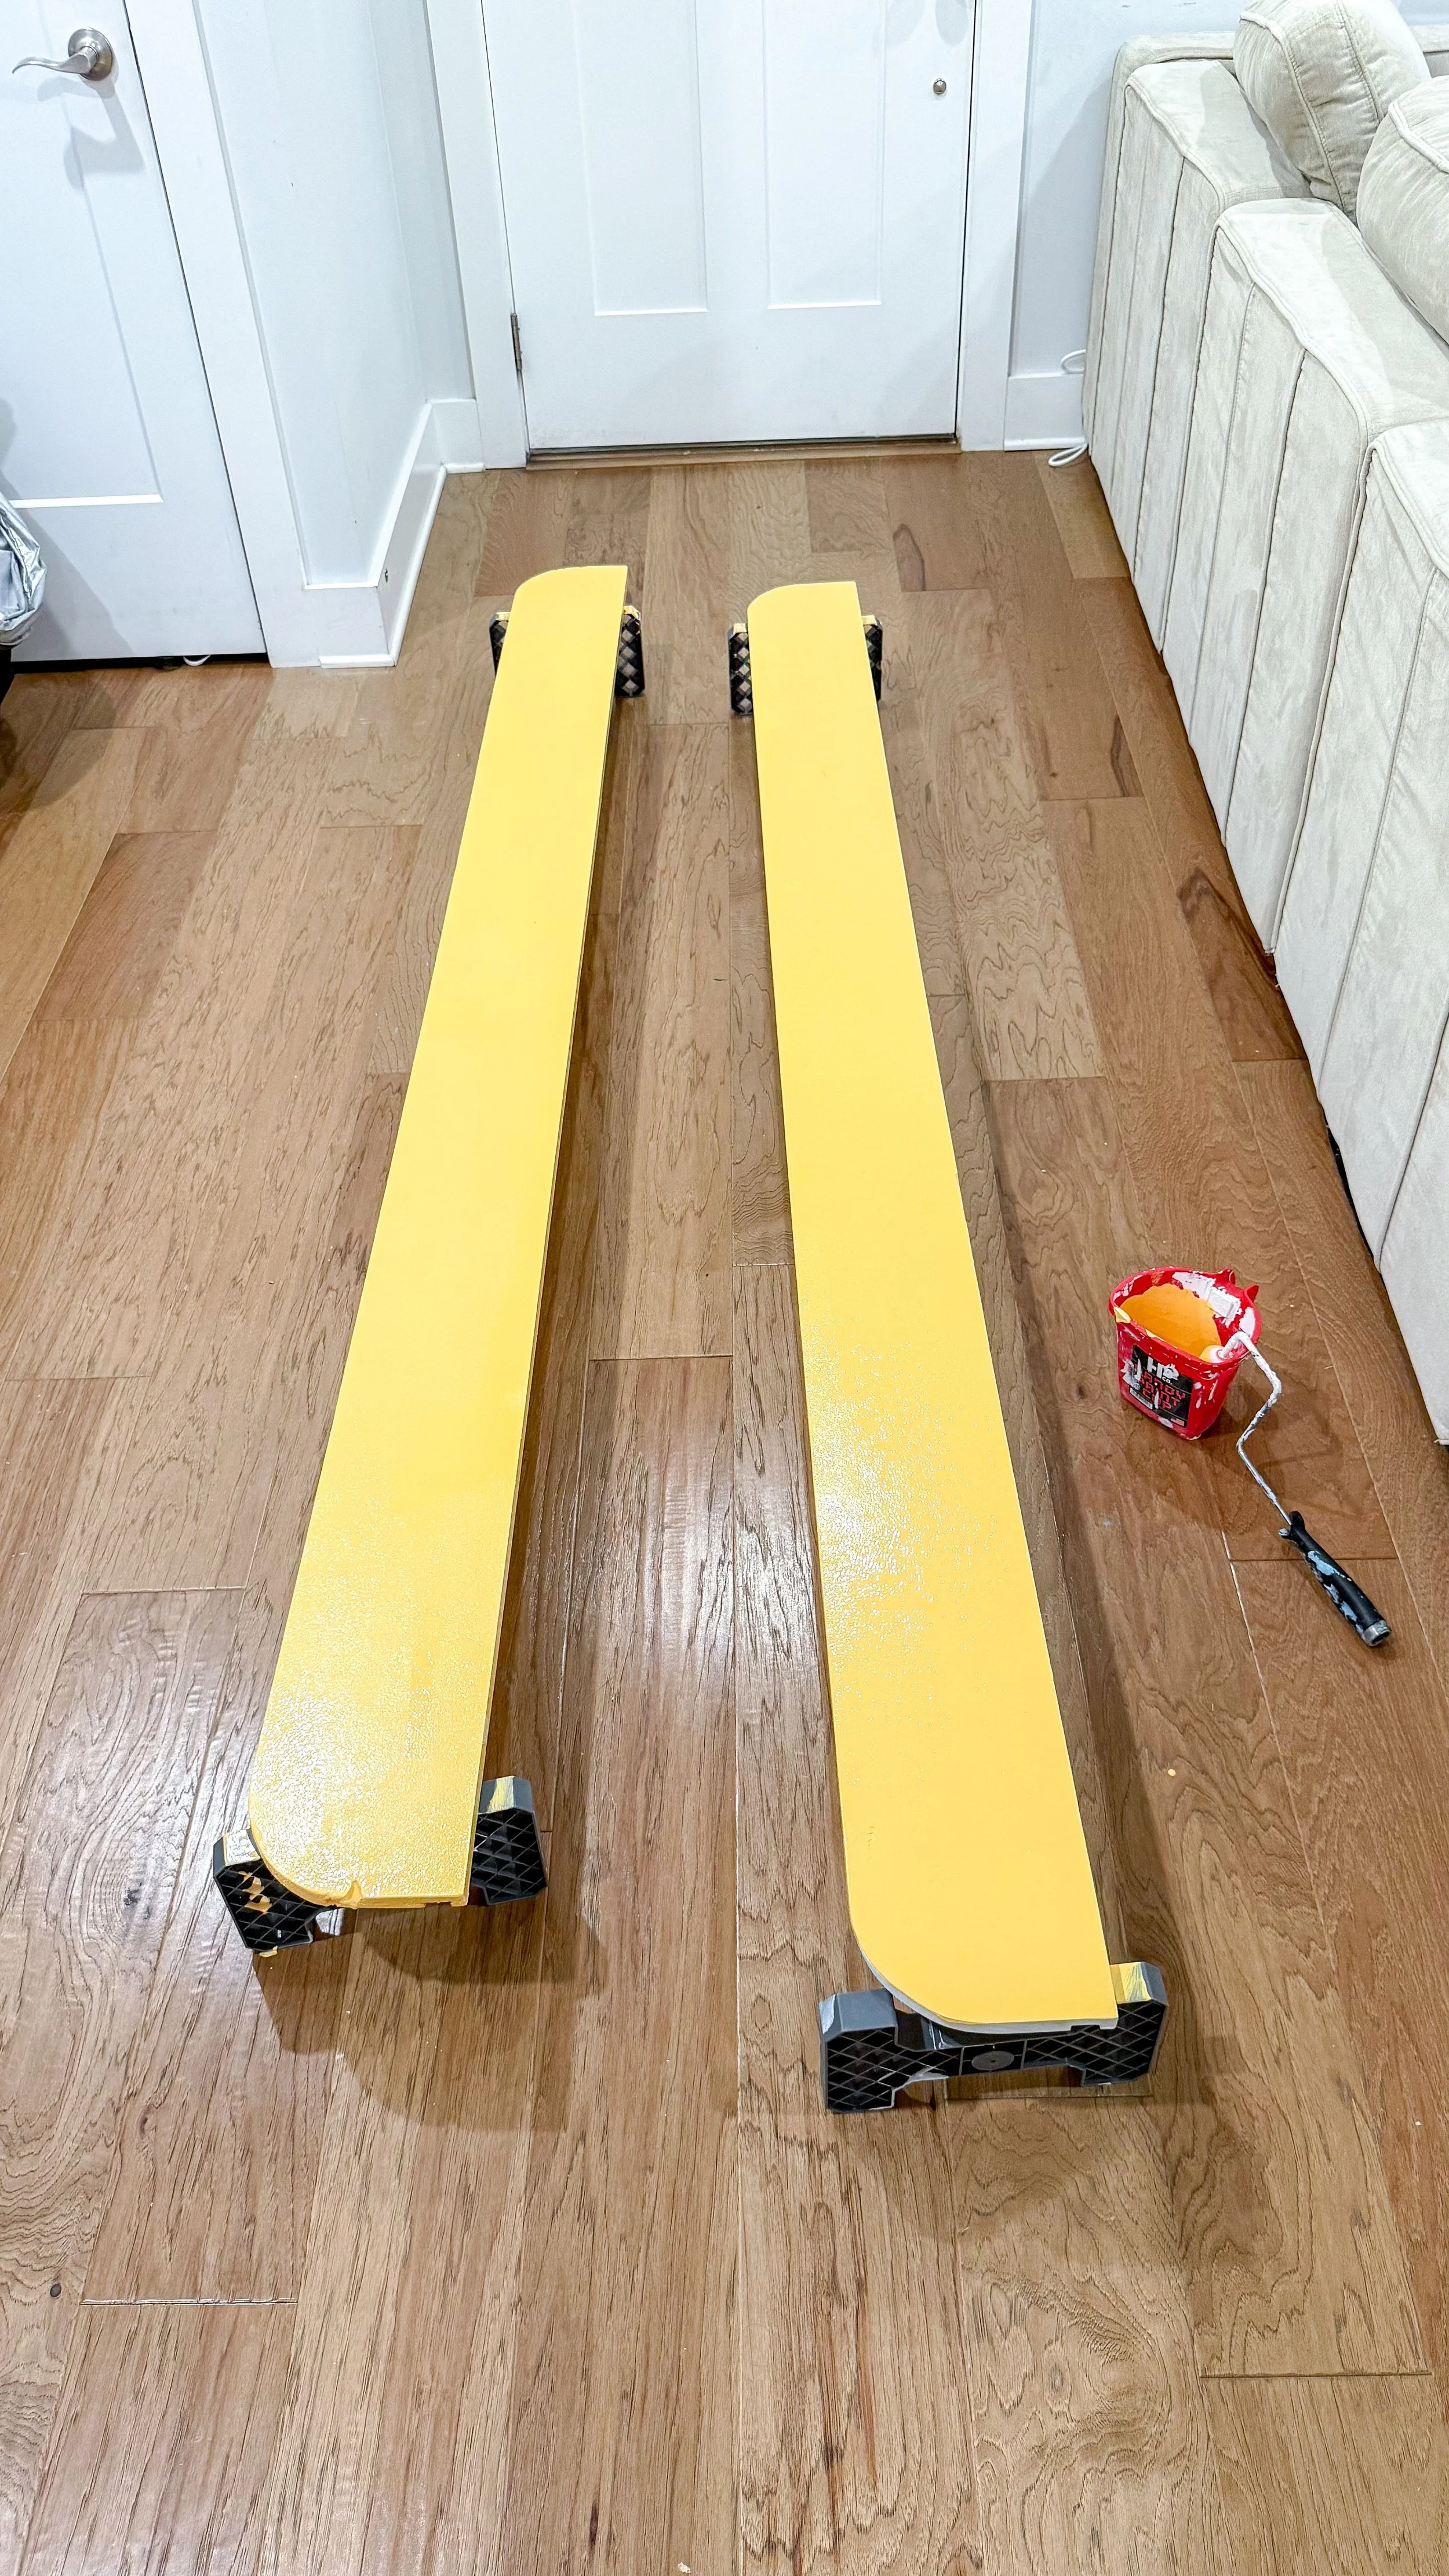
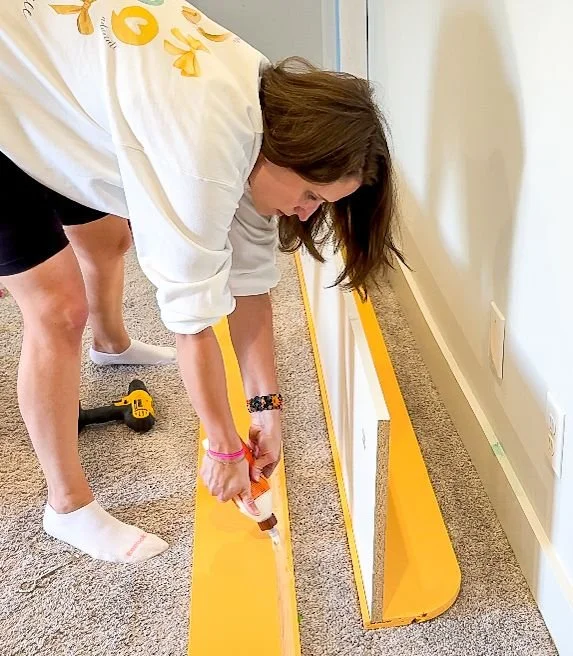
I used two coats of primer, like I always do, and then two coats of Honey Bell by Benjamin Moore paint. The 2 layers of both paint and primer really do help with the longevity of my painted projects. The color is pretty bright, but it works with the entire color scheme I have for this bright and playful room. Once the paint was dry, I took the boards upstairs to my son's room where the melamine already was. Melamine is already pretty heavy, so I knew it would be pretty unmanageable to take it up 3 flights of stairs if I were to assemble it downstairs. I used my drill to make some pilot holes through the boards and into the melamine along the groove I previously made. Then I secured 2 inch screws into the pilot holes. I repeated this process up and down both sides of the melamine which secured the side rails to the melamine, creating the slide.
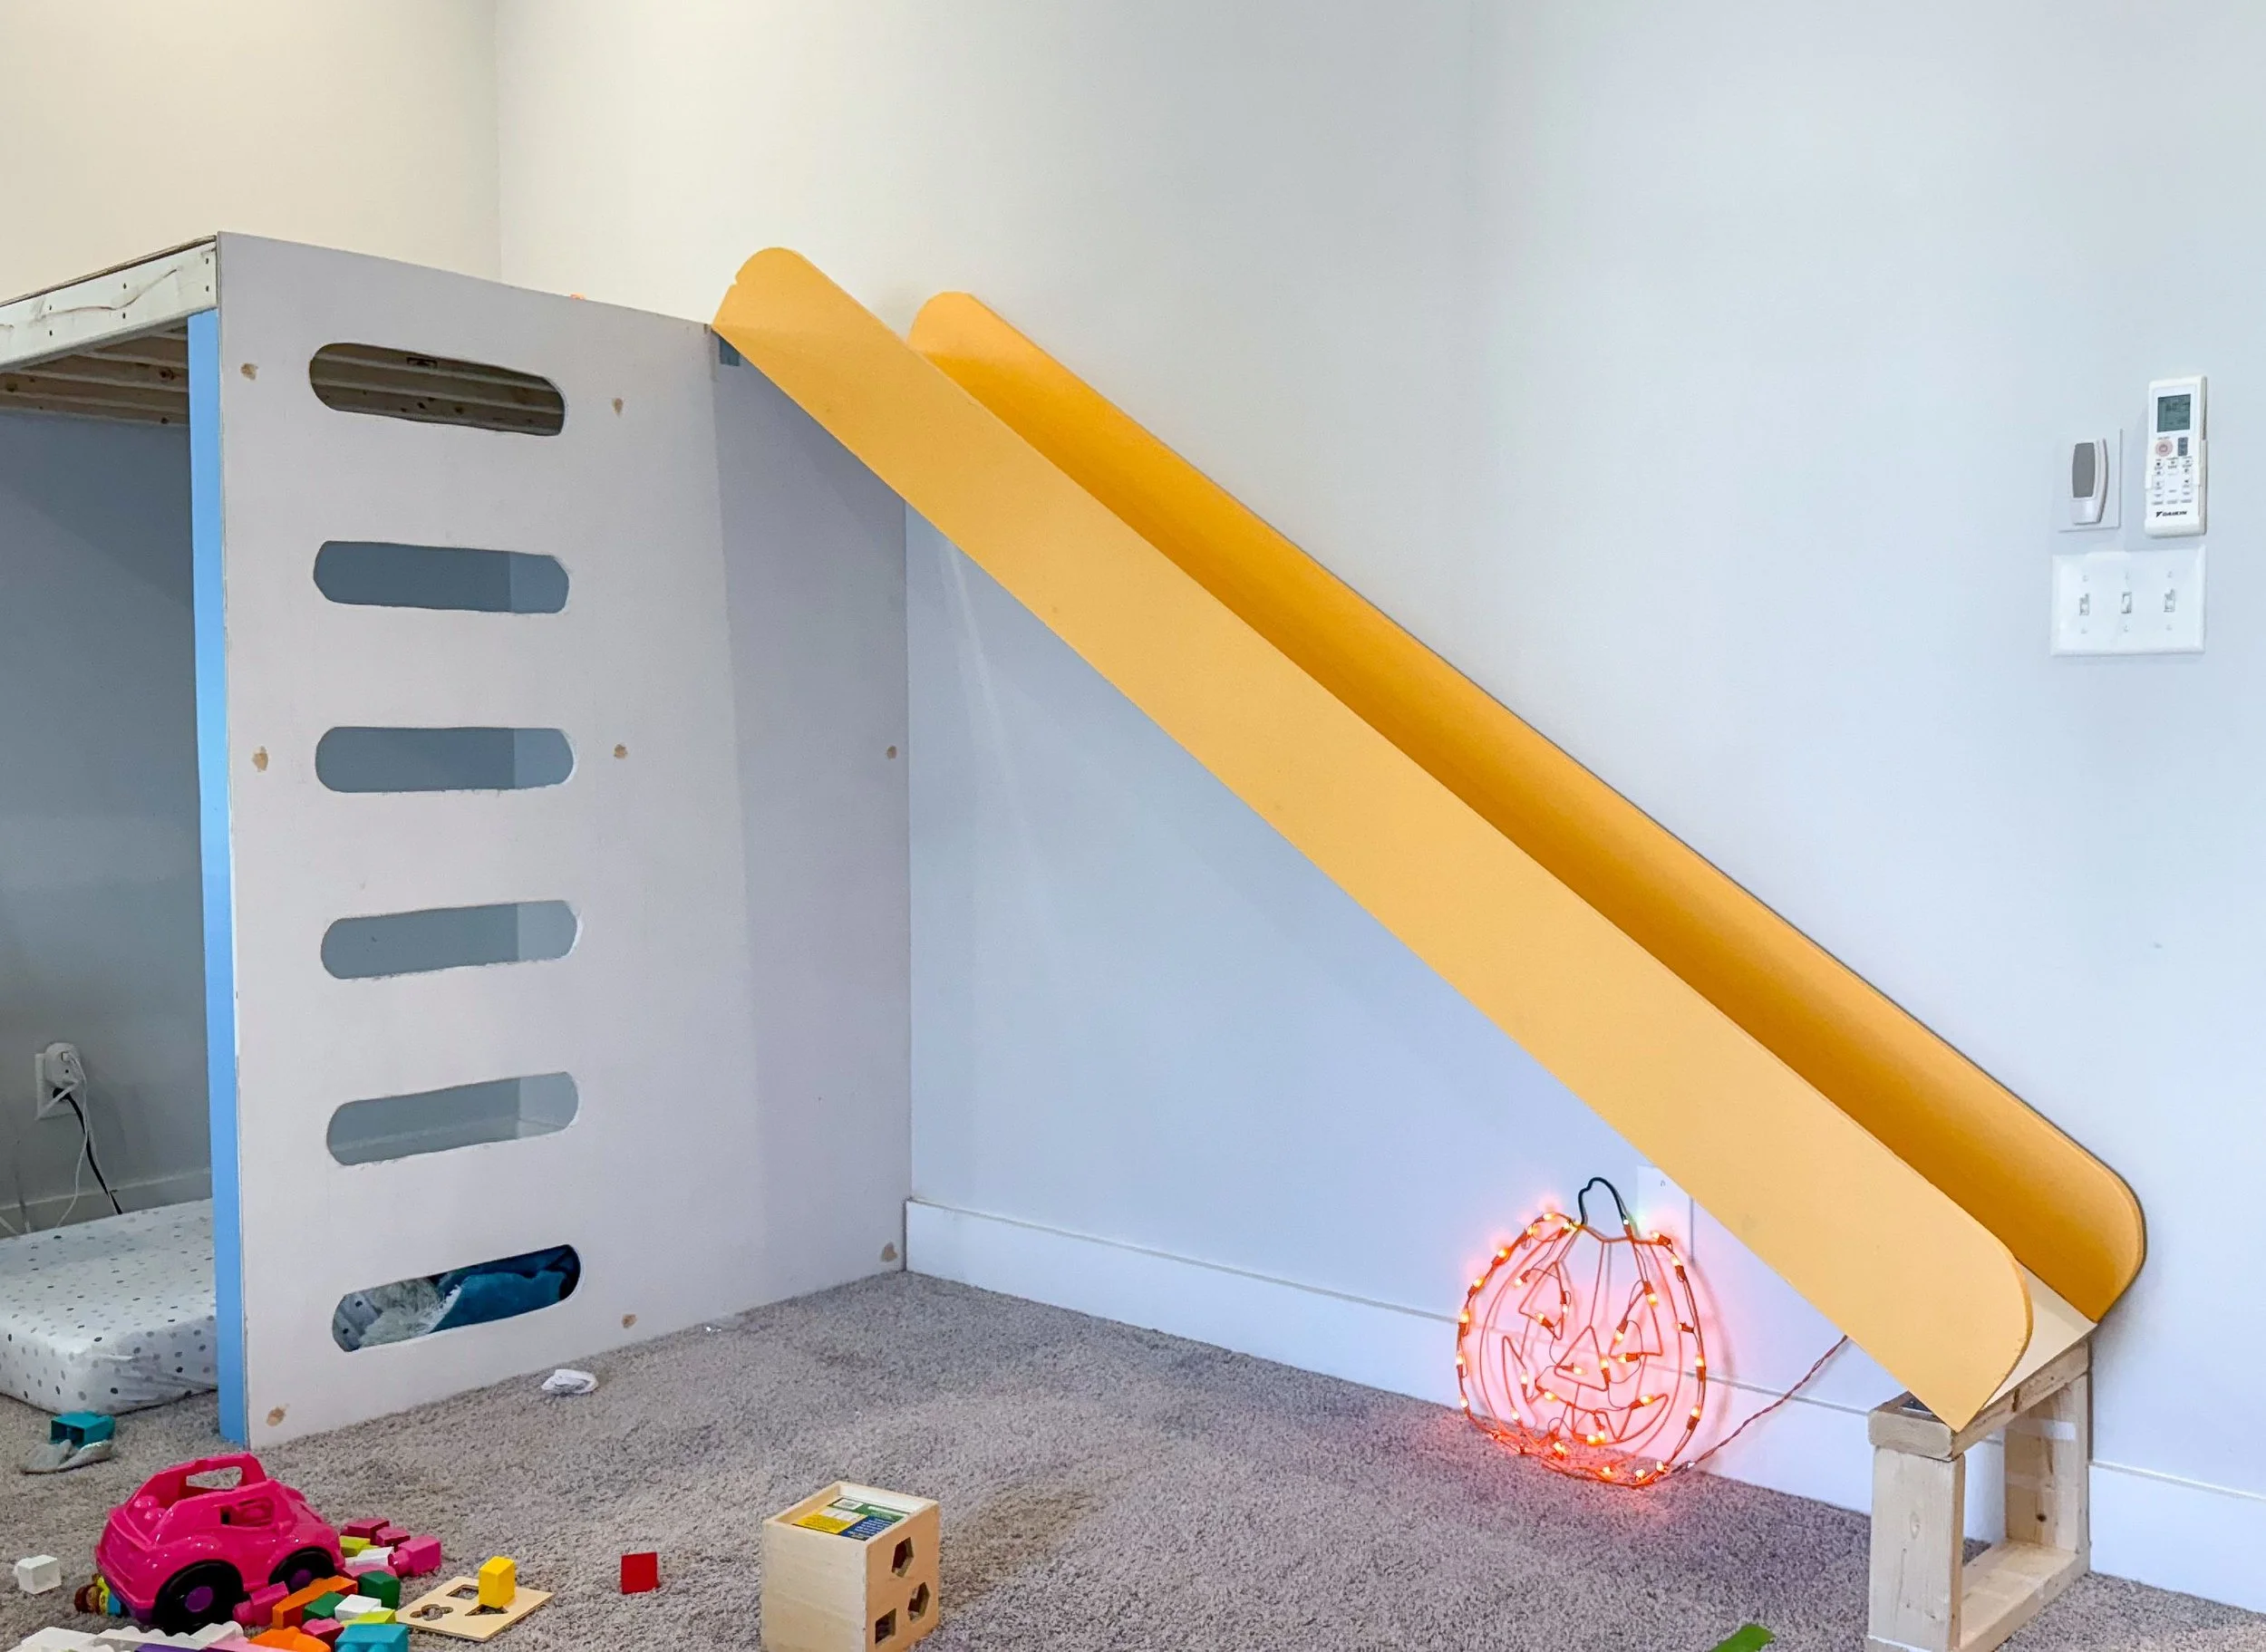
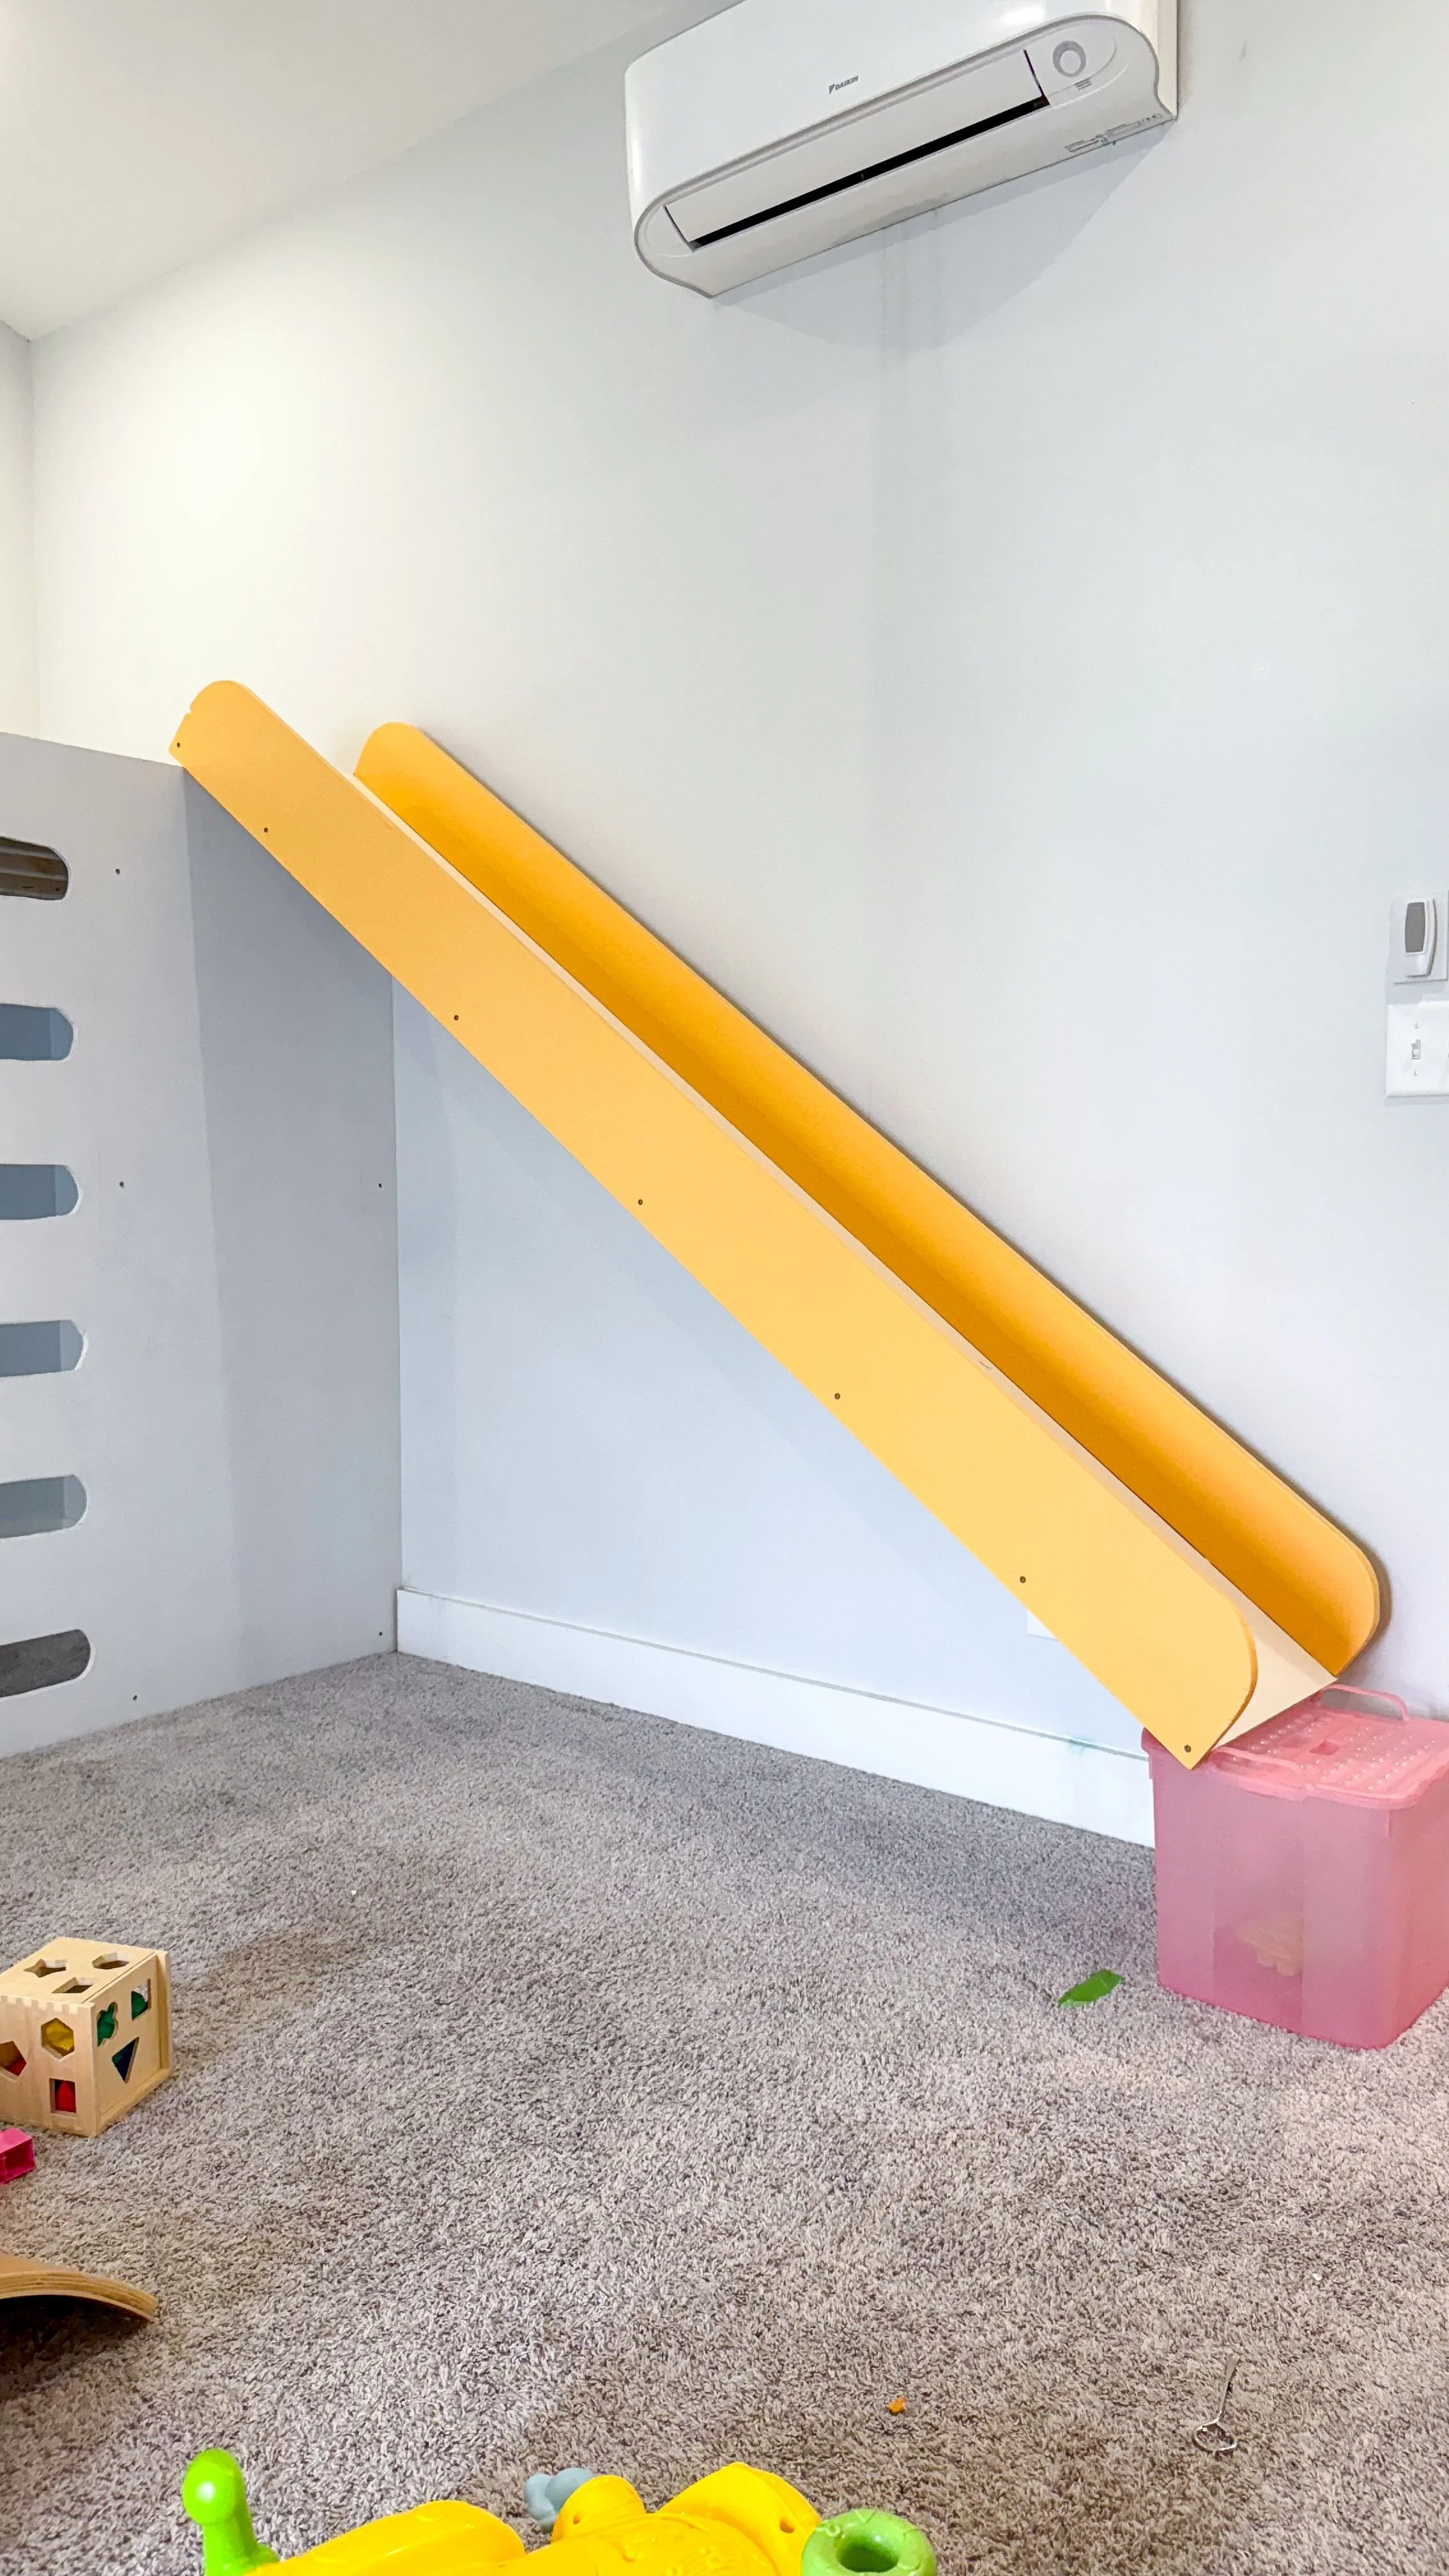
Once that was done, it was then time to secure the slide to the platform. I built the platform (a separate post on that is coming!) and used brackets to secure the slide to the platform. I fastened the brackets to the back of the slide, hooked them onto the edge of the platform and then secured them to the platform. Once I got the slide set up, I decided I didn't like how steep it was, so I added a platform to the bottom of it which raised it about a foot off of the ground. I added additional brackets to secure the platform to the slide as well and that was it! We officially have a slide! Like I said before, the colors are VERY bright but I have a plan and can't wait to show you how everything works together! Stay tuned for more installments in this series so you can follow along with the project too.
Like I said before, the colors are VERY bright but I have a plan and can't wait to show you how everything works together! Stay tuned for more installments in this series so you can follow along with the project too.