Making Over My Sons Room Part 2: The Bed

Welcome back to another installment of making over my son’s bedroom. To recap, his room is on the third floor of our house. It's a huge room that will be multi-purpose as a guest room, a playroom and his bedroom. The next step in my plan was to make the Murphy bed. I was super excited about this. I got the plans and the parts and was reading the instructions when I realized I would need to pivot because my son started climbing out of his crib. Our daughter used to climb out of her crib, but once she fell out and got hurt she learned not to go it again. My son, however, is taking it to the next level. He is 2.5 years old but with the size and strength of a 5-year-old. One morning, we went to wake him up and found an empty crib. We frantically searched the house and eventually found him on the main floor (so down 2 flights of stairs) sleeping on the couch. We realized he had made it out of his crib, down the stairs, into his sisters room, out of his sisters room, down another flight of stairs and into the family room. Apparently I am raising a ninja because we didn't hear a thing! We realized we had to do something to keep him in his bedroom for his safety and quickly so that took priority over the Murphy bed. I installed a lock on his door and went to work building him his own bed.
Making Over My Sons Room Part 2: The Bed | Planning and Framing
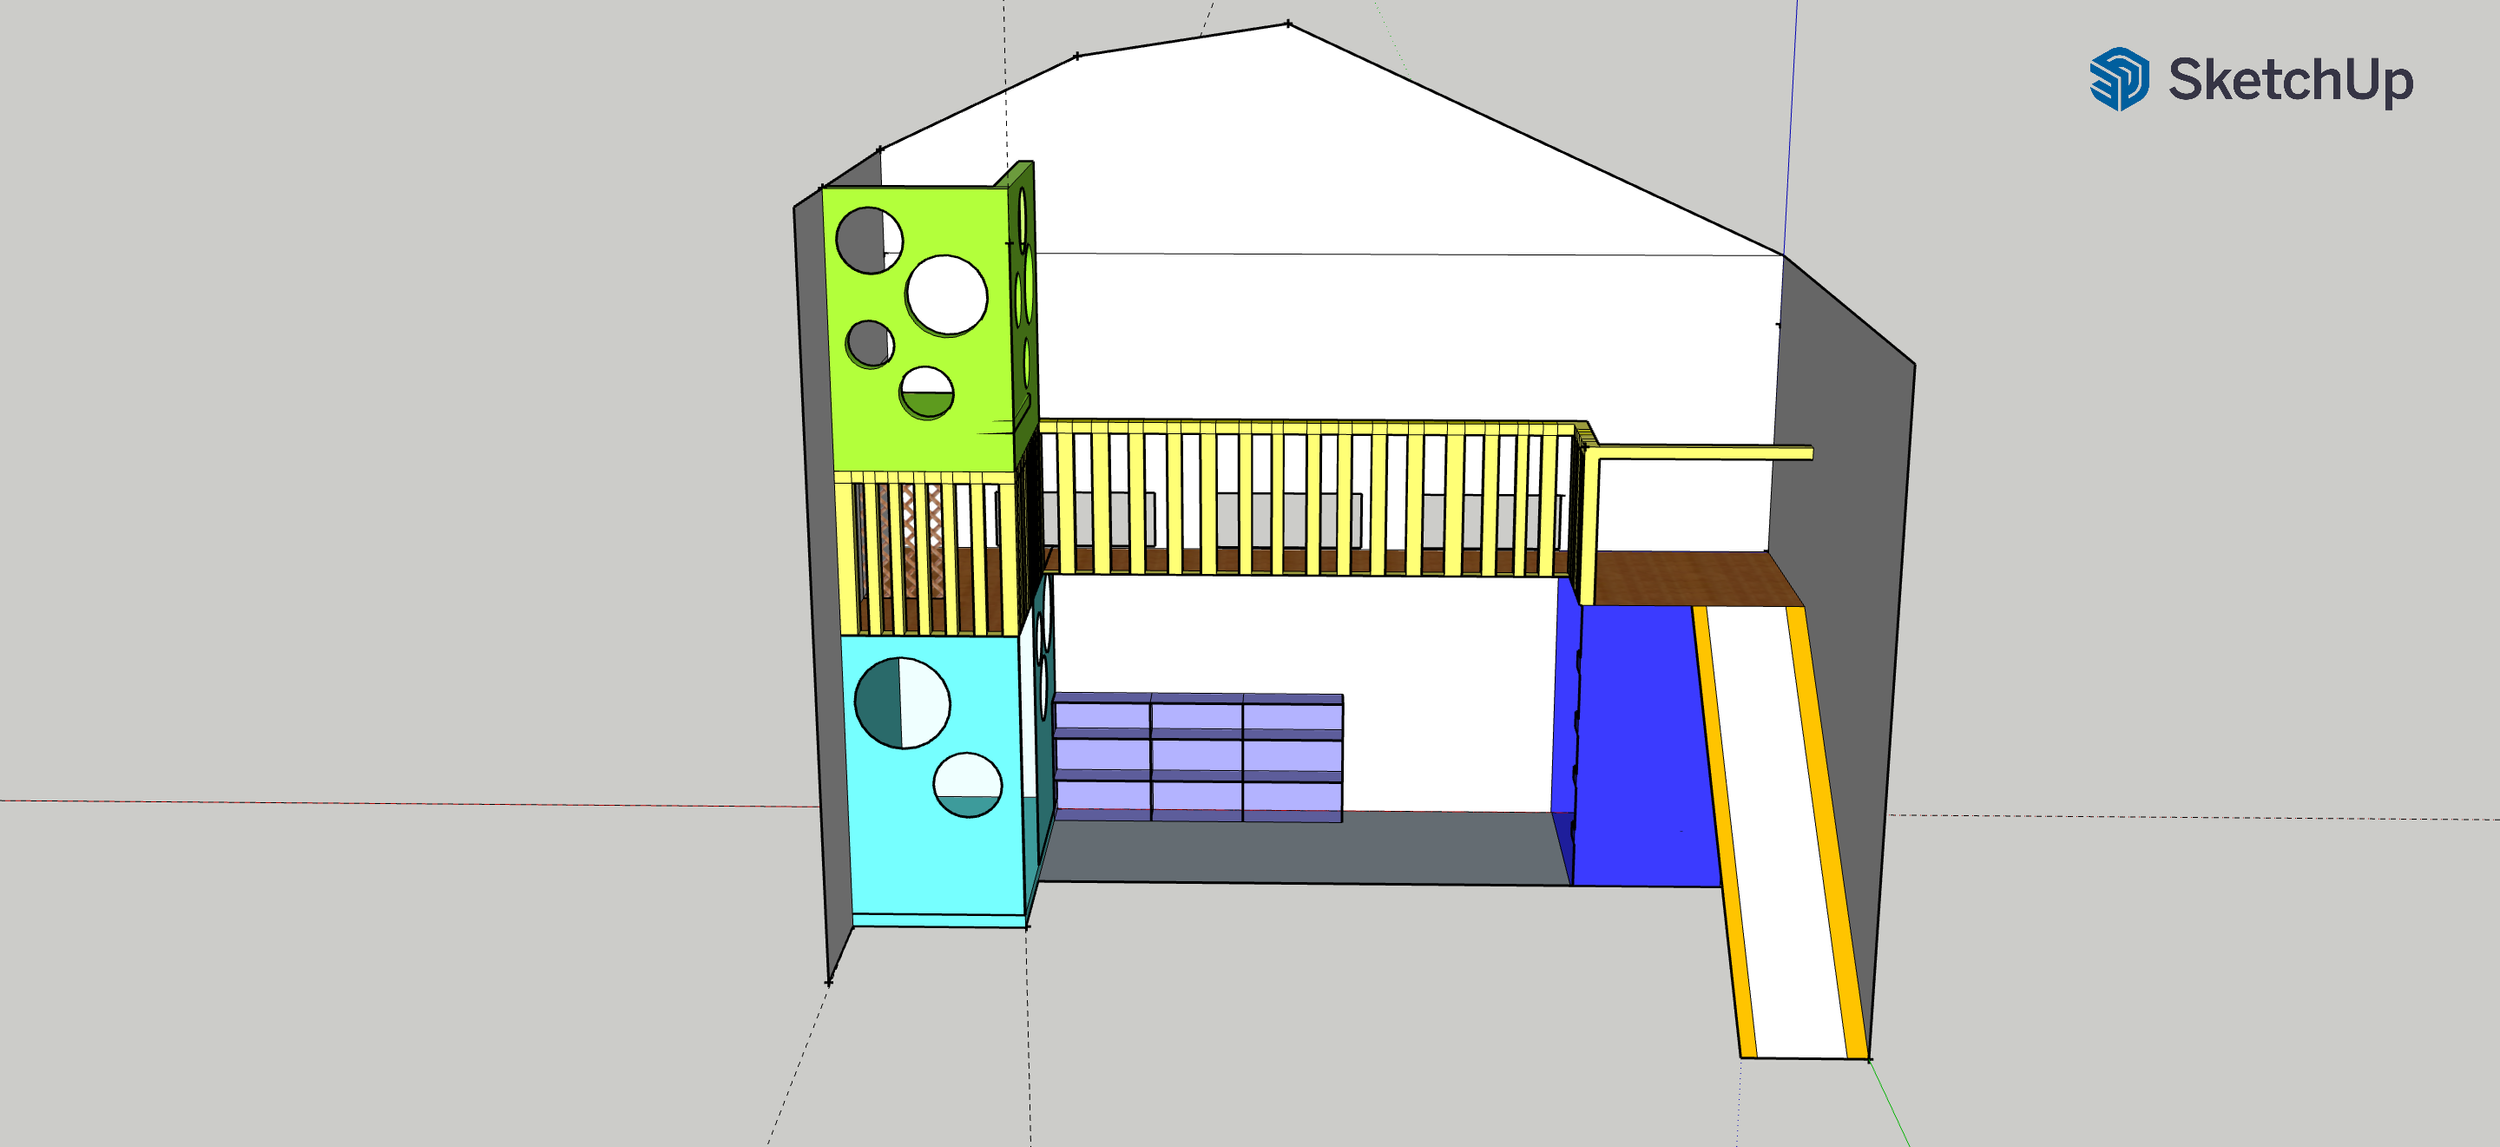
The plan for his room is to have a whole climbing structure with a bed underneath. So a bed, a climbing wall with a slide, a second story play area, and a little loft area with a reading nook underneath. I knew it was going to happen in phases so I started on my first priority which was the actual bed. This is a relatively easy project that took me about a week broken up into phases because, mom life. I took out the old guest bed and donated it so I had a clear space to work with. Then I came up with a plan. The bed I started with is actually the base of the play structure with the second and third stories right above it so I needed to make sure it was sturdy and could handle the weight of the rest of the structure. In case you don't know, 2x4s can hold more weight when they are on their sides, so I bought some 2x4s, turned them and started building the frame.
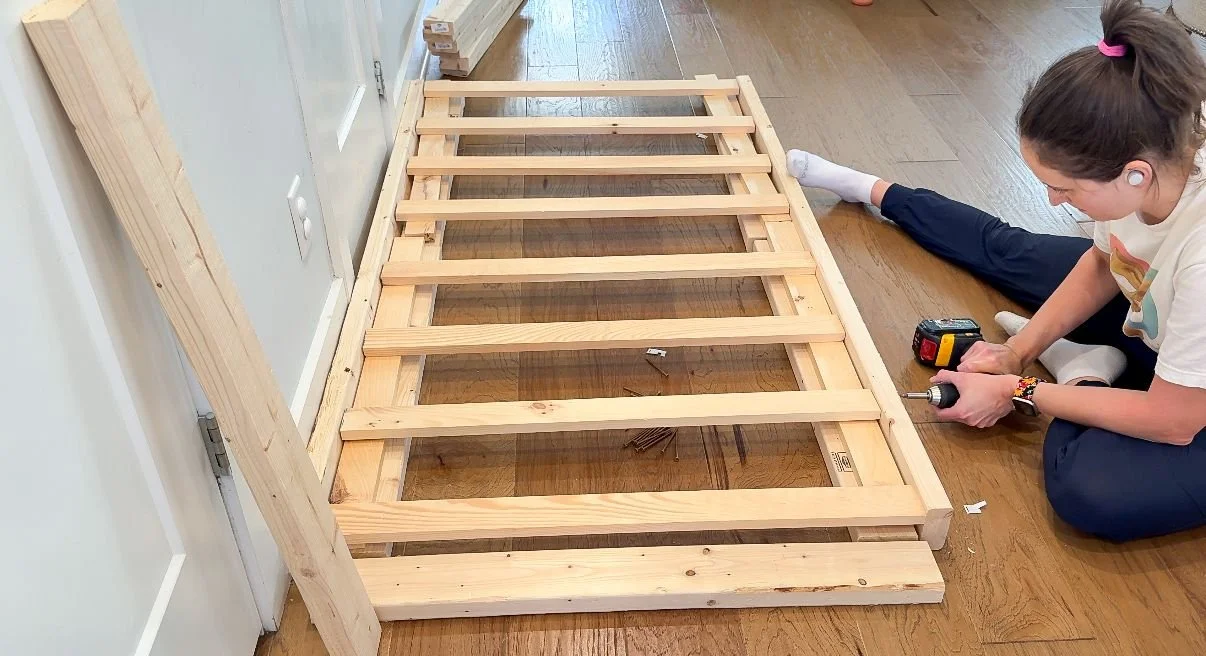
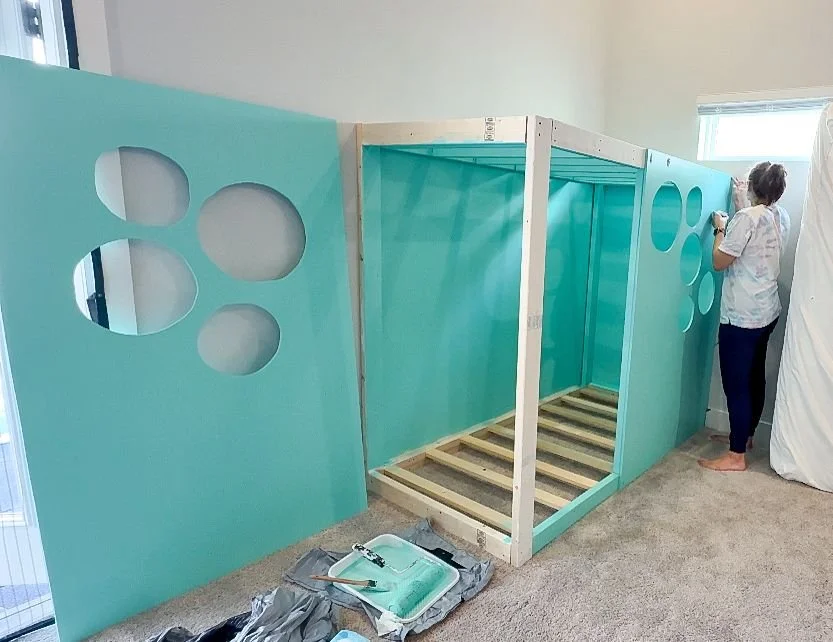
First, I removed the baseboards so the frame would sit flush to the wall. I started with the side piece and secured it to the studs. I then assembled the other side because once the base for the mattress is in, I want to be able to put the second side up on the end of the bed. I added the base for the mattress and yet again, screwed it into the studs so it wasn't going anywhere. When I finished that, I secured the end piece to the bottom of the frame as well as the wall. I double checked to make sure everything was level since this is the base of the whole structure. I moved on to installing the top which doubles as the base for the second story. This is going to be held up by screwing it into the studs in the wall as well as the sides of this frame. I used another 2x4 as a support piece on the long side of the bed as an extra arm because I was doing it all by myself with a toddler hanging out around me. It took a little maneuvering, but I made it work. Once I got that in, I hung from and jumped on it. I just want to make extra sure it was as stable as possible.
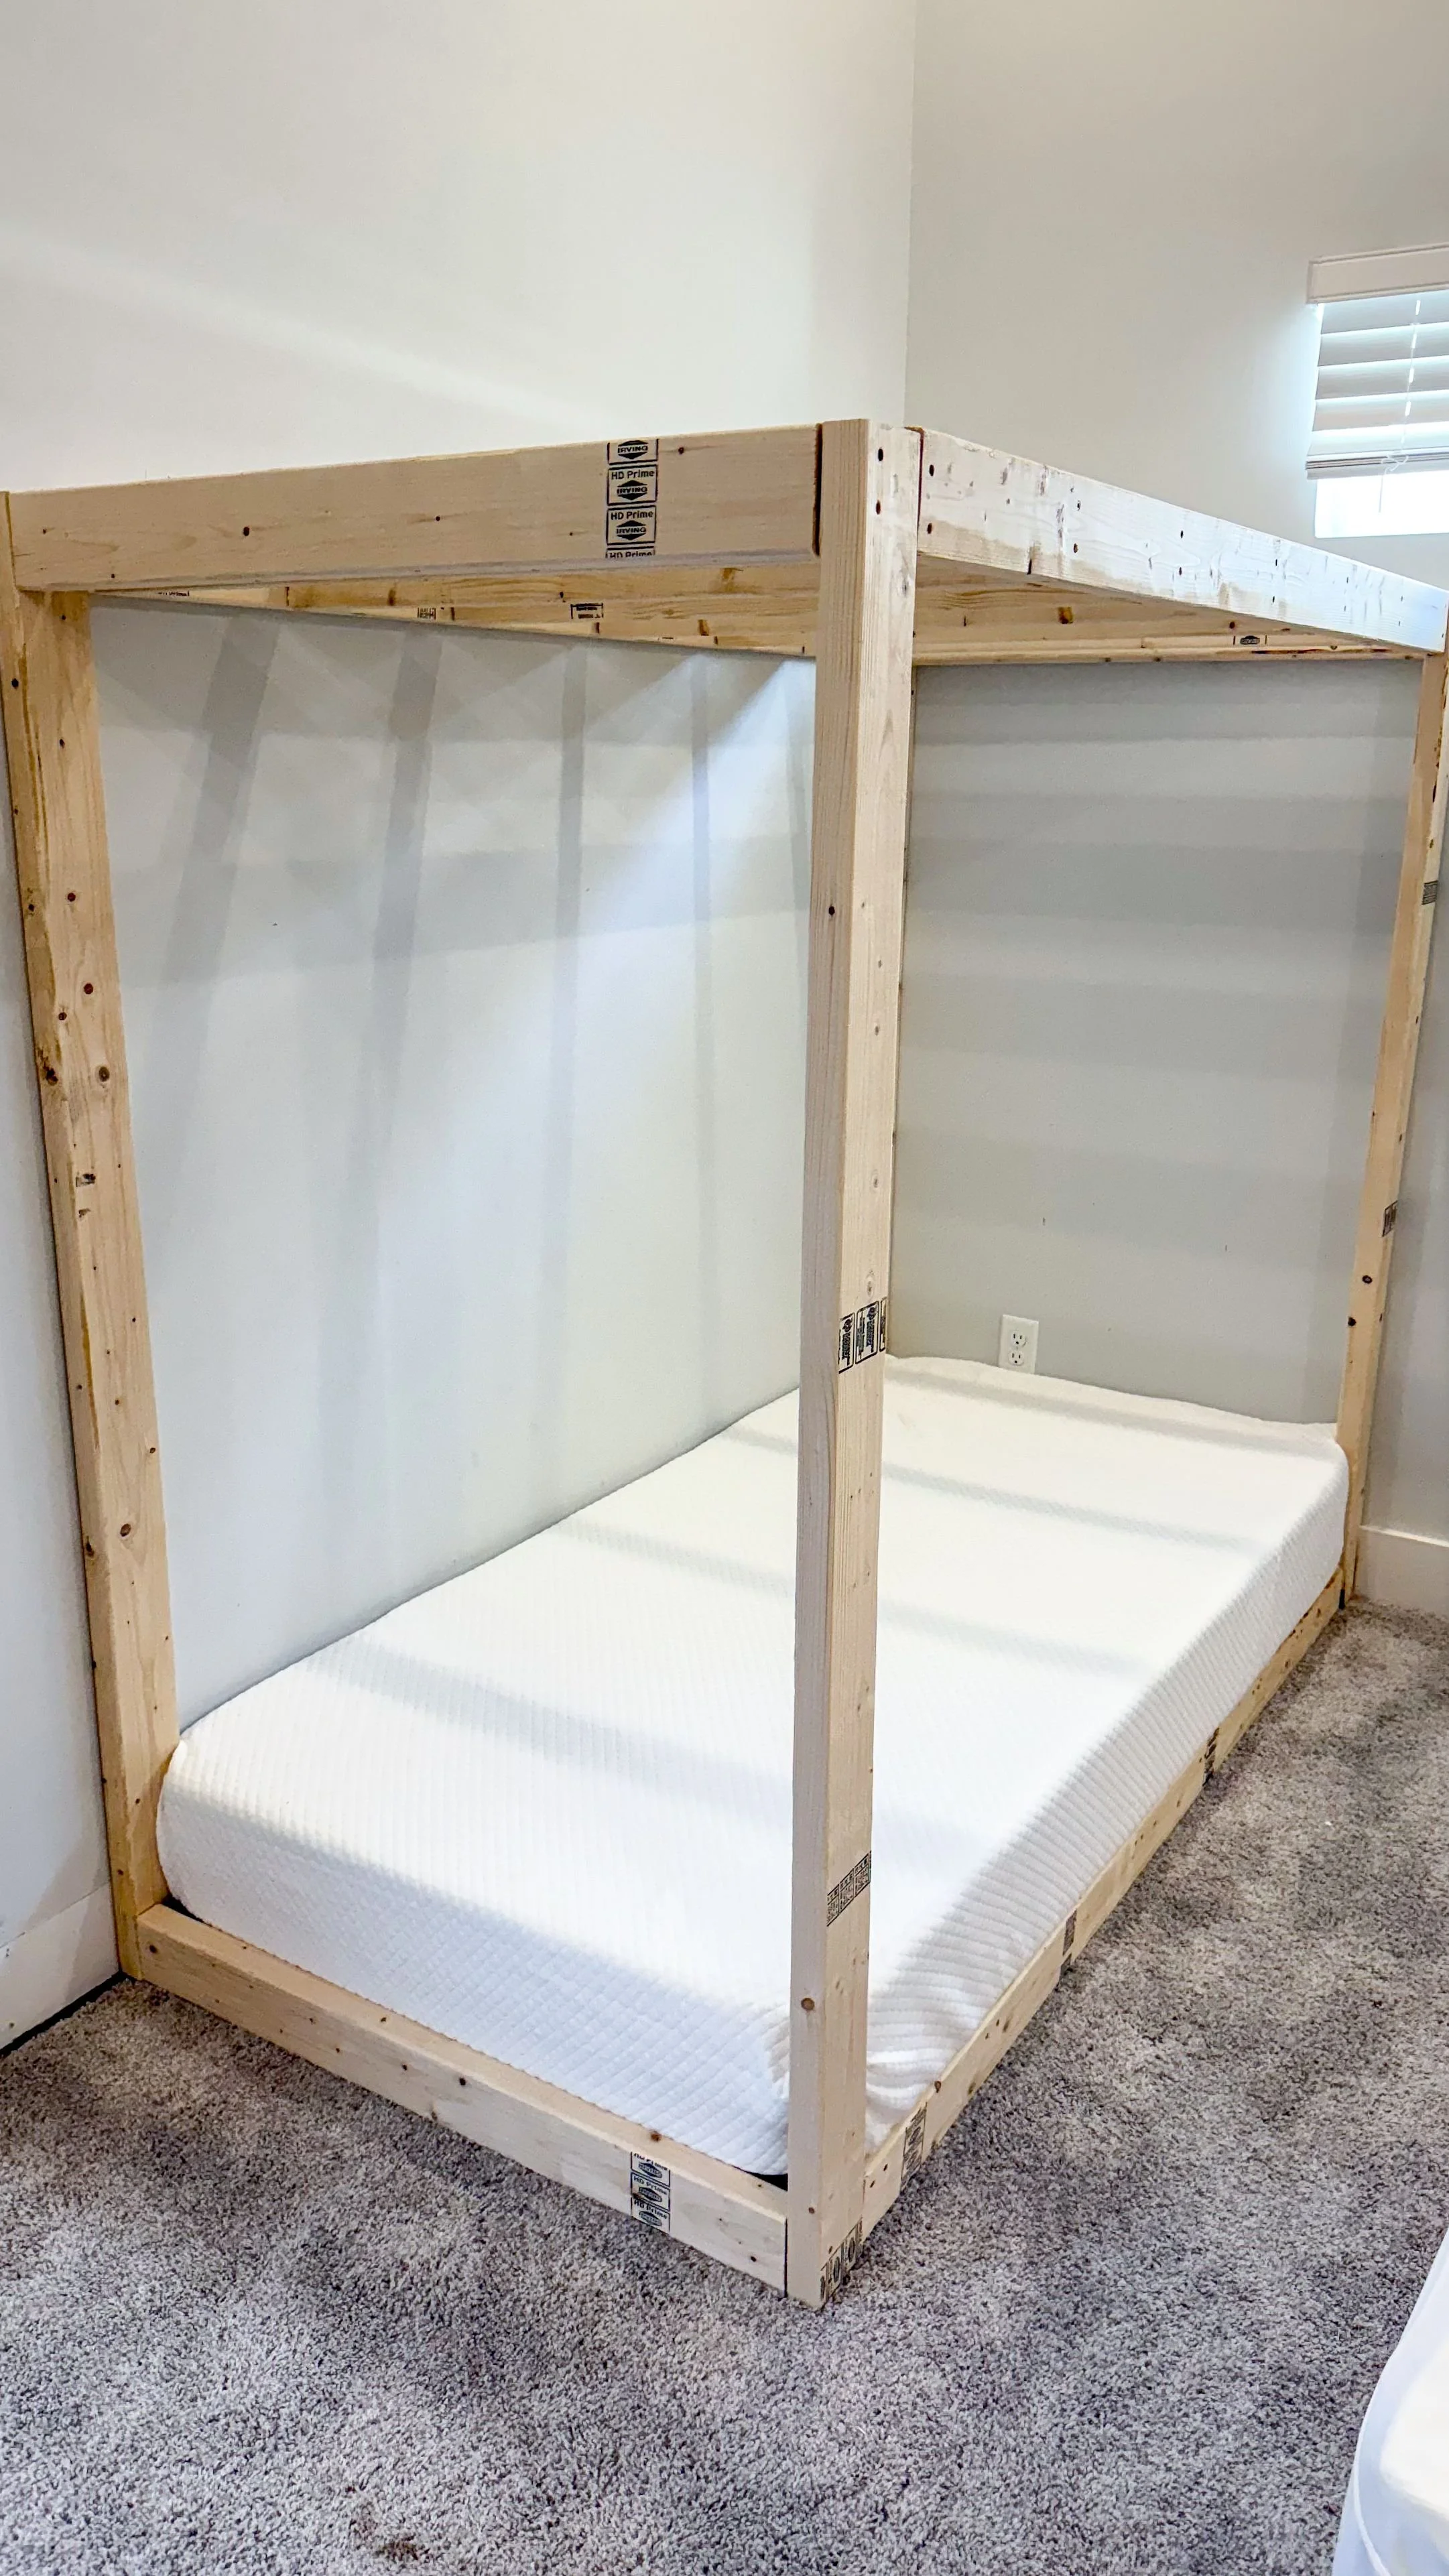
Since the whole thing is basically just a box with an opening in it, I wanted to add some peekaboo holes to add some airflow and light. I felt like the circles make it harder to grip, so hopefully it will deter my son from climbing out using the holes. I drew some circles, used my drill to drill a base for my jigsaw to go into, and then cut out each circle.
Making Over My Sons Room Part 2: The Bed | Finishing and Painting
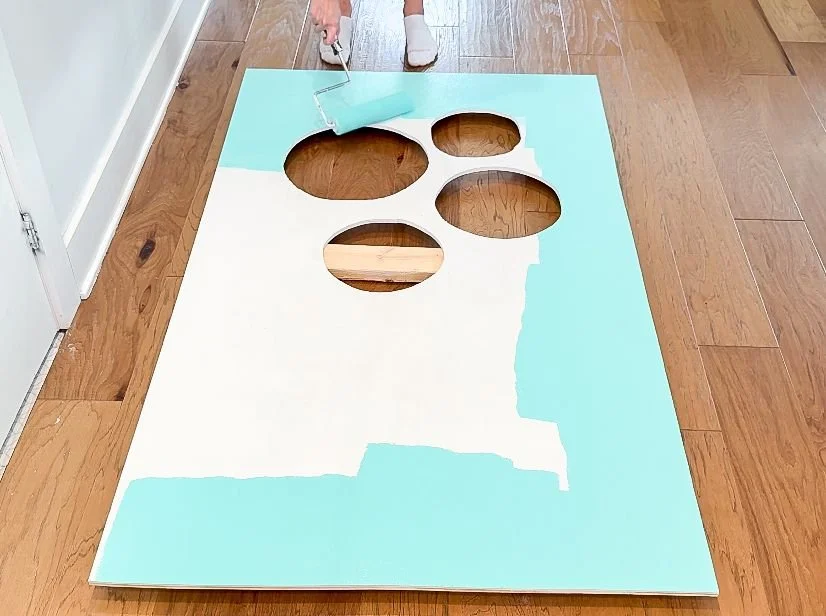
I primed the side panels while I was working on another project at my parents house. I've found if I want the paint job to have the best long term results, 2 coats of primer and paint are key. I used Color Coastal Paradise by Benjamin Moore for all of the wood pieces and also painted the walls on the inside the same color so everything was cohesive.
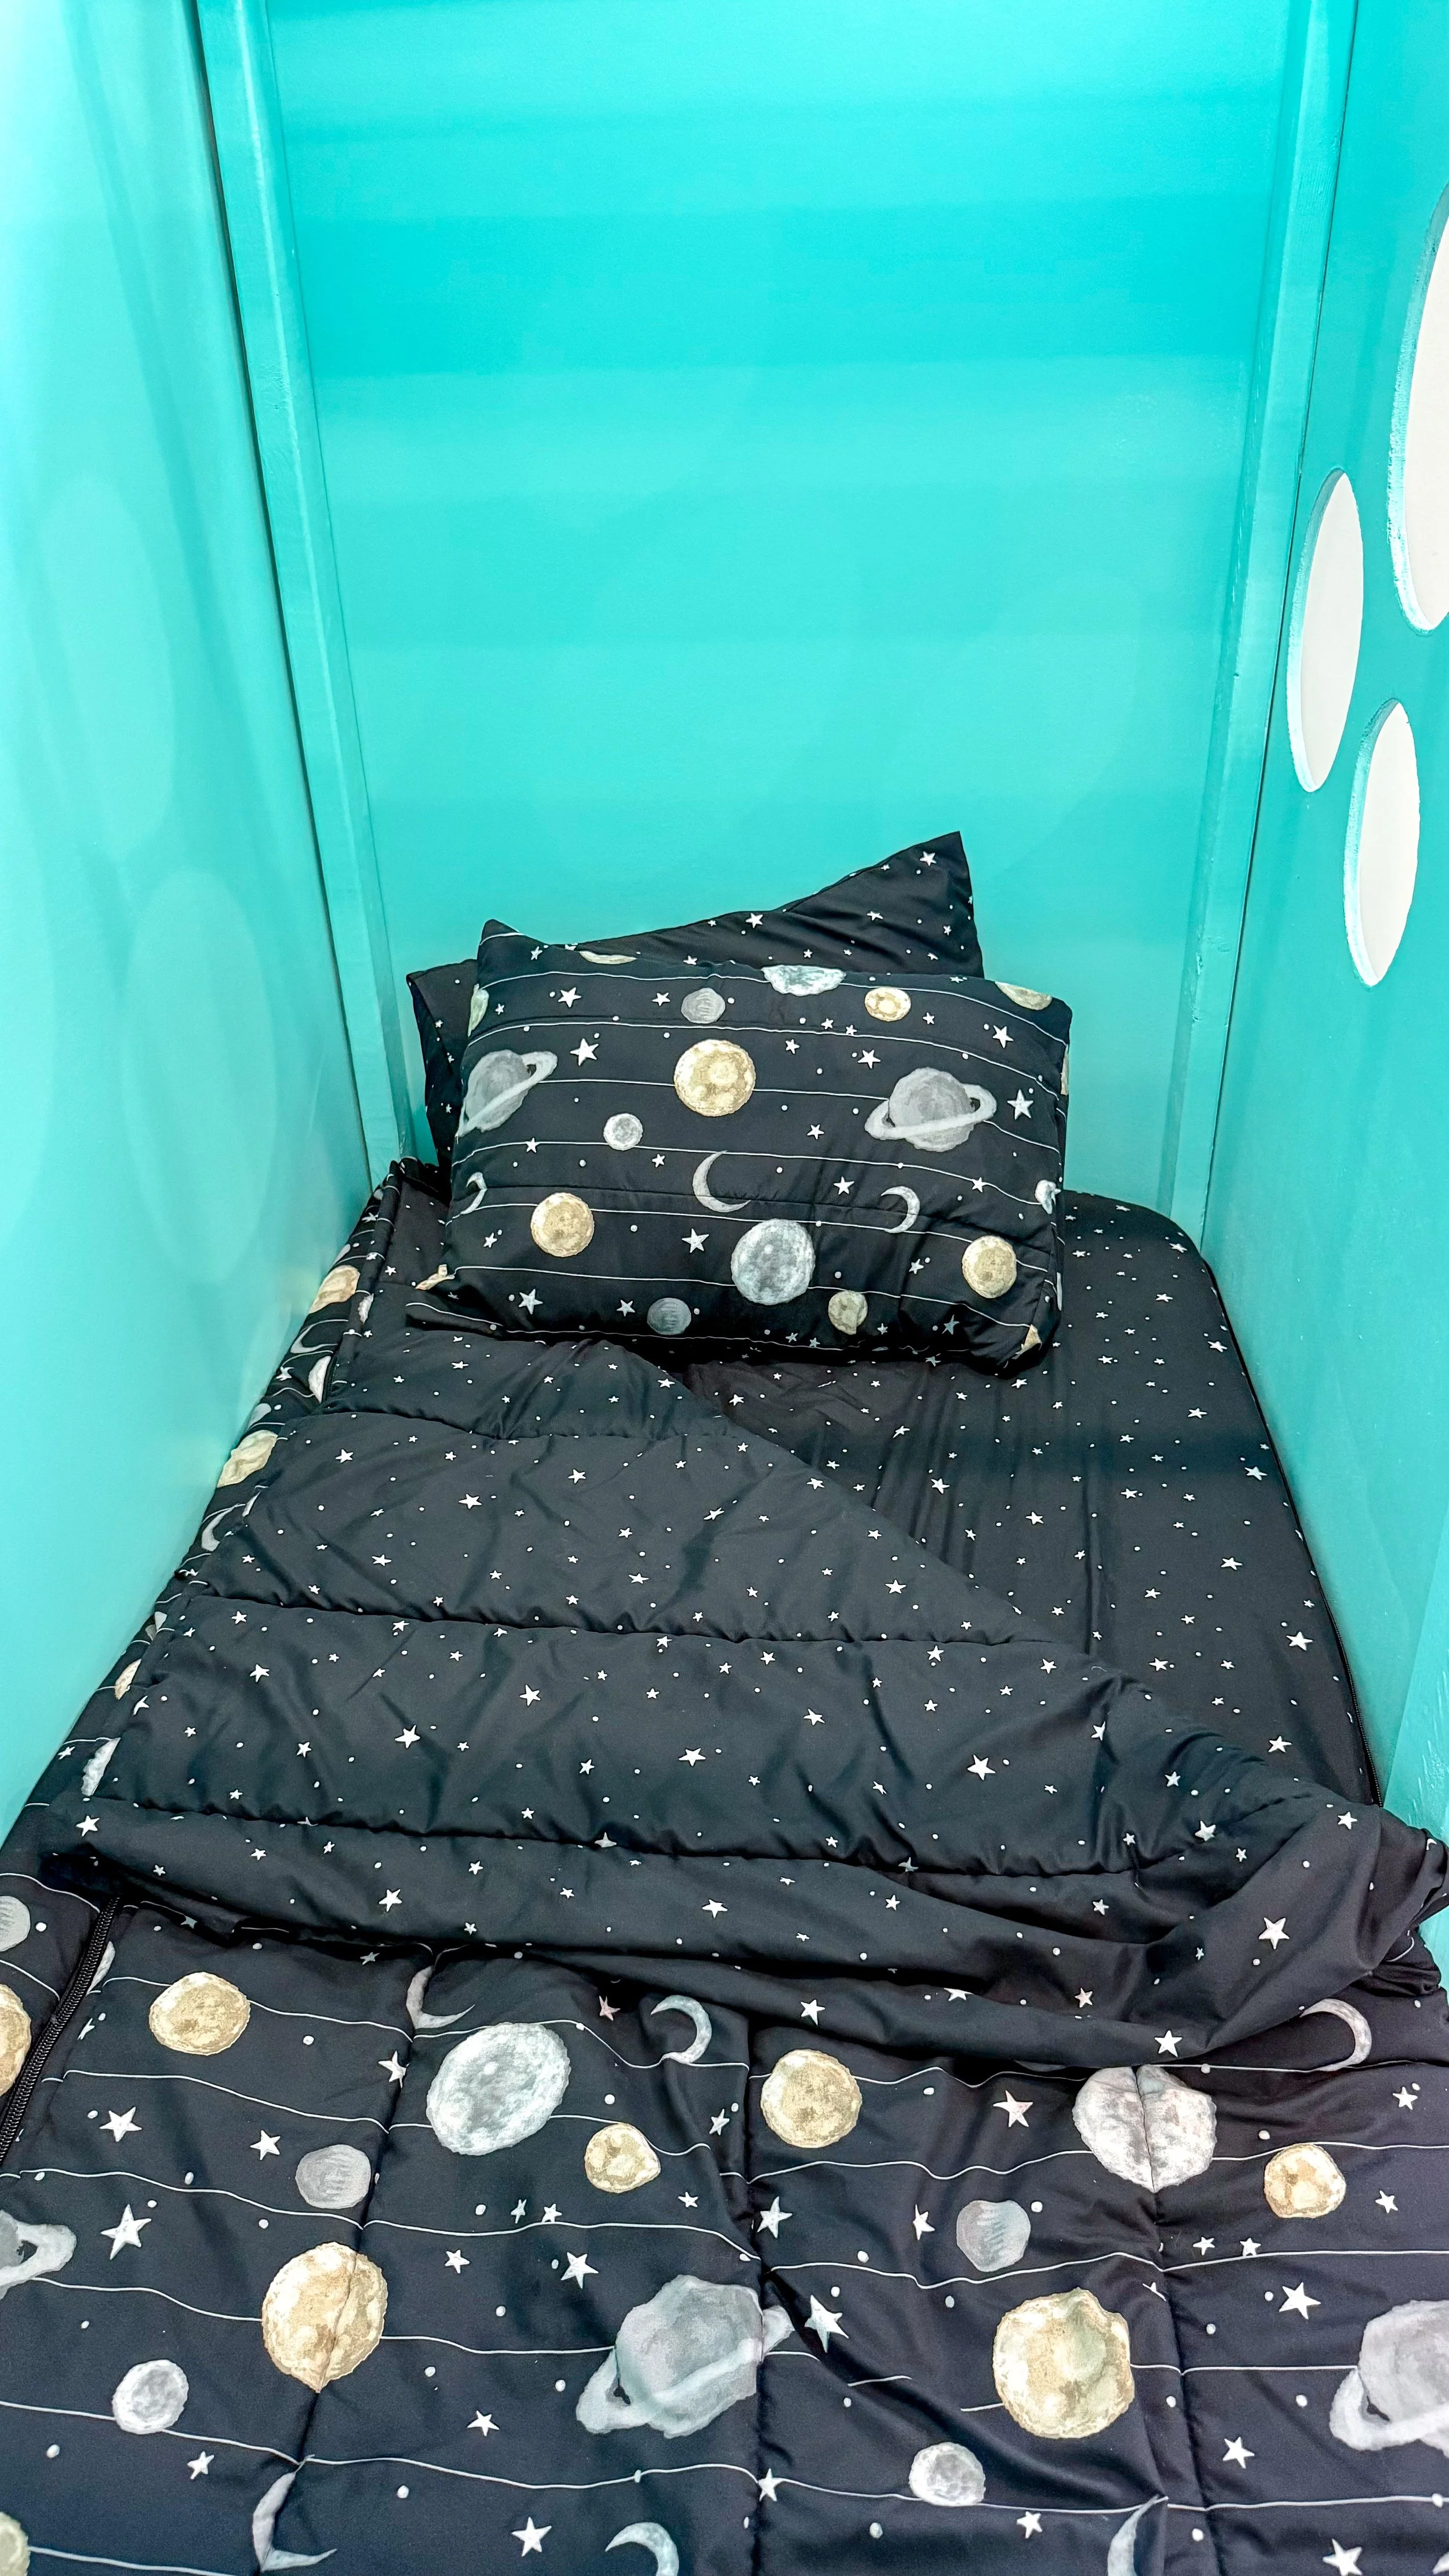
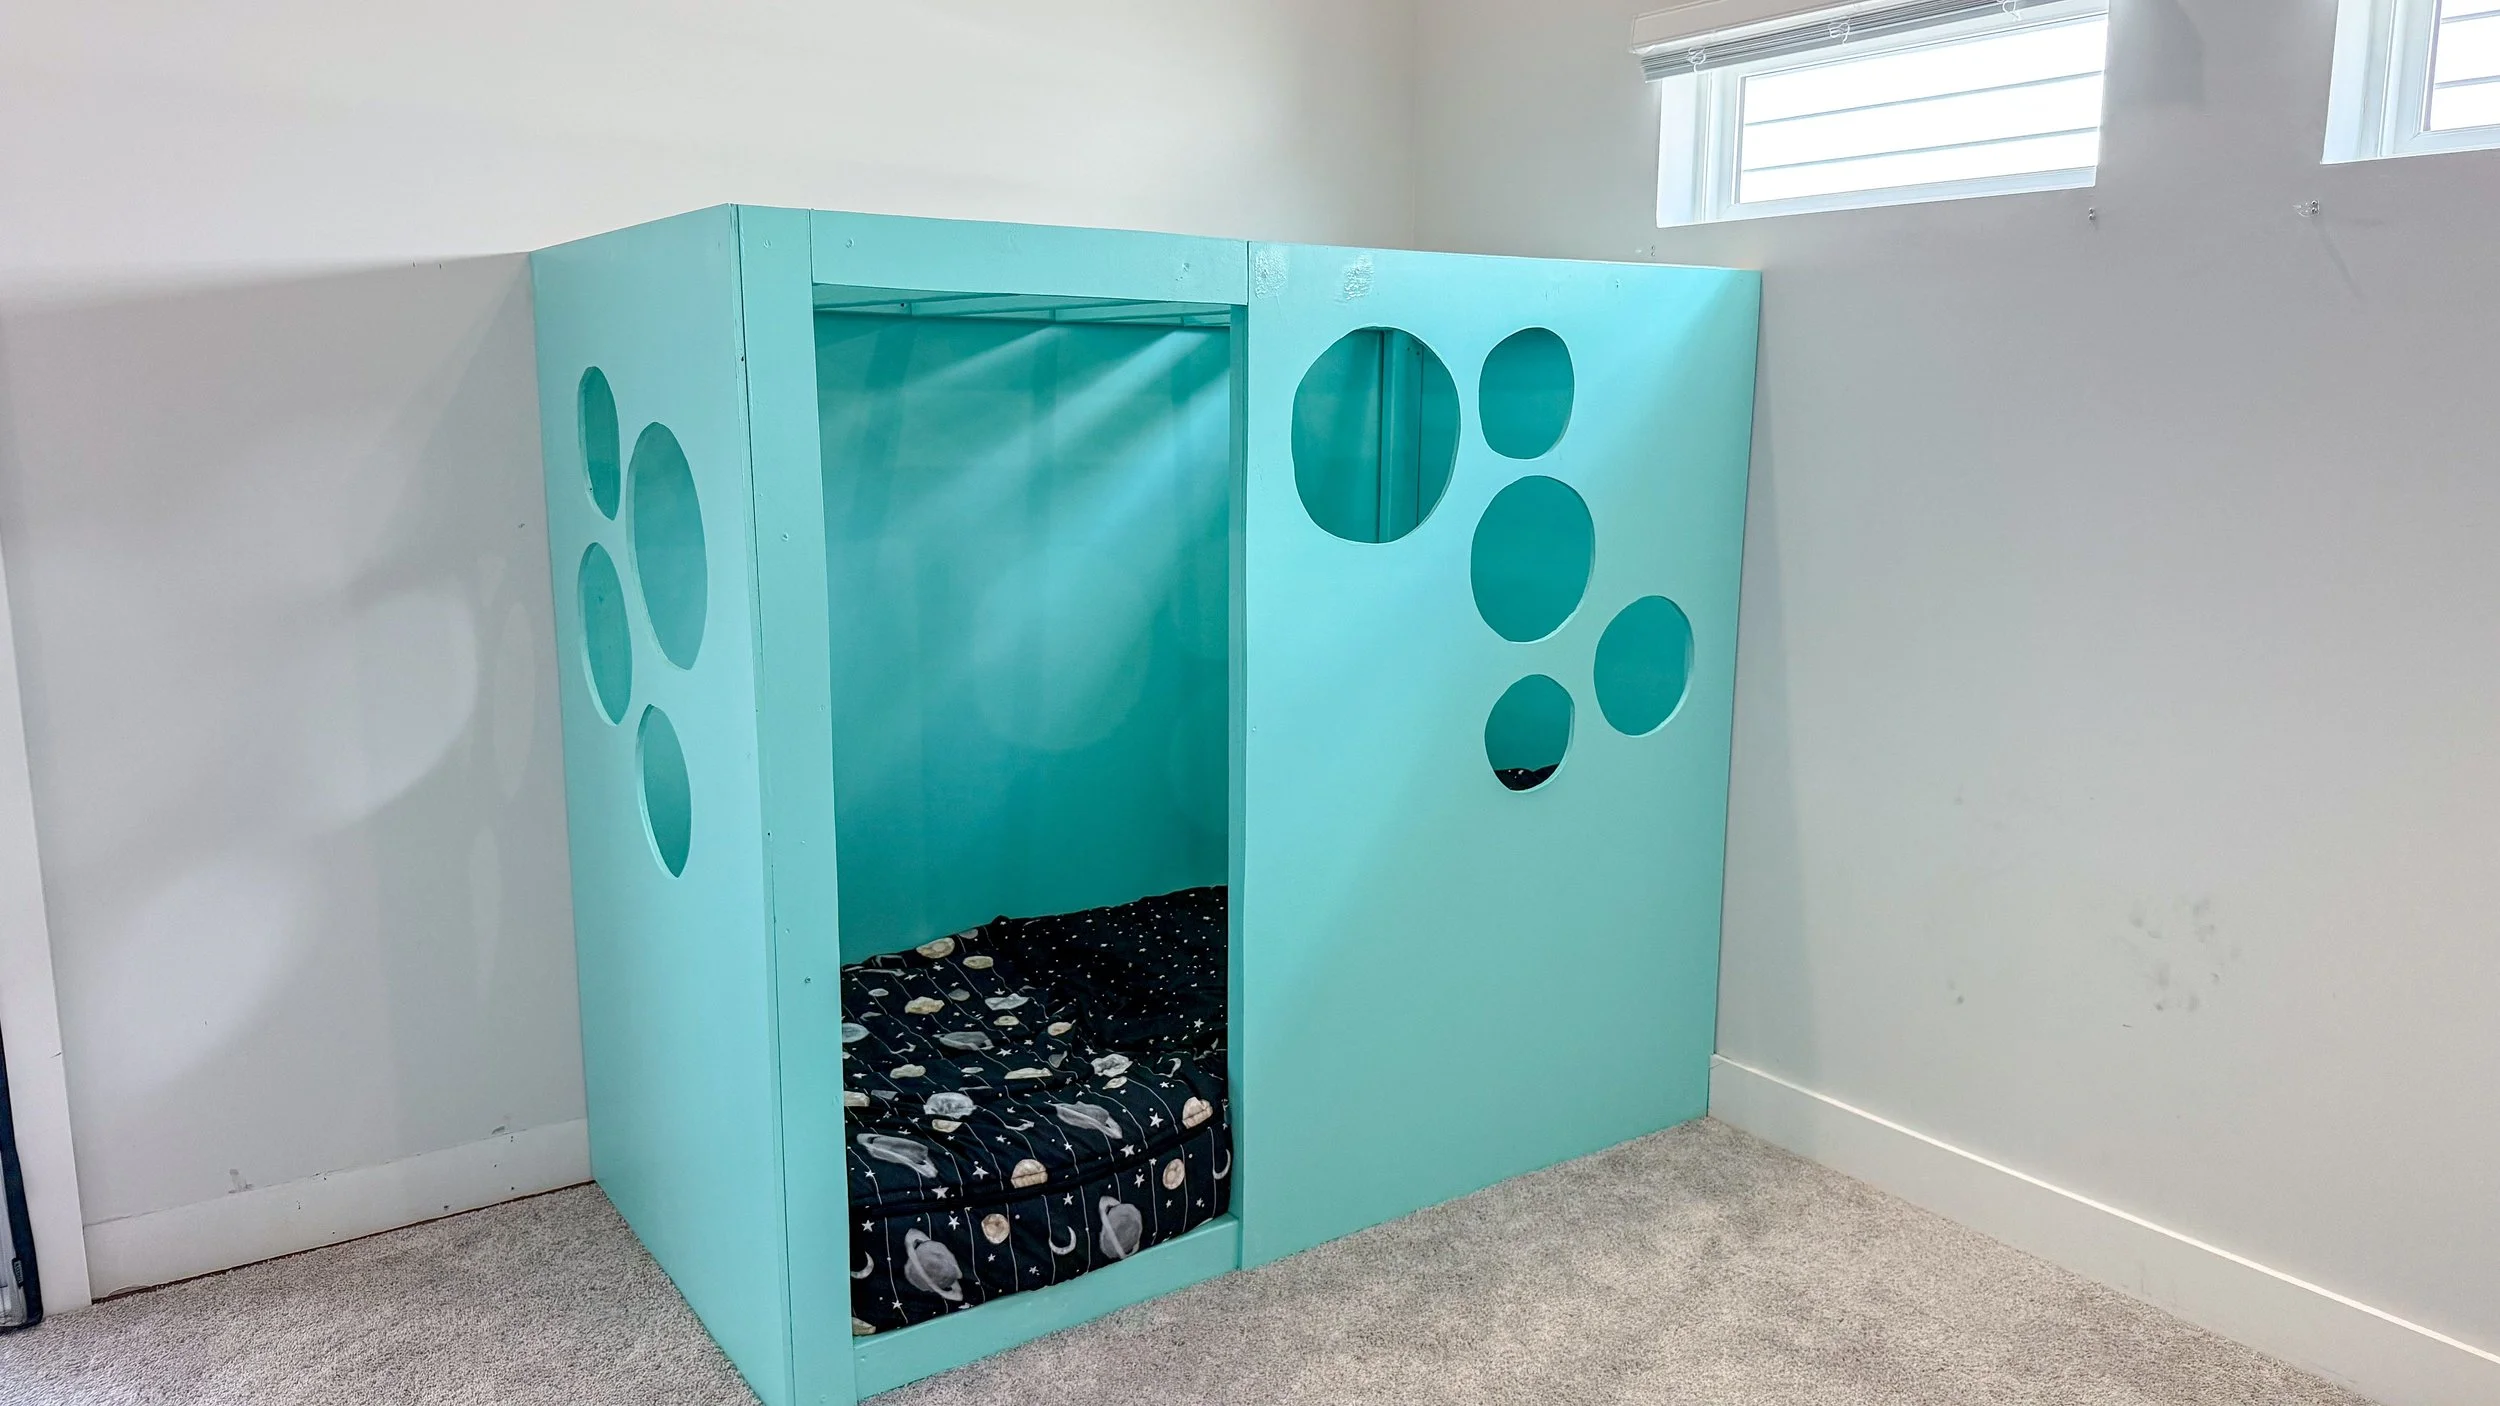
After painting was done, I attached the side panels. We added a twin size mattress with a Beddy’s bedding set. If you haven't heard of Beddy’s, they're an all-in-one bedding set that zips together. We have them for a few of our beds and love them and they are AMAZING for my kids beds because they stay secure.
Once the bedding was in we were done! I know that it's kind of odd all by itself over there in the corner, but trust me its going to be so colorful and amazing once I'm done.
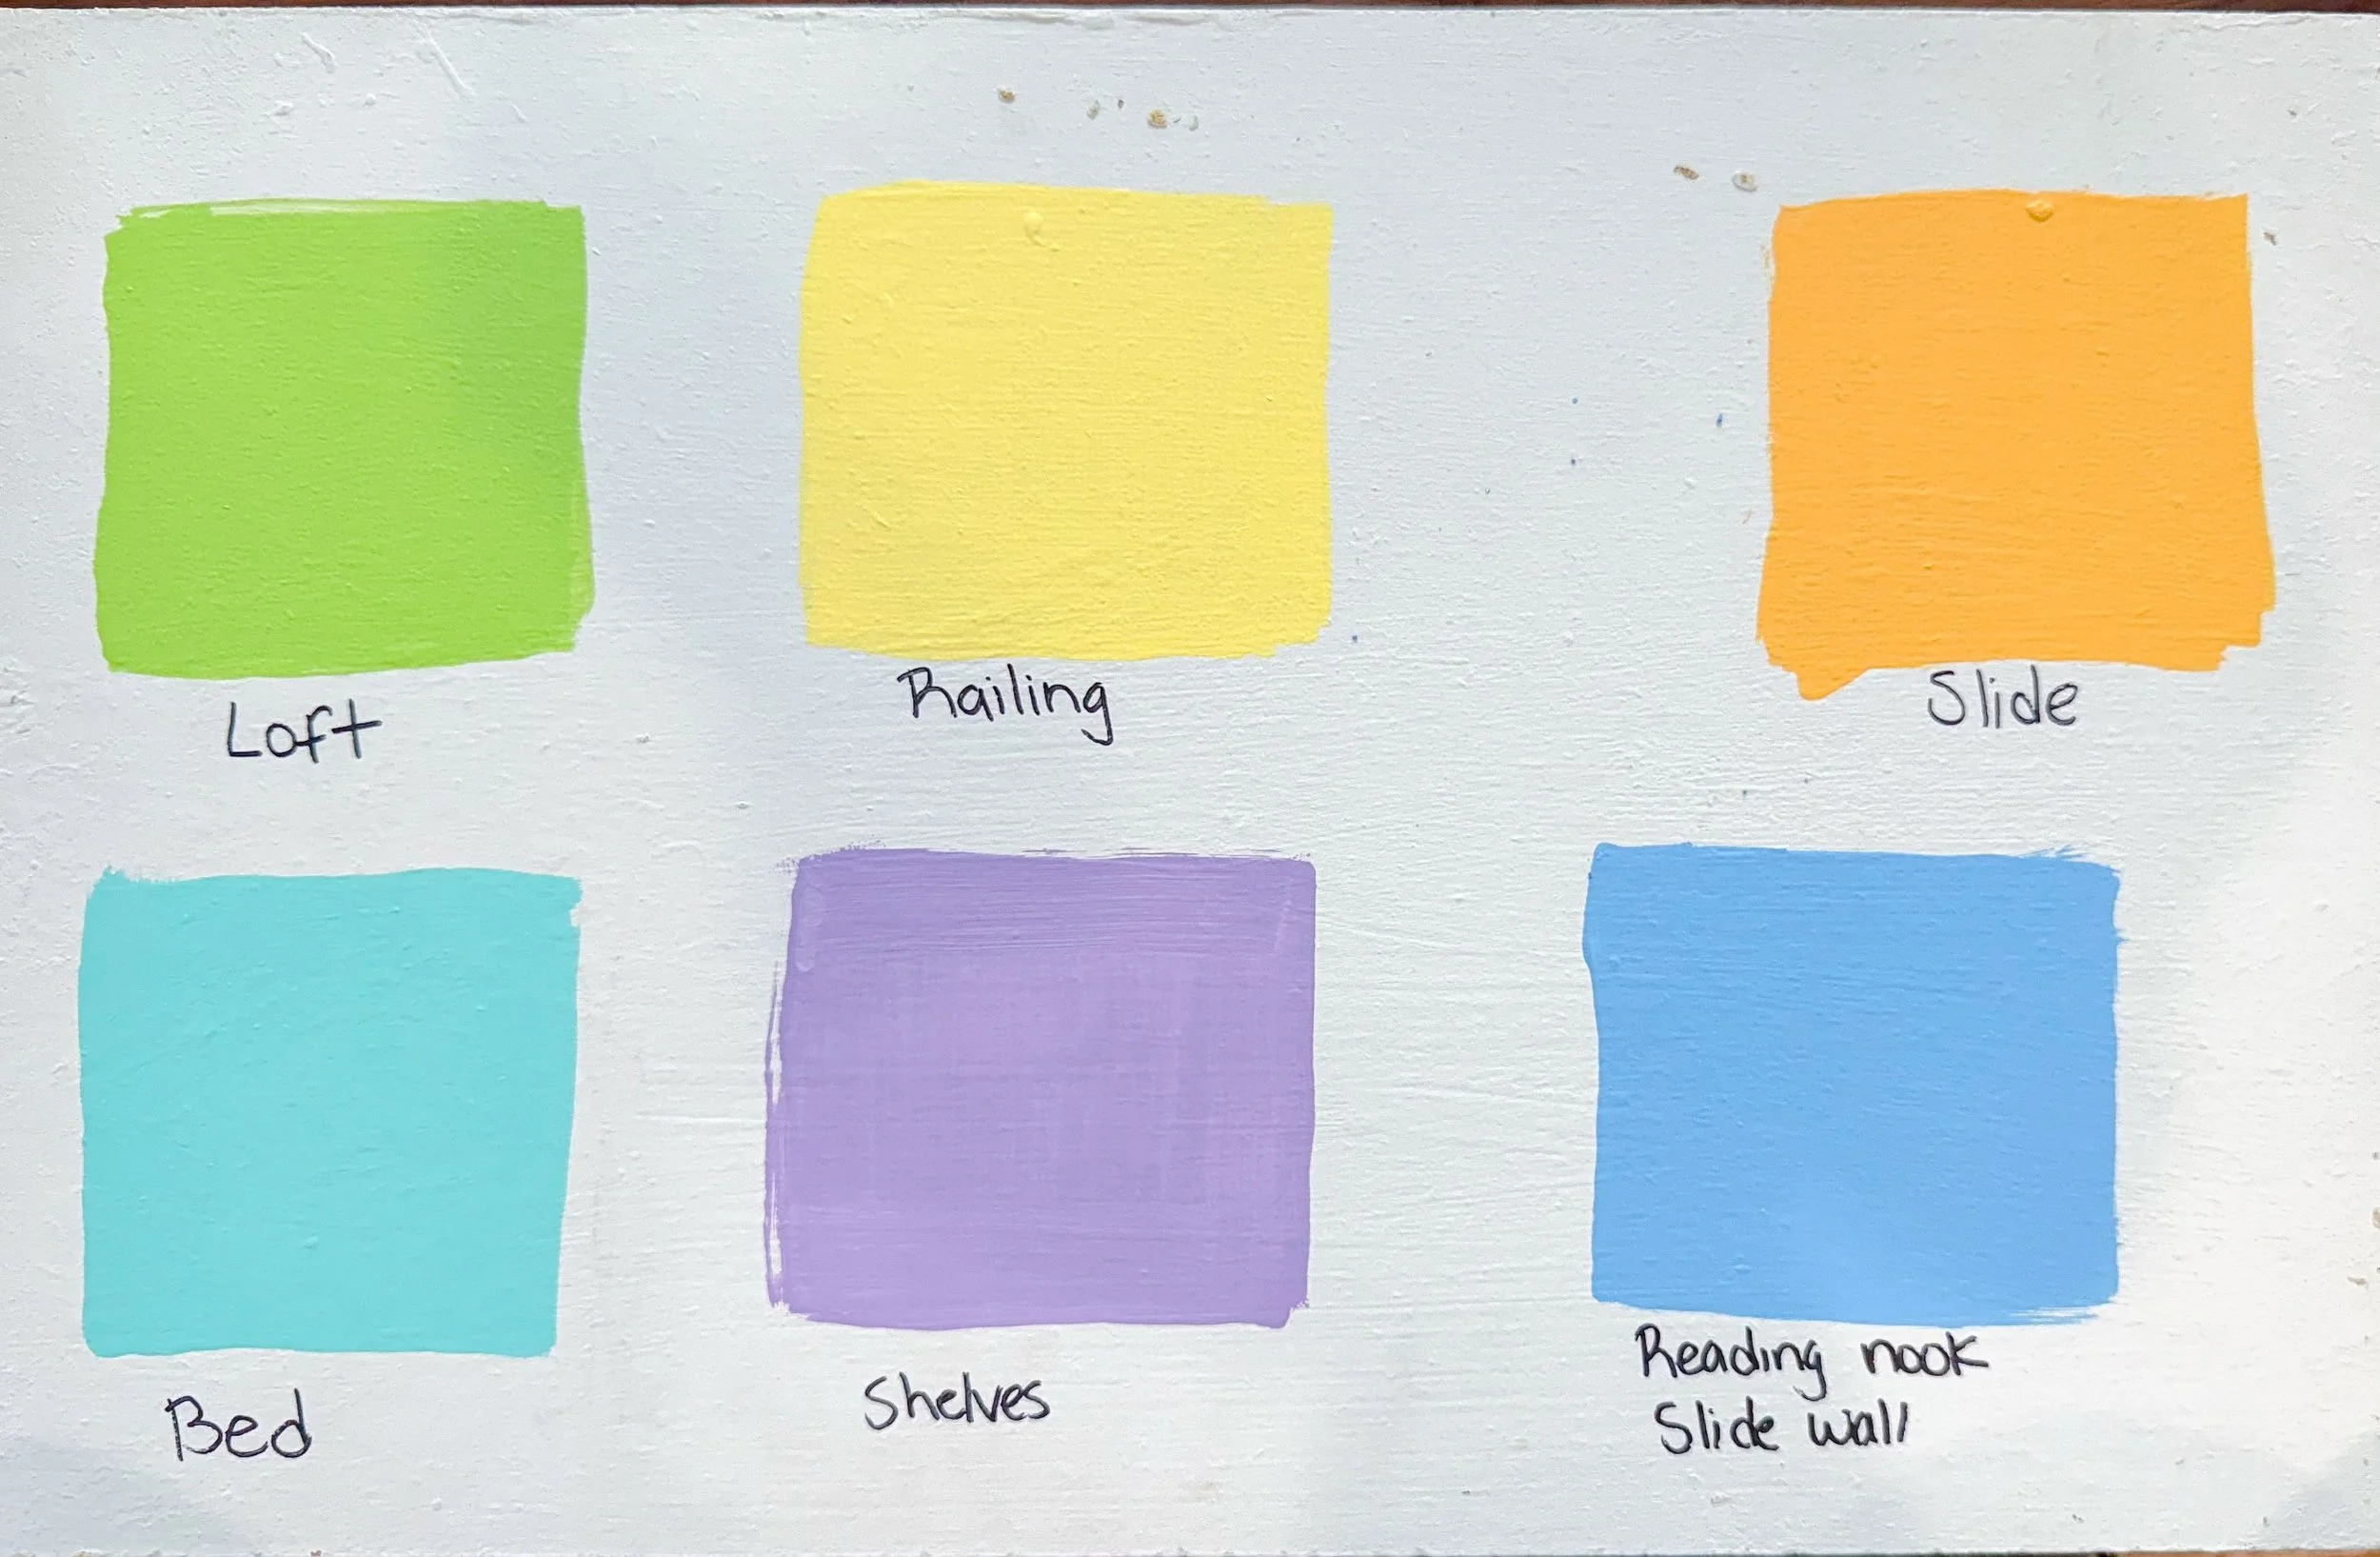
Like I said before, it wasn't originally the plan to do the bed first, but sometimes we need to do things based on which one makes the most sense. As for the next phase, I am leaning towards doing the reading nook on the other side of the room next, and then the bridge in between. What do you think? Should finish his bed or stick with the original plan and do the Murphy bed next? Either way I can't wait for more of this to come together. As you can see from the color scheme, I really wanted to go with a bright and playful theme in this room. Stay tuned as I work my way through the rest of it to see how it all comes together!