Polish Pottery Epoxy Trays
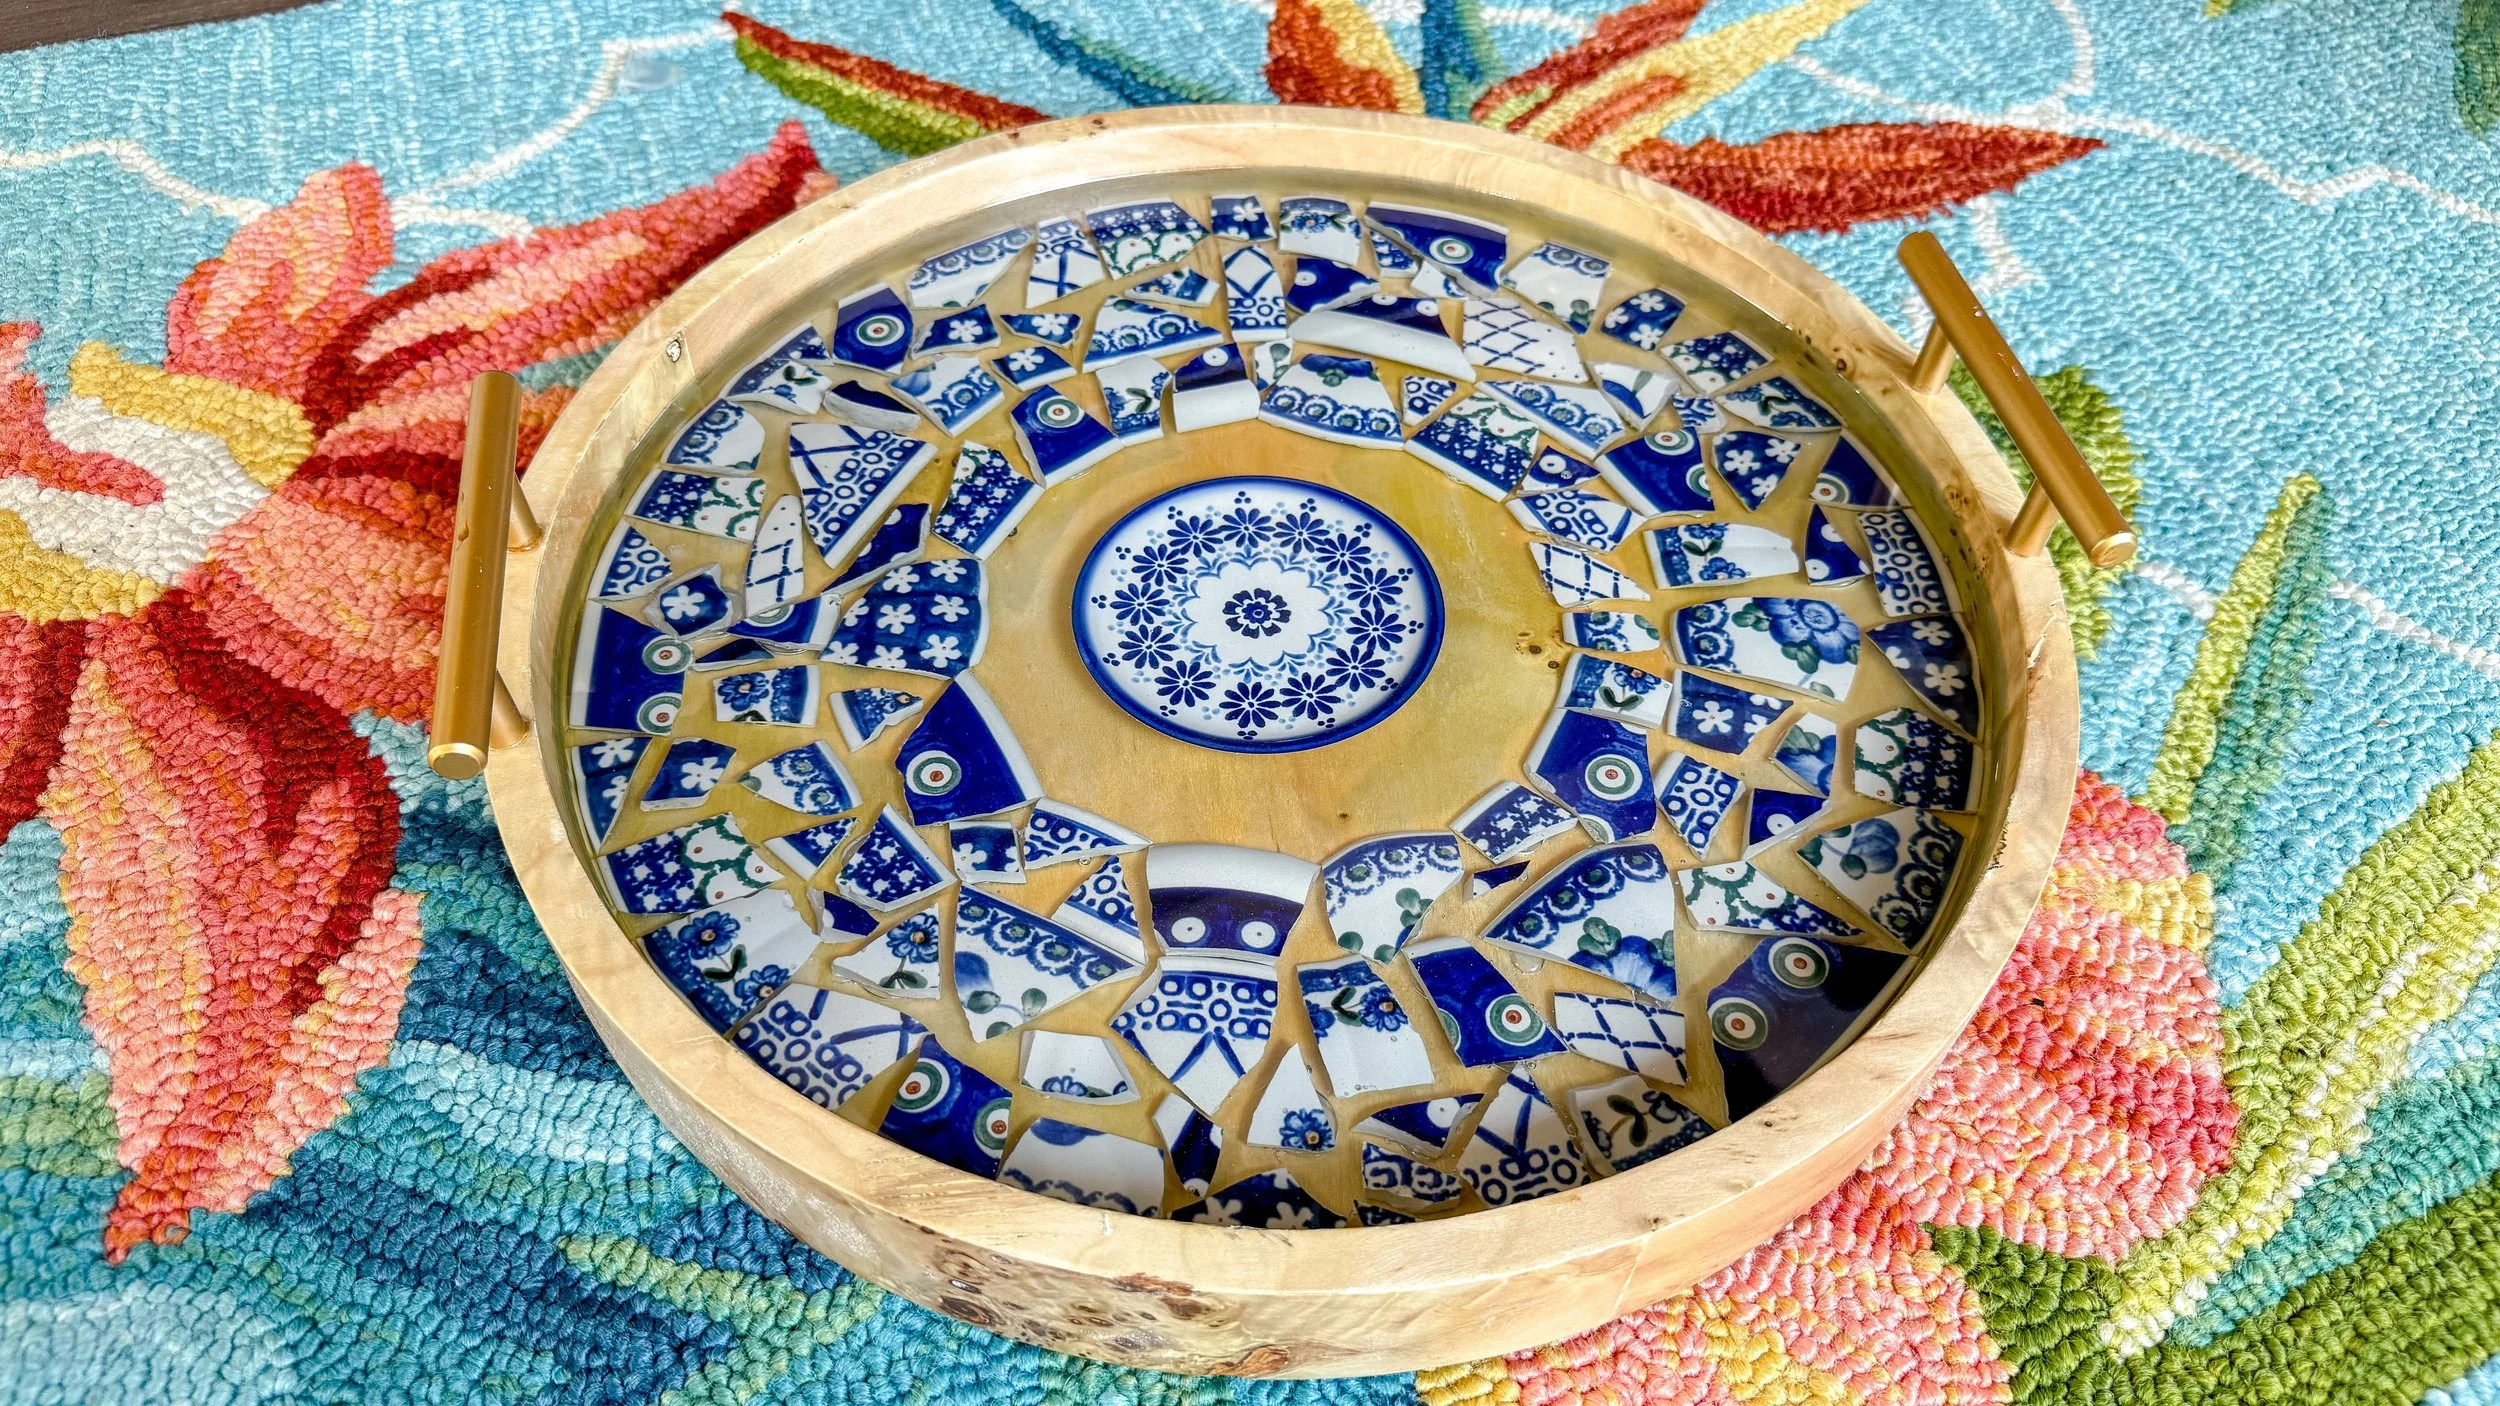
We're getting back into epoxy, but in a new medium. In the past, I have used epoxy on wood, but we're using it to repurpose Polish pottery today. If you've been here a while or know my family at all, you know we collect Polish pottery. It's a pottery made from a very specific kind of clay found in a very small part of Poland on the Polish/German border. My family was introduced to it in the 80’s or 90’s, and it has become a staple for the entire family. Almost all of my dishes that aren't plastic are Polish pottery. It's kind of a unicorn product because its dishwasher, oven, microwave, and freezer safe but it is also beautiful. Each piece is unique so when one breaks we can't bring ourselves to get rid of it so instead we try to repurpose it. In the past, my mom has used those pieces to create beautiful mosaic flower pots, but she wanted to do something a little different this time. She bought two trays and wanted to make the bottoms of them a mosaic Polish pottery pattern. I'm going to show you the whole process of making these, how I messed up, how I fixed the mess up and how they turned out.
Polish Pottery Epoxy Trays | Getting Started
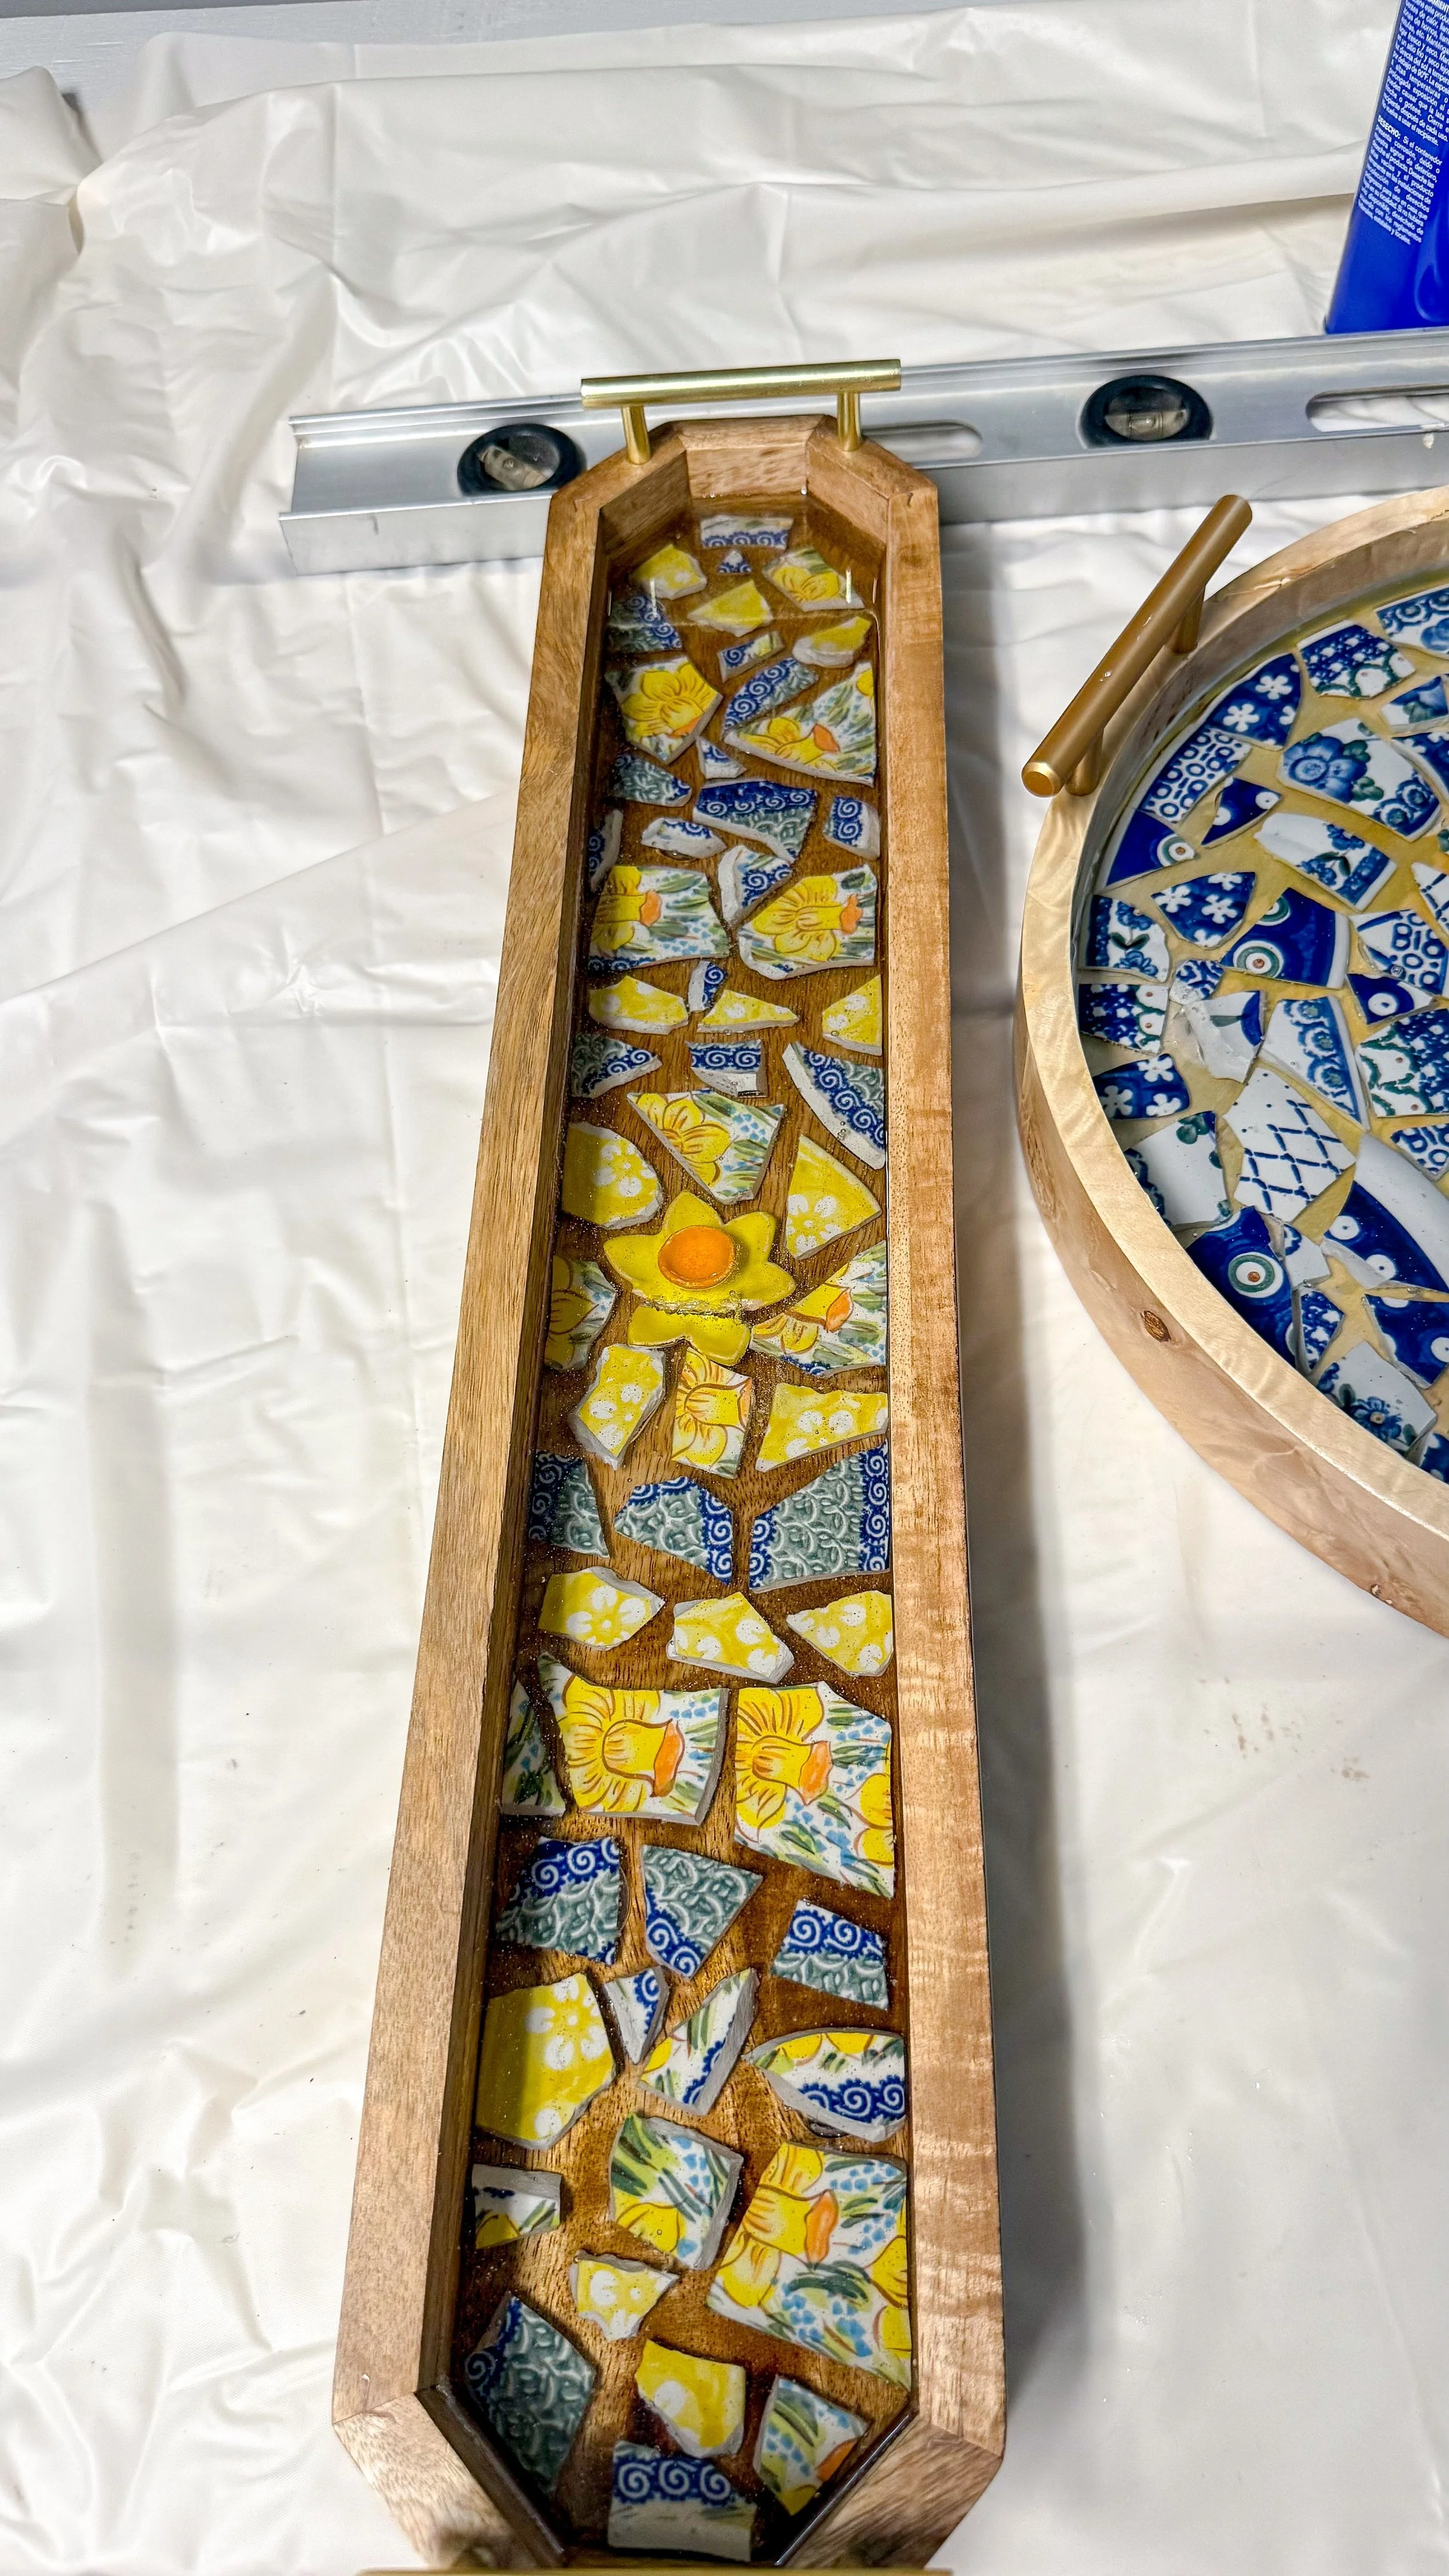
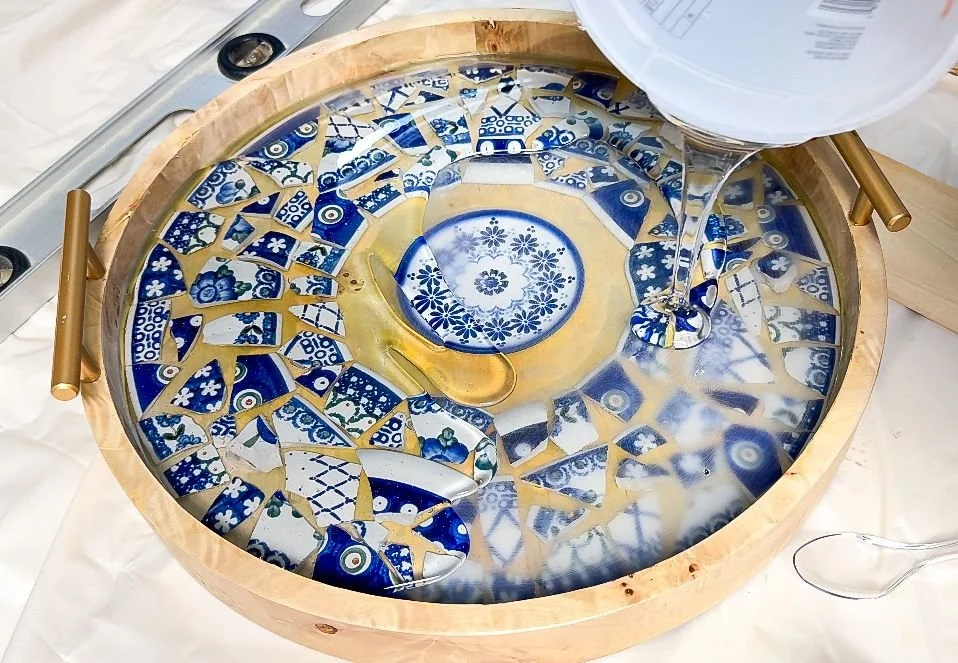
My mom came up with the designs for each one of these trays. She laid out the pieces of pottery she had and played around with them until they were in a formation she liked. She then glued each individual piece down so they wouldn't shift in the resin process. After the glue dried, I poured a thin layer of resin, just enough to cover the pottery. I didn't want to overfill because she wants these trays to still be functional. As always, when using epoxy resin, it's super important to use all of the safety equipment. I always make sure I am wearing a respirator, goggles and gloves. I concentrated on mixing the resin for 3 minutes, scraping down the sides as I went. The resin I'm using is a one-to-one epoxy so it's super easy when measuring it out.
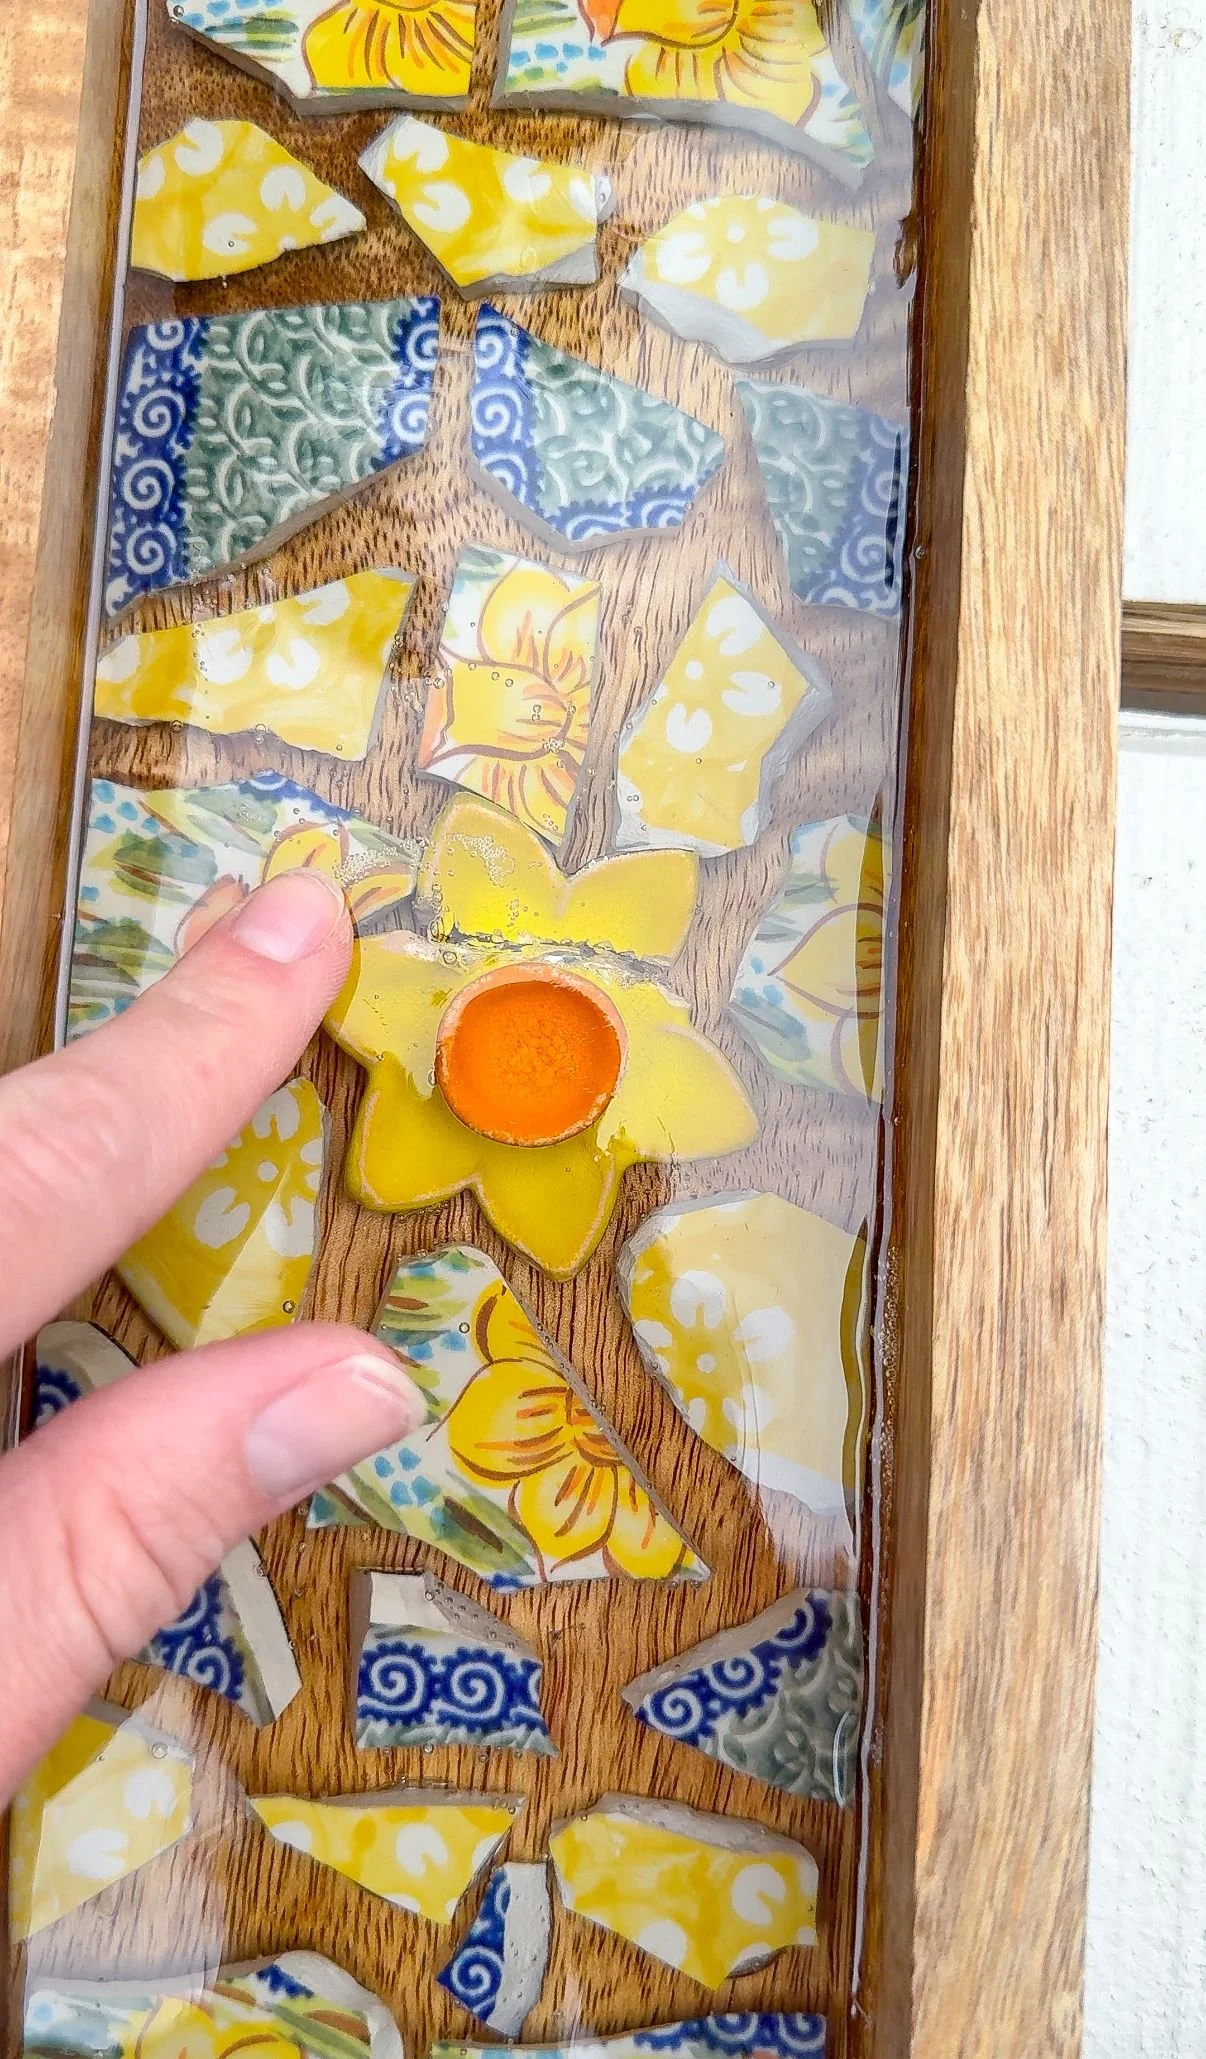
After I did the first pour, I came back and noticed there were bubbles on the trays, which I have never experienced before when working with wood and epoxy. I think, because the pieces of pottery were glued down, air got trapped underneath them and bubbled up. I realized to fix it I needed to do something terrifying: sand the resin.
Polish Pottery Epoxy Trays | Fixing and Finishing
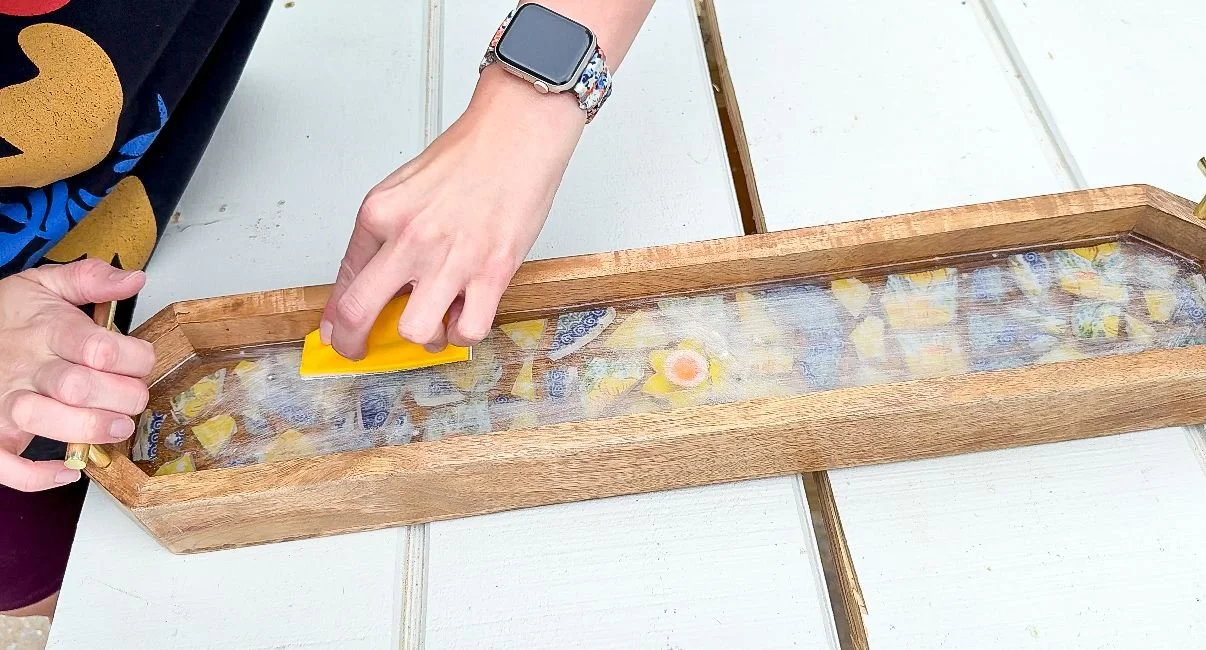
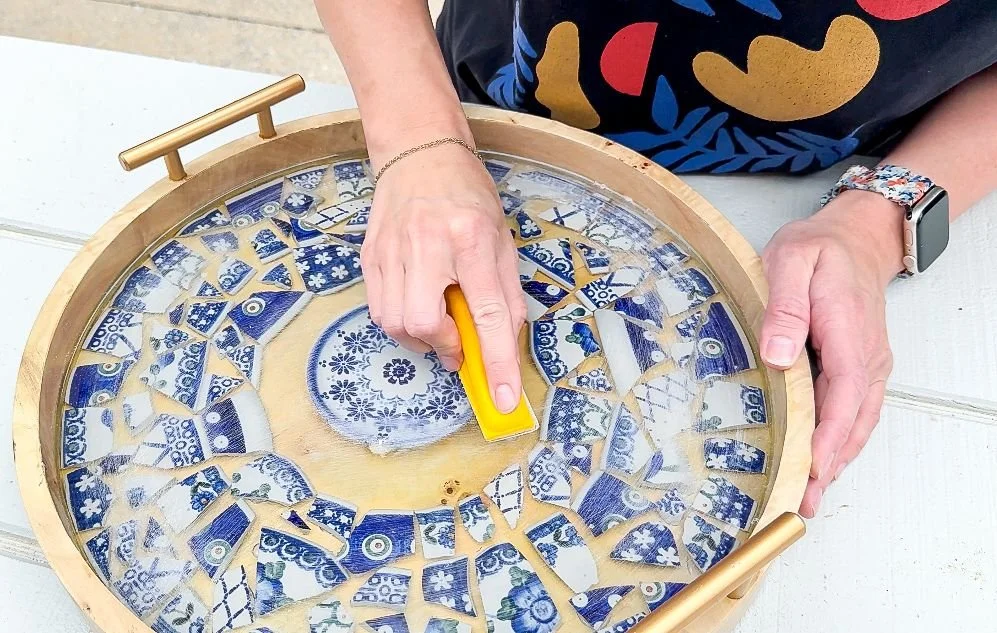
Sanding all of the clear resin was awful and I was so worried I was going to ruin it. However, I knew it needed to happen so I used a little sander that comes with a few different grits, took a deep breath and started thoroughly standing down where all the bubbles were and then ended up sanding down the entire piece to make sure everything was even. The long skinny tray was a lot more difficult than the circle tray because there were bubbles almost in a clump, that were really deep. I had to do a lot more standing than I was expecting. Once I got the trays sanded down, I went through with a toothpick to get out all of the residue. It is also super important to wear respirator and goggles when sanding the resin because you don't want to be inhaling the sanding residue. Some of the bubbles were unfortunately too deep for me to get to without completely sanding the entire tray down, so I did the best I could. I definitely learned I need to use a heat gun next time because even if the box says "bubble free" that isn't necessarily a bubble free guarantee.
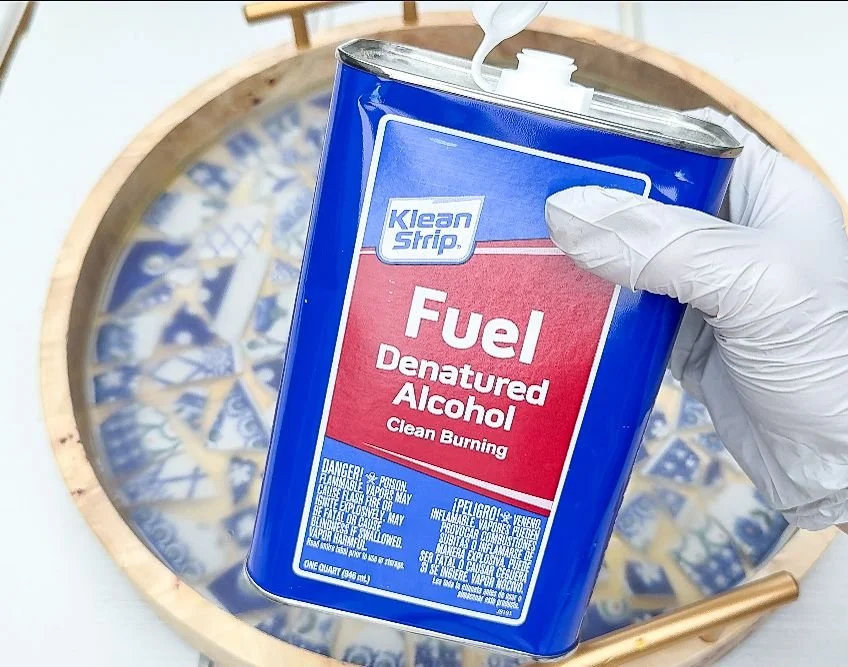
After sanding, I wiped the trays down so I could see what I was working with. I repeated the process of sanding, pulling out the residue and wiping everything down until I was relatively happy with the results. The nice thing about epoxy is that it will self-level when I pour it so I didn't have to worry a lot about that. When I was done, I wiped the trays down with some denatured alcohol to clean up all of the additional dust and residue still on the tray. I wanted as clean of a surface as possible before I did the next epoxy pour.
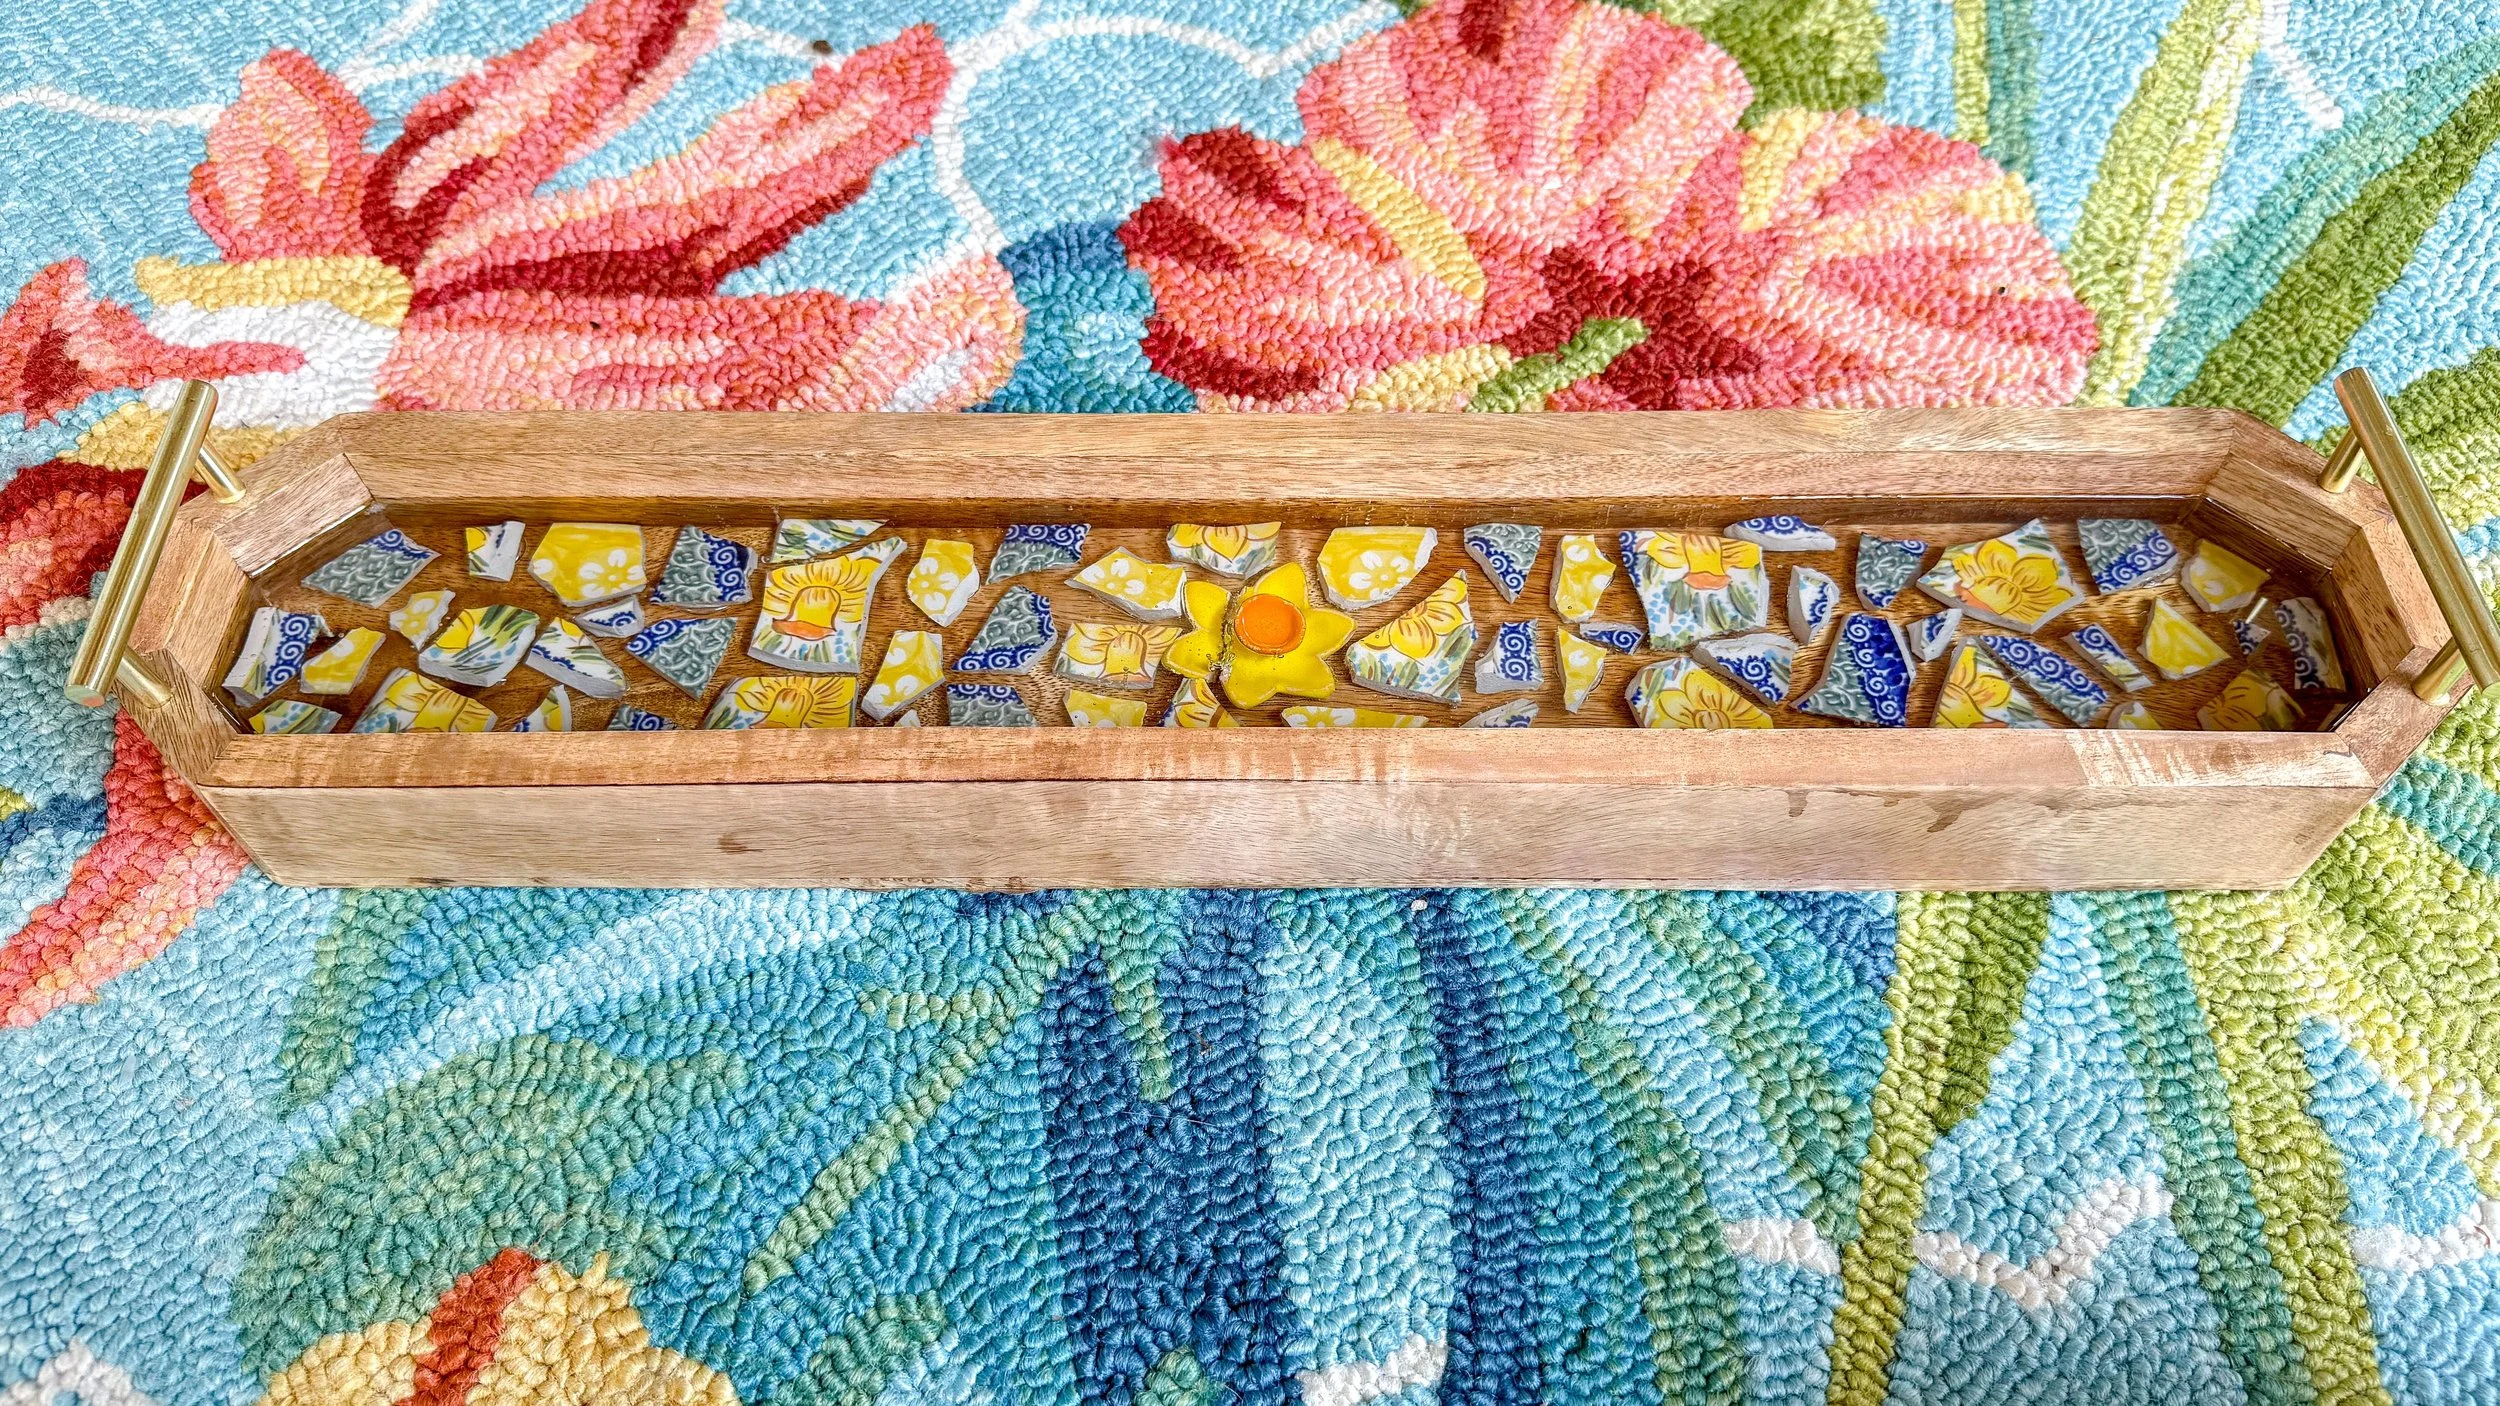
I was very worried I had sanded too much and effected the pottery inside, but I took the gamble and poured the next layer of epoxy anyways. I did as thin of a pour as possible and to my relief, everything was clear, smooth and pretty, and didn't have any clouding, thank goodness! Every epoxy is different and the instructions will indicate how thin of a pour you can do. I just followed the directions that came with the epoxy resin I had and focused on thin pours. I know from previous experience that if it's too thick, it’s not going to cure. I also try to have at least four days between pours just to be on the safe side. I was really worried, because the epoxy worked so much differently than how it works on wood, but I I REALLY like the final product, especially for a first try!
I'm excited to play with this medium a little more and see if I can get it perfect aka no bubbles in sight. Overall, I'm so happy. What do you think? Follow along for future epoxy adventures!

