
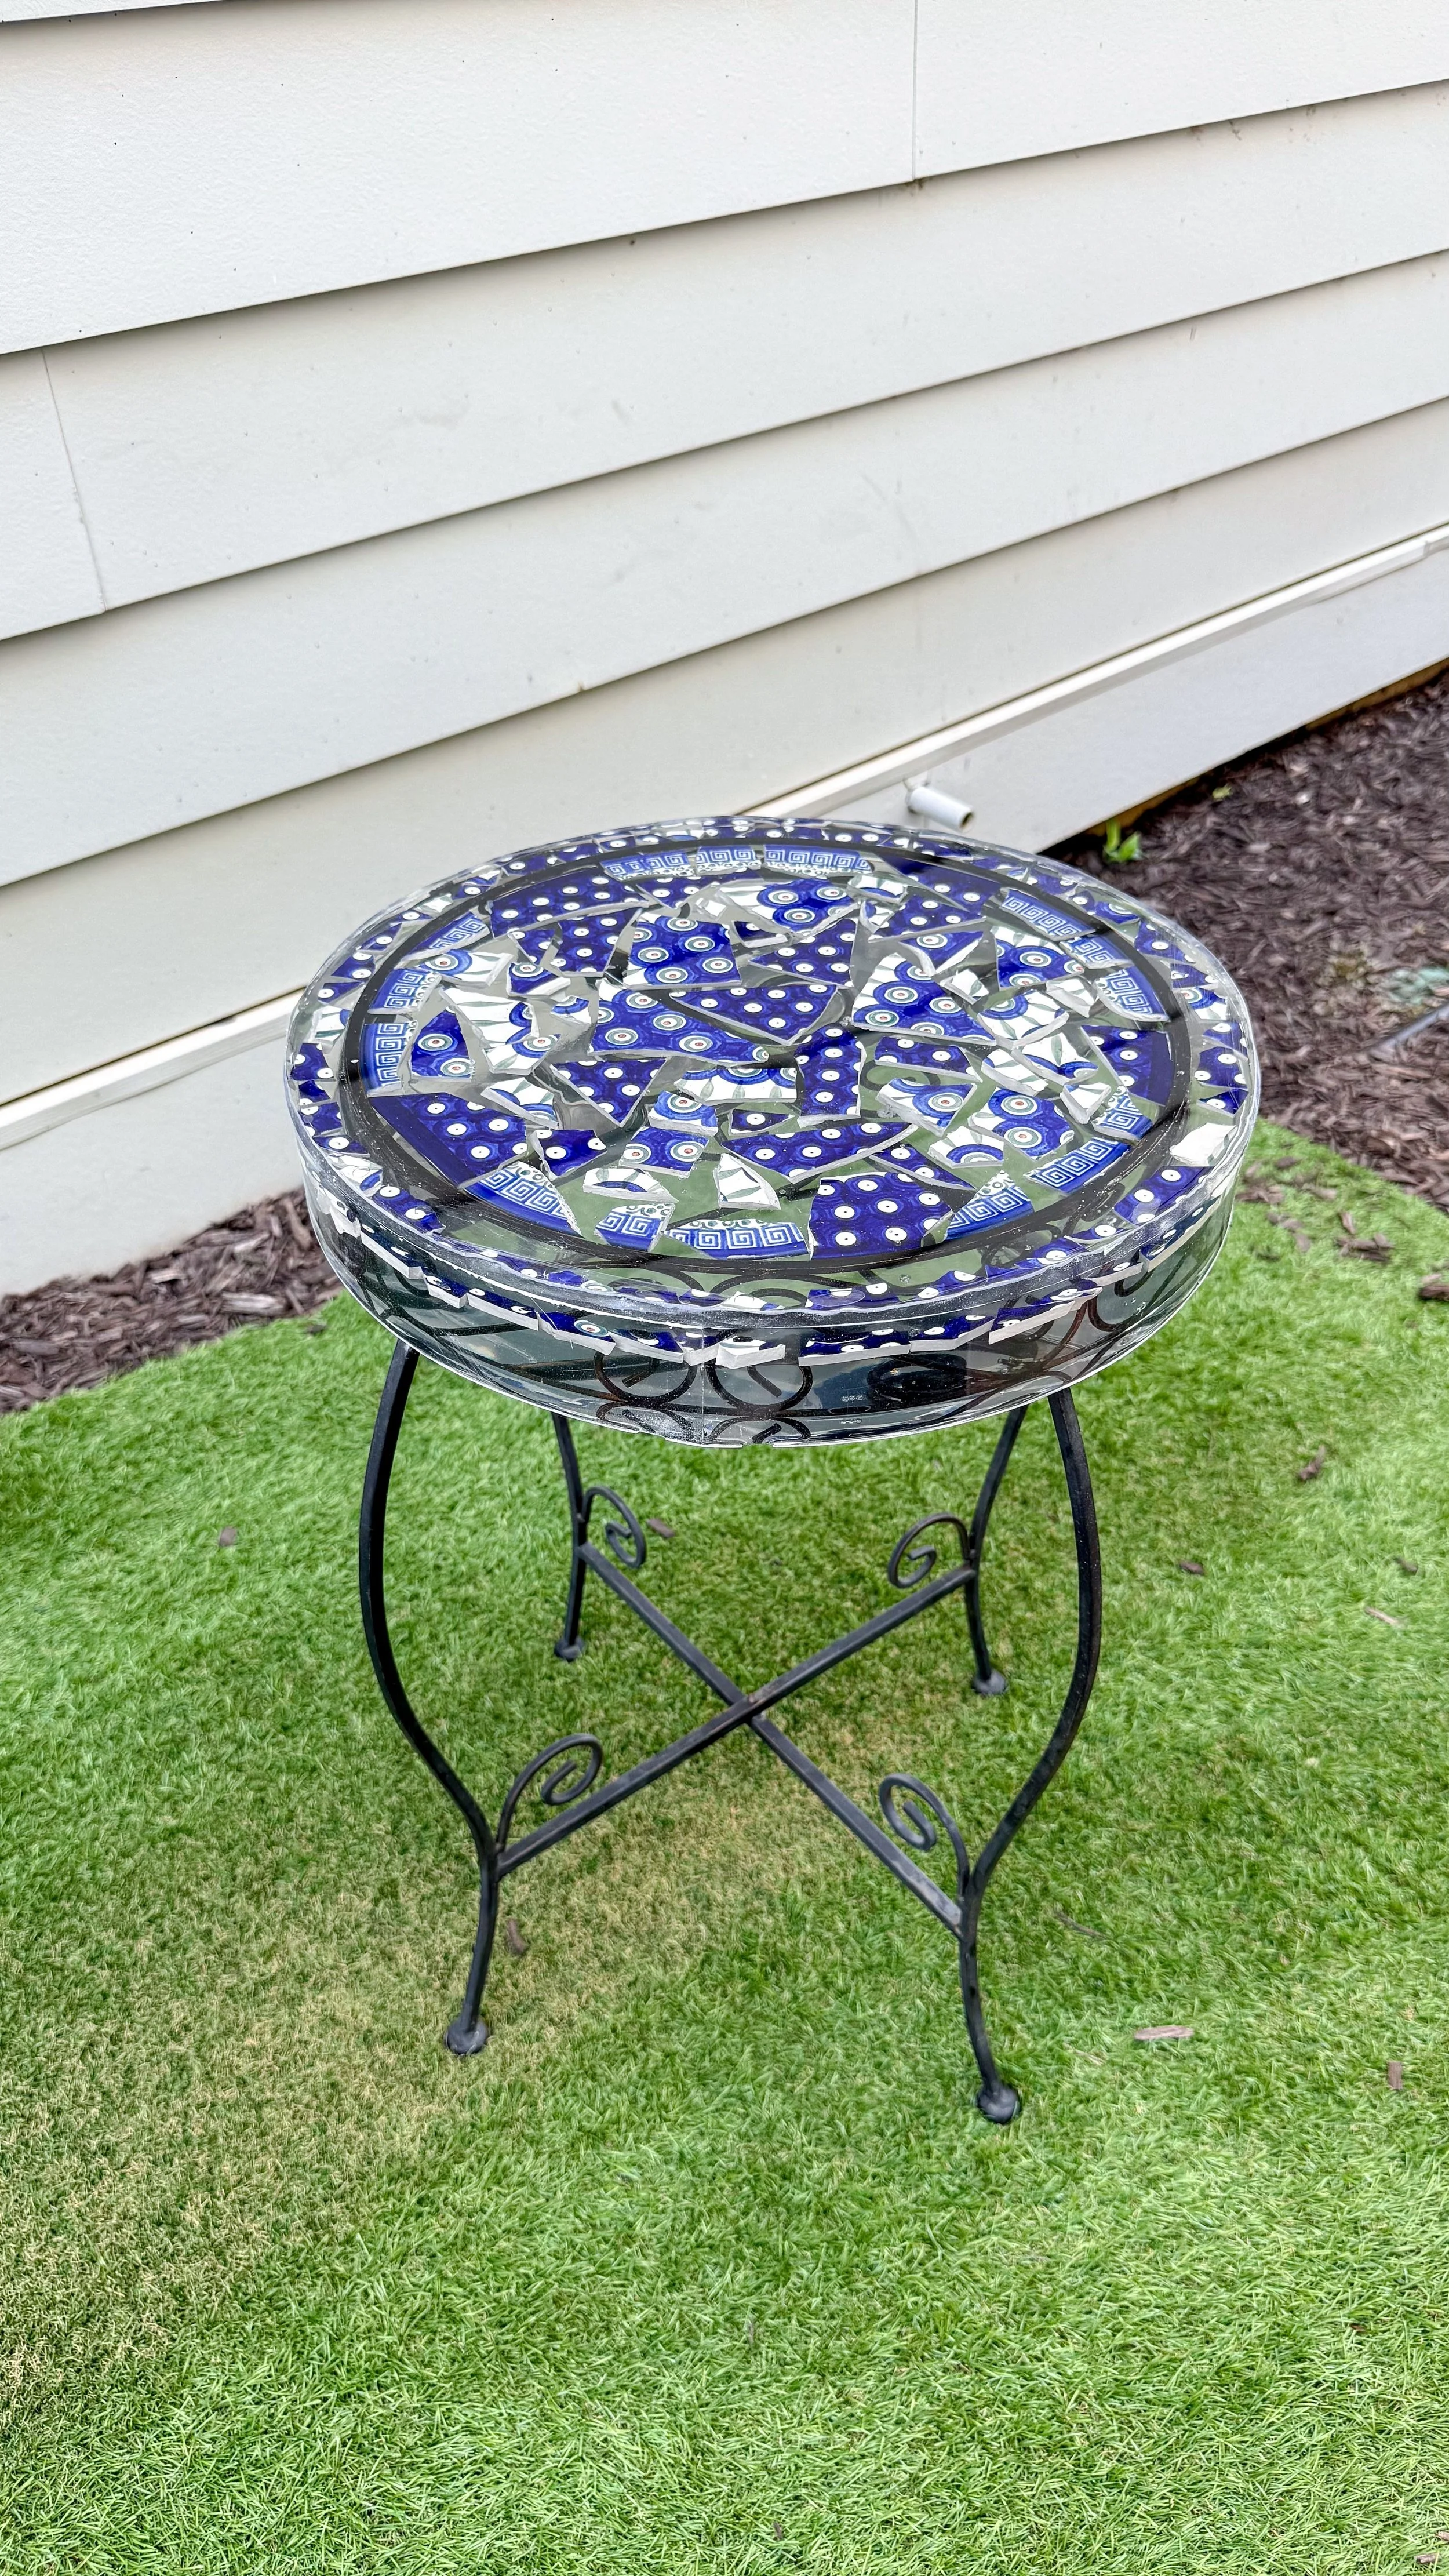
Polish Pottery Epoxy Table
We're back at it again with another resin project, this time a table for my mom. In all honesty, this project was hard, it stretched and tested me a lot, but in the end we got it done and I'm overall happy with it. It started off with a wrought iron table my mom bought off Facebook marketplace and some polish pottery pieces she wanted to be used. I already had the supplies and had done resin and pottery pieces before, so I was confident we could make this work.
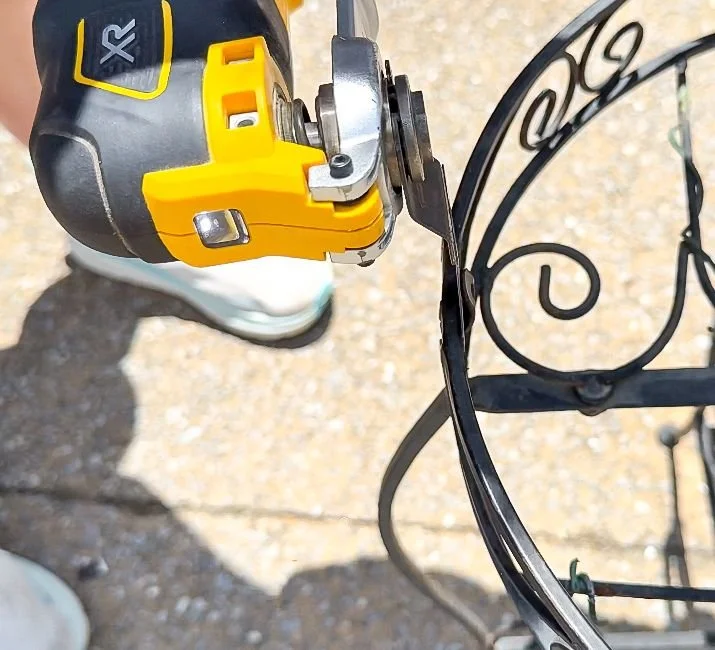
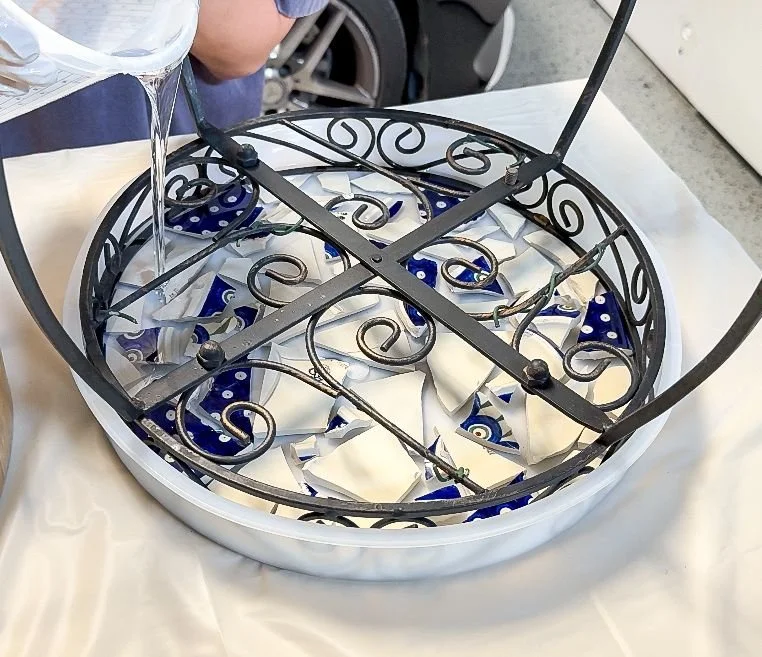
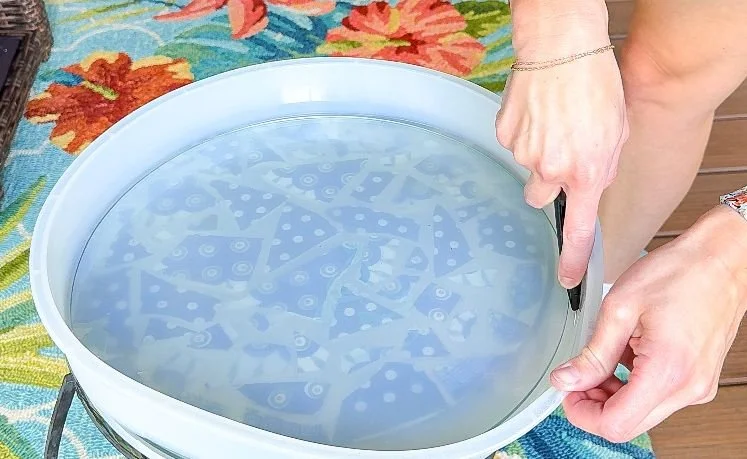
The first problem that arose with this table is that it's not solid. There's a design, with sides and a bottom with no top but there are tab pieces that I needed to remove that used to hold a piece of glass. Since glass isn't what we are dealing with, the tabs needed to go. I used my multitool and sawed the tabs and then started on the first pour. I put the table inside of a silicone mold a little bit bigger than the diameter of the table. My mom put each polish pottery piece inside of the mold, so they were kind of floating and then I poured the epoxy.
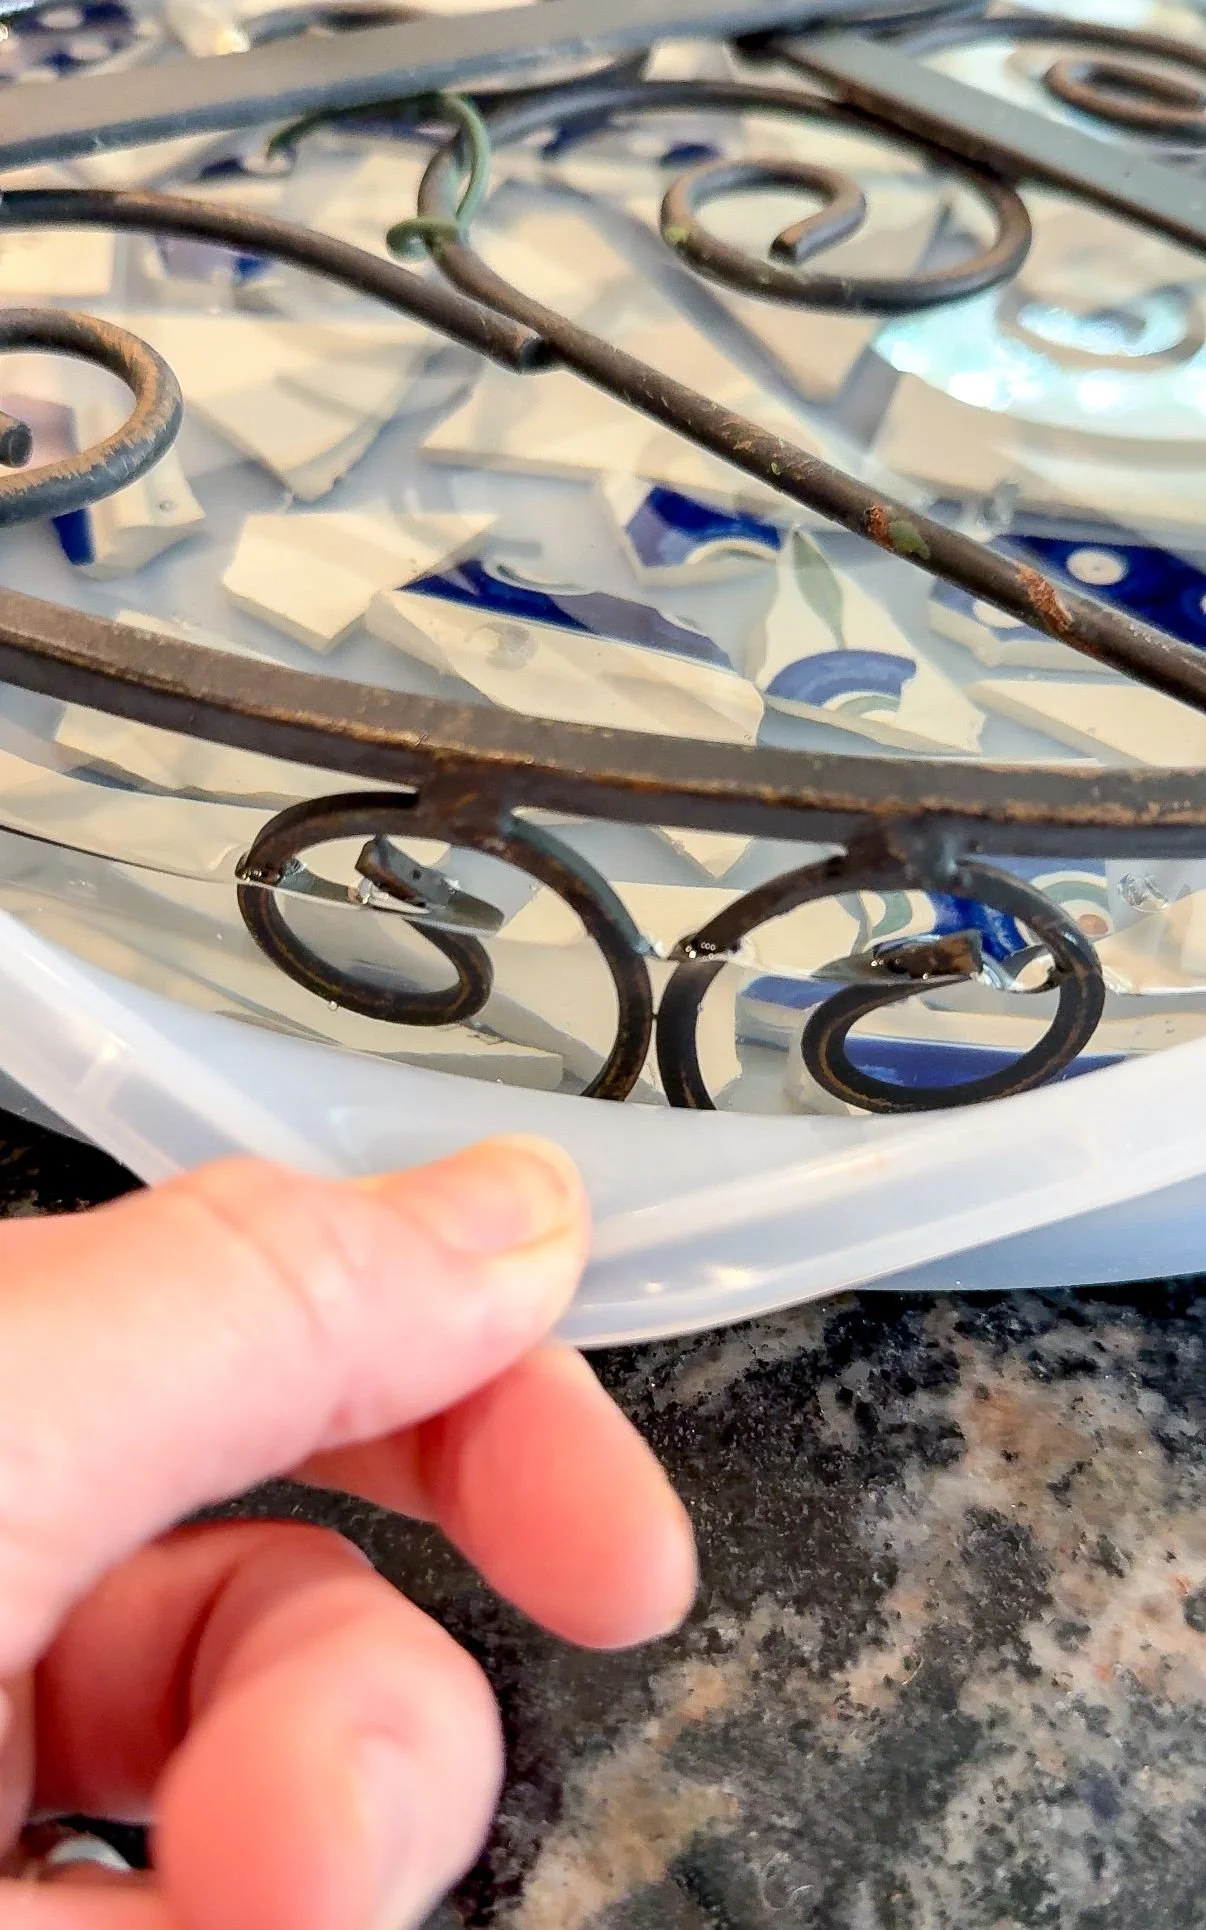
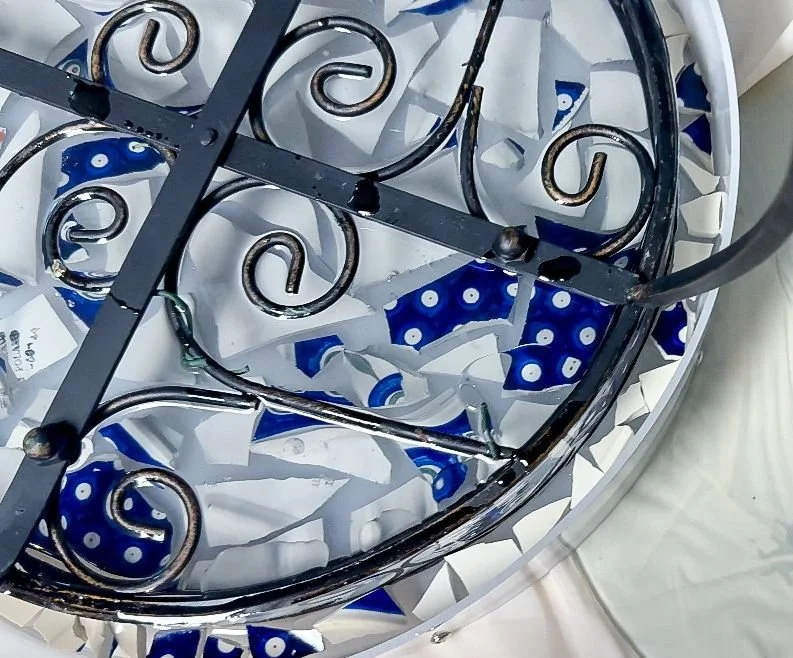
I decided to do multiple pours to make sure I got everything. I like to let the epoxy cure for about a week between pours so a week later I started the second pour. This pour was much deeper because I was trying to get as much in as possible. I actually filled it up to the edge of the silicone mold. After taking a peek I was really happy with how it was going; however, I needed to fix the gap at the bottom. When I took the mold off, it was very clear there were some bubbles and gaps where the Polish pottery had not allowed for the epoxy resin to completely go underneath it.
In retrospect, it would've been better if I had actually done the first pour and then placed the pieces in while the pour was still workable, but you live and learn. So now I needed to come up with a fix for the top bubbles, while also fixing the little bit at the bottom.
My first idea was to take the silicone mold I used and cut out the round bottom of it. I removed the bottom so I could still use the side piece and hopefully fix that gap. I was also hoping this would allow me to fill the bubbles and holes at the top. I poured a little bit of epoxy and tried fill in the holes first, then spread it out across the top and flipped the table back over to hopefully cover all the way to the bottom of the table and fill in the gap.

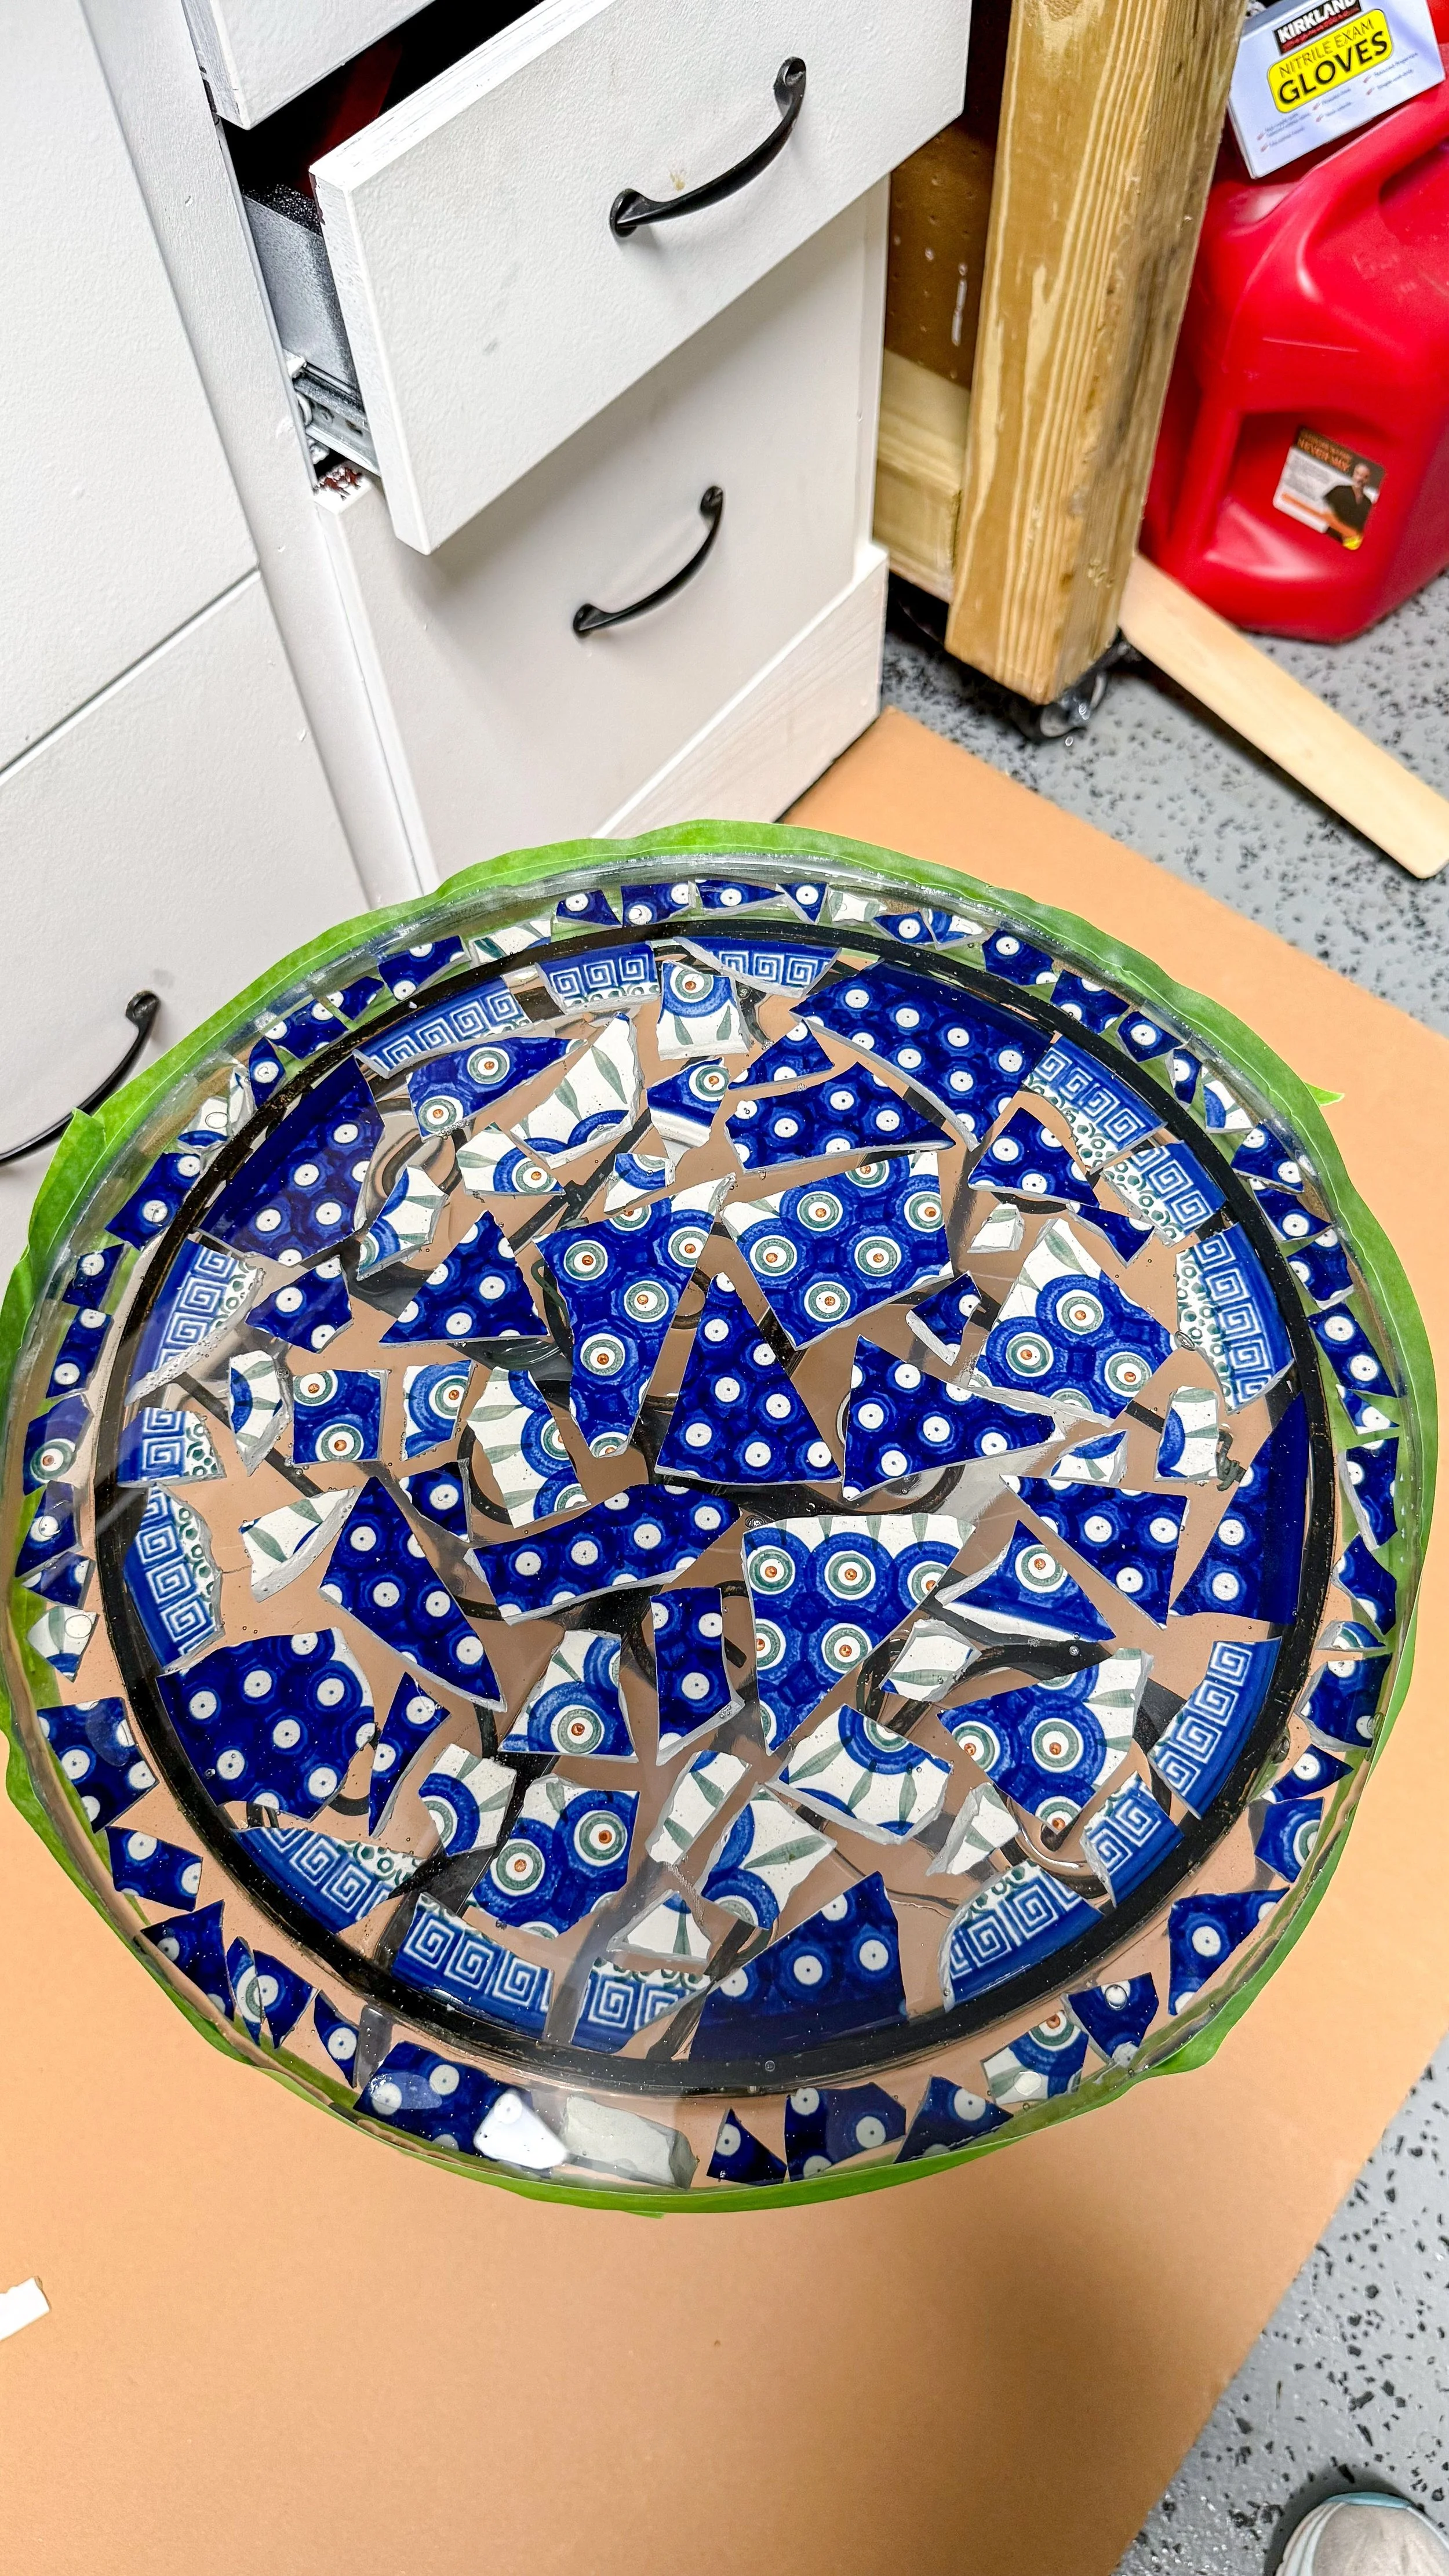
After taking the silicone mold off. I noticed the top was okay, but the sides really weren't. It had ridges and looked terrible, so I came up with a new solution. I got a nice plastic mold I could actually screw into place and the tension keeps everything stable. I got a mold that was bigger than the table and my mom put in more Polish pottery pieces to fill the remaining gap. I did several pours for this, just to make sure that everything was level and was curing completely. Once that was all done, I removed the mold, which took a little bit of work since the epoxy leaked off of the top and got into some of the screws, but we got it off.
Once I removed the mold, I discovered the silicone I used to seal the mold was not the right kind of silicone for this project. I'm honestly not sure what the right kind is, but its definitely not the kind I already had on hand that is for bathtub and painting. So I sanded off all the silicone and decided I was going to tape off the top since I still needed to fix that part. When I've done epoxy resin in the past, I used tape to kind of create a mold where I needed it.
After taping, I did what I thought was the last pour. Jokes on me, though, because it wasn't. By this point, I had done SO many pours on this table from miscalculating the epoxy and from mess-ups. I'm very much overdoing this and I was pretty exhausted. Finally, I did the last pour pretty slowly. I tried to start from the center so it would go all the way out and level.
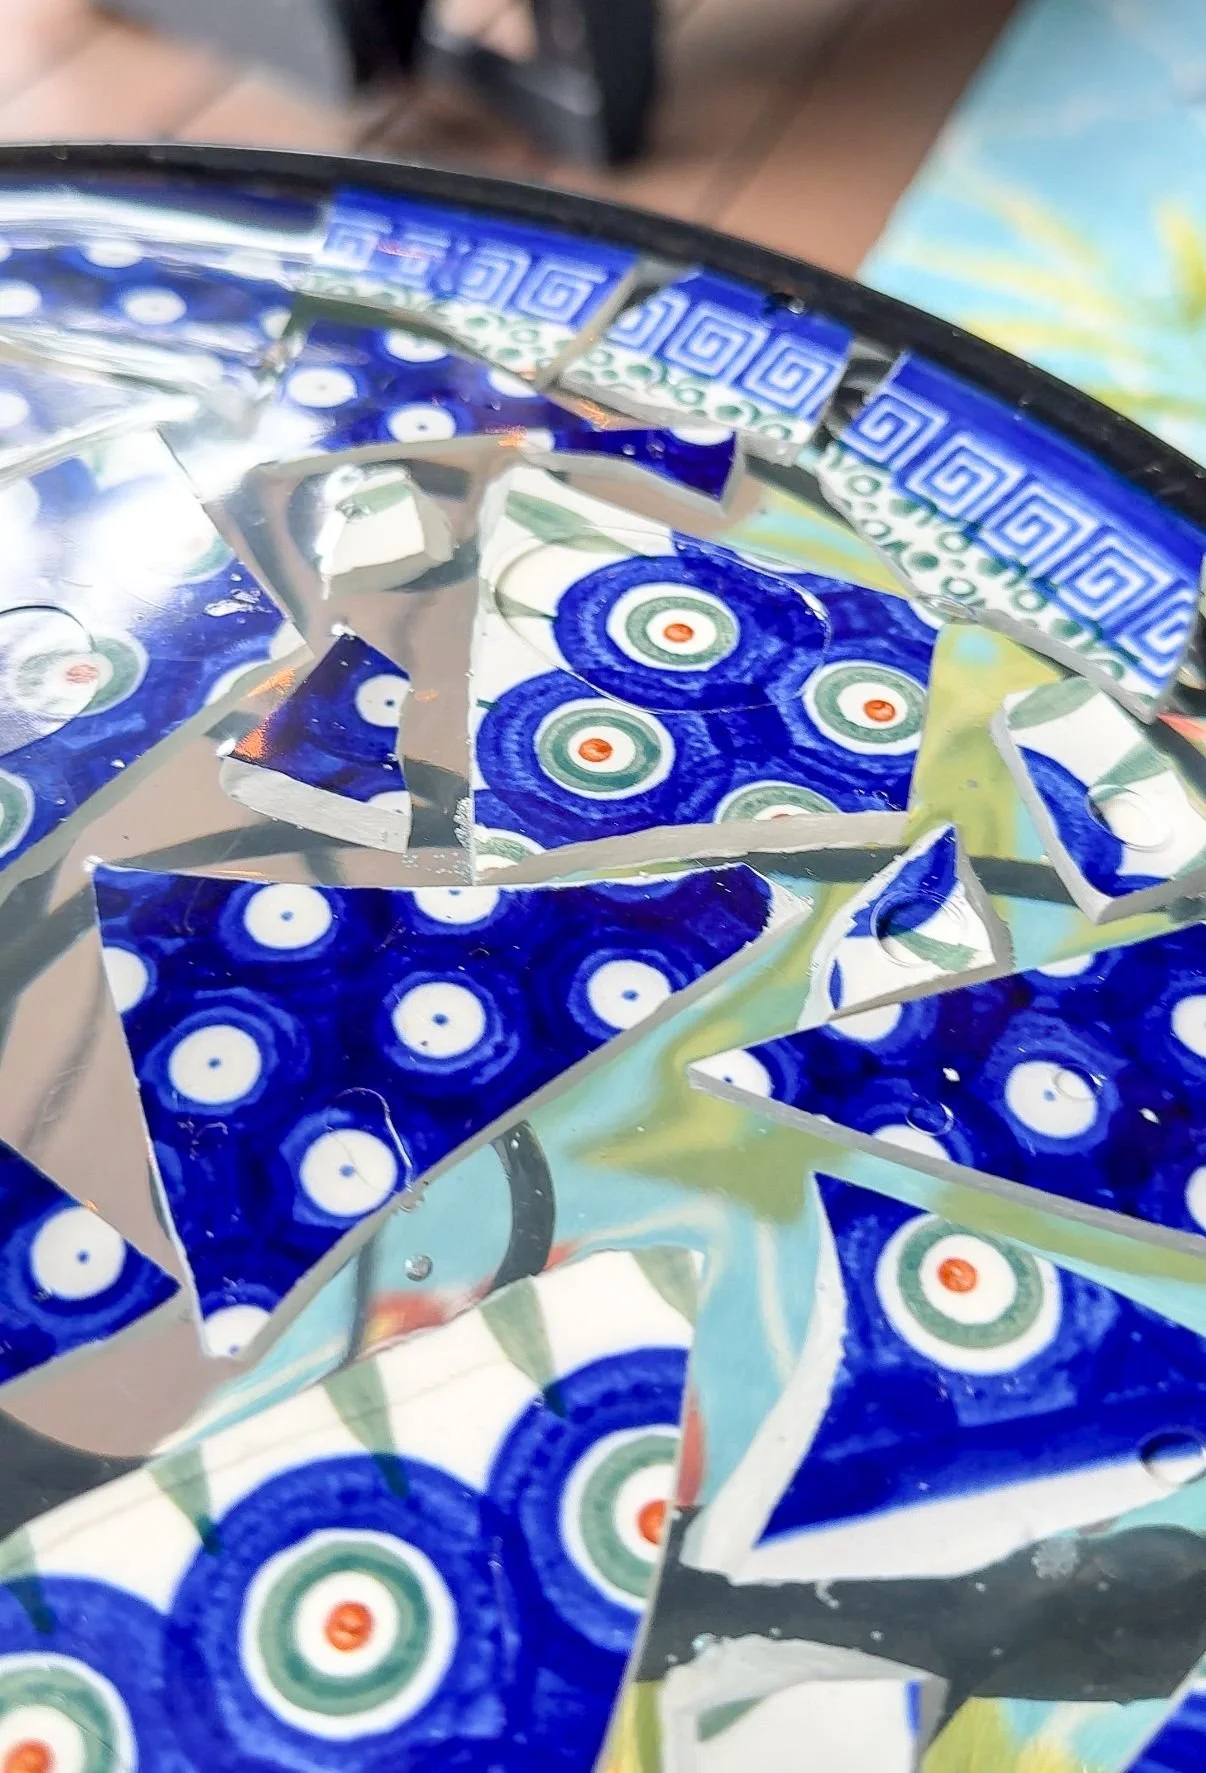
After almost a week of curing, it was time to unwrap and see what I had. I wasn't thrilled that the edge was pretty sharp all the away around so I went in with my little hand sander and 20 grit sandpaper, and softly sanded out these edges. I was worried this would make the edges look really rough, but I was pleasantly surprised when it didn't.
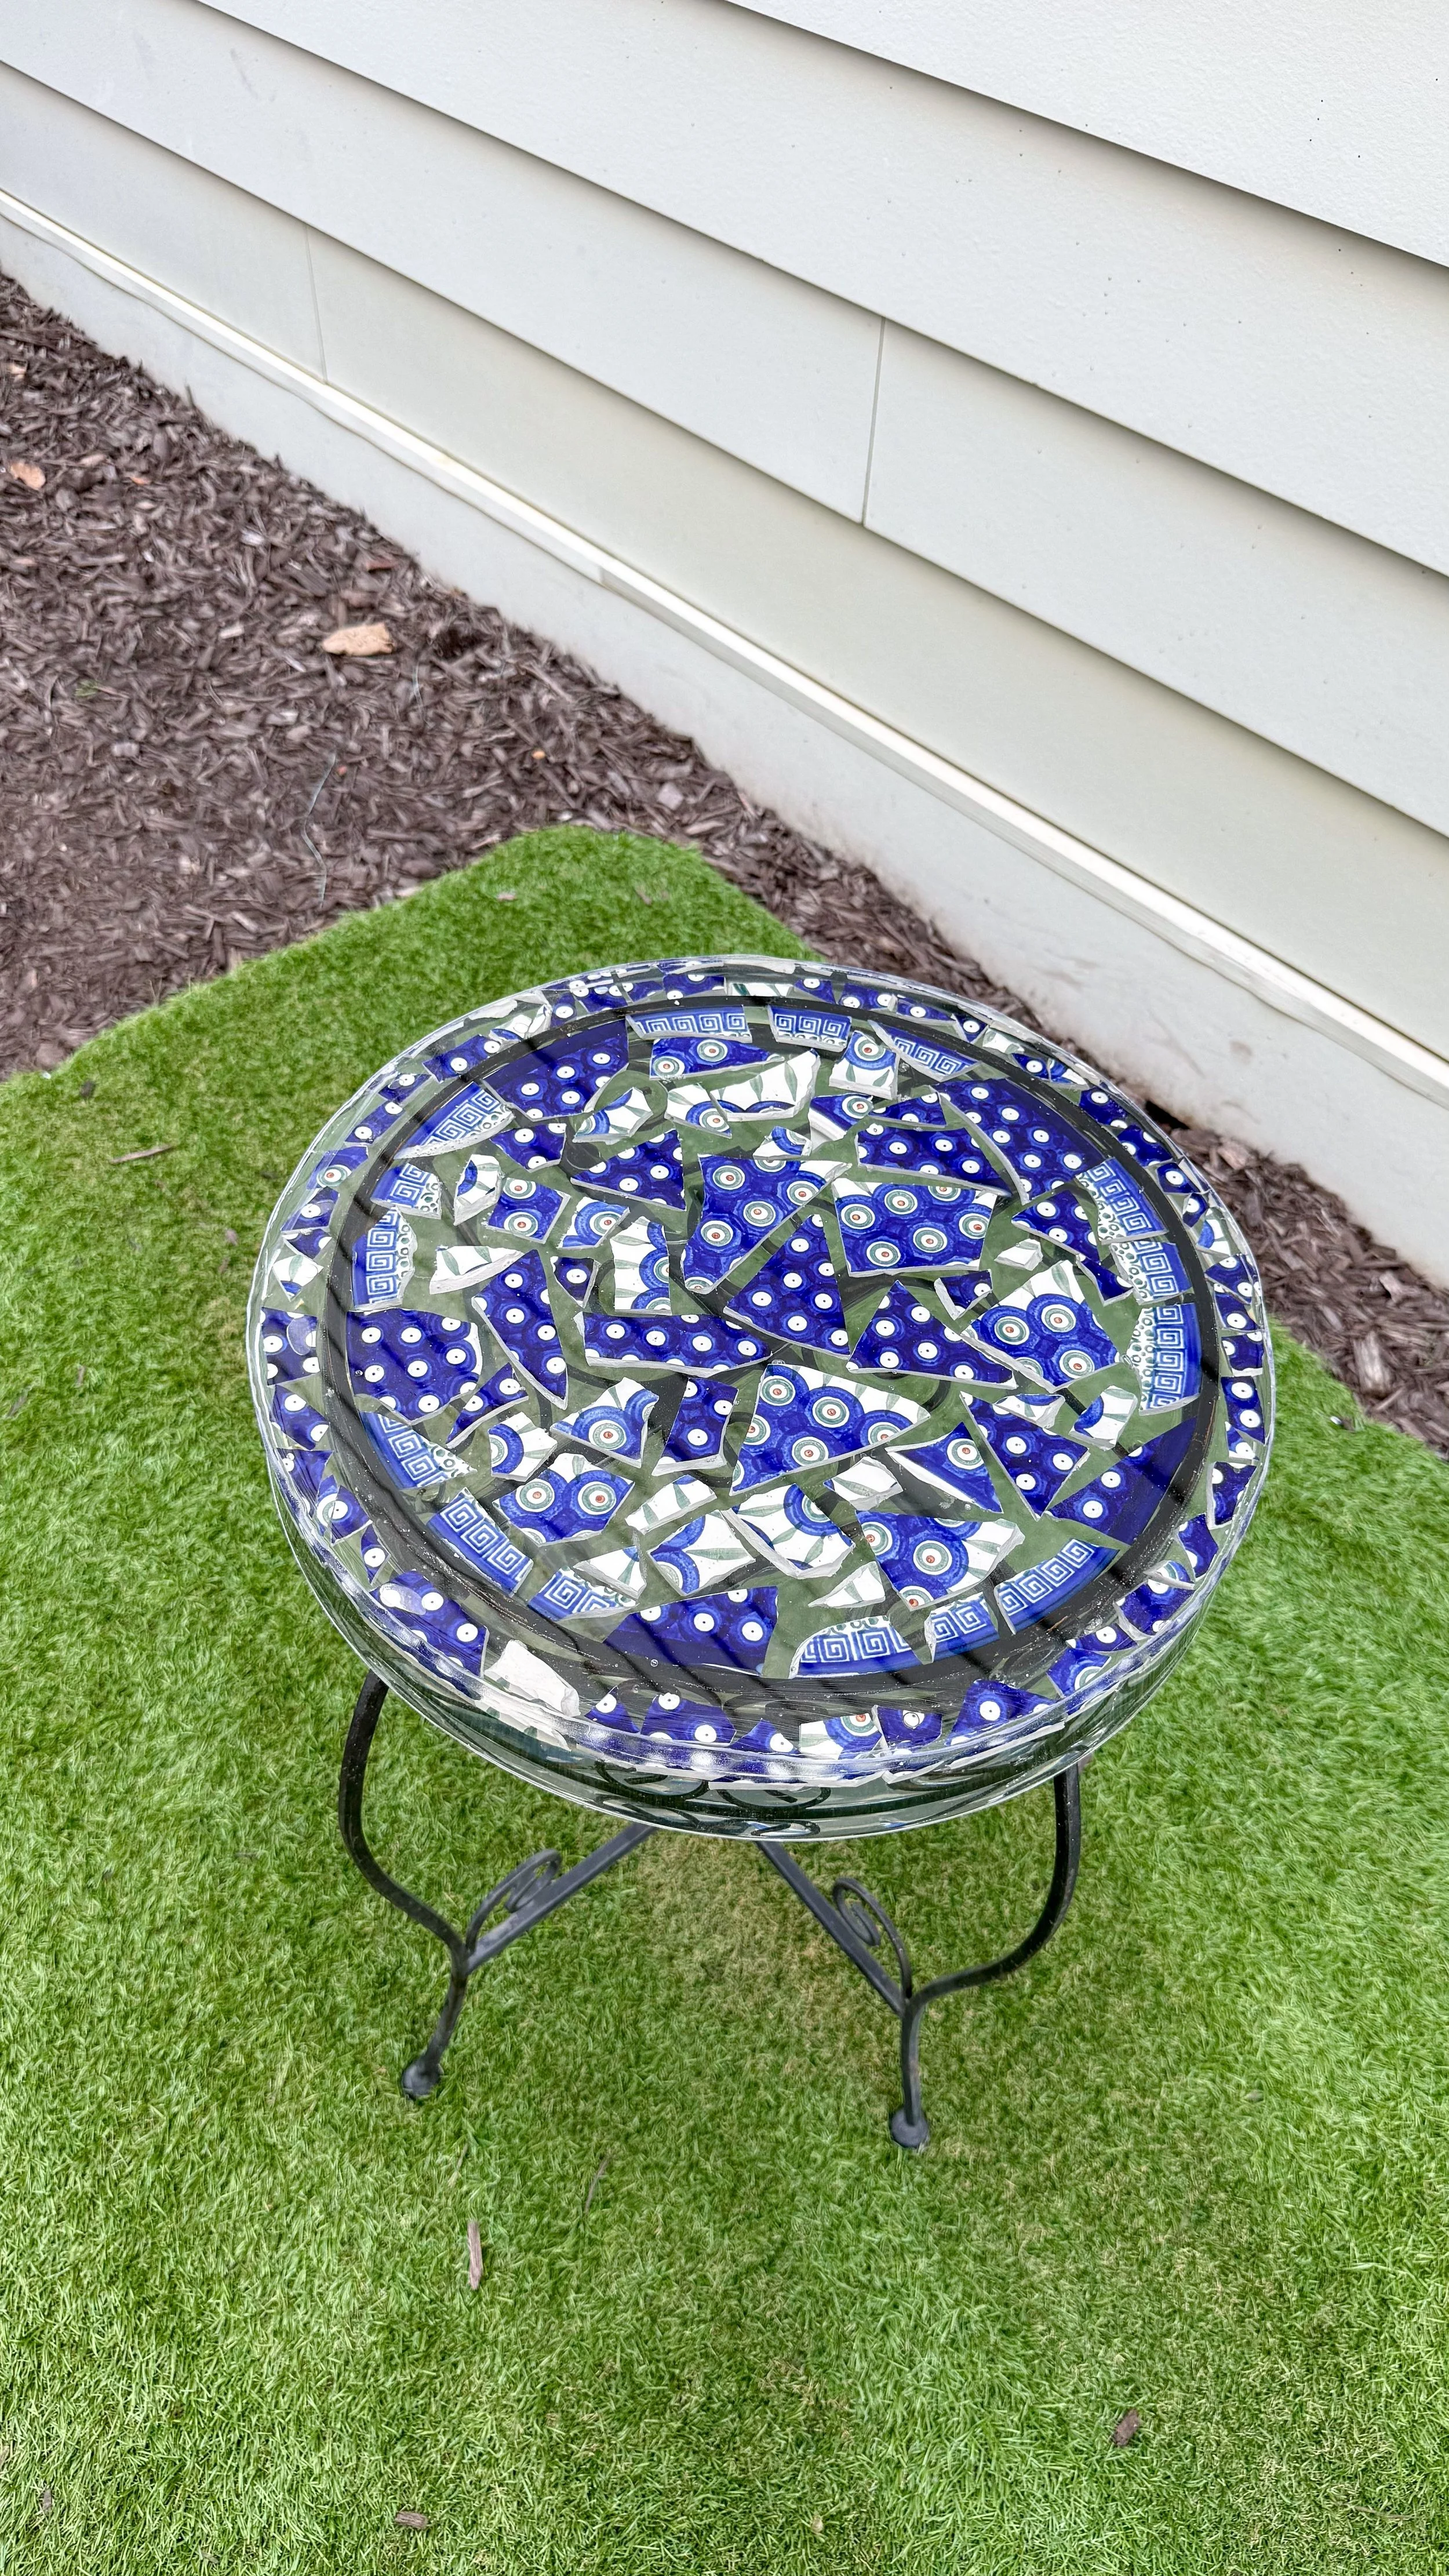
The final product turned out much better than I expecting considering how hard the process ended up being. If I could go back there are definitely things I would change to make the process go more smoothly, but I'm happy and more importantly my moms happy with it. I'm glad I kept at it and I learned a lot, but I'm not mad about taking a break from epoxy resin for a while!