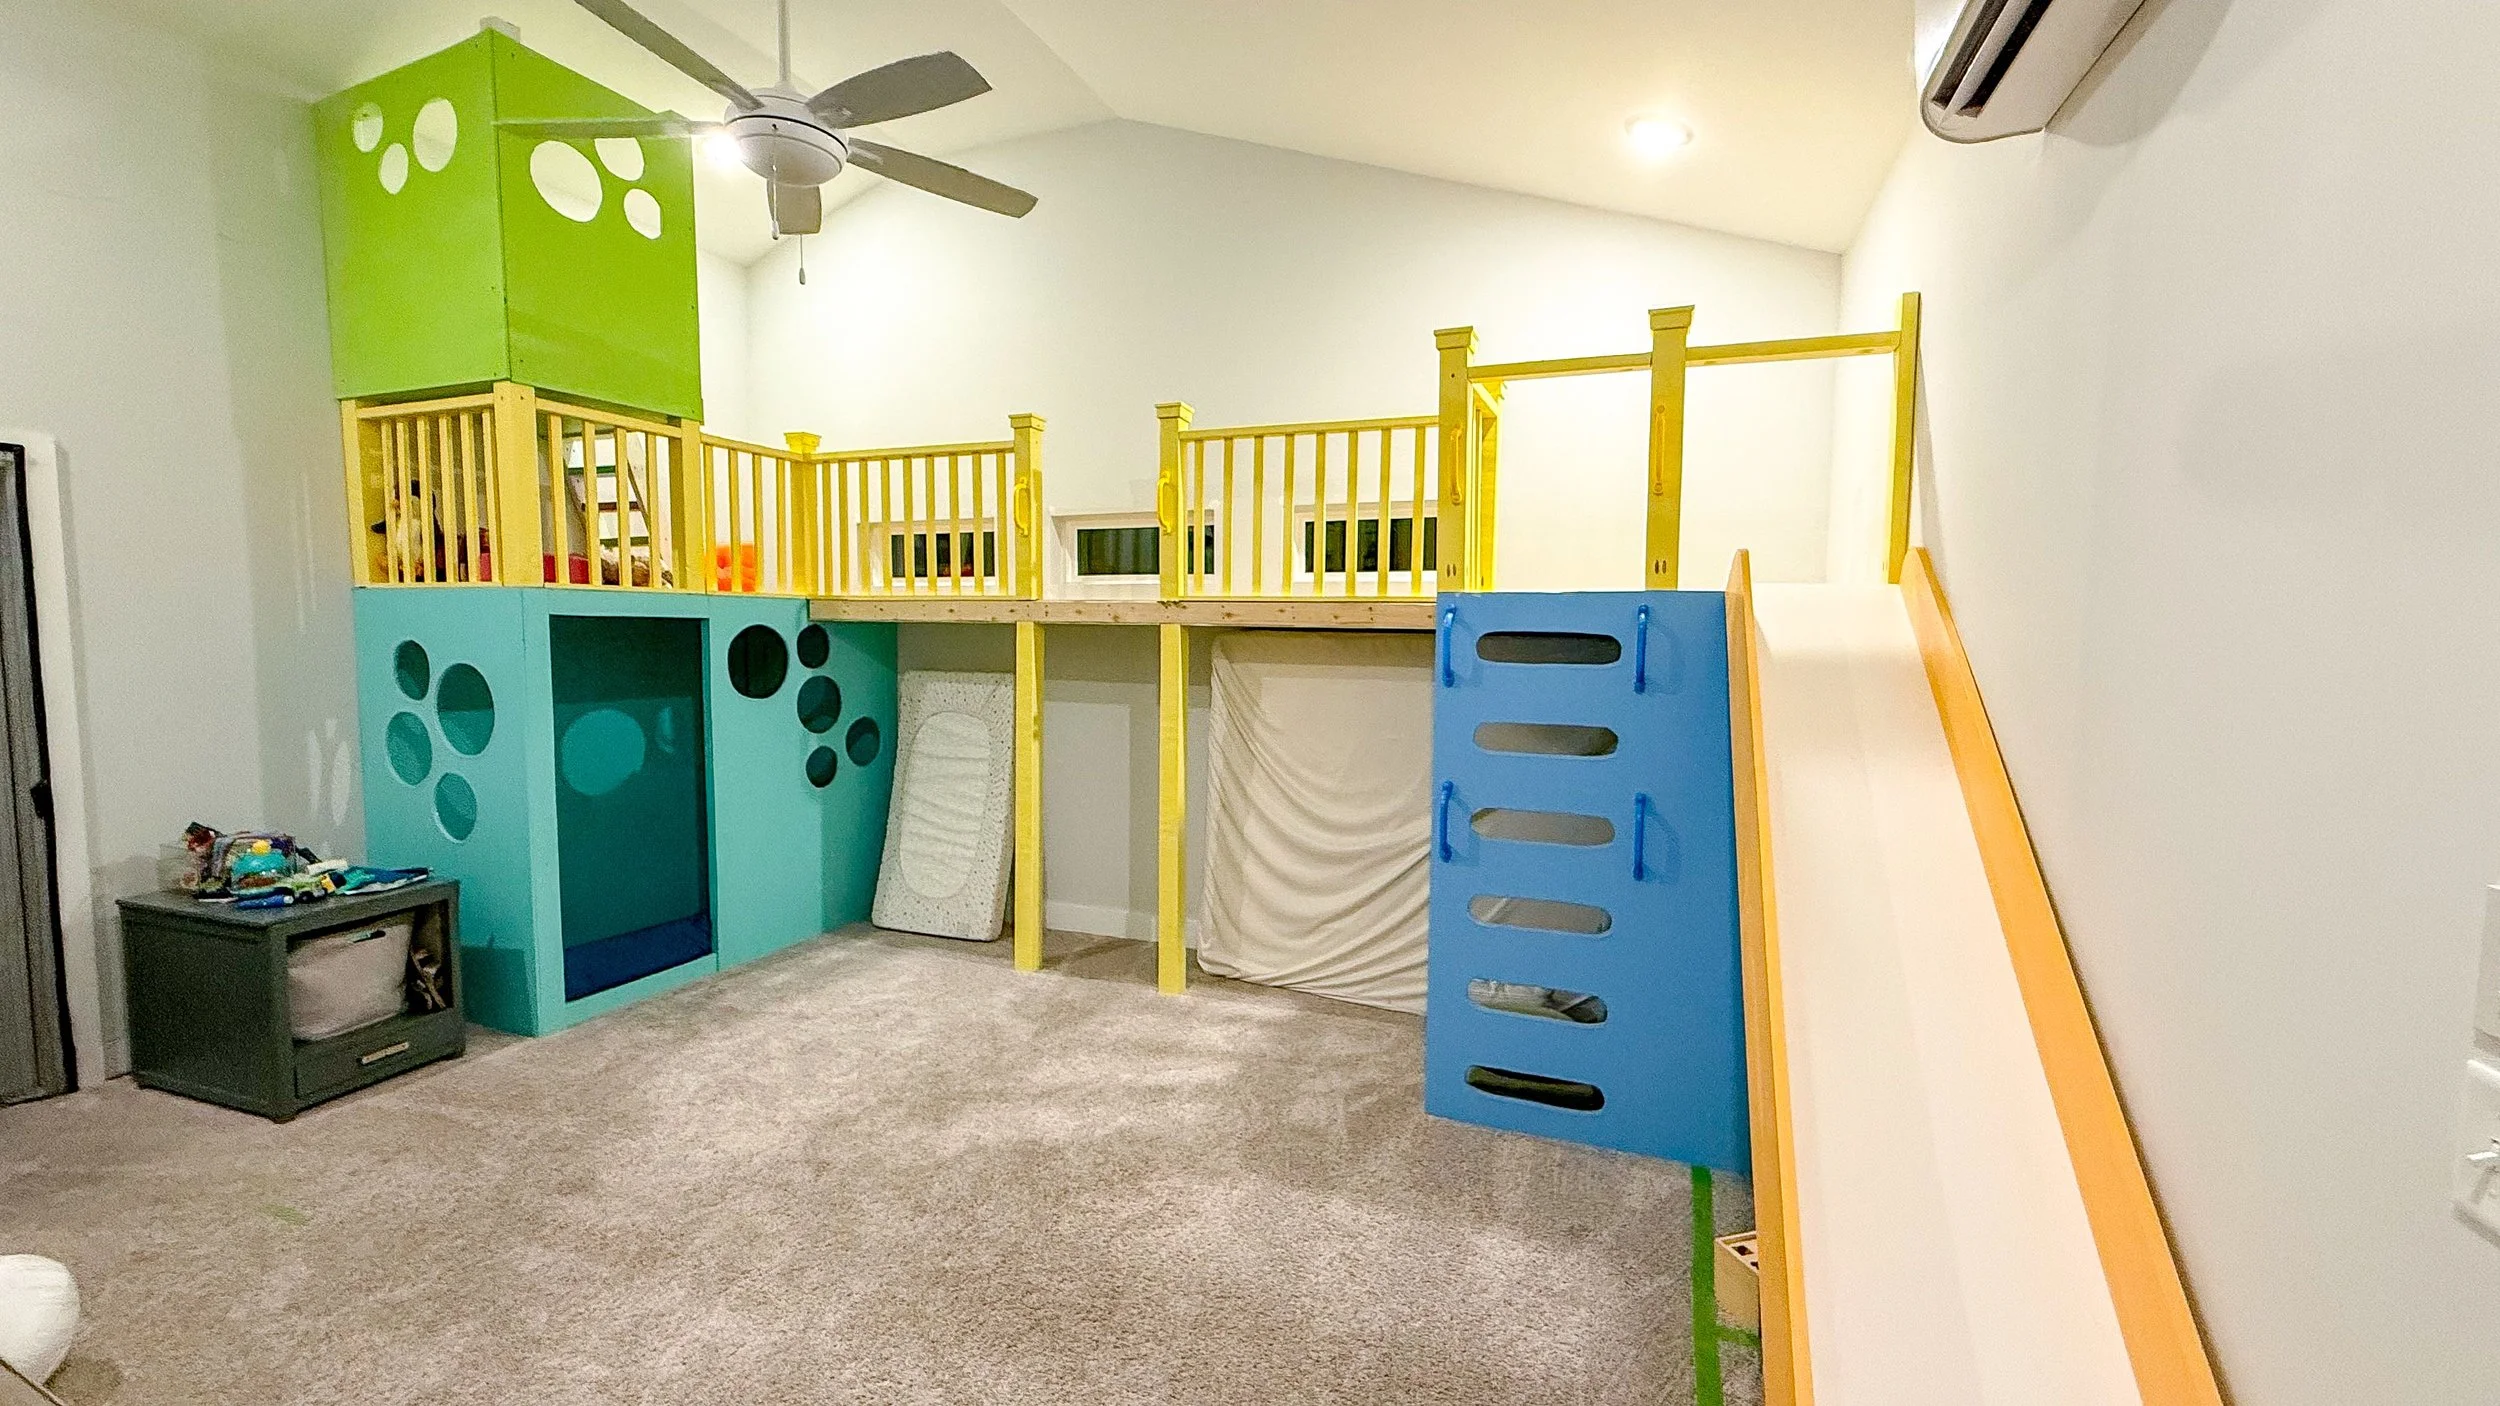
Making Over My Son’s Room Part 5: The Loft
I'm very excited to update you on the highly anticipated next phase of my sons room makeover! When I originally designed this build, I only planned for the bed, the reading nook underneath and the second story. This room has really tall, vaulted ceilings and as I continued the building process, I decided to add an additional story to the build so the whole space was utilized. The ceiling has different heights so it couldn't go around the entire build; instead, my goal for this space is for it to be more of a small "look out" space. I'll show you how I built the platform and the ladder leading up to it. Let's get started!
Making Over My Son’s Room Part 5: The Loft | Prep Work
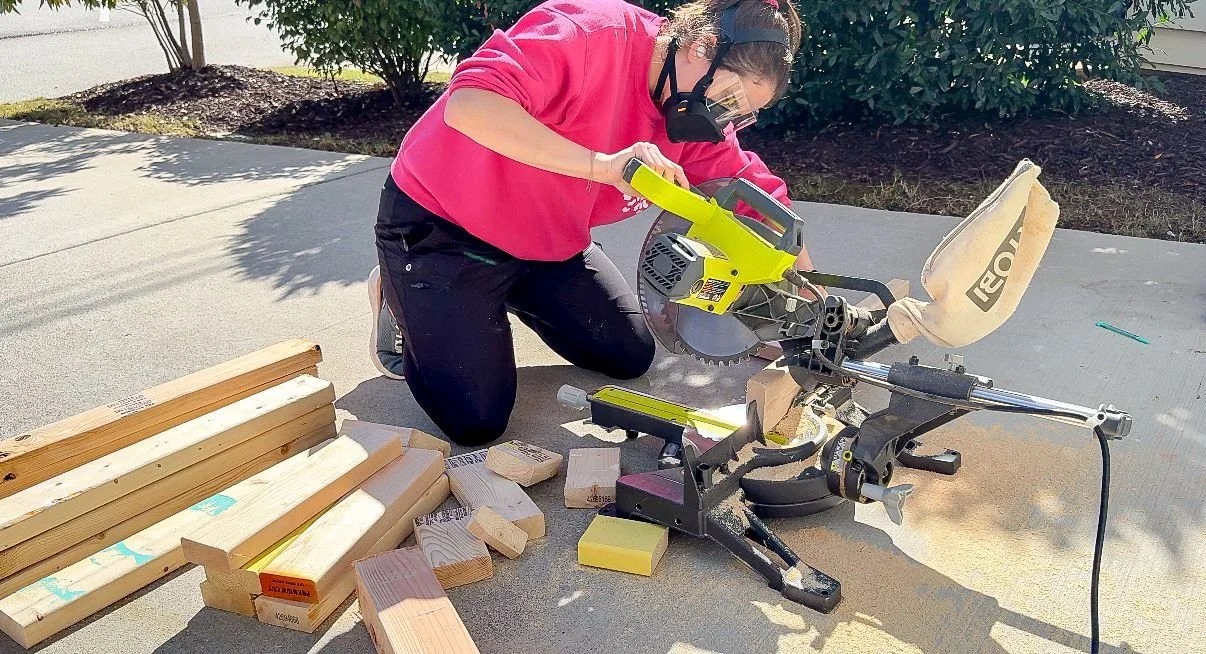
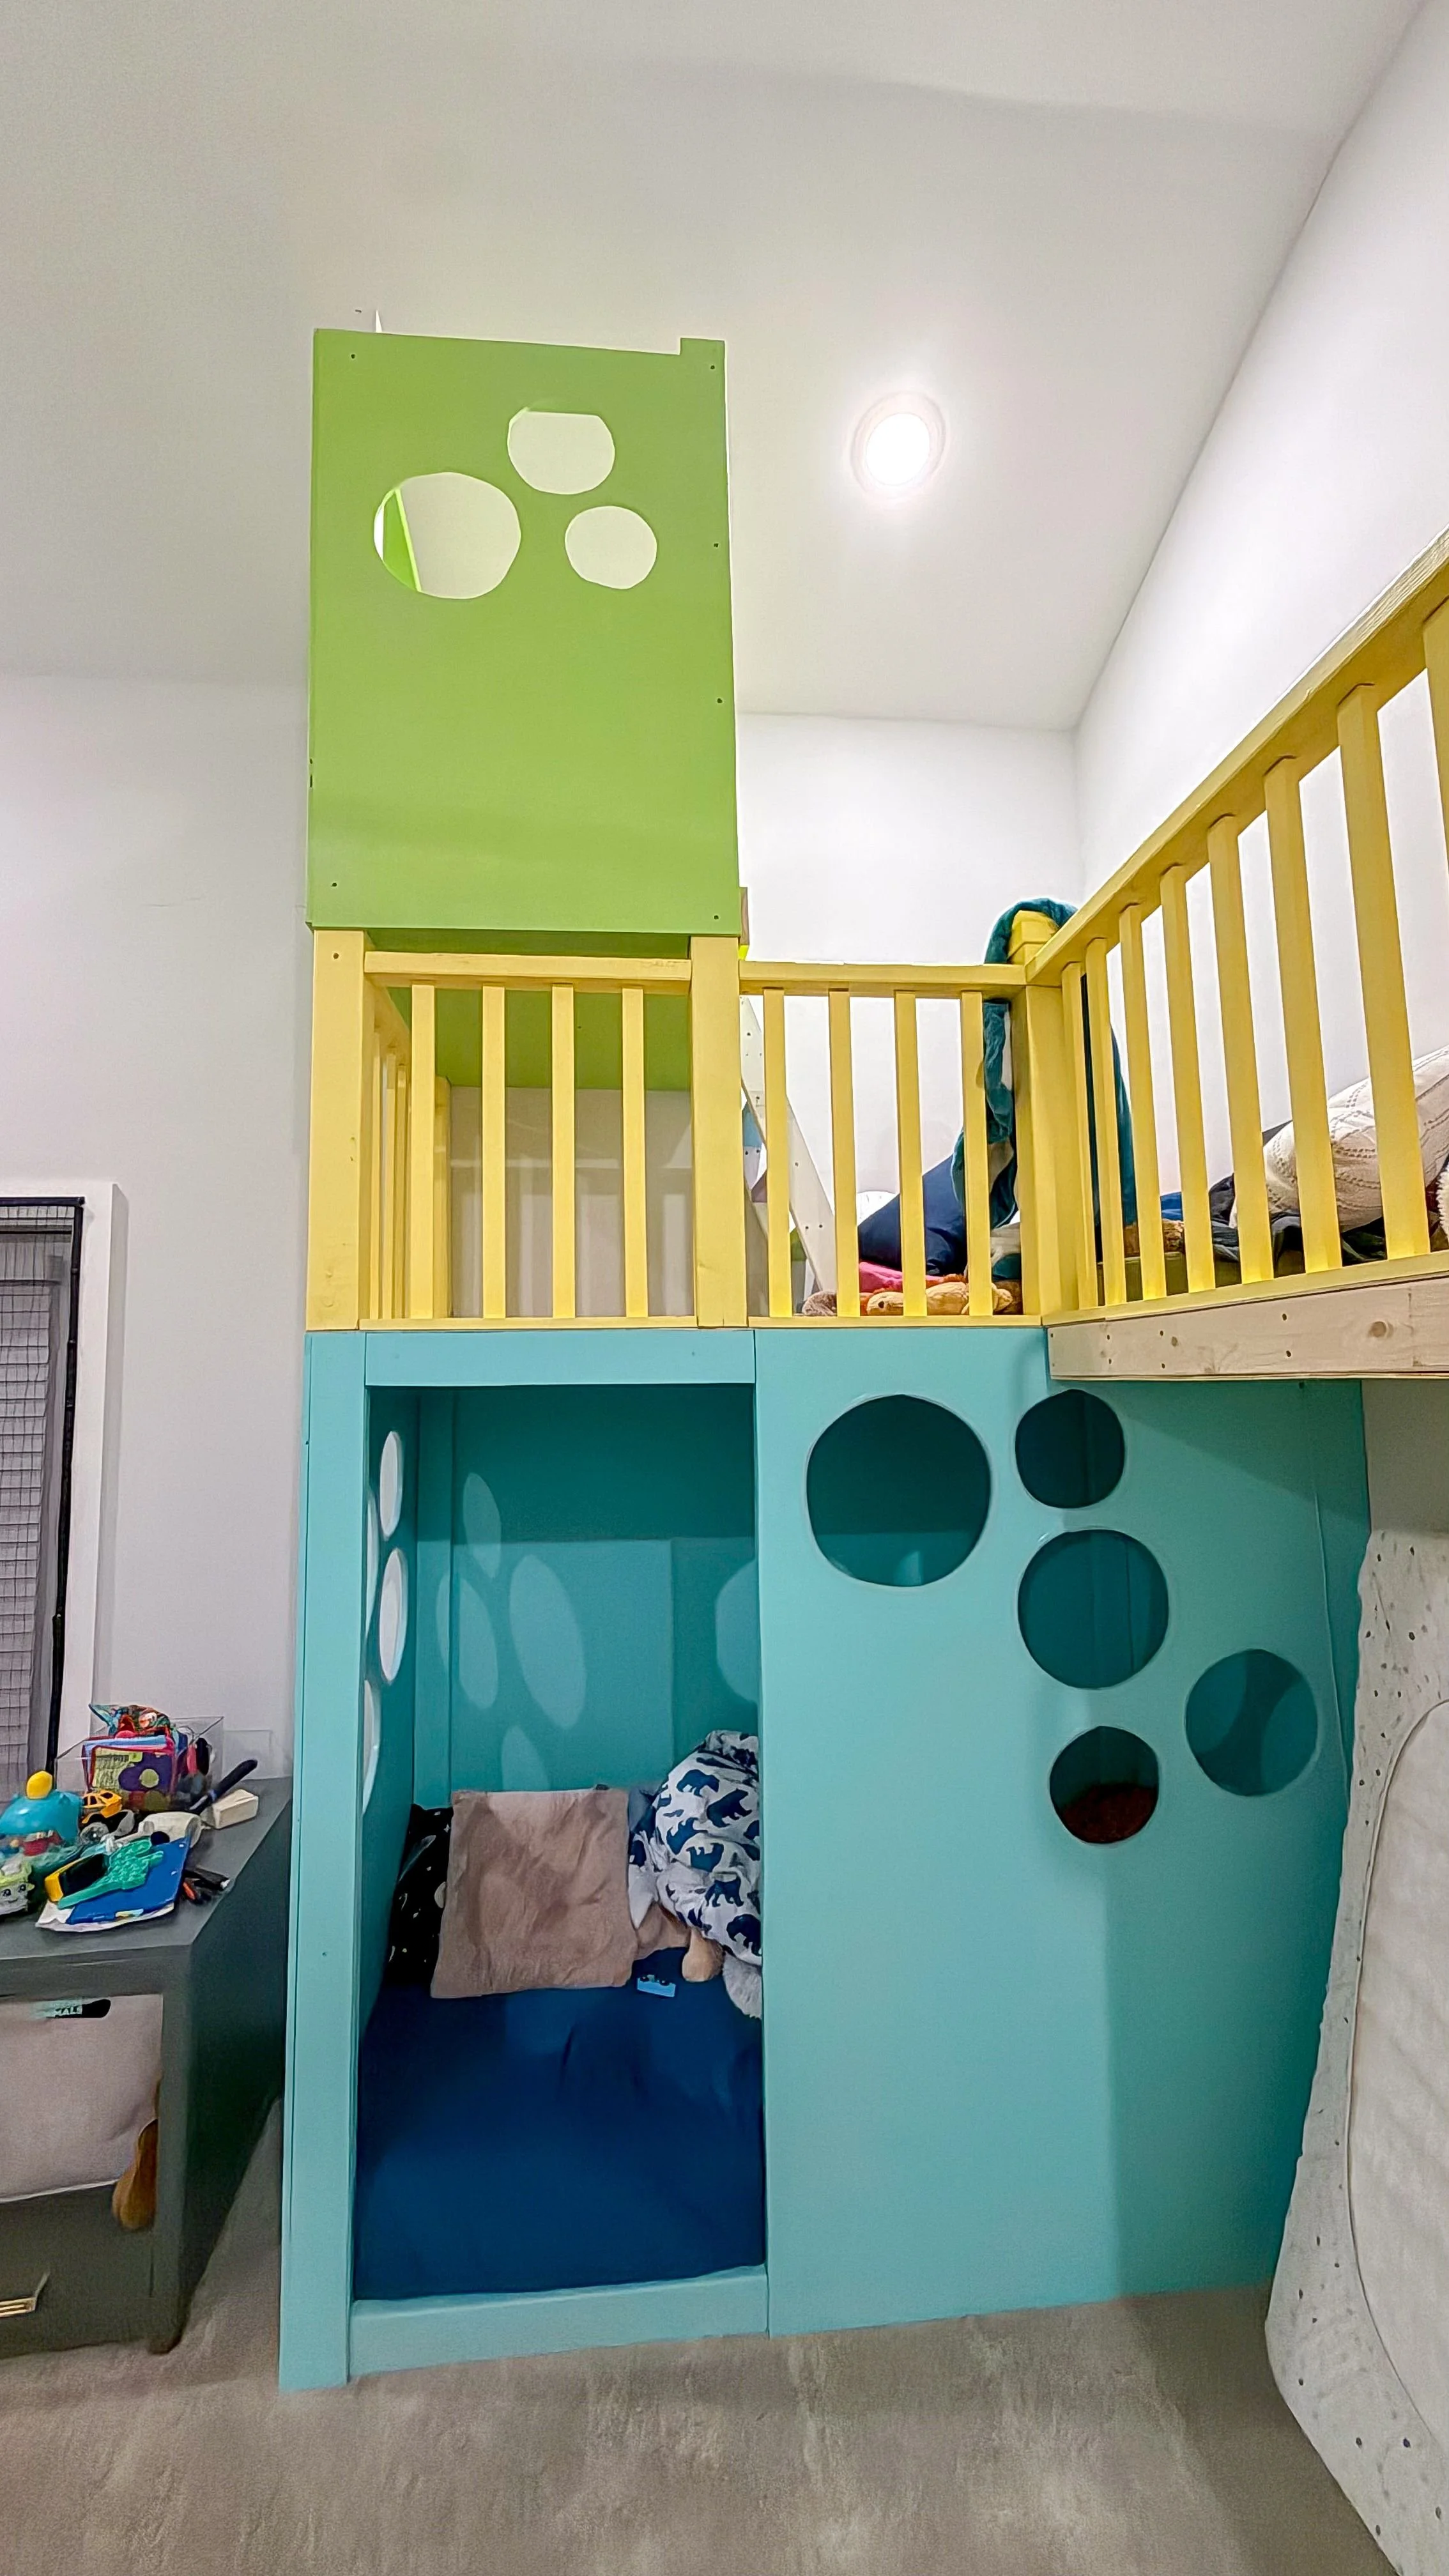
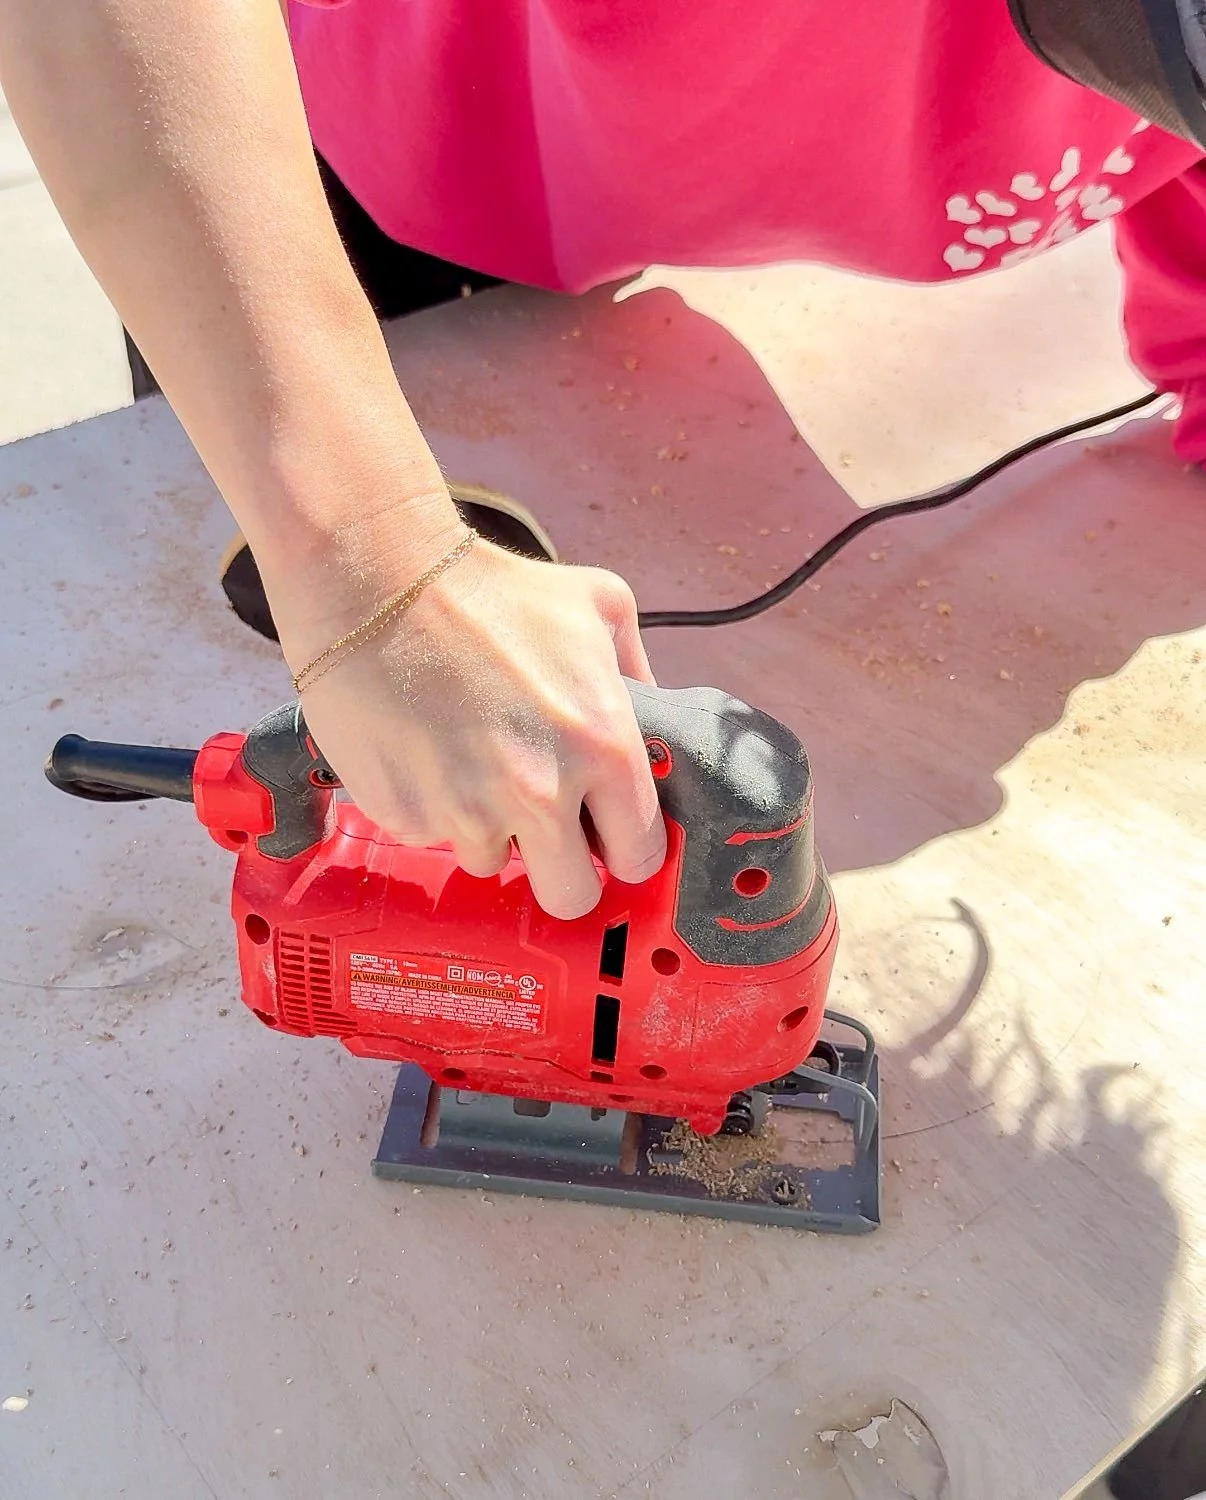
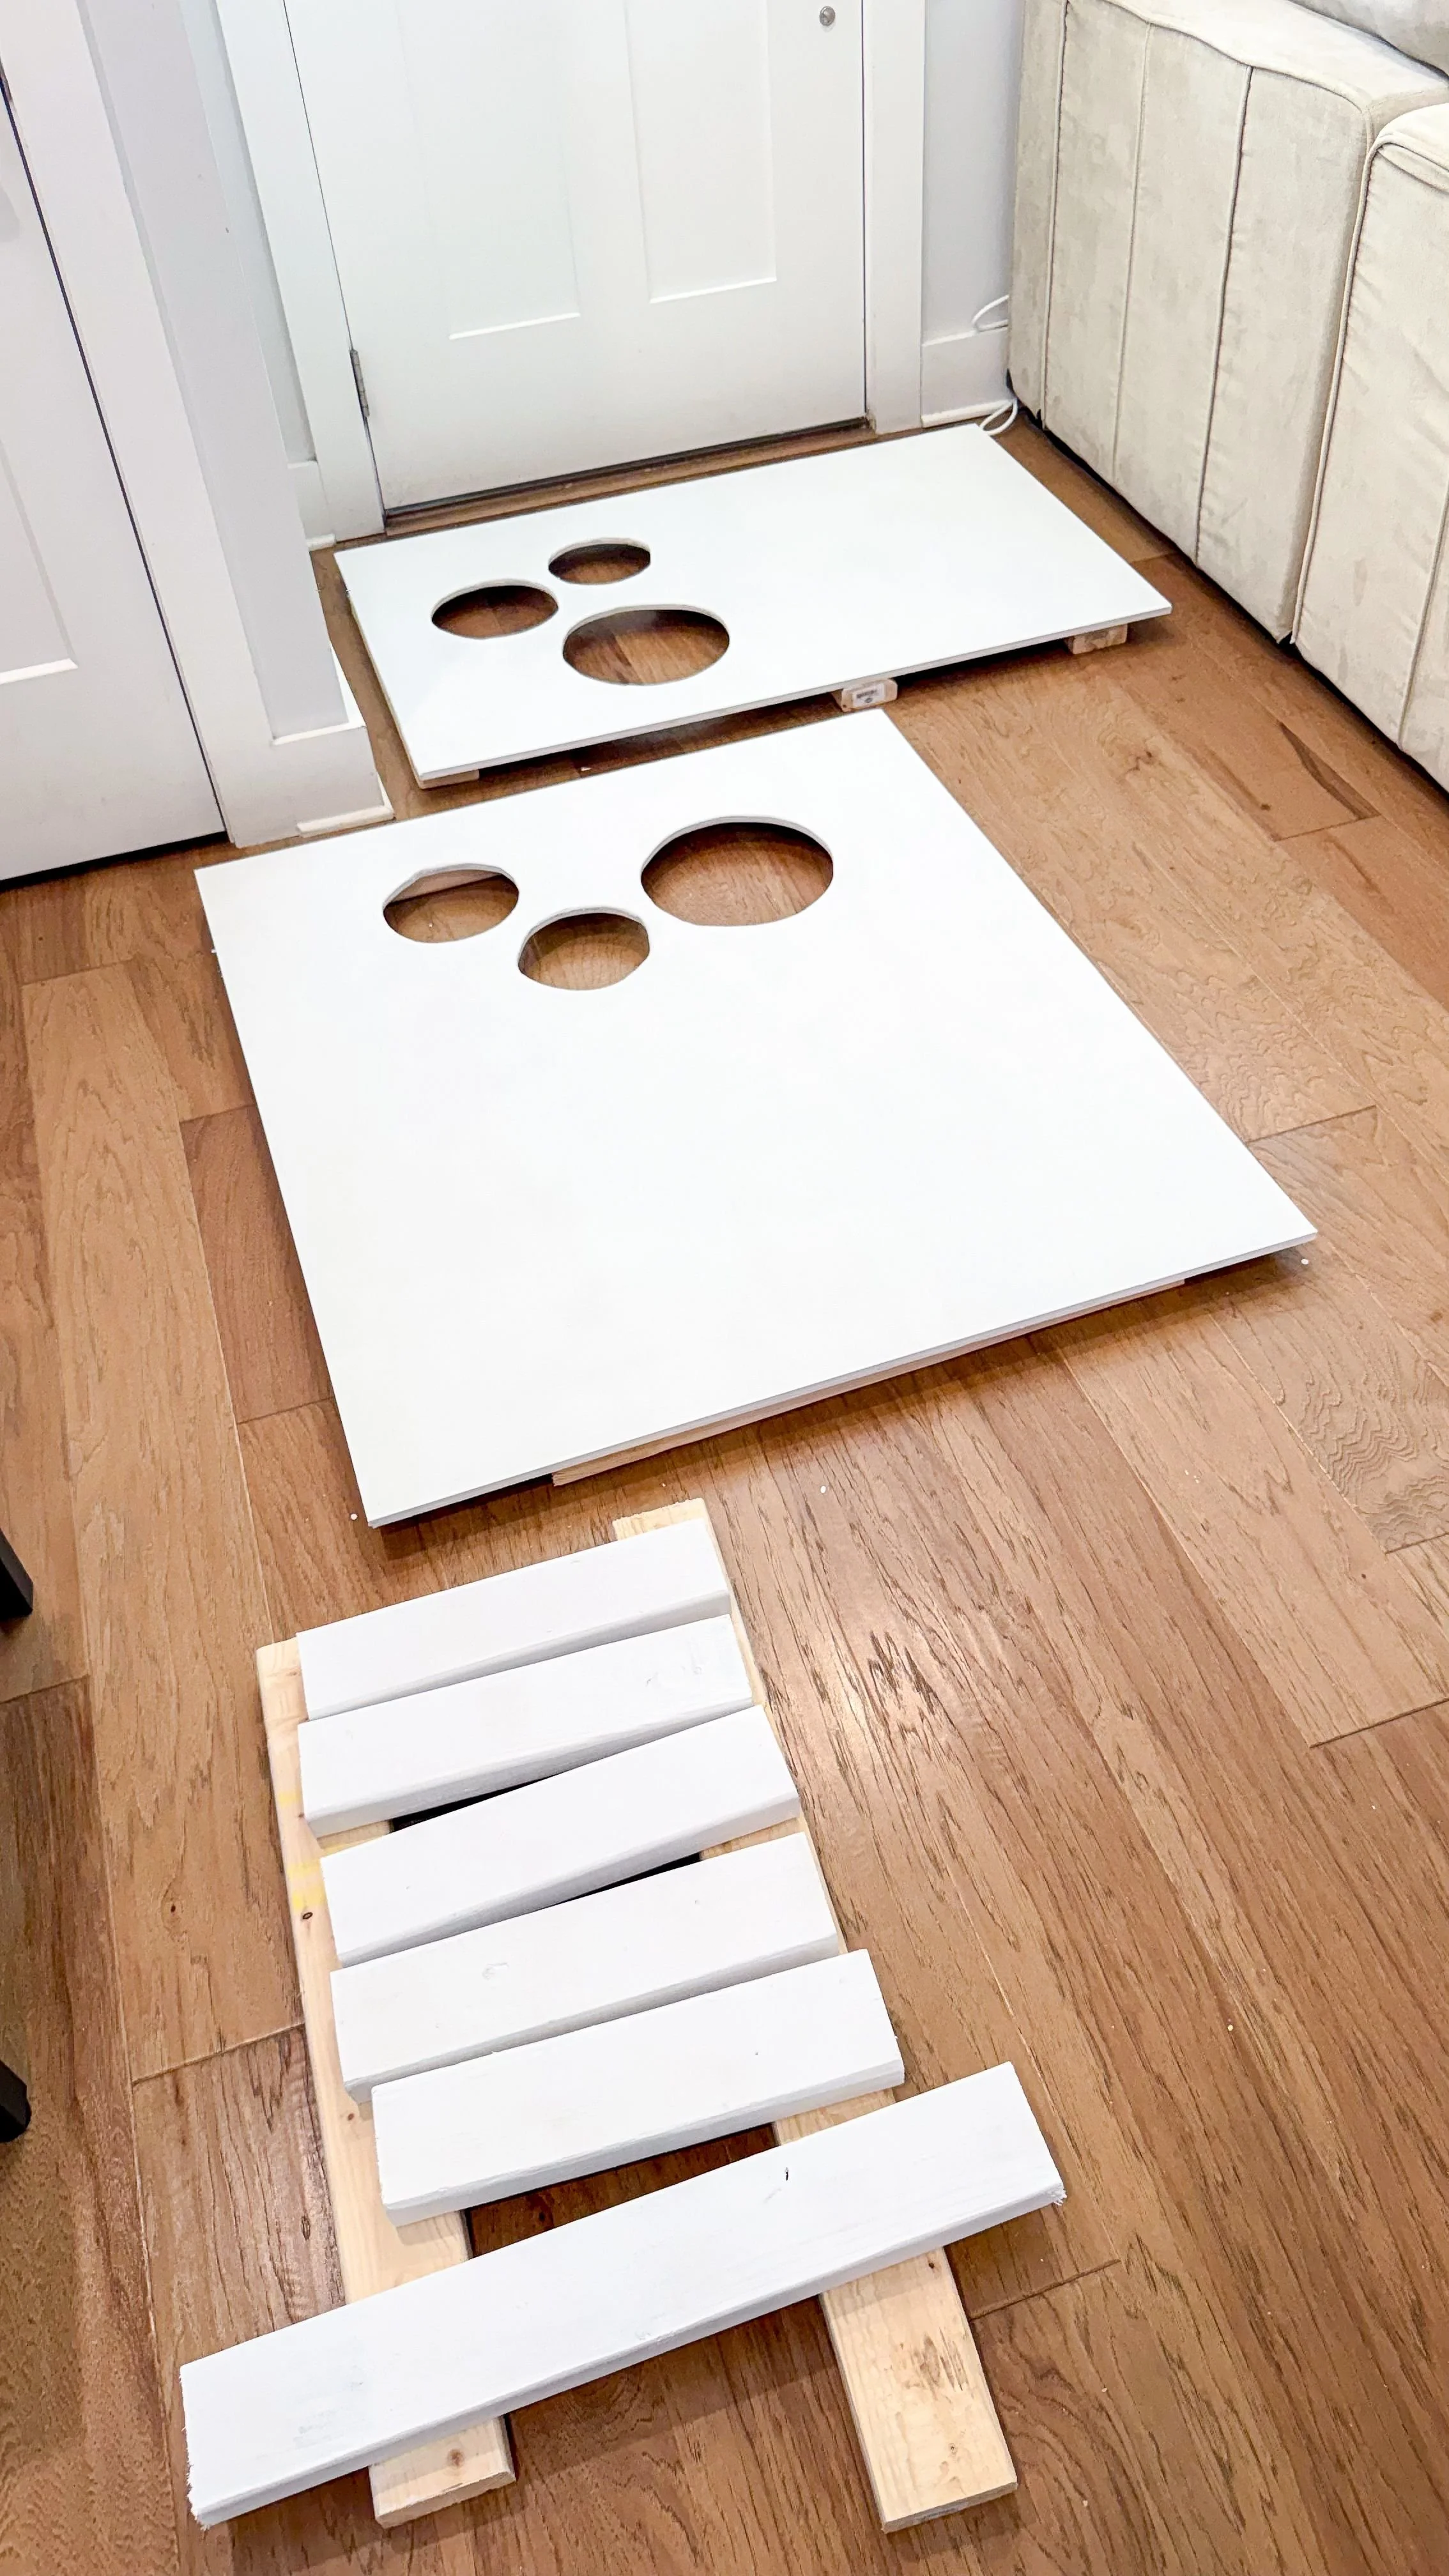
The first step was cutting all of the wood. Generally, I like to do all of the cutting for a project at the beginning so I don't have to bring my saw out multiple times. I find doing all of my cutting when my son is sleeping makes things much easier and safer since I am normally working with a toddler running around. I decided to use plywood to enclose this space like I did on the other levels and I wanted to continue the circle cut out details. I used bowls to trace circles on the plywood and then cut the circles out using my jigsaw.
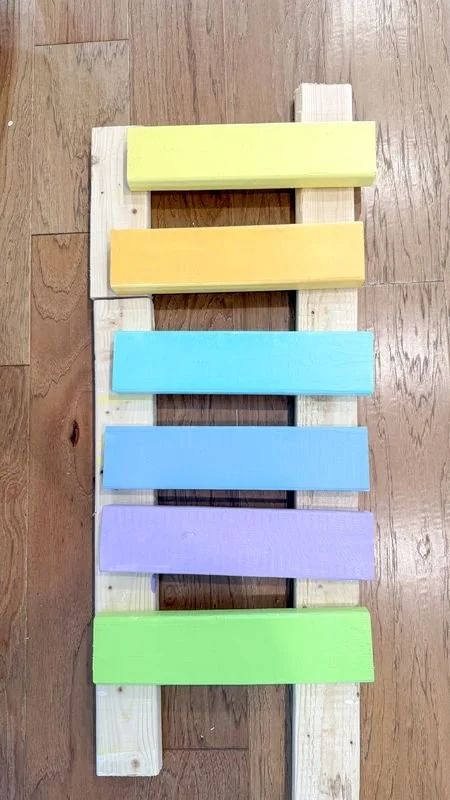
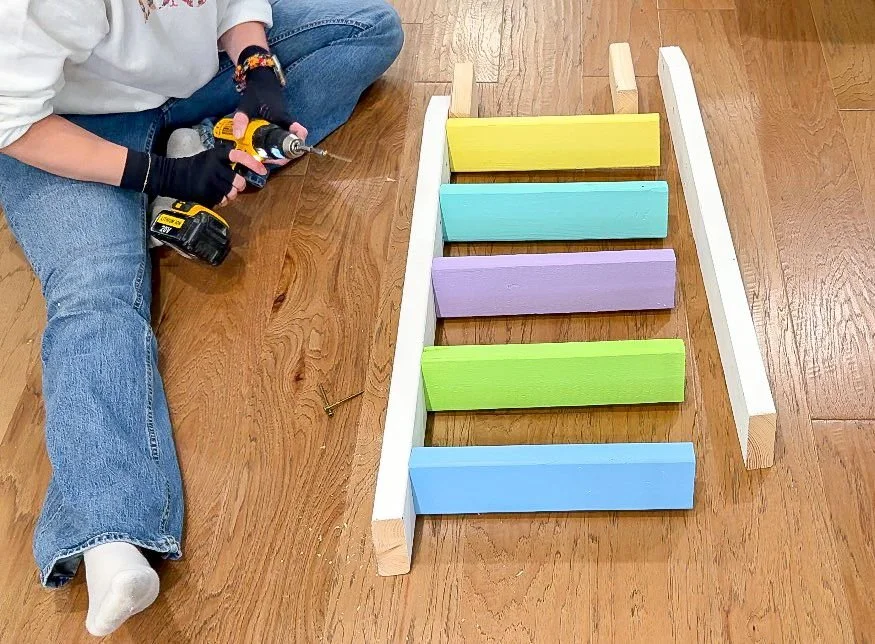
I sanded everything down and primed it all with my standard two coats of primer. I decided it would be fun to use almost all of the colors from this project instead of just one for the ladder, so it tied everything together.
I used the Benjamin Moore paint colors Limon, Honeybell, Coastal Paradise, Sea to Shining Sea, Mighty Aphrodite and Willow Springs Green for the ladder rungs.
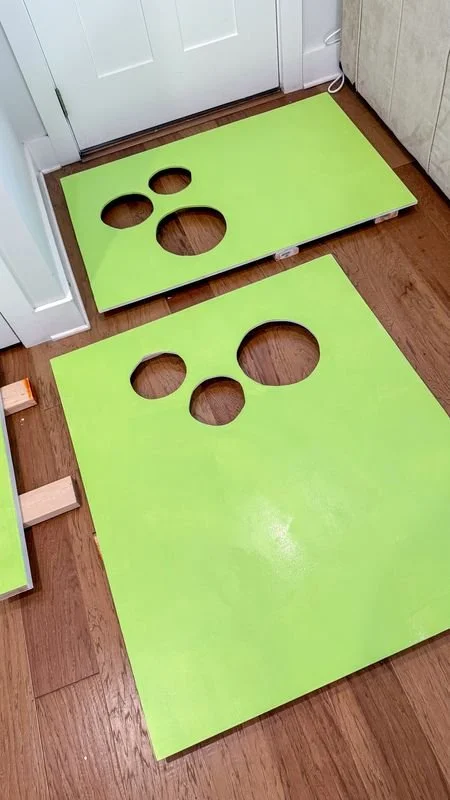
Then I used Willow Springs green on the opposite end of the 4x4 post and to paint the plywood sheets I already cut out for the walls. Once all the paint was dry, it was time to start installing everything.
Making Over My Son’s Room Part 5: The Loft | Install
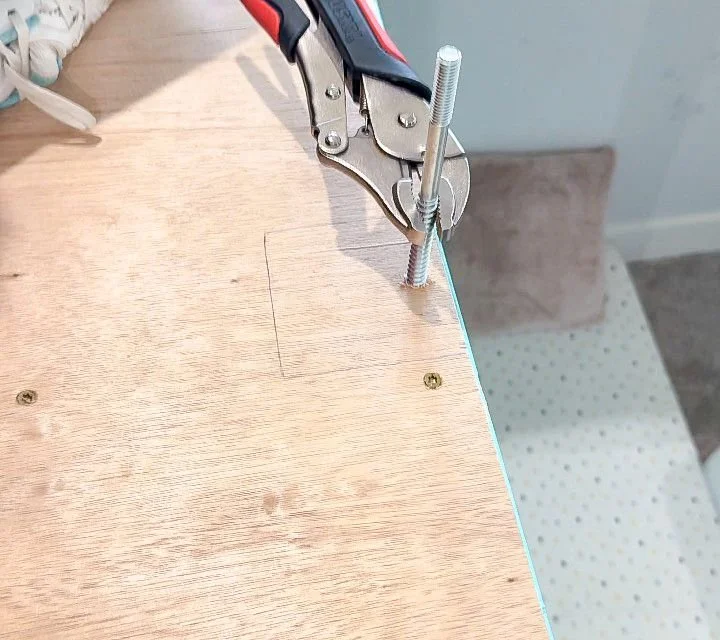
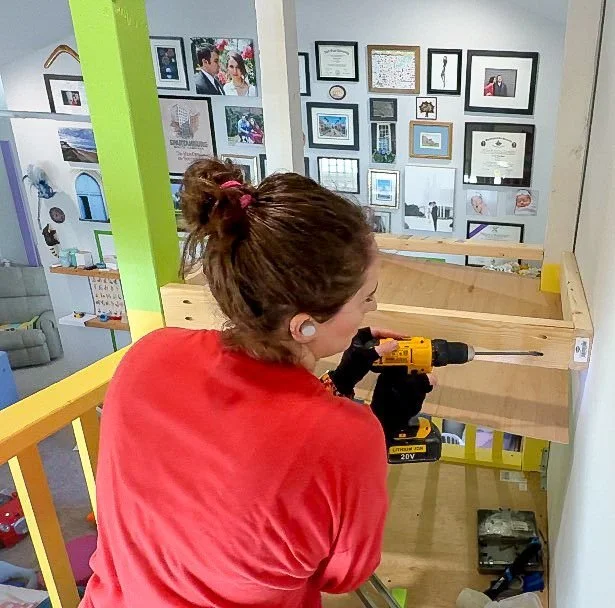
I had to add an additional railing post for support in the loft space so I had to take the current railing out of the bottom section, then add the hanger bolt and screw that into the frame below. I marked where the hanger bolt would attach on the bottom of the post, drilled out the hole using a smaller drill bit and screwed the post in. Once I had the post in, I reinstalled the railing with the correct sizes. I'm happy that you can hardly tell that this was added as an afterthought later because I completely forgot to consider it when I was designing everything. I moved on to installing the frame for the platform. I used the 4x4 post anchors along with the studs in the wall. I have done my best to ensure every piece possible is anchored, making it as stable as possible.

I made sure to have a piece of plywood on the underneath part of this to create a ceiling in the little fort area being created underneath the loft. When I went to install it, I realized I needed to remove three of the four frame pieces in order to secure that ceiling. I removed those, put the ceiling piece in, reattached them to the frame, and then attached the ceiling plywood piece to the frame. I used pocket holes to secure the support pieces to the frame so there's support pieces on the inside, making it stable and something we can safely stand on. I added some plywood pieces to the top, where I plan to add some kind of flooring.
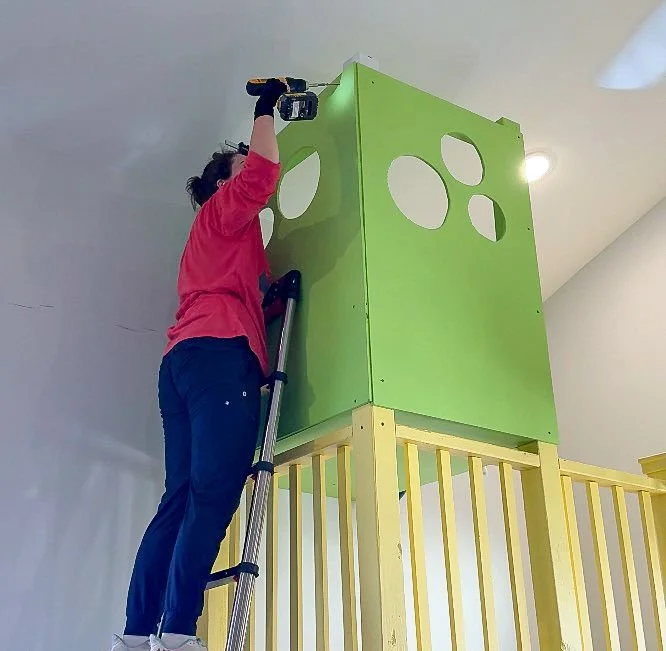
After the frame was installed, it was time for the outside plywood pieces that enclose the area to make it safe. I added additional 2x4s to the frame where the plywood will be so that the plywood had additional places to secure to. I used my extendable ladder to get to the top, which was terrifying for someone who is afraid of heights, but I pushed through. The things we do for our kids, right? I used a clamp to hold the plywood piece in place and then secured it to the frame. In order to do the second piece of plywood, I had to bring it through the top so I wouldn't fall off the ladder and secured it. Once it was up there, I used screws to secure the plywood to the frame. I didn't worry about filling the screw holes because I plan to do that to the entire build once I'm finished.
When everything in the loft was secure, I moved onto the colorful ladder. I used 2x4s I had cut at a 20 degree angle at the bottom so it was angled correctly. Then I secured the colorful 2x4s for the steps to the longer 2x4s on the sides at a 20 degree angle, making sure the steps are level and parallel to the floor.
I took out the plywood topper I'd put on the frame, and then added a trim piece on the outside so the ladder was secured to the whole thing and it all looked cohesive. Then I attached the ladder to the frame from the inside on one side and on the outside of the other side ensuring everything was secure and then went a step further and attached it to the bottom of the frame and finished it off by putting the underlayment back on.
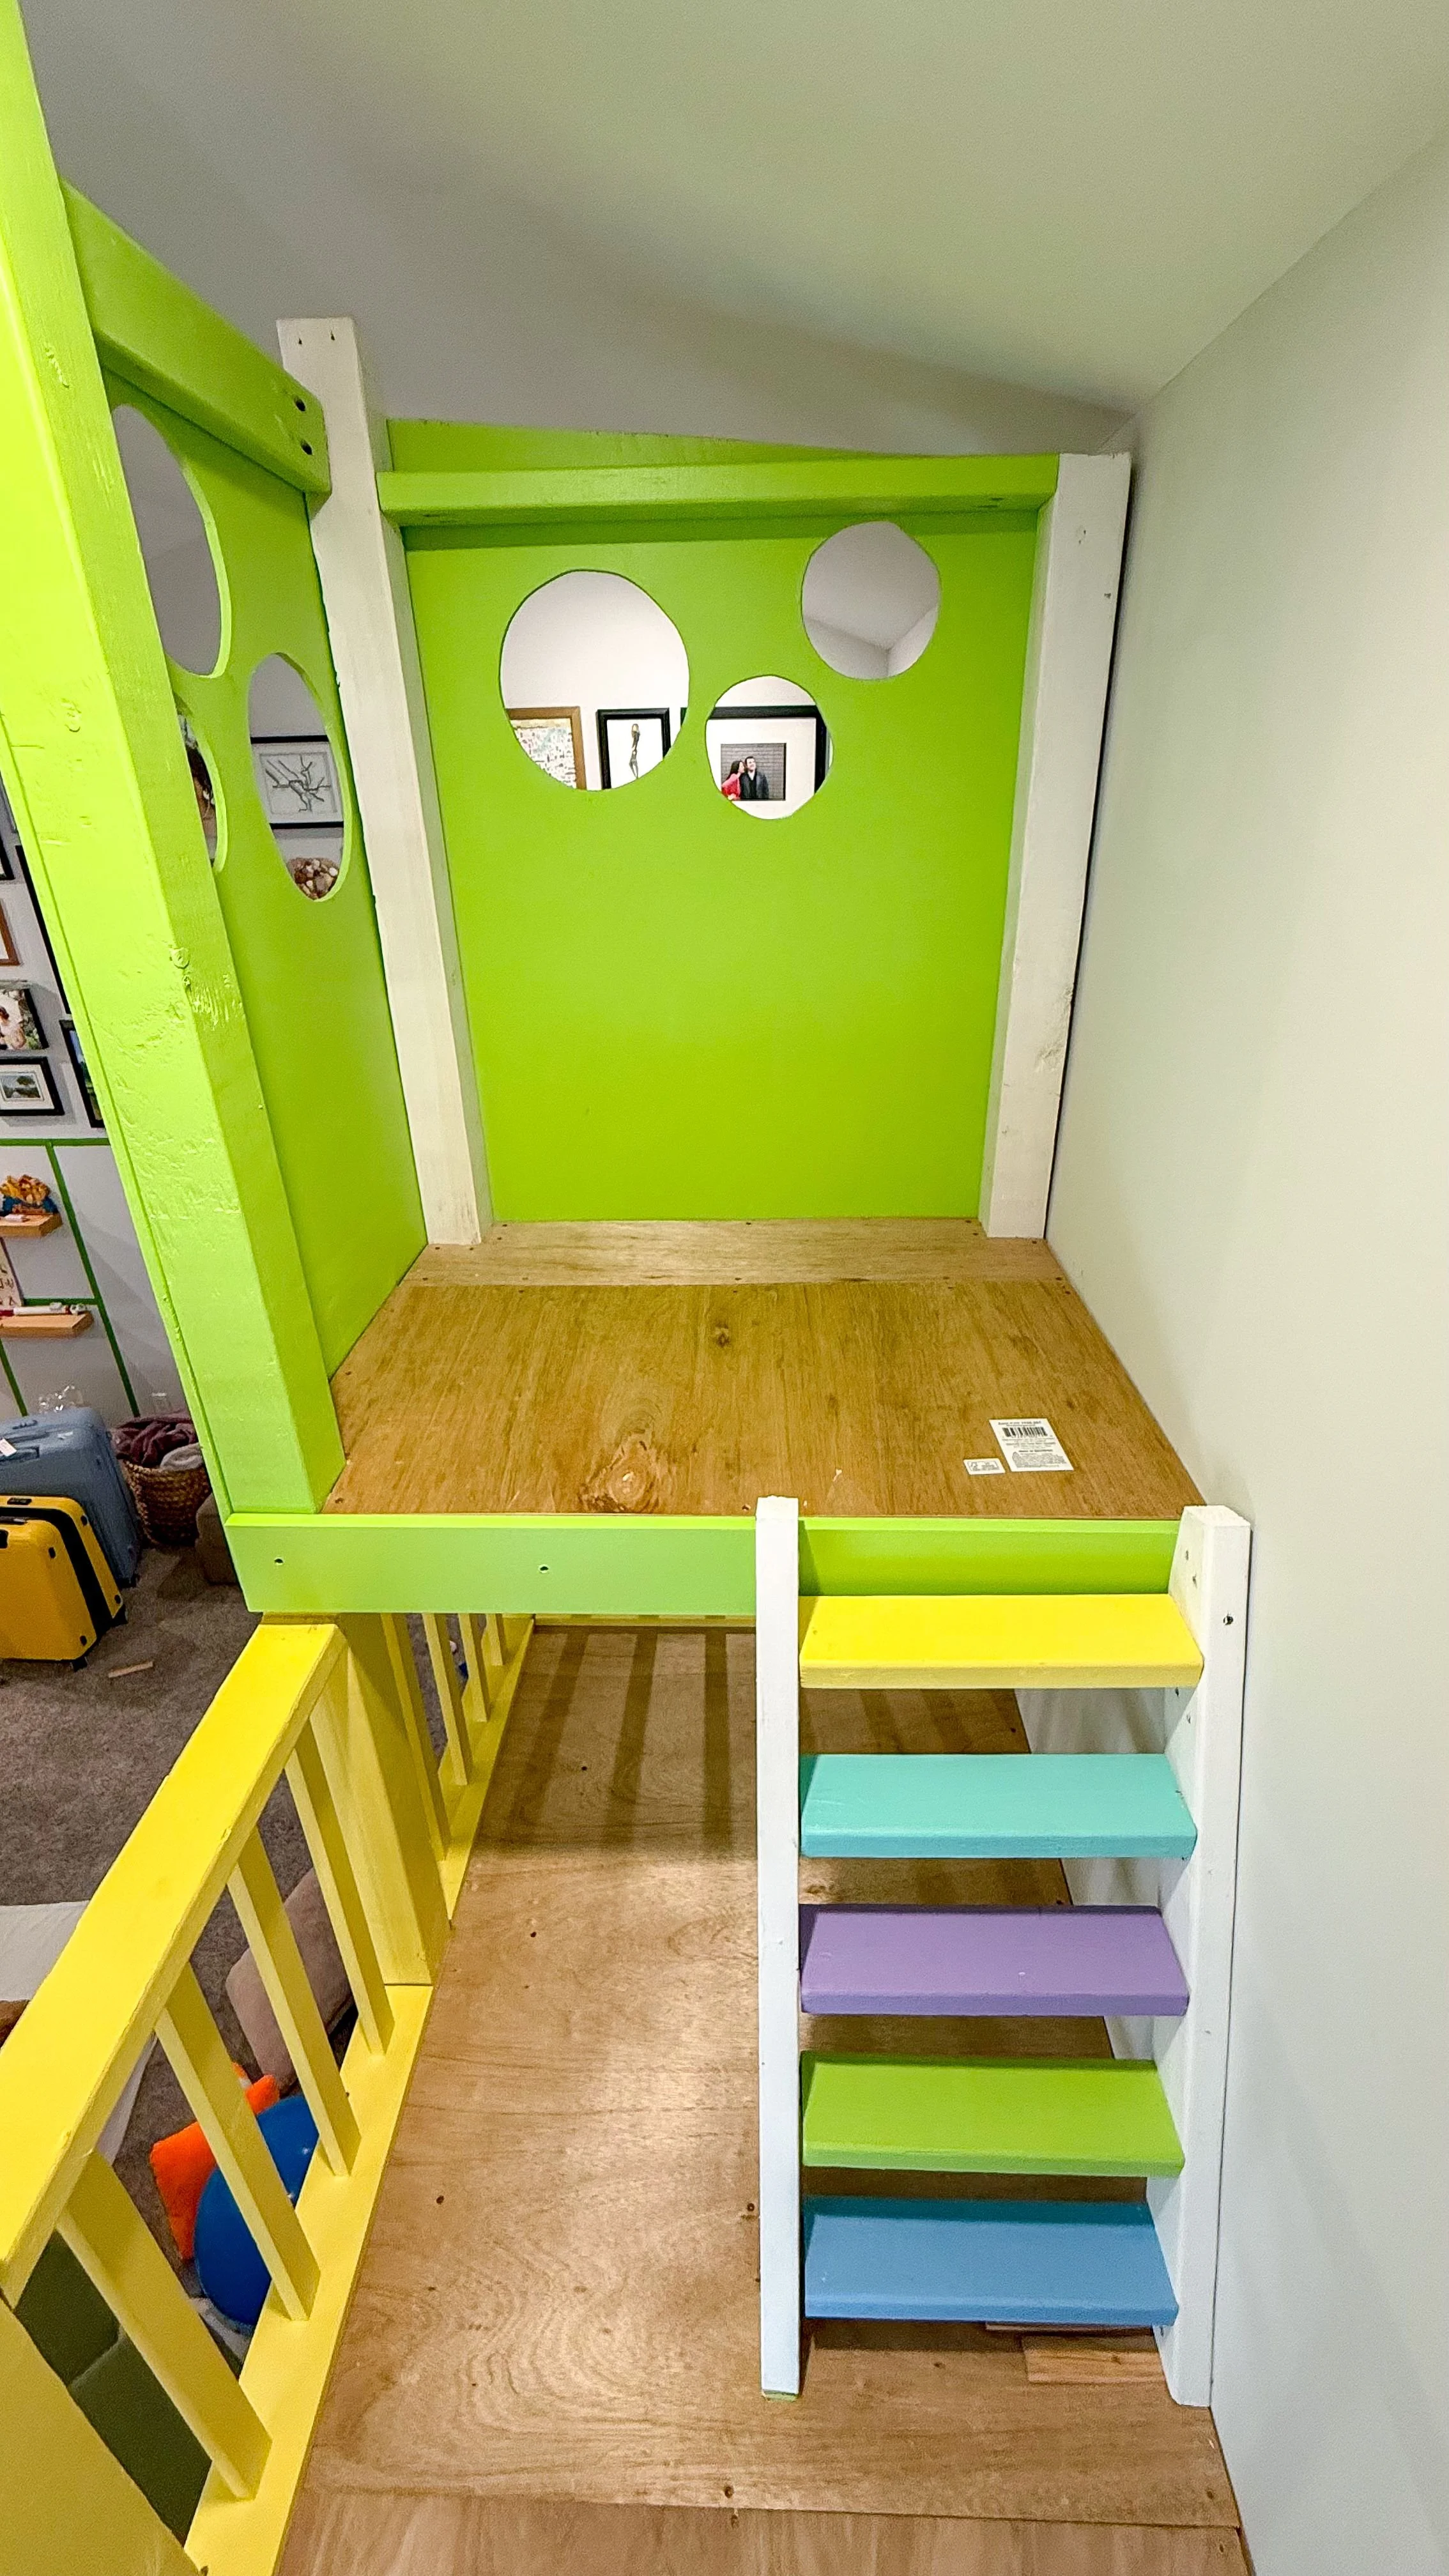
We set up the little loft space underneath and the kids have been LOVING it. I love seeing their joy after each phase of this build and can't wait to do more. Stay tuned for the next part to see what I do next!