
Making Over My Son's Room Part 8: Trim and Details
After a break over the holidays, I'm back to share the most recent updates and additions to my son's room. I tried to add a few things to the space to give it an extra dash of fun as well as finishing up the trim.
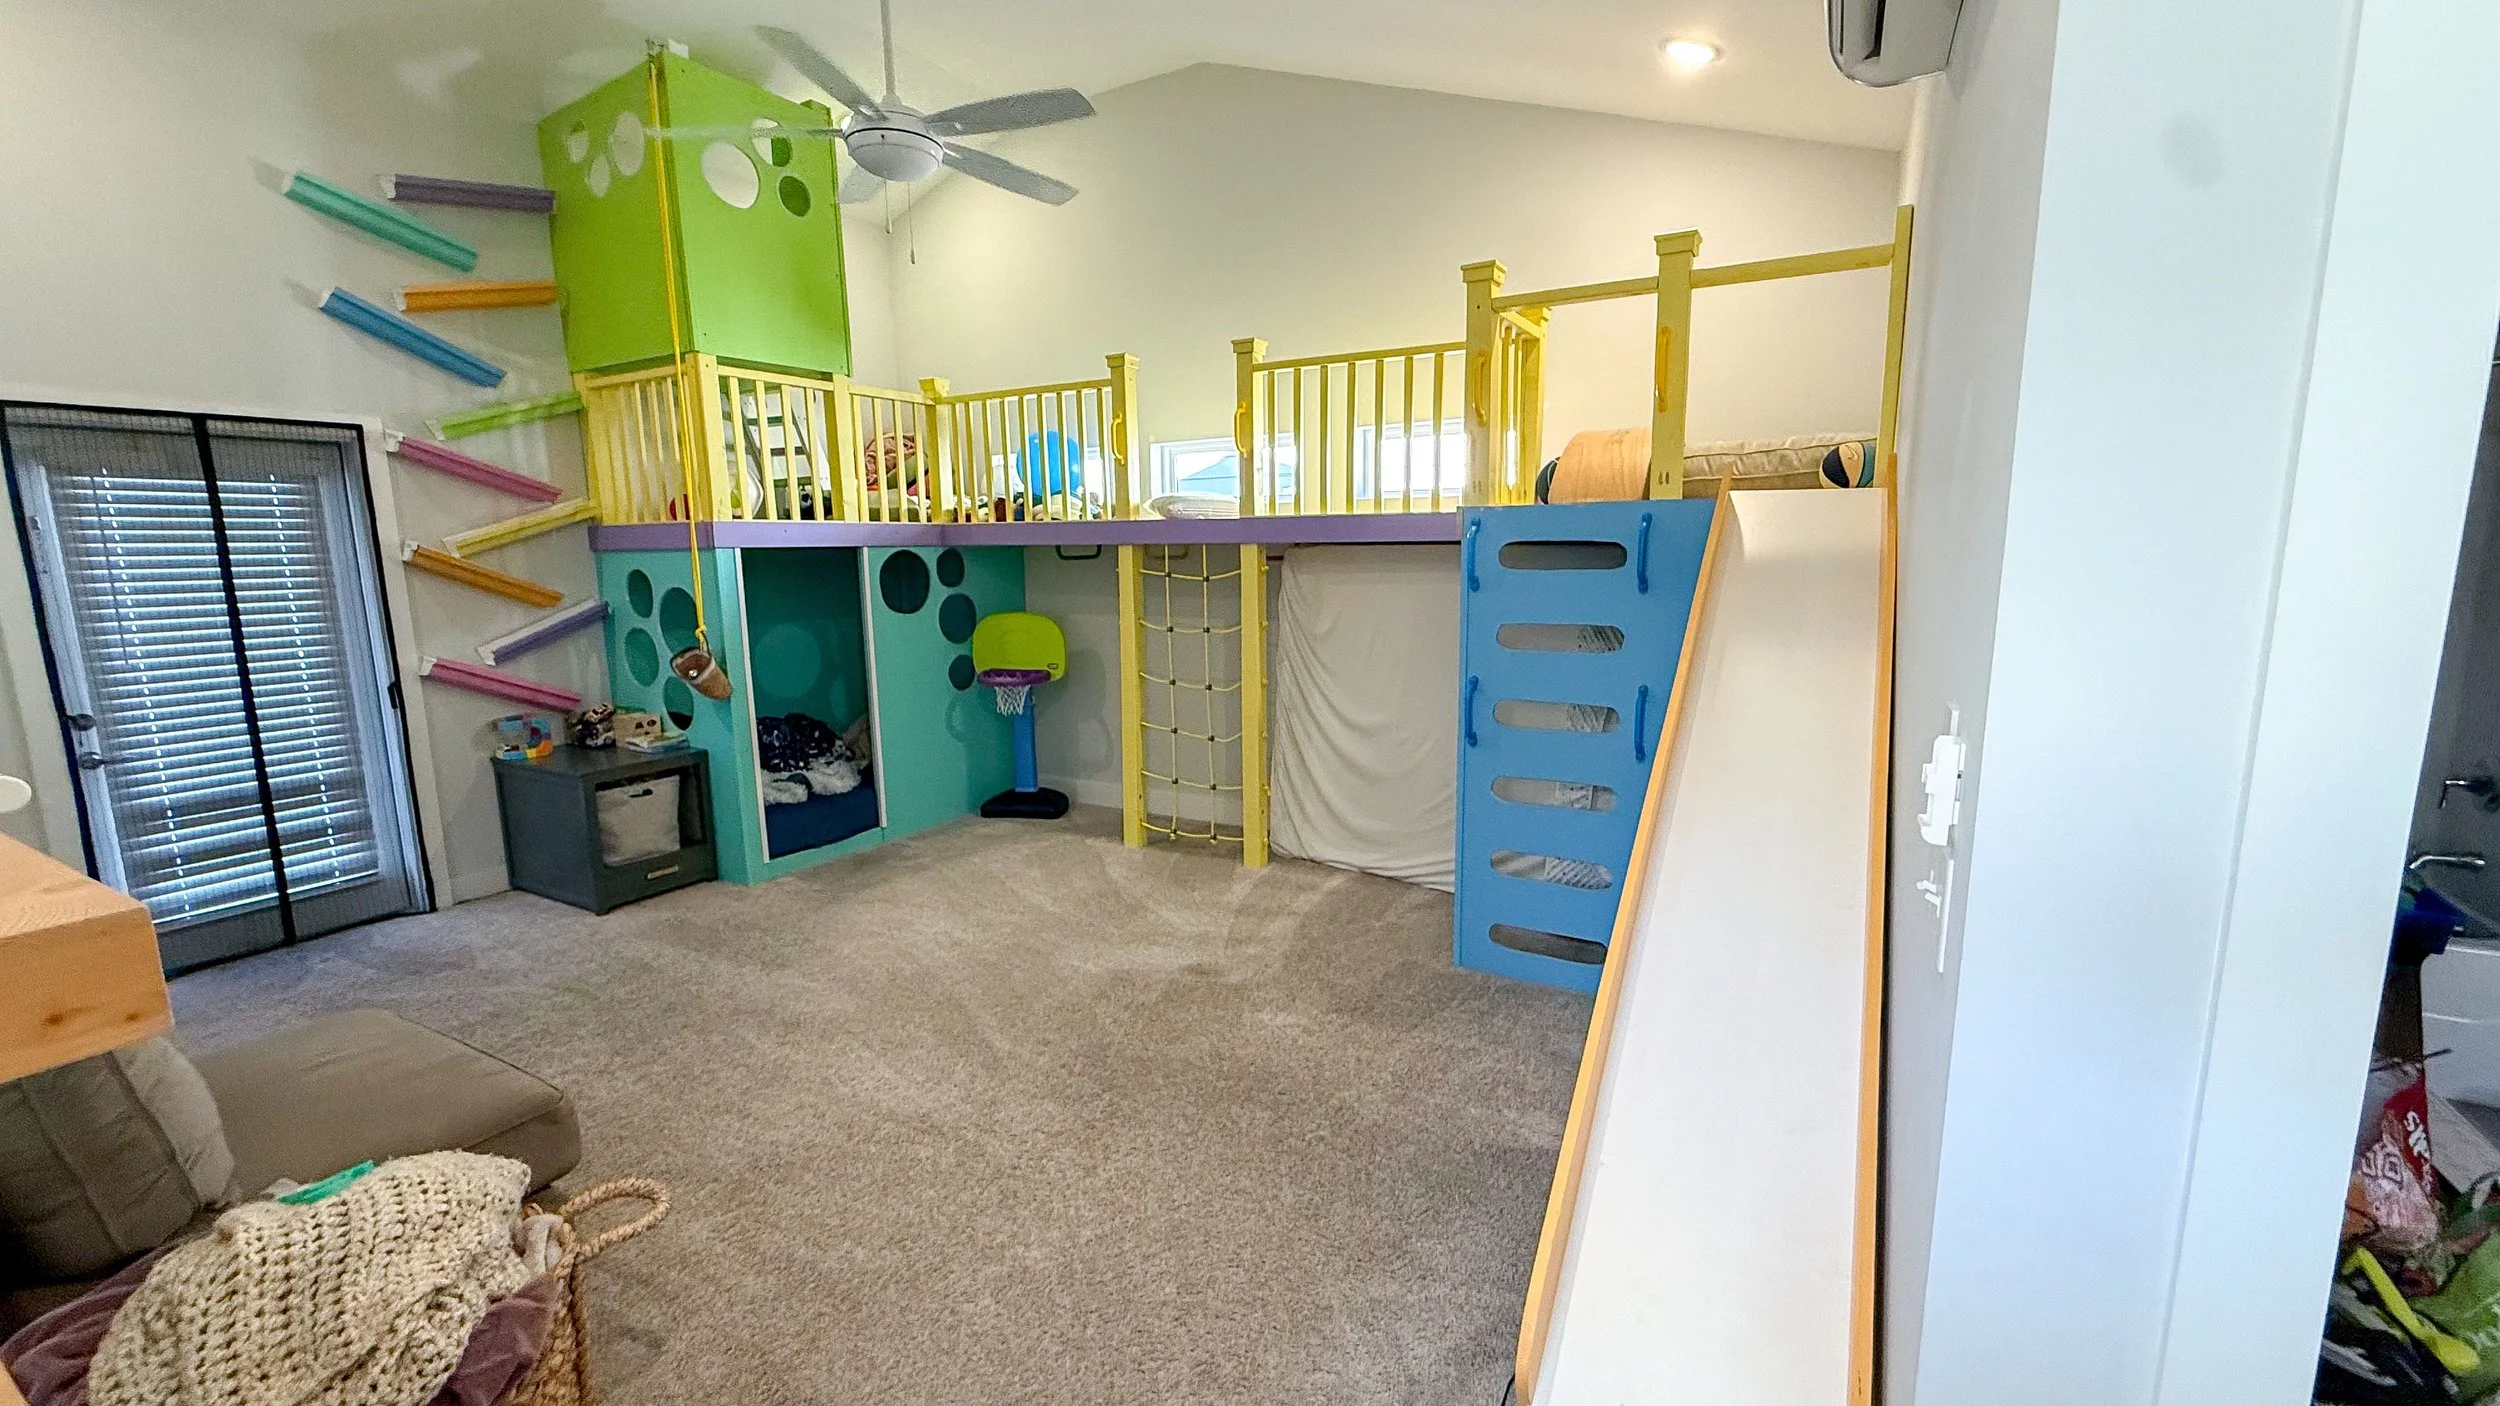
Making Over My Son's Room Part 8: Trim and Details | All the Extras
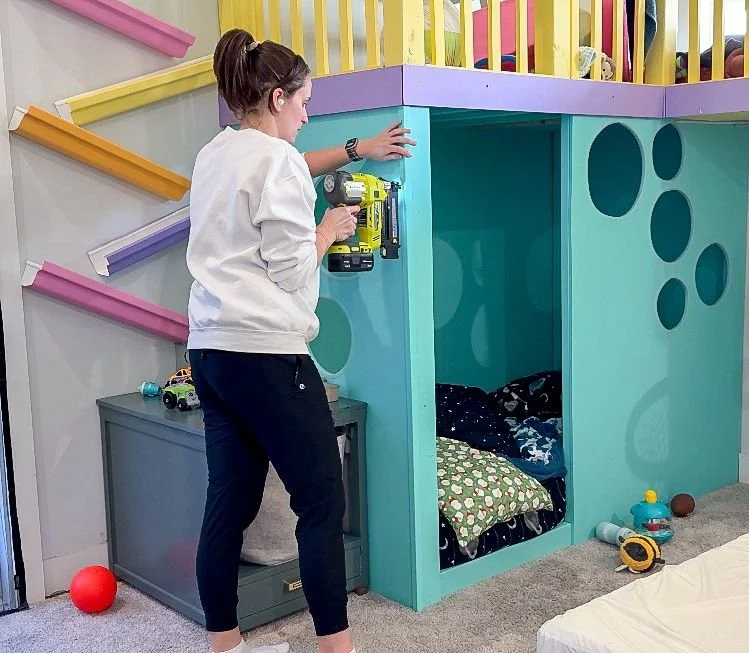
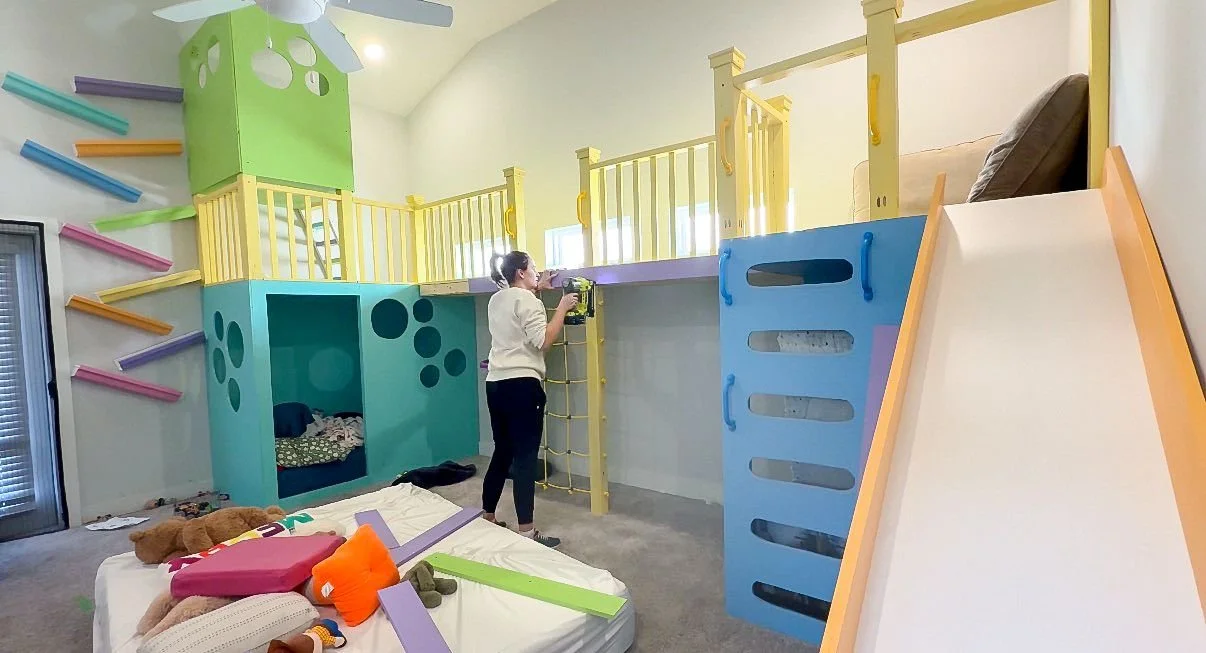
When I was deciding how I was going to cover up the obvious places needing trim, I also had to decide what color I wanted the trim to be. Trim can make a big impact depending on its color. If it’s the same color, it blends in, white trim makes things look clean and neat and colored trim adds a bold statement to a space. I used 1X5 boards and decided since the colors in the build changed a lot, I wanted to do the trim a contrasting color separate from everything else. Originally, the purple I used for the trim was going to be a set of shelves. However, those shelves didn't end up going where I originally planned. I'm still debating on if I'm going to add trim on the climbing ladder or slide wall but either way I can add it when I remove the slide and add shelves underneath it in the future. I'm not quite sure how the trim will work with the handles.
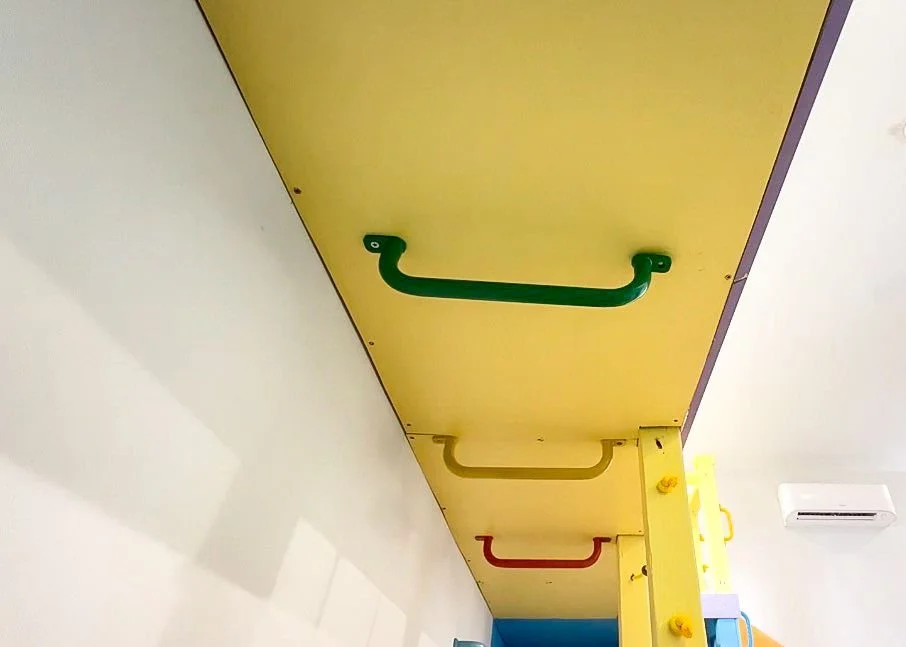
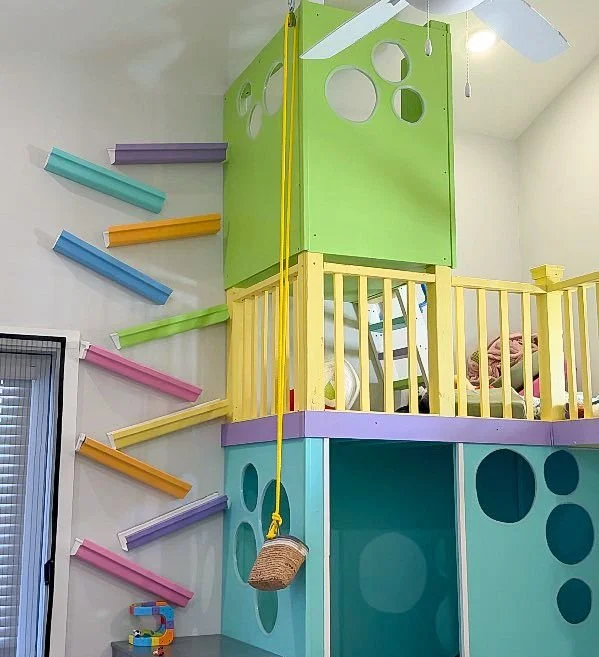
I found a pack of monkey bars I loved that came in six different colors, but had wait for them which pushed my timeline back a bit. I added three on the wall so my kids could climb up them to then reach the ones underneath the bridge. My daughter can reach them no problem, my son is still a little too small but I'm sure he'll figure it out soon. I also added little handles to the climbing ladder between the platform and the loft area above the bed.
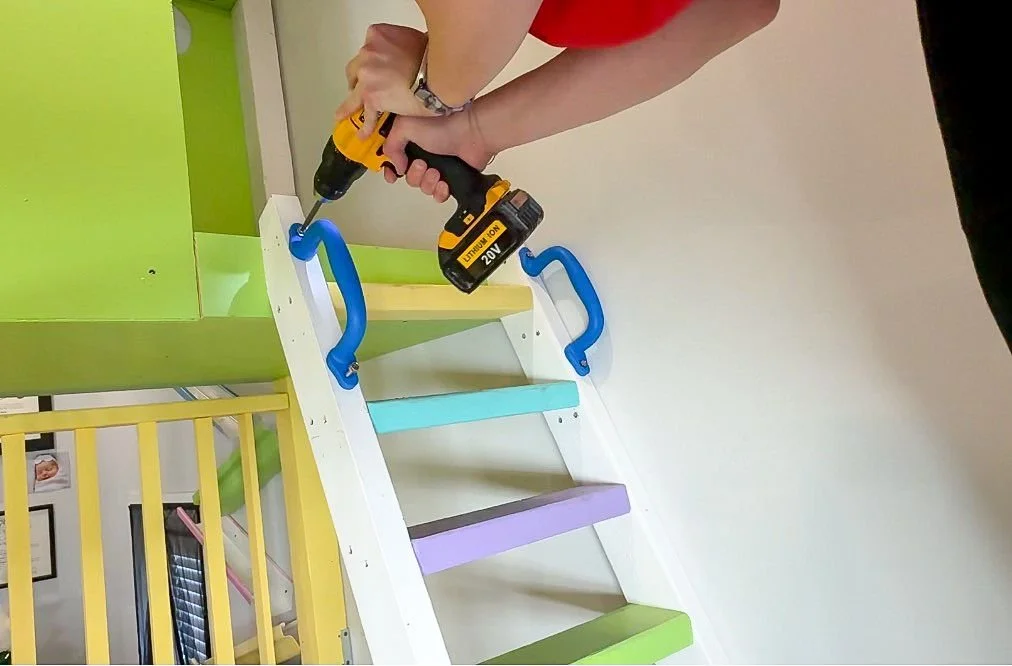
I originally wasn't going to do this, but I noticed my son was always looking for something to hold onto when he was trying to climb up there so its just helpful for him. When I originally bought the handles I used on the slide wall and on the posts above the rope ladder, I got two different shades of blue because I wasn't sure which ones would look the best. Since I had some handles left over, I was able to use them here.
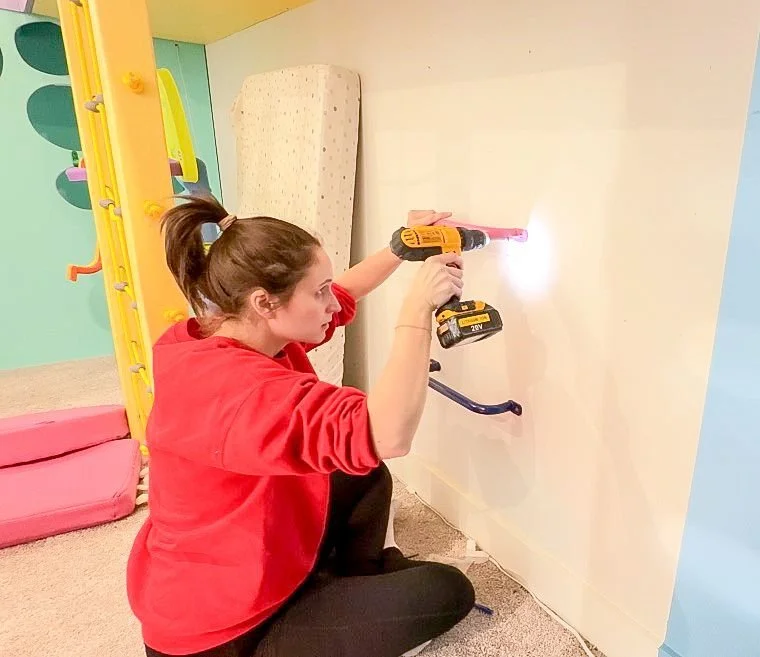
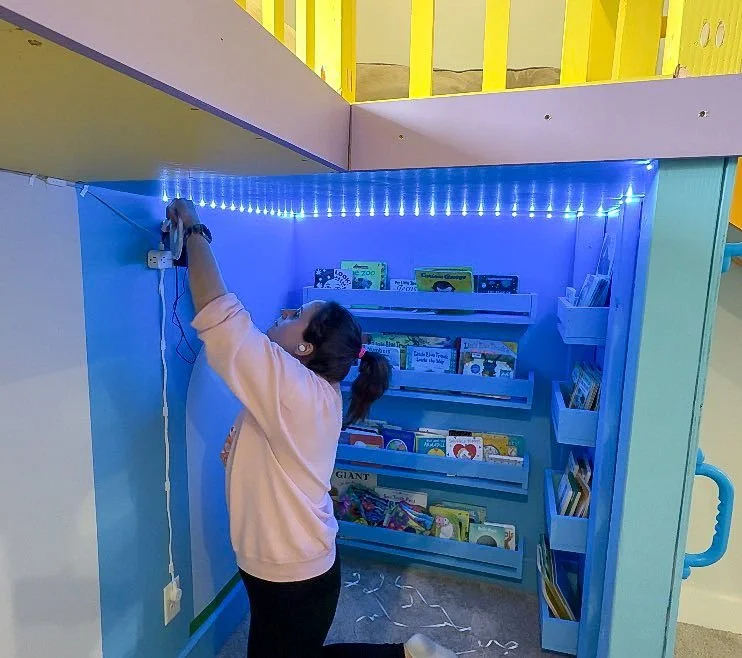
In the reading nook, I added a magnetic wall decal so the kids can play with magnet tiles. I eventually want to mount something on the wall to hold all of the magnets too. The magnetic decal I got has been pretty disappointing as it doesn't stay on the wall. I'm looking into other ways to attach it to the wall that aren't permanent. I also decided to put some lights here, since it is a dark area. There wasn't an outlet near the lights I placed around the nook, so I had to add an extension cord. I don't love how it looks, but it functions for now. I started adding more lights using the other outlets. These come in a long strip, you are able to be cut to size and are already sticky-backed, which I love. I then added trim to all of the outside. corners as well as some left over trim I added near my son's bed. I also added wraparound trim to the loft where two pieces of plywood meet. This makes the space look and feel more put together. The last spot I added trim to was the outside of the reading nook.
I added a pulley system to the very top of the loft area so my son can easily transport his balls/cars to the top for the car run. I drilled a hole into one of the support posts at the top and got a pulley the same width as the rope that I'm using. The rope is just leftover the rope ladder I made. I used needle nose pliers to pull the rope through, and then I went and placed the pulley up at the top where I had put the hook in. I also got a carabiner hook to attach the hook and the pulley to each other. With the rope at the bottom, I took a basket I already had, secured the rope to the basket by looping the rope around itself and then pulling it through. It worked well when I tried it out, so fingers crossed the kids are able to use it easily.
Making Over My Son's Room Part 8: Trim and Details | What’s Next
What's next for this room? I still have to add flooring down and I found some that perfectly matches the flooring in the rest of our house. I wanted a hard surface for my son to be able to bounce balls so this will help with that while also being really easy to clean. I'm adding shelving underneath the slide, which I'm very excited about. I've been trying to figure out all the angles and designs for it and should be able to get started on that really soon. I'm also designing something to catch all of the balls for the ball run. After that's all finished, I'll move on to tackling the other side of the room: the guest room portion which will include the Murphy bed. I have all the stuff I need for the Murphy bed, and have it all planned out. I just need to get the motivation to do it because its going to be a pretty intense project. I'm hoping to get started on that by March so stay tuned if you want to see how this room continues to evolve!