
Valentine’s Day Crafts
Valentine's Day is just around the corner. After a year of not feeling really like myself where I didn't do a lot of crafting projects, I decided I want to get back to crafts that spark joy for me. Valentine's Day crafts in particular have always been something I enjoy so I did a few this year I wanted to share with you. Most of these crafts are pretty simple and require minimal supplies but are fun all the same.
Valentines Day Crafts | Bow Paper Chains

This bow garland has gotten a lot of hype online, so I wanted to show you how to make your own. First, gather your desired colors of 8x11 paper and fold them into squares, cutting off the excess using a paper cutter. Save these pieces because we can use them for our heart garland later! After trimming the paper I folded it on the opposite side so there were two intersecting creases in the paper.
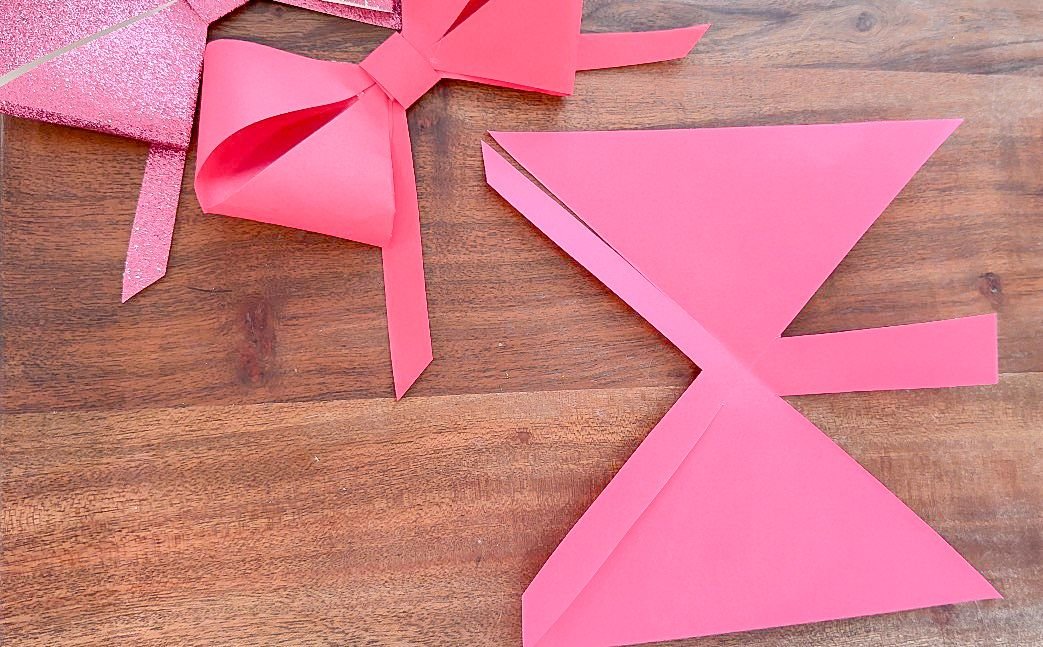
Next, I took a pair of scissors and cut along the folds until it is almost to the center of the piece of paper and left leave about a half an inch of uncut paper on the inside. Once that's done, I took one of the sides and cut into the middle so that I had a single strip of paper down the center. On the opposite side of that, I cut two diagonal pieces. I've seen a lot of people trim the paper even more once they're at this step, but I didn't find that necessary at all. I took my glue gun and I put two little dots of glue on the corners of the sides I didn't trim and folded them in to make one side of the bow. I made sure I didn't crease anything on the outside so it kept its nice rounded shape. Then I flipped it around and did the same thing on the other side.
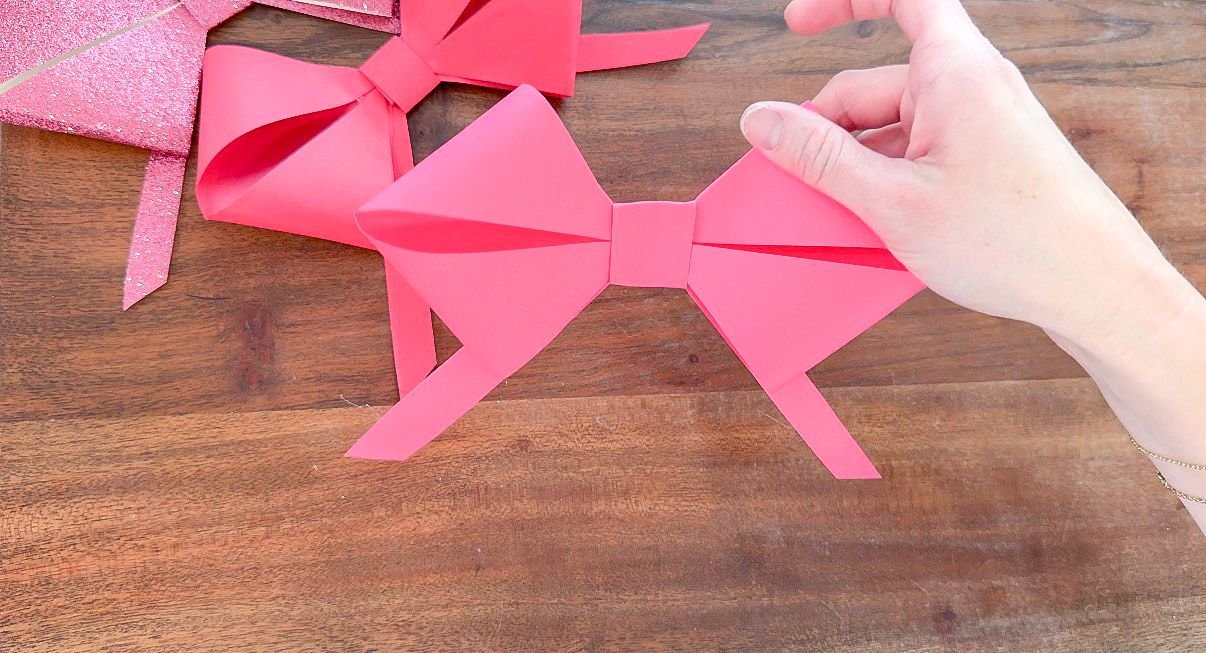
From there, I took the two diagonal pieces and flipped them backwards, so they went behind the bow. Then I took the longer straight piece and wrapped it around the center to make the finishing touch on the bow. I also added a bit of glue on the back to secure it into place. I've seen people doing this and using just plain colored card stock, but I wanted to experiment a little bit and see what would happen if I used glitter card stock as well. I noticed that the glitter card stock is a lot more likely to crease and crack in random places that the regular card stock is, but it wasn't hard to cover that up when I put it together into a garland. You technically can use a glue stick for this, but I found a glue gun to be a lot more effective at holding the card stock paper in place.

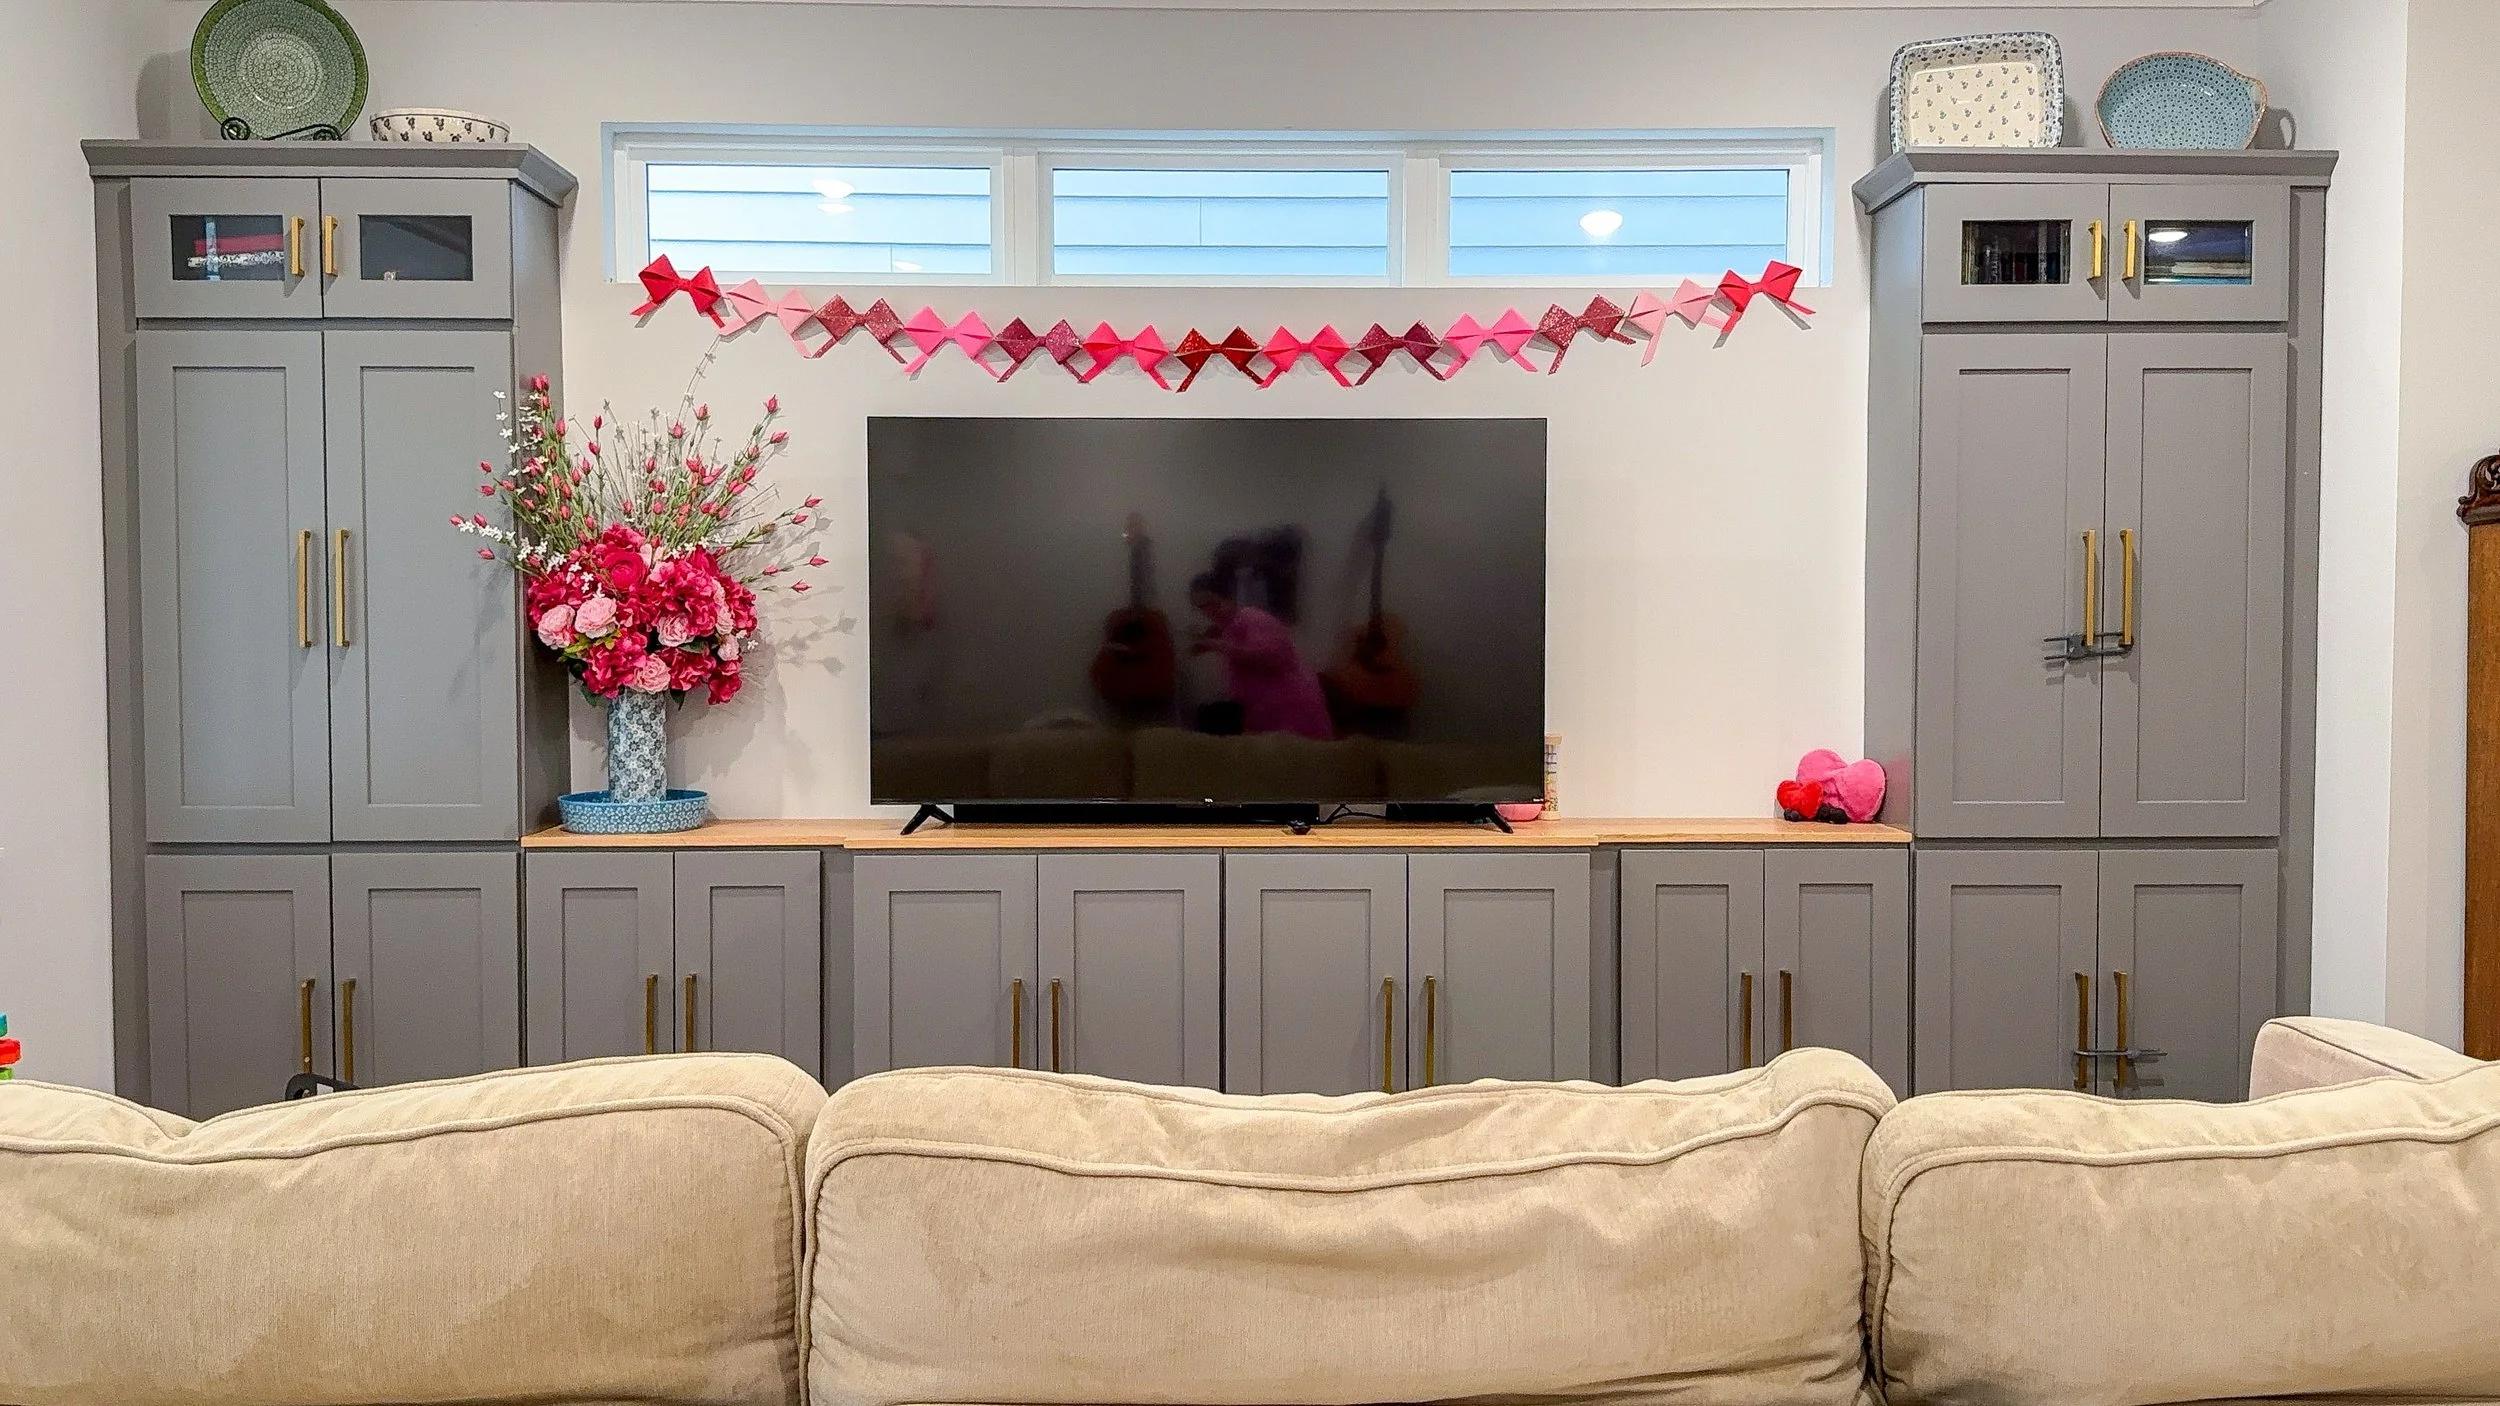
When assembling them into an actual garland, I used a ribbon to string through the backs of the bows and it held together really well. I made a smaller garland with four bows that went underneath our kitchen bar where the play kitchen is for the kids. Since they were strung through the ribbon I was able to spread them out nicely. I feel like for a smaller garland where you spread the bows out the ribbon method works great, especially if you want flexibility on where they are landing on the garland. However, if you are looking for a garland where they are all really close together I would suggest weaving the ribbon through the bows and adding hot glue to keep them in place.
Valentines Day Crafts | Felt Roses
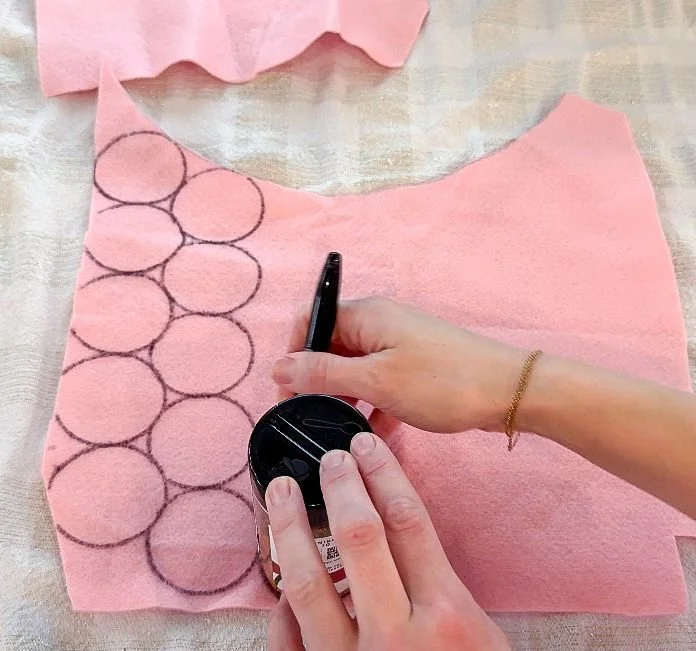
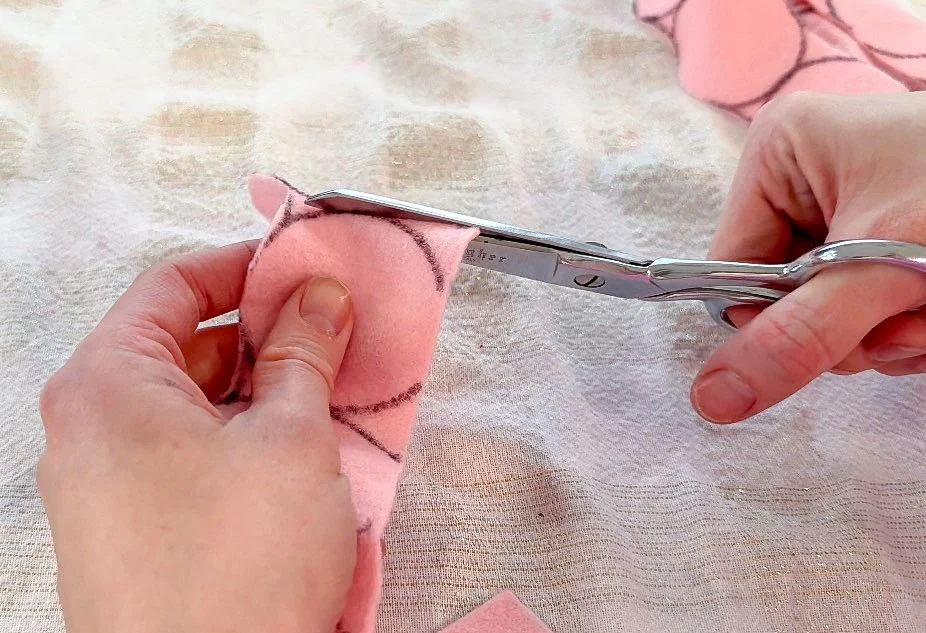
I saw someone make these felt roses and fell in love with the process. They really turn out beautifully. I used one of my spice containers to trace my circles on the felt. I used light pink, dark pink, and red. The circles are small enough that I was able to use a lot of scrap felt for the process. Once I traced all the circles, I used my fabric scissors to cut them into strips and then cut out each circle. Pro tip: make sure you cut off all of the sharpie from the circles or you will see the sharpie lines in the flower.
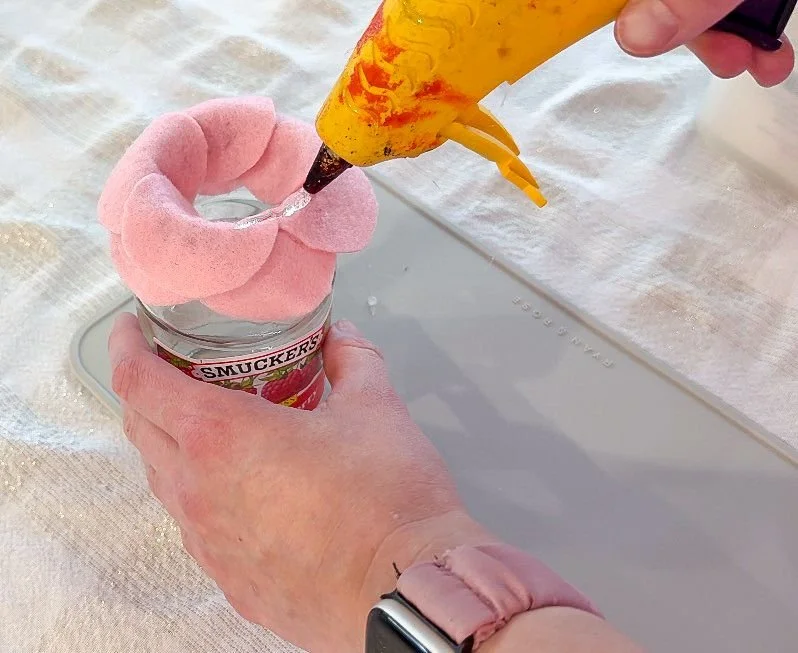
Once all the circles were cut, it was time to start gluing them together. I used a jam jar for the smaller rose and folded the circles onto the edge of the jar in half equally, put a little bit of hot glue on the edge and then placed the next circle on top of it so that they were overlapping a little bit. I continued this all the way around the lip of the jar until I completed the circle and the the entire lip was covered. I continued to do this over and over again, offsetting each new layer so there wasn't a gap in the jar opening anymore. I used 20 of the circles to make the small flower, and I feel like it comes out really nicely. For the very last piece, I put glue all over it and put it flat on the top for the bottom of the flower.
After it was cooled I was able to easily pull it off. The larger flower was the same process except I used 40 circles and a glass to get bigger/fuller looking rows. Once the roses were done, I needed to attach them to a stem.

I got fairly thick floral wire and then used my fabric scissors to poke a hole in the flat round piece that I put on the back of each rose. Then, I used the hot glue gun to secure the floral wire to the back piece and let it sit to cool. While it was cooling, I took a few little scrap pieces of felt and cut them into half circles and put some hot glue on them and placed them around the wire where it goes into the bottom of the flower, just so it looks more put together and finished. Since the larger roses were heavier, I used the wire to wrap it around a thin dowel just to give it a little bit more stability. I like adding the wire to a dowel instead of using a dowel on its own because it adds a lot more lifelike movement to the flower.
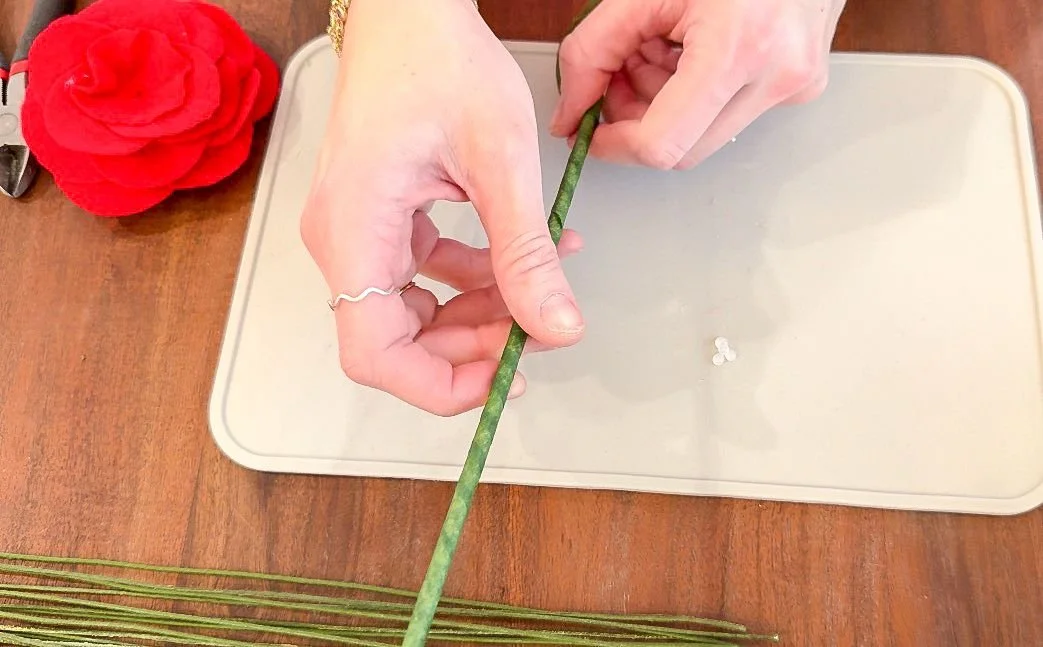
Once I wrapped the wire around the dowel, I used floral tape to ensure the wire was covered and then I wrapped it back up so everything was kept in place and looked better. I preferred the look of double wrapping so I repeated that with all of the flowers. After everything was secured it was time to add them to the floral arrangements.
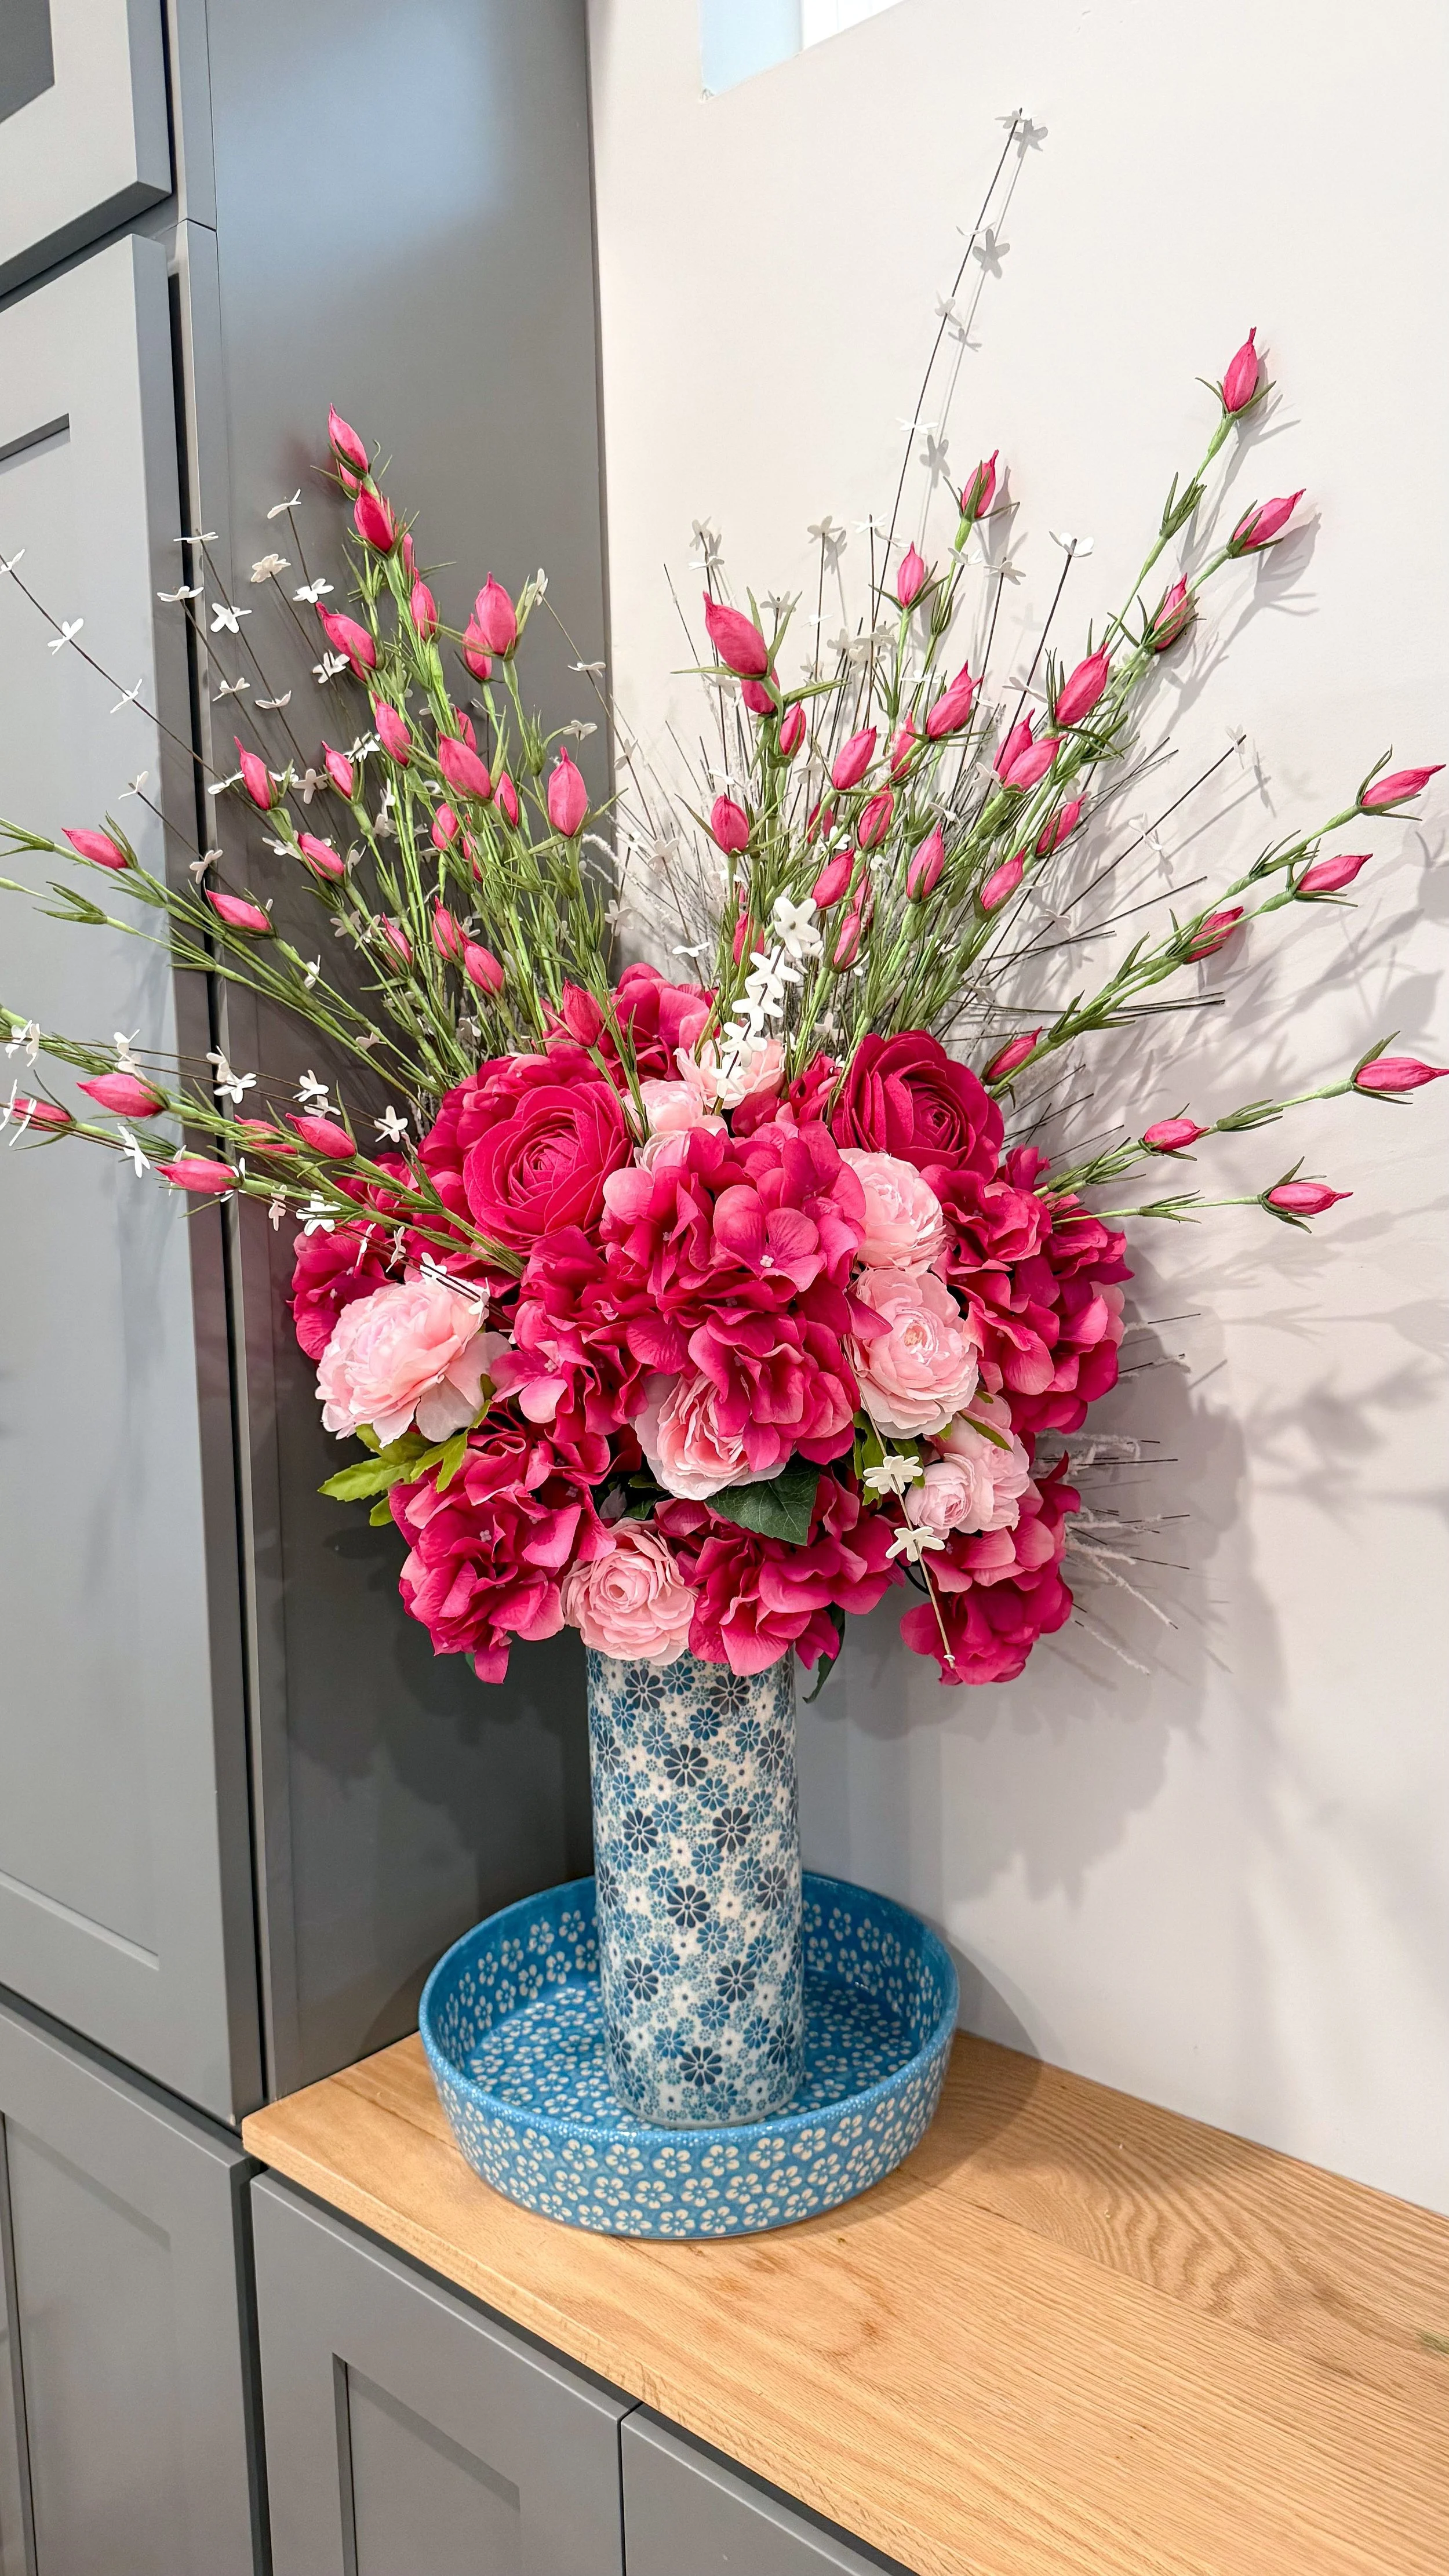
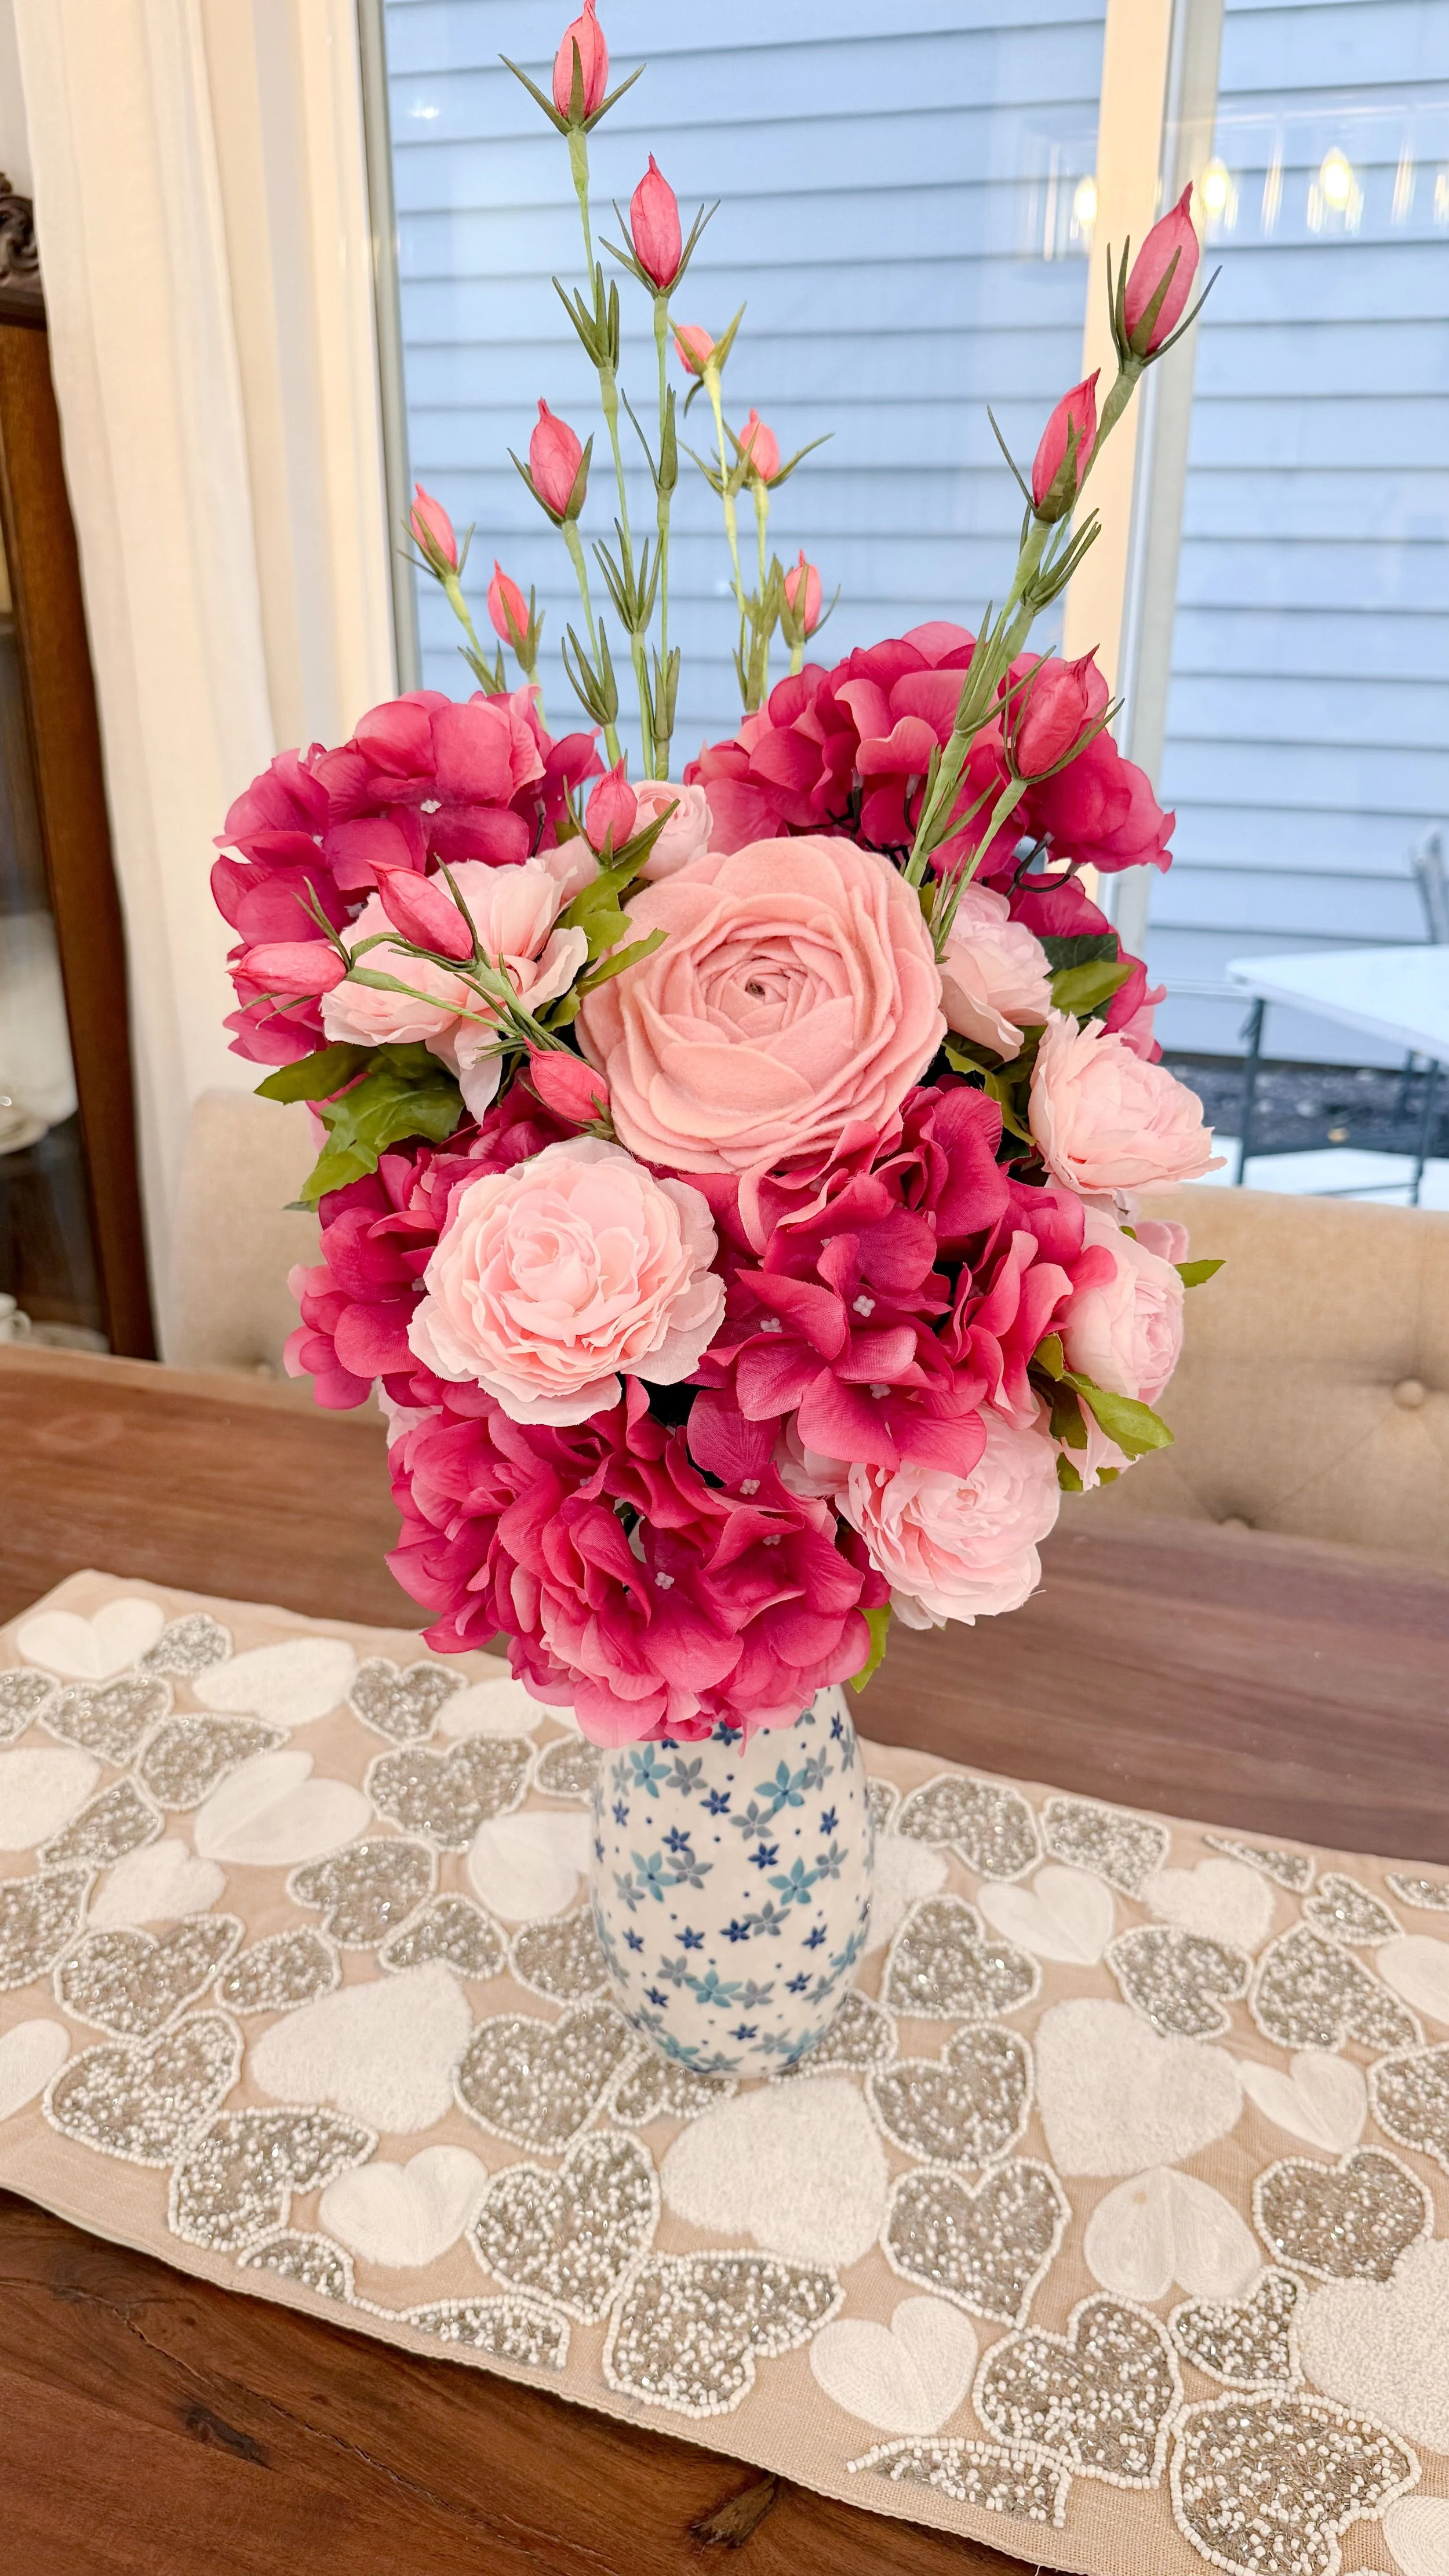
Once they were added into the floral arrangements my mom did for my house, I was stunned with how amazing they looked! Seeing how they go seamlessly into the floral arrangements makes me want to make SO many more of them in so many colors. I ended up making a bunch of red ones for my mom and some different pink ones for me.
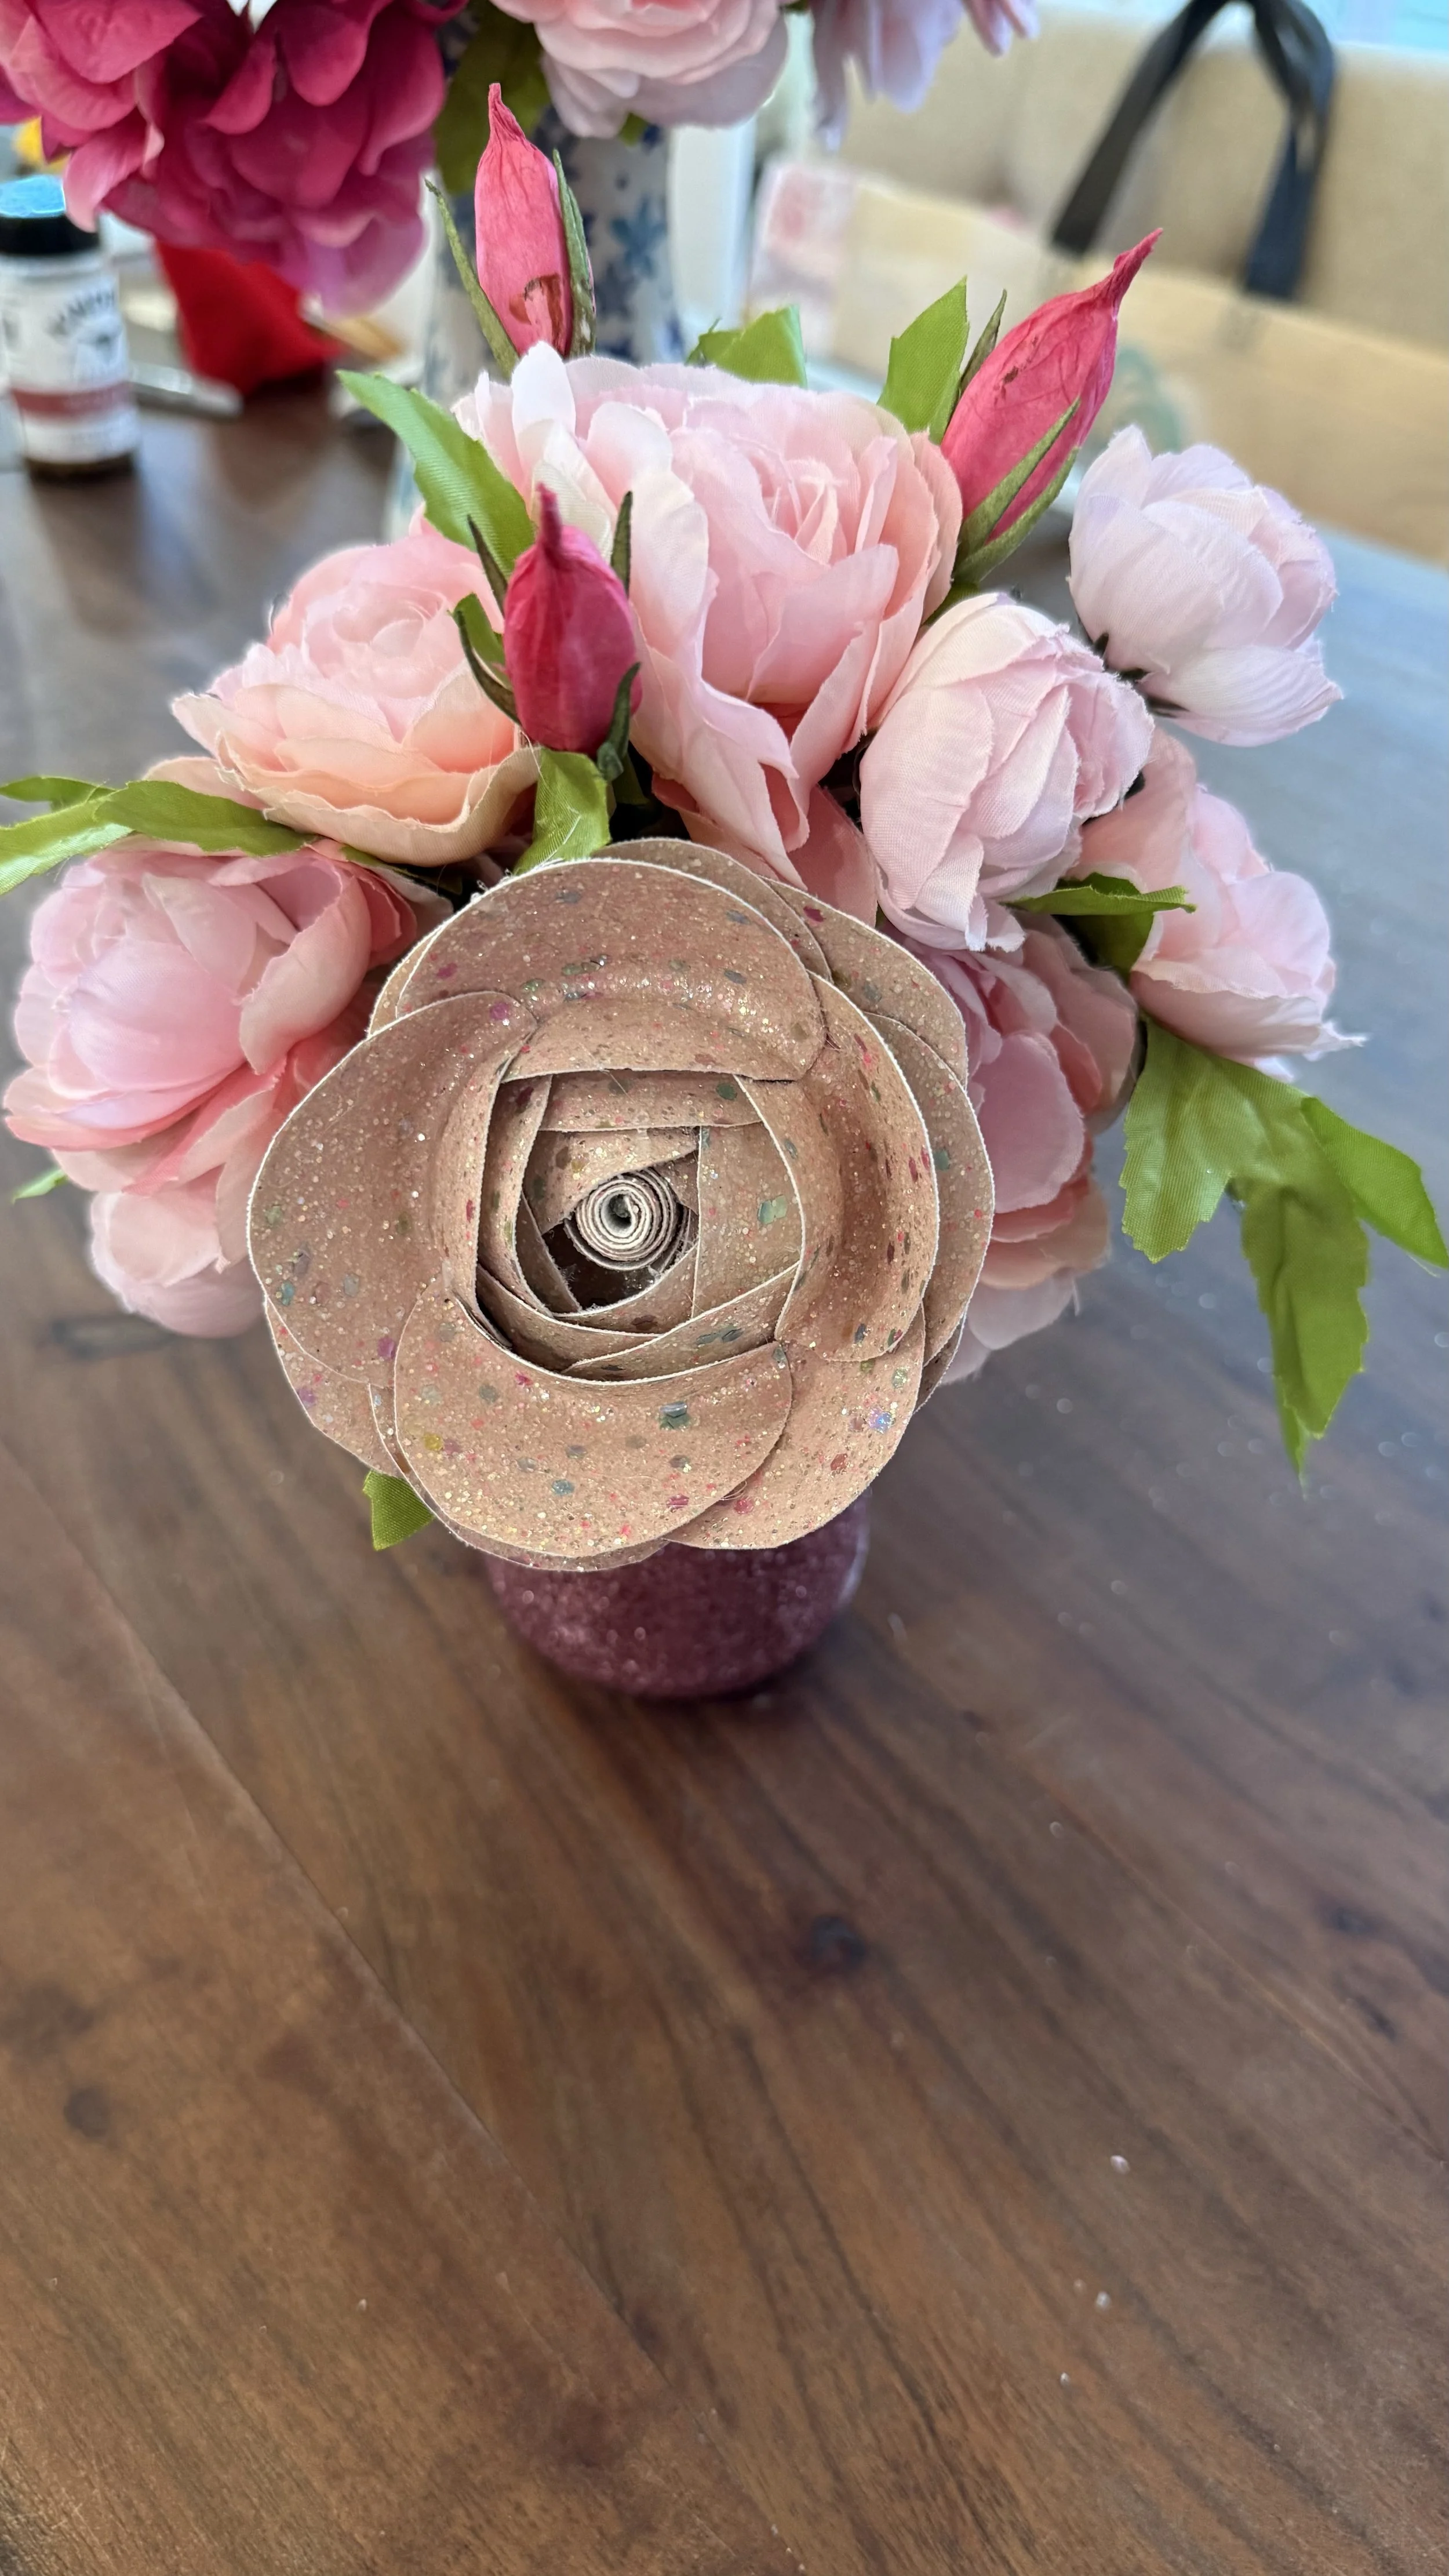
We've also been doing a small flower arrangement for my daughter's room, and we found a really pretty sparkly fabric. It's not felt, it's like a faux leather almost. I decided to see if I could make a flower out of it similar to the roses. I drew all the circles I could on the sheet of fabric which ended up being 15. I did all the same steps with cutting them and gluing them around the rim of the jam jar. There ended up being a little gap before I put the round piece on the back to hold the whole thing together. I still needed some way to fill in the center of the flower because it was gonna look funny otherwise. So I took a little strip of scrap fabric, cut it in half and used hot glue to wrap one of the pieces of wire with that fabric. I then poked the wire through the center of the flower and hot glued that section into place. It turned out a little differently than the other flowers, but still is really pretty. I can't wait to experiment more with these types of flowers because I had so much fun!
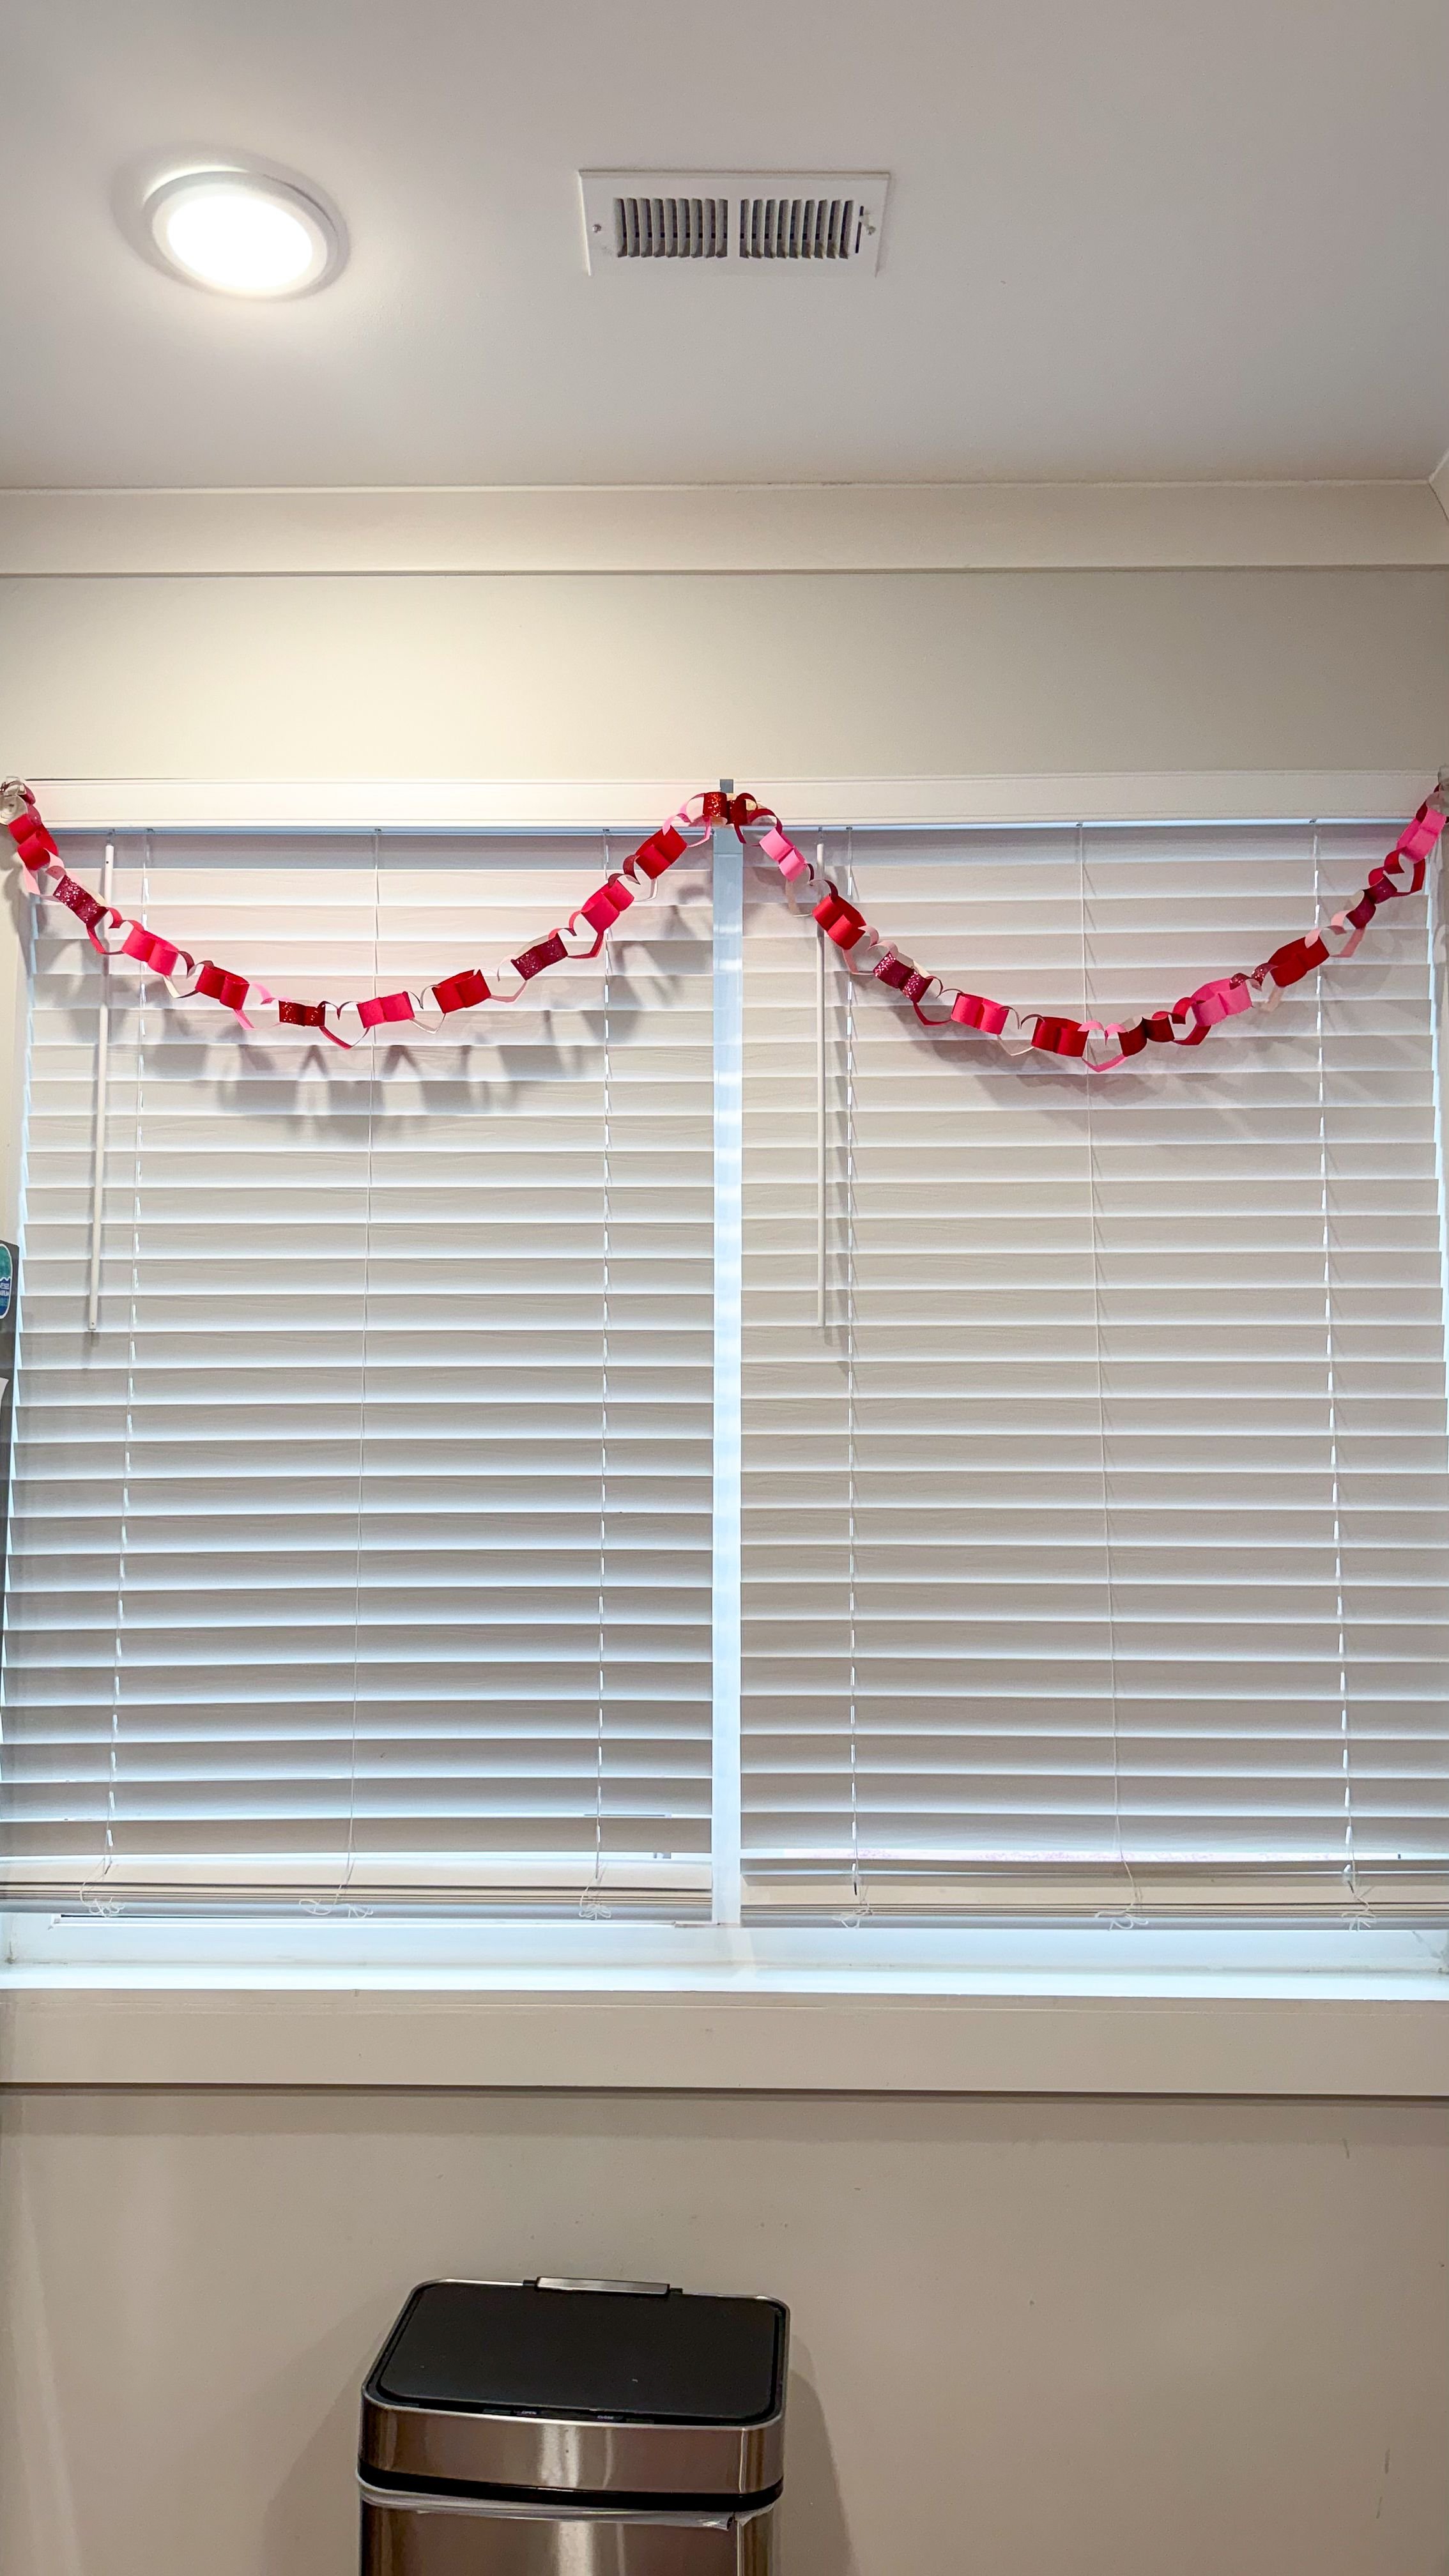
Valentines Day Crafts | Heart Paper Chains
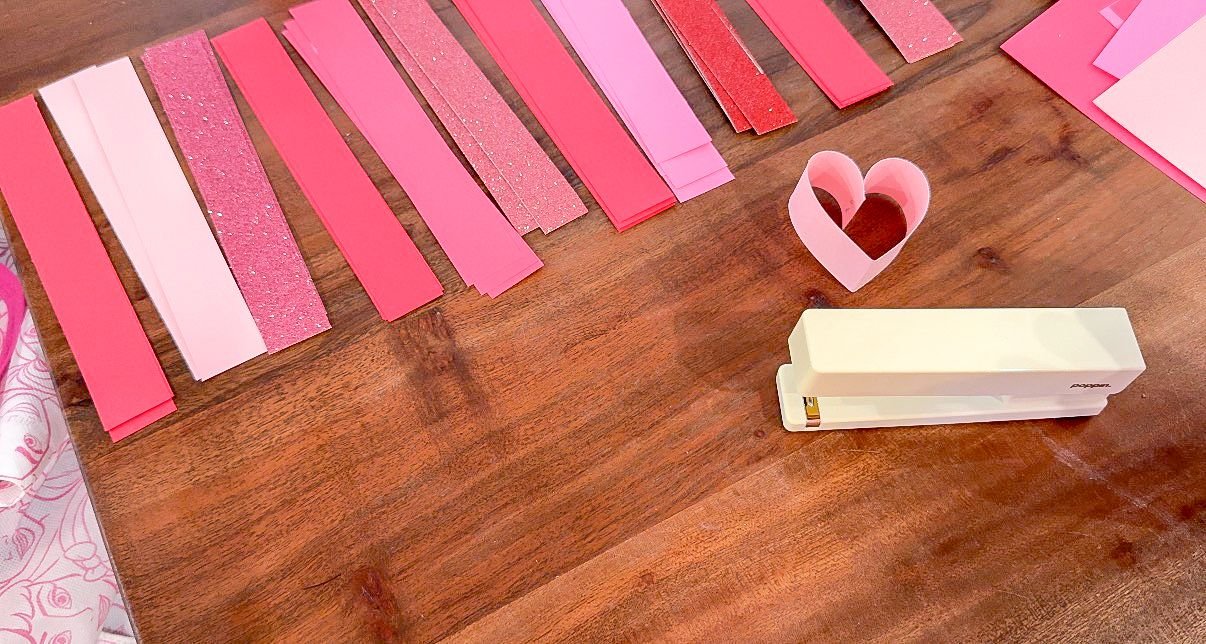
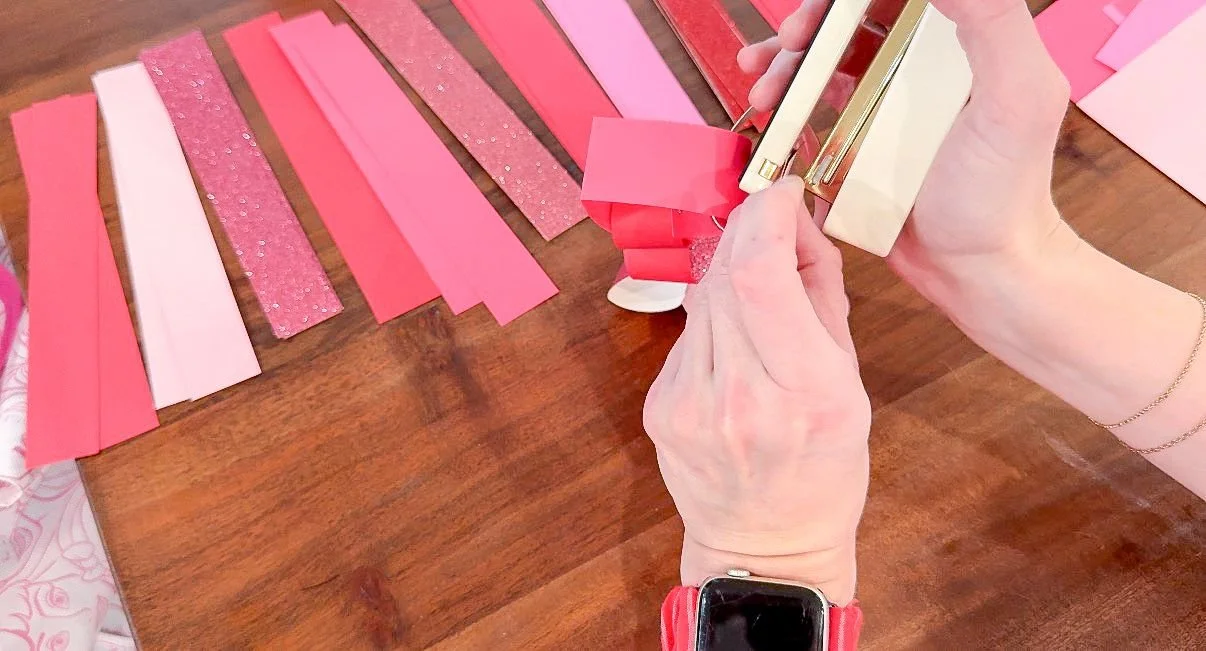
This viral paper heart chain couldn't be easier! All you have to do is cut your paper into strips and fold each strip in half so you get a nice crease at the bottom which will be the bottom of your heart. Then you take the two top pieces of your strip and fold them into each other. I used a stapler to secure them, or I've seen people use glue. Honestly, a stapler is going to be the easiest with the least amount of mess.
I made two different sizes of the heart chains. The first one I made you can actually see the glitter in it because it was the leftover paper from a different project. They were originally from an 8x11 piece of paper, so I just cut them into thirds, making the strips 8.5 inches each. I also did a version of the paper chain with bigger hearts. With this one I cut the card stock that I was using lengthwise making the strips 11 inches long. Now that I've made them in two different sizes, I want to make so many more and put them all over our house, which is totally unnecessary, but considering how easy they are and how cute they look I am definitely considering it!
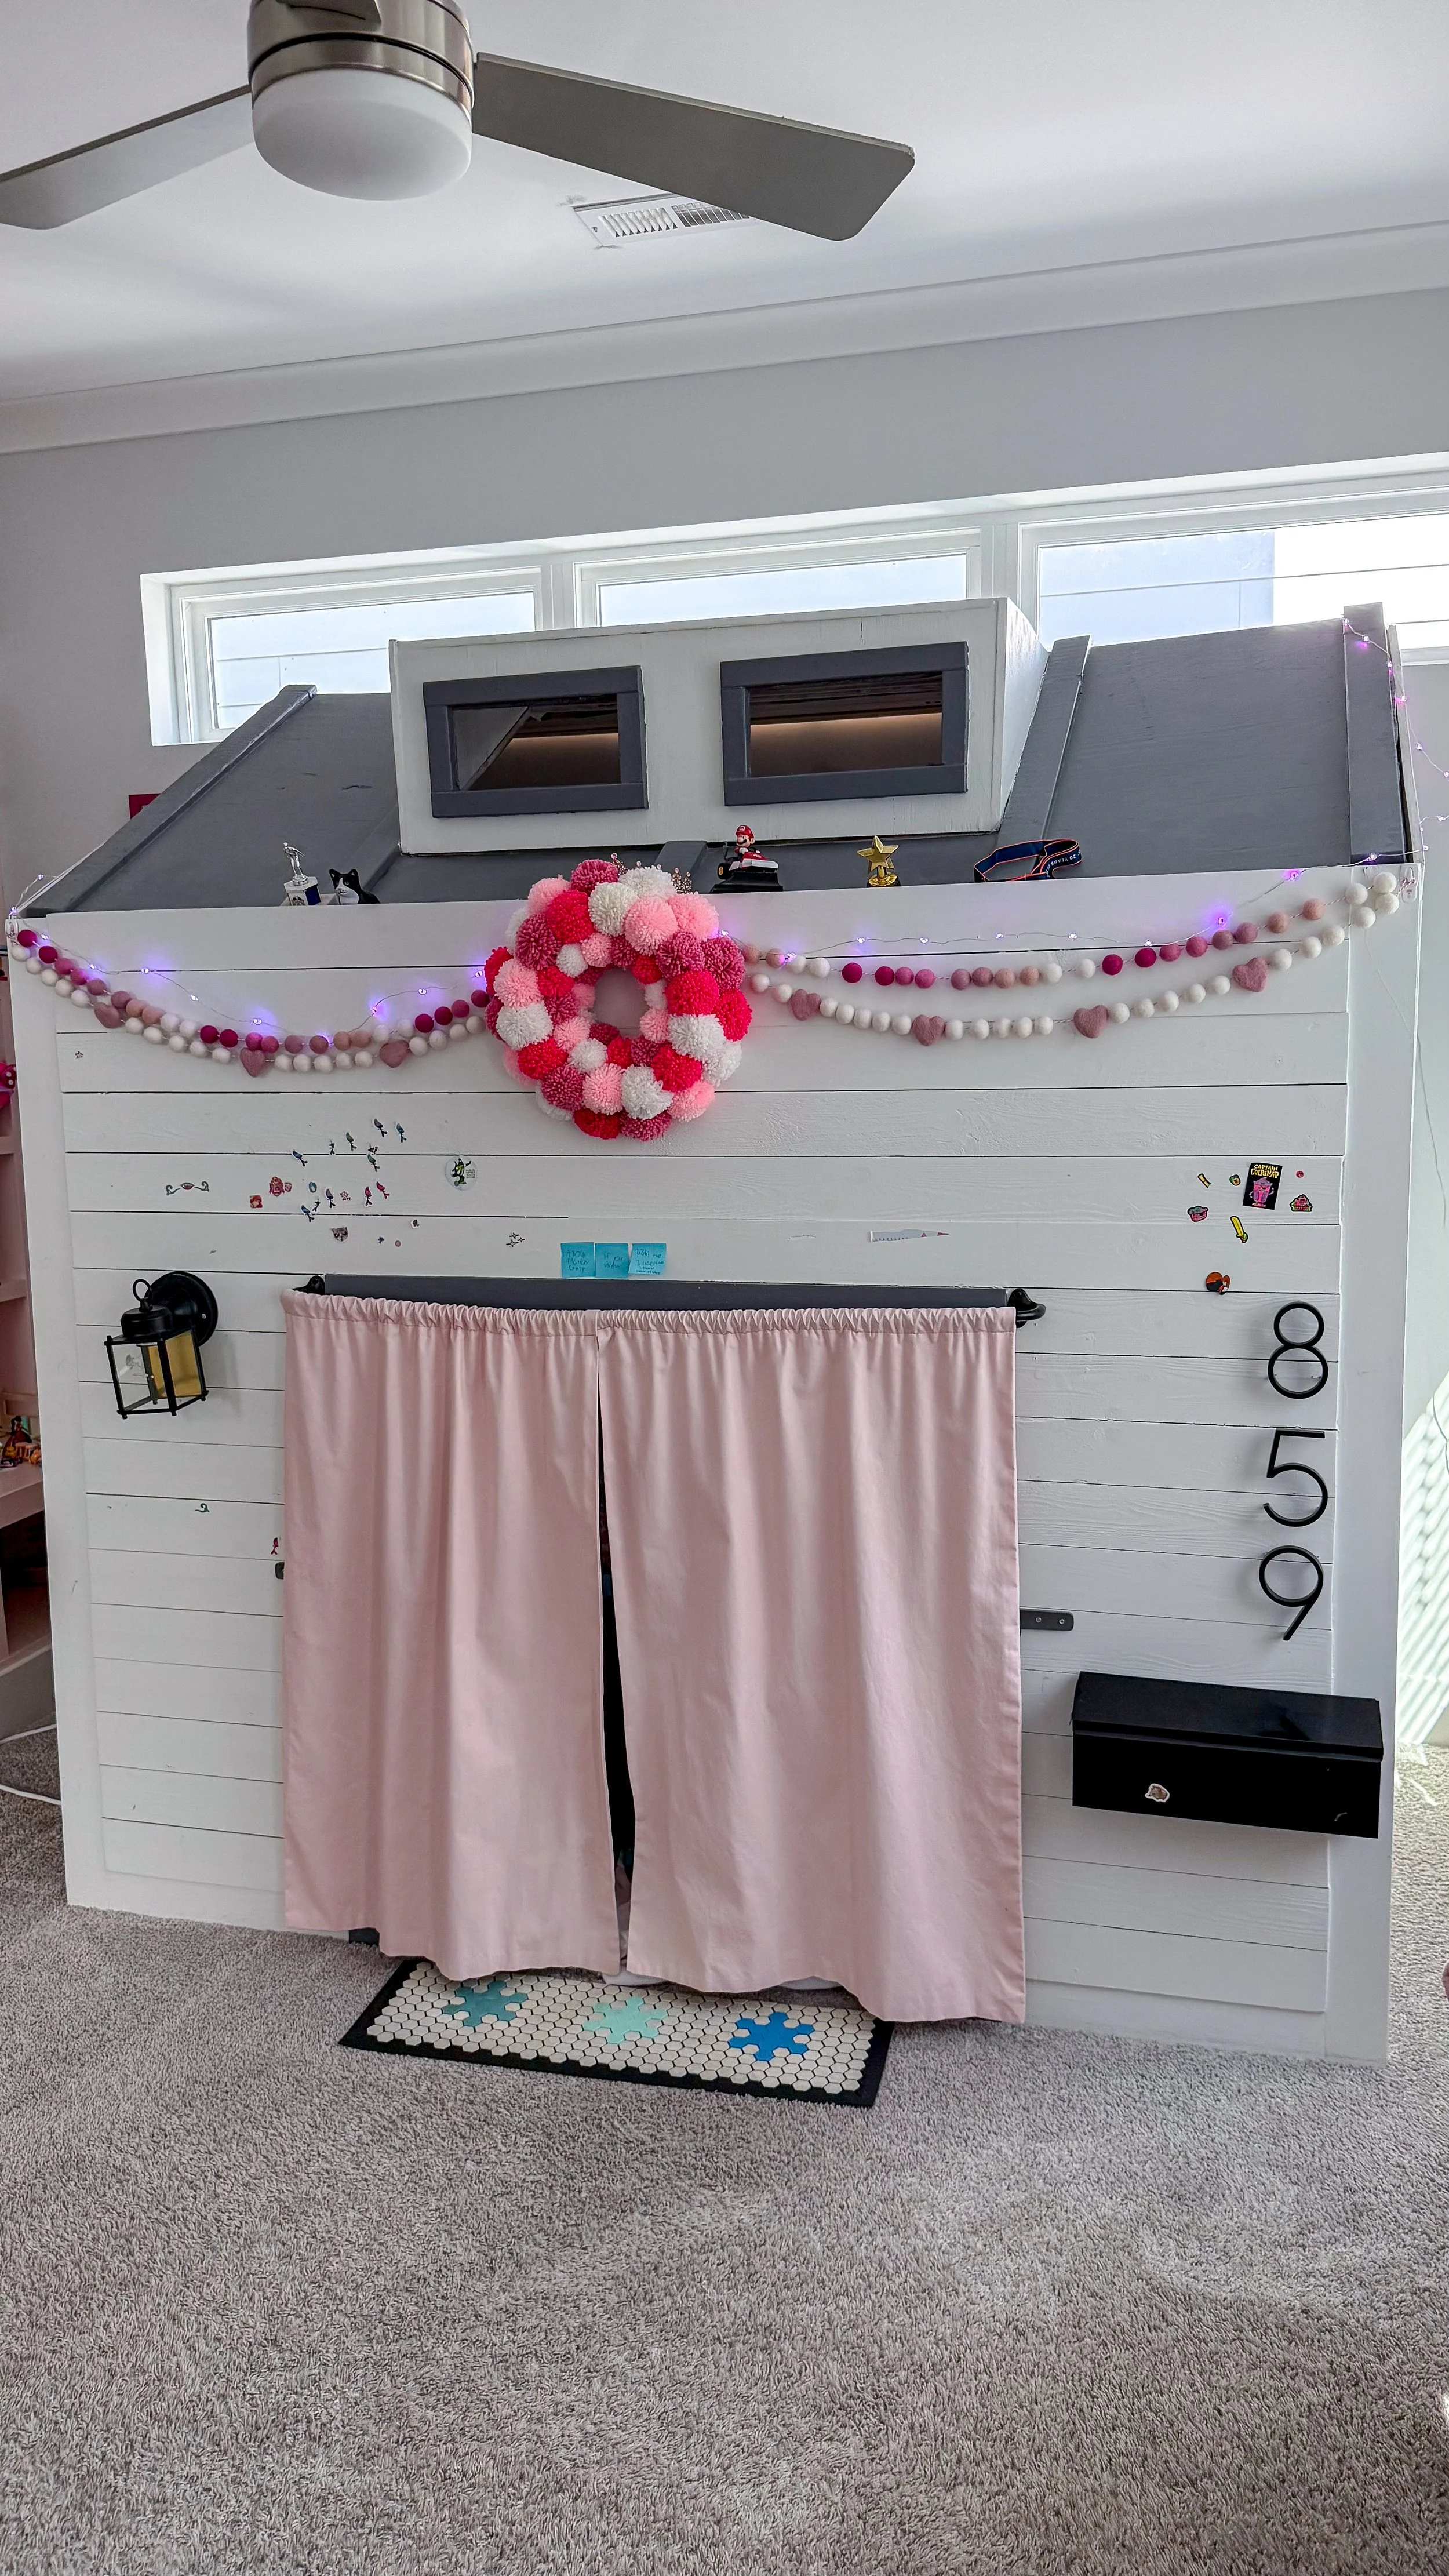
Valentines Day Crafts | Pom Pom Wreath
I couldn't find a wreath form the size I wanted so I grabbed a 10 inch form so I decided to make my own with this round piece I had. I used a bowl to trace a hole the size that I wanted and cut the hole using a serrated knife. I probably should have used my small electric saw, but I couldn't find it so the knife worked. Once everything was cut, I pulled the center circle out and had the right form.
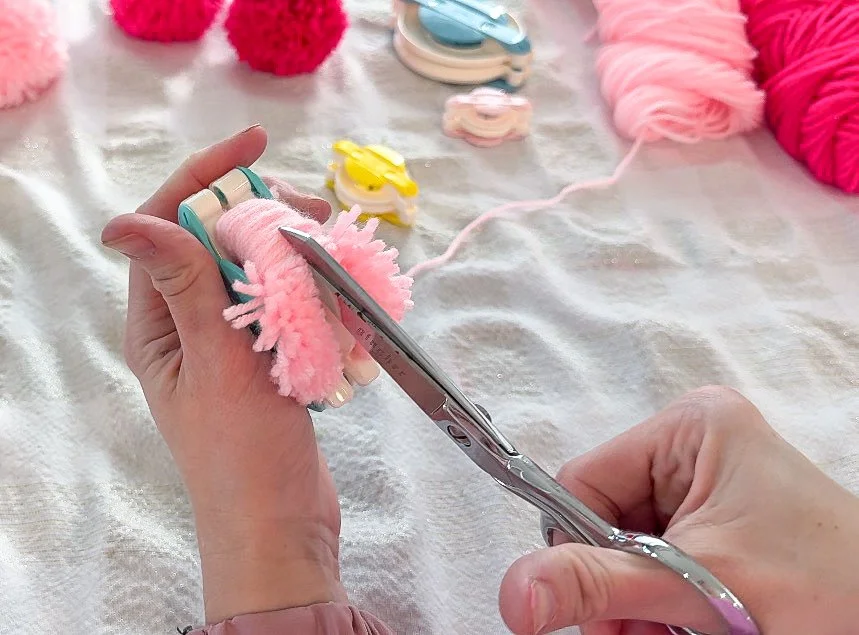
I started making the pom poms using a small device I've used a lot before. You just open up one side and then start wrapping the yarn around until you get the desired thickness that you're looking for. I like my pom poms to be pretty thick so I use a good chunk of yarn. It's a pretty mindless task that I normally do while watching tv or putting my kids to bed. Once I get it to the desired thickness, I make sure that the yarn is facing up and I trim it to a uniform length then fold that side in and repeat the wrapping on the opposite side. I normally make two of each color I have then lay what I have out to see what other colors I need to fill in gaps. This makes it so I'm not making a million poms for no reason.
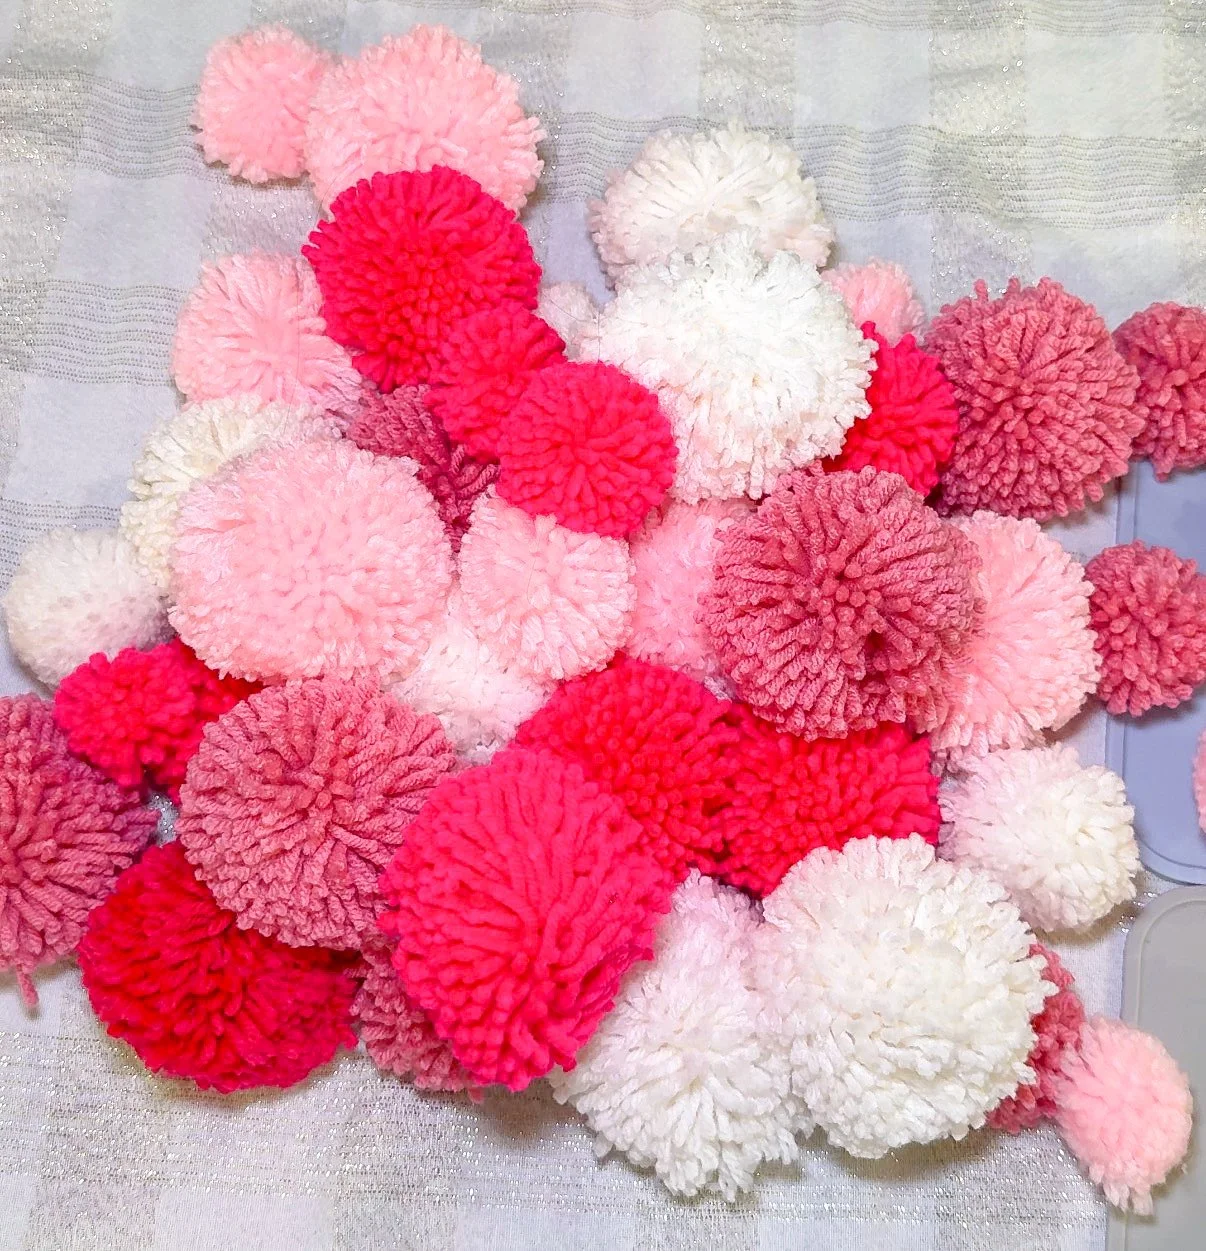
Once I've wrapped both sides, I trim again, make sure everything is facing up, and then fold both sides in. This step is very important because it keeps everything in place when you're cutting. I cut along the indent that is on the pom maker where the yarn splitting in half. Don't panic, this is what it's supposed to do. Then, I cut a piece of yarn that's long enough to tie it off. I like to tie it two or three times to make sure its nice and secure and then trim that to be the same length as everything else and trim it again the same length as the rest of the pieces. I ended up using four colors; white and three shades of pink. I made 28 large poms, 12 medium and 12 tiny poms.
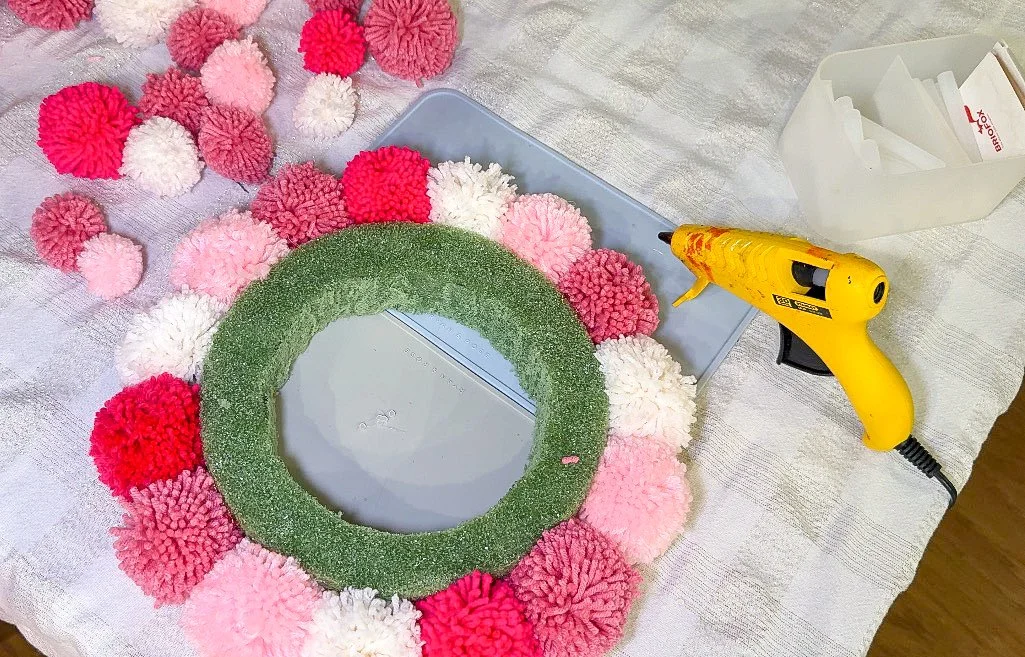
Once I had all the poms I needed, I used my hot glue gun to secure them to the wreath form. I like doing a pattern all the way around on the outside, and then when I start the inside I offset it so you don't end up with the colors all lining up. It's just more aesthetically pleasing that way. I used the larger poms on the outside edge and then once I started getting towards the inner part of the wreath, I started using smaller poms. This works better than using the the same size all the way around, especially in a smaller wreath, because this way it looks like an actual wreath instead of just a circle. On the third layer, on the very inside of the wreath, I used the tiny size of poms and then tied a ribbon around it and tucked it in between the poms so that I was able to hang it. We ended up putting it in my daughters room on her house bed and she loves it. I love these pom pom wreaths because they are really satisfying to make and always turn out really cute every time.
I love all of these Valentine’s crafts. They are all pretty simple, but satisfying to make. I've seen a lot of people do them online, but wanted to have them all in one place so that you can make them too. I hope you enjoy them and have a great Valentines Day!