
Easy DIY Drawer Organizers

My mom asked me to put some drawer organizers in the drawers in her kitchen. She was getting frustrated with the clutter in two of her drawers specifically so I had her tape out the layout she wanted. I used some scrap wood we had and made it happen. After I finished with hers, I liked it so much that I did the same thing to a few drawers in my house. The whole process was pretty simple, let me show you what I did.

Easy DIY Drawer Organizers | My Mom’s Drawer Organizers
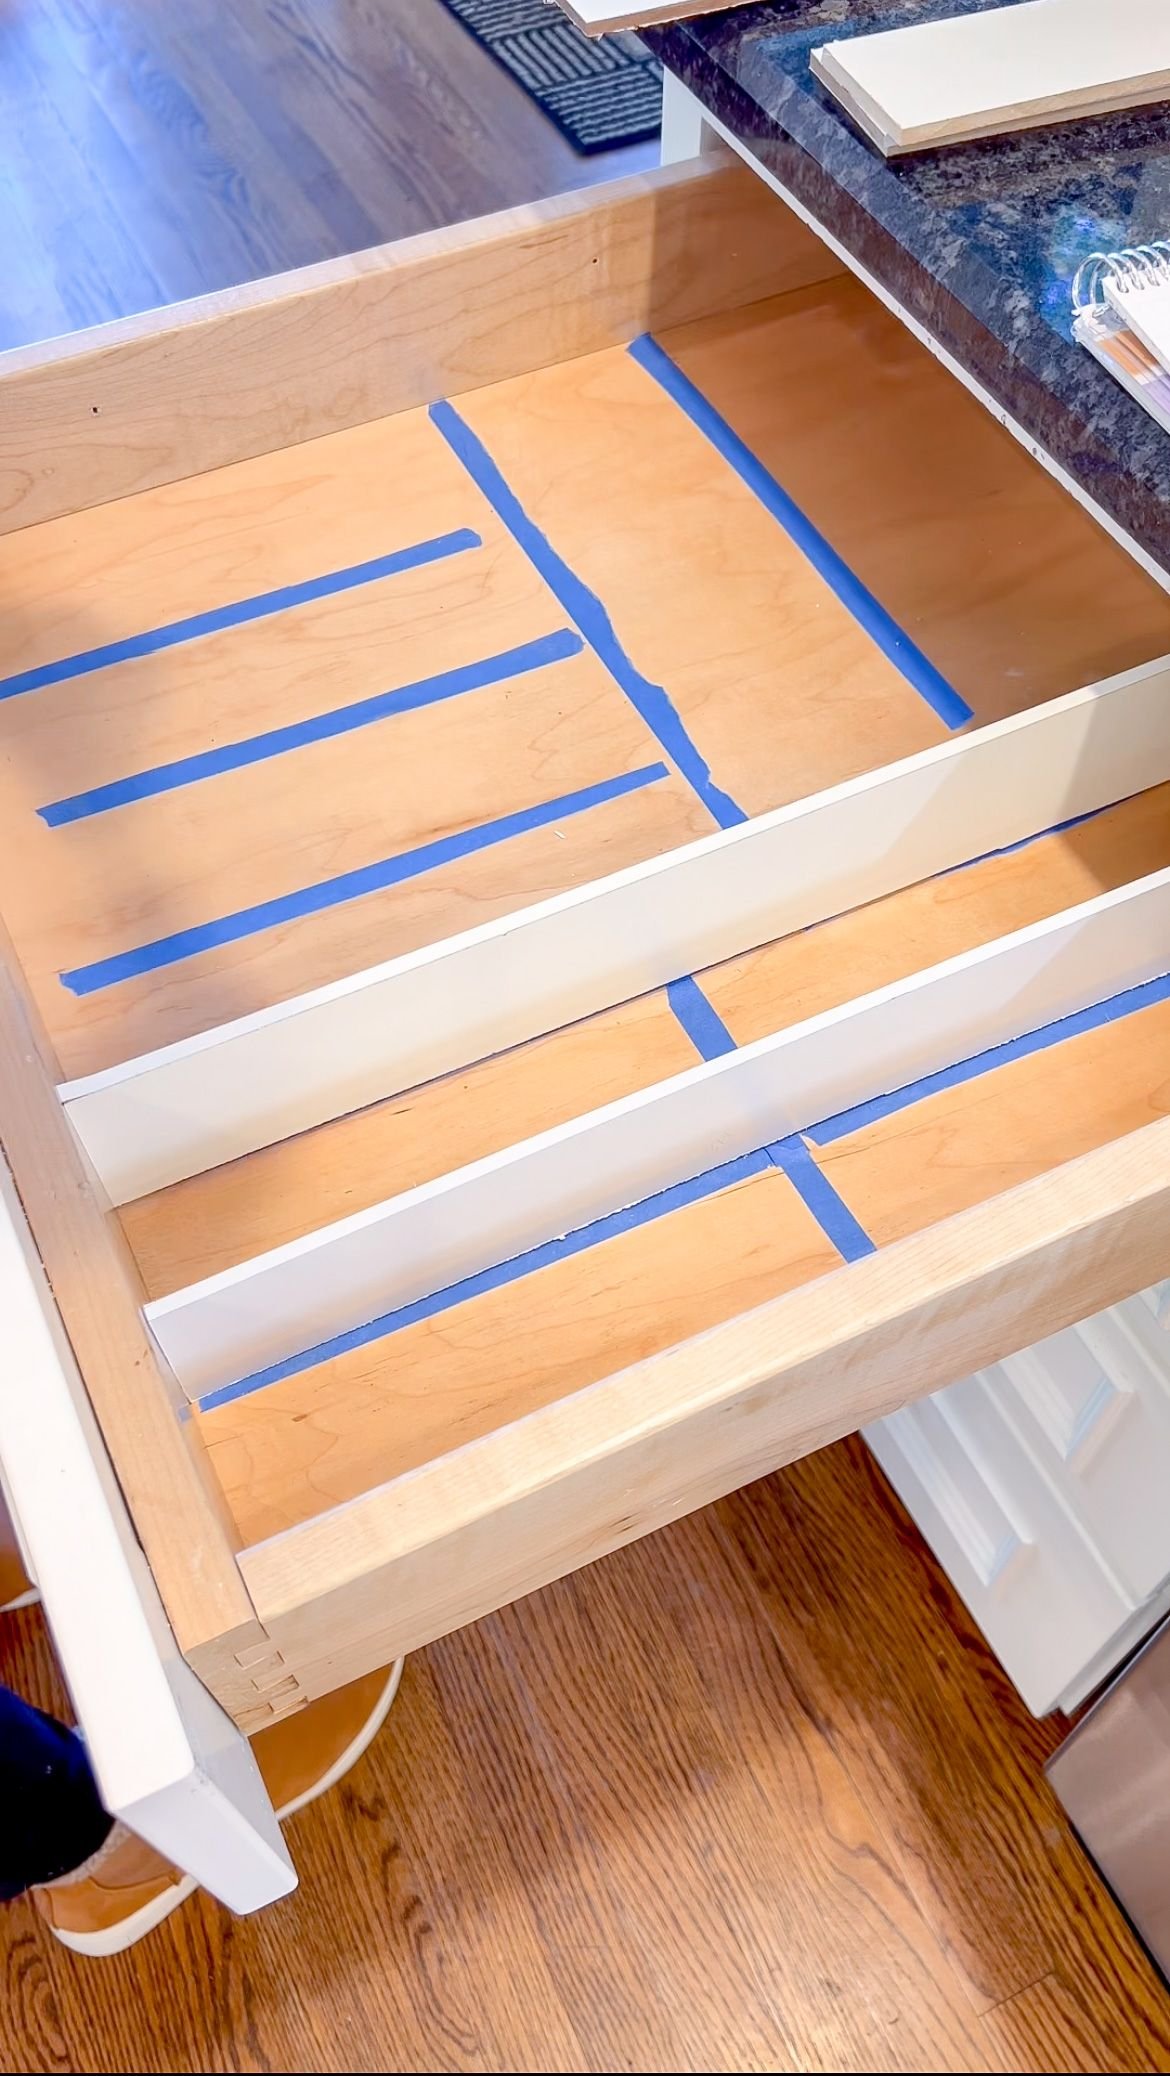
After my mom taped out a layout she liked, I cut everything down to the right sizes and then dry fit everything into place to make sure it would fit. I decided to only use wood glue to keep these pieces together because I realized using brad nails had split the mdf board since it was so thin. I laid everything out and glued it together, making sure I used a flat level surface to line everything up so nothing was crooked.
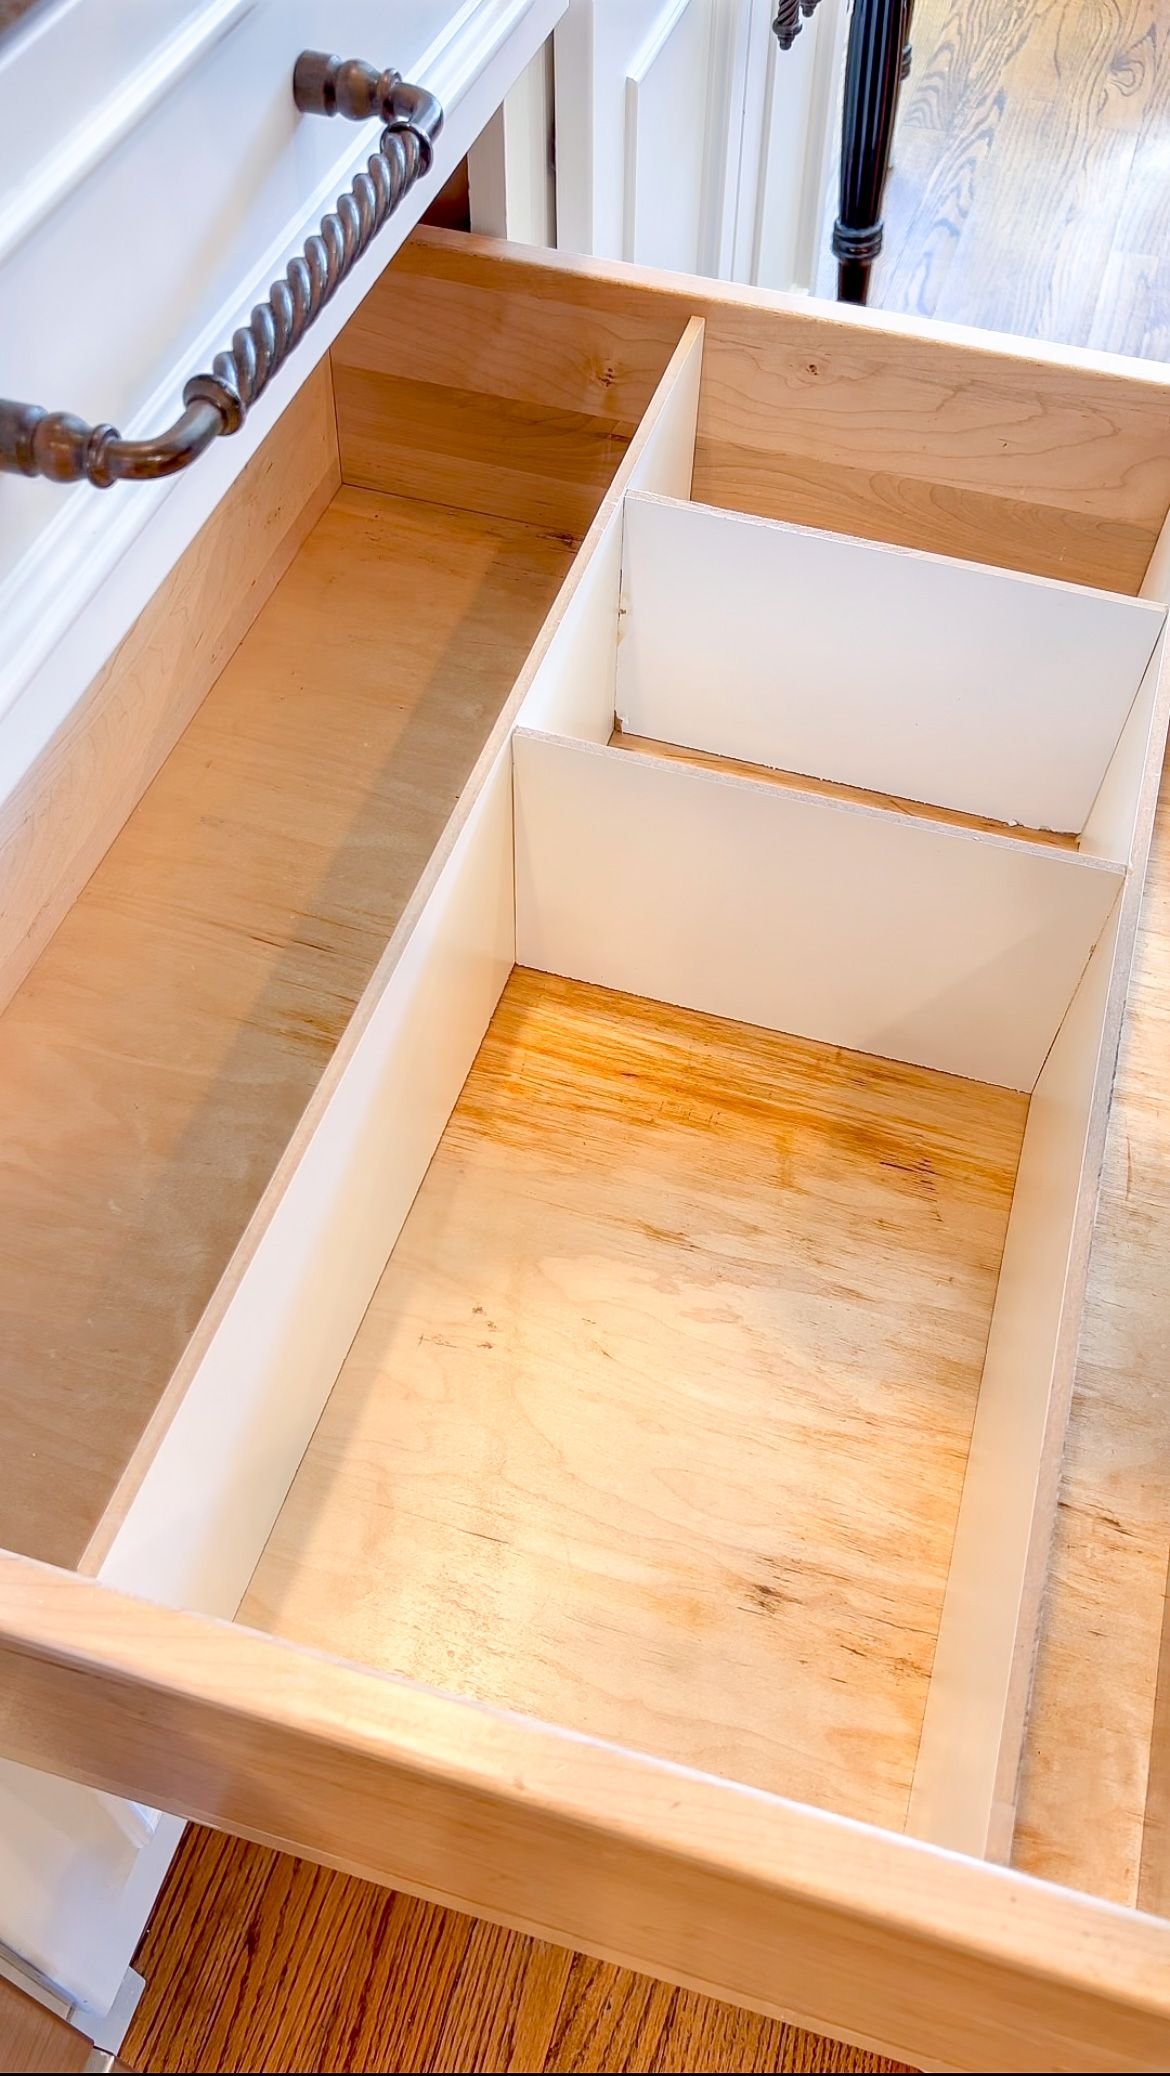
I placed something on the edge of each set of drawer organizers to lightly press them up against the flat edge I was using. This added just a bit of pressure since I wasn’t using clamps here because, again, the material is so fragile and thin, I was afraid it would snap if I used clamps. Since my mom didn't want anything too complicated, it was pretty easy to put these together. After I let the organizers dry, I placed the big one into the drawer and put the Tupperware containers back in with it, and then repeated the same process with the silverware drawer. My mom loves how this simple project added some organization back into her kitchen.
Easy DIY Drawer Organizers | My Kitchen Drawer Organizers
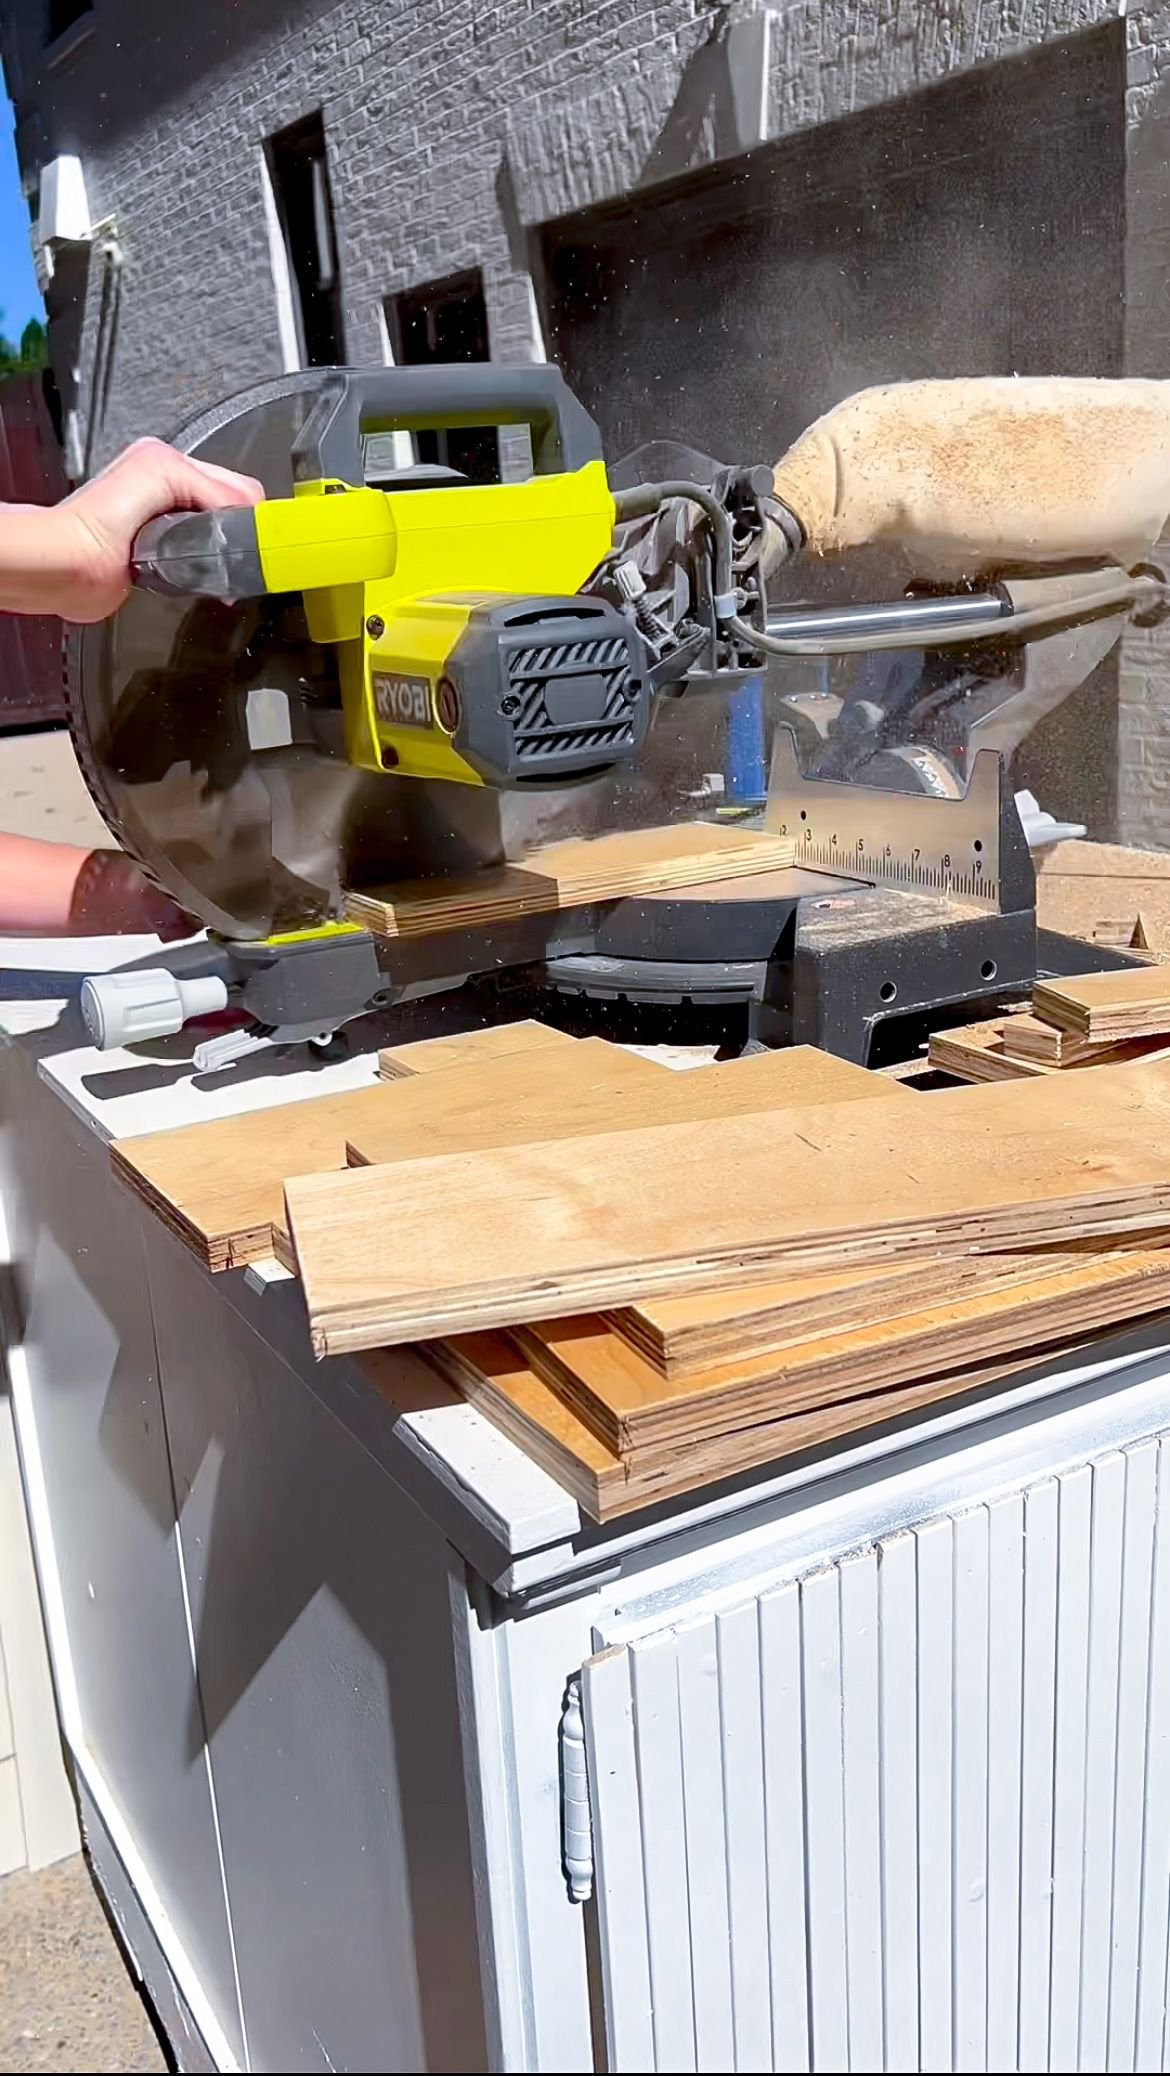
After making the organizers for my mom, I decided I liked them so much I wanted to whip up some for the drawers in my kitchen. I only have four drawers in my kitchen, so I made some for all four of the drawers. I planned out the layout I wanted and cut all of the wood I needed. I used scraps of 3/4 inch wood that I had used to build Jackie’s bookshelves. This saved me money and helped me use up a bunch of my scrap wood pile.
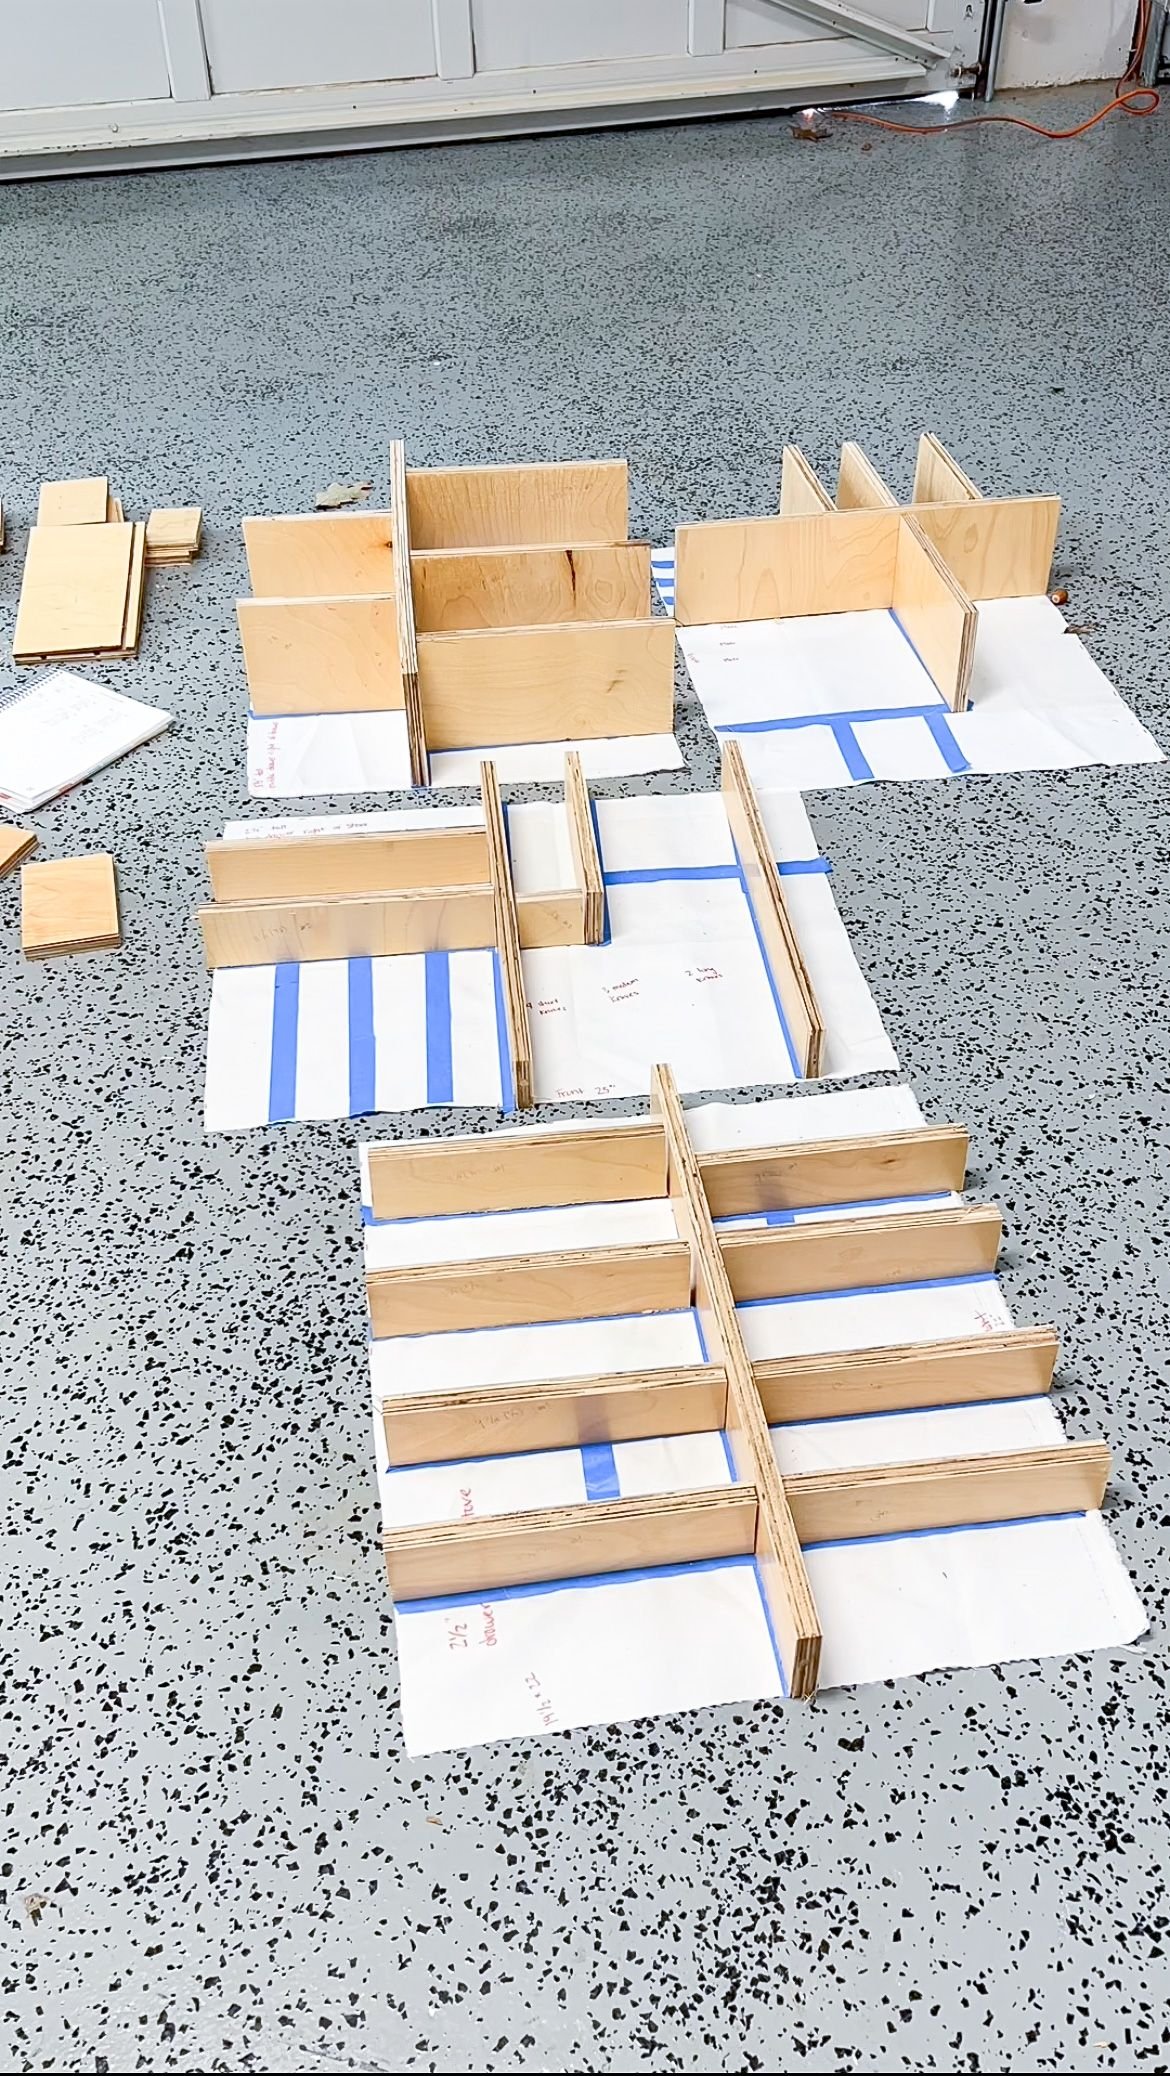
Since I was doing the project in my parents’ garage where my work benches are, I couldn’t necessarily just bring the drawers from my kitchen with me. I cut out large pieces of fabric, taped out what I wanted on the fabric while I was at home, and then I was able to lay out the wood on top of the pieces of the fabric template once I got to the workshop. Sometimes you need a little creativity to make a project work efficiently, and this time I was pretty happy with my ingenuity!
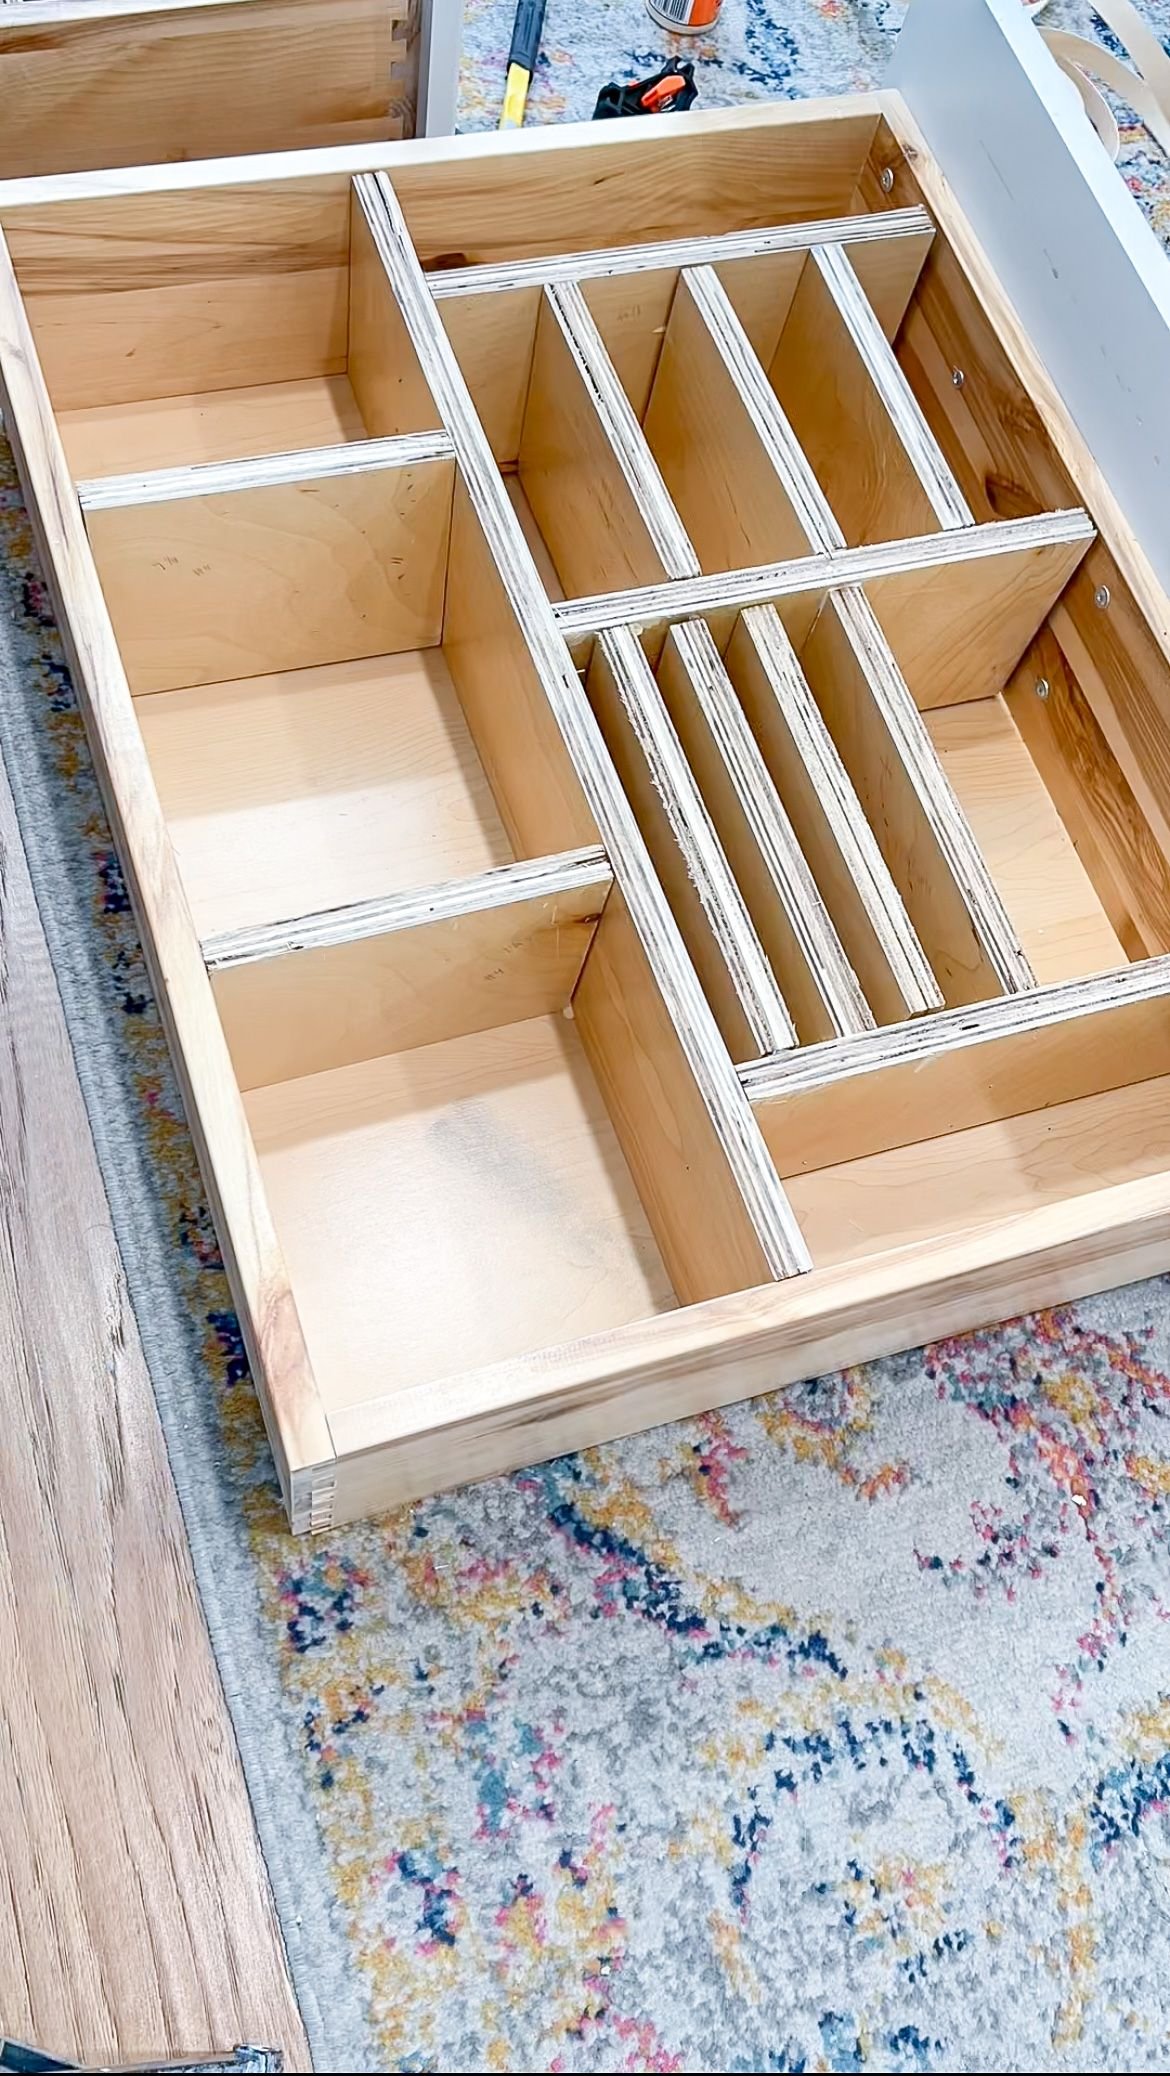
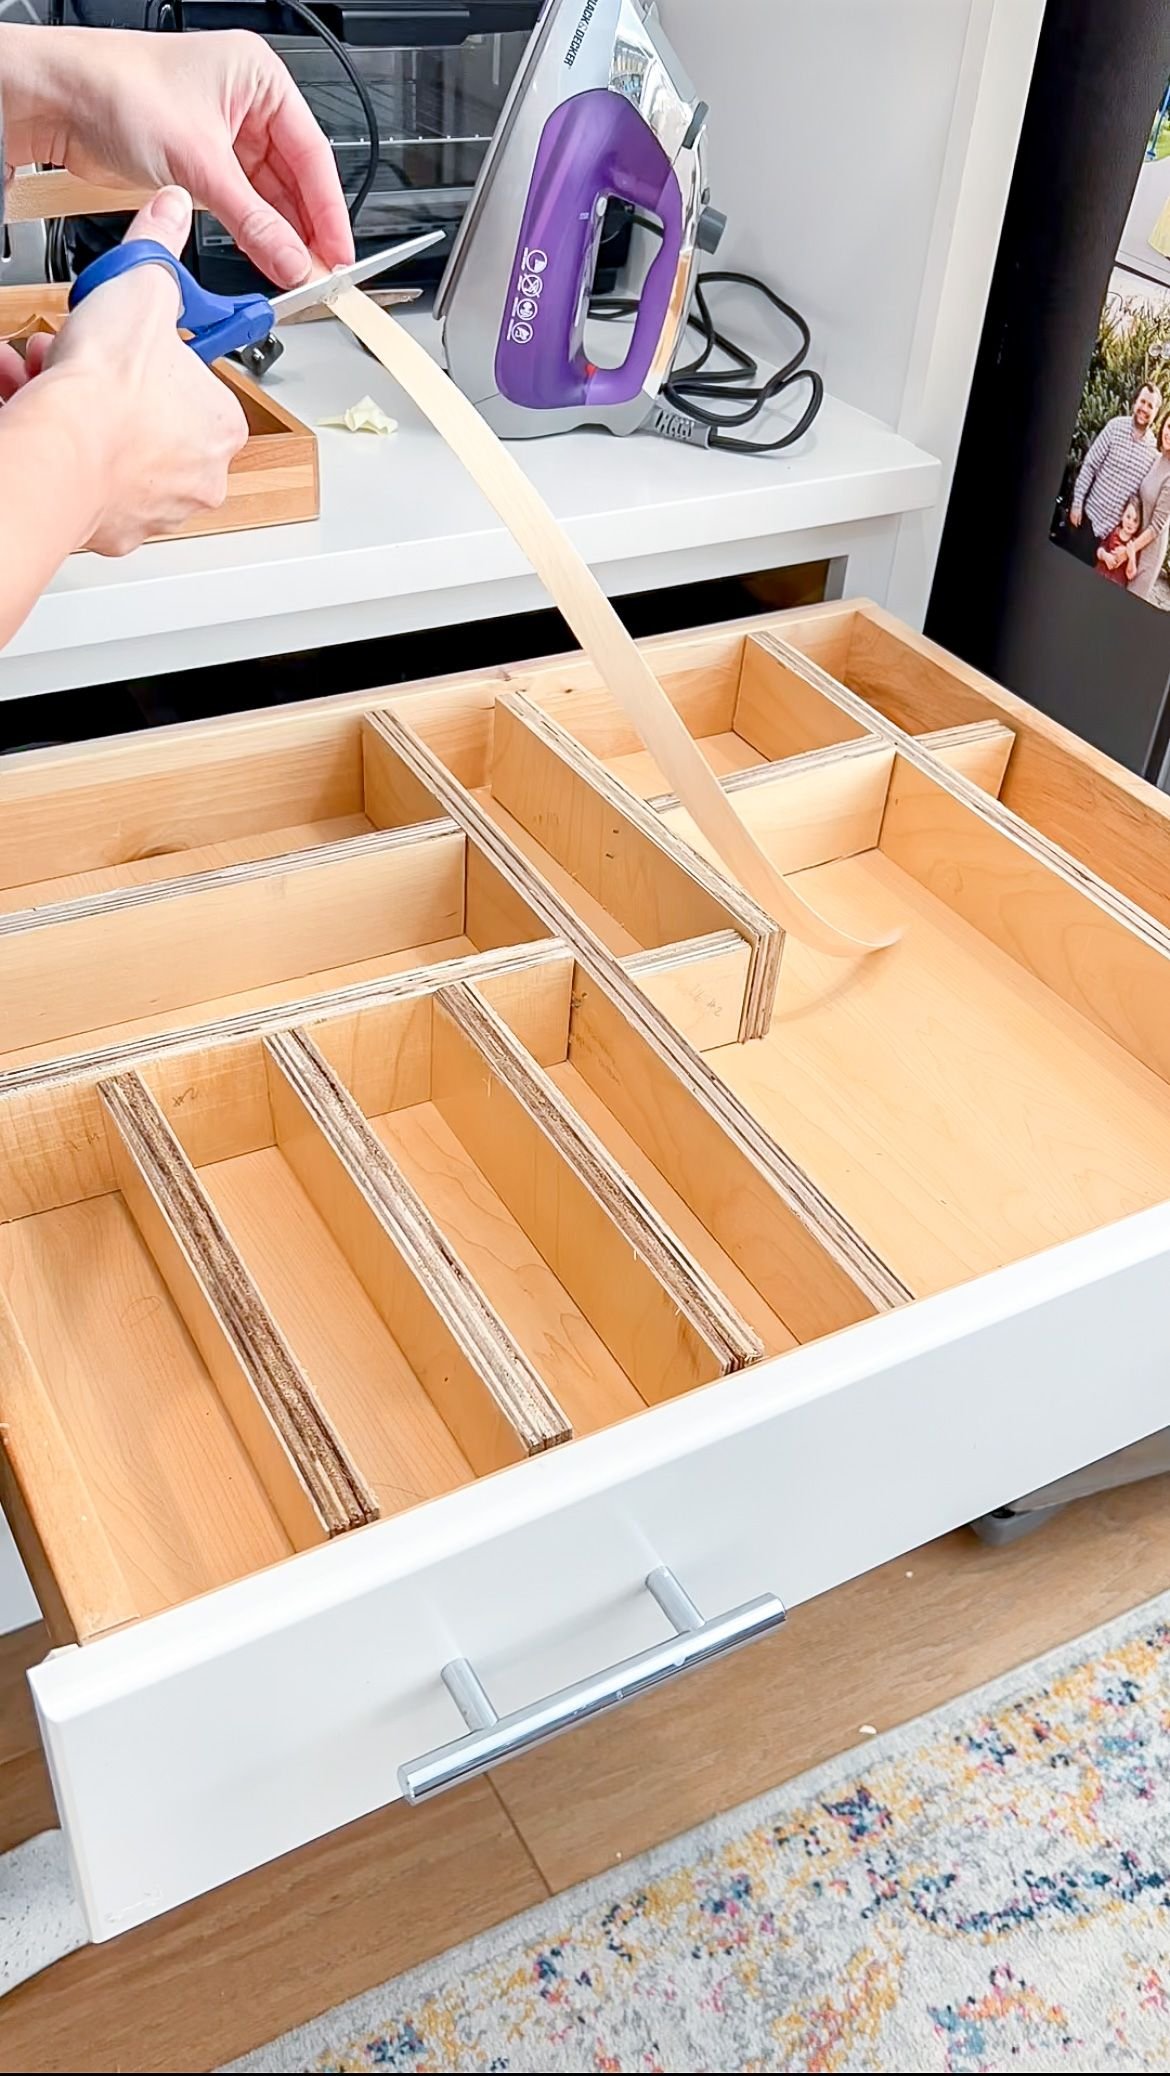
After I cut all of the wood and made sure it fit into my template, I started gluing the pieces together. I did add brad nails where I could since some of the wood from these was a little bit thicker but mostly stuck to glue because, again, there are a lot of really thin pieces in these drawer organizers. I let them dry for a day and then took them home. I added 3/4 inch edge banding to finish off each of the drawer organizers because this specific wood splinters really easily, and I wanted to save my family from getting the splinters I got from working with this wood. The edge banding is really simple to use. It already has glue that is head activated so I just used an iron to adhere it.
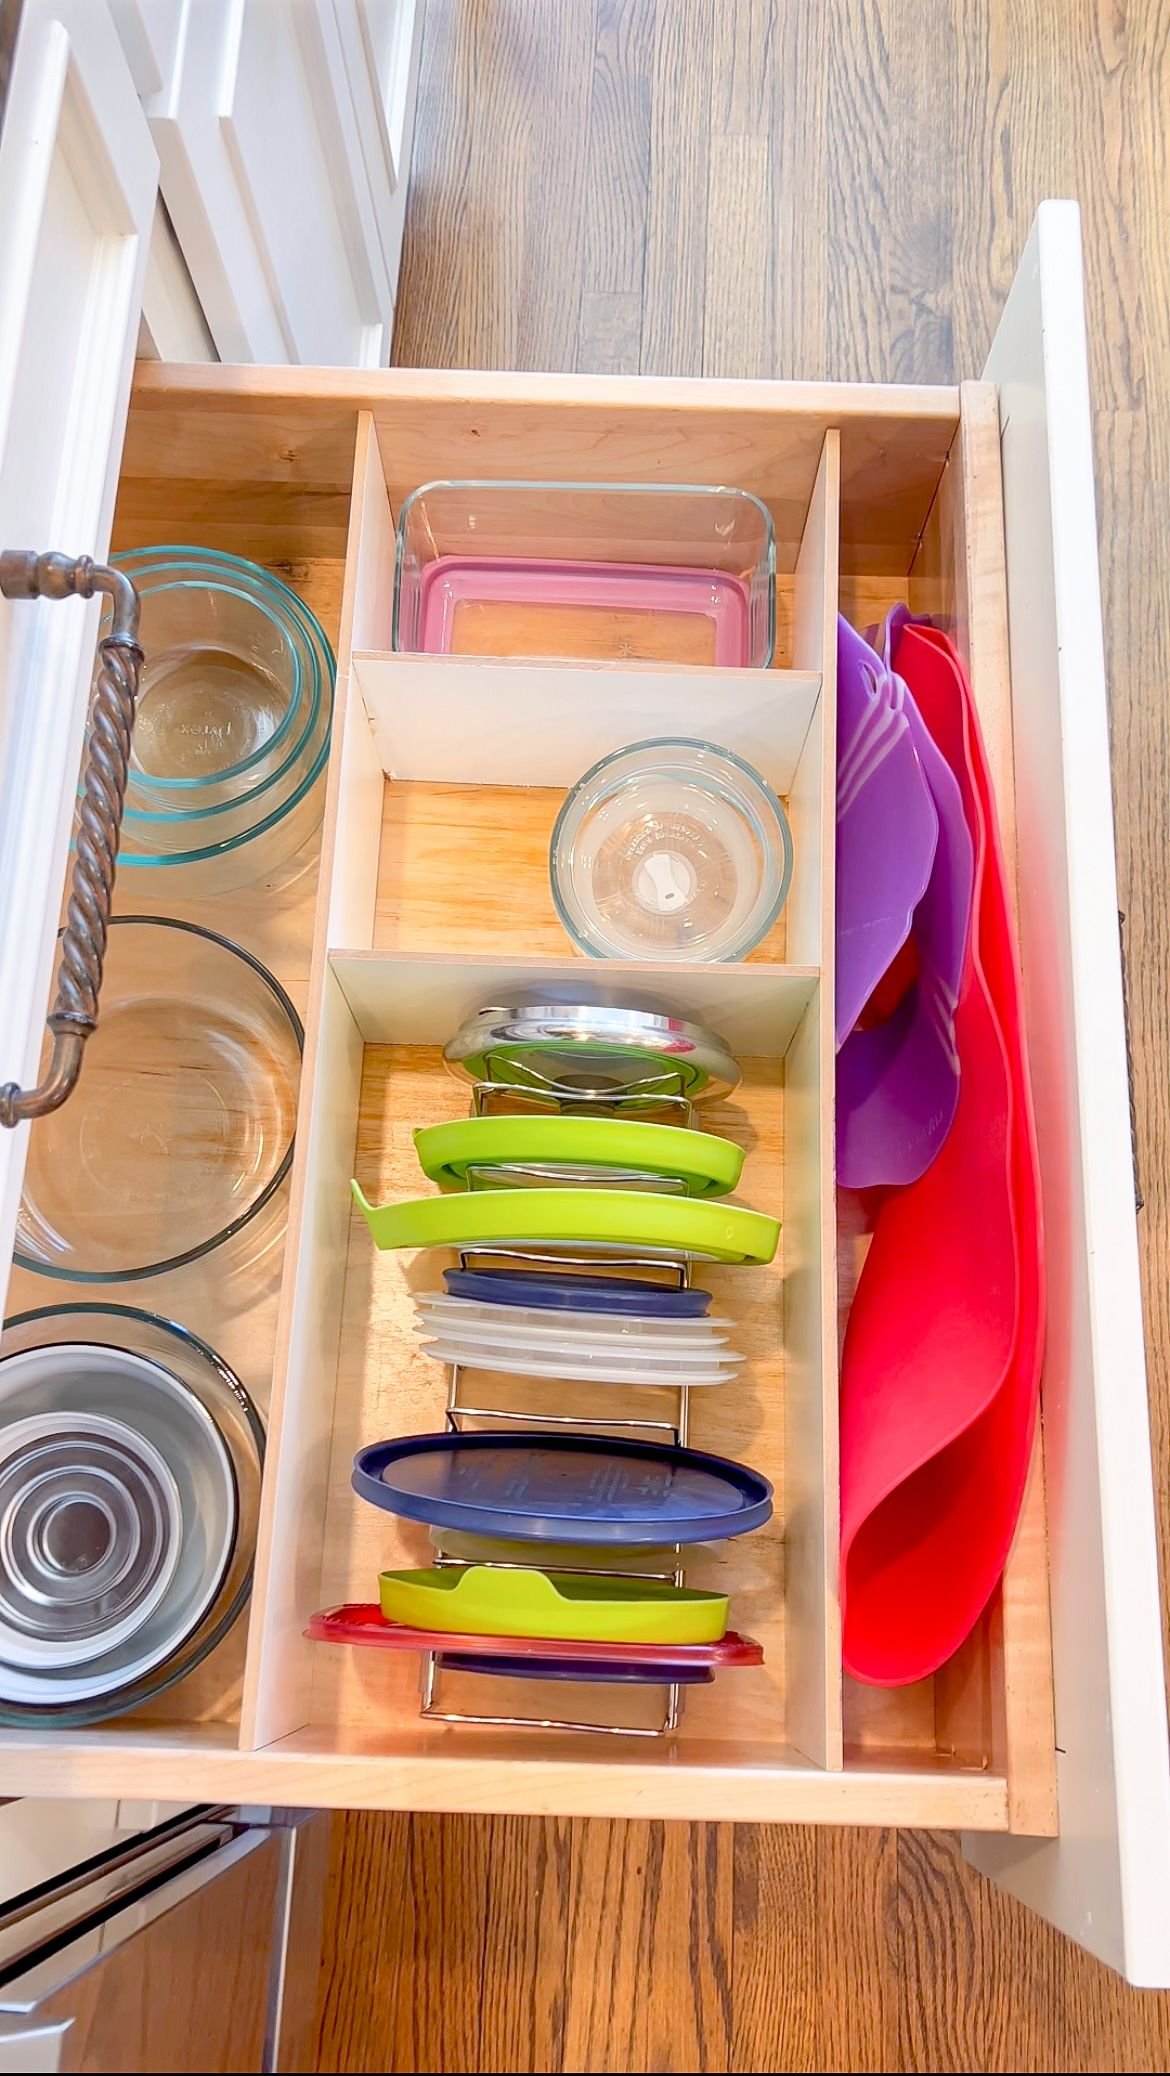
Once I got the organizers in and the edge banding done, I added the stuff back into the drawers. I took the time while putting stuff back into the drawers to declutter and I got rid of a bunch of stuff we didn't use anymore which was so refreshing! The other nice thing about these is that I purposefully didn’t adhere them to the drawers. This way, I can take them out if I need to change the layout of my kitchen.
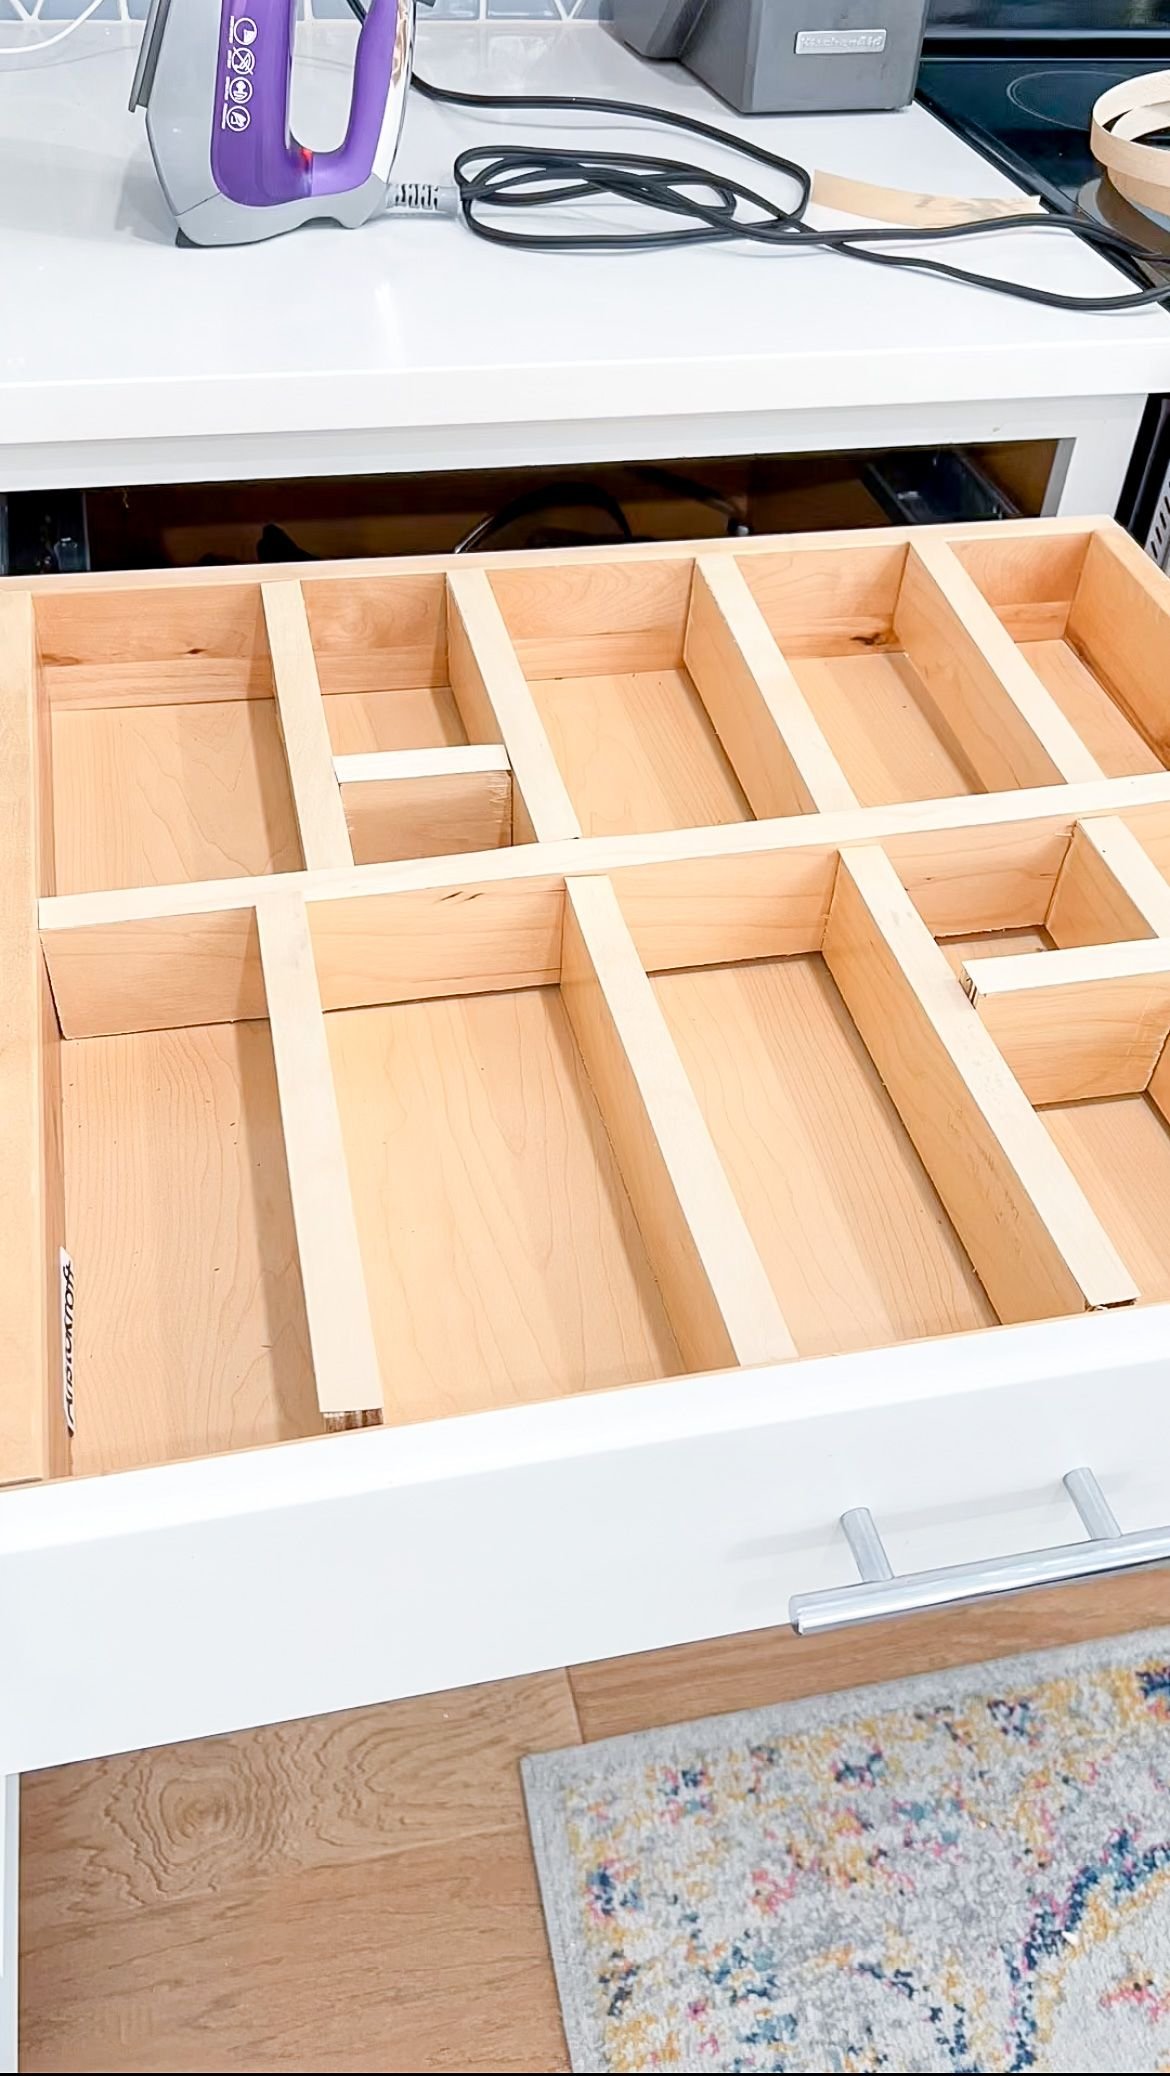
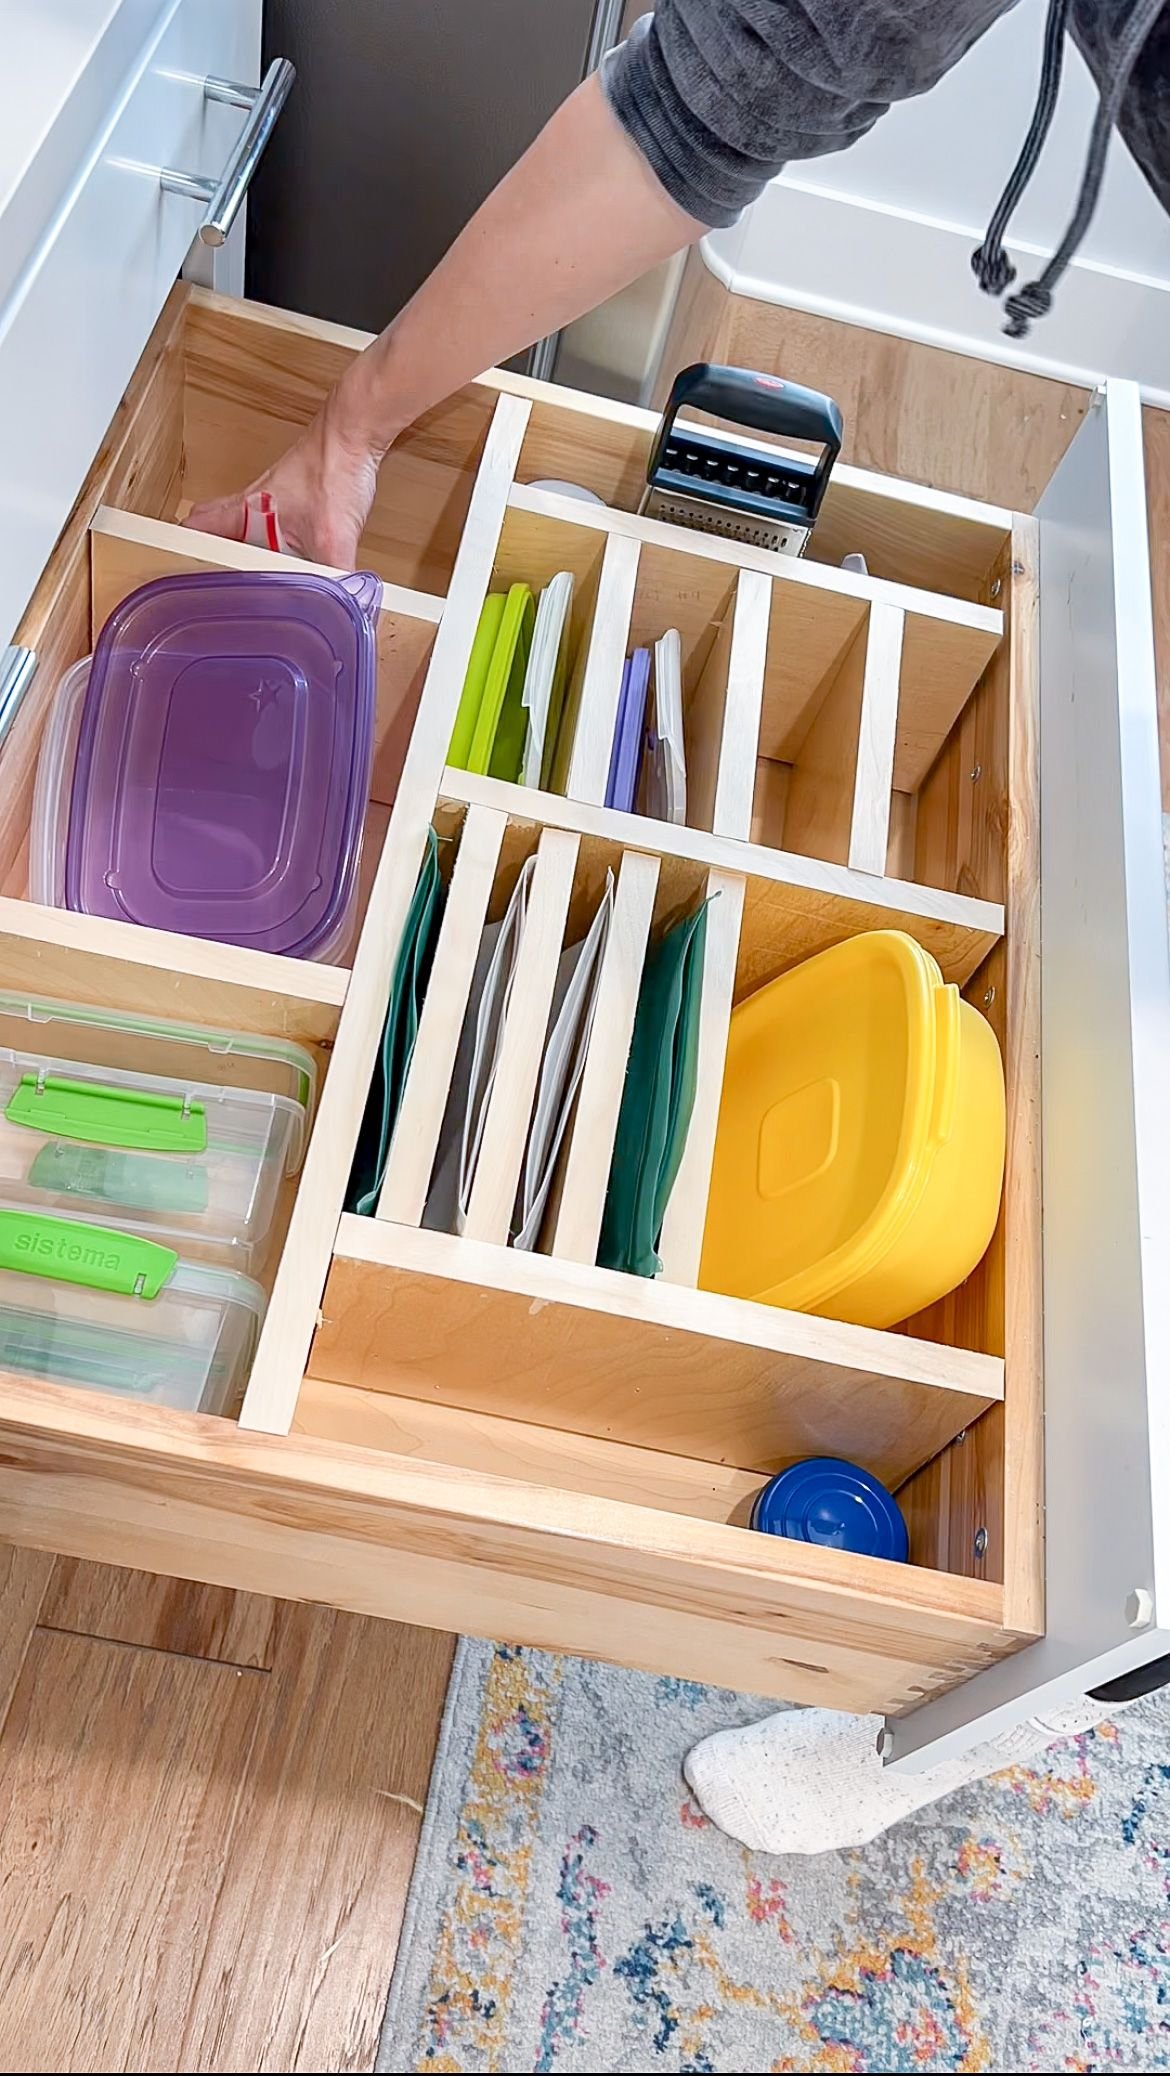
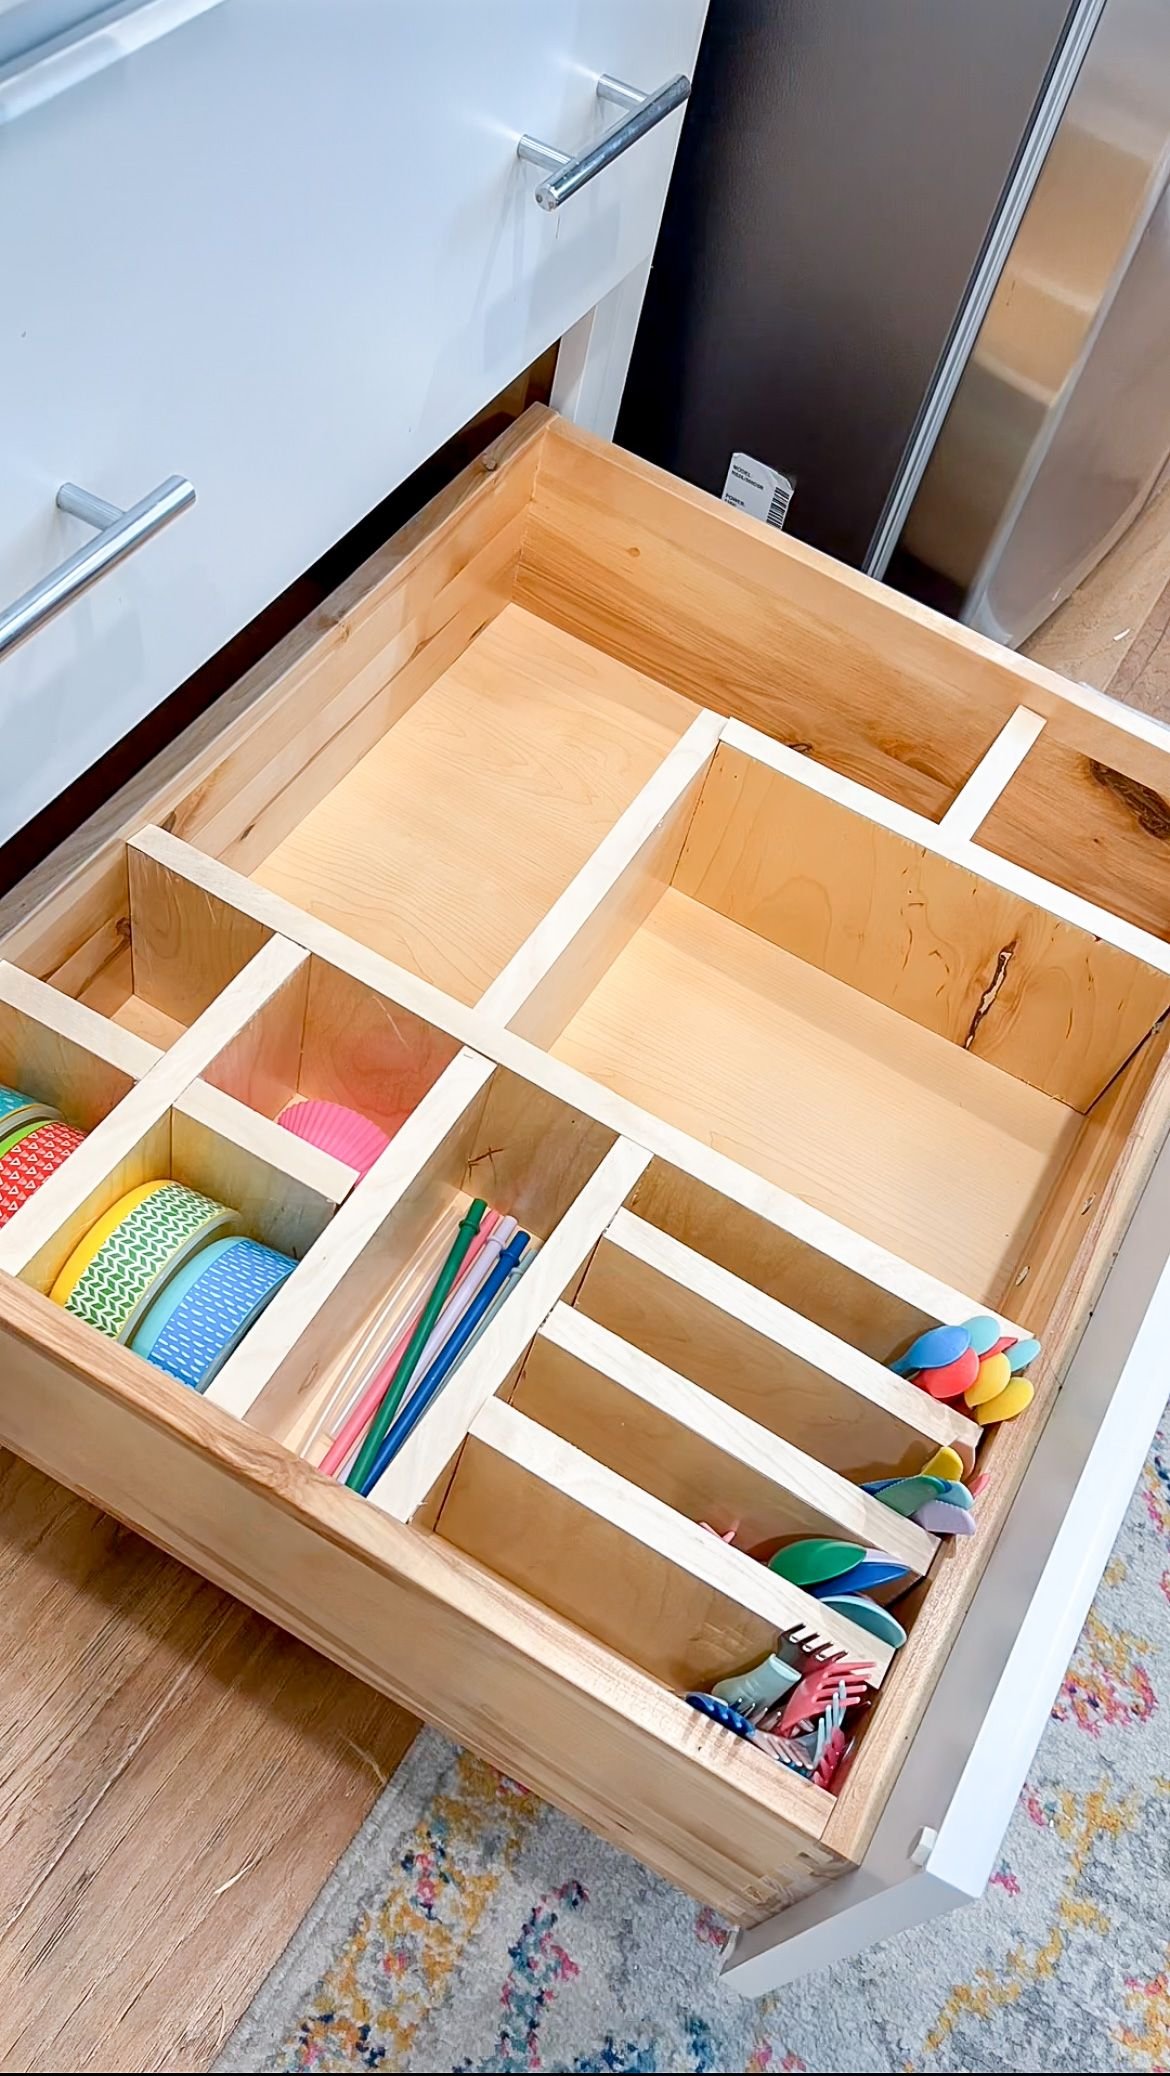
I love how they turned out. I actually have more space in my kitchen than I started with because the space is used effectively! I have a couple more kitchen organization projects I'm gonna be doing in the next few weeks, so keep an eye out for those. You can shop the supplies I used below.
Easy DIY Drawer Organizers | Shop