Side Yard Shed
We have a very awkward, narrow, and long side yard. I've talked before about my plans for it and how I want to change up the mulch and the mud and just add more space for us to be able to hang out here. Another thing I wanted to do was to add a shed. I wanted a place to put our bikes and get stuff off of the patio that we have at the moment and better utilize that space.
Side Yard Shed | Prep Work
In July of 2023, I bought a shed during Amazon Prime Day and then realized I needed to have either a concrete base or a paver base for it. I put it off for a while and then I forgot about it so we just had a giant six foot box hanging out in our family room up against the couch since then. My in-laws came to visit recently and my father-in-law is a guy who loves to stay busy with projects and he loves DIY. I recruited him to help me build the base and start building the shed. He's done pavers so many times so we decided to go with that instead of pouring concrete because it would be so much easier.
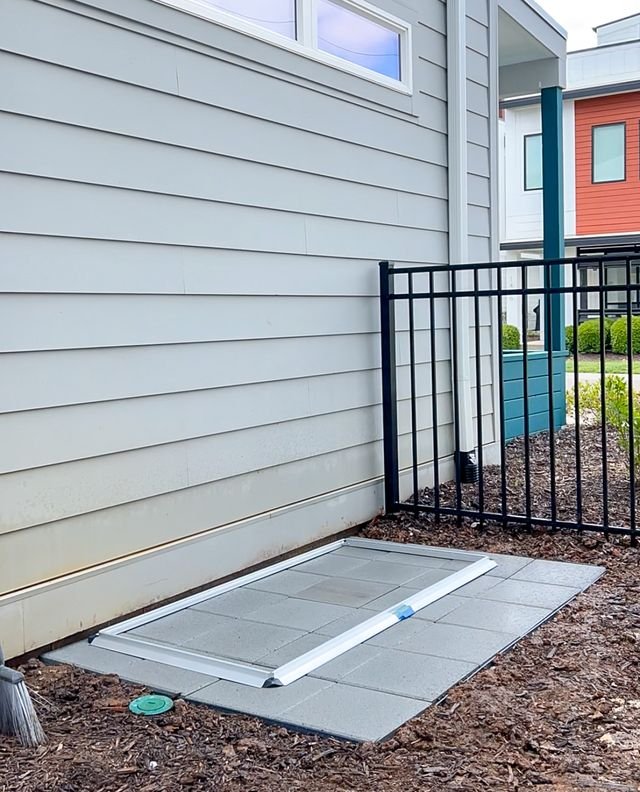
First, he dug out the space where we were going to put the pavers. We poured sand and used broom handles and a two by four to level out the sand. We got these really cool bases you put on top of the sand and underneath the pavers. We used them instead of using paver bases.
Once we got the bases and pavers laid, we made sure everything was level, all matched up and there weren't any wobbly pavers. Then we put the edging around the outside of it and used stakes to stake those down. Once that was done we started on the actual shed.
Side Yard Shed | Building the Shed
I will link this shed if I can find it, but this is definitely a two person job. There's so much of this I could not have done on my own, even a little bit. There were parts of the shed you had to hold on the outside and then screw on the inside. It was just way too complicated to be able to do by myself, so having a second person to do this was huge help.
While the actual assembly of this shed was not terrible. Every single one of the metal panels had a plastic sheet cover on it we had to peel off. It was incredibly difficult and took so much time! I think it actually took us twice as long to put the shed together because we spent so much time peeling off the plastic lining. To be honest, I don't think this shed would be worth buying specifically for this reason.
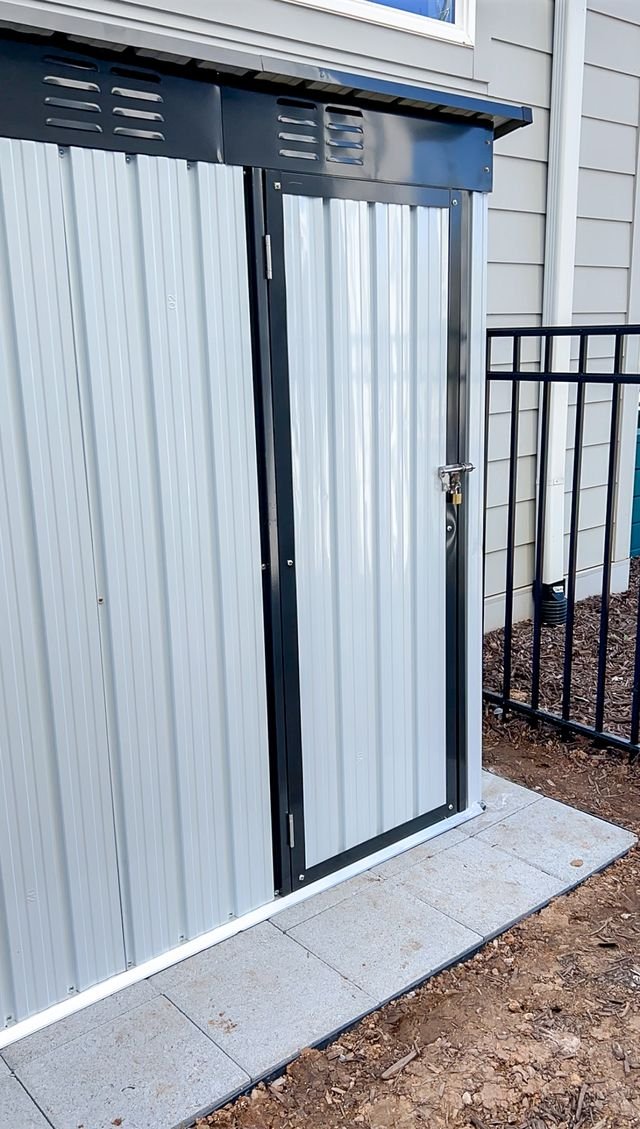
My father in law was able to help me get all of the walls up and then start prep for the roof before he had to go home. He does not like leaving a project unfinished and having to do so really pained him. I was able to get the roof and the door done in just a couple hours and then once everything was put back together I secured the shed to the base. In the instructions it tells you to do that first but because of how close we wanted it to the house, we needed to actually assemble it and then attach it.
This shed is 5.5 feet wide by 3.5 feet deep and it fits our bikes which I'm super excited about! It also locks, which is awesome. While our side yard is definitely not in the shape I would like it to be, it is in a much better shape than it was. We have so much more room on the patio now and we don't have the bikes blocking the door like they have been. Now, the yard is set up a little bit better for the people who are going to stay in our house while we're in Argentina. I do have a couple more things I'm going to do out here before we leave, so stay tuned!


