DIY Laundry Room Table
I found an amazingly gorgeous piece of wormy maple wood at a local lumber yard. I got it for my mom because she needs a new table over her washer and dryer. The last one ended up being, unfortunately, destroyed when we had to swap out her washer and dryer due to some poor decision making not on my part. So, I'm going to take you along with me while I turn this into a laundry room table.
DIY Laundry Room Table | Prepping the Wood and Epoxy
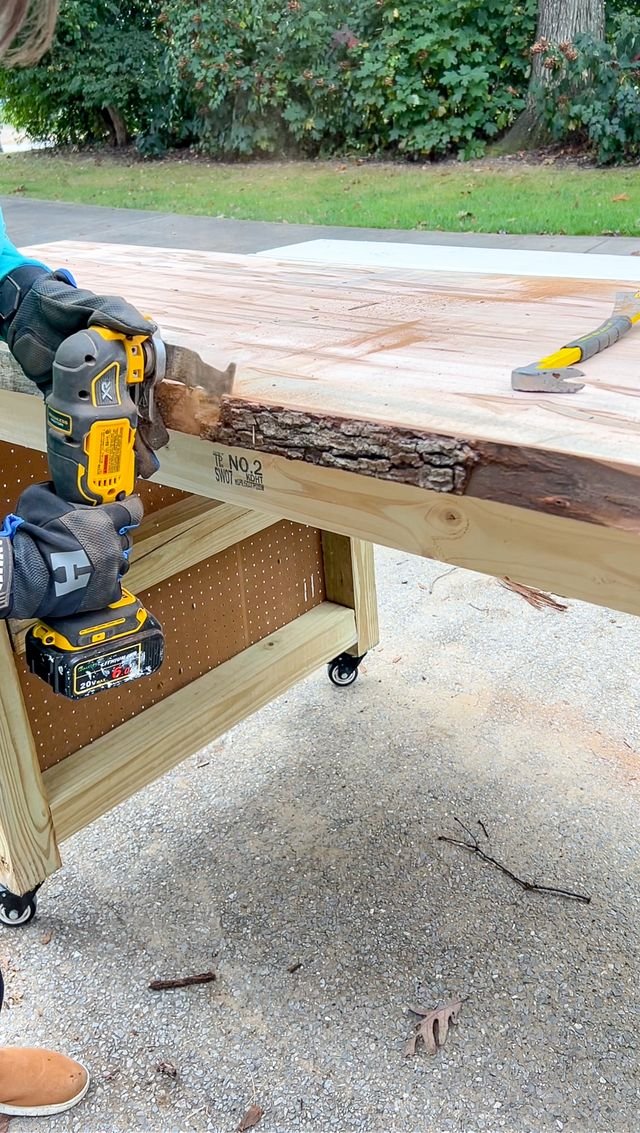
First, I needed to get all of the bark off the edges of the slab of wood because it was a live edge piece and I wanted it to be smooth and pretty. The whole slab is 8 feet long but I wasn't going to use all of it for this project. I cut it down to 62 inches wide for the table top.
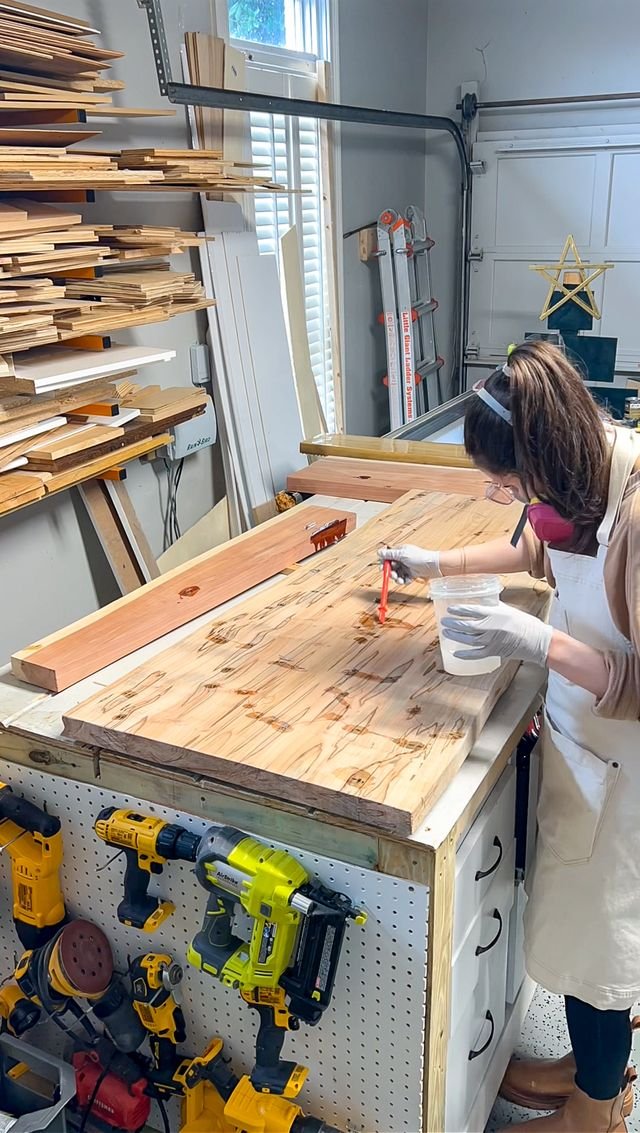
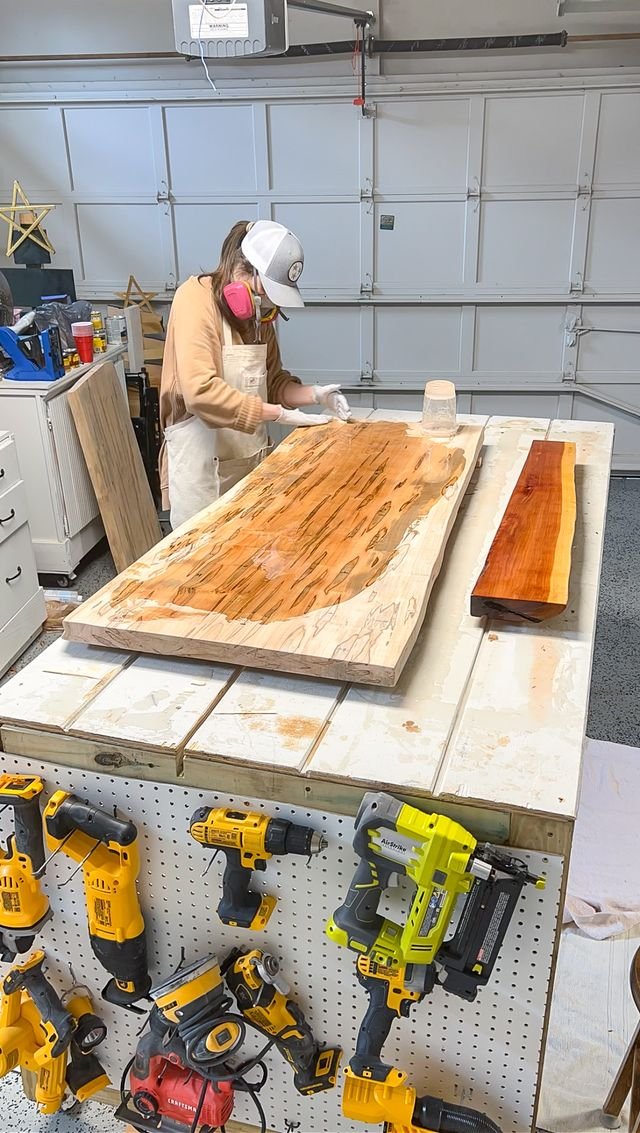
The next step was epoxying the top of the table. When you're working with wormy maple, you're going to find lots of teeny tiny little holes, which means that you need to fill them with epoxy first before doing an all over epoxy on the top. I filled all of tiny holes and some of the holes only took one epoxy pour, some took multiple epoxy pours. After, I sanded all of those holes so they were nice and smooth and so the epoxy was nice and flush with the wood. I then got everything set up and ready to go for the main epoxy pouring.
I've learned when you're doing an epoxy pour on a tabletop, you're going to need multiple pours, not just one. I poured the first one and then while that was curing I started to work on the legs.
DIY Laundry Room Table | Making the Frame
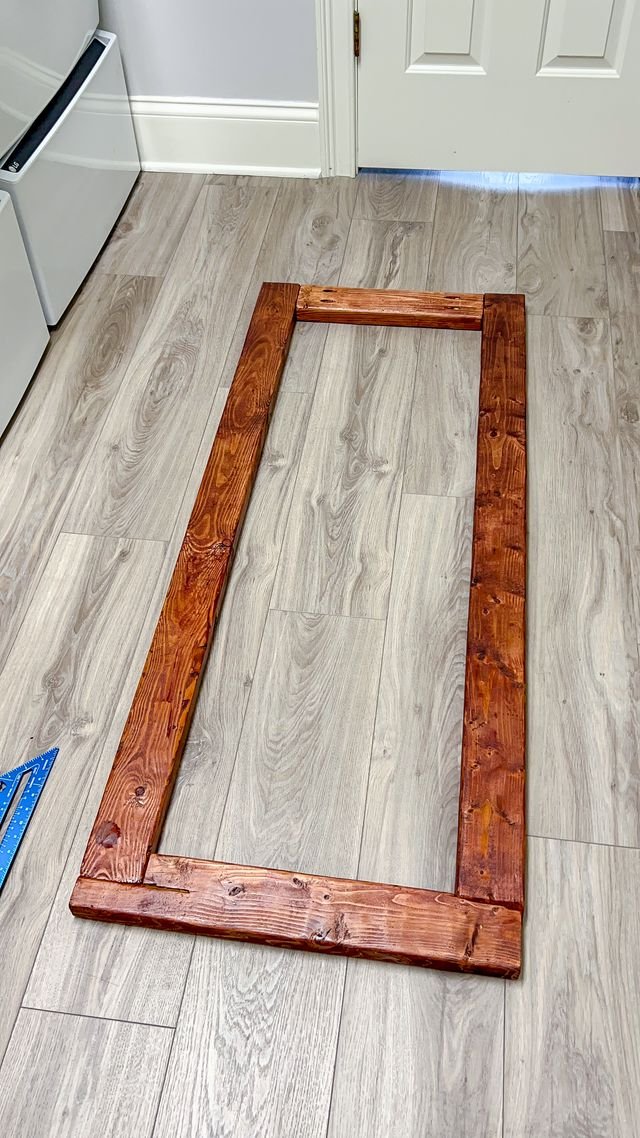
When I first designed these legs, I knew exactly which way to put the two by fours because there was only so much space for the legs to go. However, after I started building them, I realized I did it wrong. I was doing sets of legs at once, for two different projects, and that's something I really shouldn't do with my ADHD. I had to come up with a different way to join the boards without losing any length. I didn't have to go buy new two by fours and I could still get these legs to work.
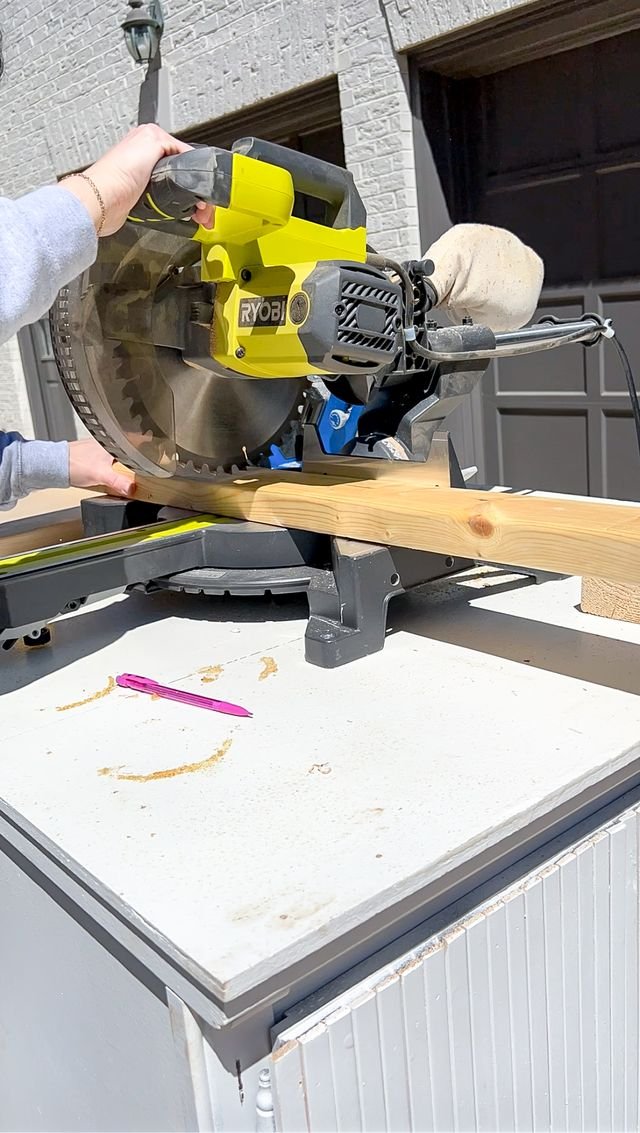
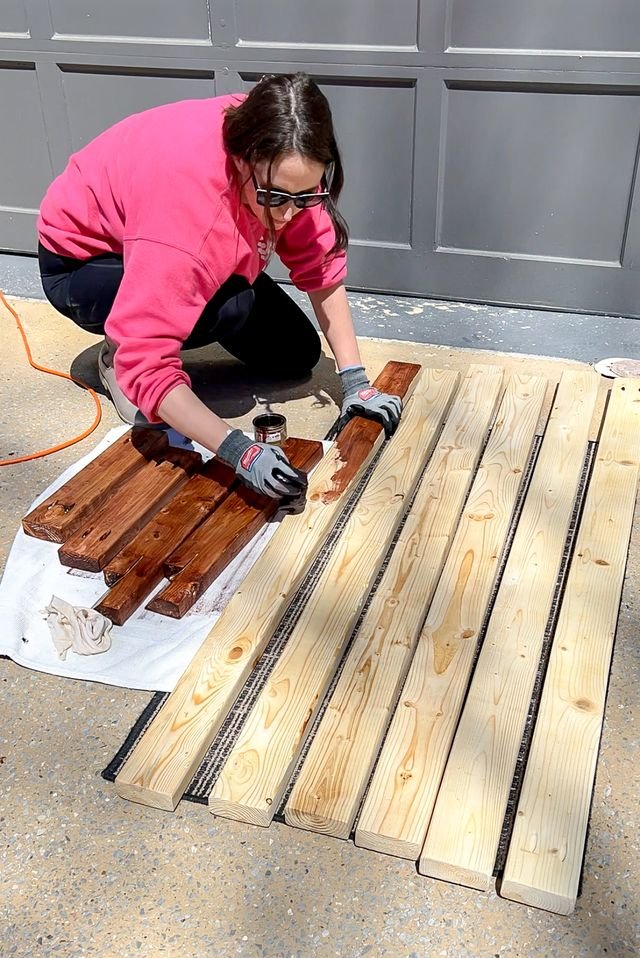
I'm actually really happy with how it came together. I cut off a 45 degree angle into opposite sides of the bottom board where these two long leg pieces would attach to and they fit perfectly. After I was done with that, I got all of the pieces for the legs sanded, coated them with wood conditioner and then stained them.
I decided to go for a custom stain look because I wanted the frame to coordinate with the darker part of the wormy maple. The initial color came out a little too red, so I had to go back and do a stain with a little bit of a darker brown. Once the stain was all dry, I built the legs using glue and brad nails to keep the joints in place while the glue dried, and added some pocket holes. I added two support pieces on the top that connected the two legs. I decided to turn the 2x4s because I knew it would give the most support for the tabletop. It was needed since this piece of wood is SO incredibly heavy.
DIY Laundry Room Table | Finishing Touches
When the top was completely cured, I flipped it over and sanded off all the little drips on the bottom, then I secured the top to the legs from the bottom of the table, making sure that there was enough room for the wood to move as it expands and contracts with the seasons.
Now, this piece moves very easily from over top of both the washer and dryer to away from the washer and dryer. This is critical when you're building a laundry room table because service people need to be able to get back there to work on the appliances. It really turned out so beautiful. I am obsessed with it. I'm kind of mad that my mom has it now, but there is a little bit of a remnant left that I want to figure out something to do with hopefully even before we go on our big adventure!


