
Refinishing Antique Dressers
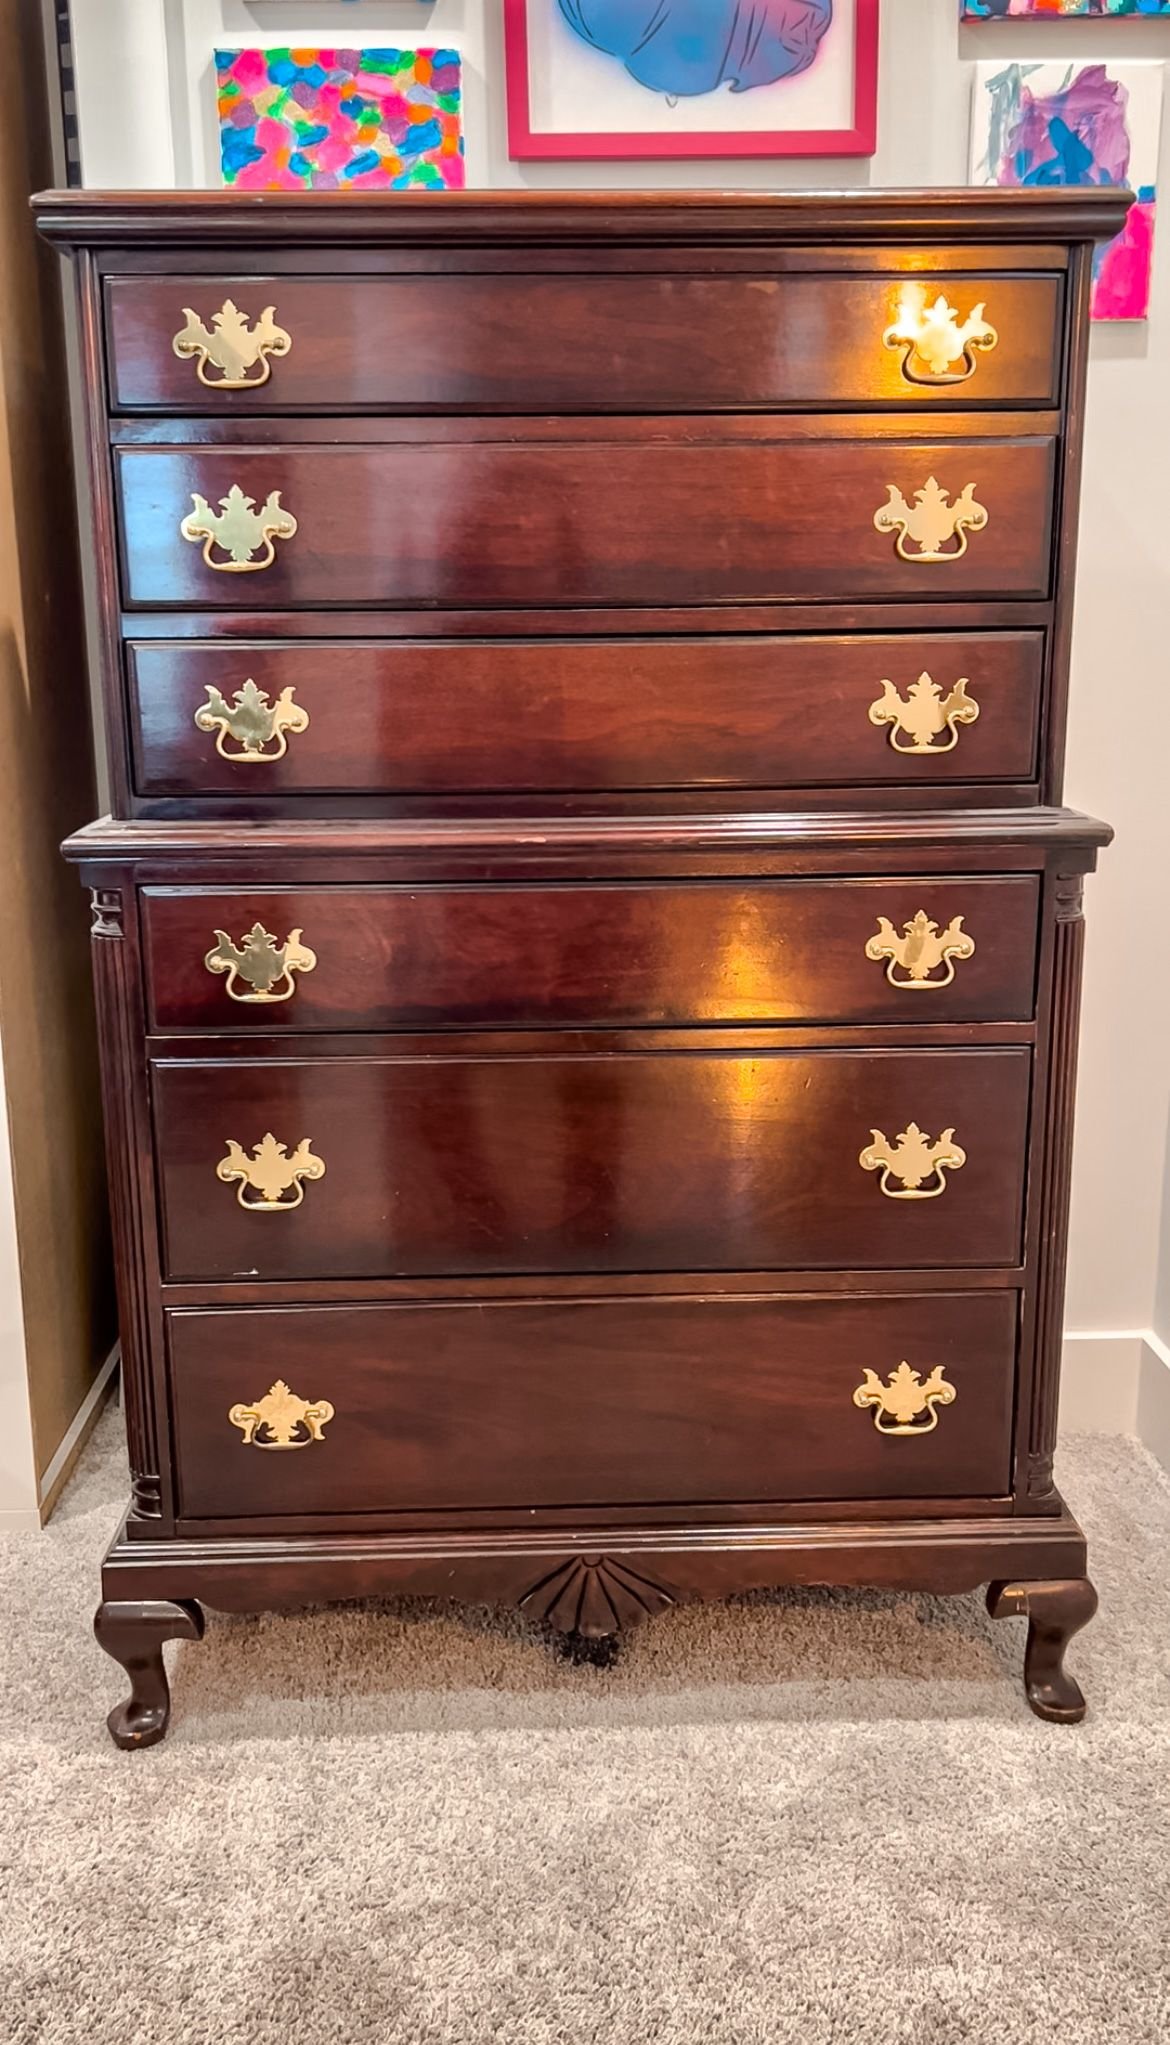
I've had this set of dressers my entire life. They originally belonged to my grandparents on my dad’s side. I love the quality and the sentimental value of them, but they just really aren’t my style. However, after years of my dad telling me he didn't want me to change anything, he finally agreed to let me do something with them. So, now I get to update them to fit the aesthetic of my home a little more.
Refinishing Antique Dressers | A “Simple” Plan for the Project
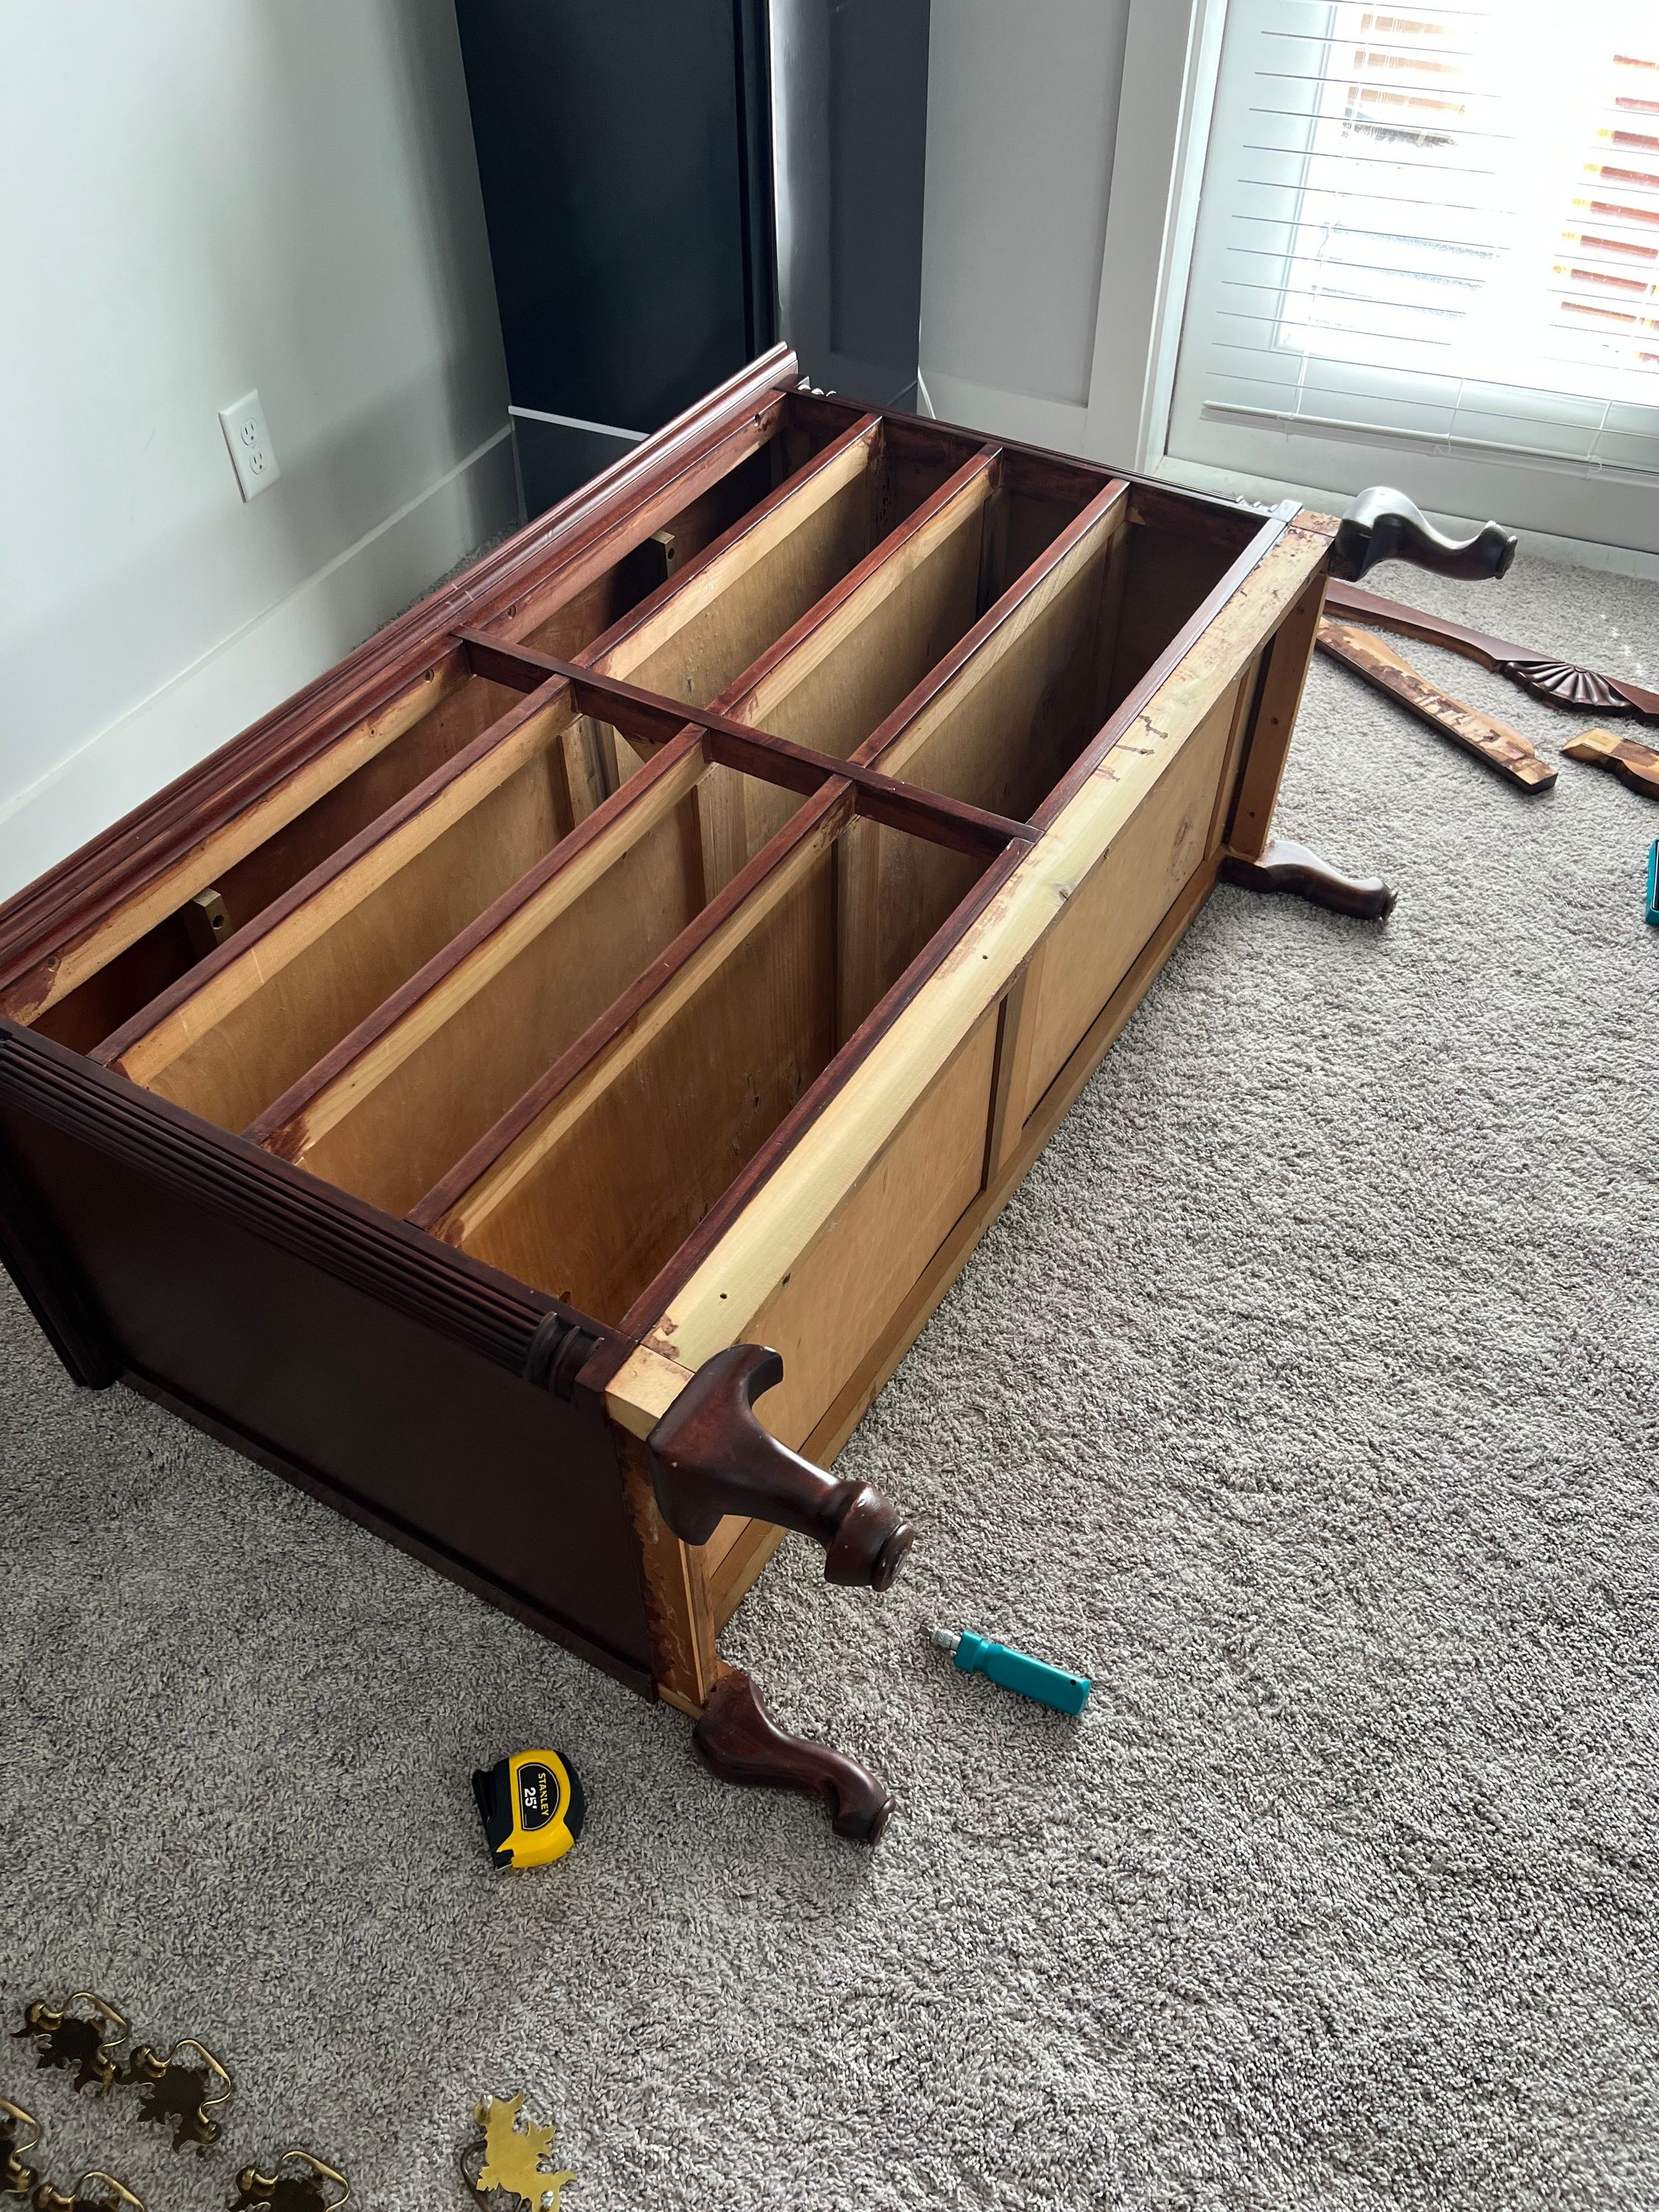
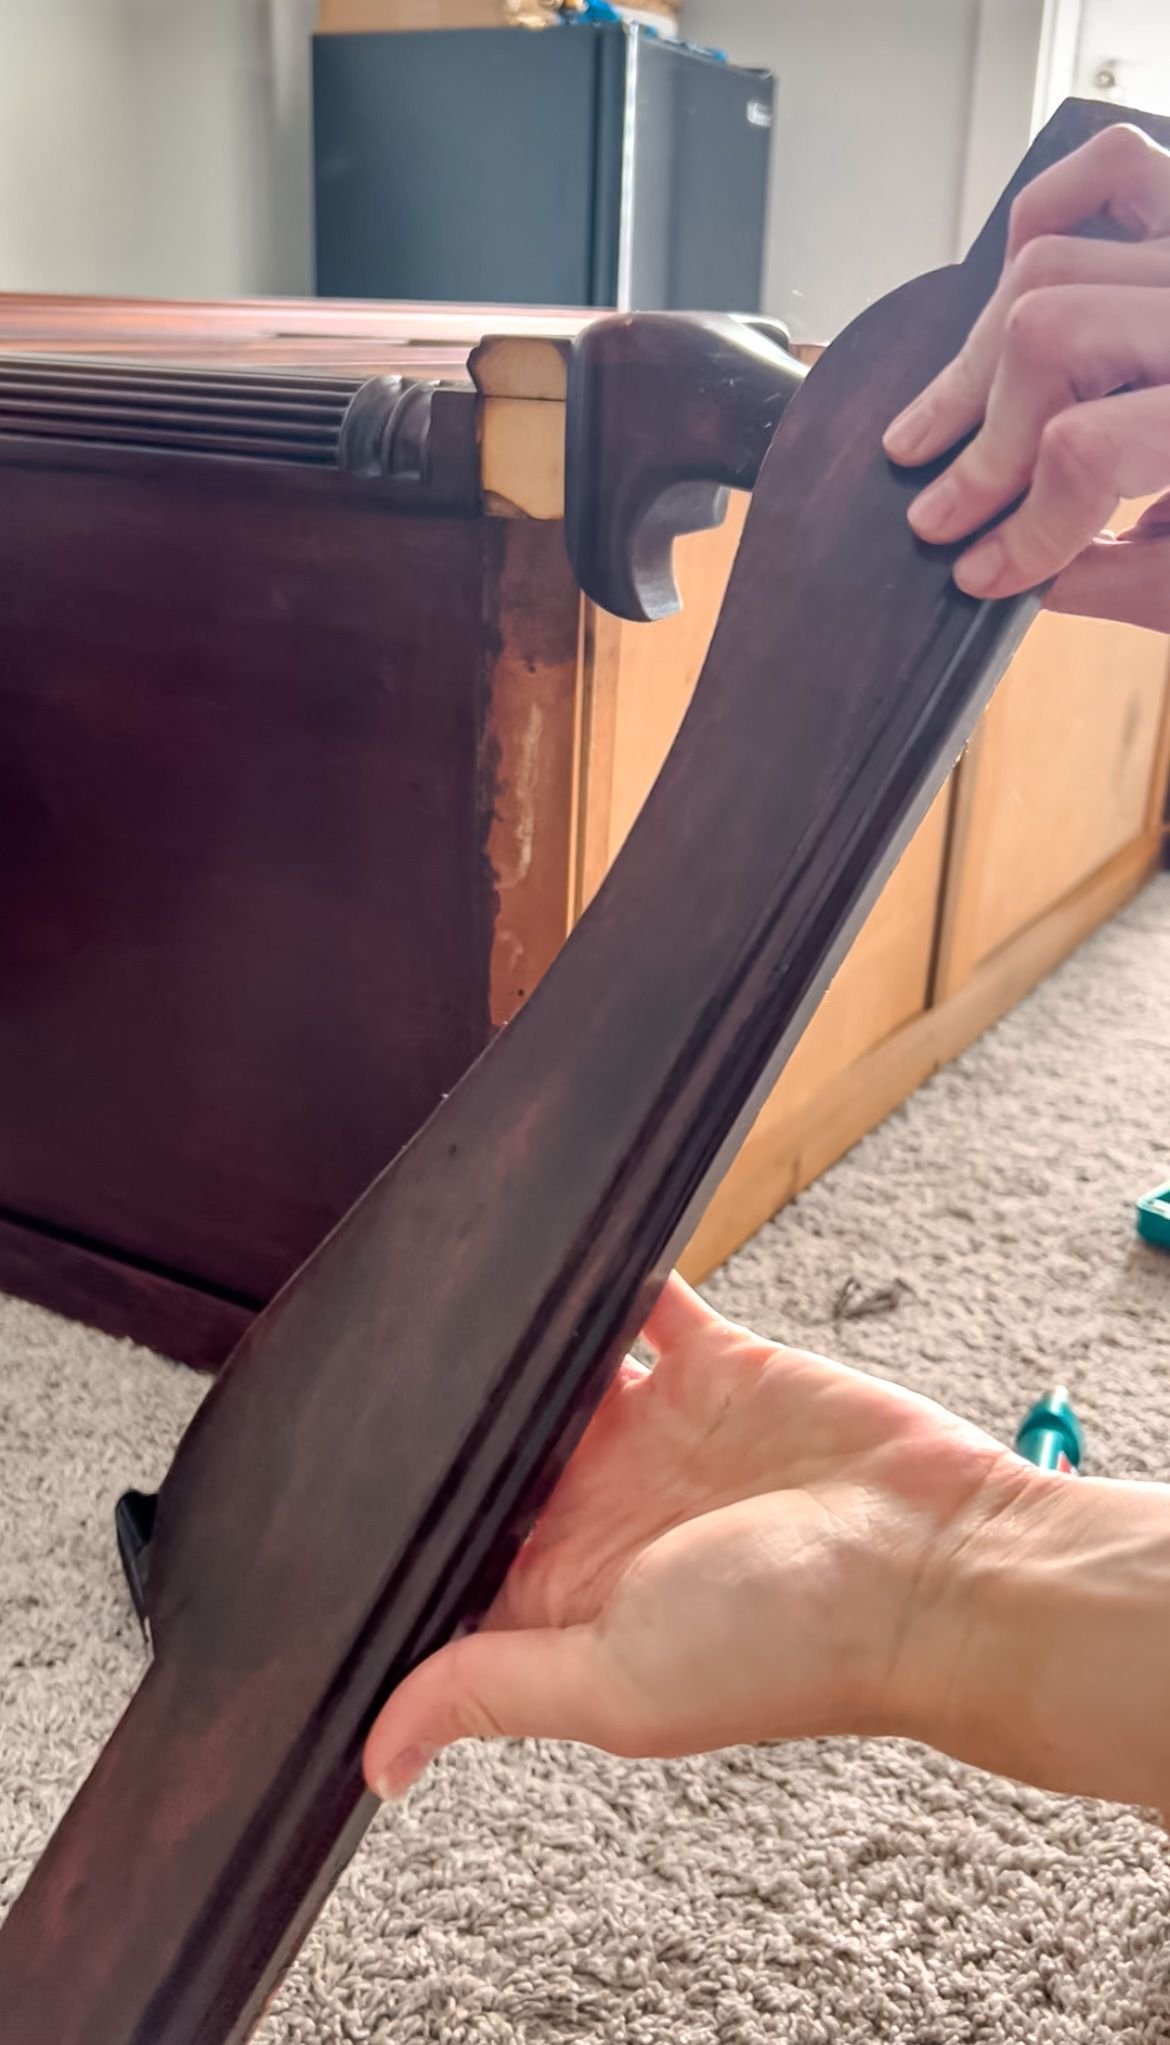
My initial plan was pretty simple: sand them down to the raw wood and put new drawer pulls on them. I removed all of the drawer pulls on both sets of dresser drawers so I could fill and sand those holes. Then I added new drawer pulls where I wanted them. I also didn't love the ornate pieces on the bottom of the dressers. Luckily, they were just held on with screws and they were relatively easy to get off. Removing all of the screws was a little tougher than I expected because they were very old, but I eventually got them all out. I also removed the legs because they were starting to split and had metal pieces on the bottom that were leaving marks on the rug.
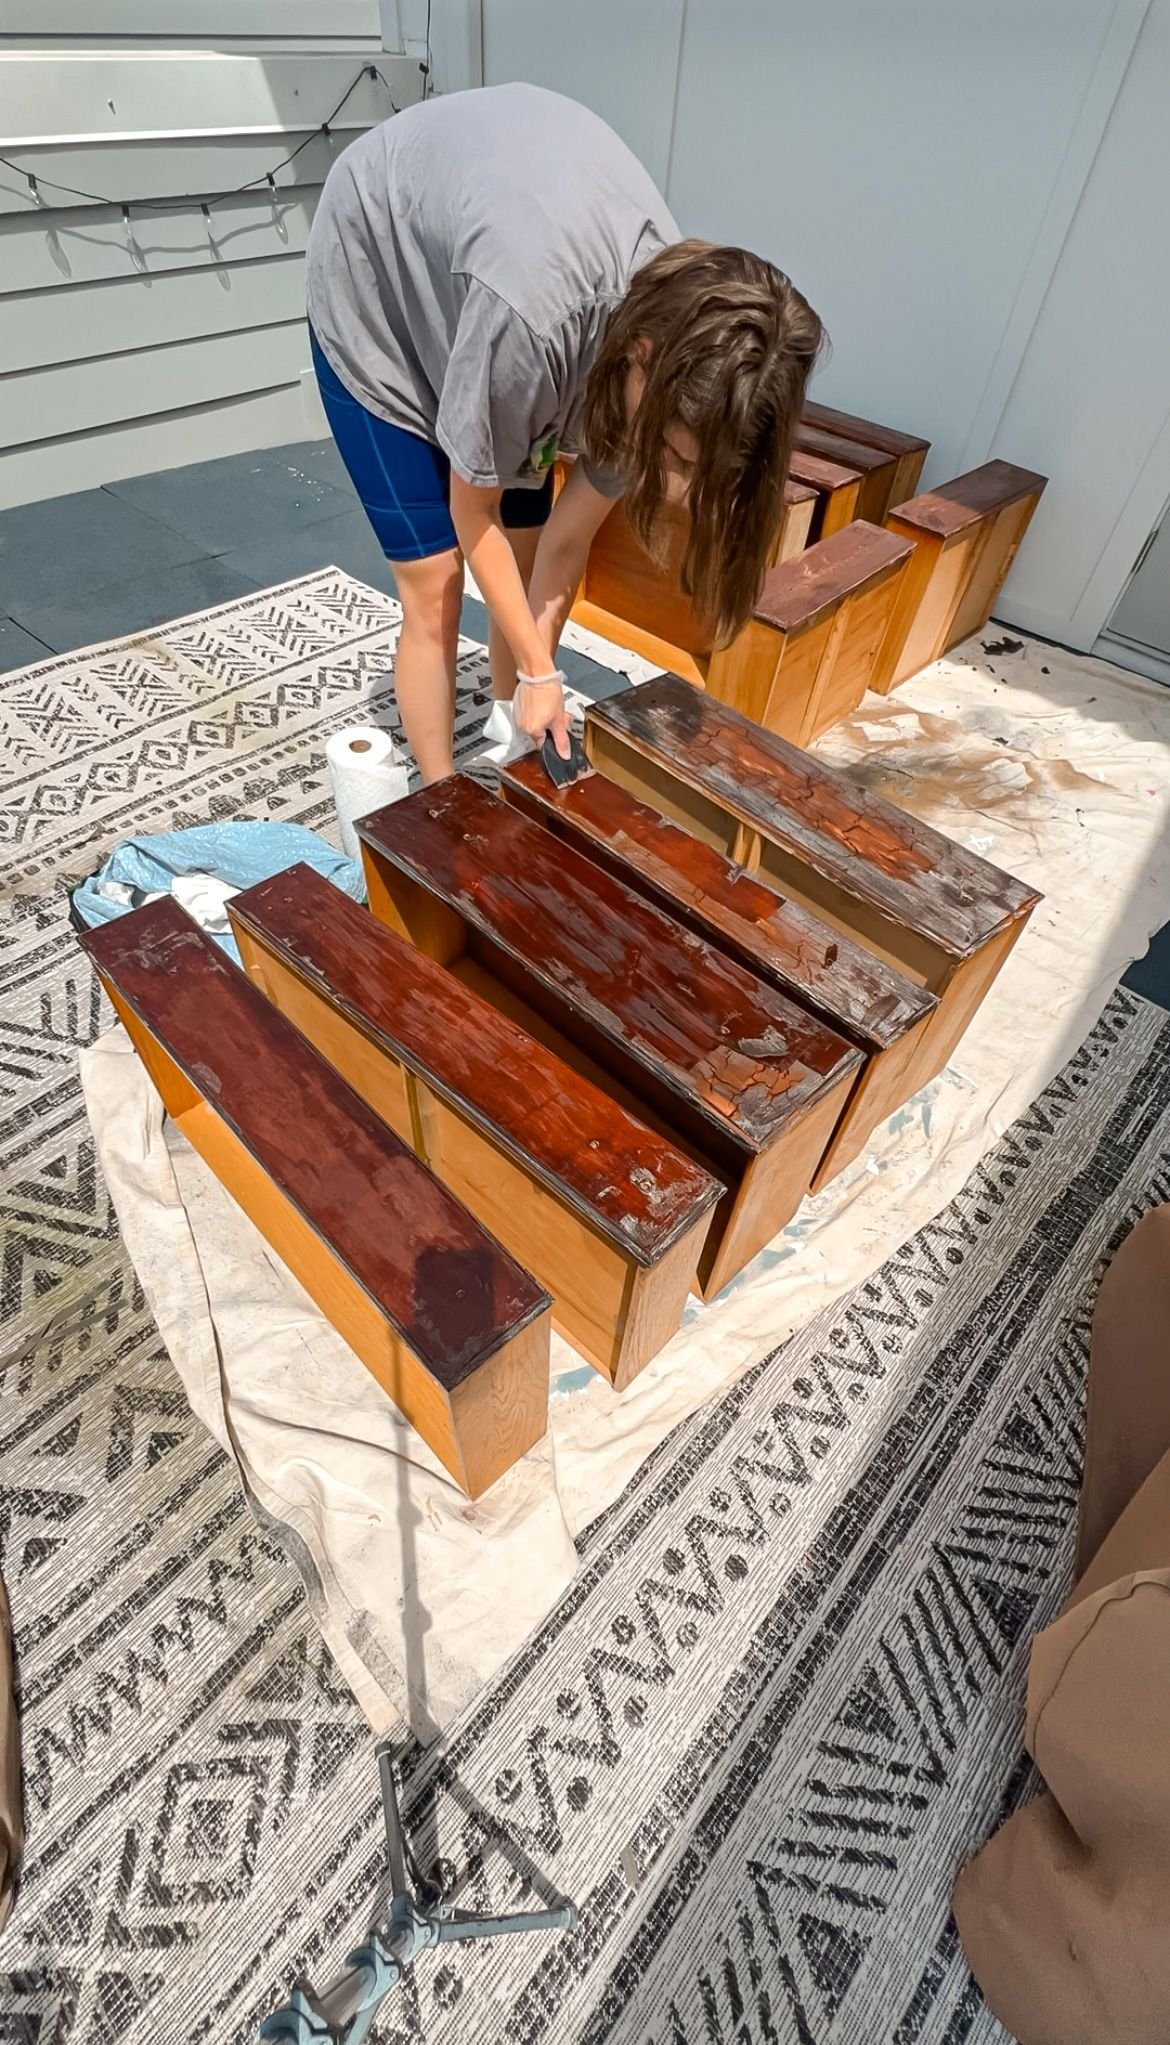
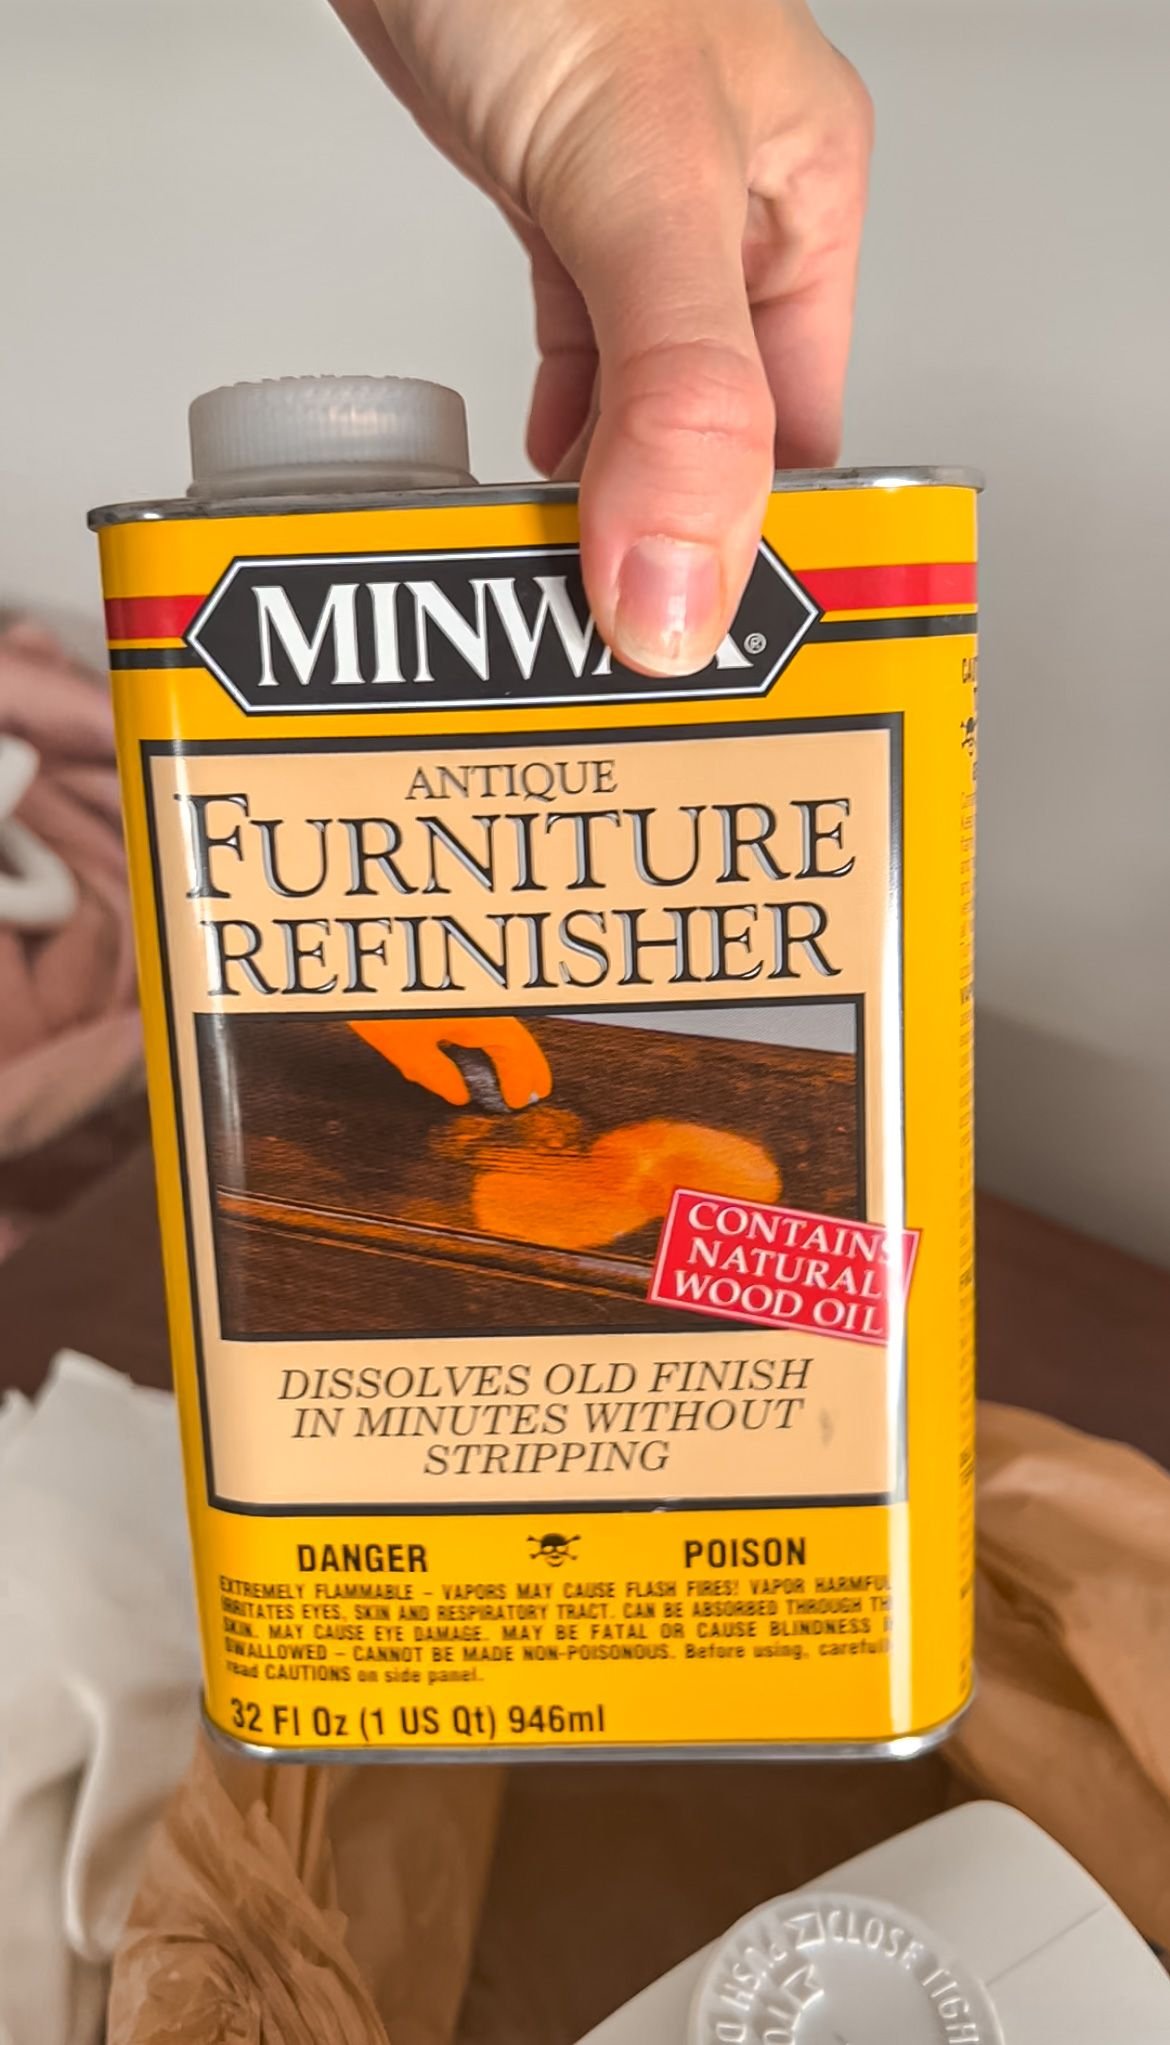
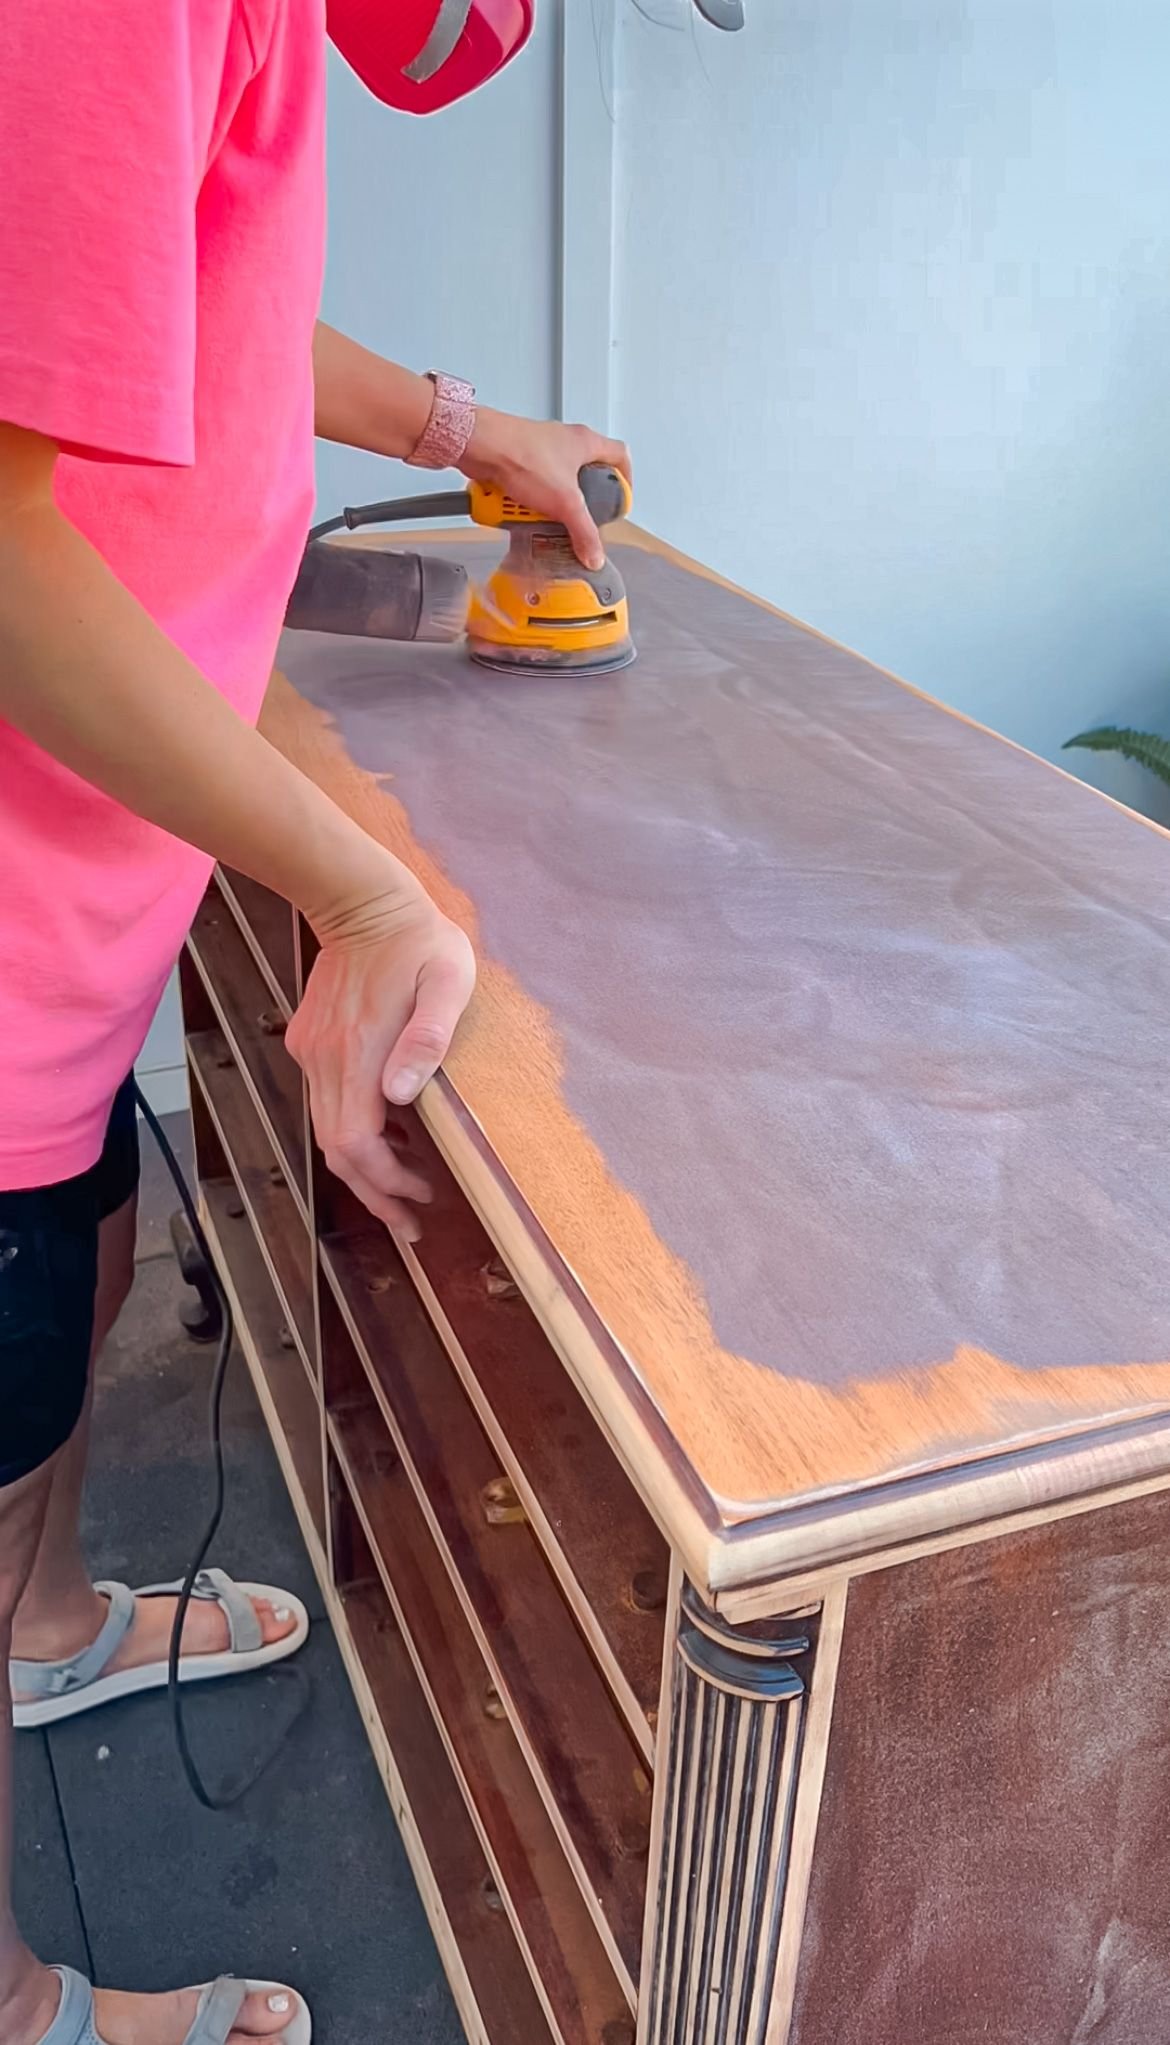
Then it was time to strip the finish off of both dressers. I started off with Citristrip and painted that onto the drawer fronts, just as an experiment to see how that would go. I covered it with plastic wrap, and let it sit out in the heat. When I went to check on it, I realized it wasn’t pulling anything off. I got an antique furniture refinisher, which is supposed to help take off the finish of dressers like this. Unfortunately, that wasn't working either; it just ended up being really streaky. So I decided I needed to sand everything, which is not what I wanted to do, but it was the fastest way to go at this point.

Refinishing Antique Dressers | Changing the Plan
In the process of sanding, I discovered the wood was multiple colors. My simple plan of just getting it down to the raw wood, keeping it that shade and adding hardware wasn't going to work. I was going to have to paint the dressers, which isn't what I wanted to do at all.
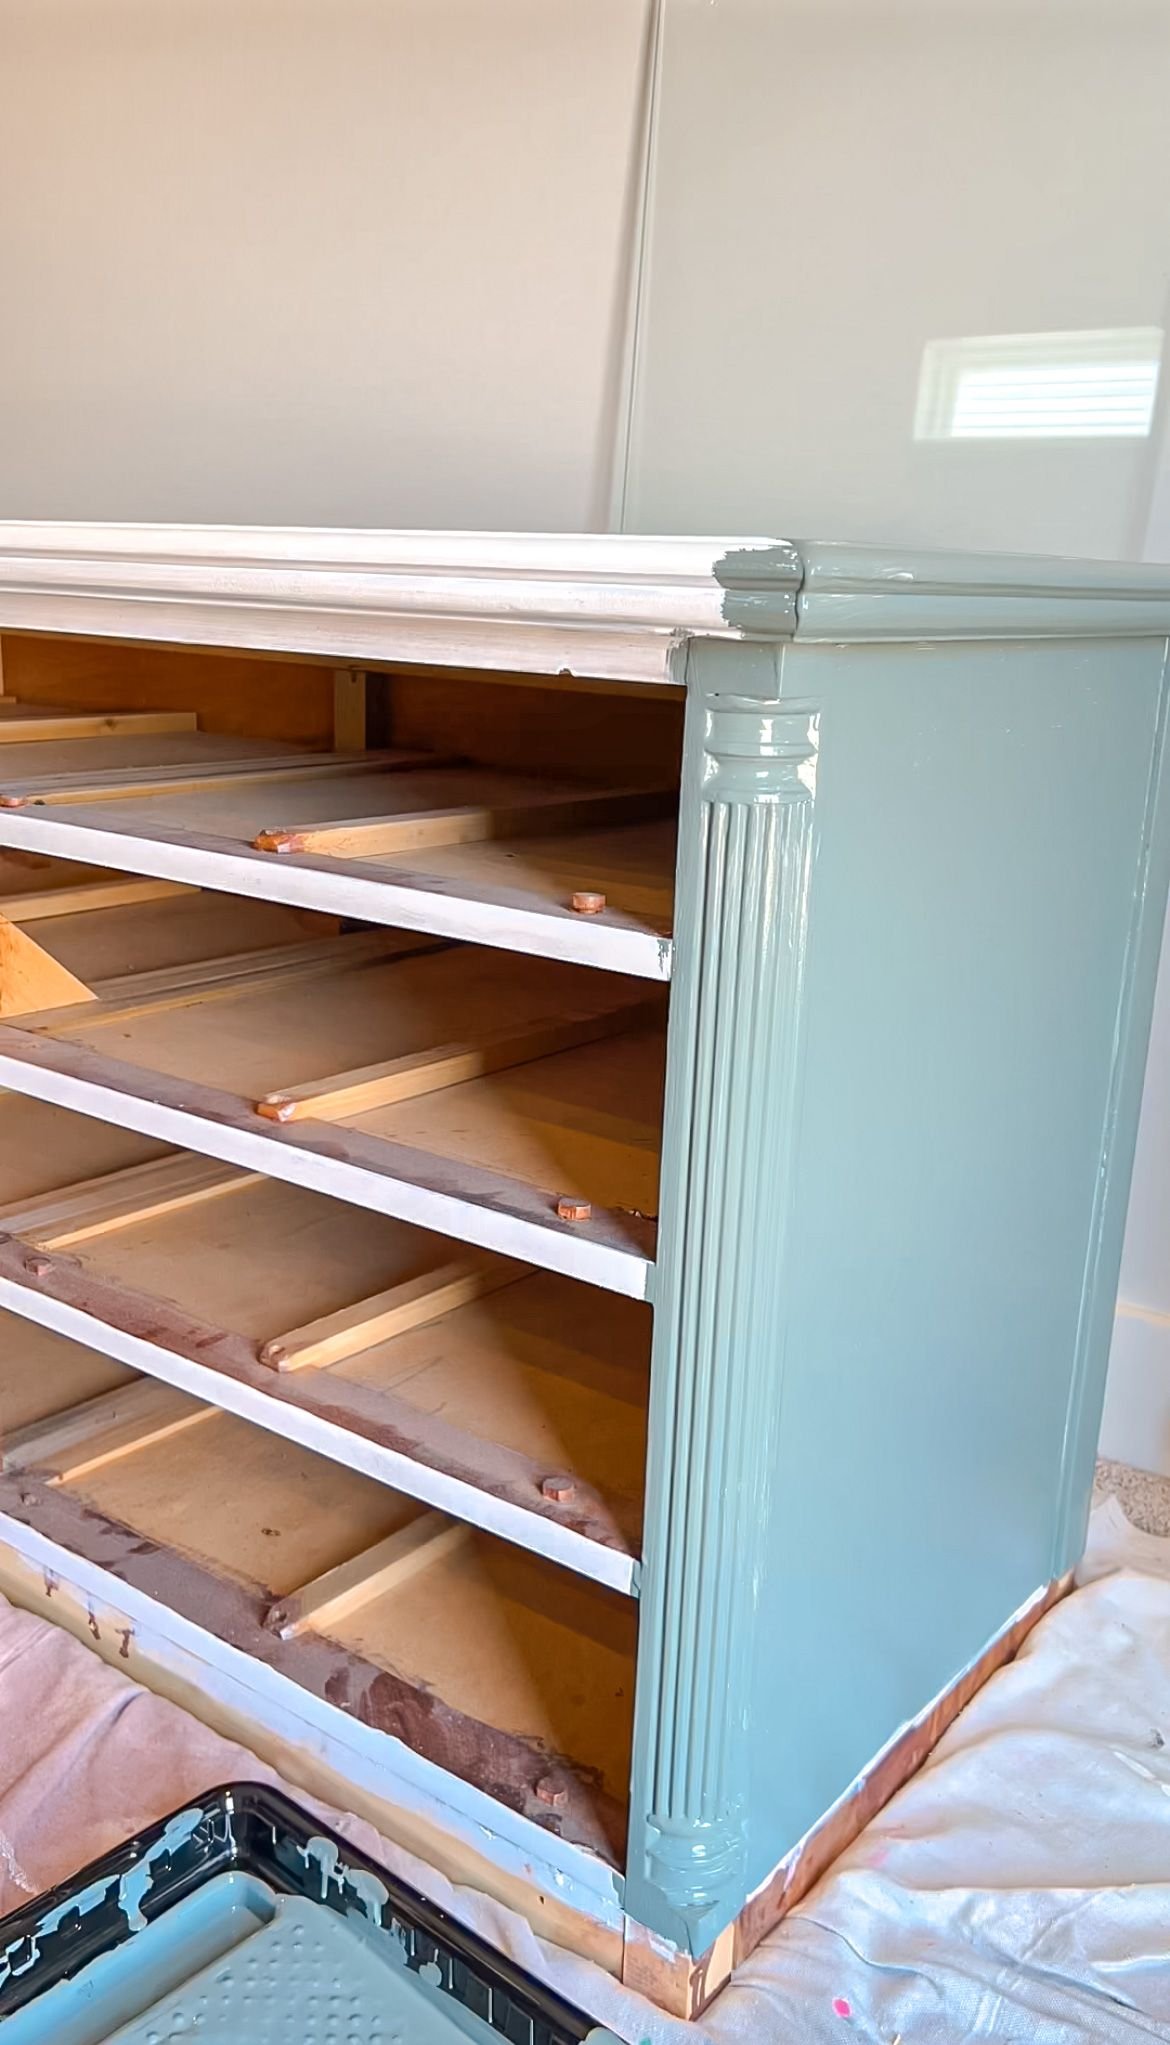
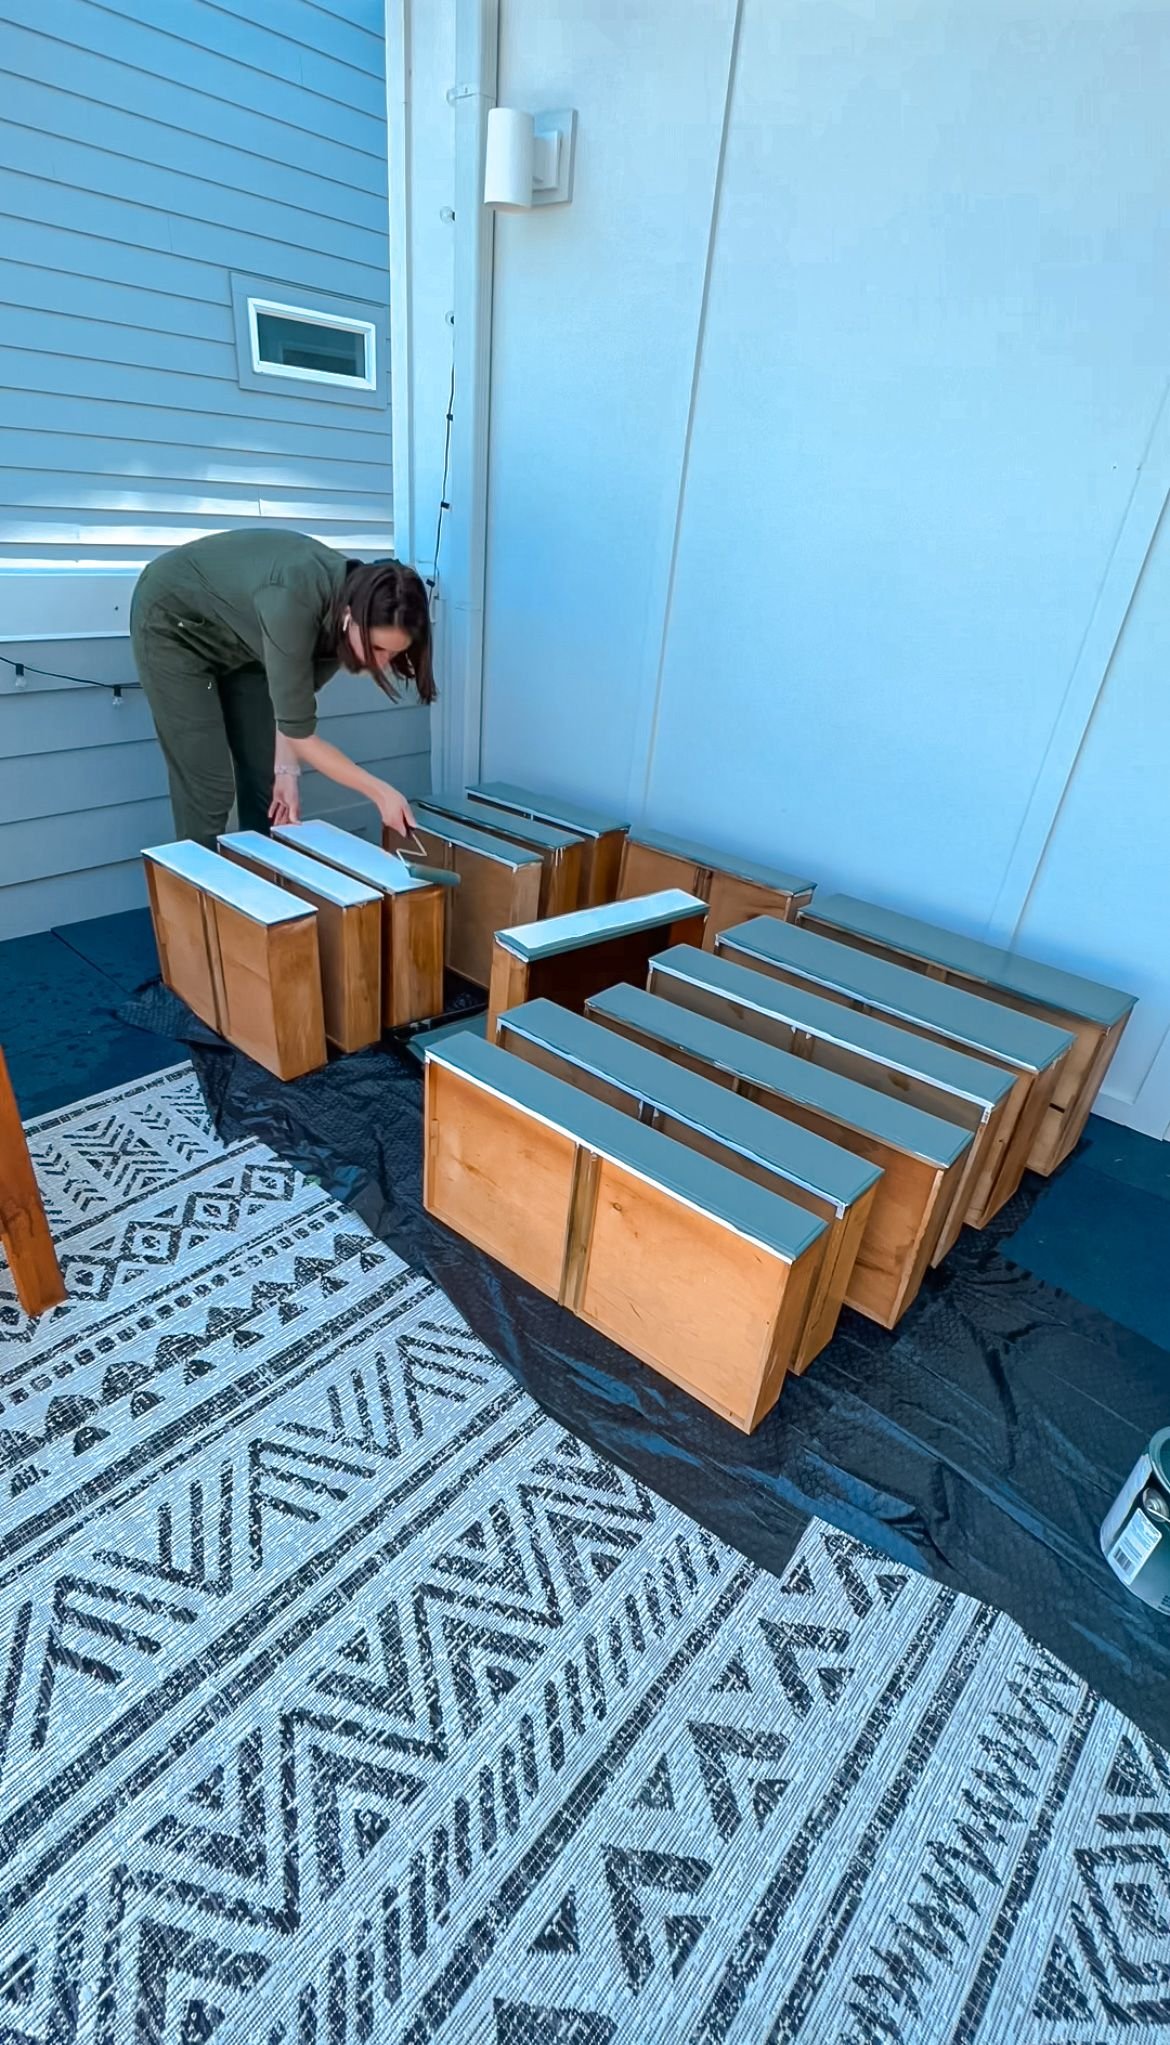
DIY doesn’t always go exactly as you plan. It’s frustrating, but I’ve learned to adapt and re-direct when plans change. So, I moved on and primed both dressers. Then I used the Sherwin William Emerald Urethane Trim Enamel in Hamburg Gray, which is a really pretty grayish green, and painted the drawers and the dressers. The plan was always to use these in the next baby's room. When I refinished these, I wasn't pregnant yet, but I really liked this color because it was a good neutral that would work in a future baby’s room.
I then got some 1x3s to finish off the trim on the bottom. I attached the new modern legs I got first because the 1x3s were going to be in the way. I originally attached the legs to where I cut the old legs off, but the legs kept ripping off. I had to go back later and put a piece of plywood between the dresser and the new legs to help with stability. I primed and painted the 1x3s with the same Hamburg Gray from Sherwin Williams and added them to the fronts of both dressers.
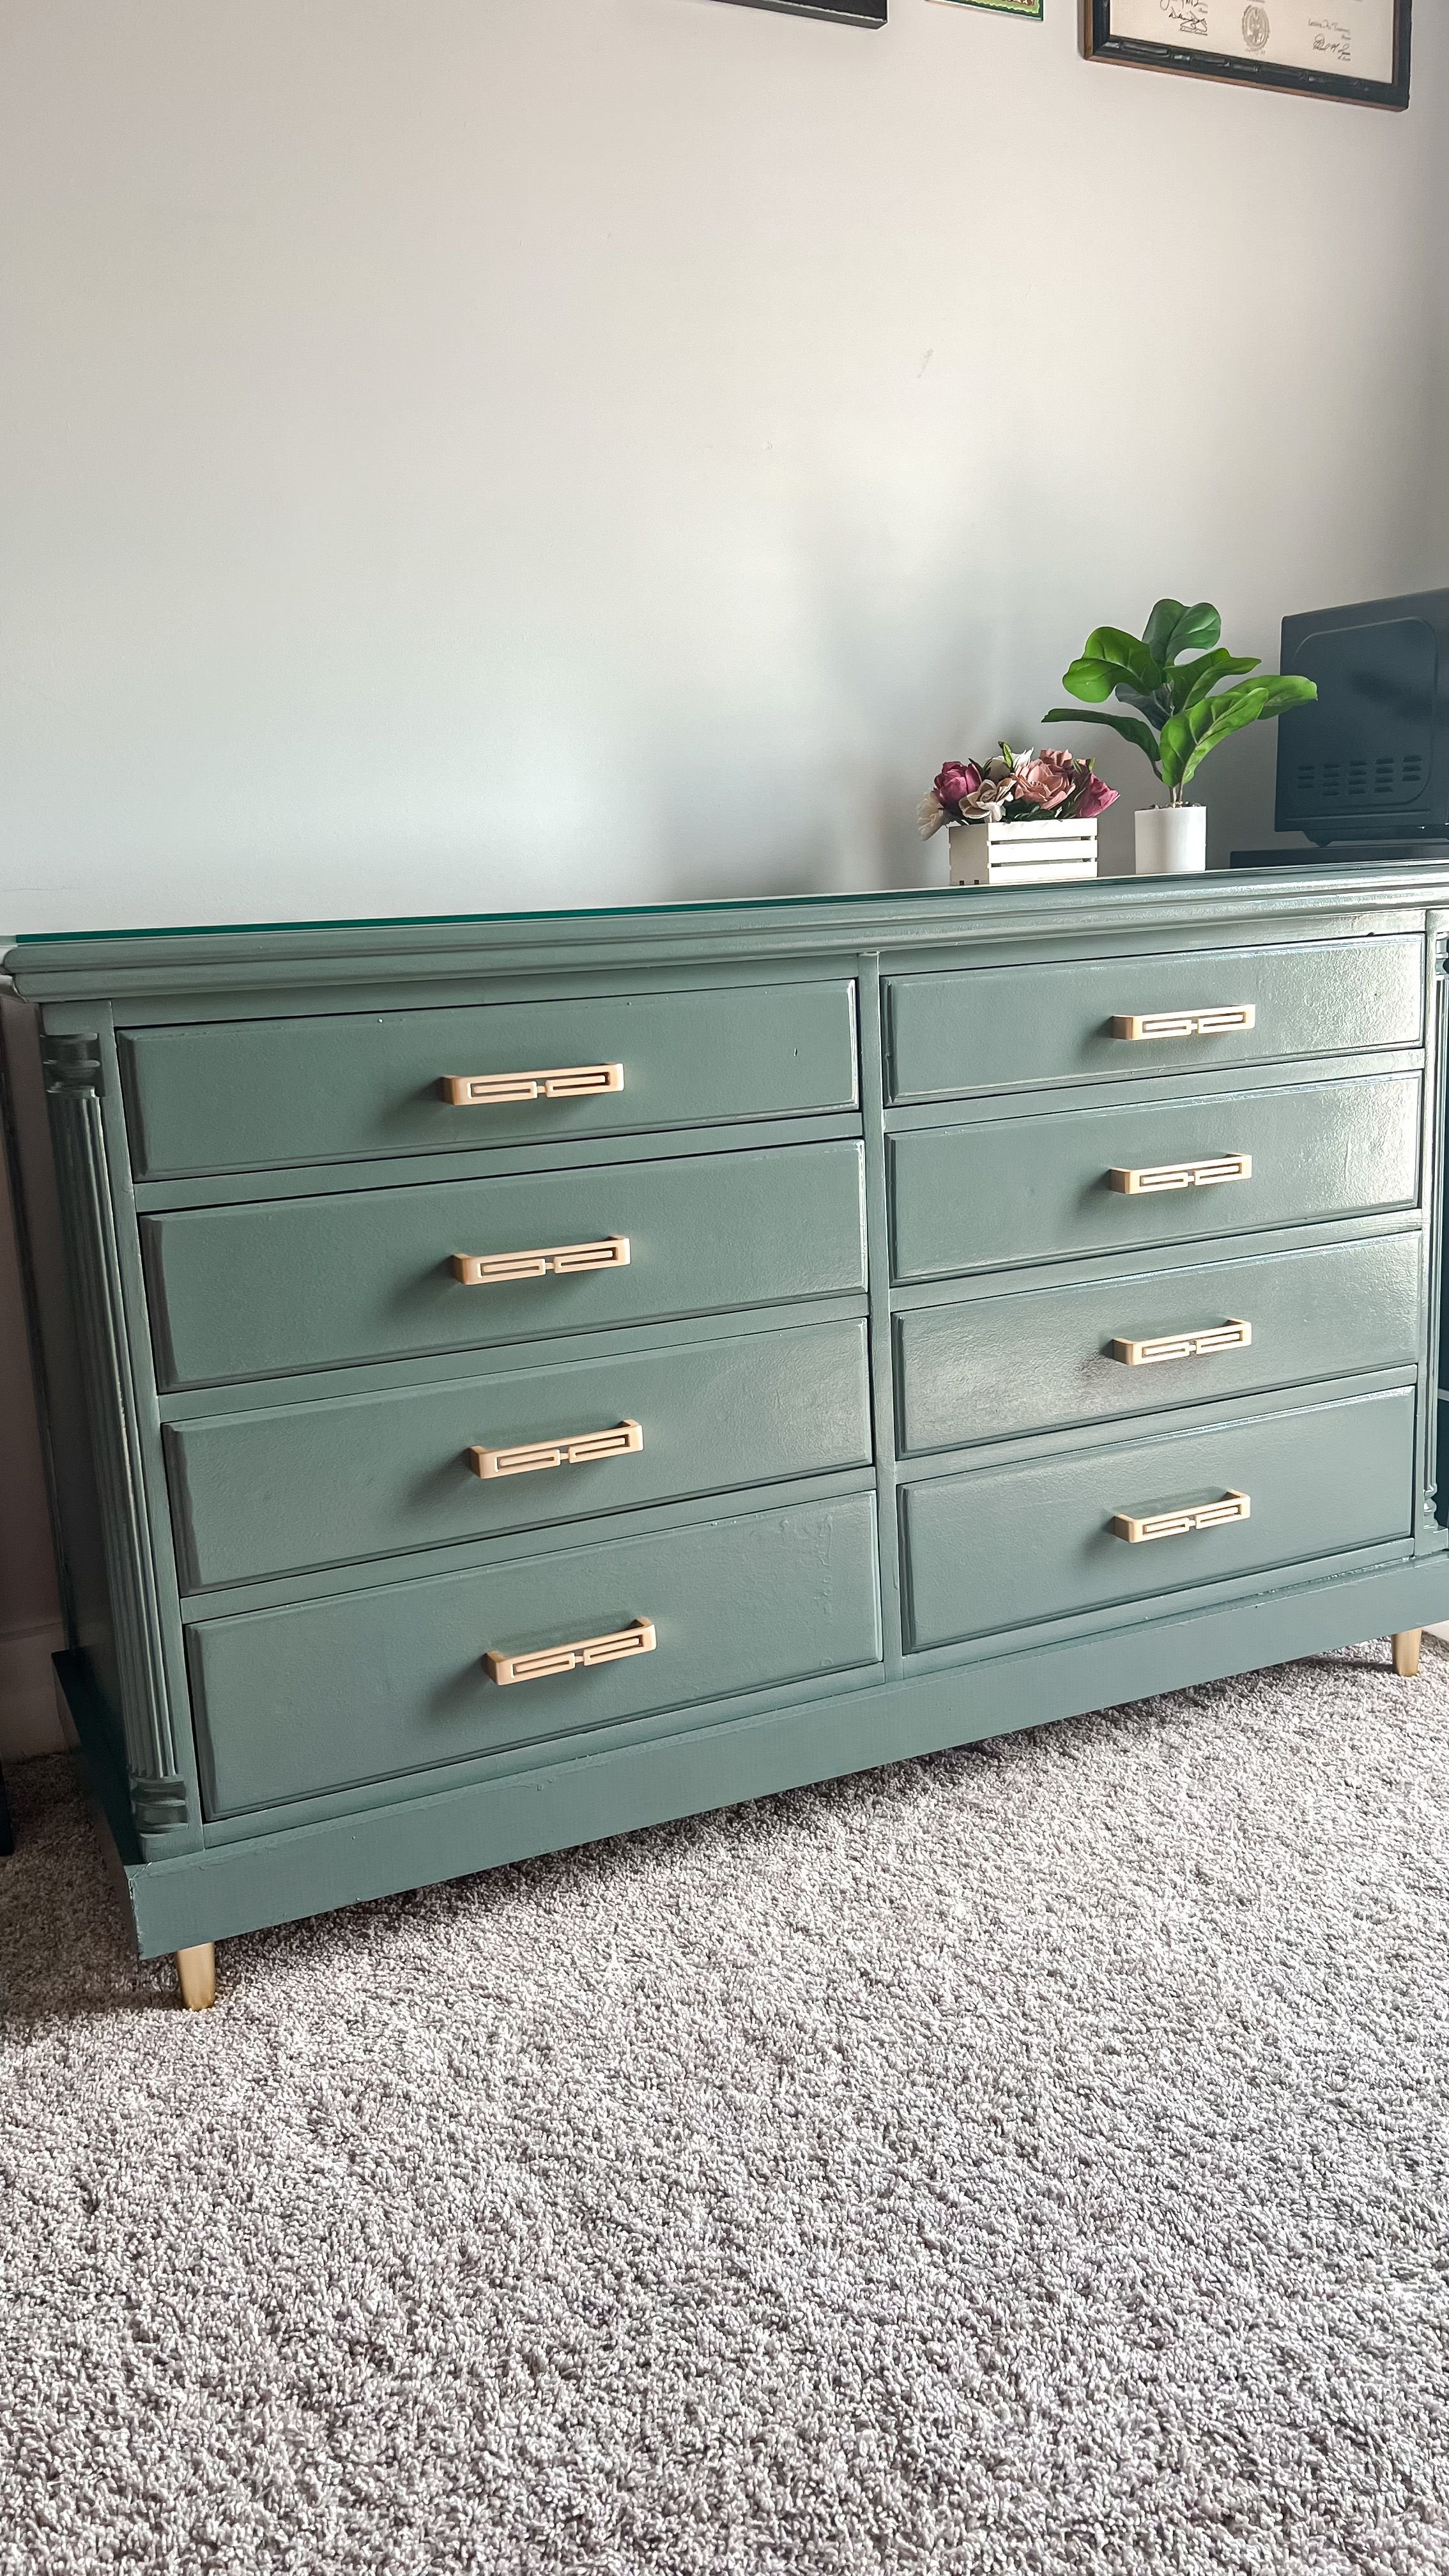
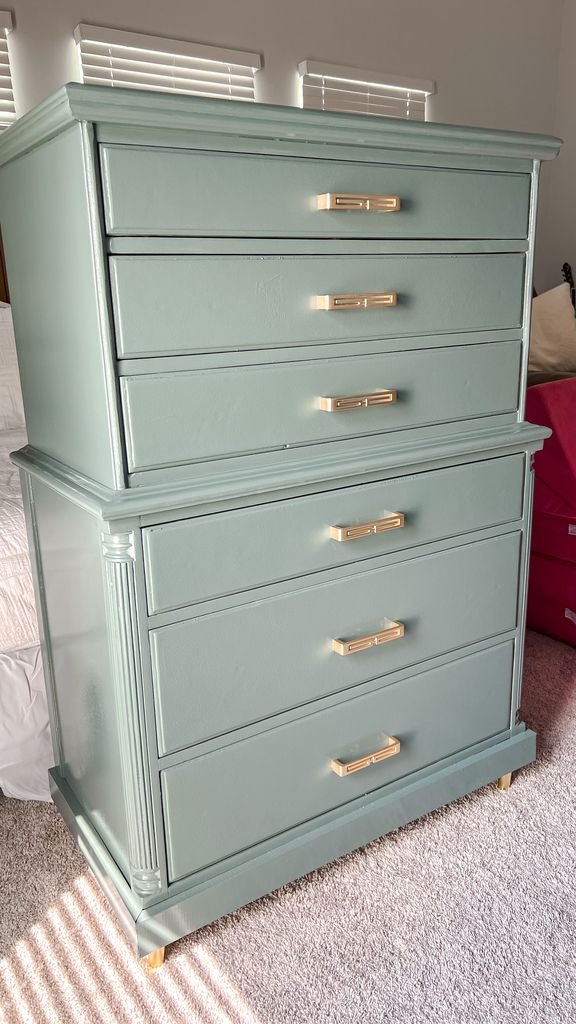
Refinishing Antique Dressers | Finished Product
I finished up by adding these pretty and unique drawer pulls, which I love. While I didn't get my initial vision for these dressers, I did end up with something I absolutely love and I know we’re going to use for a long time. Everything I used here is linked below.
Refinishing Antique Dressers | Shop
