
Making Over My Son’s Room Part 9: Ball Catcher
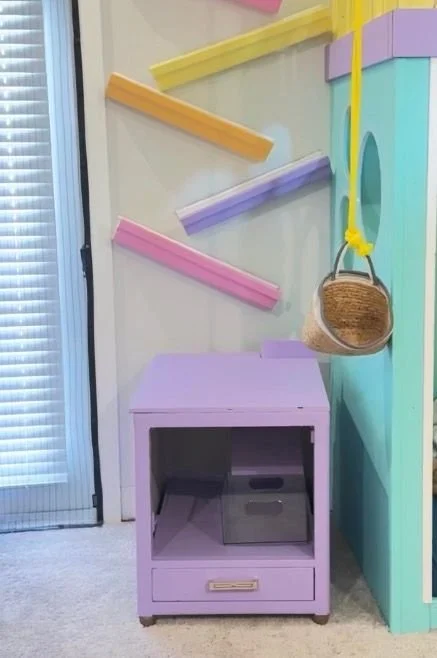
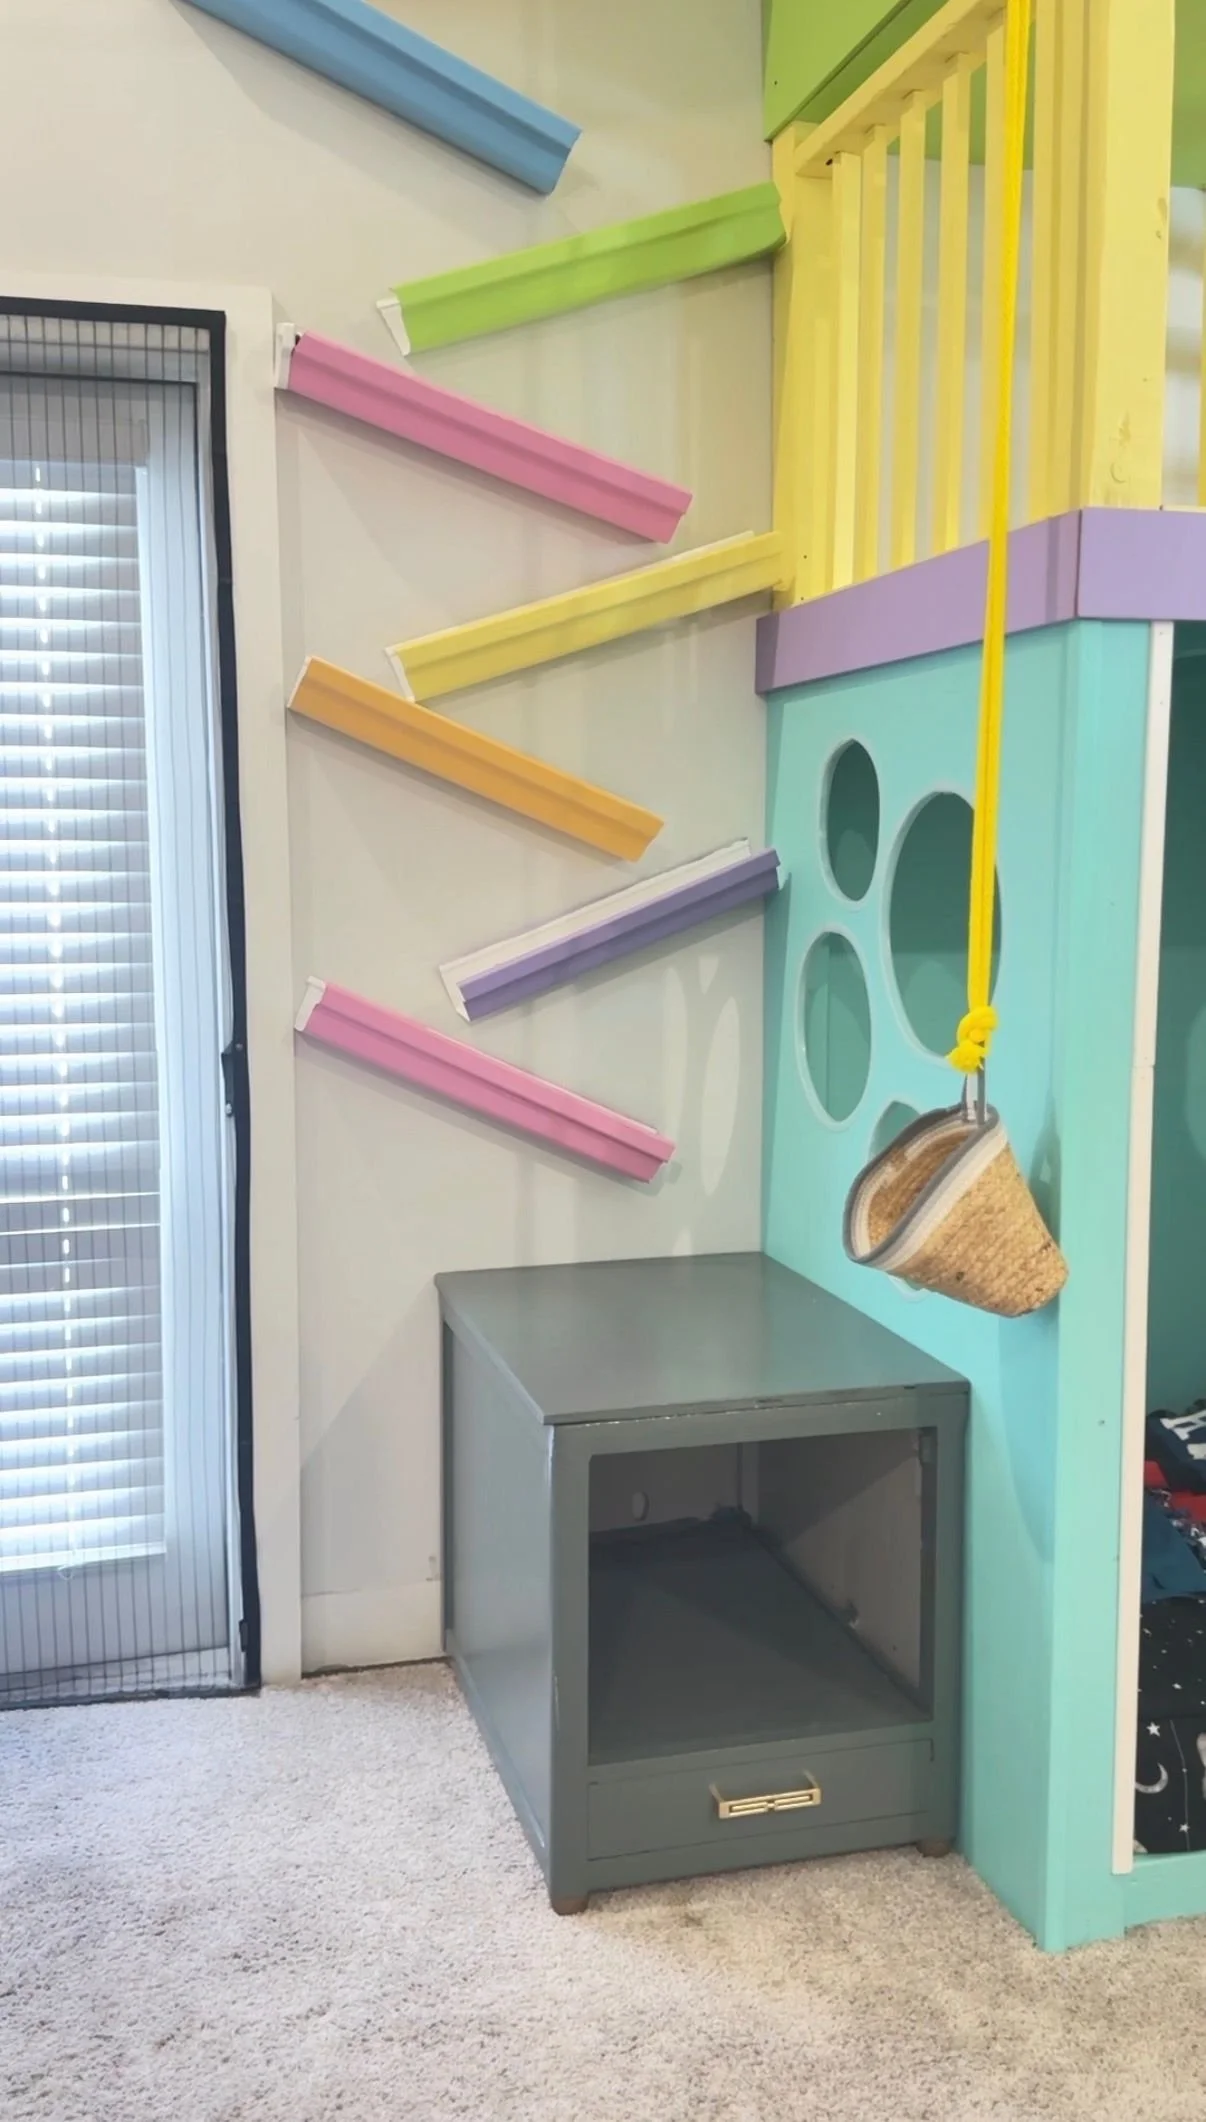
We are back again with a project in my son's room! A little while ago, I created the ball run in my son's room. It has been such a huge hit in our house so far. My only complaint was we didn't have anywhere for the balls to land so they ended up all over the floor. I had one of the end tables (I have redone these countless times to fit our needs over the years) sitting where the ball run ends. I figured I might as well put it to use and have it actually catch the balls so I whipped out my saw and some paint and got started.
Making Over My Son’s Room Part 9: Ball Catcher | Getting Started
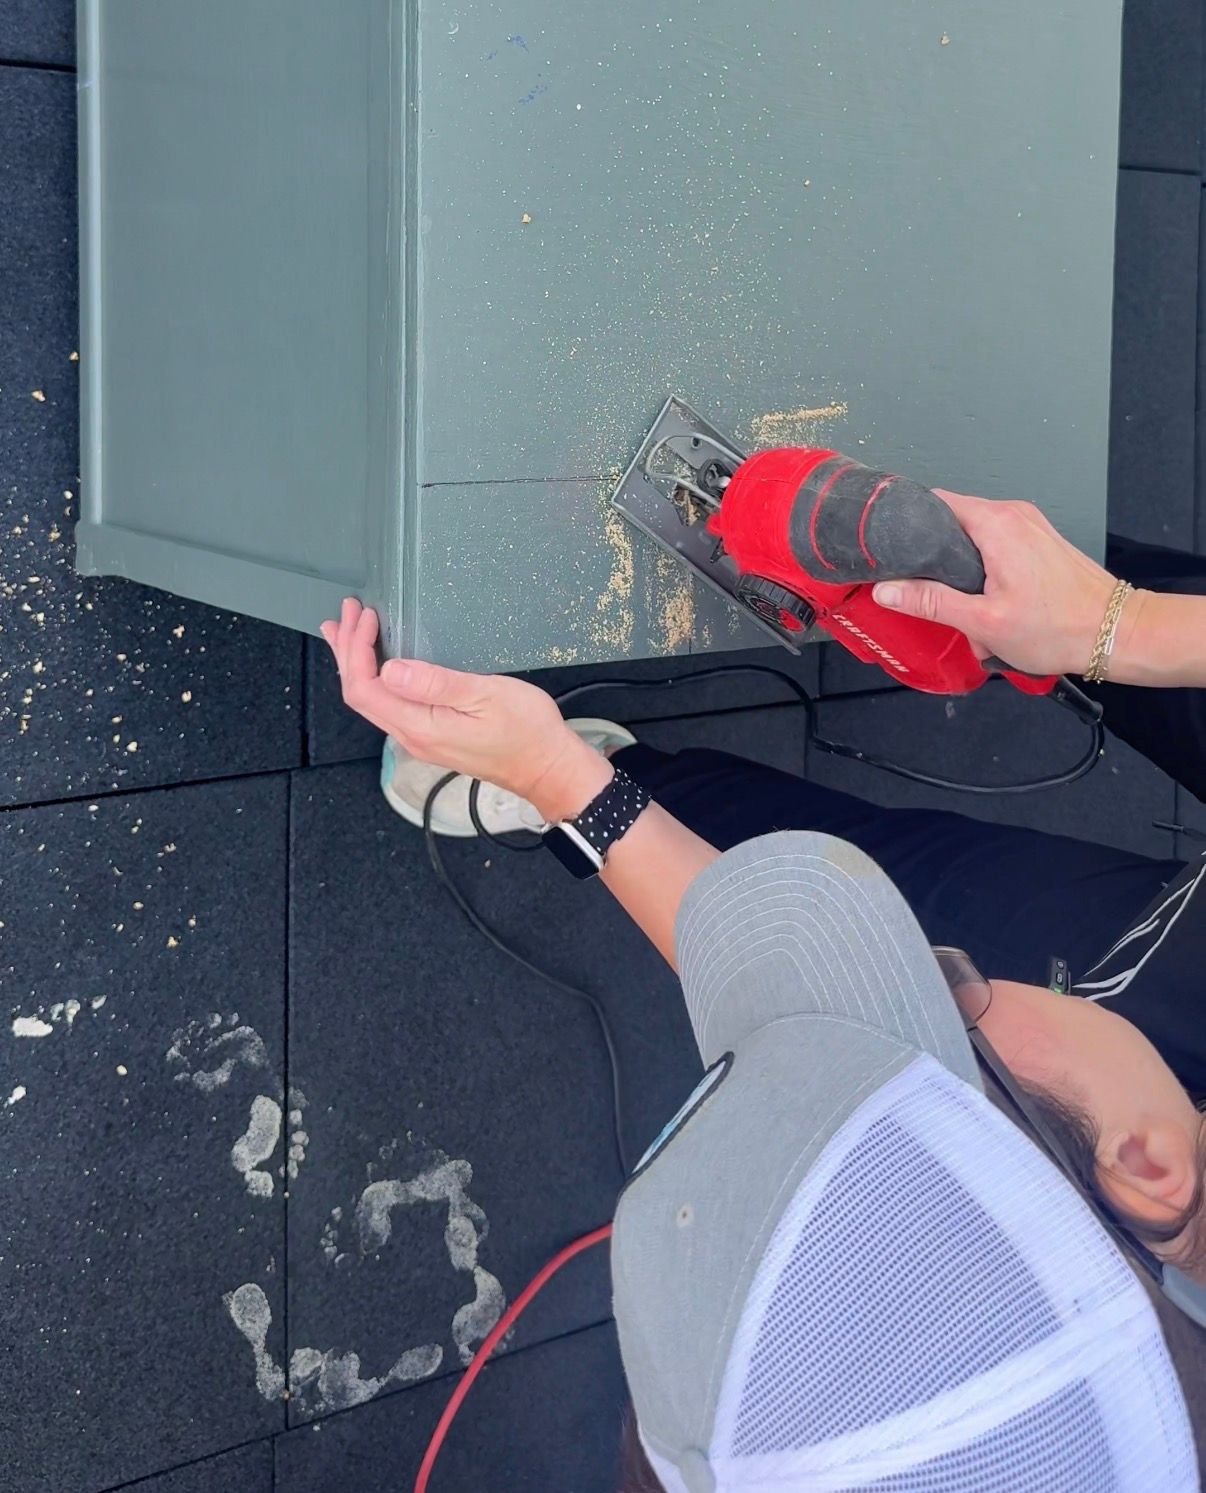
I started off by measuring where I was going to cut into the tabletop, and then on that inside corner, I drilled a hole into the tabletop. When you're using a jigsaw, it's best to cut from the inside out, and so having a starting hole in the tabletop made that a lot easier. I continued to use the jigsaw to cut into the table. I forgot I previously put a second slab of wood on top of the table to make it taller, so it made it a little more difficult to cut through it. I ended up getting my circular saw out to help with getting the edges up, and then I just used my trim puller to pry these pieces off and get the screws out. Once I made the hole in the tabletop, I went on to cut the pieces of wood I needed for the ramp and the casing around the hole. Then it was time to move onto sanding.
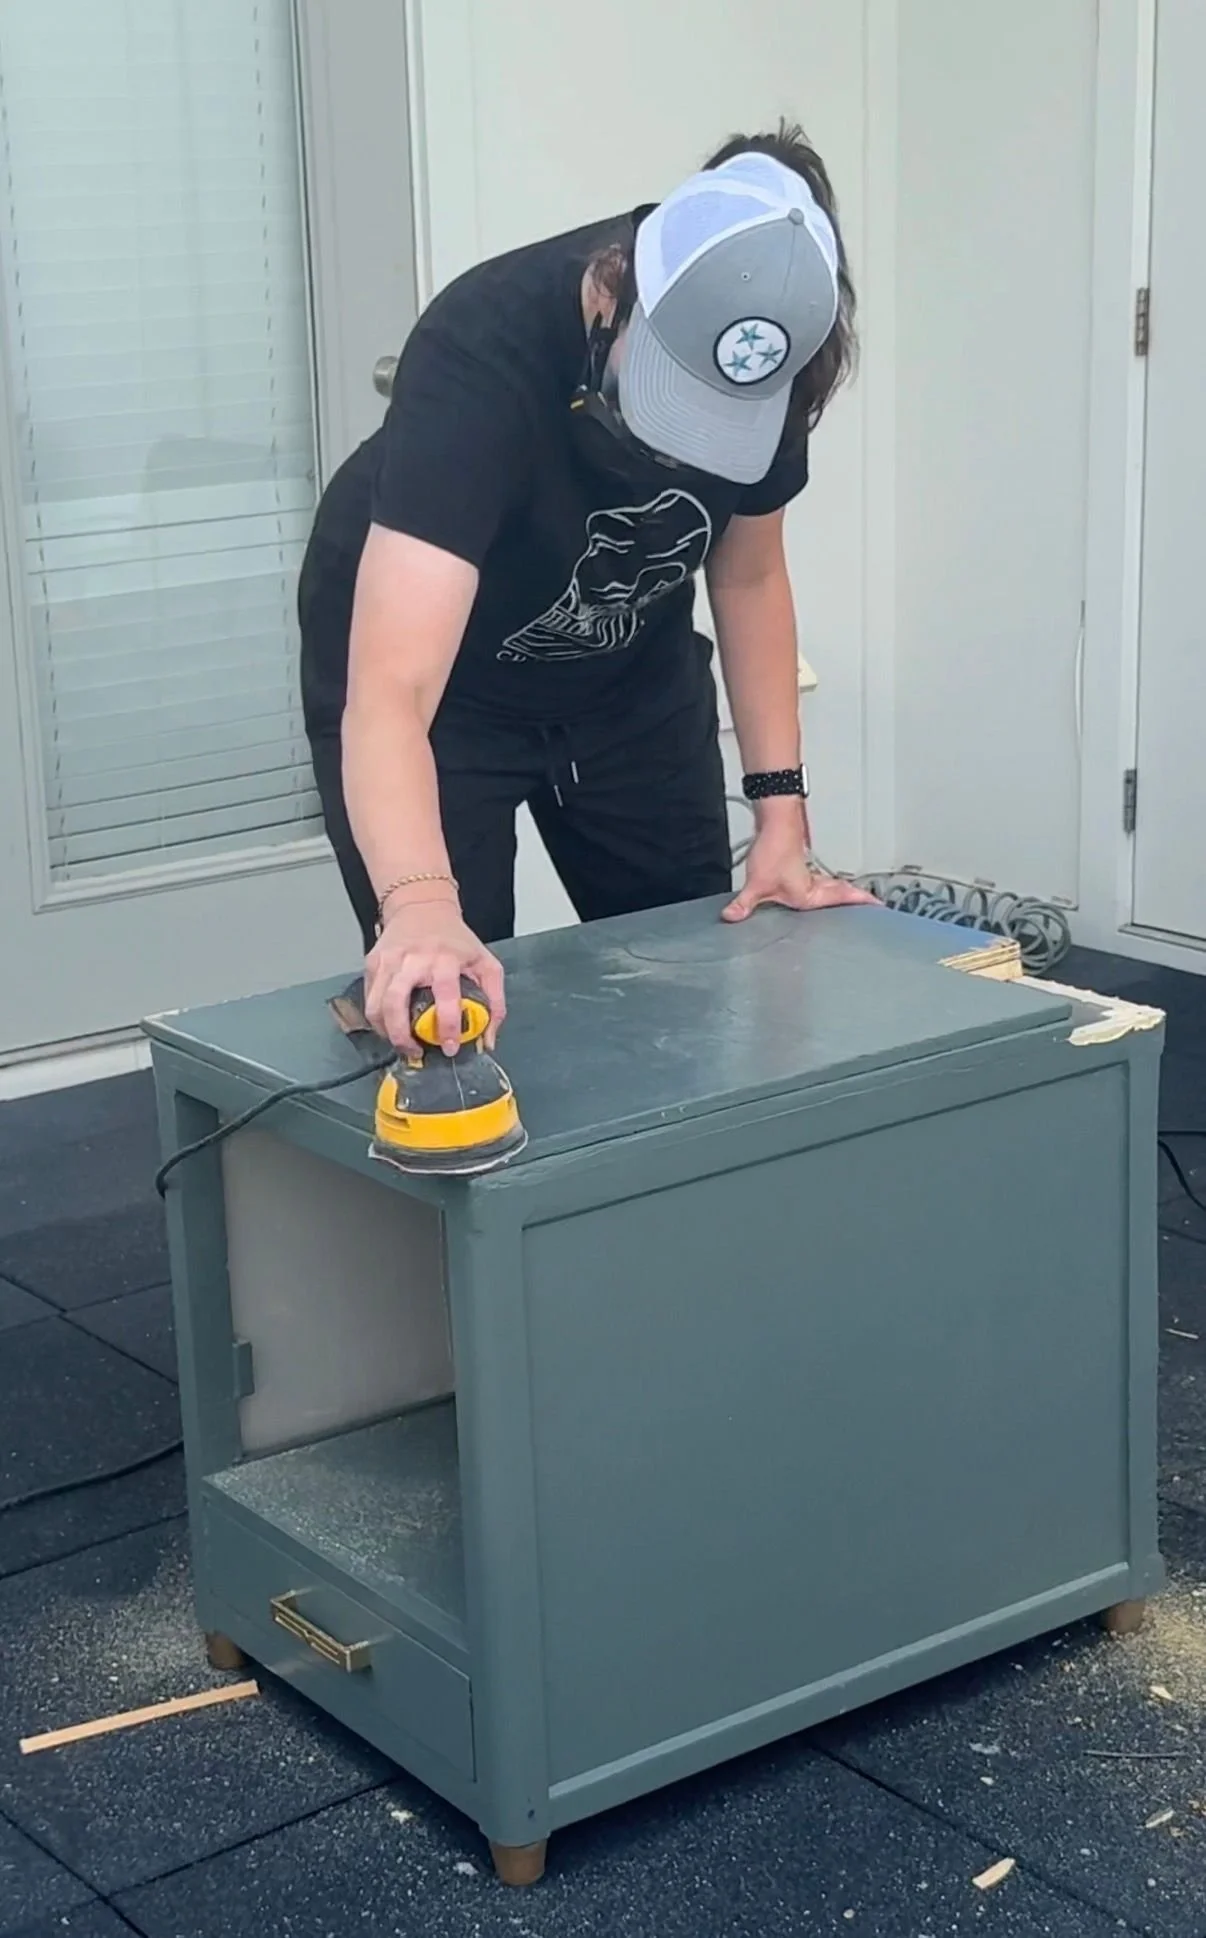
I did a rough sanding over everything, just enough to scuff up the paint so the next coat of paint would stick. After I had started sanding, I realized I'd completely forgotten about the drawer. So I had to remove the drawer and all of the stuff inside of it and sand down the inside, sides, and front of the drawer, and take the handle off. I wiped everything down to make sure there weren't any particles left, and then got ready to paint.
My trick for painting any furniture is to do two coats of primer then two coats of paint and sand in between each coat. If I was working with raw wood, I would only use one coat of primer since raw wood soaks the primer pretty fast, so you layer a sealant on the wood prior to applying the primer to create a seamless finish.
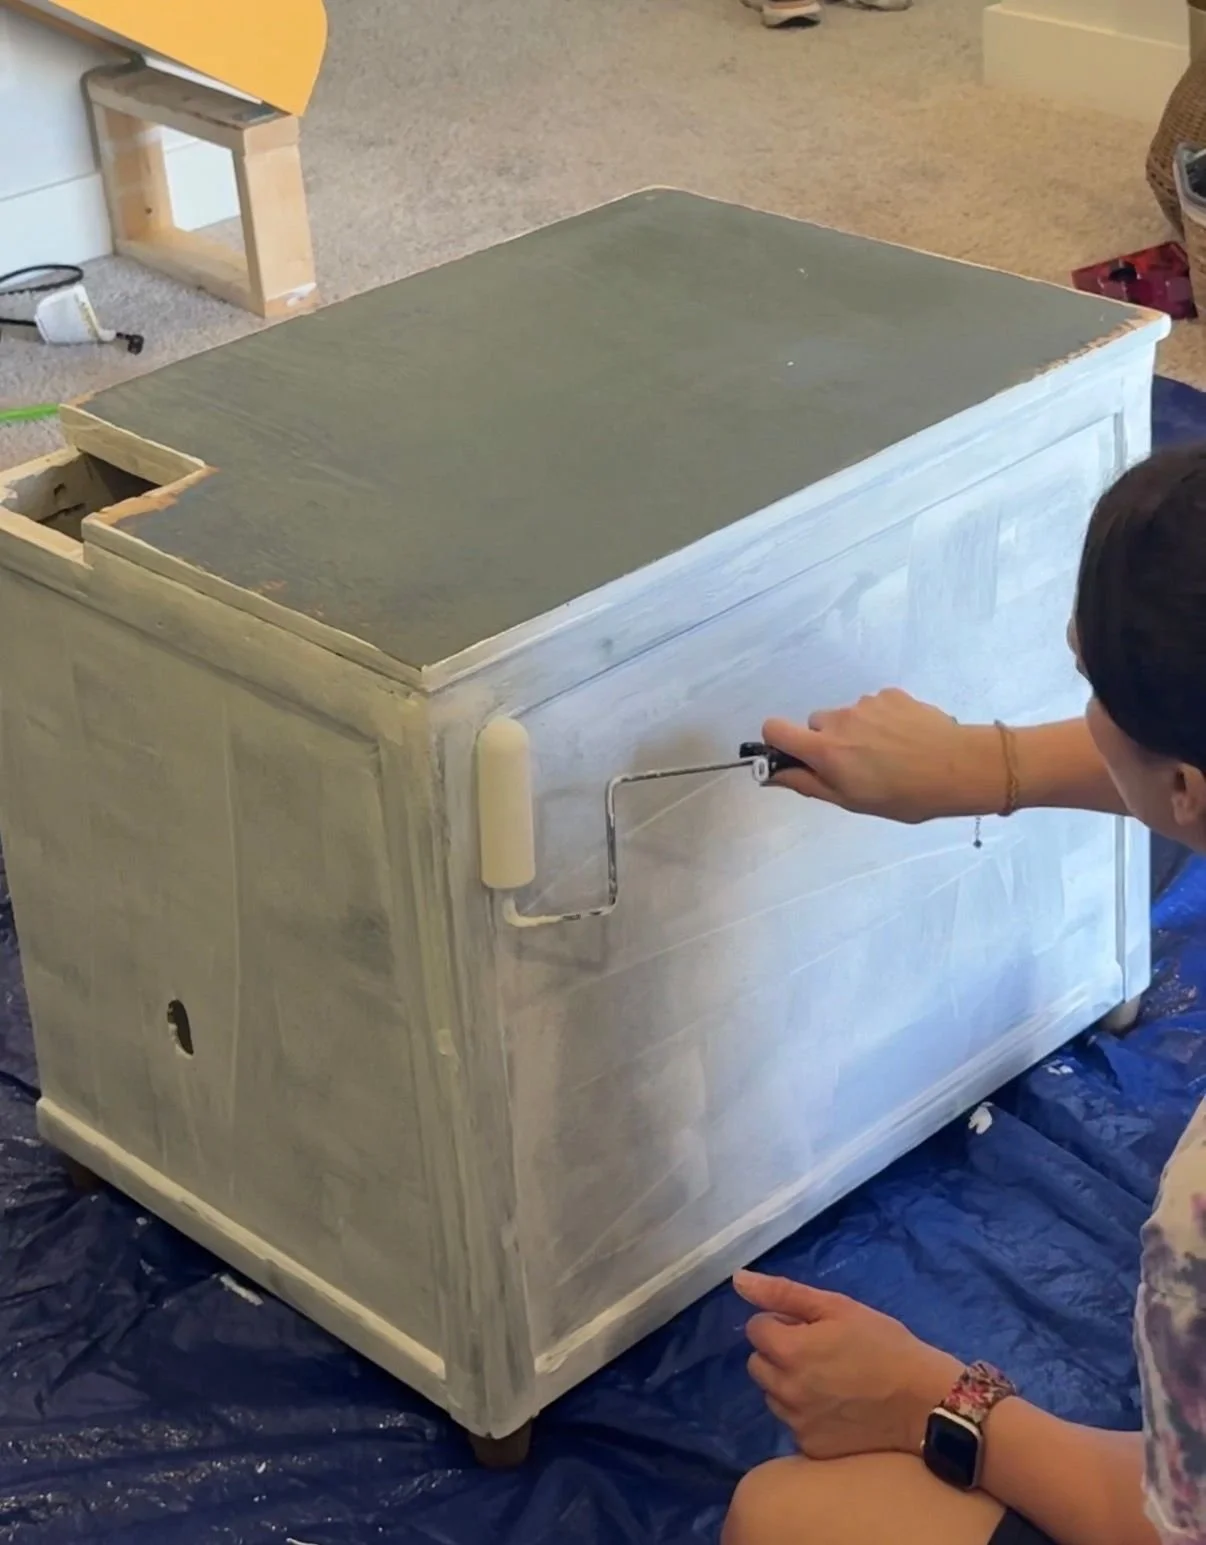
After I did both coats of primer and sanding, I went on to painting. I decided to go with "Mighty Aphrodite" by Benjamin Moore from the color palette I have for this room. Up until this point, I'd only used the purple on the trim between the two levels, and so I felt like it was time to let this color shine. I did the same thing that I did with the primer so two coats with sanding in between.
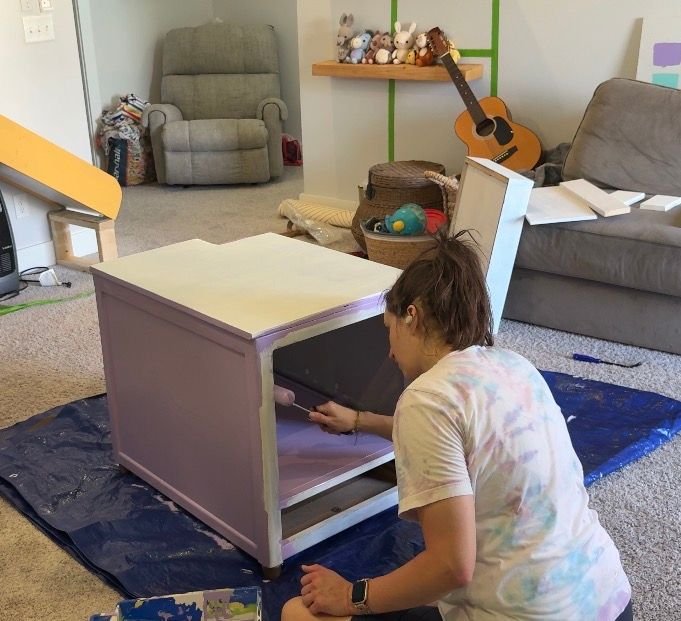
After I finished paining I let it sit for a solid week after I painted it. This is crucial when painting furniture because you want to give the paint a chance to fully cure.
Making Over My Son’s Room Part 9: Ball Catcher | Finishing Touches
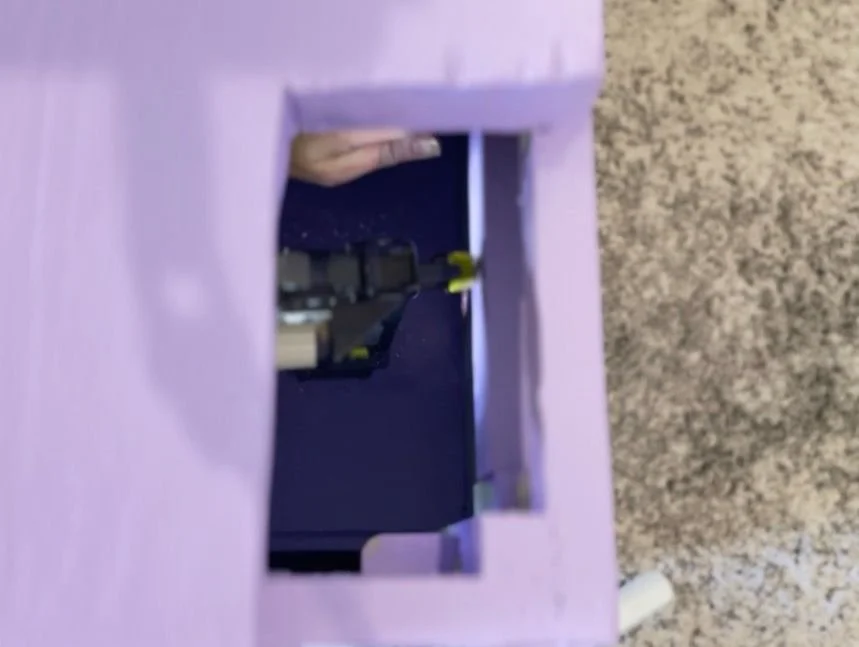
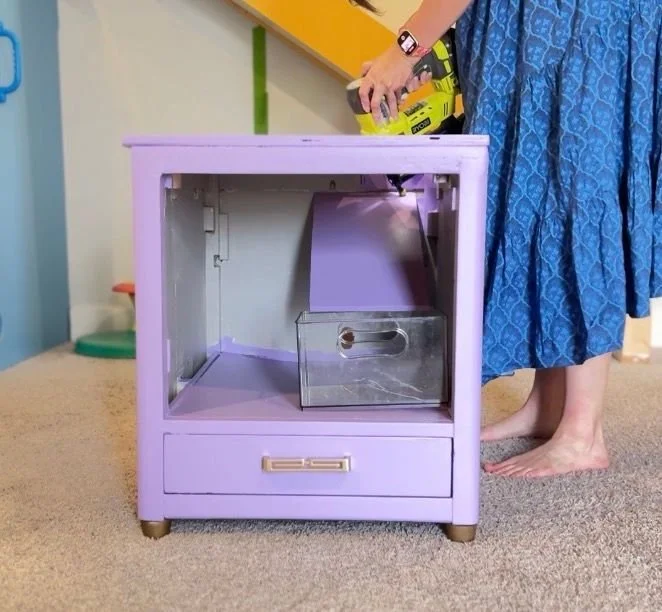
Once everything was cured, it was time to put in the ramp and do the casing around the hole on the top of the table. I attached a piece to the back of the inside of the table and to the top creating a French cleat situation.
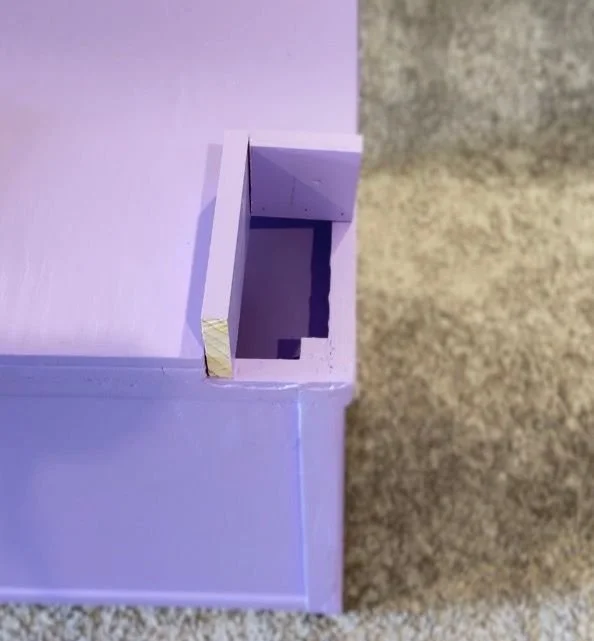
I attached the ramp to the cleat with a brad nailer. On the top, I took two pieces of wood I cut to the right sizes, and used my brad nailer to attach them to the top of the table, encasing it in. This ensures that if anything fell, it stayed within the ball catcher and when caught goes down the ramp instead of just bouncing all over the tabletop. Now for the the fun part, testing things out! I tried it out with a car and a ball, both of which my son uses the ball run for and they went down the ramp with zero problems.
I love how this turned out! I love that I was able to utilize this same piece of furniture to fit our needs once again and it makes clean up in my son's room so much easier and less overwhelming.