
How to Install a Faucet
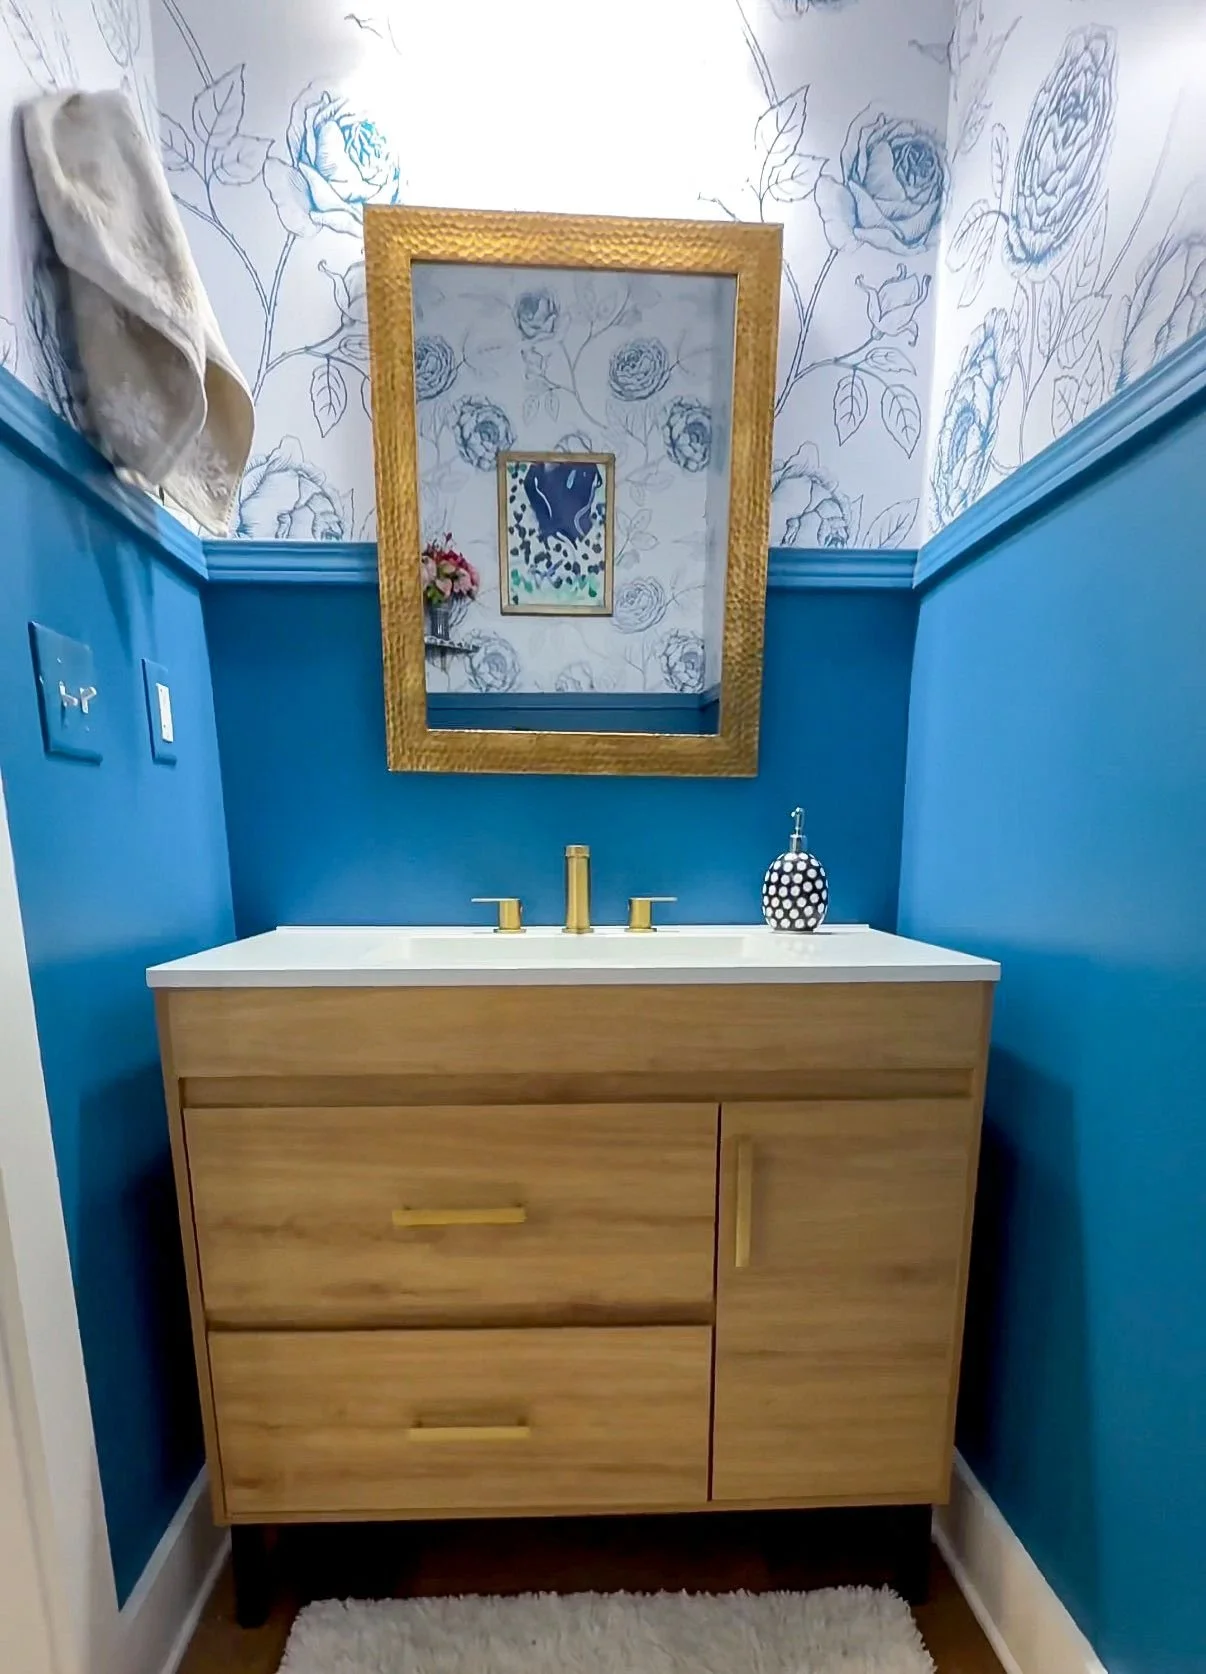
Over the years that I've been doing DIY, I've realized there are a few things that seem daunting, but are actually so stupid easy it's really silly not to do them yourself. One of those tasks is installing a faucet. I've done countless faucets at both my mom's and my house and it only gets easier. So, let me show you how so you can check that off your DIY bucket list!
How to Install a Faucet | Removing the Old Faucet
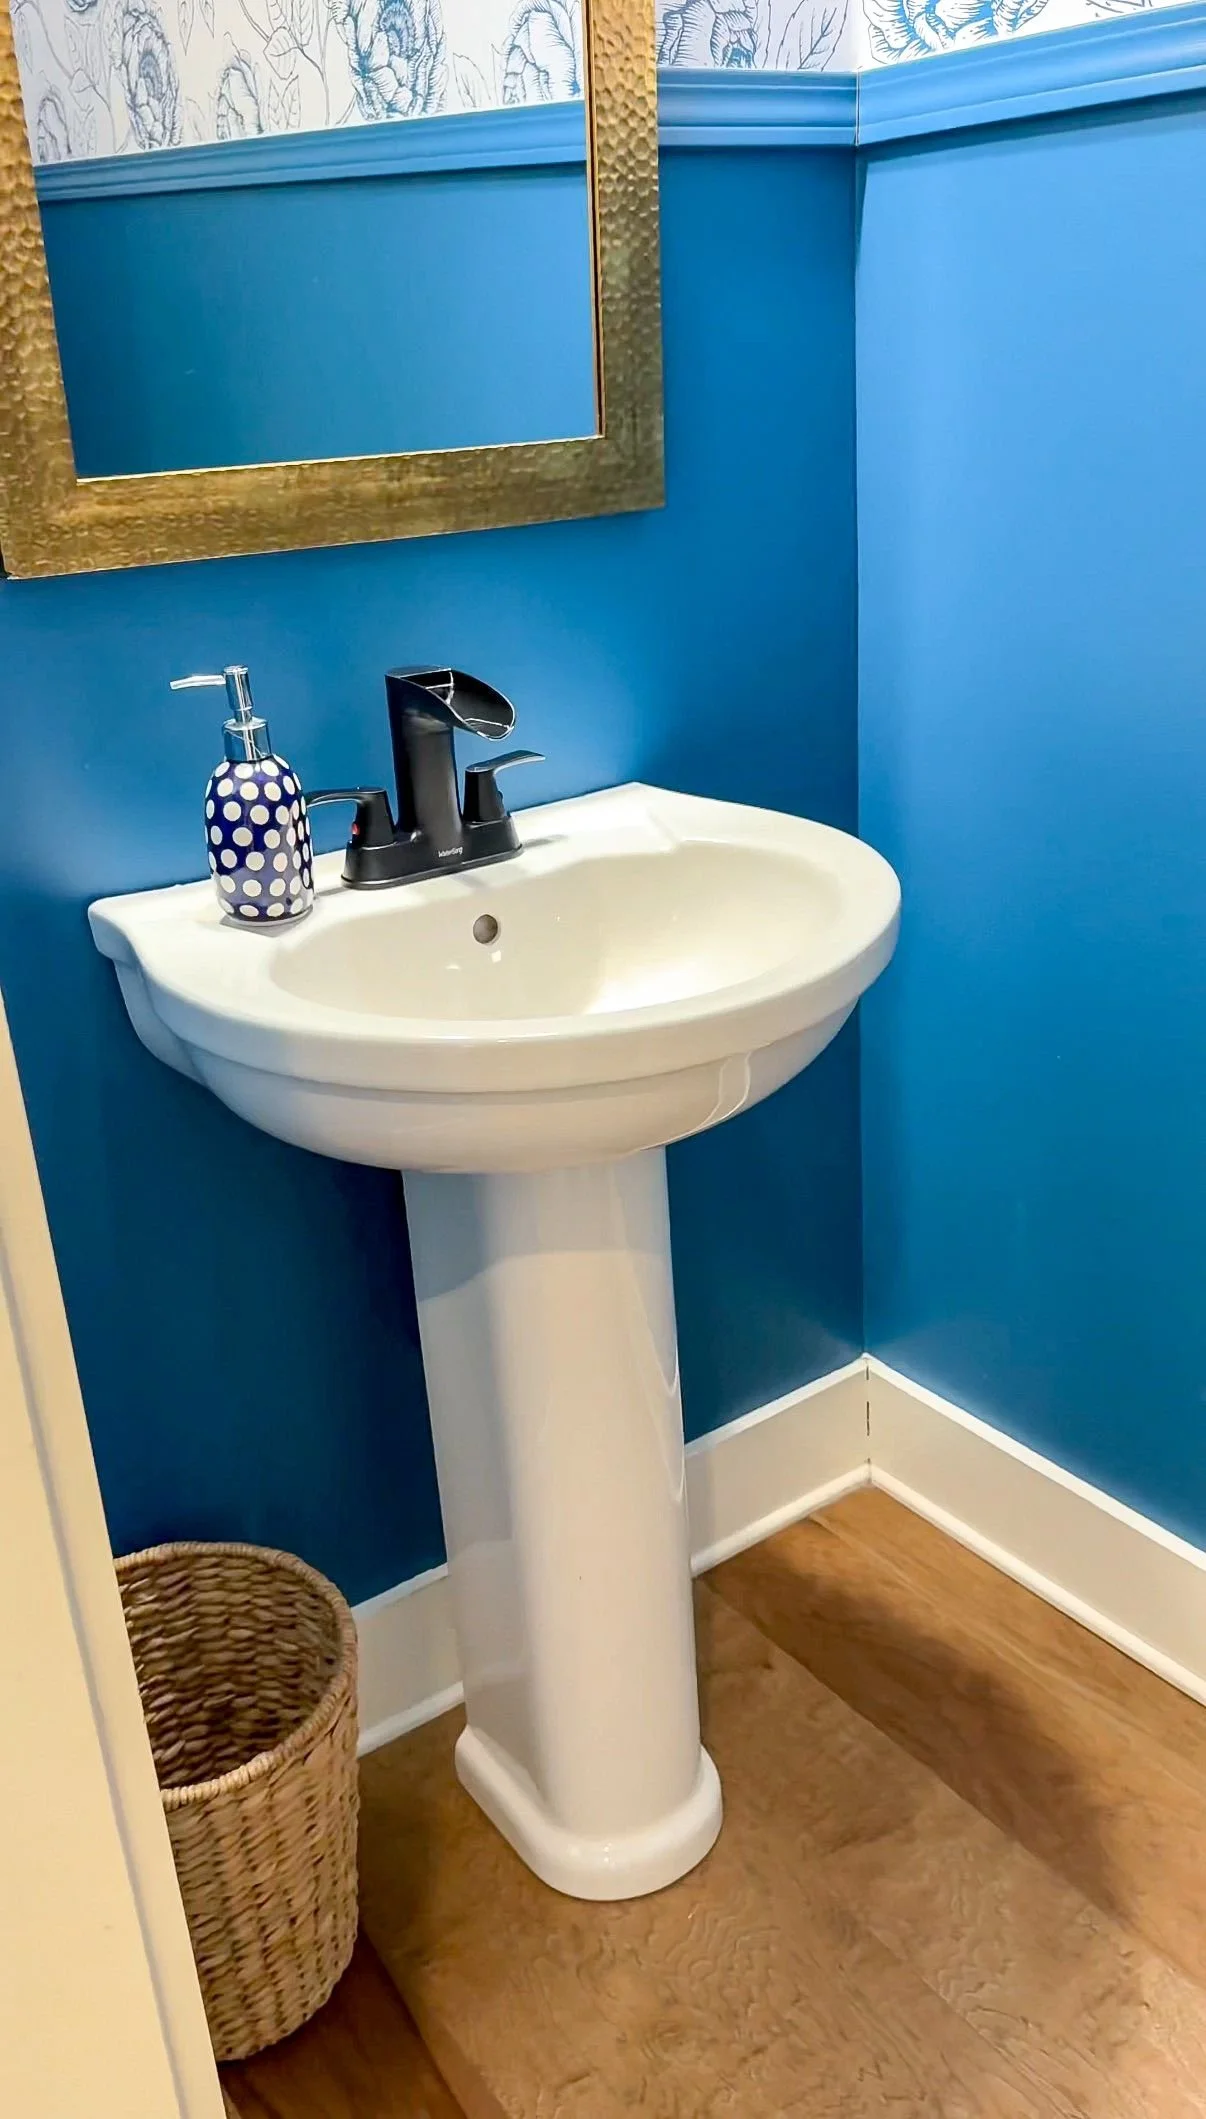
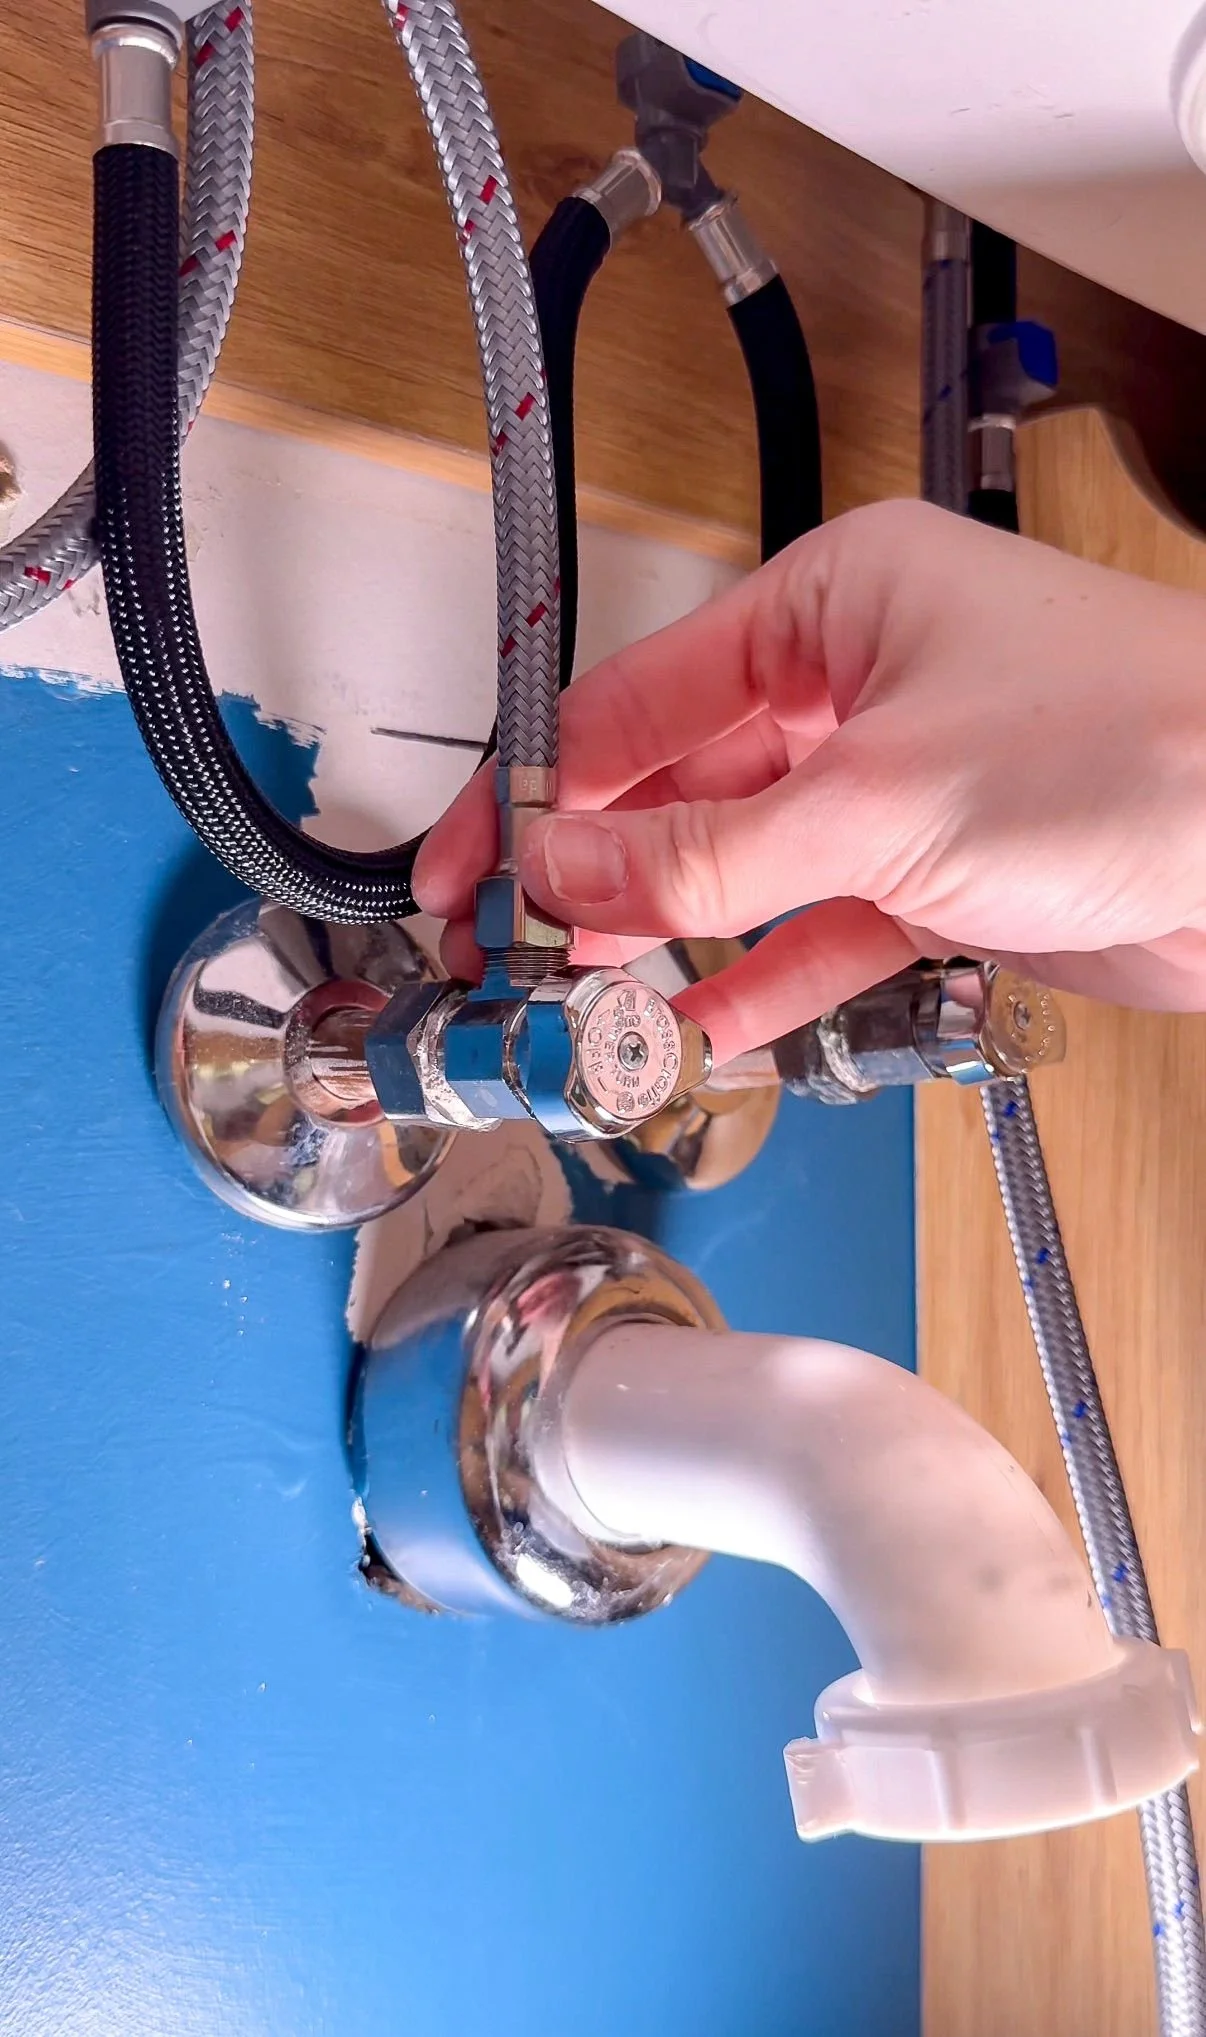
Before you install a faucet, you obviously need to remove the old faucet. The first thing you need to do is turn off both the hot and cold water. Turn both of those knobs to the right and then test to make sure there is no water coming out of the faucet. You should be able to do this by hand.
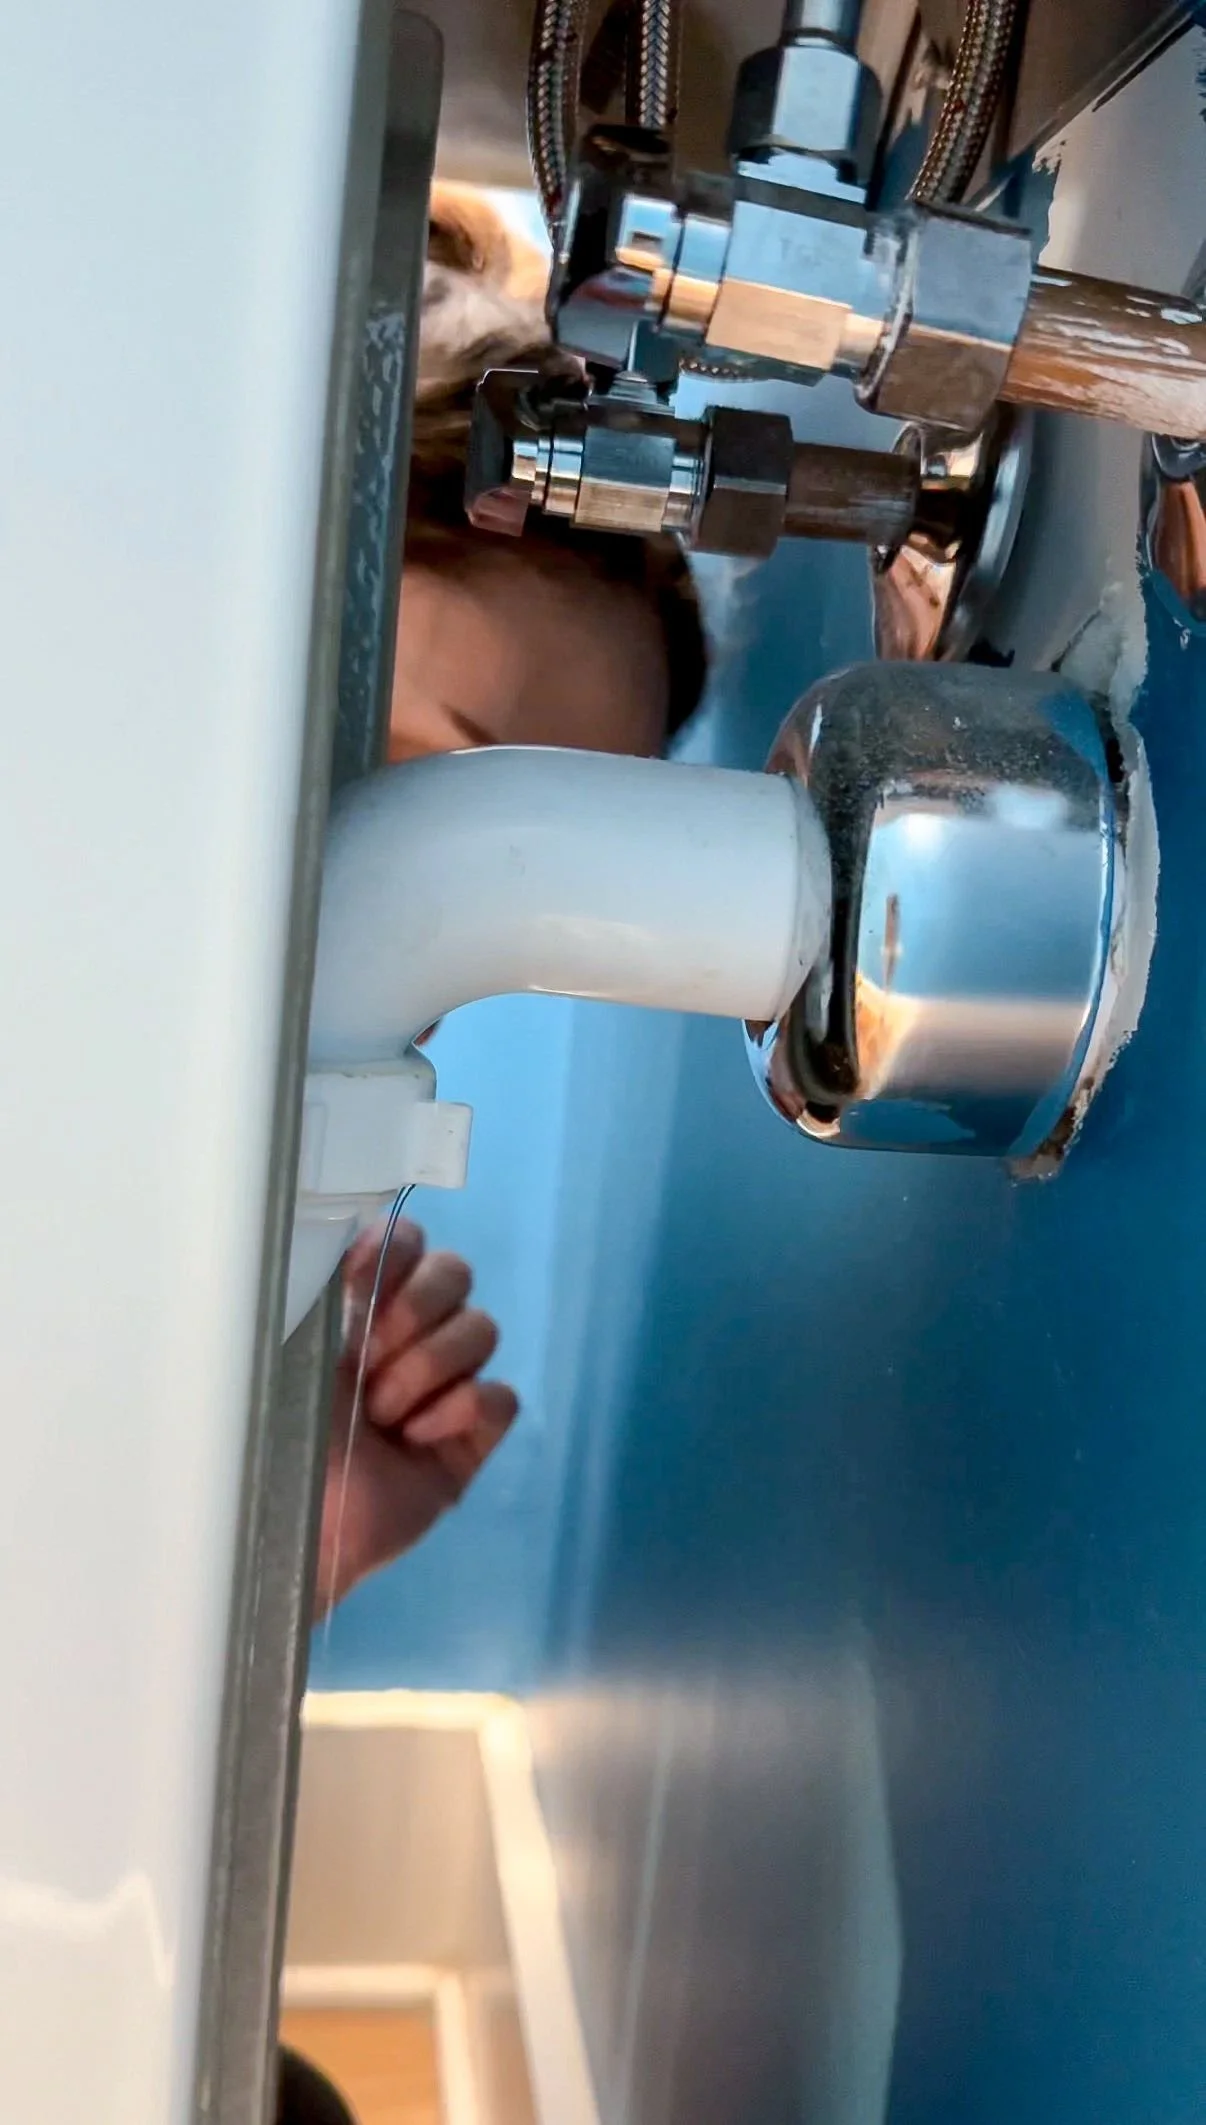
The next step is disconnecting the P-trap from the wall. Again, you should be able to do this by hand but you may need to loosen it up with a pair of pliers. You're going to unscrew that until the two pieces come completely apart. I always have a bowl sitting underneath to catch any water that may have been trapped in the P-trap. Now, the water lines need to be detached from the actual handles on the sink. You will find these at the very bottom up against the counter and will likely need some pliers to loosen them up. This is where things can get a little awkward because the angles you need to reach are a little weird. After those are unscrewed. you can remove the old faucet.
How to Install a Faucet | Installing the New Faucet
When installing the new faucet, I started with putting the faucet in the center and the two handles on the outside holes. The faucet I used in this example had water lines already attached to the handles, so I could just drop them down through the holes and tighten the nuts underneath the counter to make sure the handles were nice and tight. When you're working with a three-hole faucet specifically, you need to connect the spout to the two water lines. Most three-hole faucets come with a piece that connects the hot and cold water to the spout in the middle.
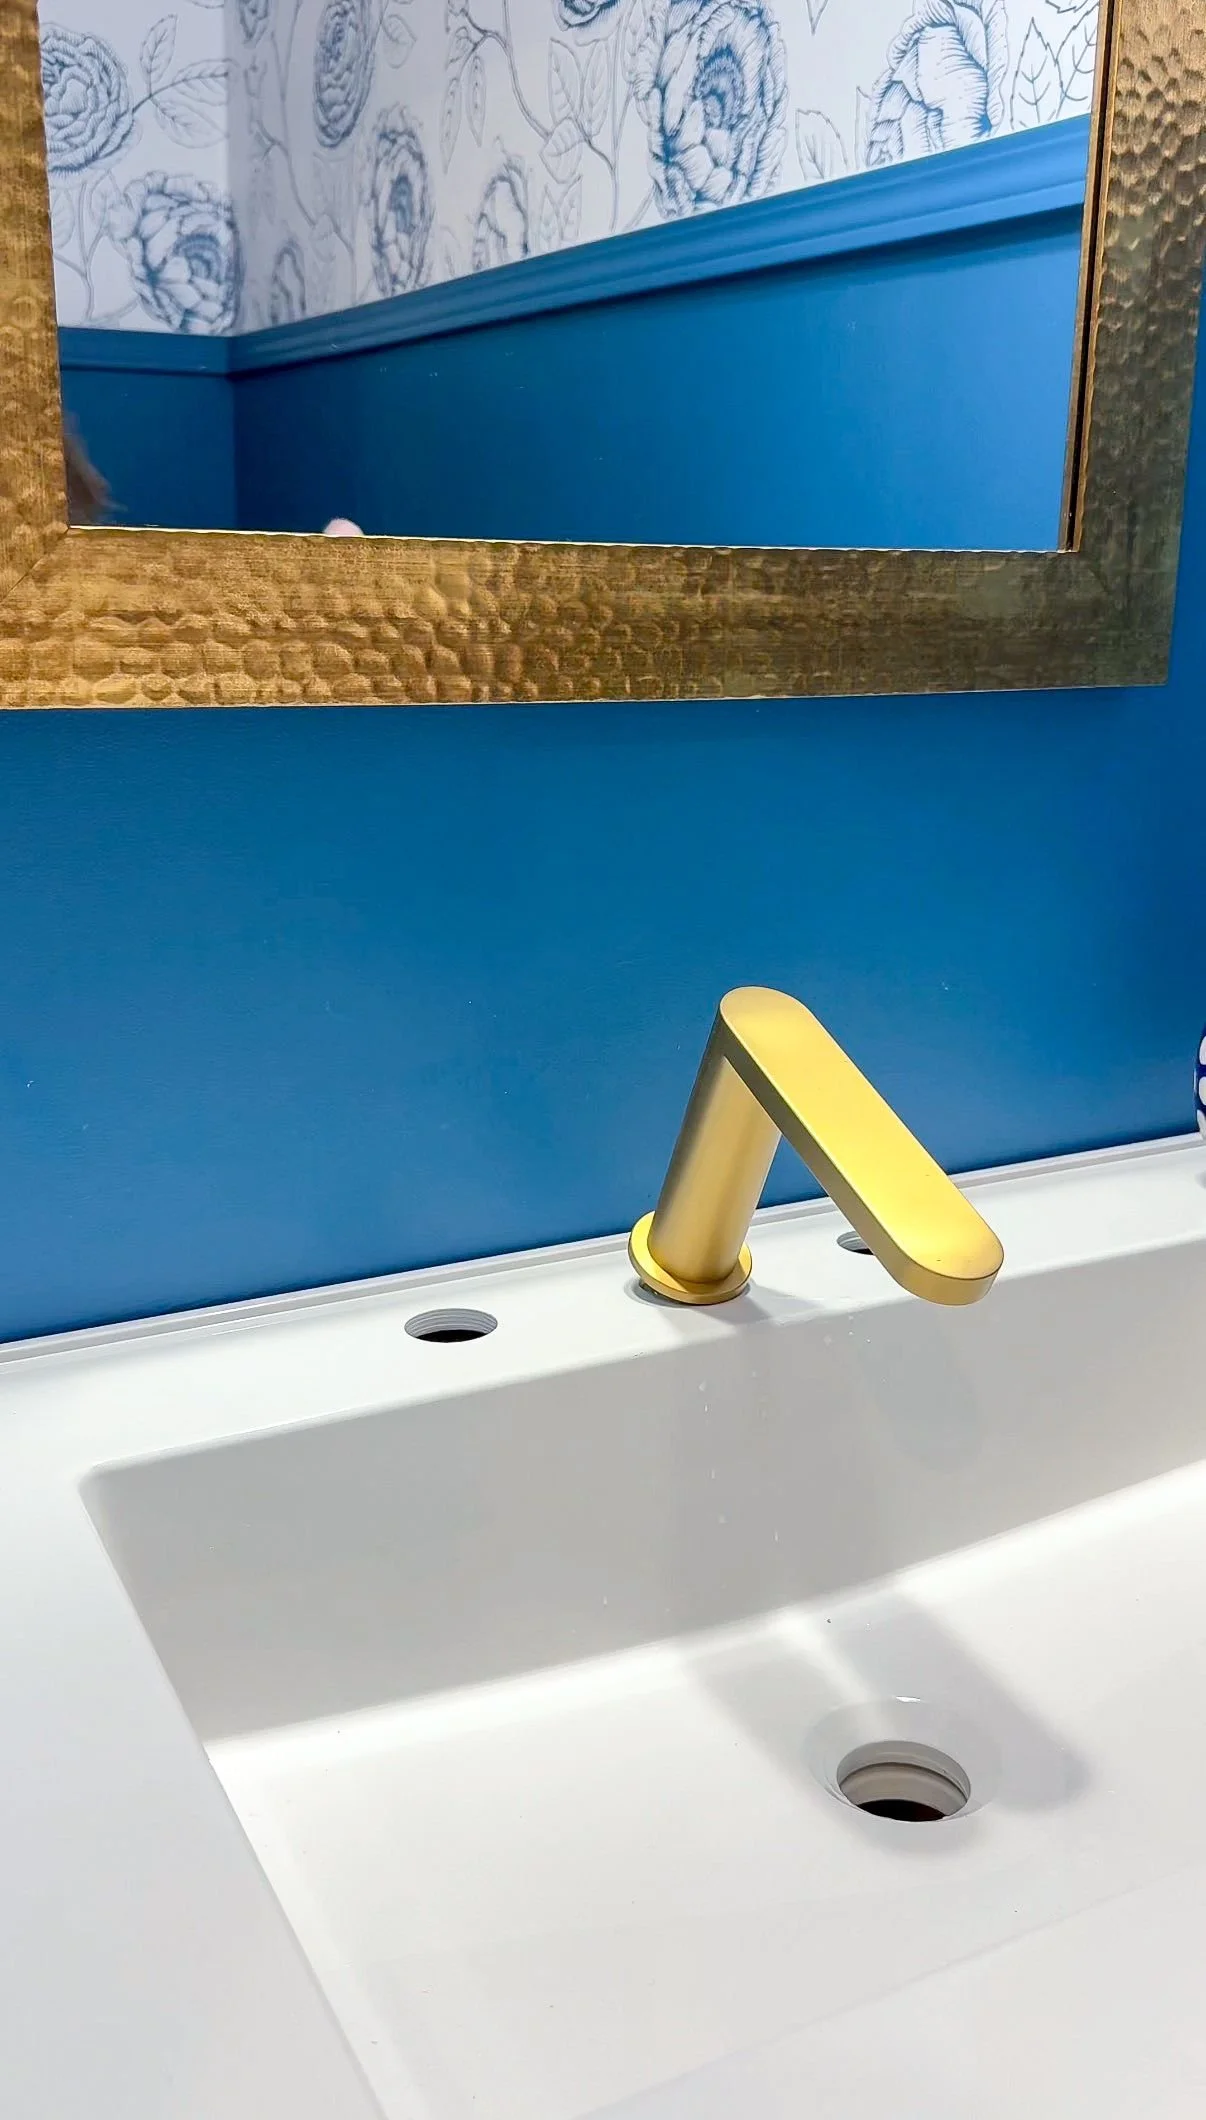
Once you have connected the spout in the middle to the two outside handles, you will connect the water lines from the handles down to the hot and the cold water on the wall. Make sure you're screwing those on nice and tight just by hand, you do not want to over-tighten these because it could lead to cracking and leakage.
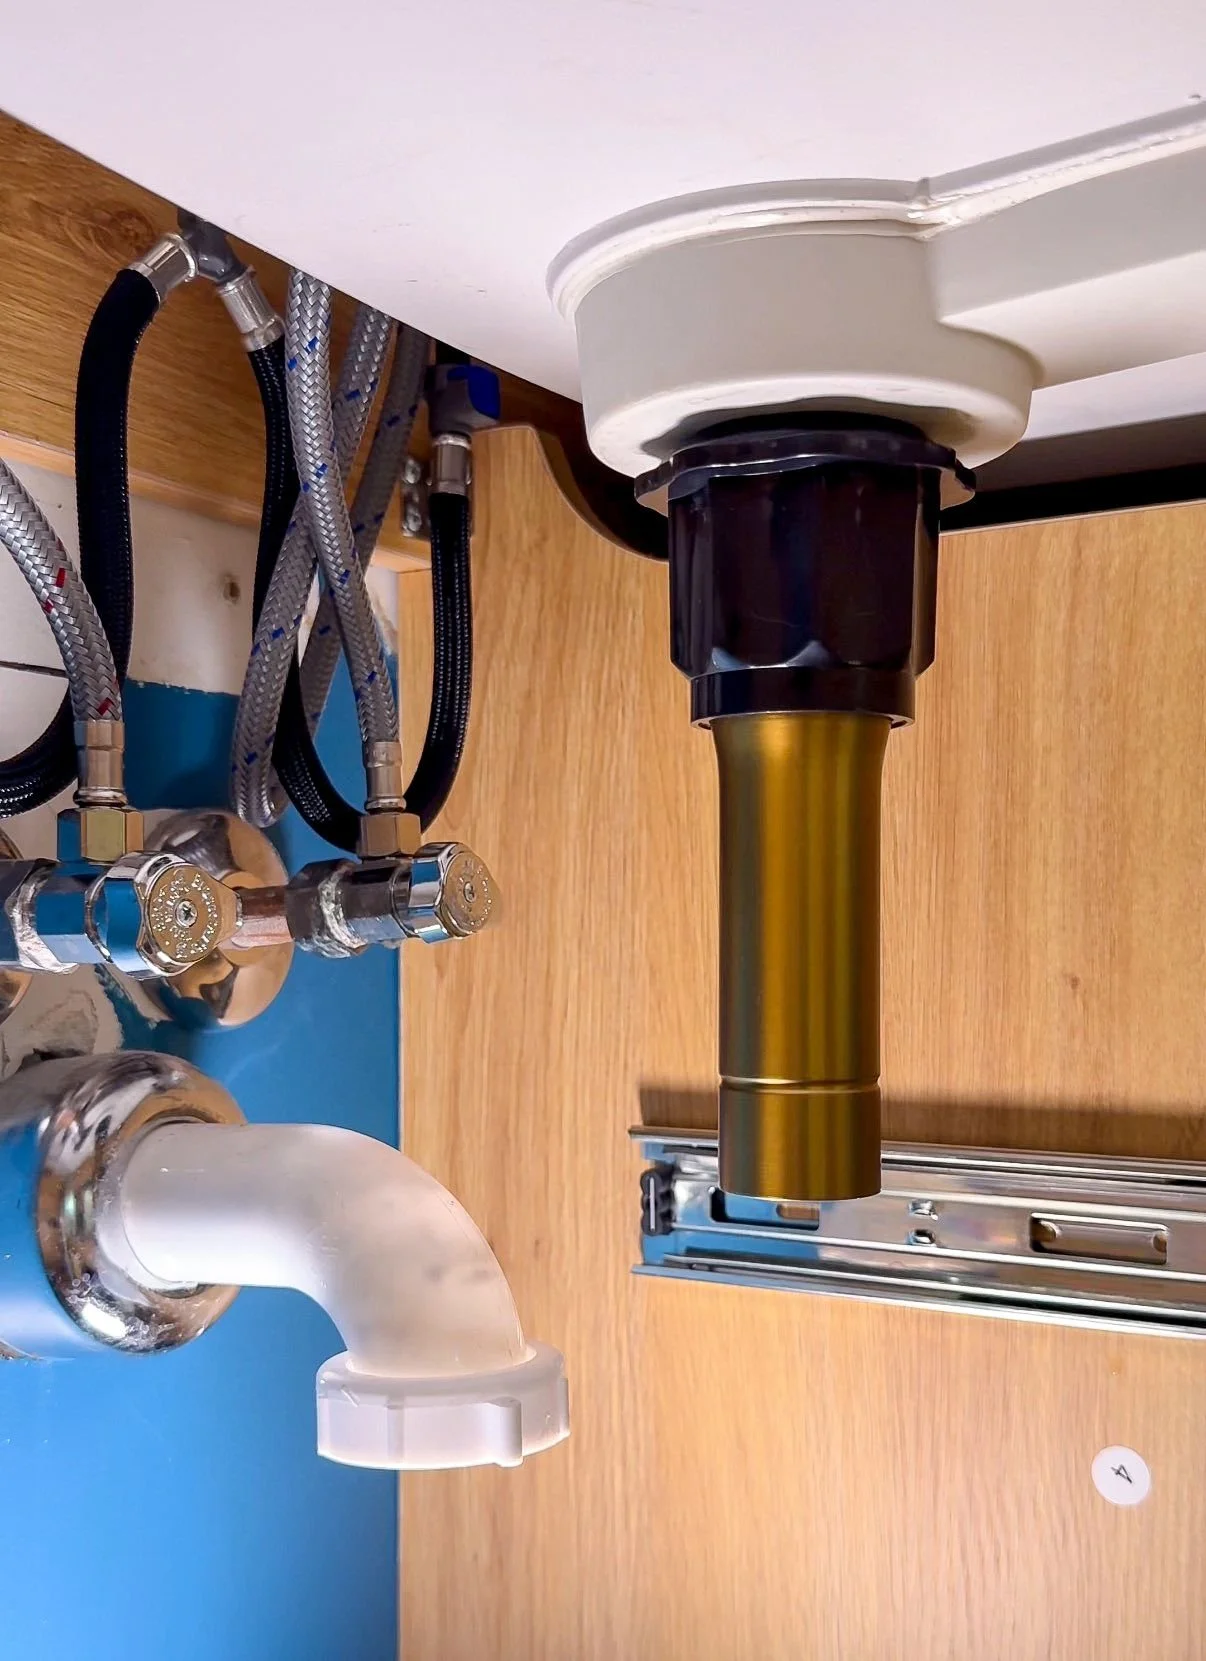
The next step is replacing the drain. You are going to drop the drain down the hole in the bottom of the sink and then use the provided washers and plugs up through the base of the drain so it is flush with the sink. Screw the provided nut only by hand to again prevent any cracking or leaking.
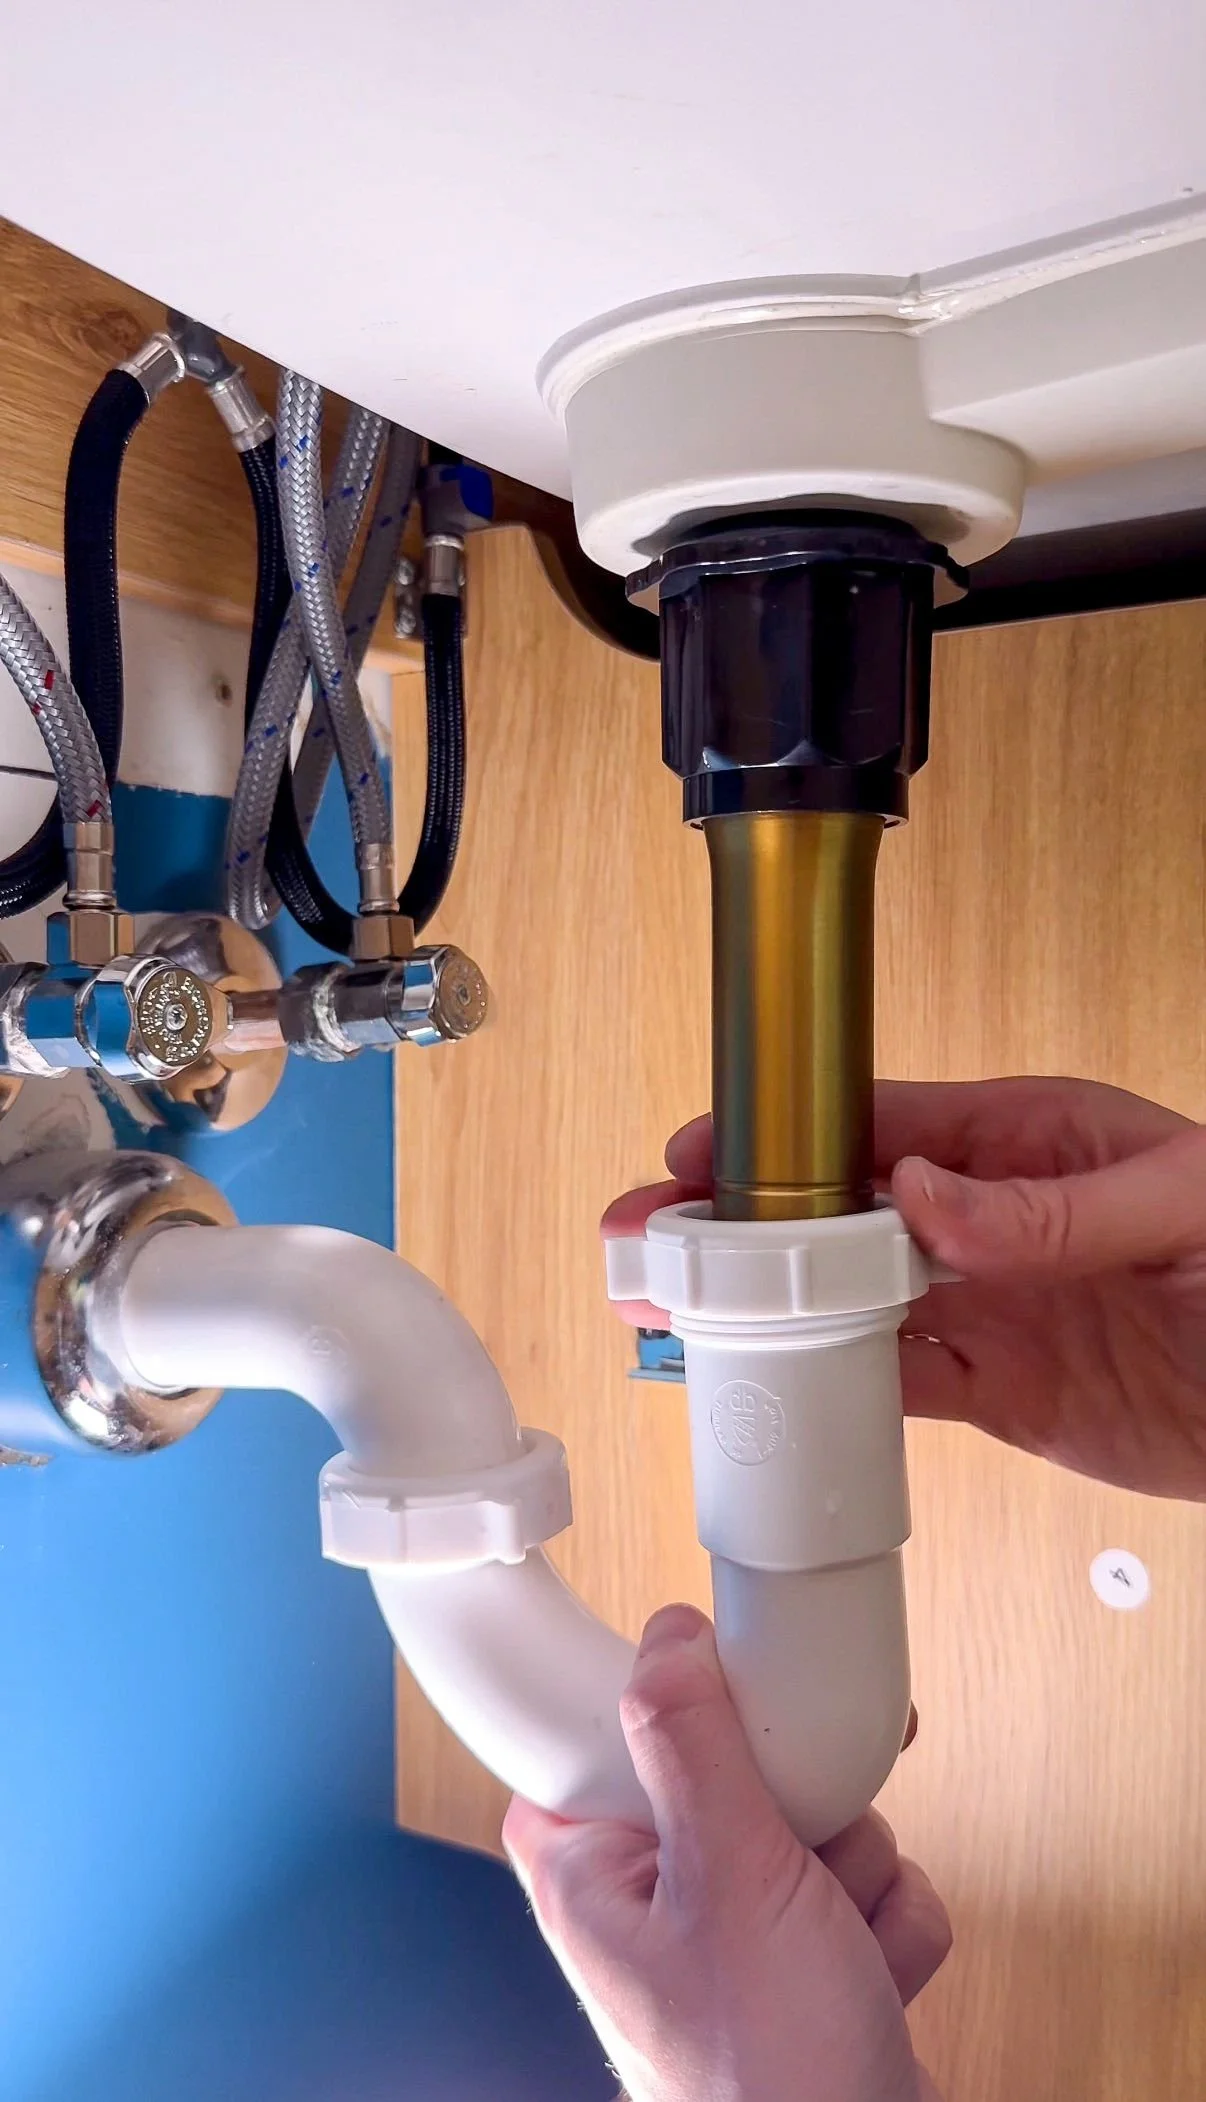
You then connect the P-trap to the new drain and reconnect that back to the wall. More often than not you can just use the pieces from the previous sink if they are in good condition rather than buying new ones. Ensure that the threading is all lined up so nothing is crooked once you're screwing it in. When you're connecting the P-trap to the drain, make sure the rubber gasket is in and secured. Once everything's tightened and reattached you can then turn the water back on. Go back under the sink and turn the knobs to the left. One thing I always do after I install a faucet is put a bowl underneath the sink right where the P-trap is, and let the water run. This will make sure there is no obvious leaking I will have to worry about later. All in all, the whole thing took me maybe 15 minutes. It really is such an easy thing that you can definitely do!
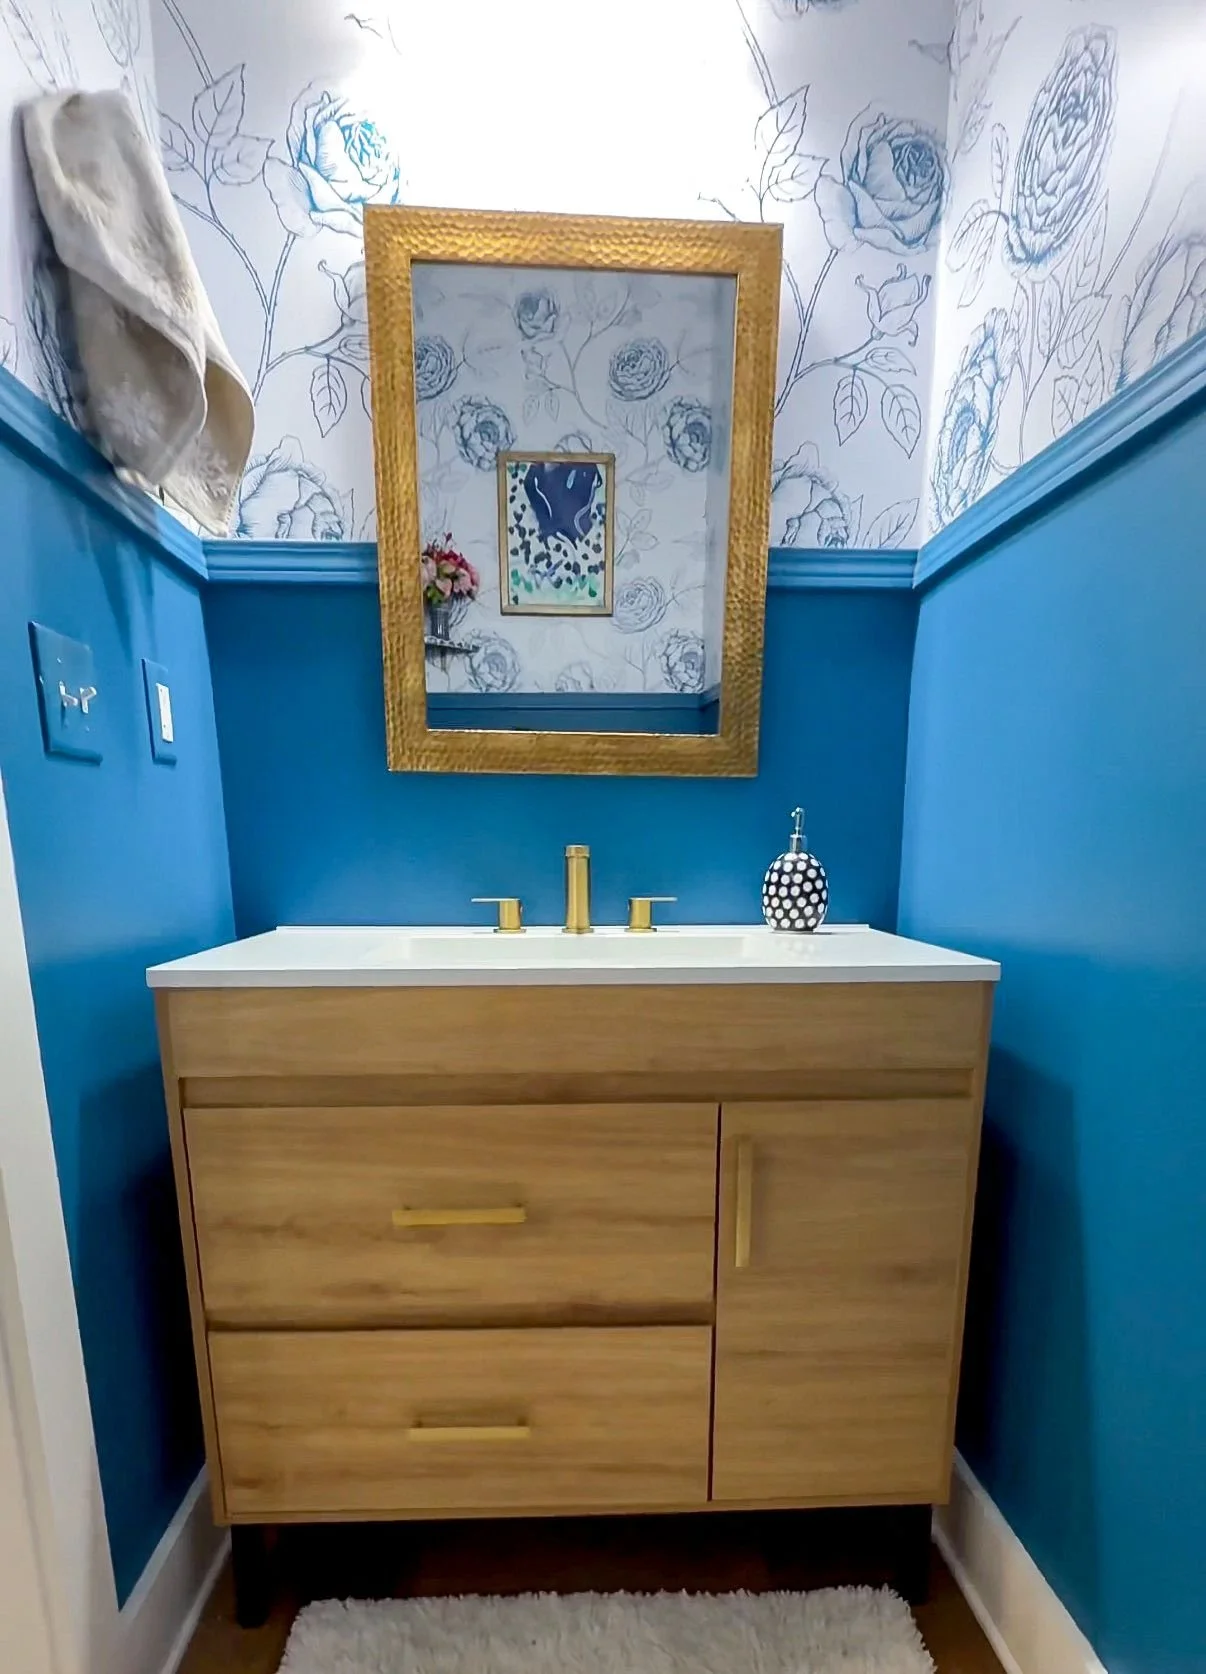
I hope this gives you some confidence to add another skill to your DIY skill roster. Stay tuned for more seriously easy projects that you can definitely do on your own in the future.