Lily Ann Cabinets Bonus Room

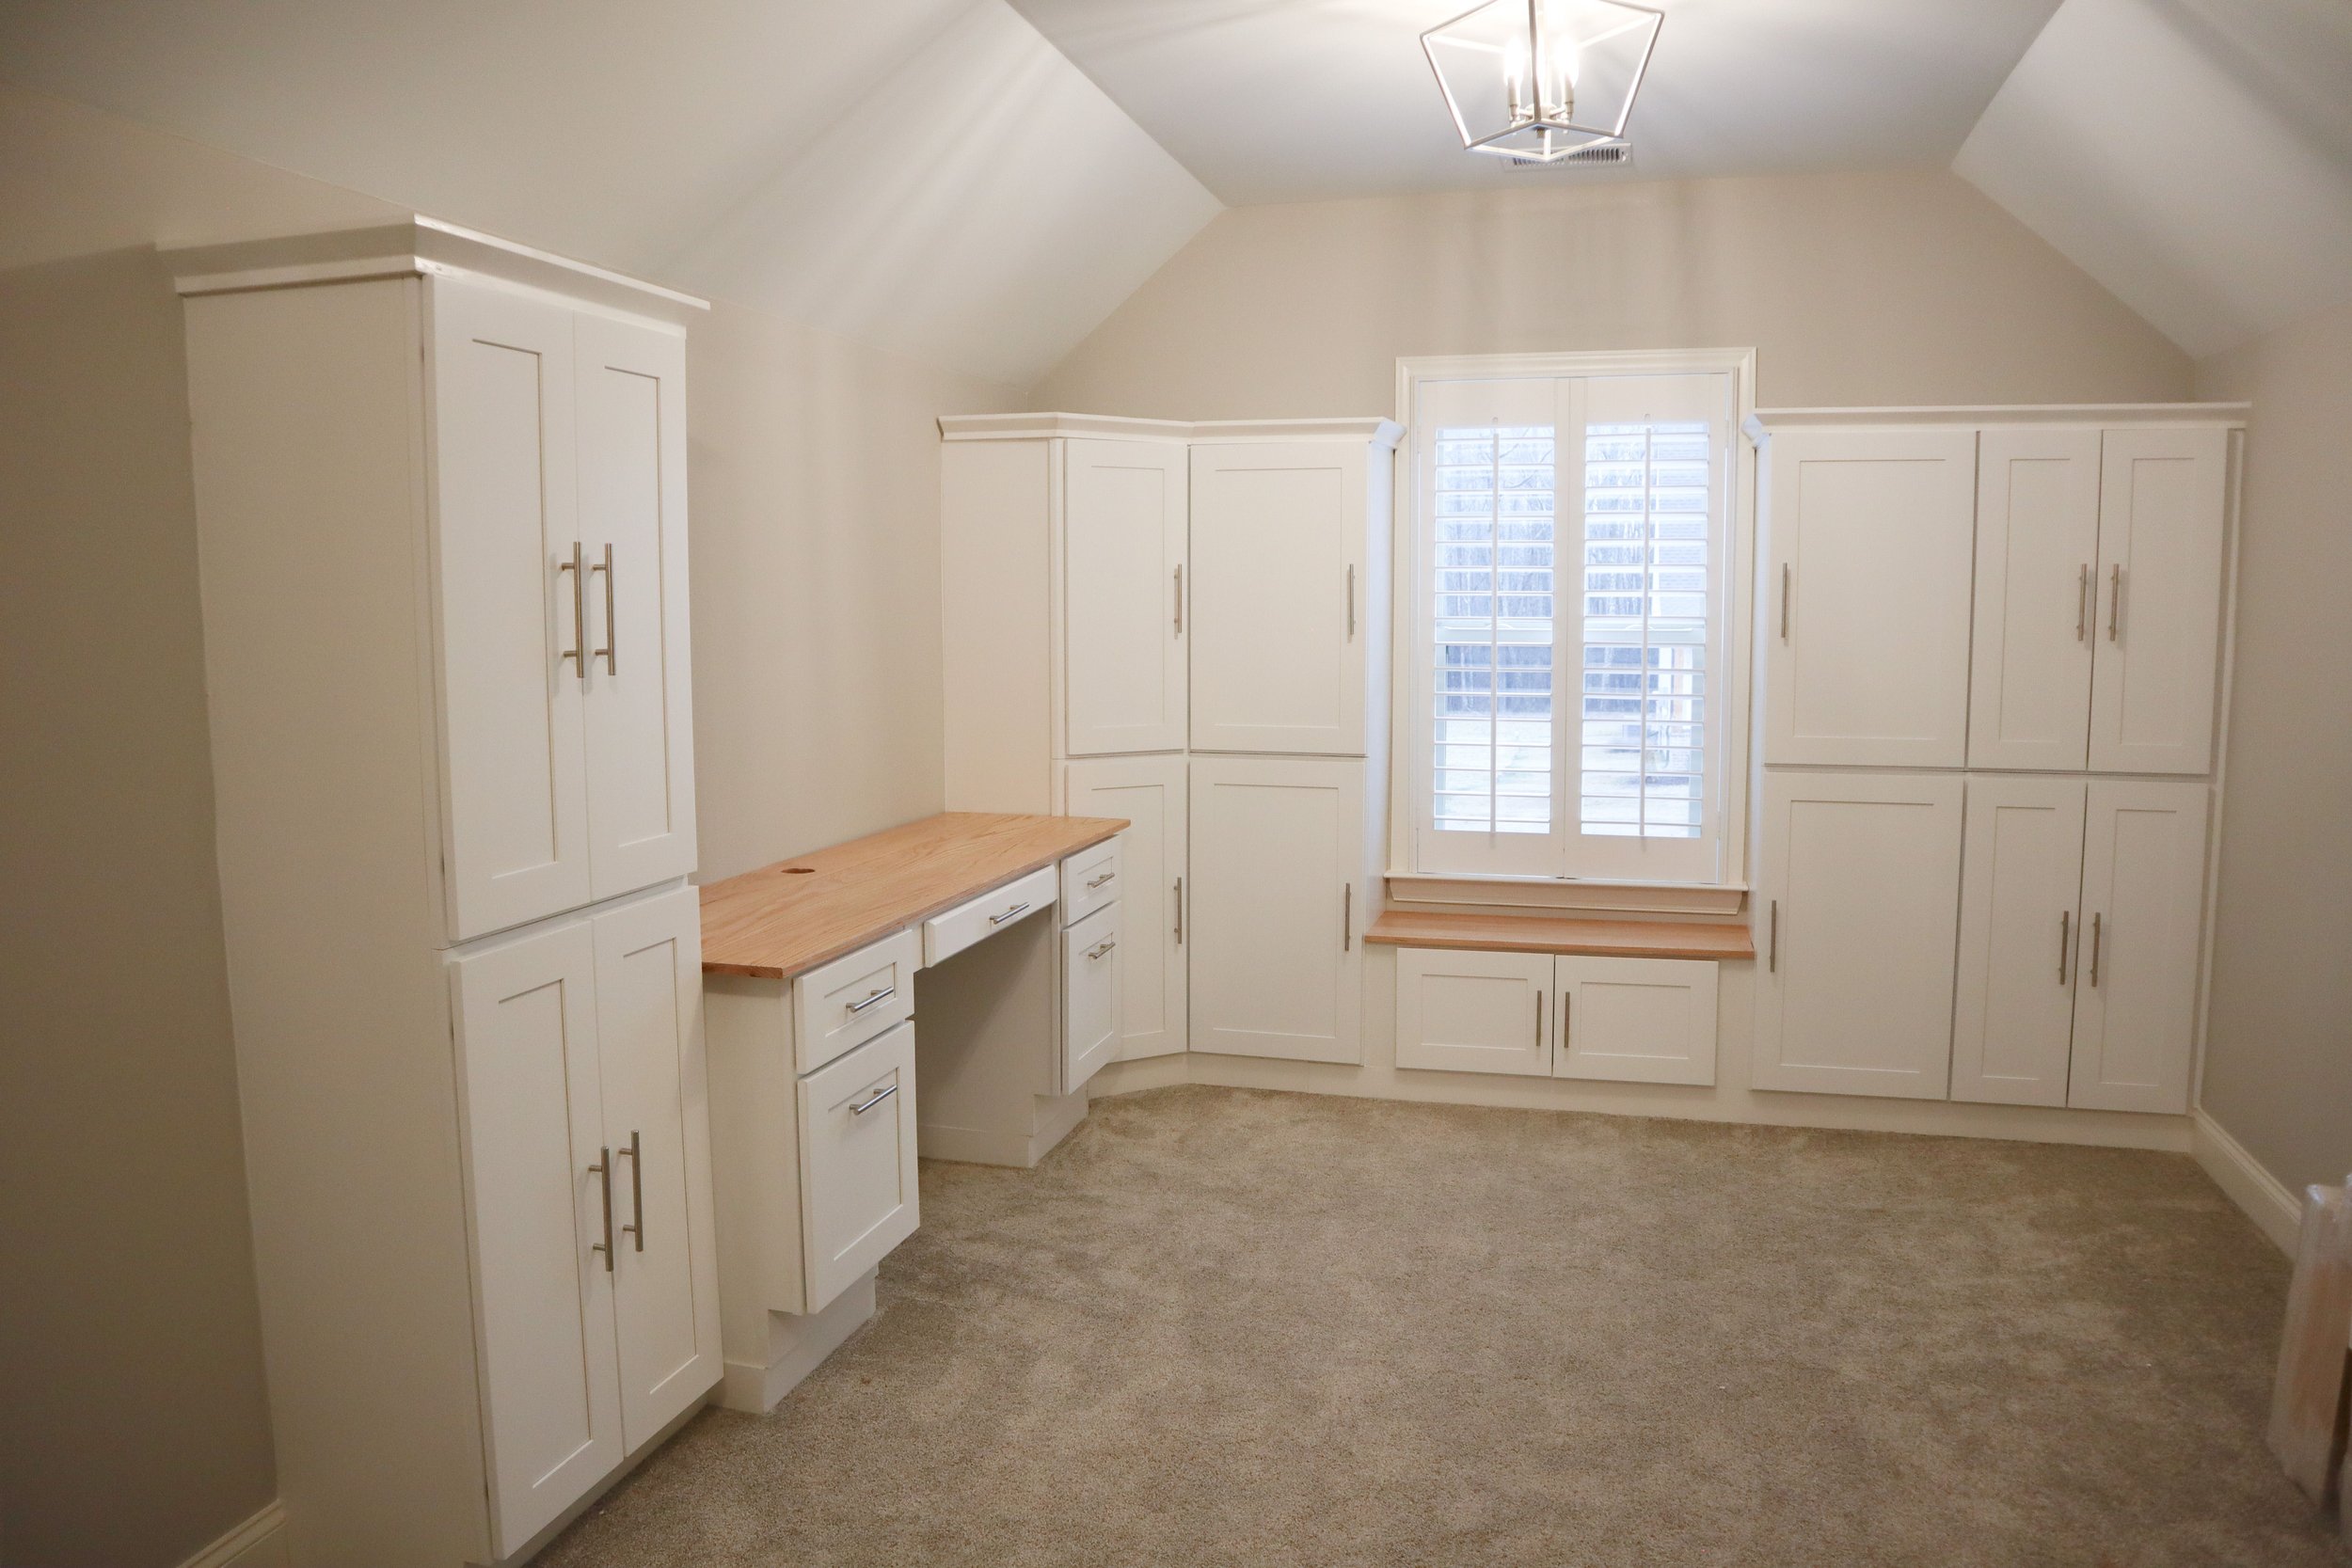
Time for a new project! My aunt and uncle have an awkward space above their garage. It’s kind of a bonus room the builder finished, but they haven’t known how to use this space. With the help of the amazing team at Lily Ann Cabinets, I was able to take this bonus room space and make it so much more functional. Lily Ann Cabinets helped me design a space that included a desk area, a window seat, and tons of storage cabinets all in the White Shaker Elite style. Let’s get started!

Lily Ann Cabinets Bonus Room | Building the Cabinets
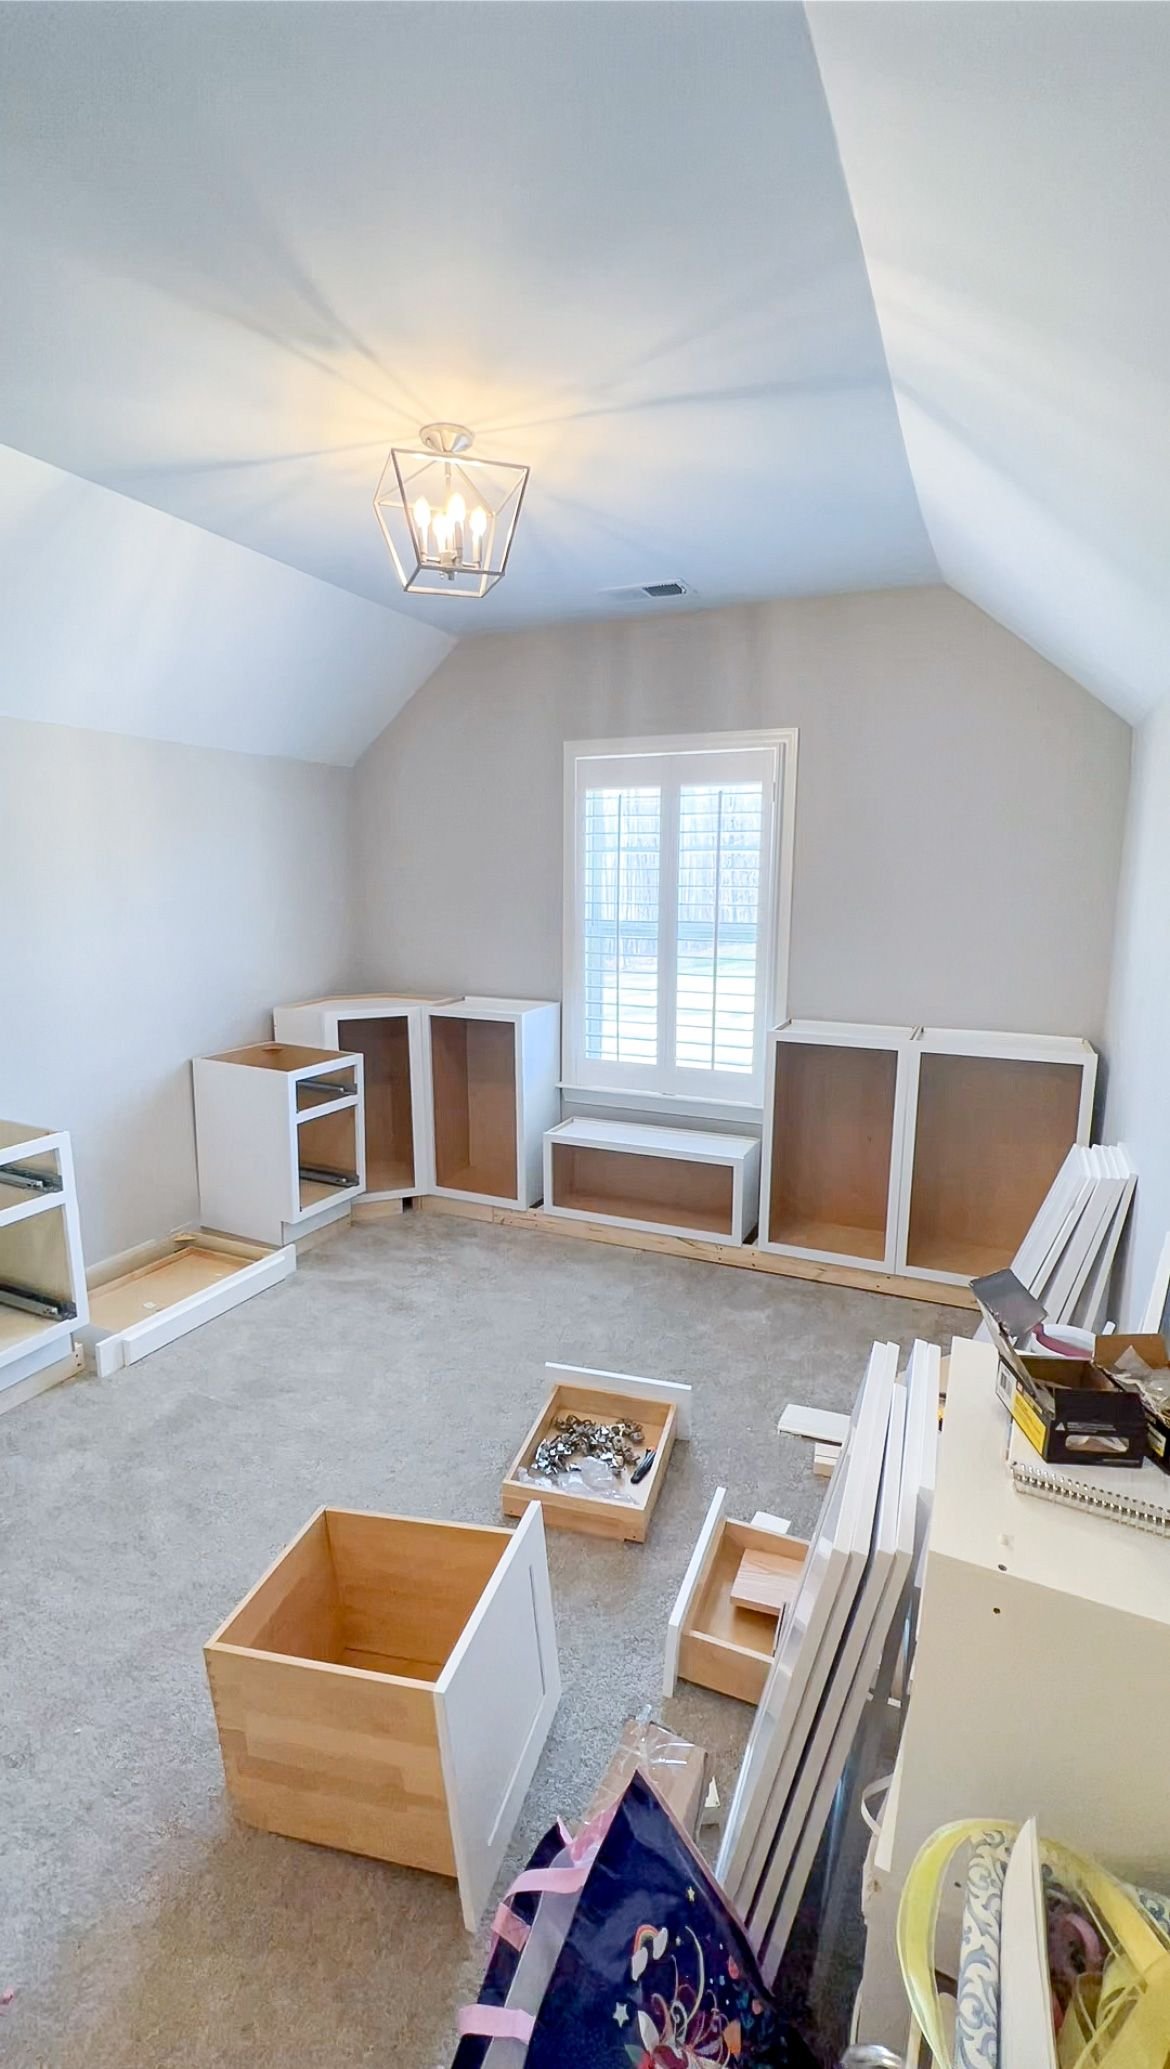
First things first, I unpacked all of the boxes. Just like when I used Lily Ann Cabinets for the entertainment center in my family room, all of the boxes were labeled really nicely, and the only things not included are the base and the tabletops. One of my aunt’s requests with these cabinets was that she wanted them deeper than the standard 12 inches Lily Ann Cabinets keeps in stock. They sent me their 15 inch extension kits which allowed eight of these cabinets to be 15 inches deep instead of the standard 12.
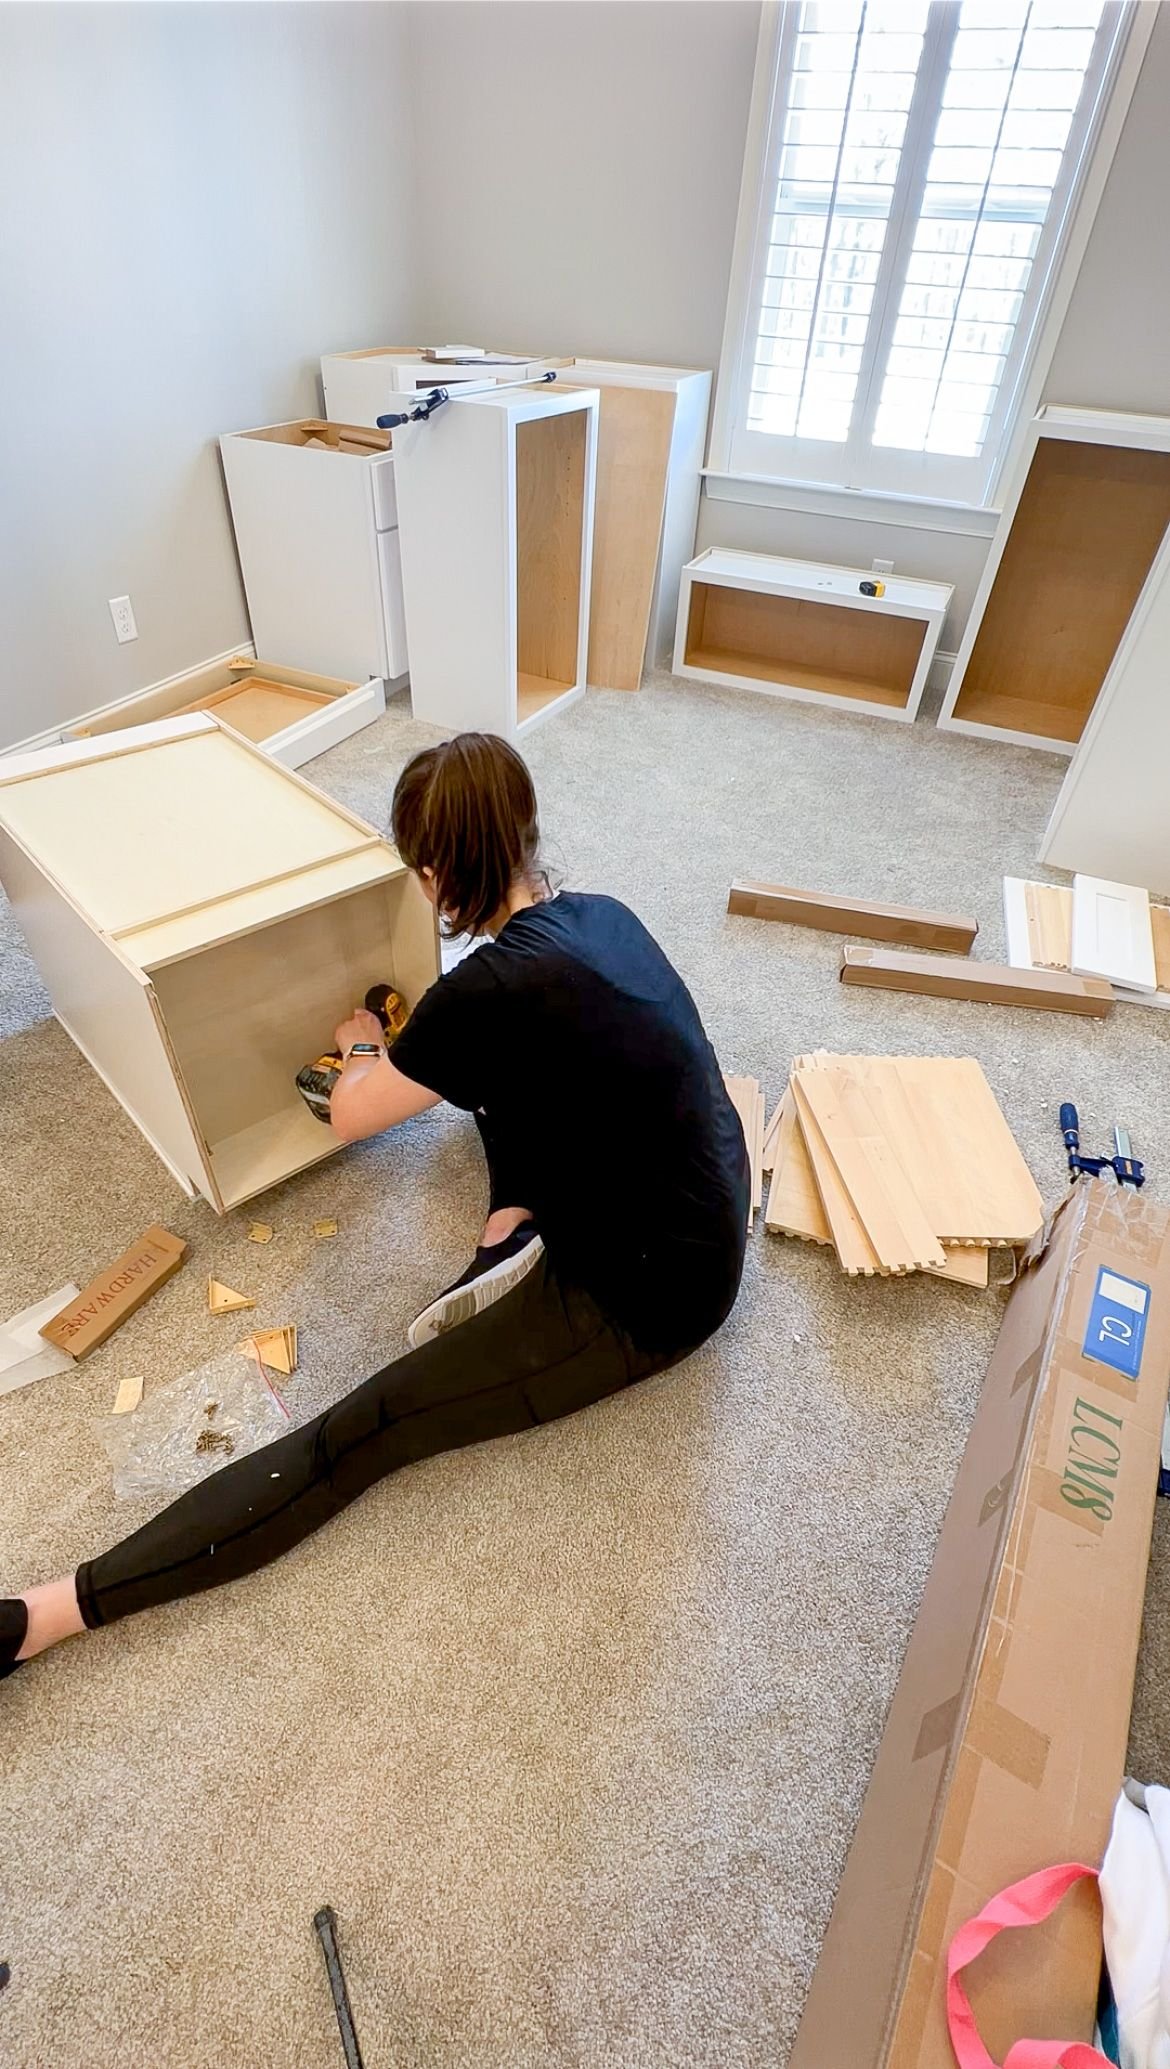
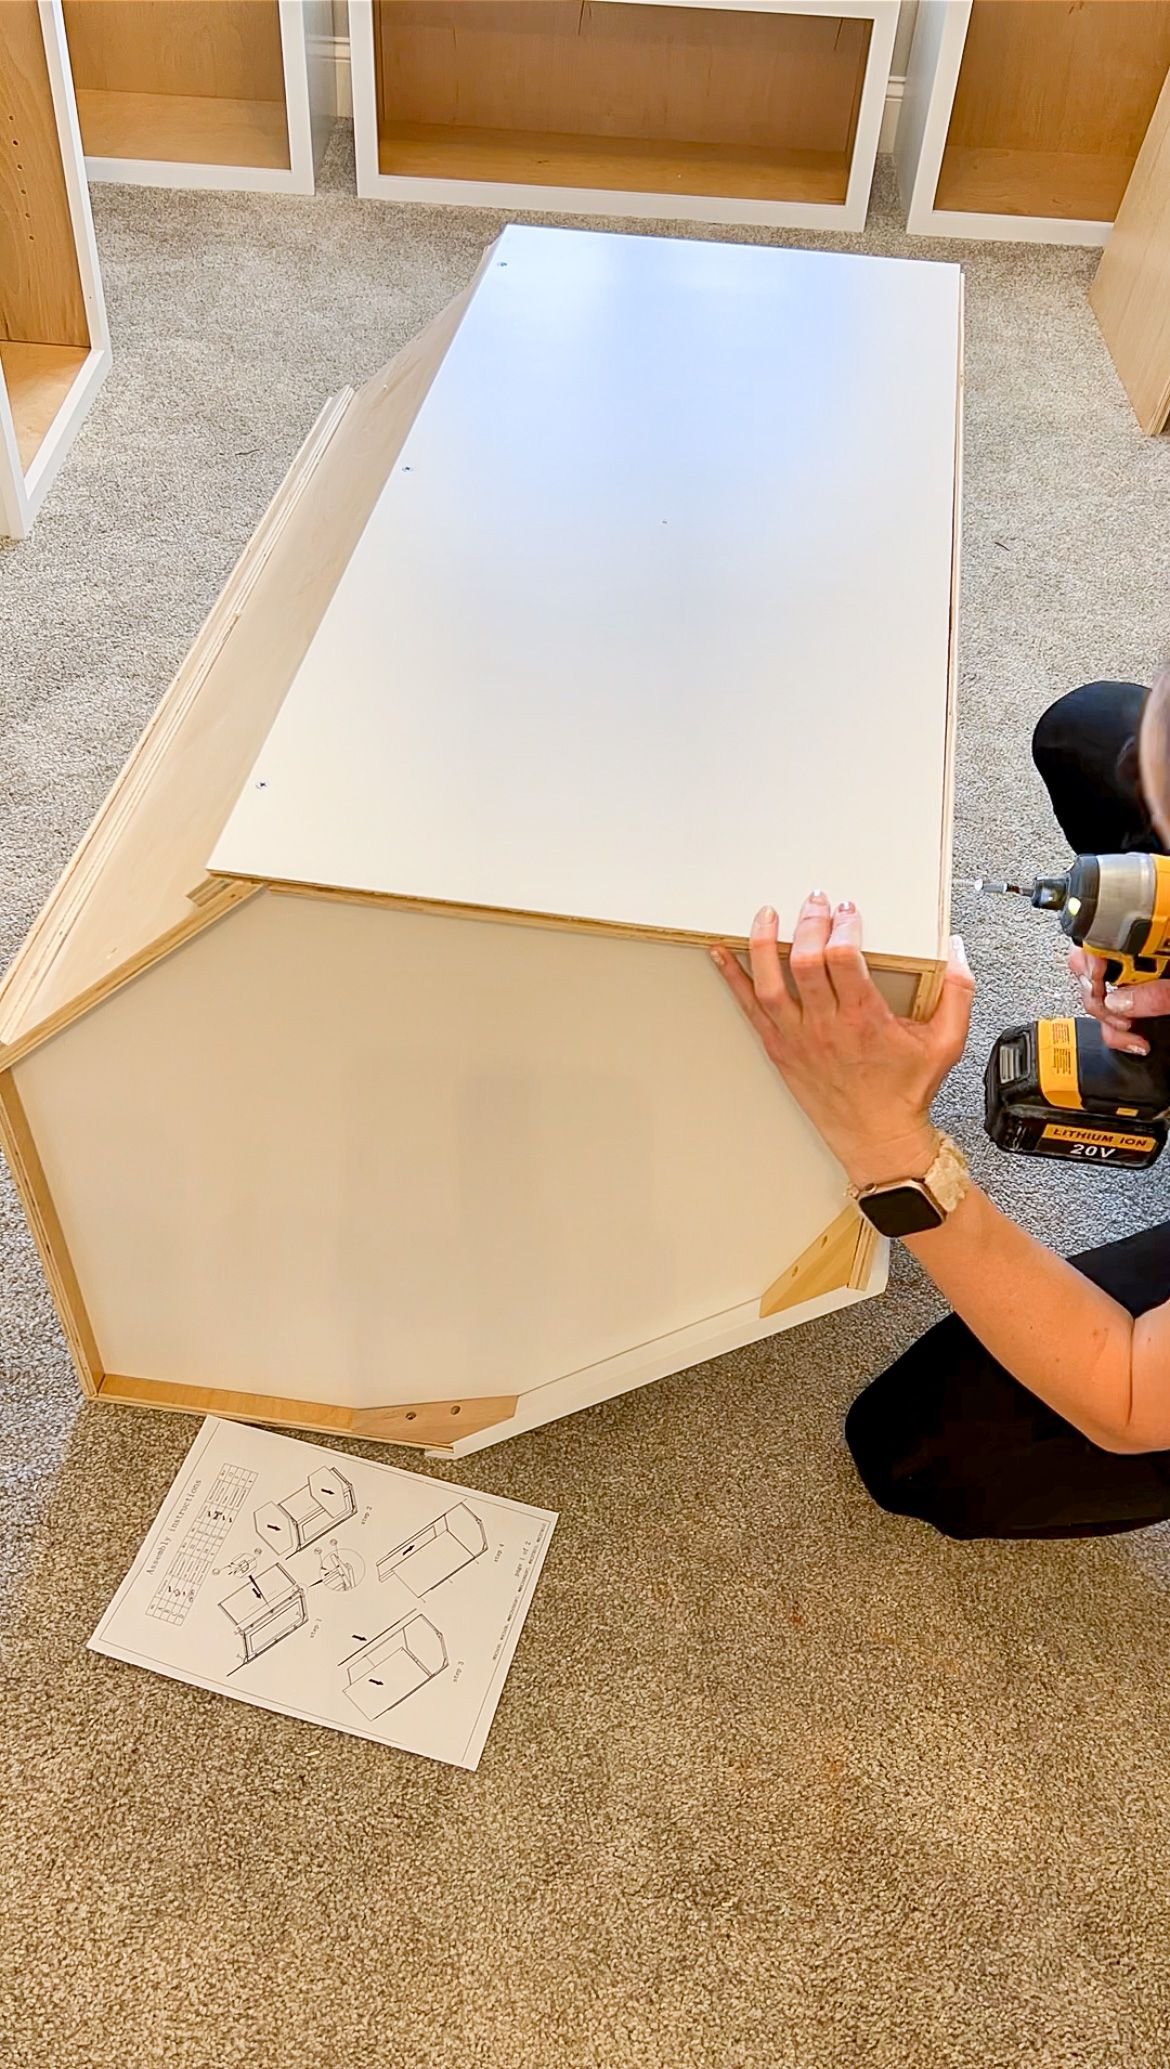
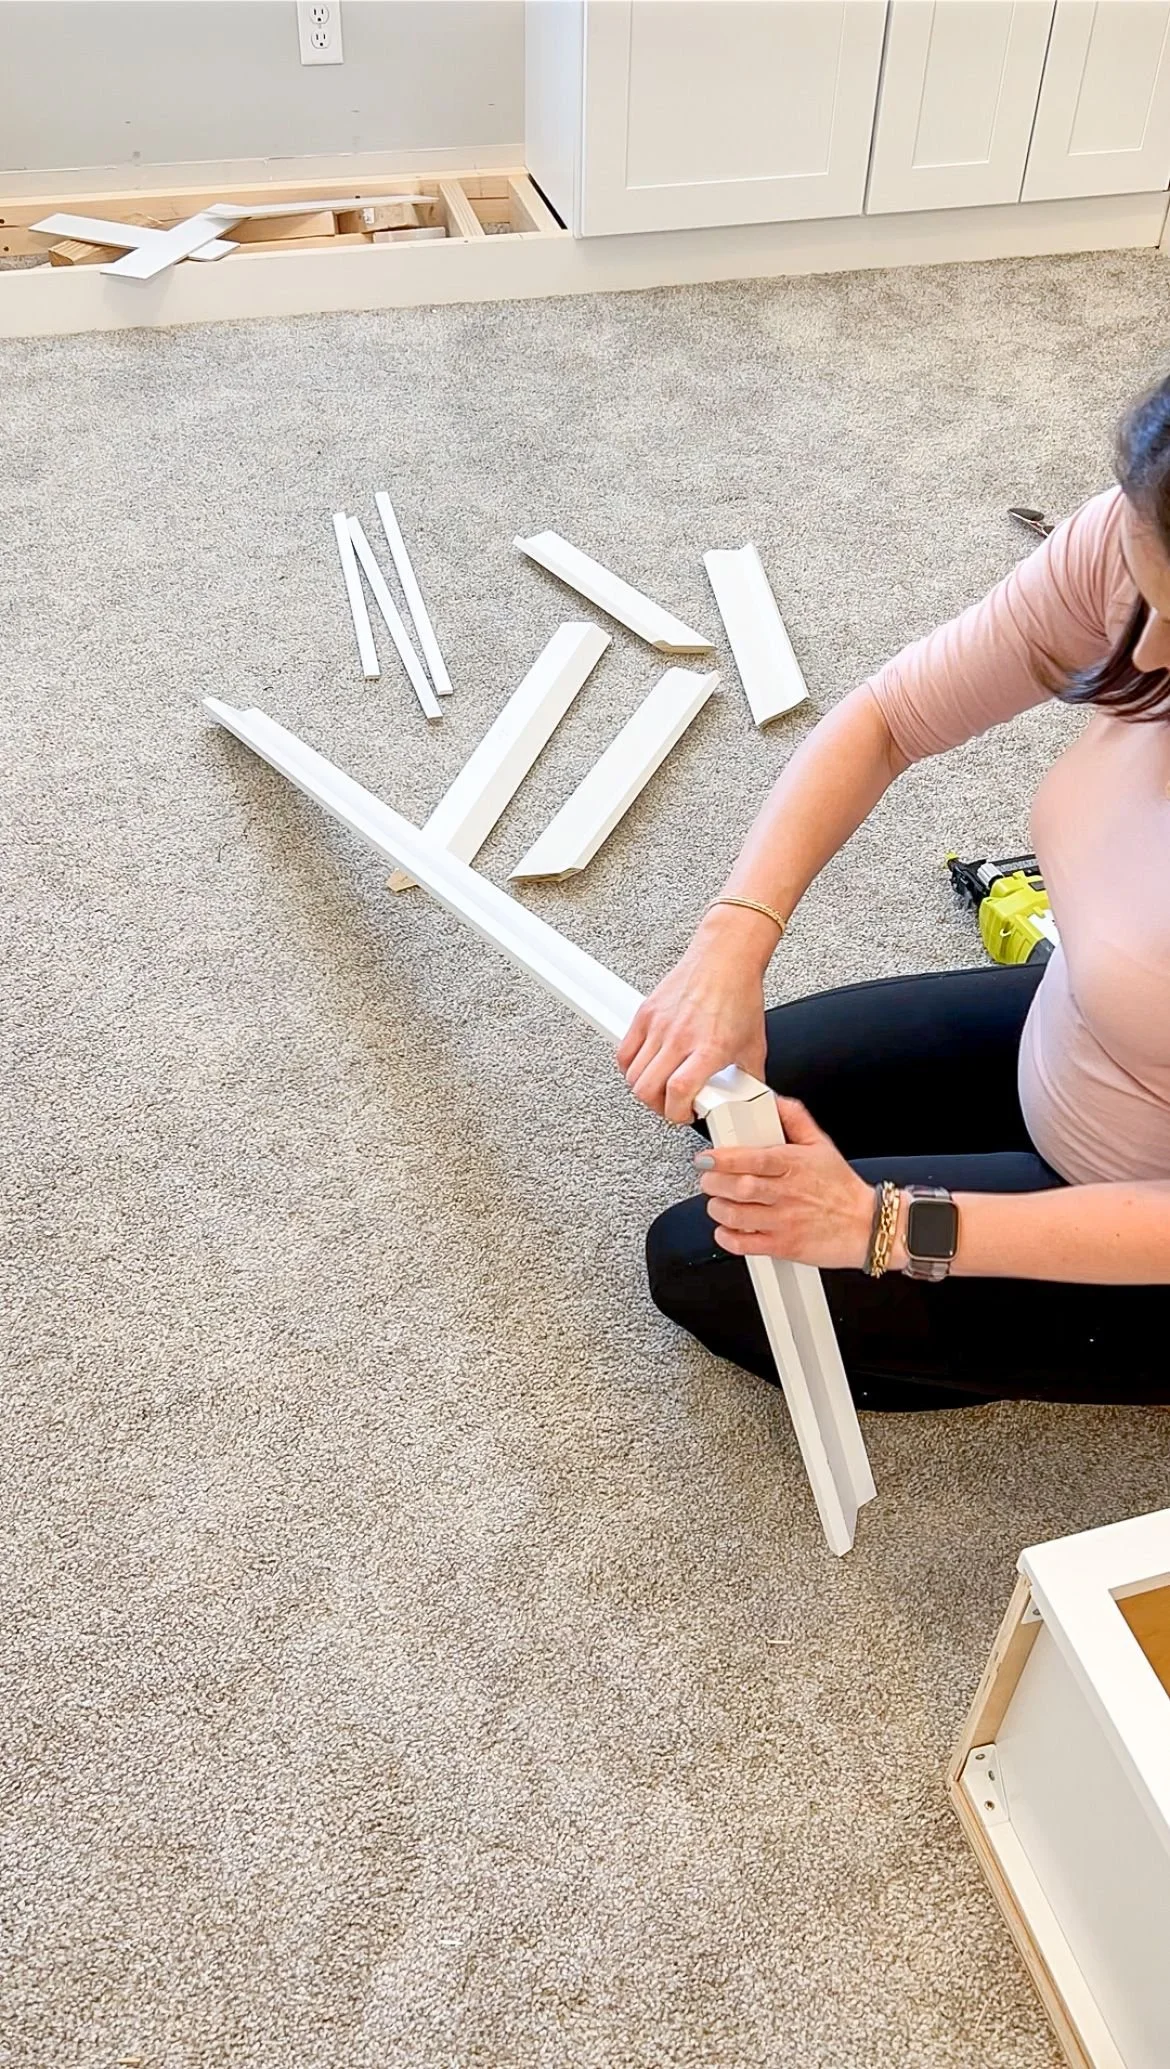
As I've talked about before, Lily Ann Cabinets are super easy to put together and these were no exception. Even the drawers and the corner cabinets, which I had never done before, were a breeze to assemble. The drawers maybe took about 15 minutes and the corner cabinets took about 10 minutes once I figured out how to do it. All of the joints on these cabinets are dovetail, which is amazing and I just used the rubber mallet to make sure everything was completely together.
They even marked on the drawer cabinets where to drill for the drawer slides and the hardware. This is so helpful because you don't have to worry about figuring out if everything is level or not since they’re already clearly marked! However, I still double checked that everything was level because, it’s me and I just had to make sure, BUT they really do all of the work for you. Not only that, but their customer service is incredible. If you have any questions, you can chat with the owner himself to get the answers you need, which is awesome!
Lily Ann Cabinets Bonus Room | Securing the Cabinets
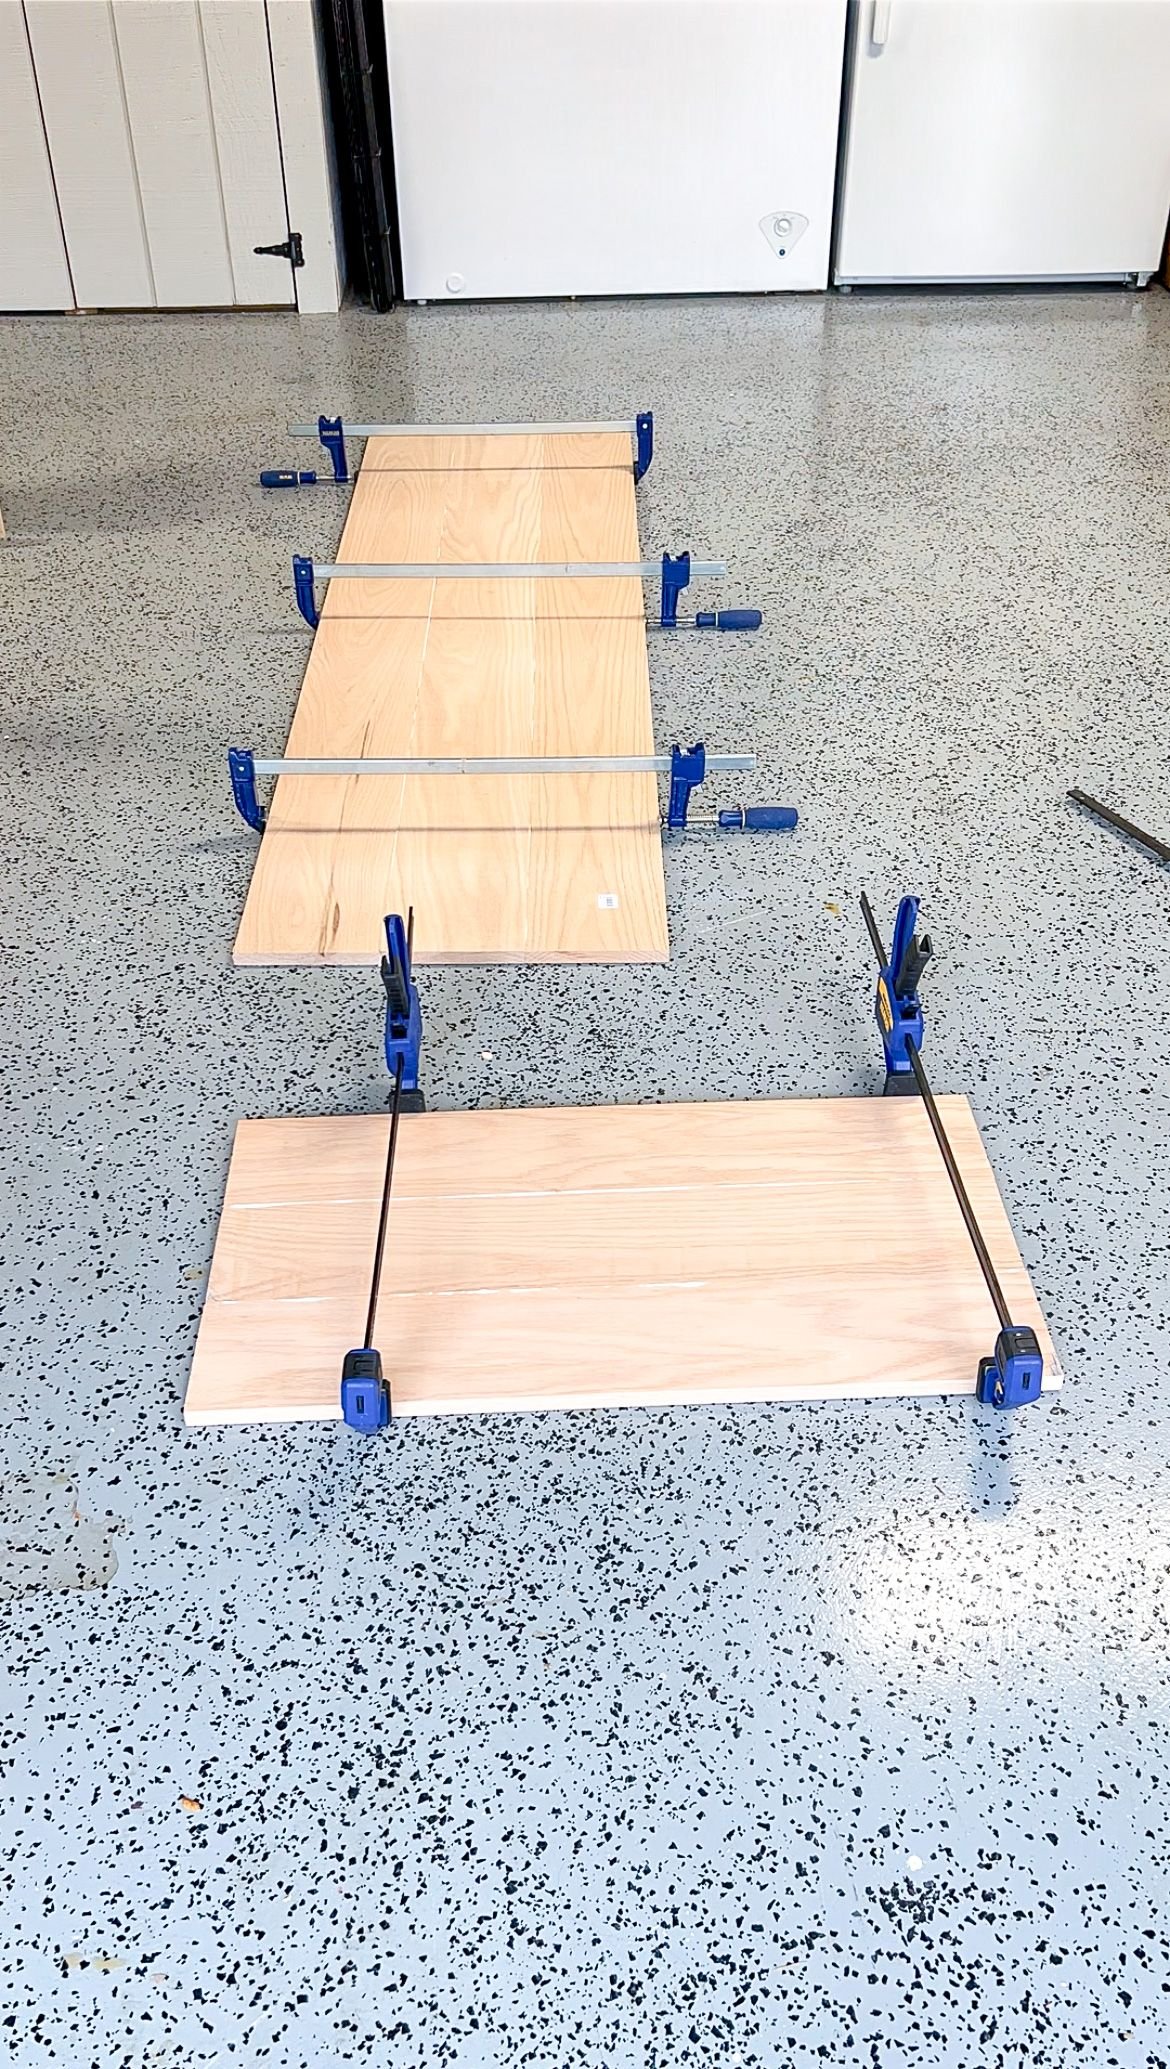
After all of the cabinets were assembled, I started building the base for them to sit on. This was so I could secure them to both the floor and the suds in the wall. Then I started working on the tabletops. I had both a desktop and a window seat that I needed to cut down some white oak for and then glued and clamped those boards together.
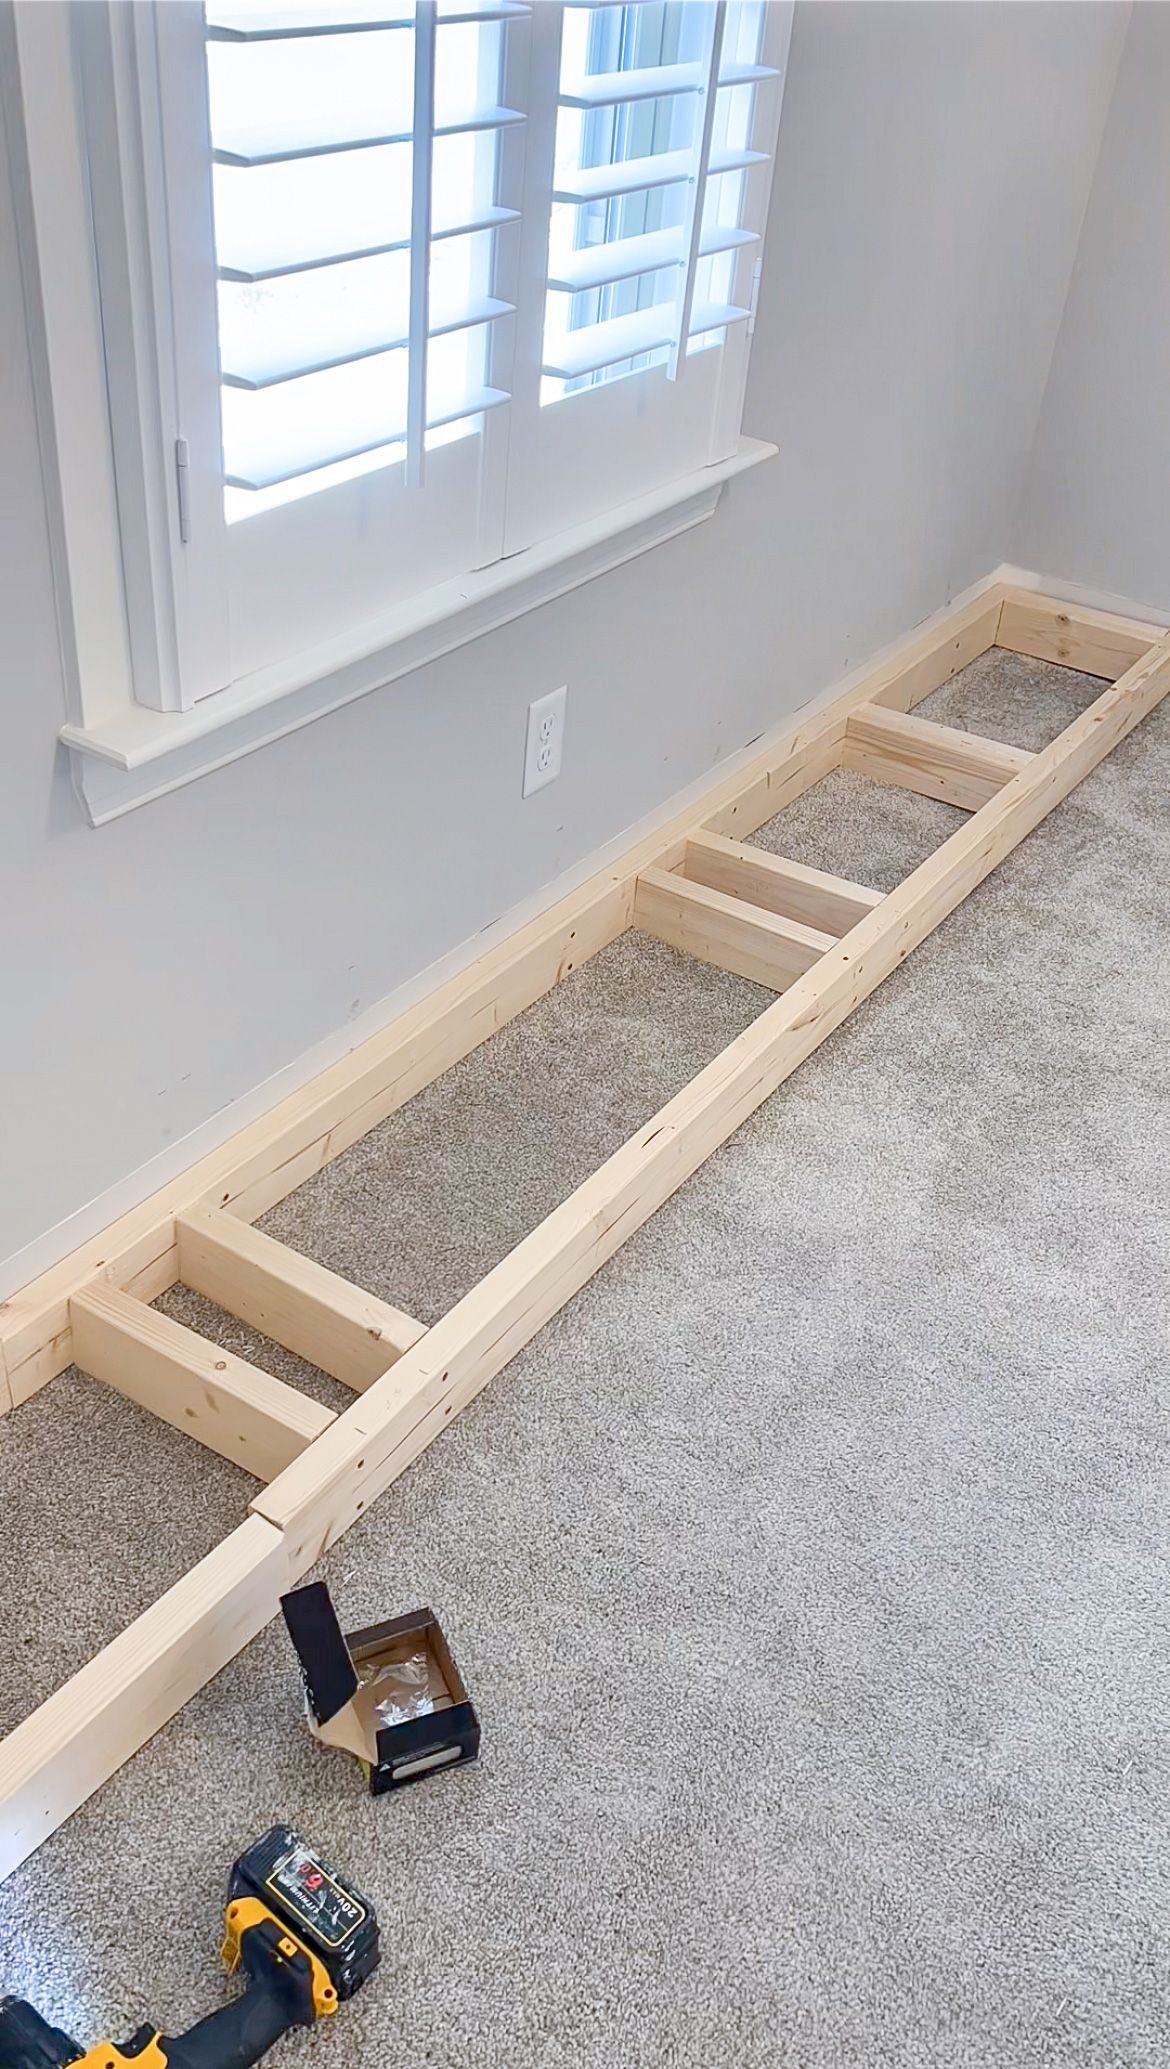
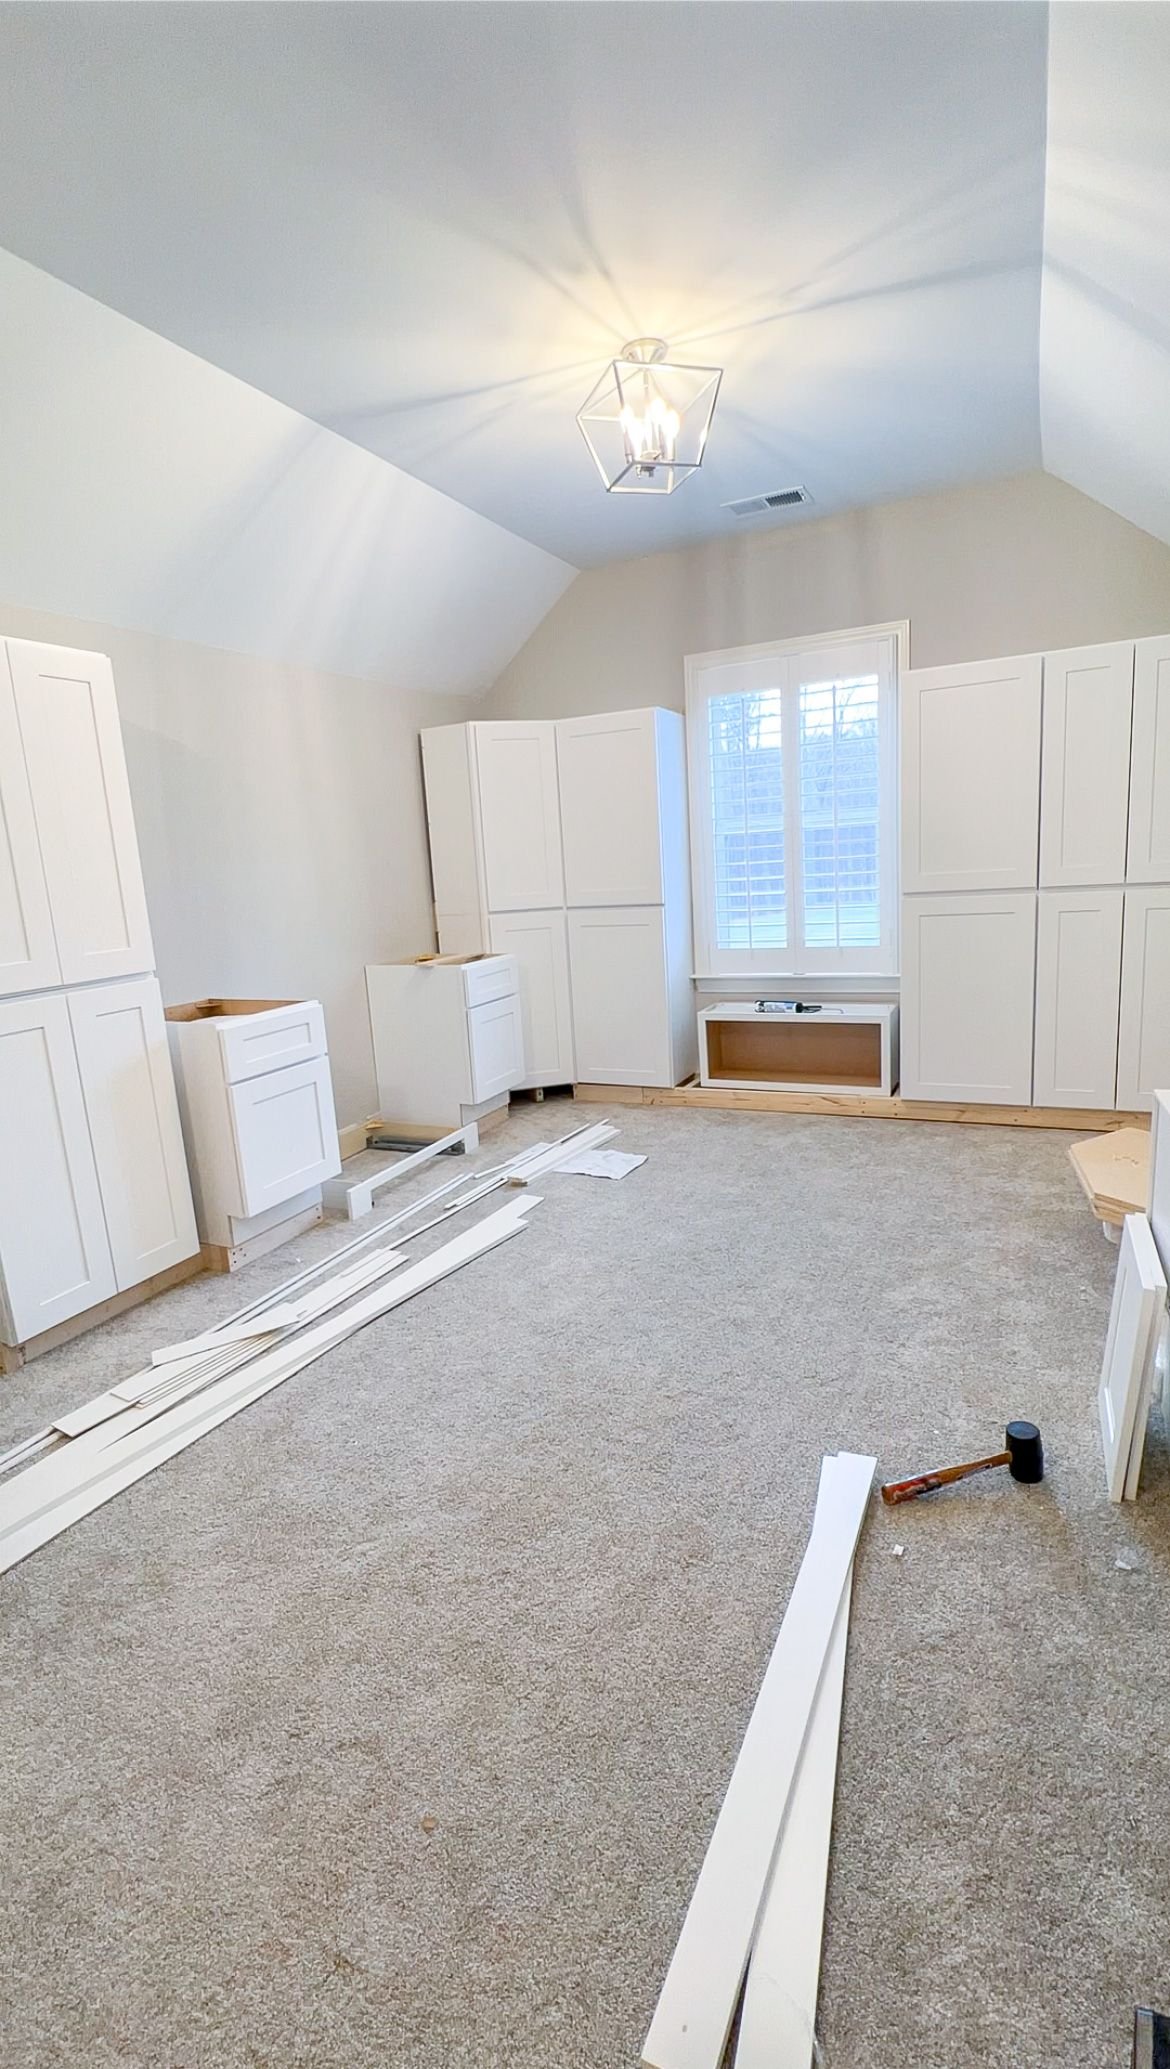
While those were drying, I started securing all of the cabinets to the walls and the base. I used my stud finder to secure them to the studs in the wall. I wanted my aunt and uncle to have the peace of mind knowing these cabinets were VERY secure. Once I knew the cabinets weren’t going anywhere, I installed the cabinet doors. Then, I went to the window seat making sure to cut out a hole for the outlet behind it.
Lily Ann Cabinets Bonus Room| Molding and Table Tops
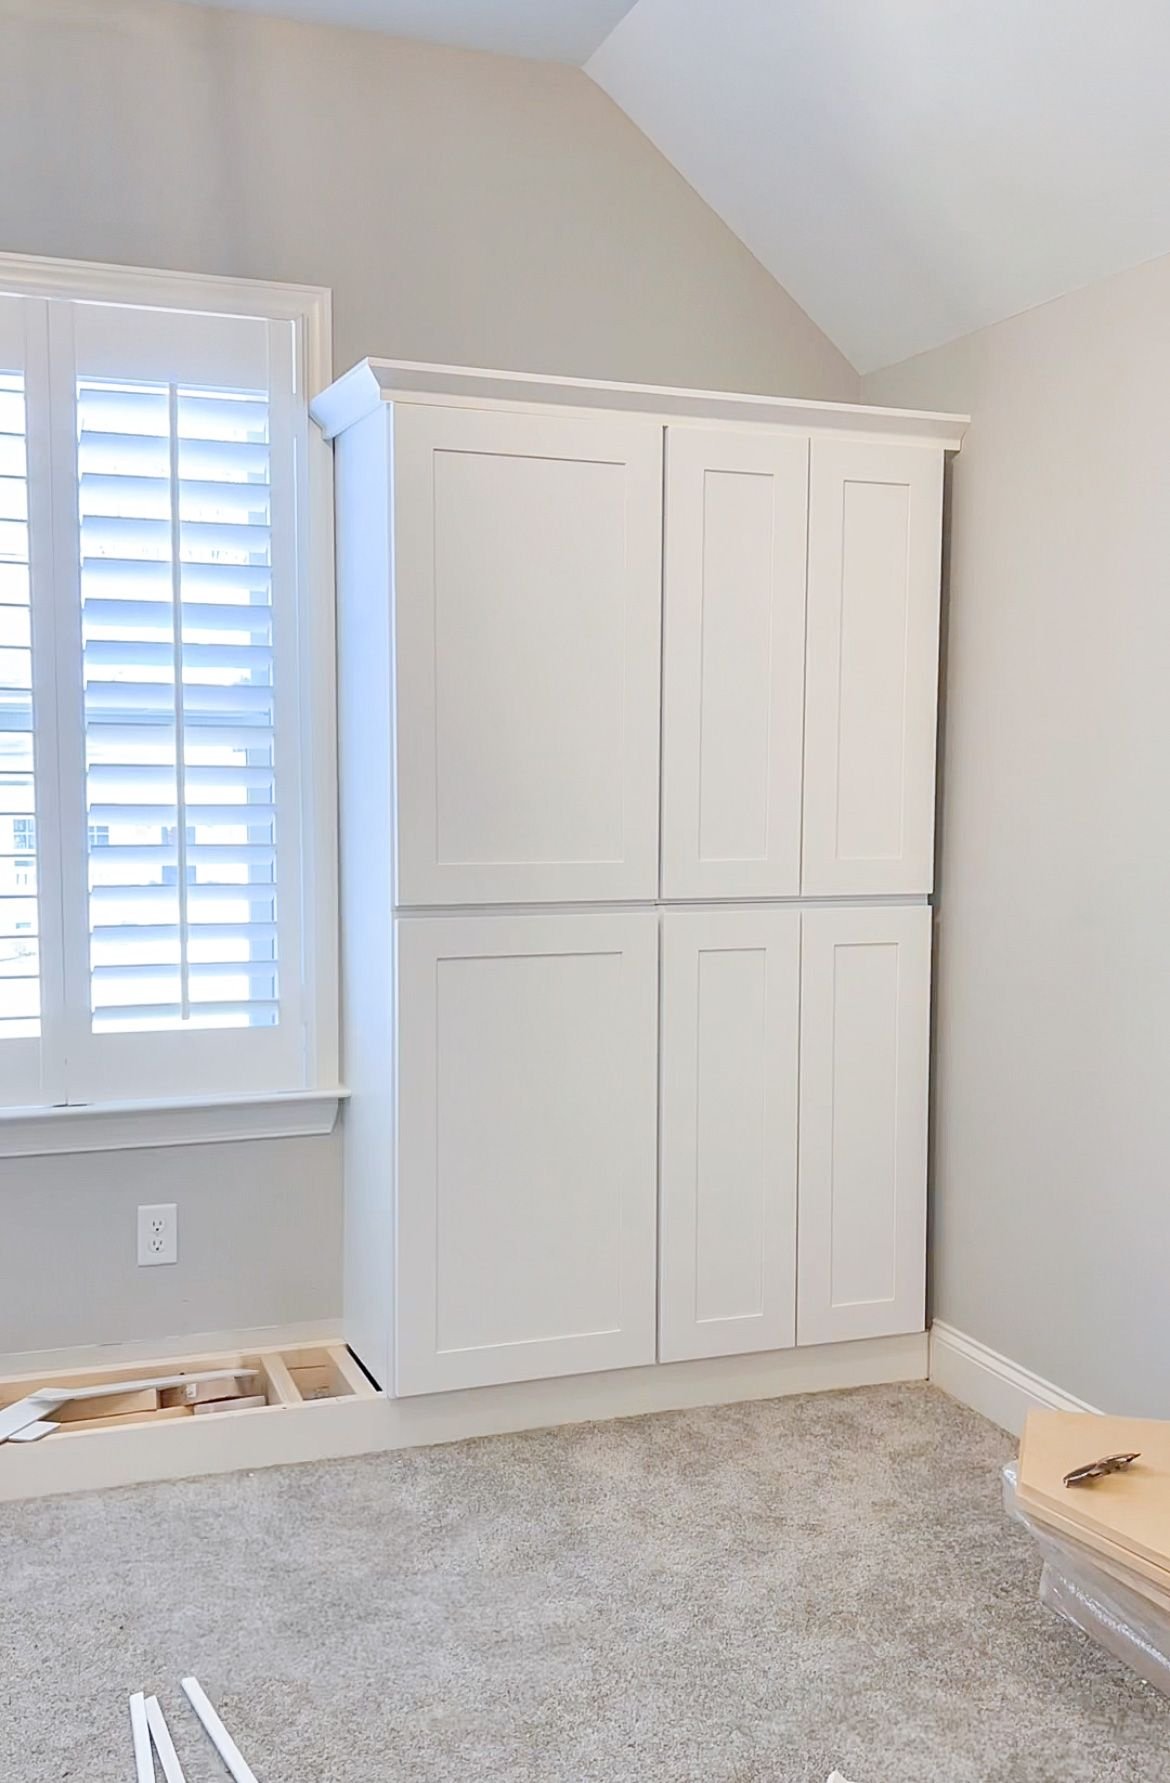
Next up, I worked on adding the spacers and the crown molding. Crown molding is always so hard for me for some reason. The middle section of these cabinets had really weird angles so this in particular took forever because it was a lot of math and math is not my strongest suit. However, after some trial and error, I finally got all of the crown molding installed. Then, I added the kick plate and the spacers. I finally stopped procrastinating and started work on the dreaded outlet for the window seat box, but I was able to extend it with no issue. It was actually way easier than I was expecting!
Then I went back to the tabletops I previously glued. I cut a hole in the desktop for cords and sanded that down so it was nice and smooth. I used glue to secure both tabletops to their respective cabinets. Once I got the desktop in, I was able to attach the desk drawer. After that, I sanded down all of the wood filler on the desk top and taped off anywhere I was going to paint or do some sealant.

Lily Ann Cabinets Bonus Room | Finish Work
Time for finish work! I started wood-filling all of the nail holes and did some caulking just around the edges, so everything looked nice and flush. I knew I needed to do some paint touchups. In order to get the right paint, I went to Sherwin Williams. I asked them to color match a piece of the trim I had which they did a really good job at. I got it in the urethane trim enamel, which is really durable and great for cabinets so I knew it would stand the test of time.
After that, I did some clear poly-acrylic on both tabletops. I always like using this because it's low odor and you just need water to clean it up. Last, I installed the drawer and cabinet pulls. I convinced my aunt to do four inch pulls on the drawers and the smaller doors, and eight inch pulls on the larger doors. I just thought it looked more interesting to the eye.


With that, everything was finished and it couldn’t be more perfect! This space had nothing in it before and now is so functional, has so much storage, has a usable workspace and even has a cute little window seat for my cousins. I absolutely love how we transformed this space, but even more importantly, my aunt loves it. I couldn’t have done it without the help of Lily Ann Cabinets. If you want to transform your own space you can use my code Emily5 for a discount off your project.