
Laundry Room Build
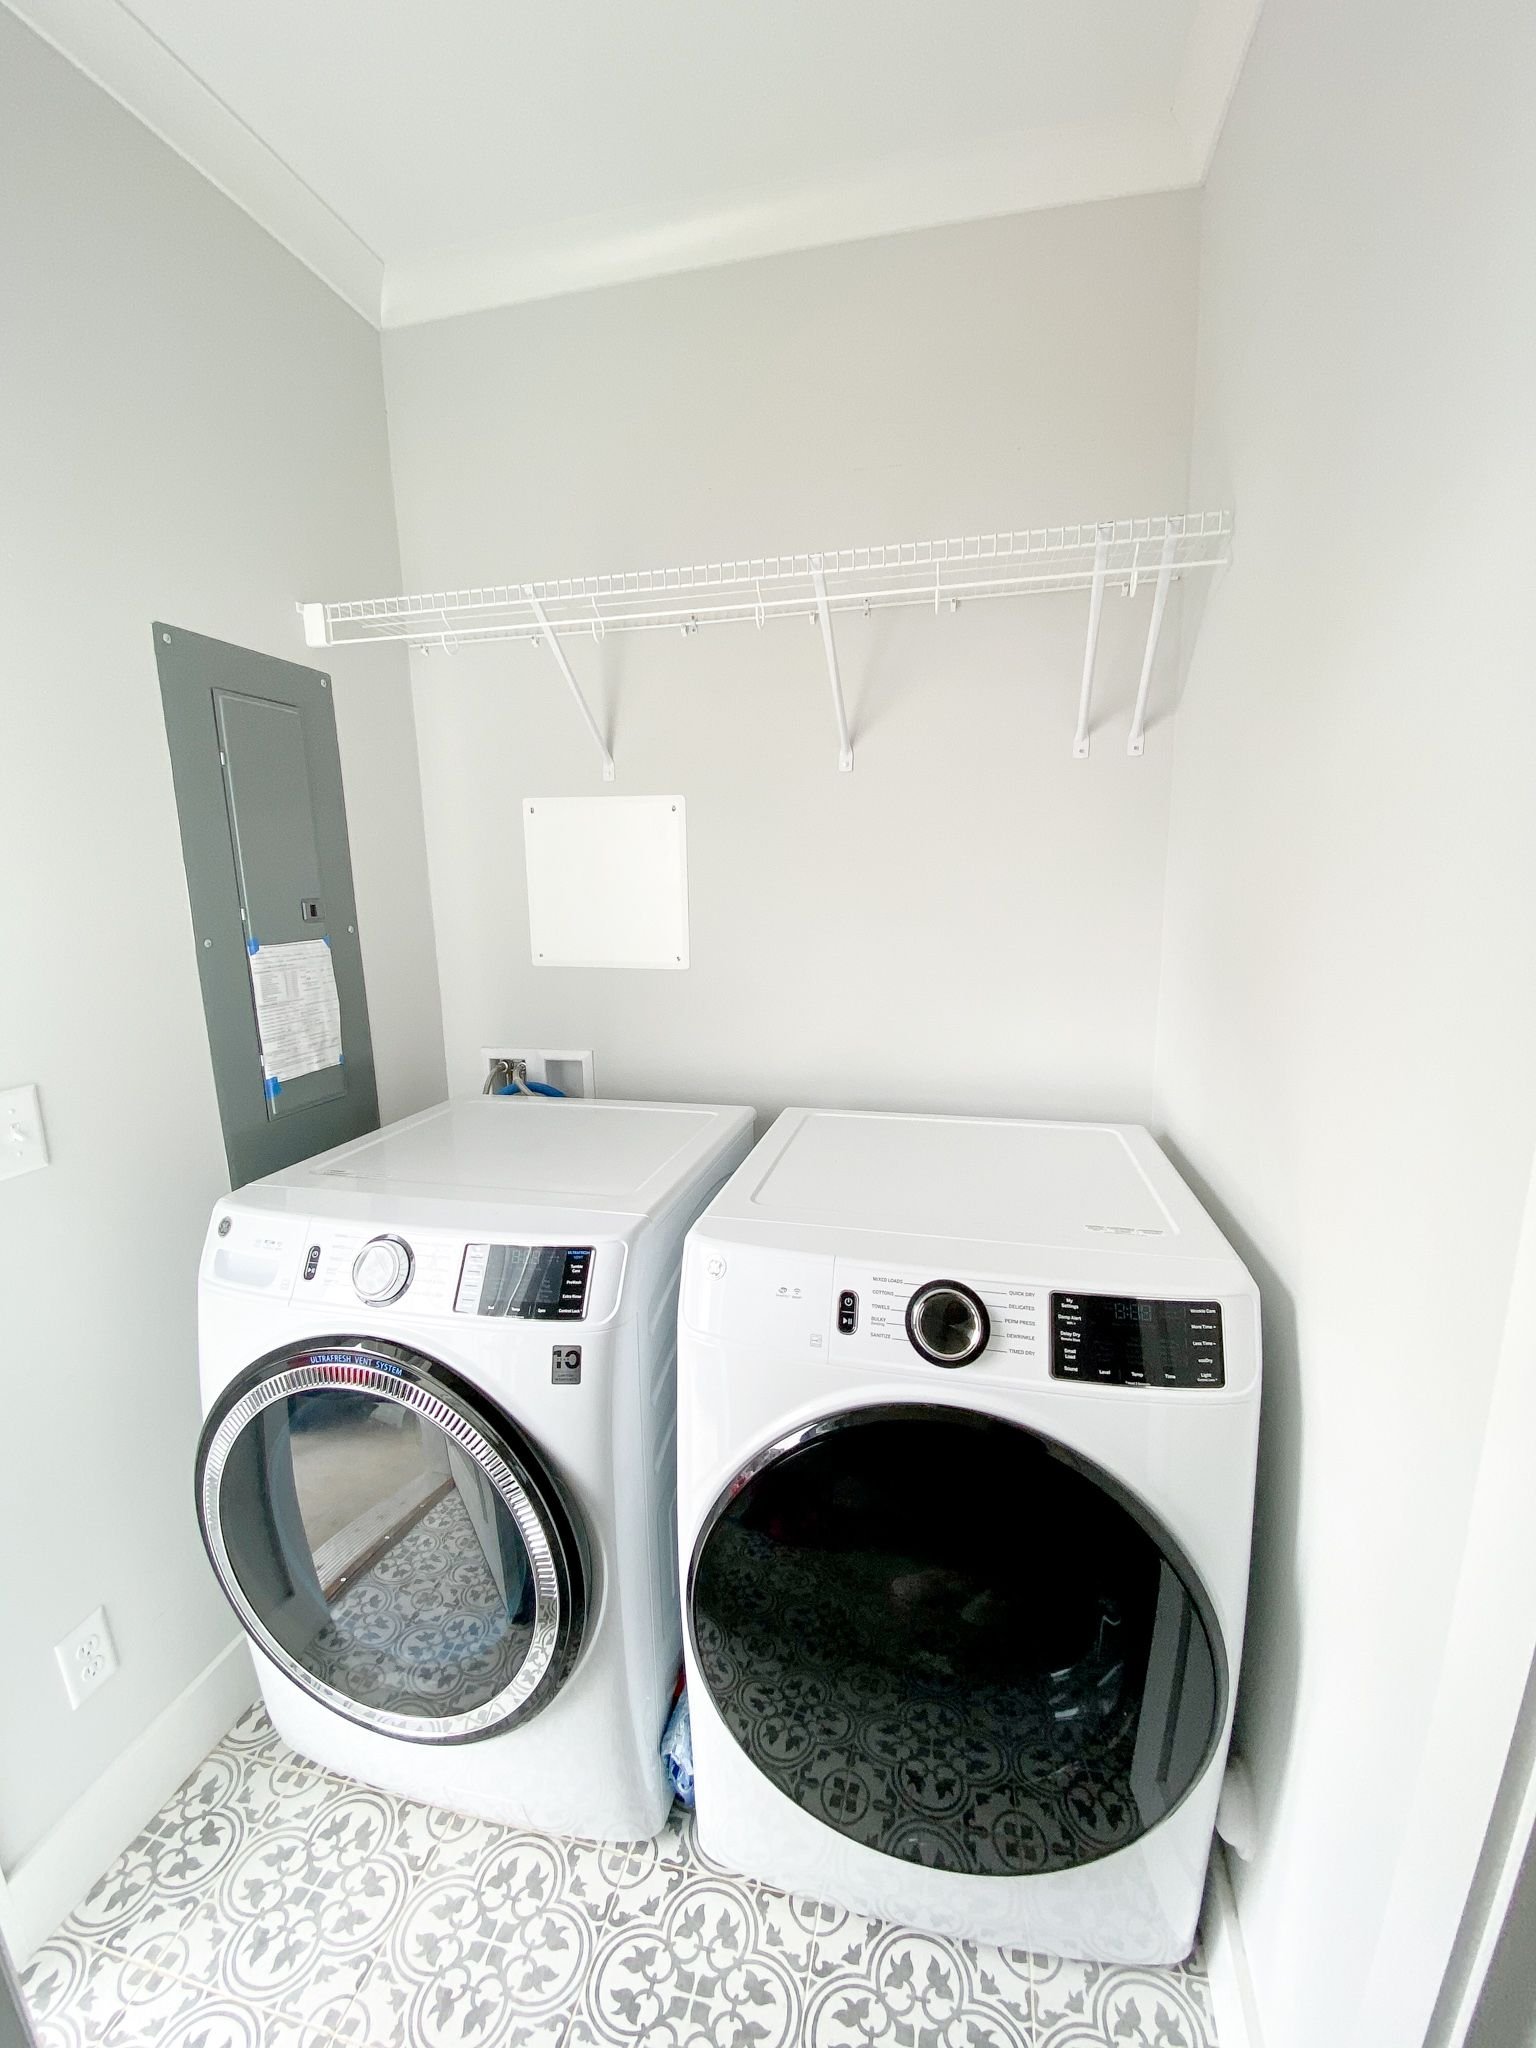
When we moved into our new-build home in 2020, the laundry room was one of the things that was the most disappointing to me. It was definitely builder grade with tons of underutilized space and the dreaded wire shelving (if you’ve been here for a while you know that I HATE those wire shelves and have, little by little, tried to remove them completely from my home). I knew I wanted to tackle this project to provide the most functional design for this space, as well as creating something tailored to our family’s specific needs. So, in January 2021, I got to work.
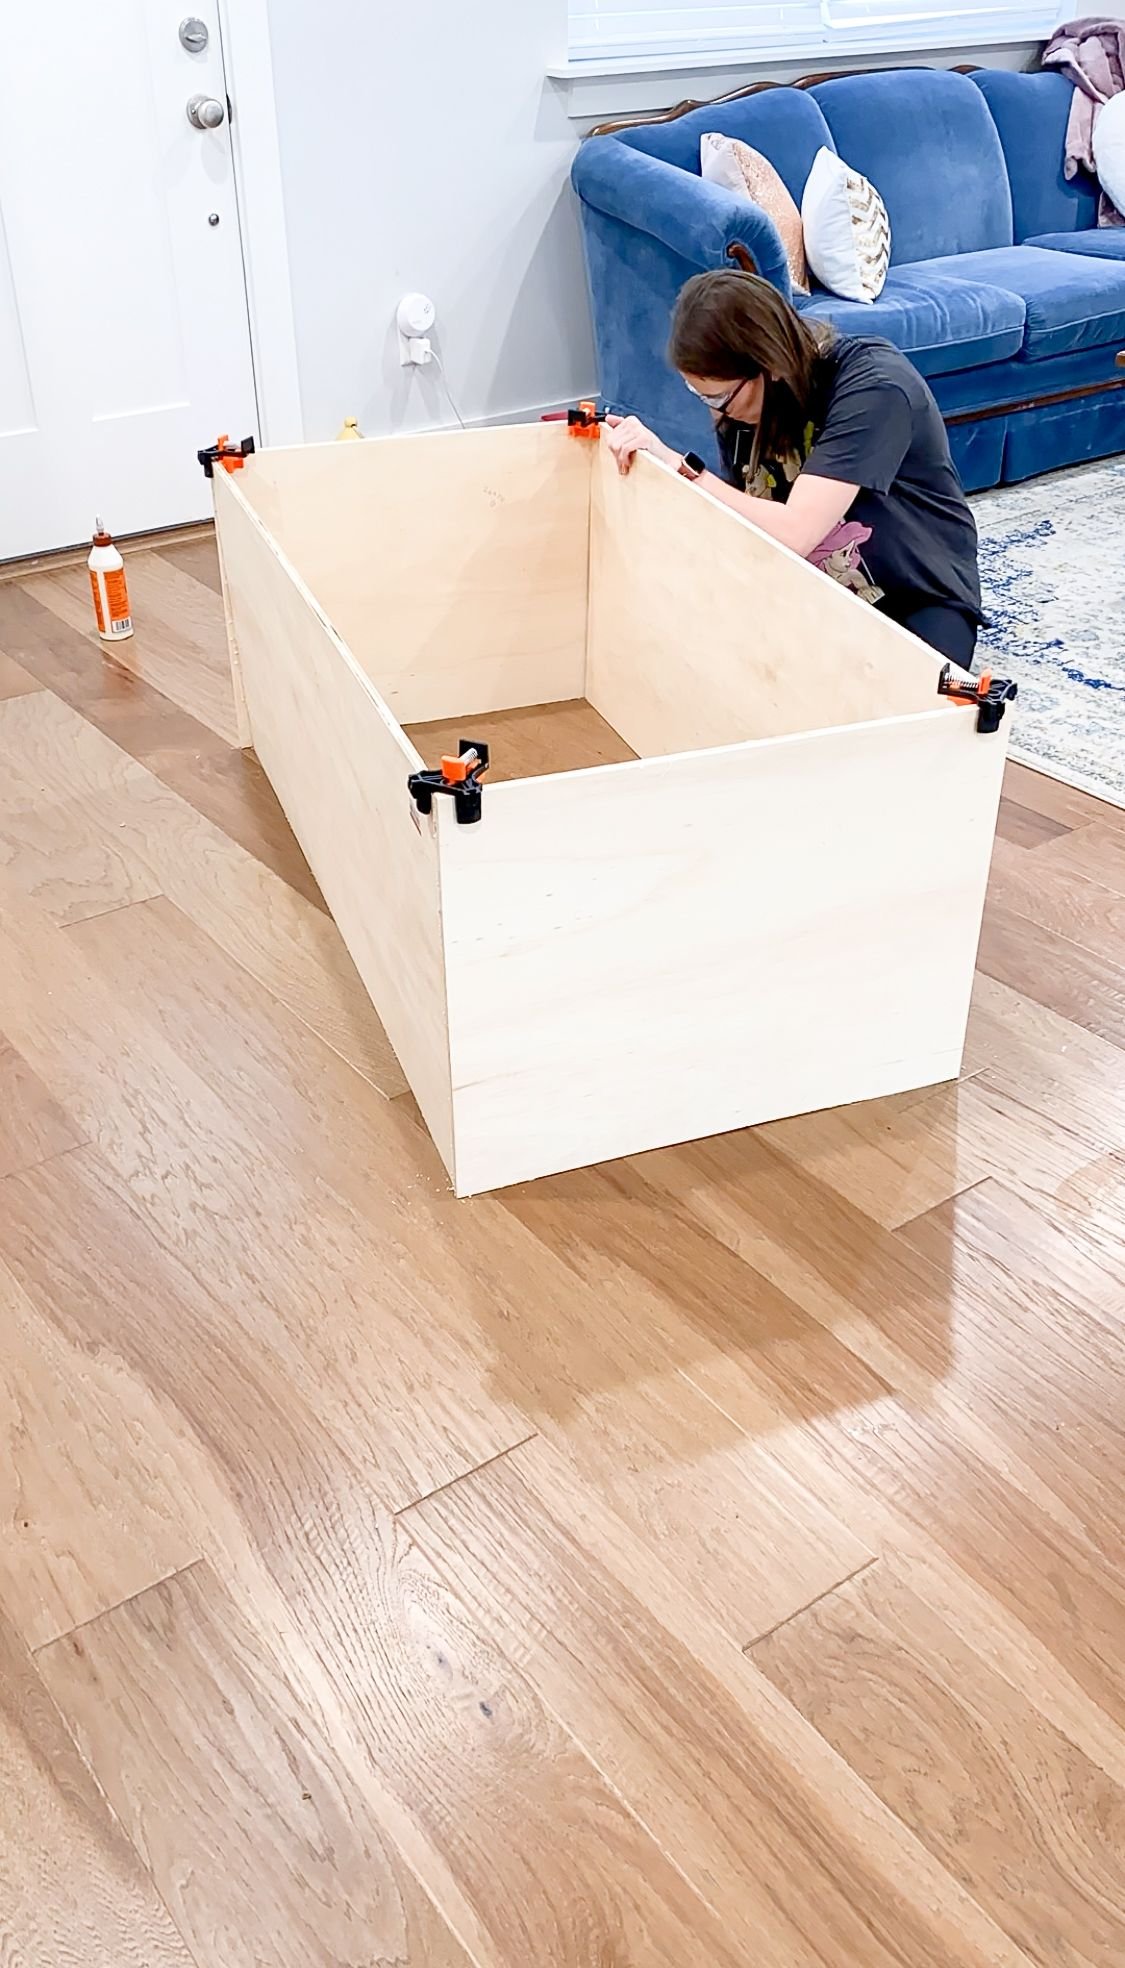
Laundry Room Build | Getting Started
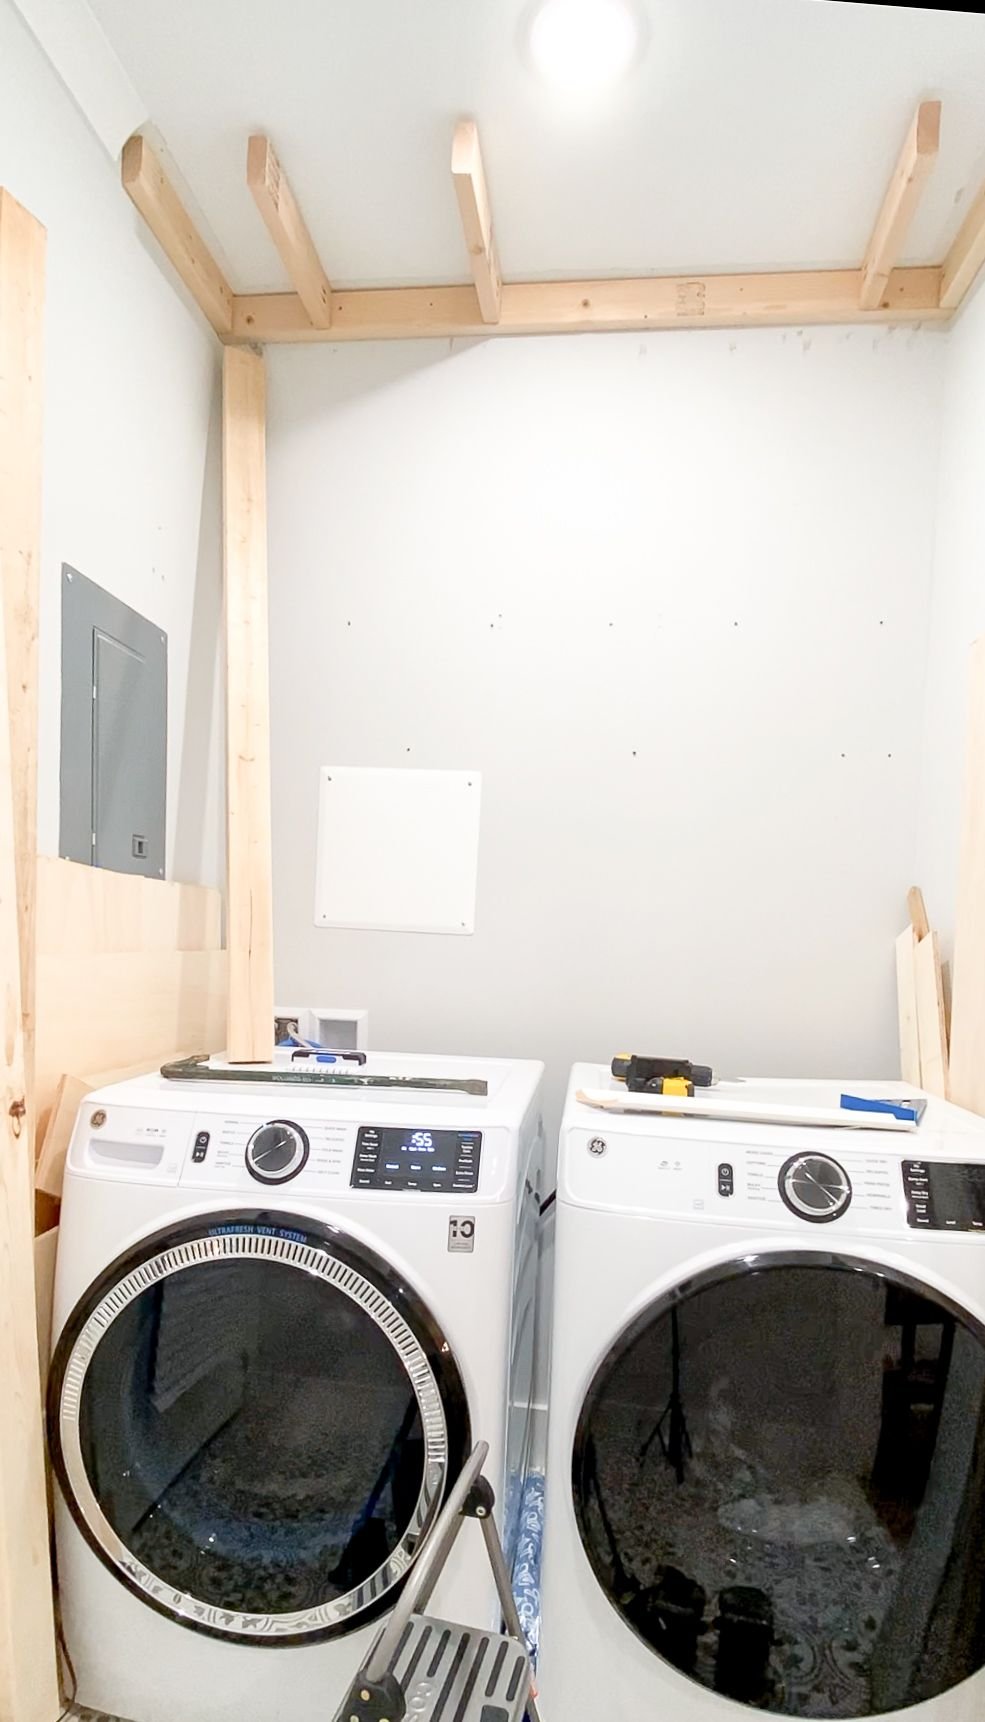
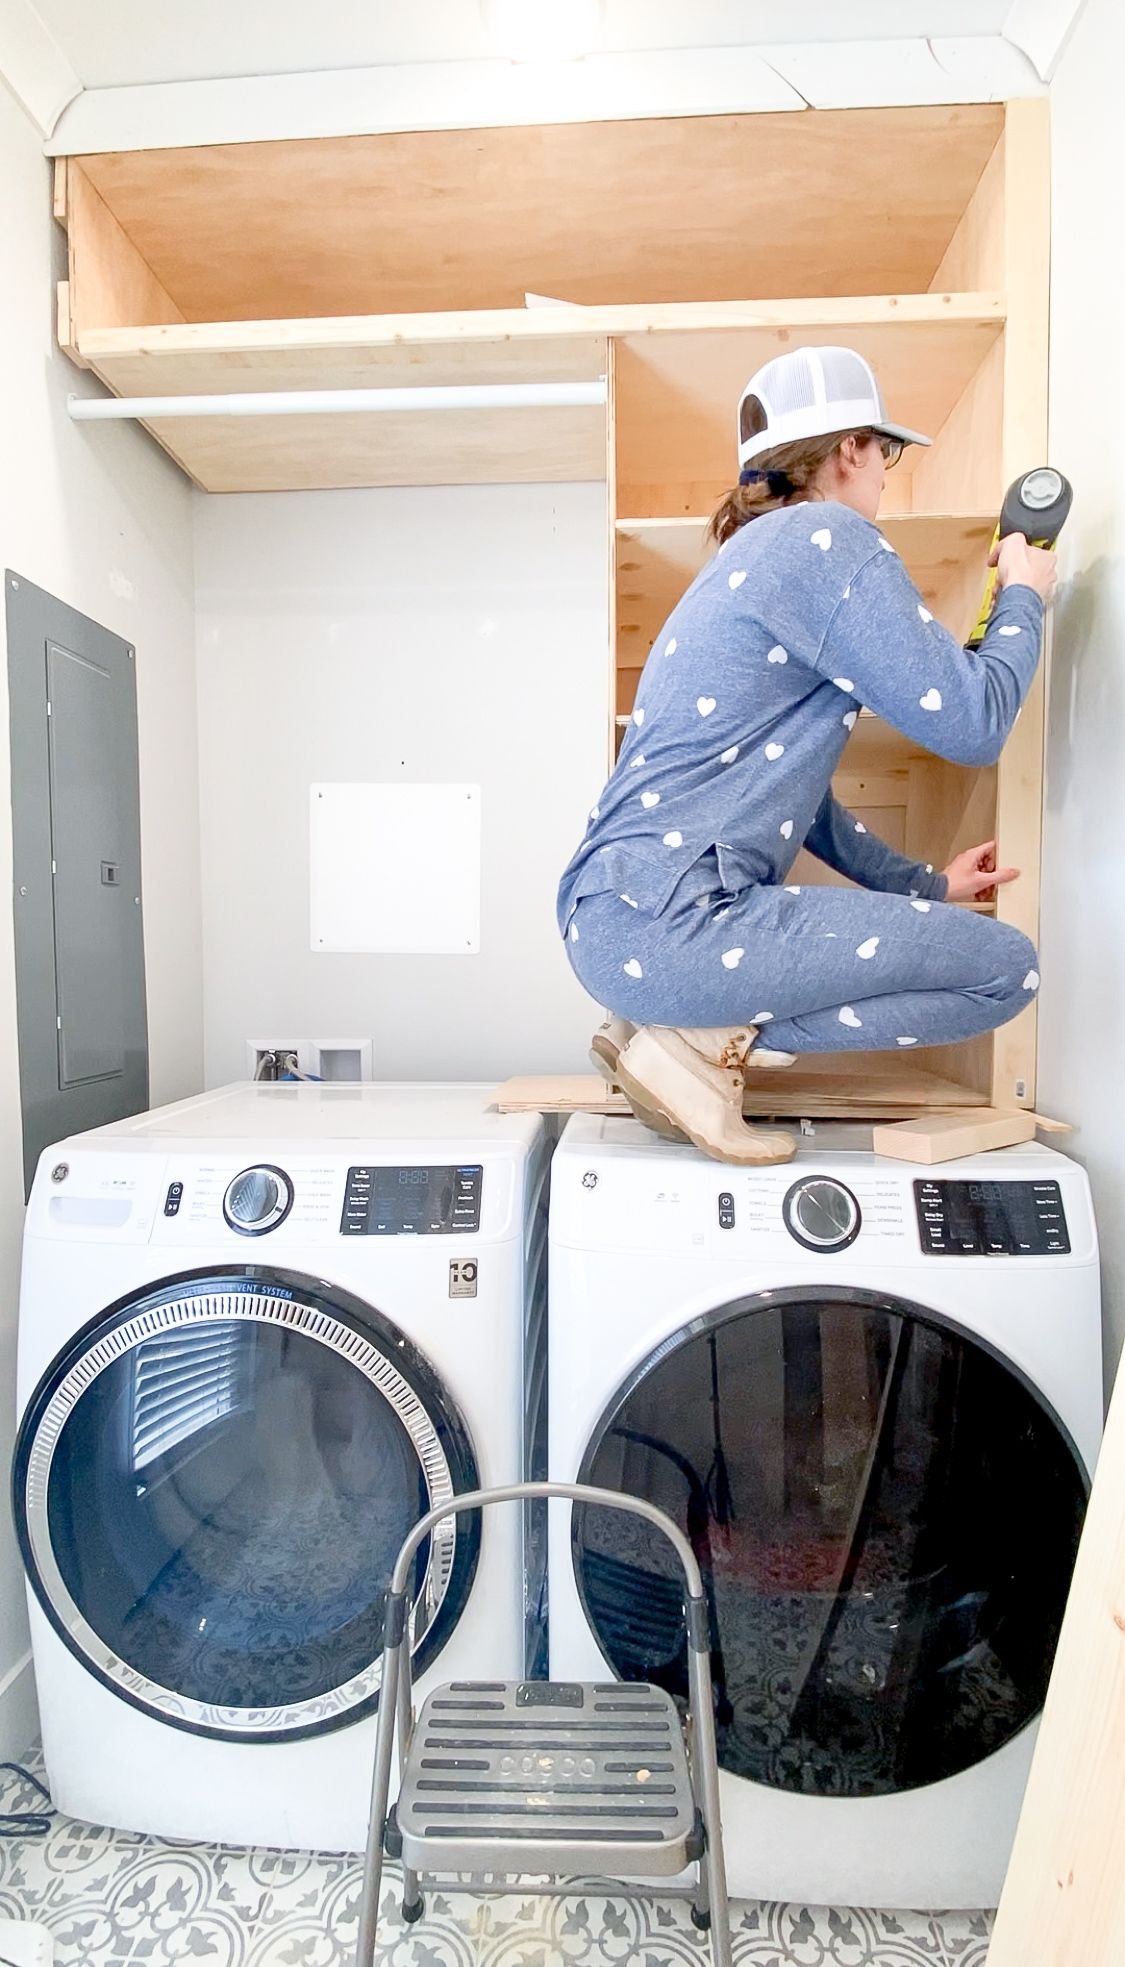
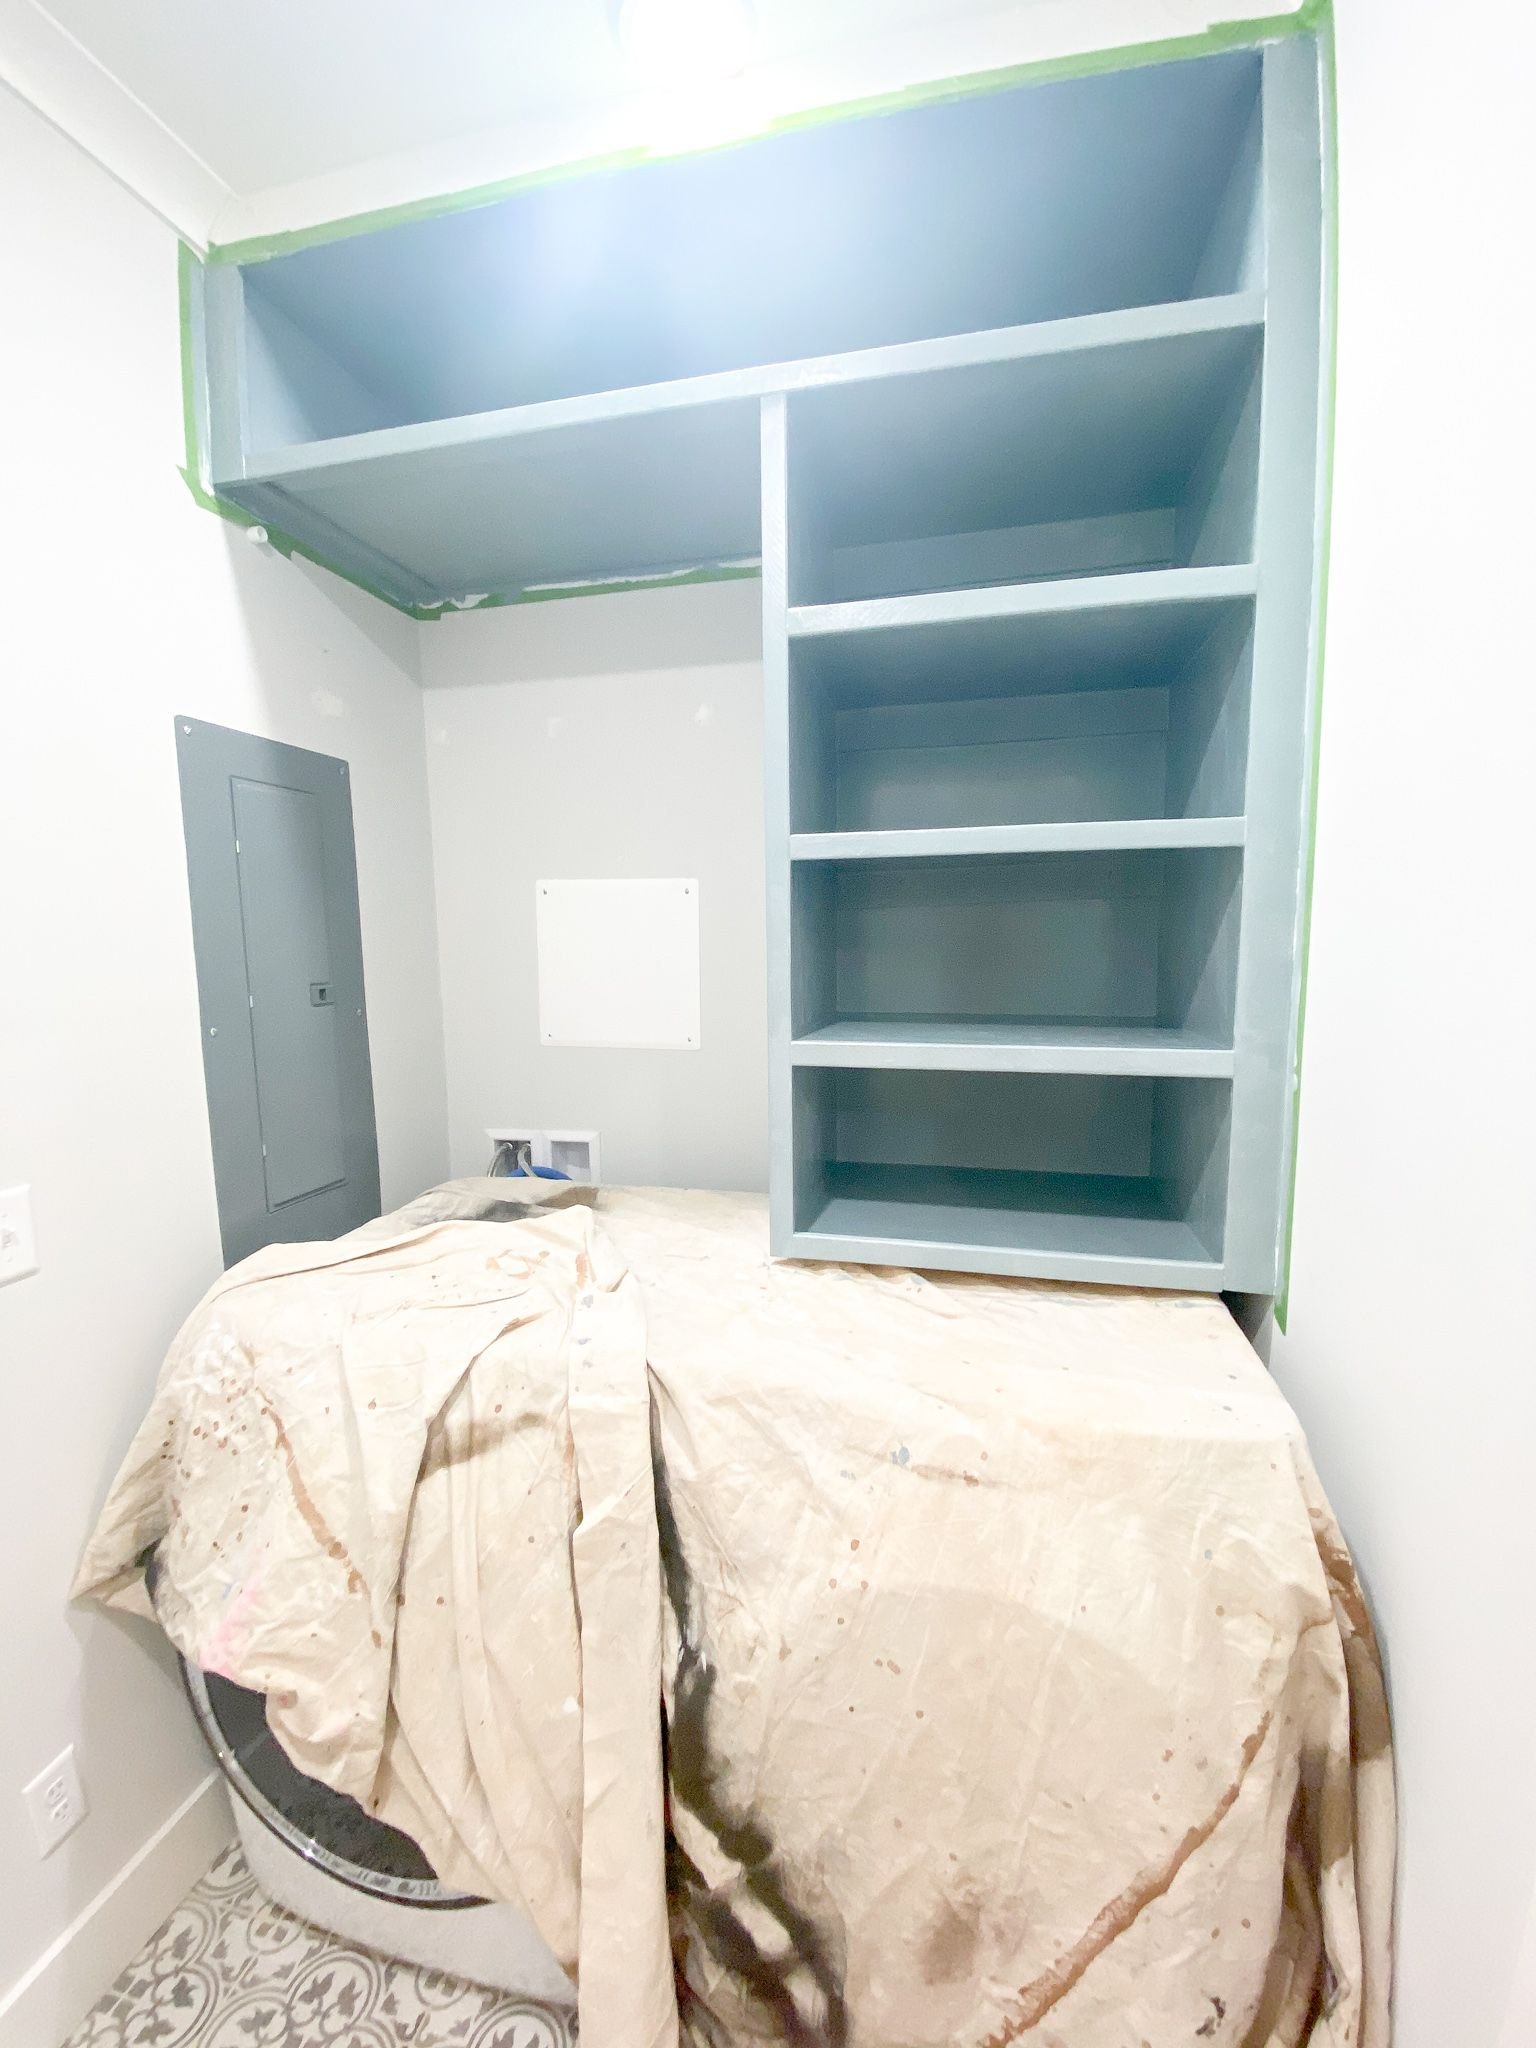
First up, I built a frame on the ceiling making sure to attach it to the studs in the wall. I wanted it to be really sturdy, because everything else was going to be attached to this and hang from it. I then started building the frames for the two different sets of shelves that I designed for this space. One set was one long shelf across the top. The second set was a laundry basket tower. I added cleats to the back of each section so that I could easily hang it and then added backs.
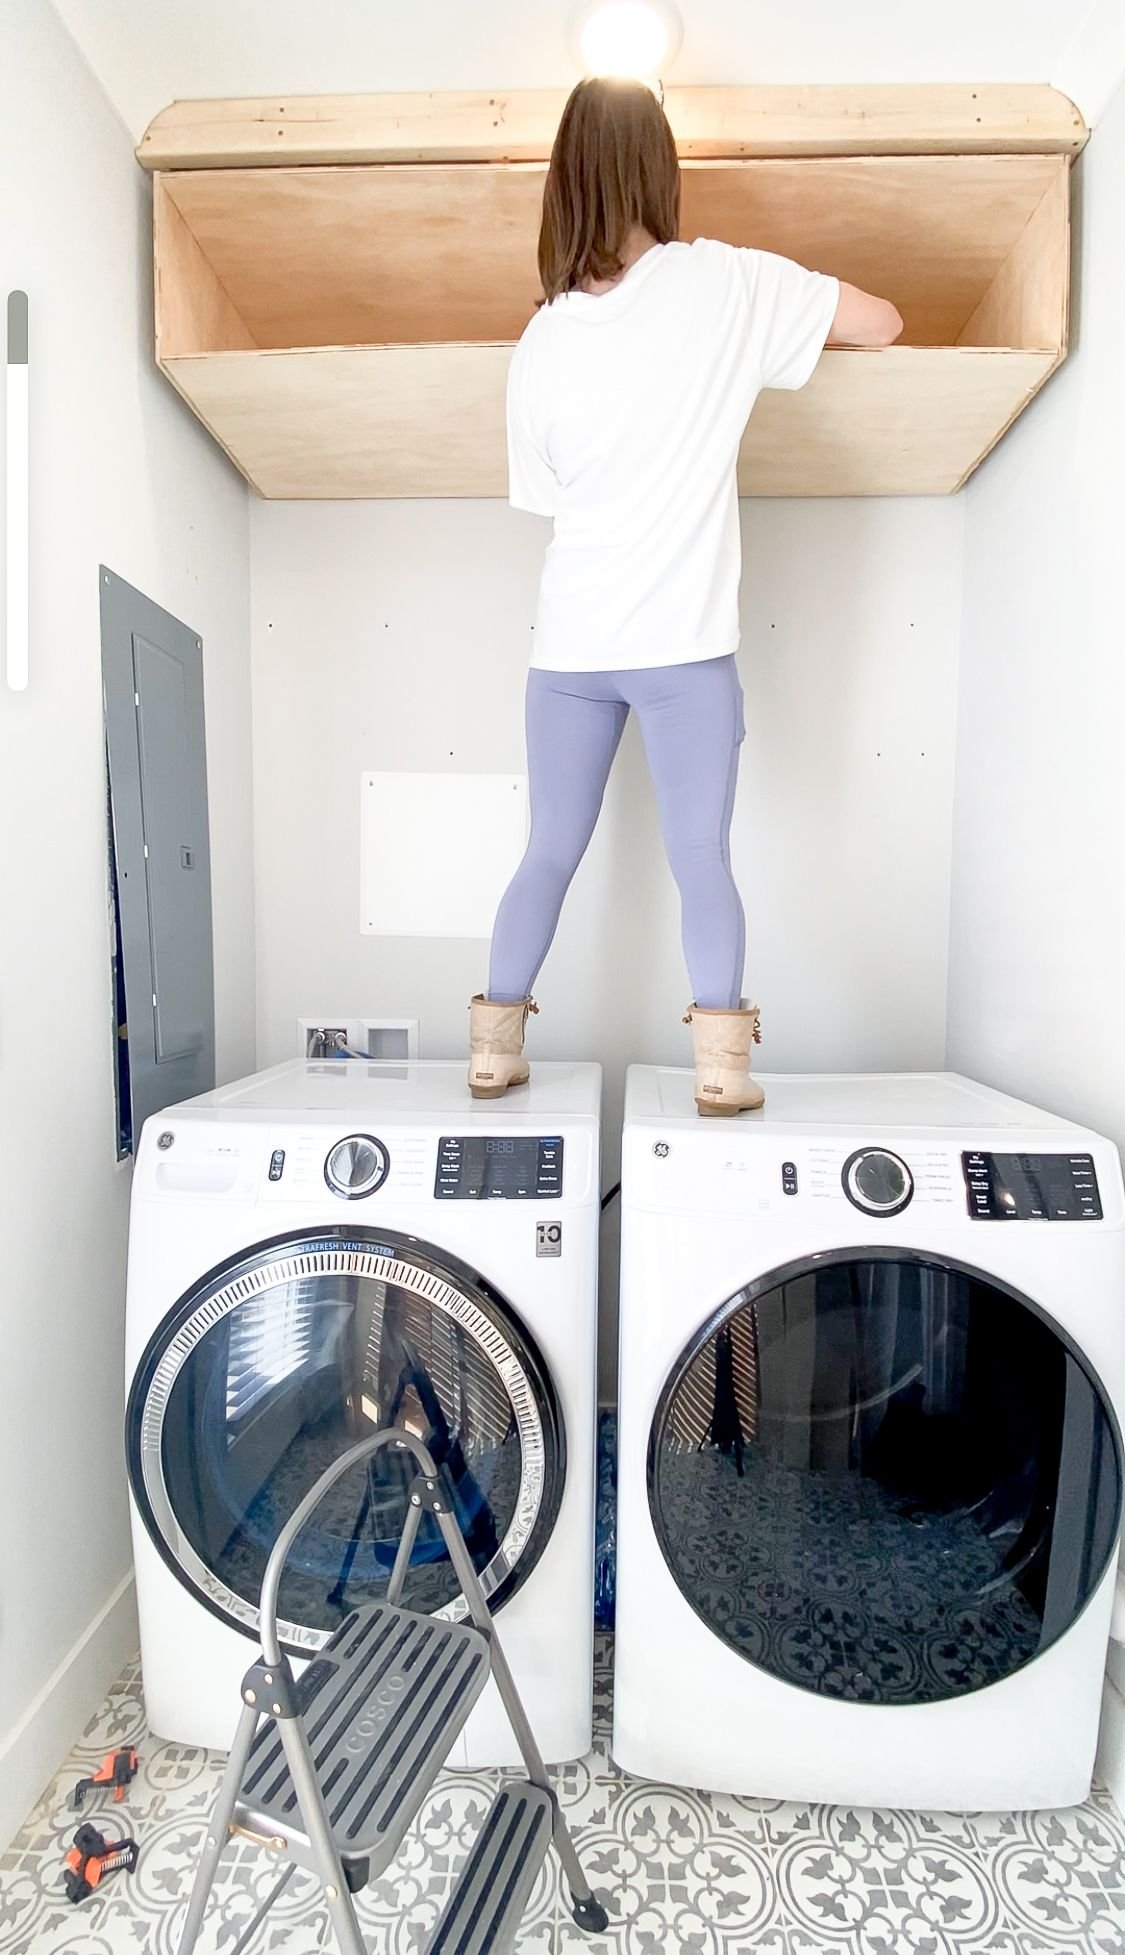
Then, I went to hang the long top shelf. Even though I measured it what felt like a hundred times, it was unfortunately too long. So I had to take it apart, re-measure and cut the boards and put it back together so that it actually fit. After some trial and error, I FINALLY got it up, screwed into the studs, and completely secured to the frame that I created for it. I then hung the laundry basket tower again, attaching it to the studs in the wall and the shelf above it in the process.
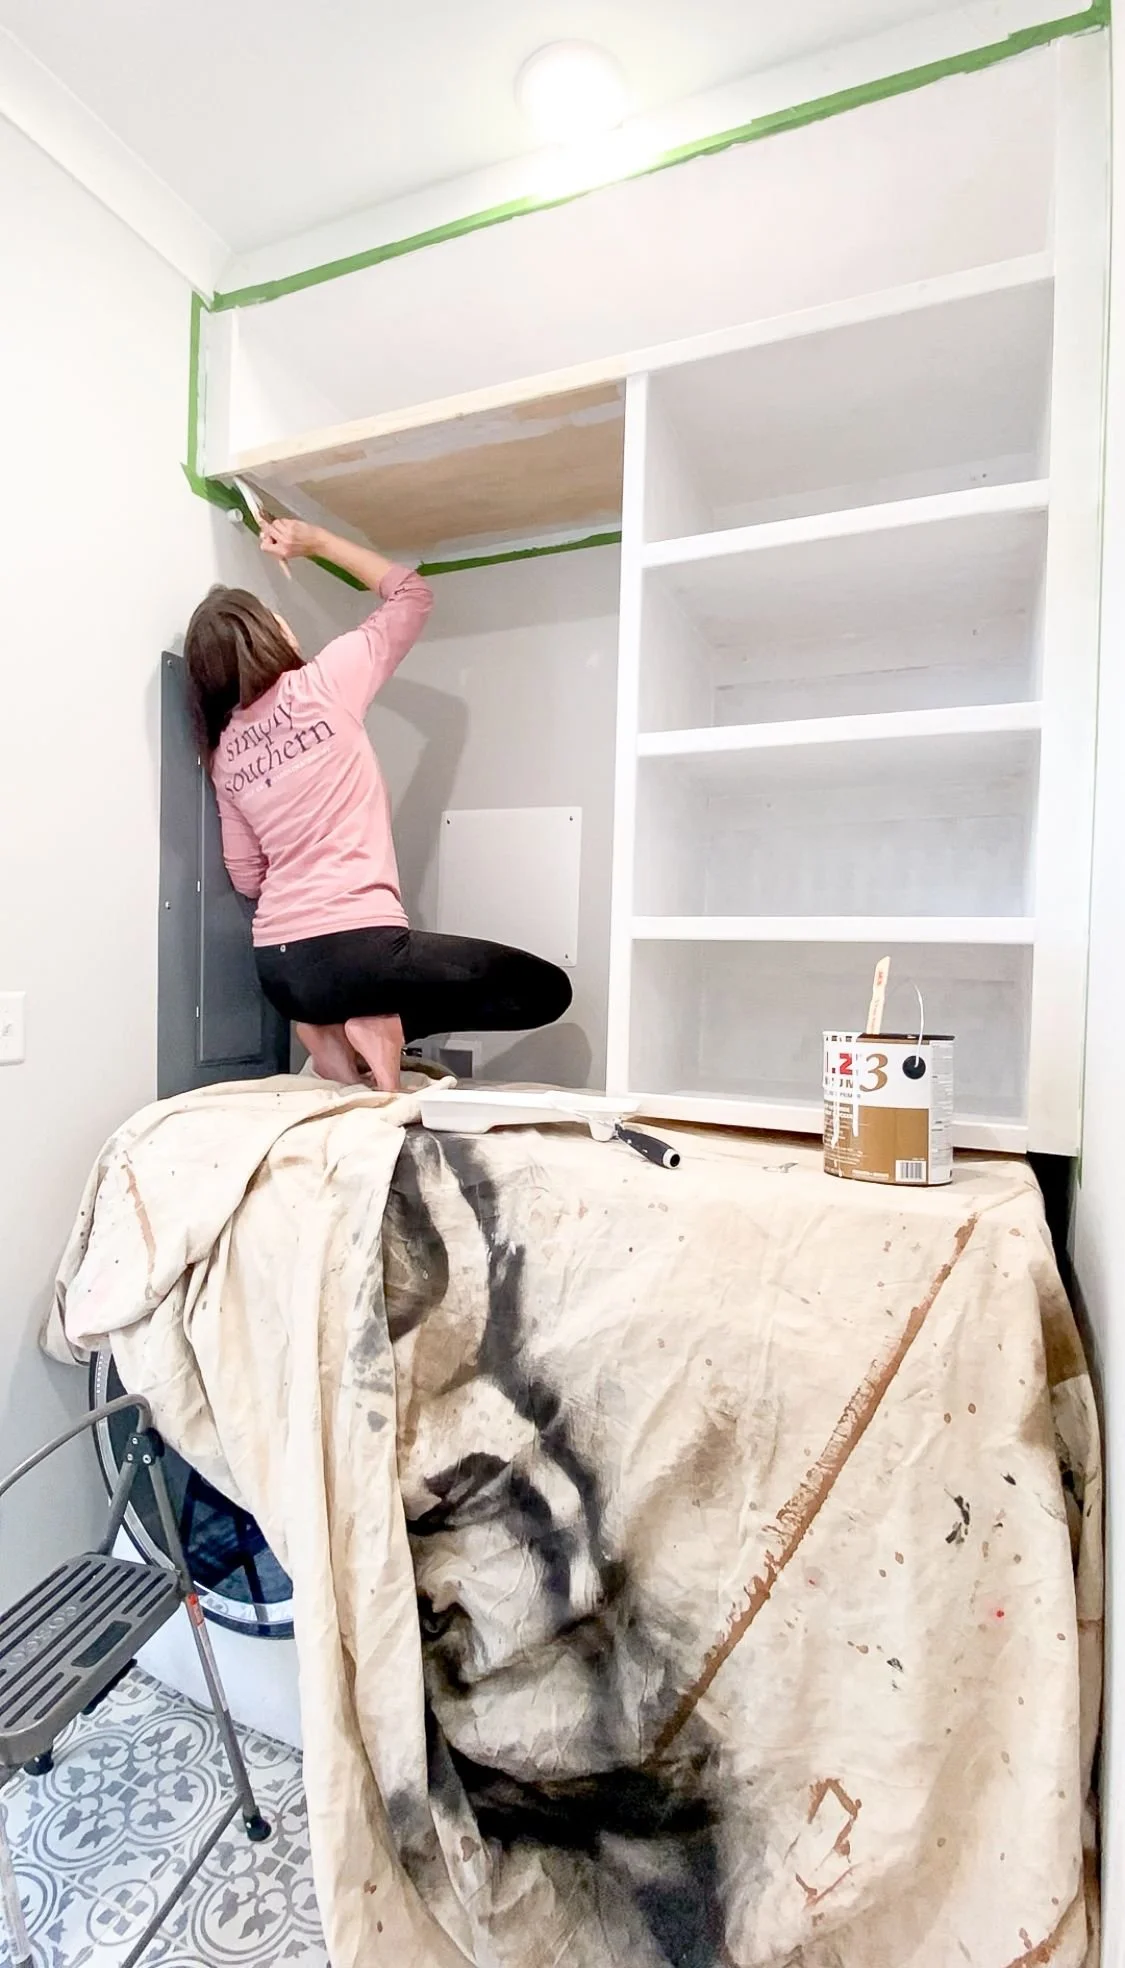
Laundry Room Build | Prime and Paint
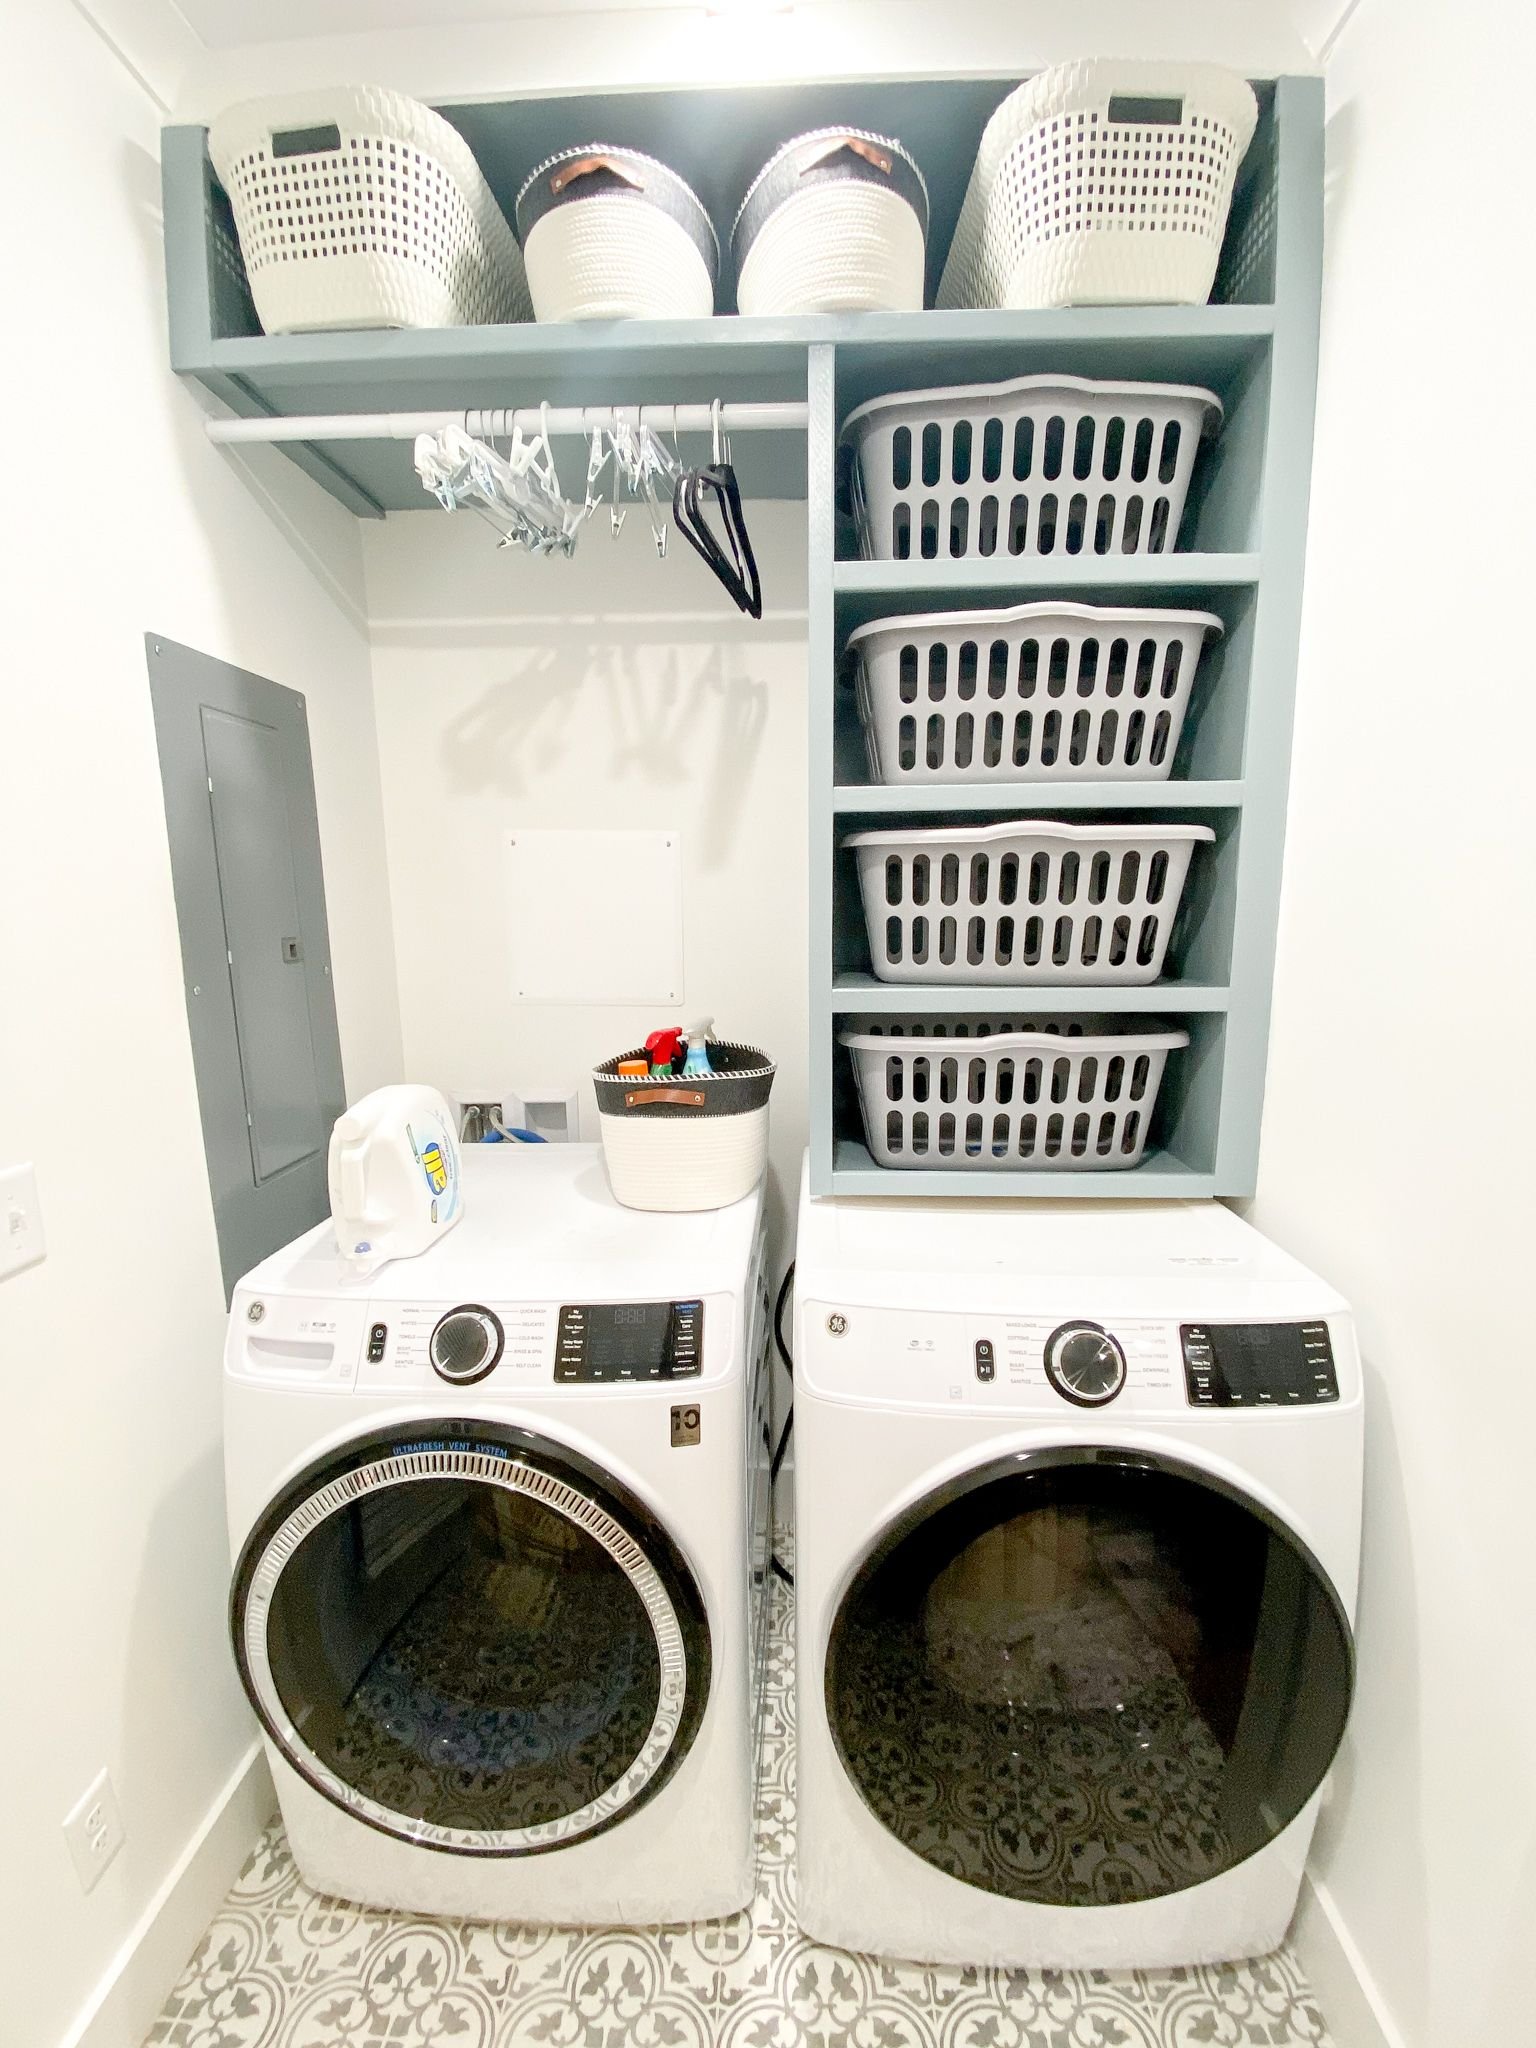
I added a hanging rod to the left above the dryer and I started adding trim so it had that finished built-in look. When I hung the shelves originally, I made sure that I left gaps on both sides so that I could add trim without going over on top of the shelves. Once the trim was installed, I wood-filled, caulked, sanded, wiped everything off, and then primed and painted both sets of shelves using Van Courtland Blue by Benjamin Moore.
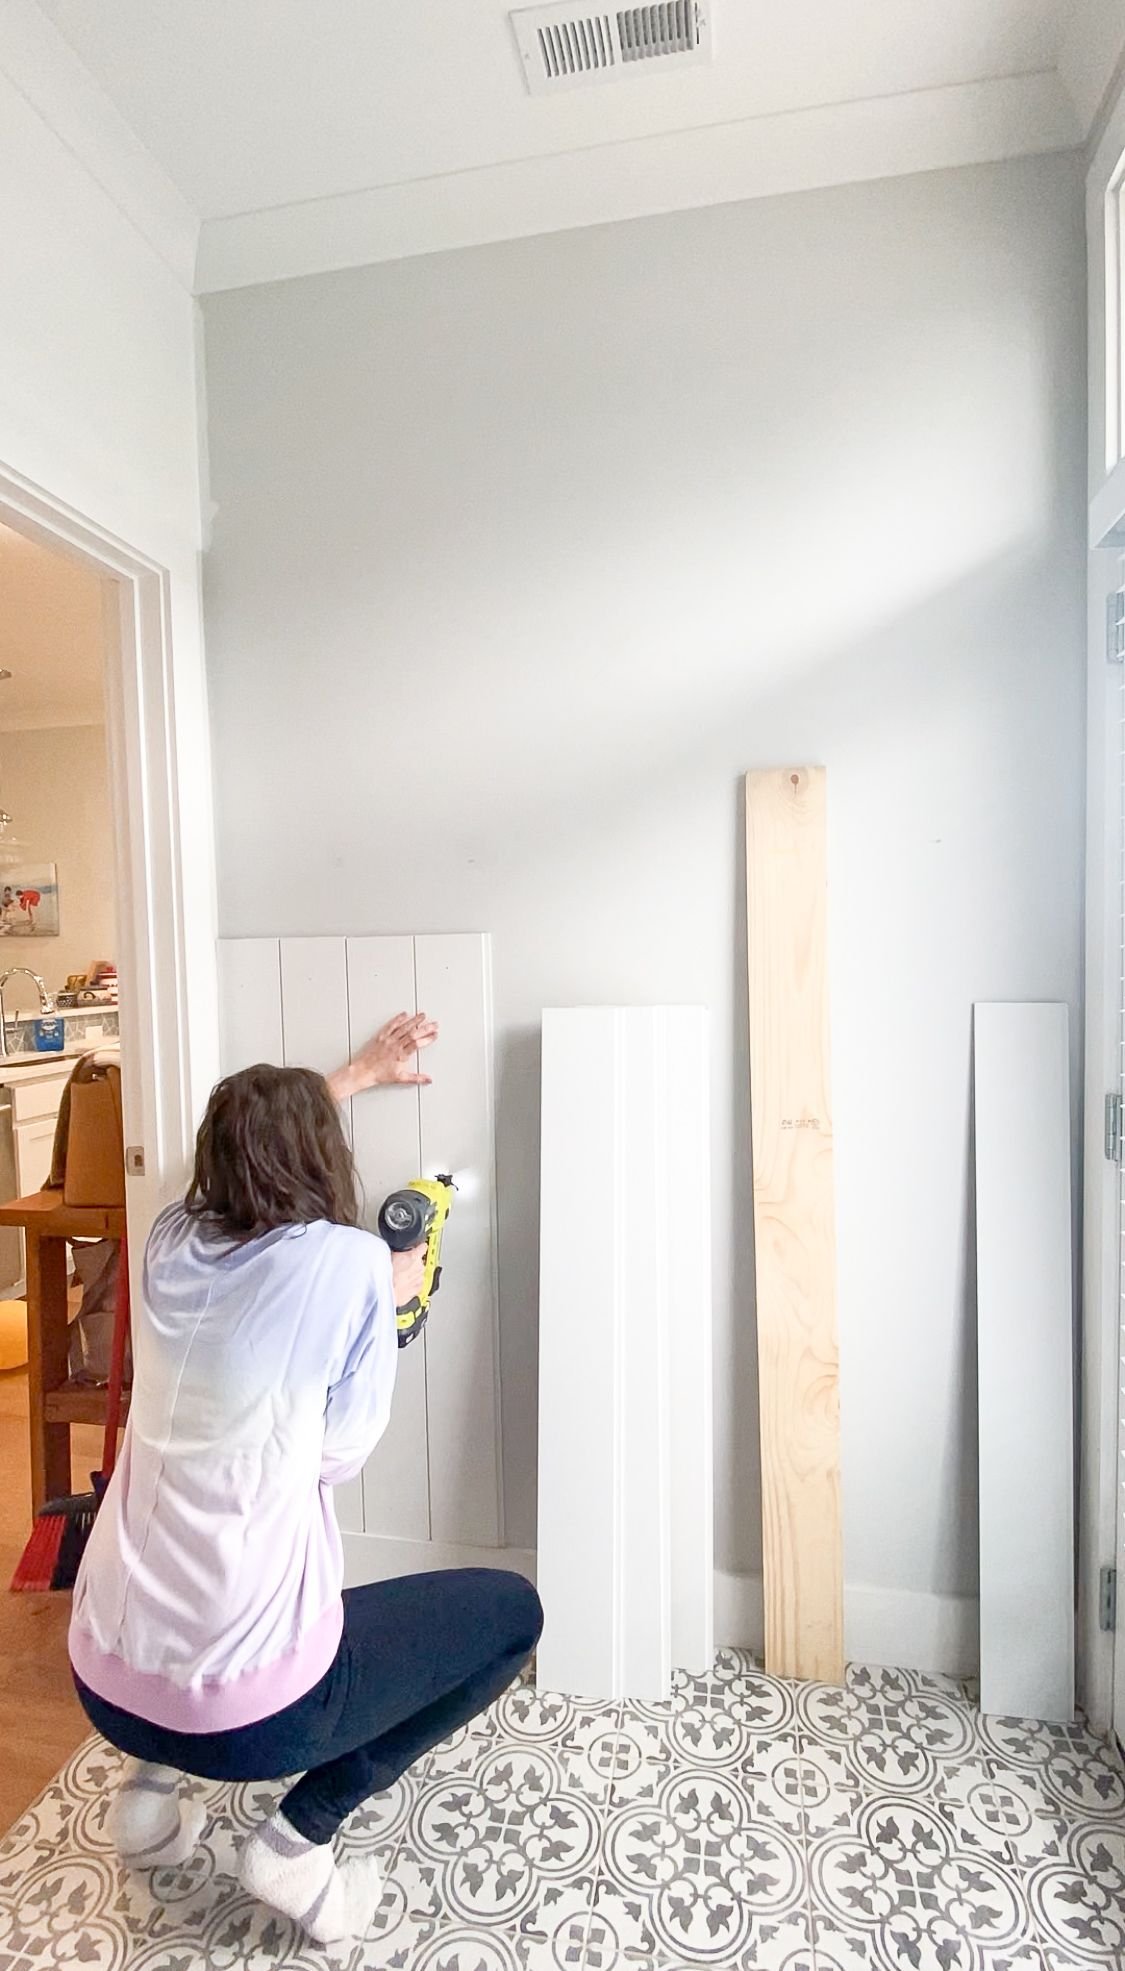
Once the shelves were dry, I decided to paint the walls in the laundry room too. They originally were First Star by Sherwin William, but I repainted the walls in the laundry room Pure White by Sherwin William. I take pride in the fact that I’m very detail oriented so I even moved the washing machine and dryer and painted behind them. When that was done, I moved to the other side of the laundry room. I installed a vertical shiplap and hung a 1x6 above that. I topped it off with a 1x2 to make it look more polished. I wood filled, caulked, sanded and painted the whole wall Pure White by Sherwin WIlliam as well.
Laundry Room Build | Finishing Work
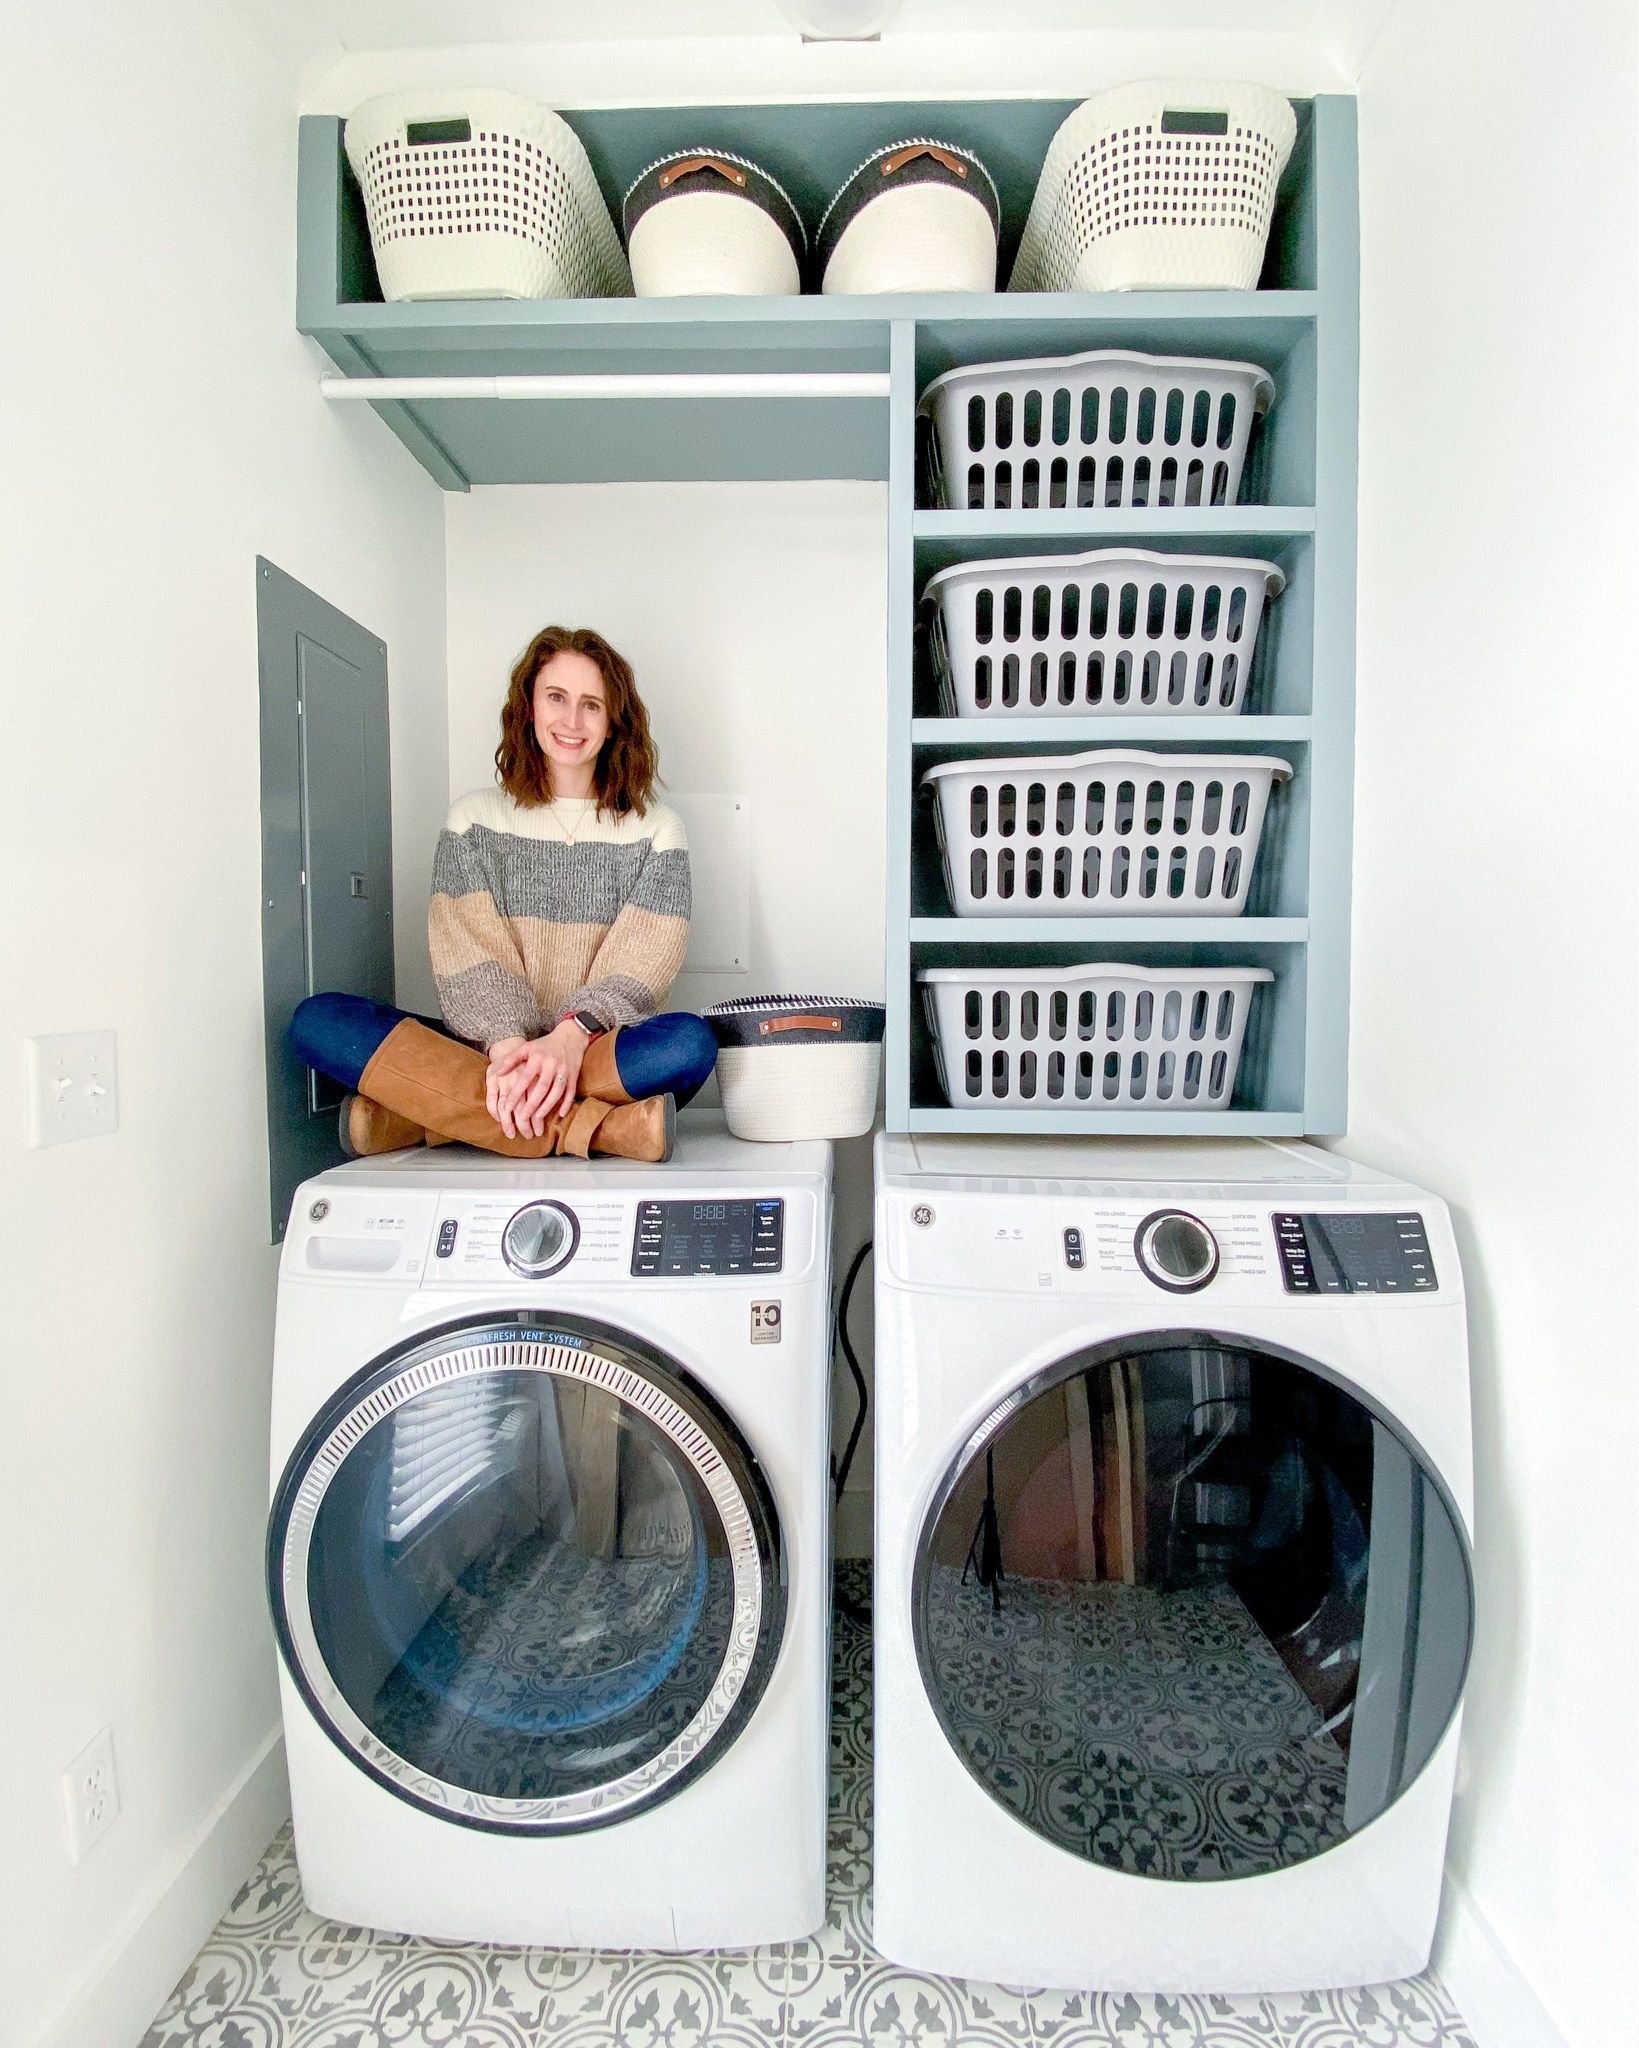
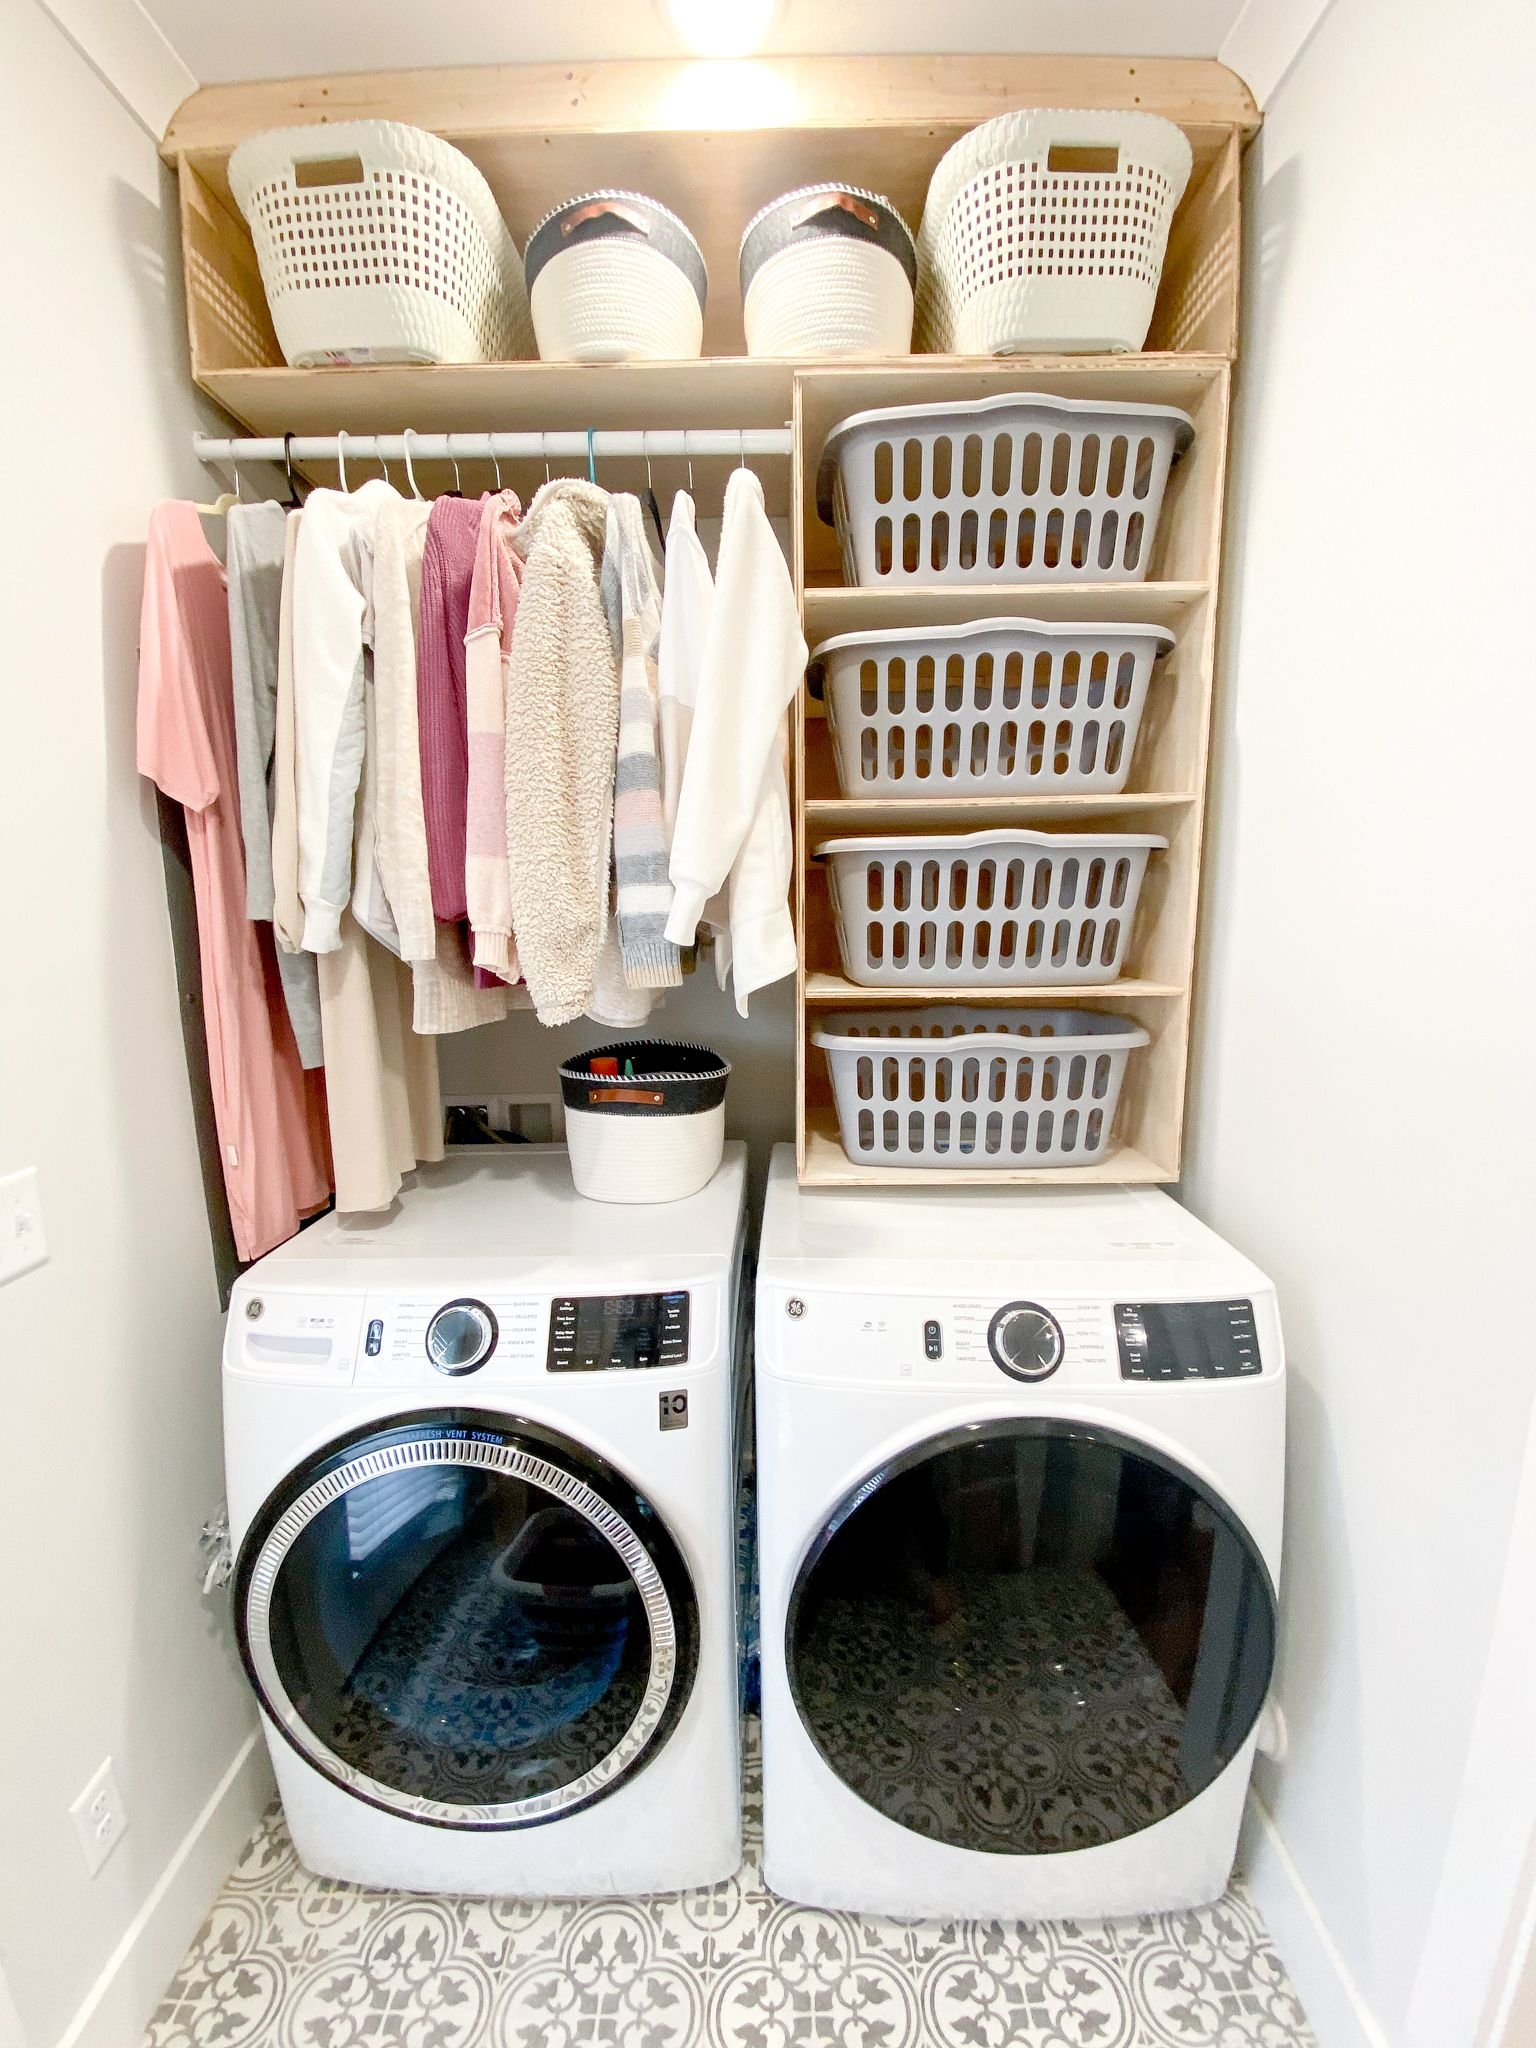
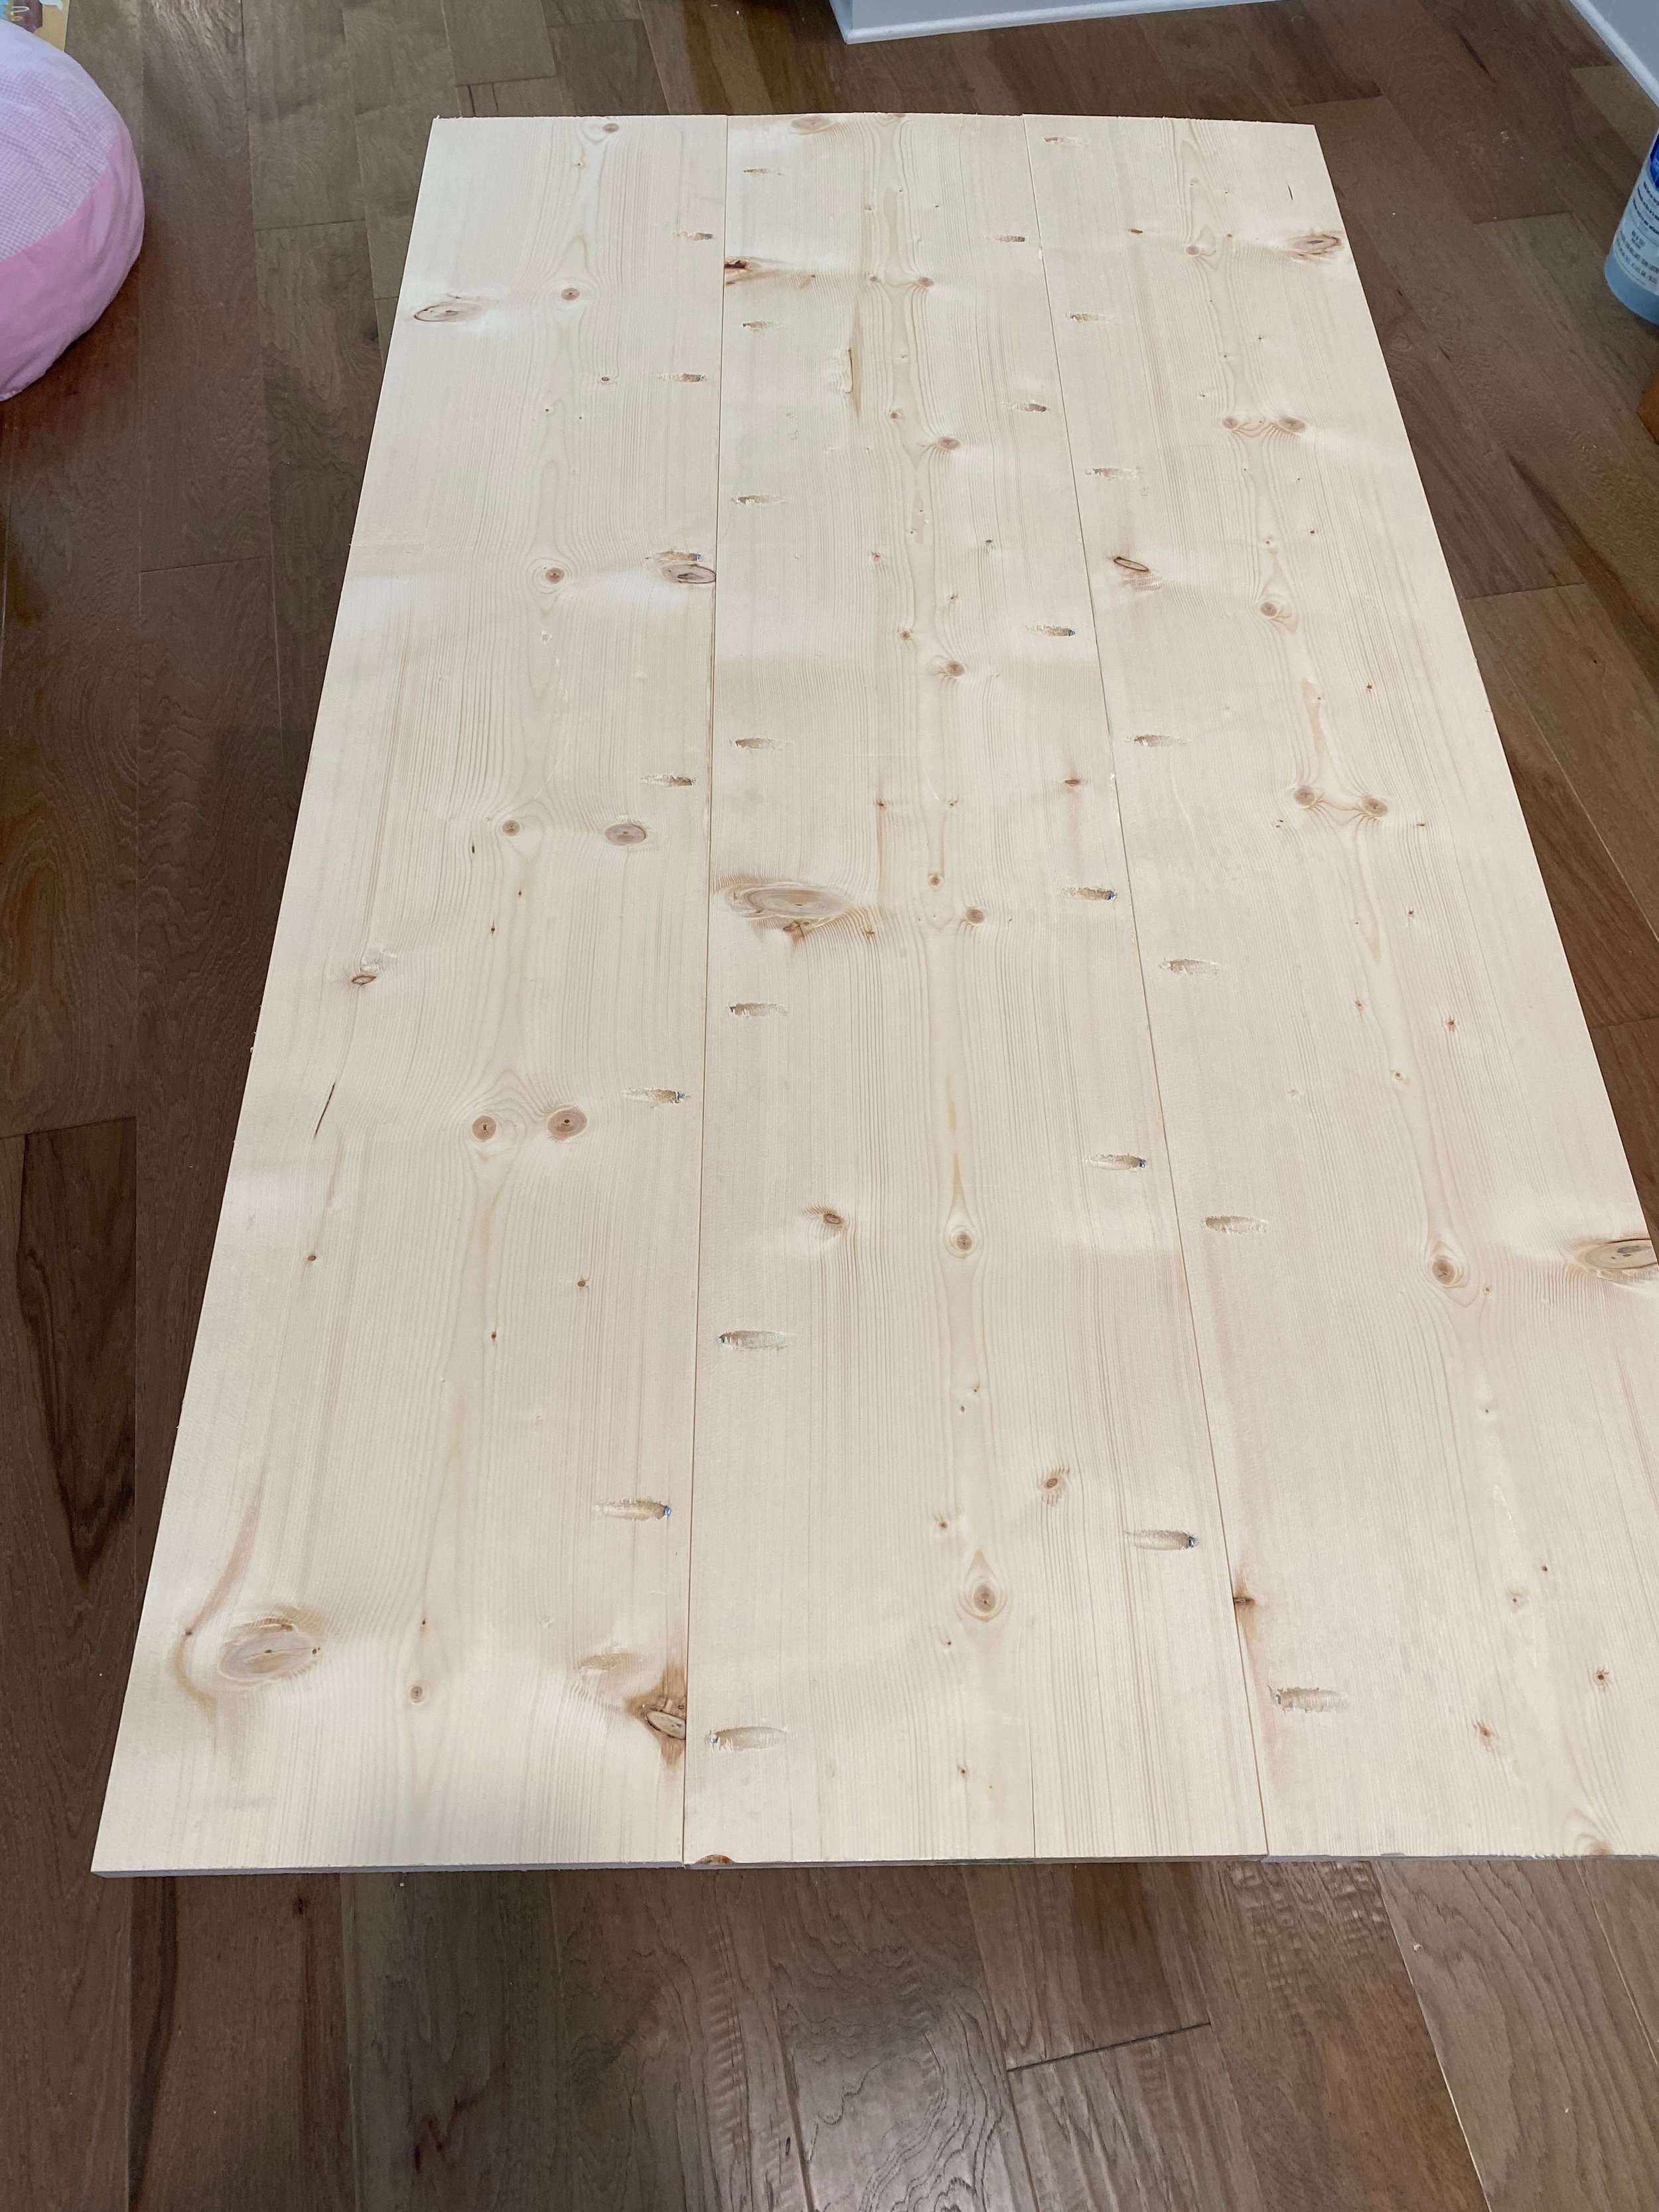
Next up, I decided to make a removable table to put over the washer and dryer for folding, sorting, etc. I quickly made a tabletop, sanded and stained it. I then added two legs that I painted Van Courtland Blue by Benjamin Moore to match the rest of the built-ins. This table just slides over the washer and dryer and can easily be pulled out if either appliance needs to be serviced. I also made a frame to cover up the electrical panel in the laundry room with 4 1x2. I added a cork board to the back of the frame and we use it to display Jackie’s artwork. Lastly, as a final touch, my cousin and I did some detail paint work with shades of blue similar to Van Courtland Blue by Benjamin Moore to give an ombre effect.

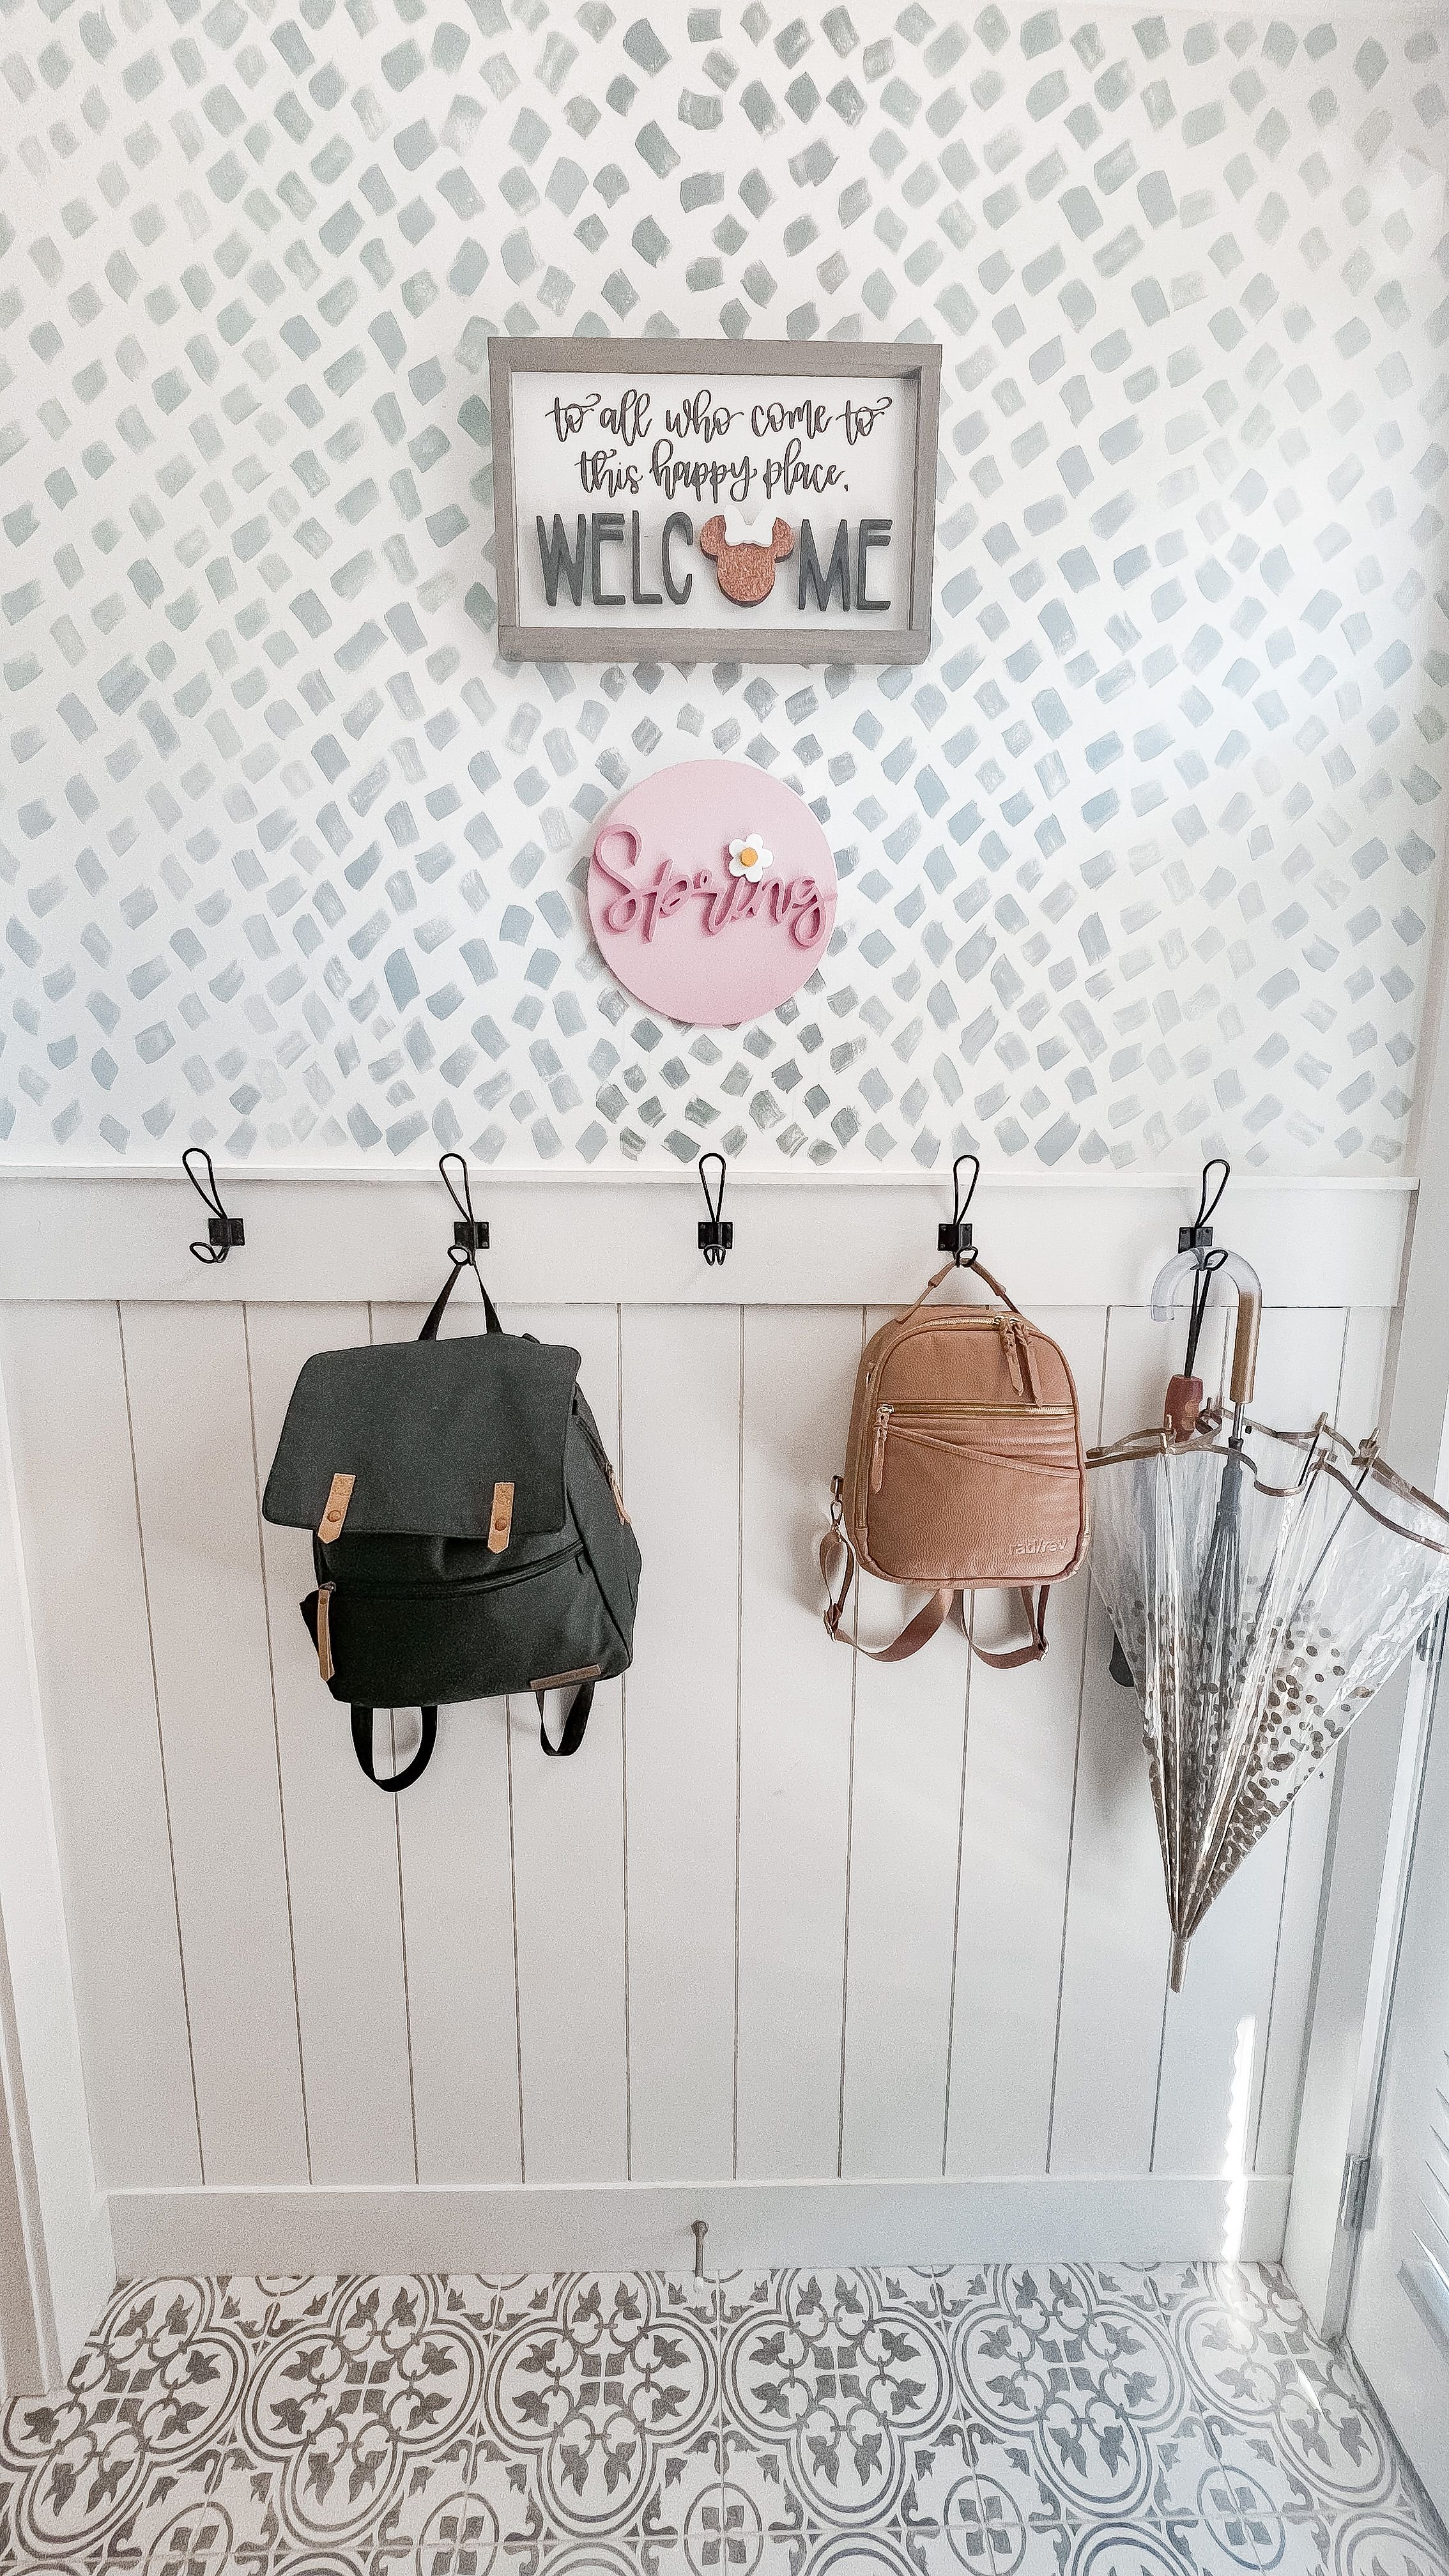
I absolutely love how this laundry room turned out! It is the first thing you see when you walk in our back door and I’m so happy that it not only looks great, but is so functional for us.