
When You Have to Redo a DIY Project
The first big project I ever did was putting shelves in a weird nook area in the loft of my parents’ house. I did this even before the house bed I built for my daughter a month later. When I did these shelves I was still learning a lot through trial and error in my DIY projects. I knew I wanted to go back, use all of my new knowledge and do these shelves the right way. Let me show you what I did!

When You Have to Redo a DIY Project | Fixing the Problems
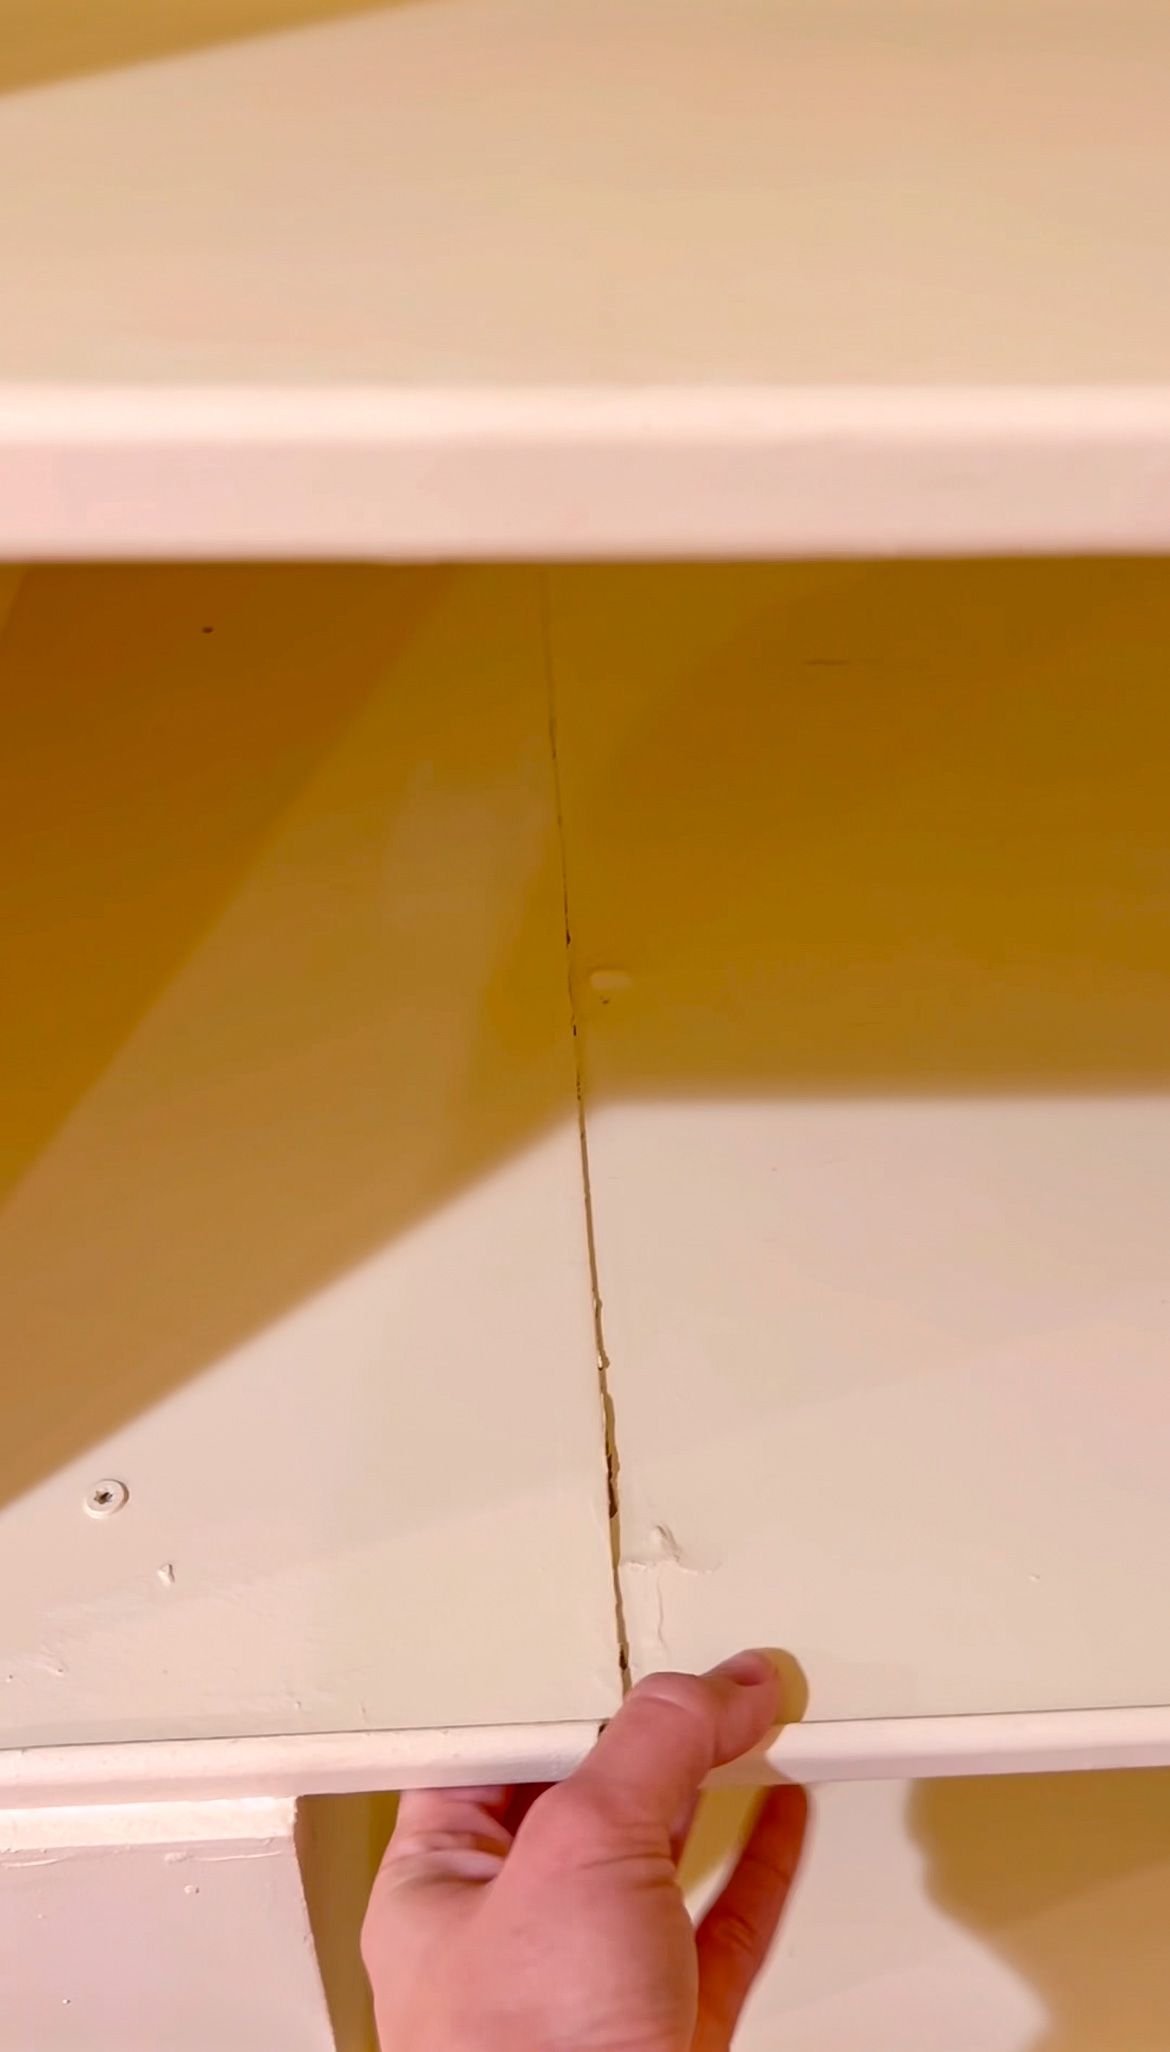
Originally, I did continuous shelving because that's what my mom requested. However, after a while, we noticed there was a lot of sagging because there was not enough support and pieces were coming apart. It just was not my best work because it was my first big project. Two years later, I decided to pull the entire thing apart and redo it.

I learned a lot in those two years. I do my wood joinery differently, I do my trim differently and have so many more tools at my disposal. All that saying I knew I could do a much better job. I took the entire thing apart including the trim from around the window because I wanted to utilize as much space as possible. Even though I really liked how the bottom boxes were built originally, I decided they needed to come out as well because again, I could do it better now.

When You Have to Redo a DIY Project | Creating Something Better
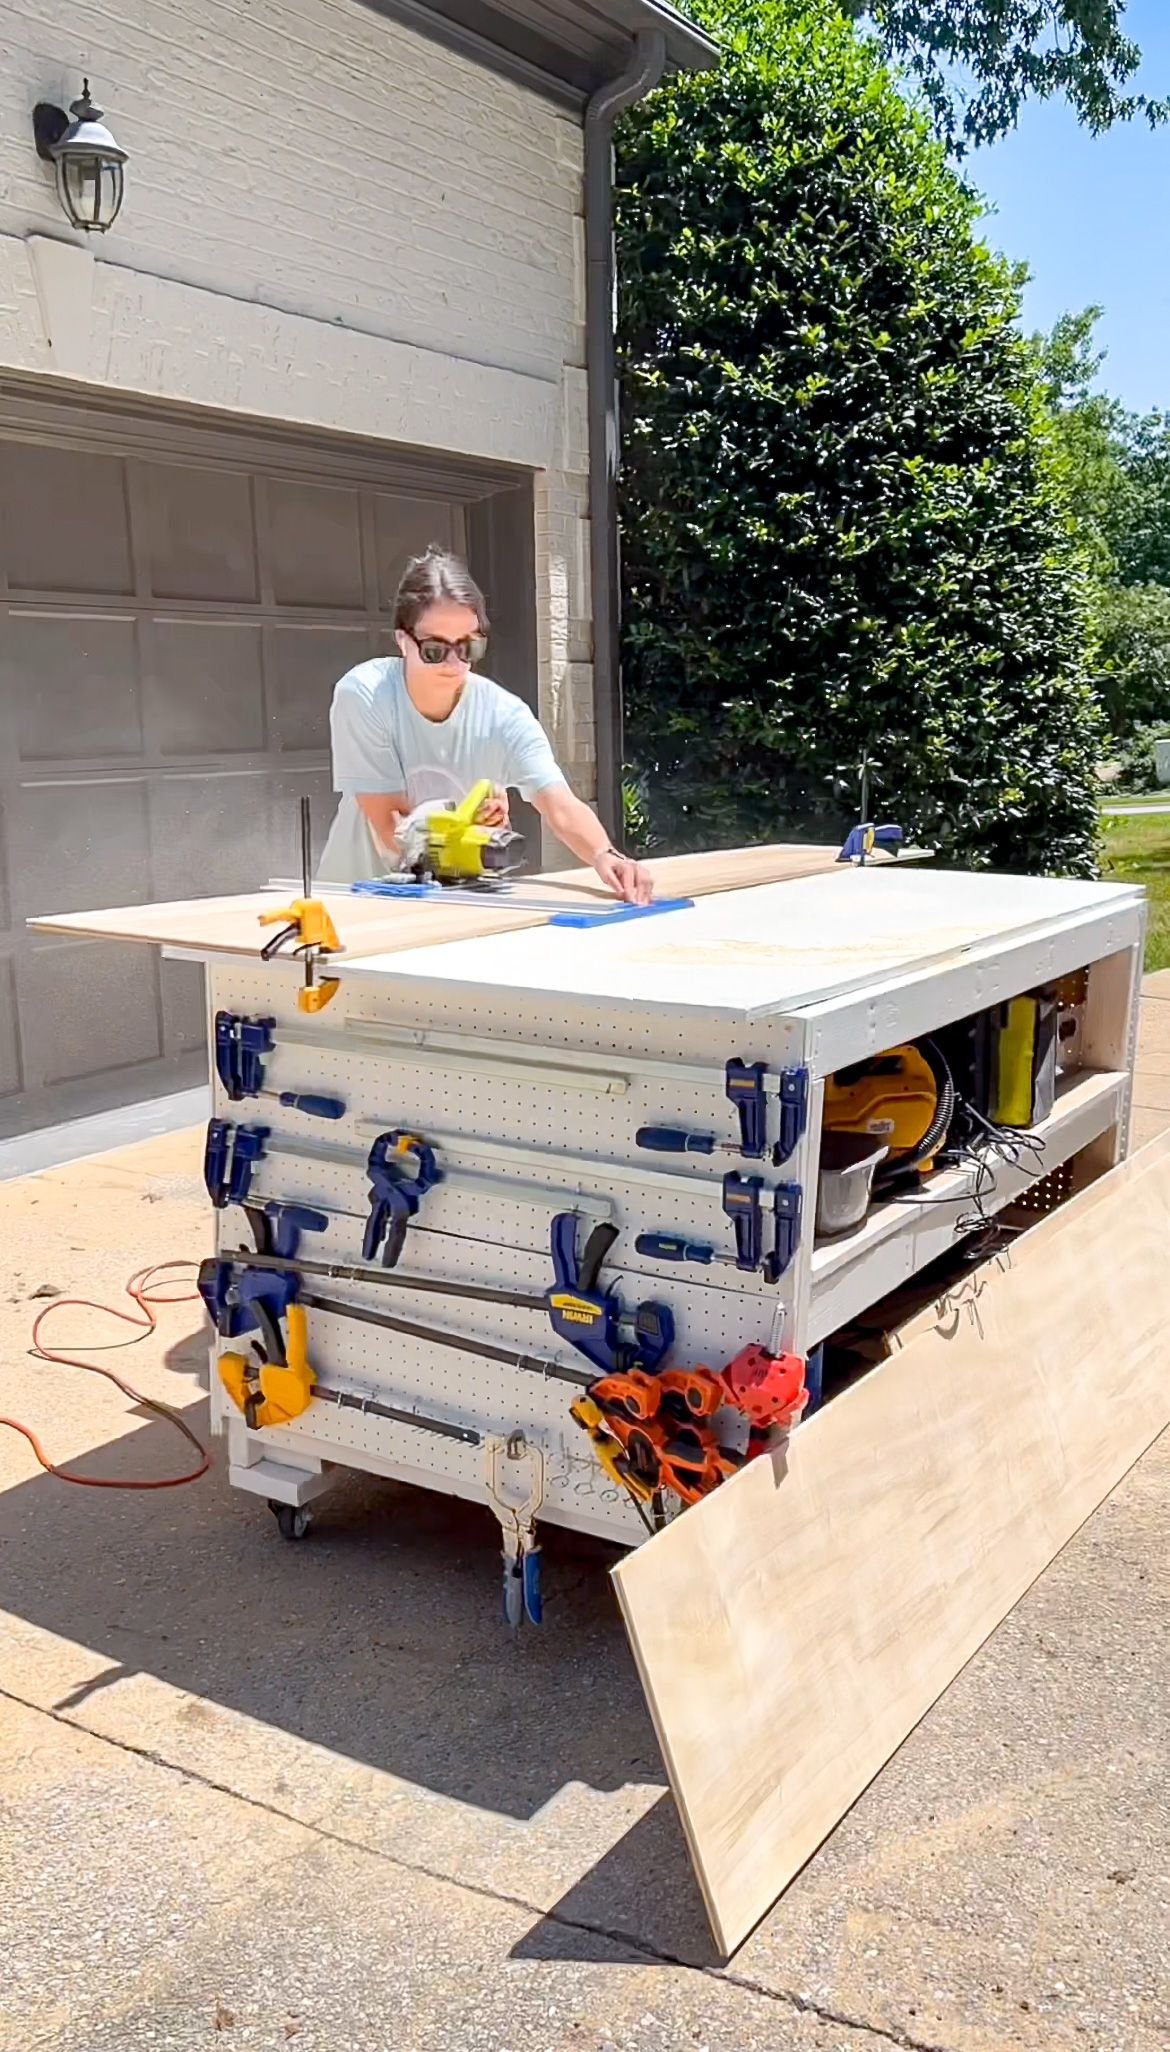
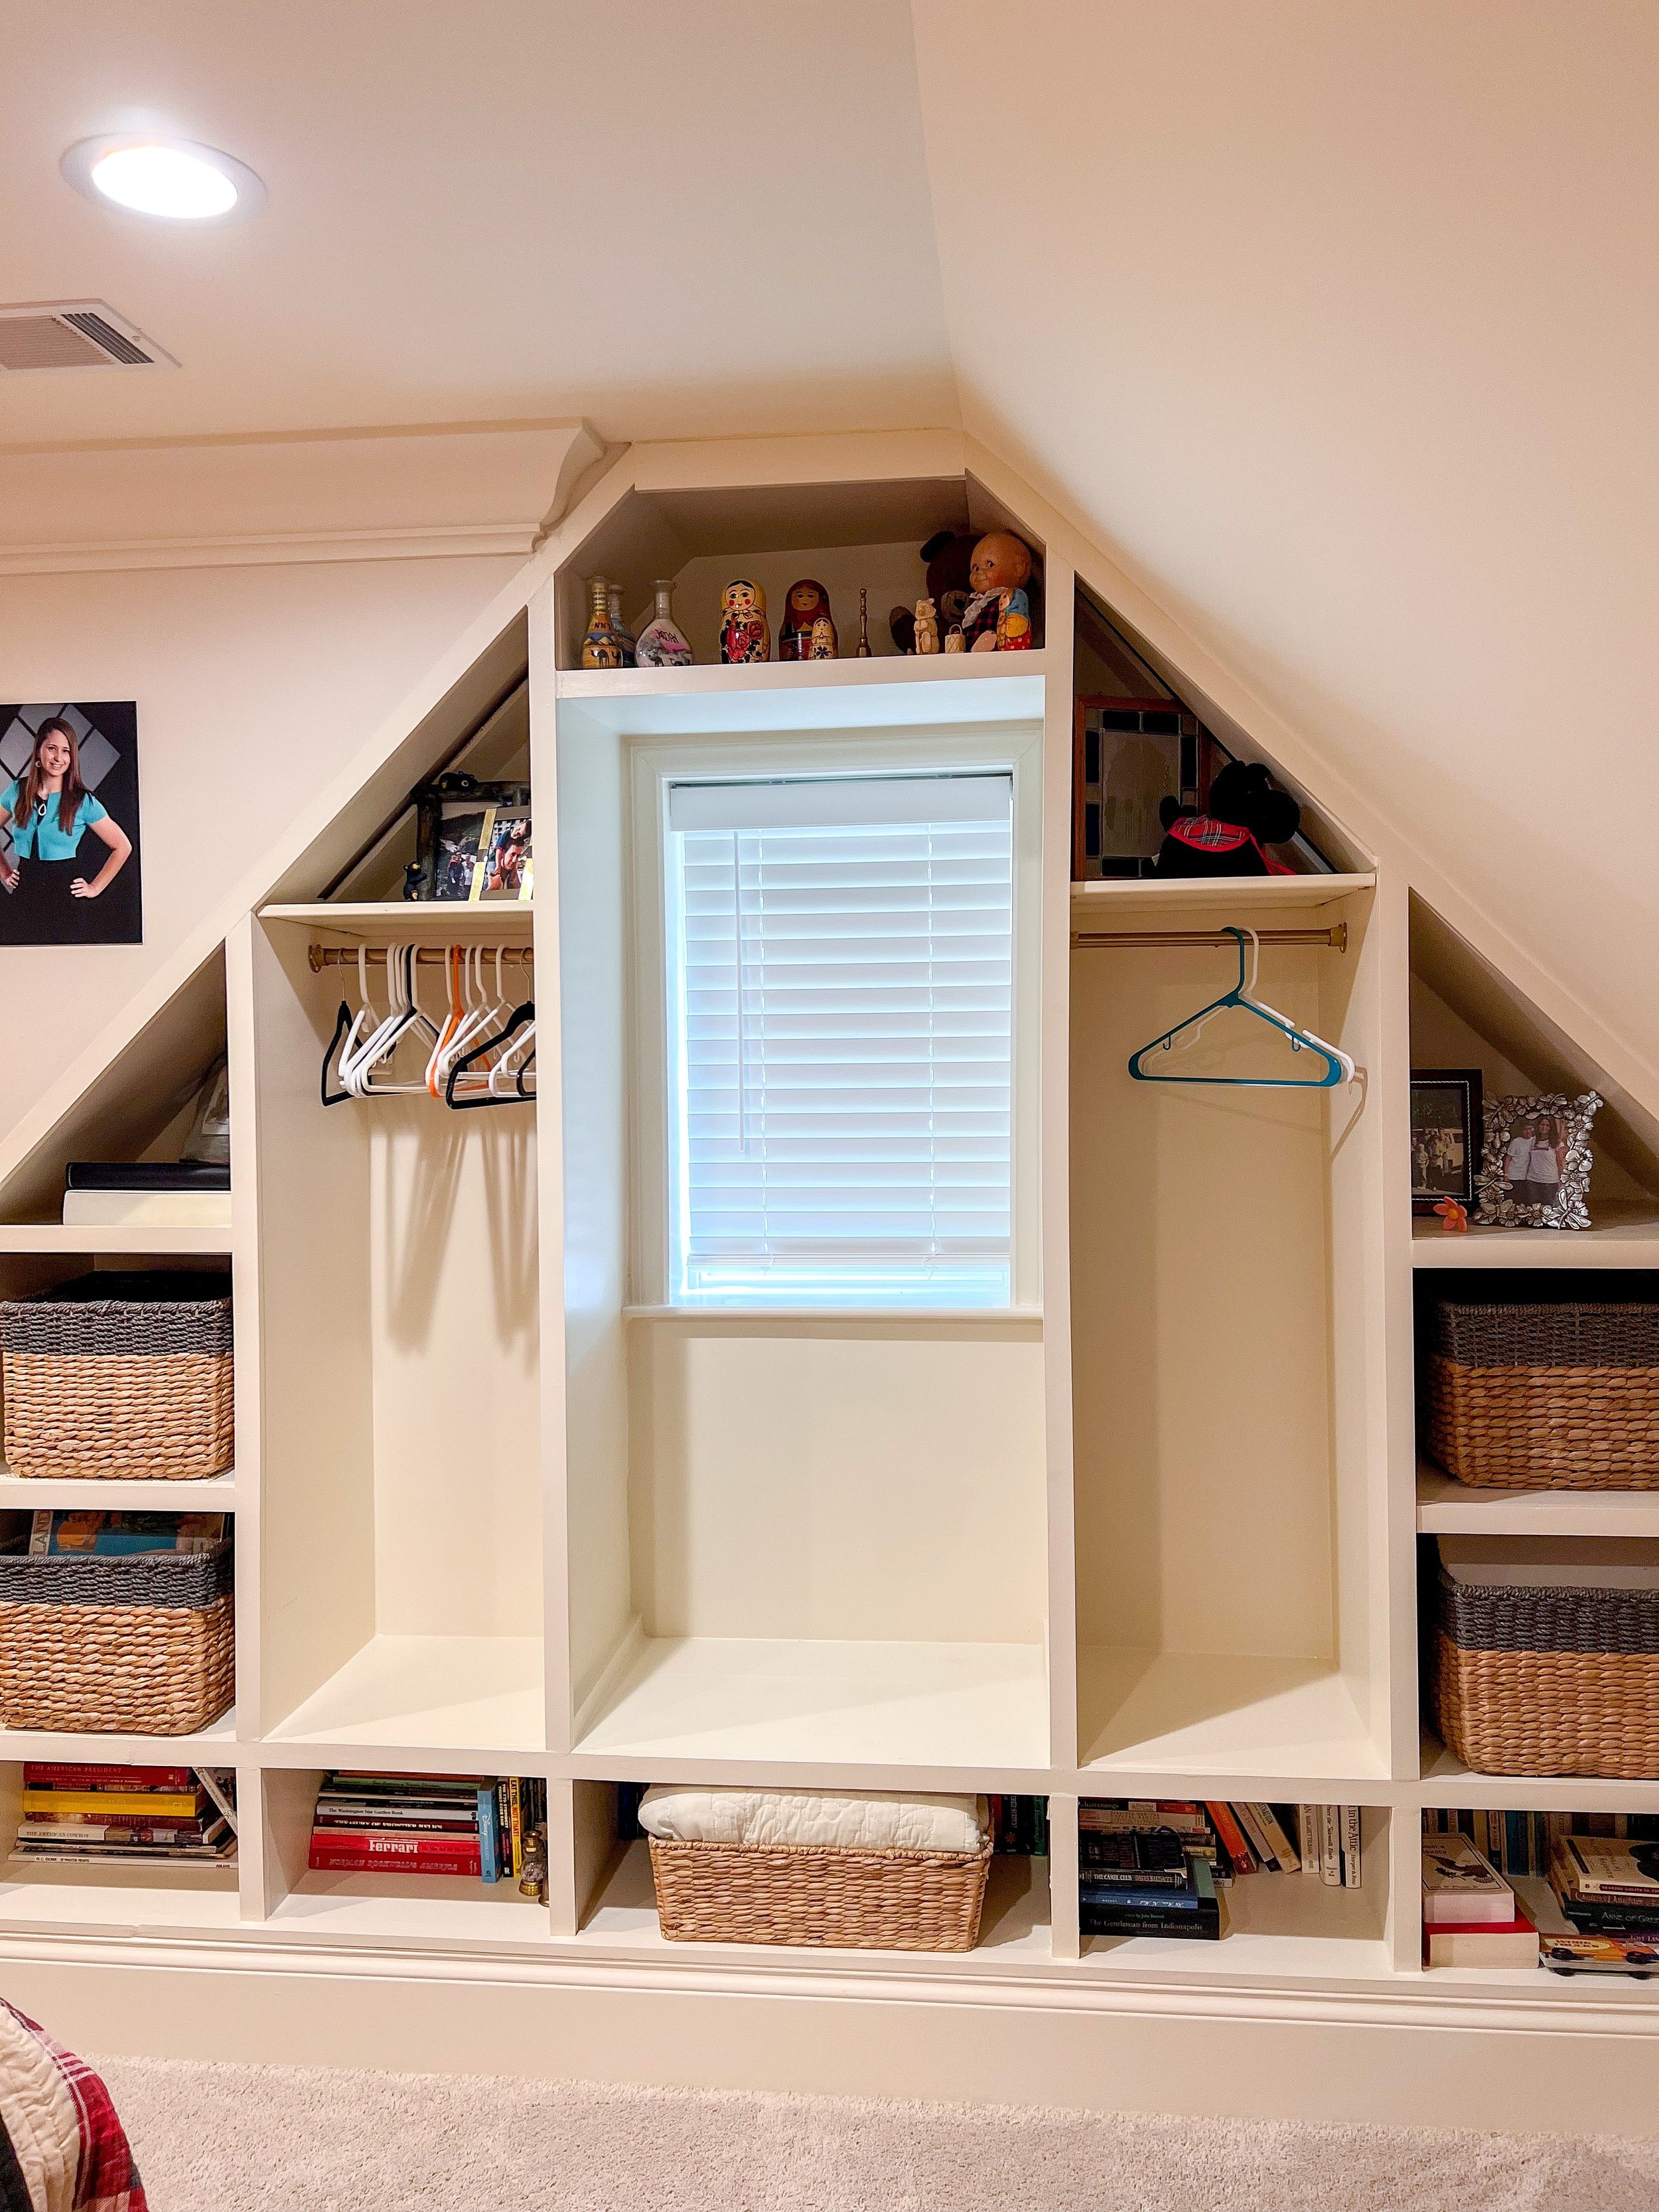
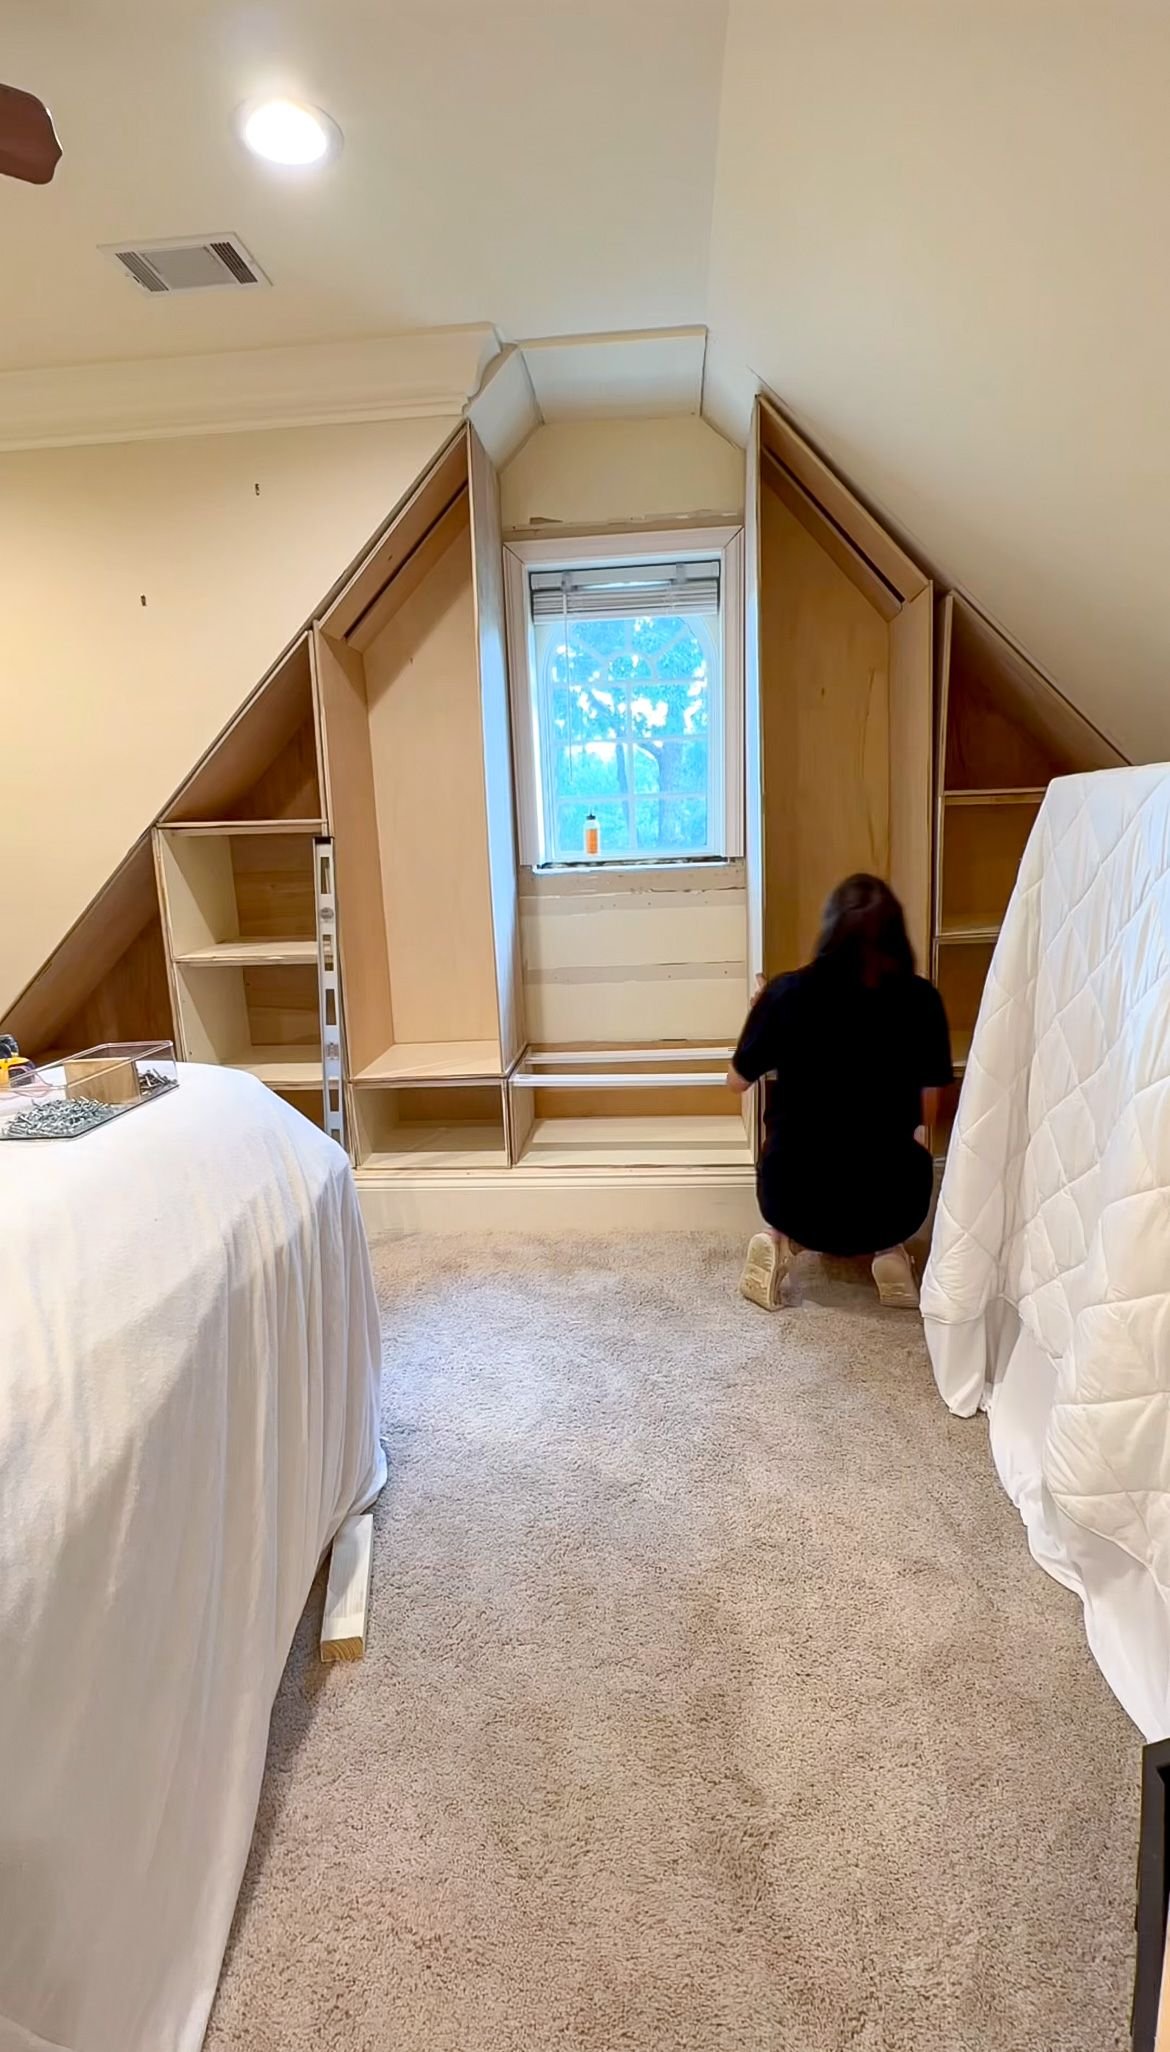
After everything was out, I got to work and cut everything I needed. This time around, instead of doing a lot of continuous shelves, I convinced my mom the best thing to do would be to make a bunch of boxes. While originally this was bookshelves in a loft room, it is going to be a closet because this is now a guest room with a door where it didn't have that before.
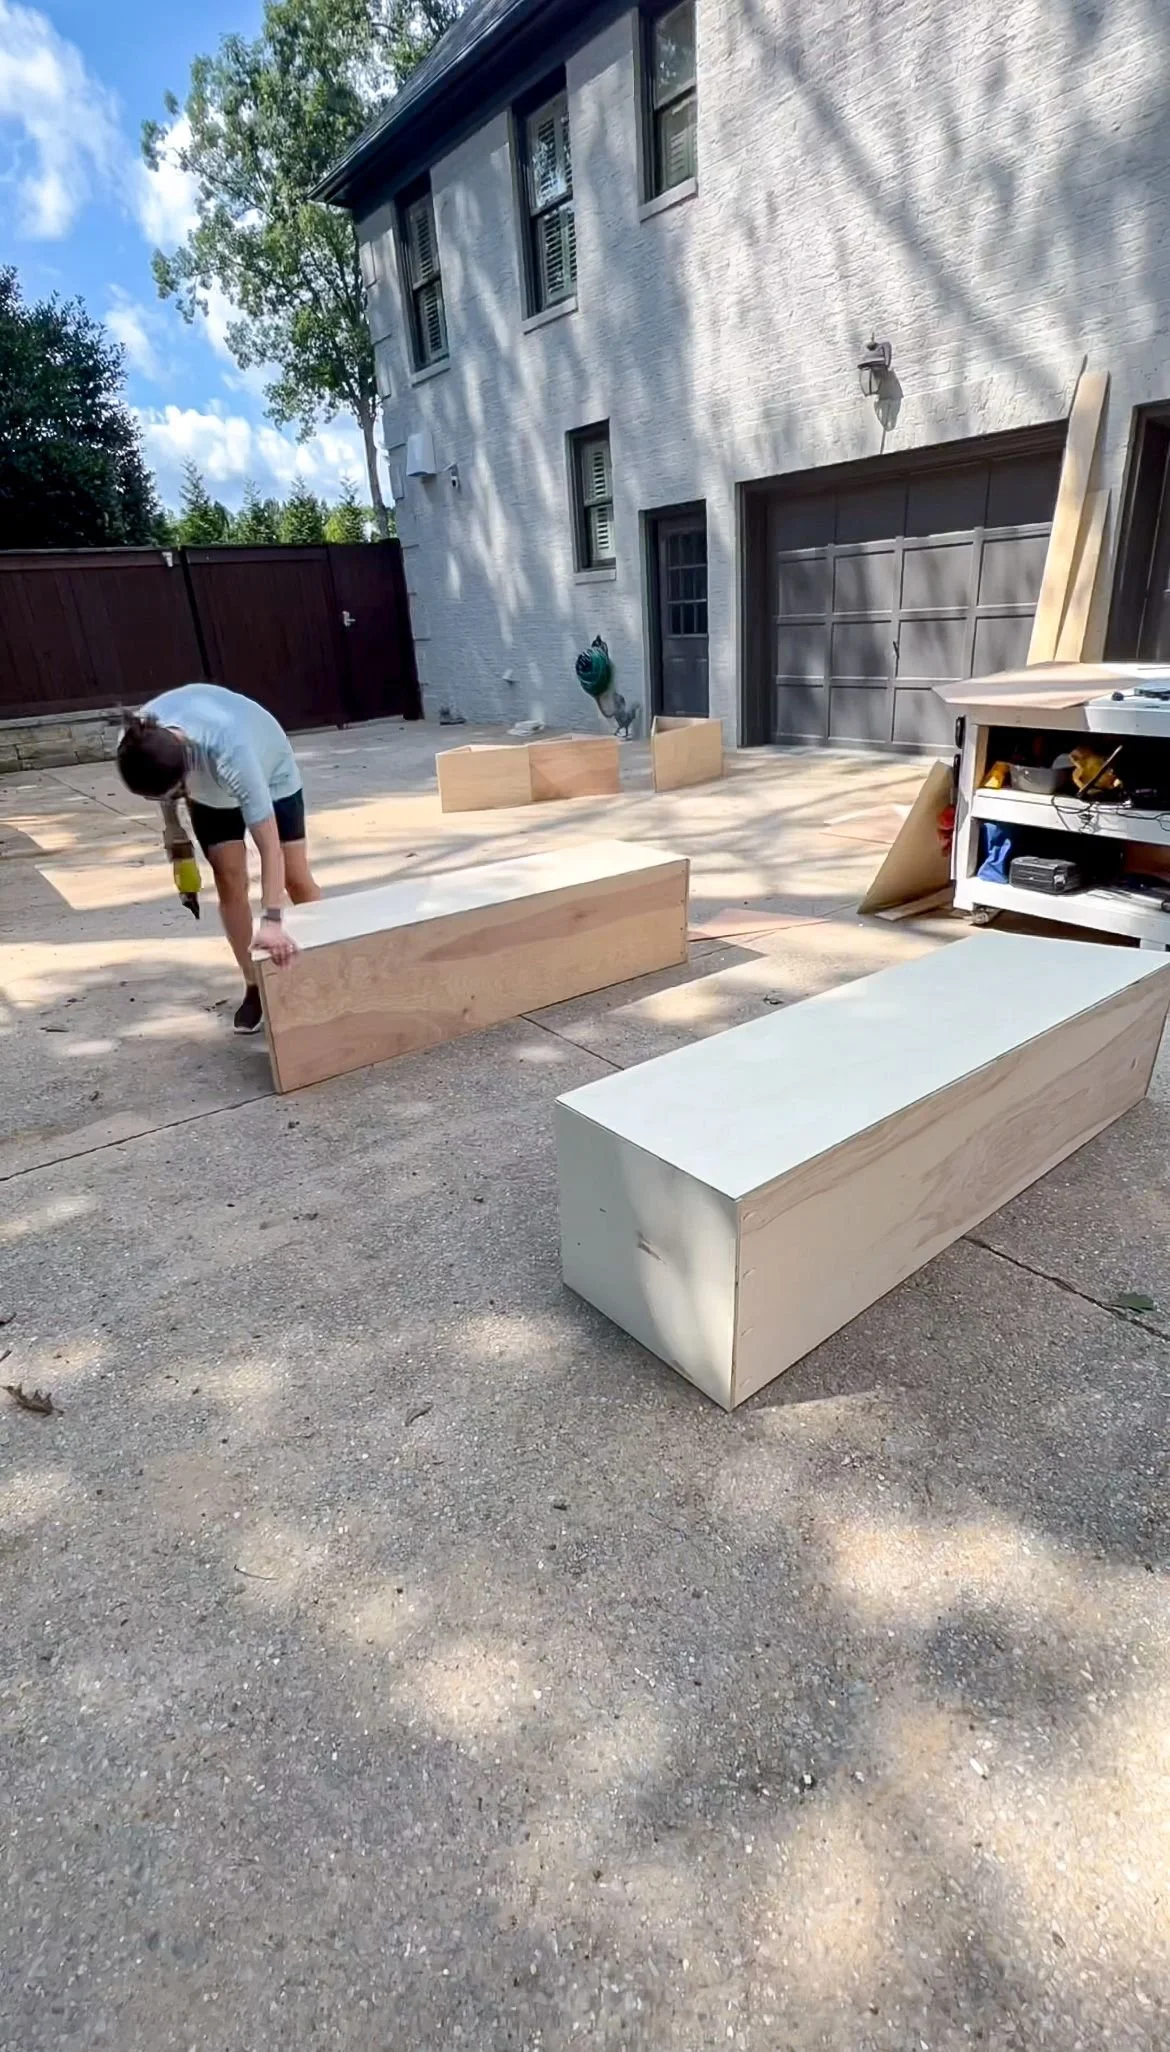
The really unique thing about this space is the angled ceiling. I needed to build boxes that were triangles. This was a real challenge for me figuring out all of the angled cuts, but I ended up really enjoying it. Some of them were straight triangles, some of them just were triangular at the top, and then there was a super fun box at the very, very top that isn't really a traditional shape and just weirdly shaped.
The biggest thing I learned from doing this the first time and then re-doing it the second time is that I needed to dry fit EVERYTHING. I spent a lot of time doing that to make sure everything fit perfectly and utilized all of the space before I secured anything. Once I was sure it all fit, I secured everything and then started putting the trim on. I used a lot of shims to make sure everything was even and flush and we didn't have any weird trim pieces sticking out or didn't fit right.
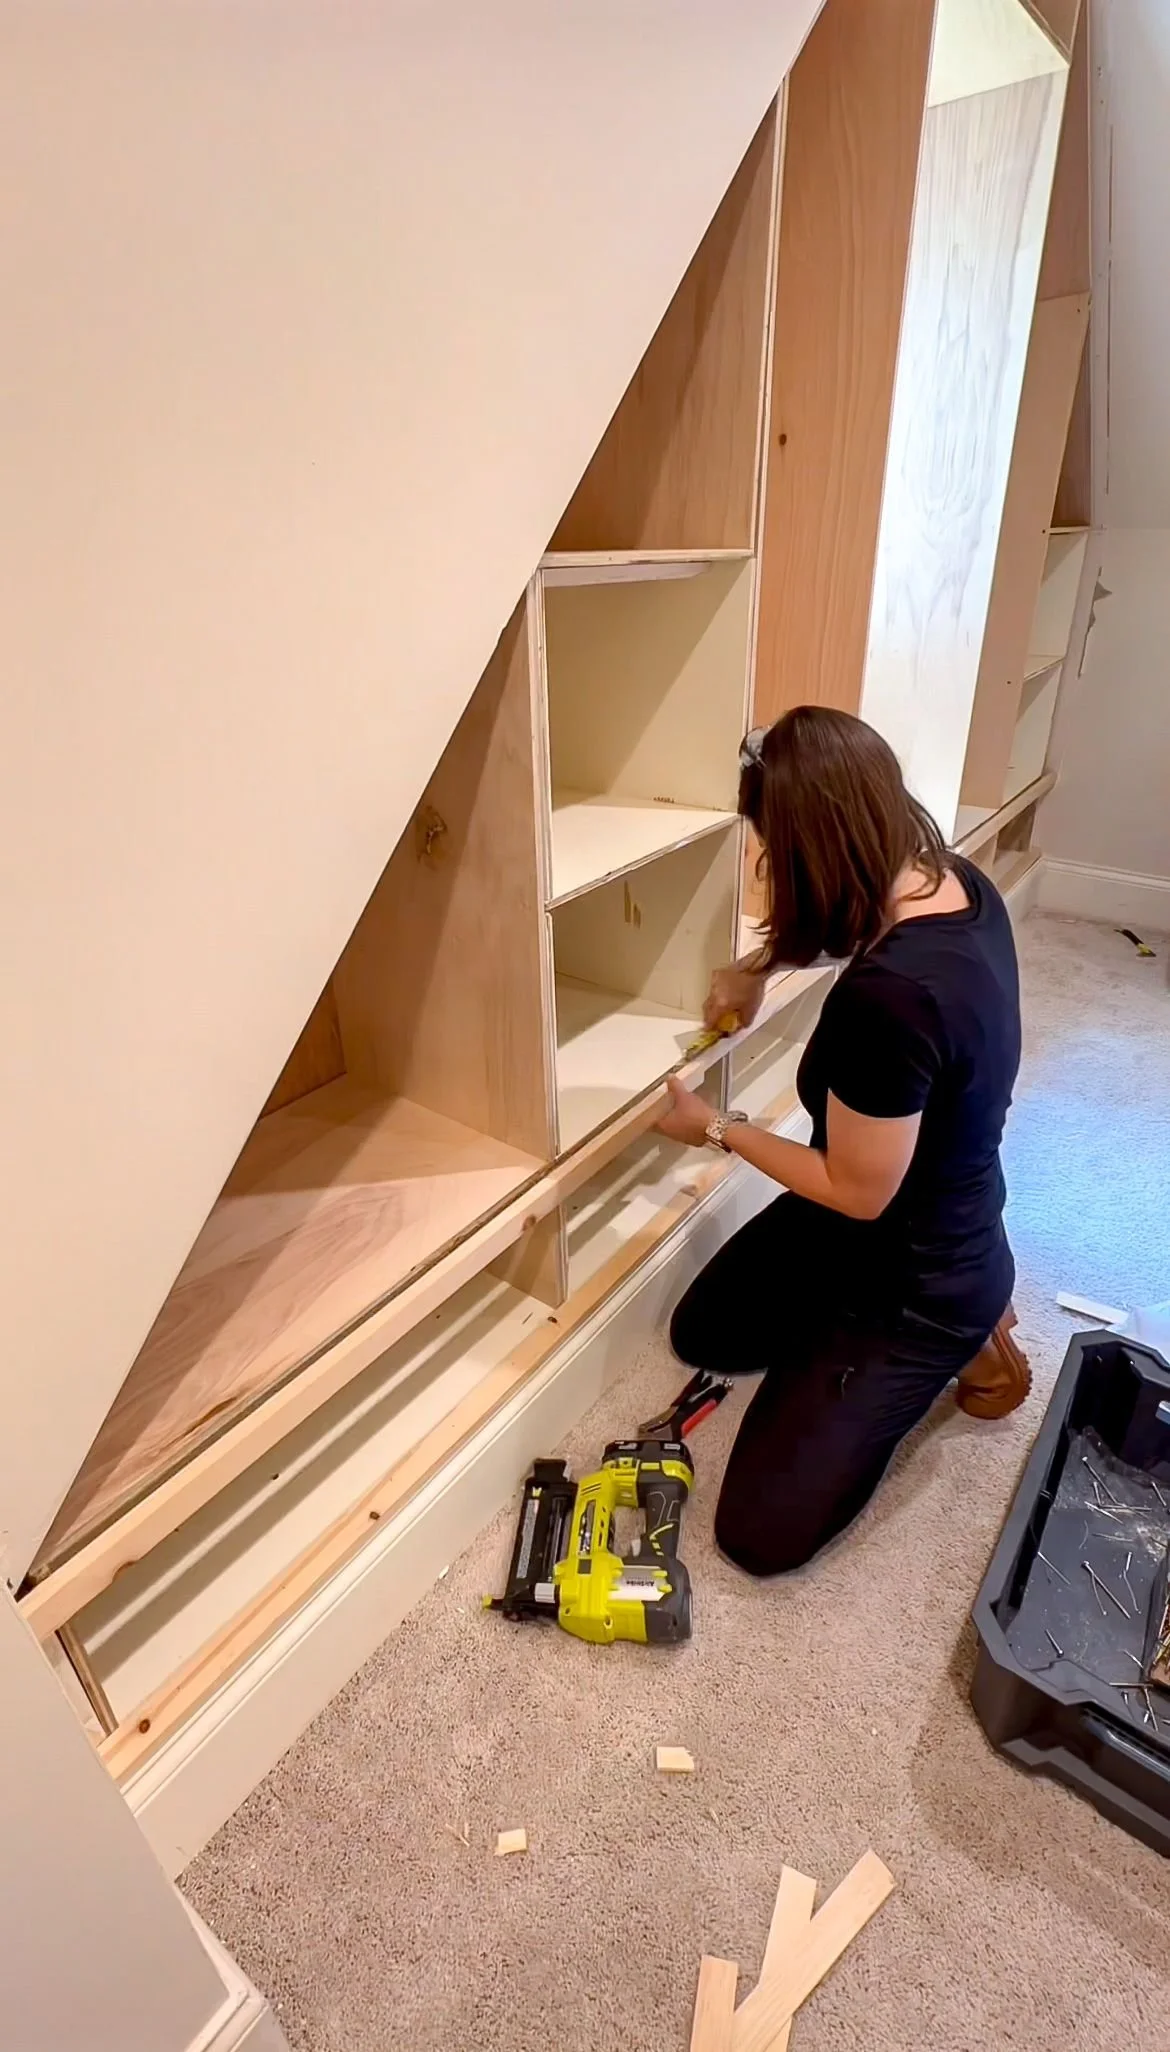
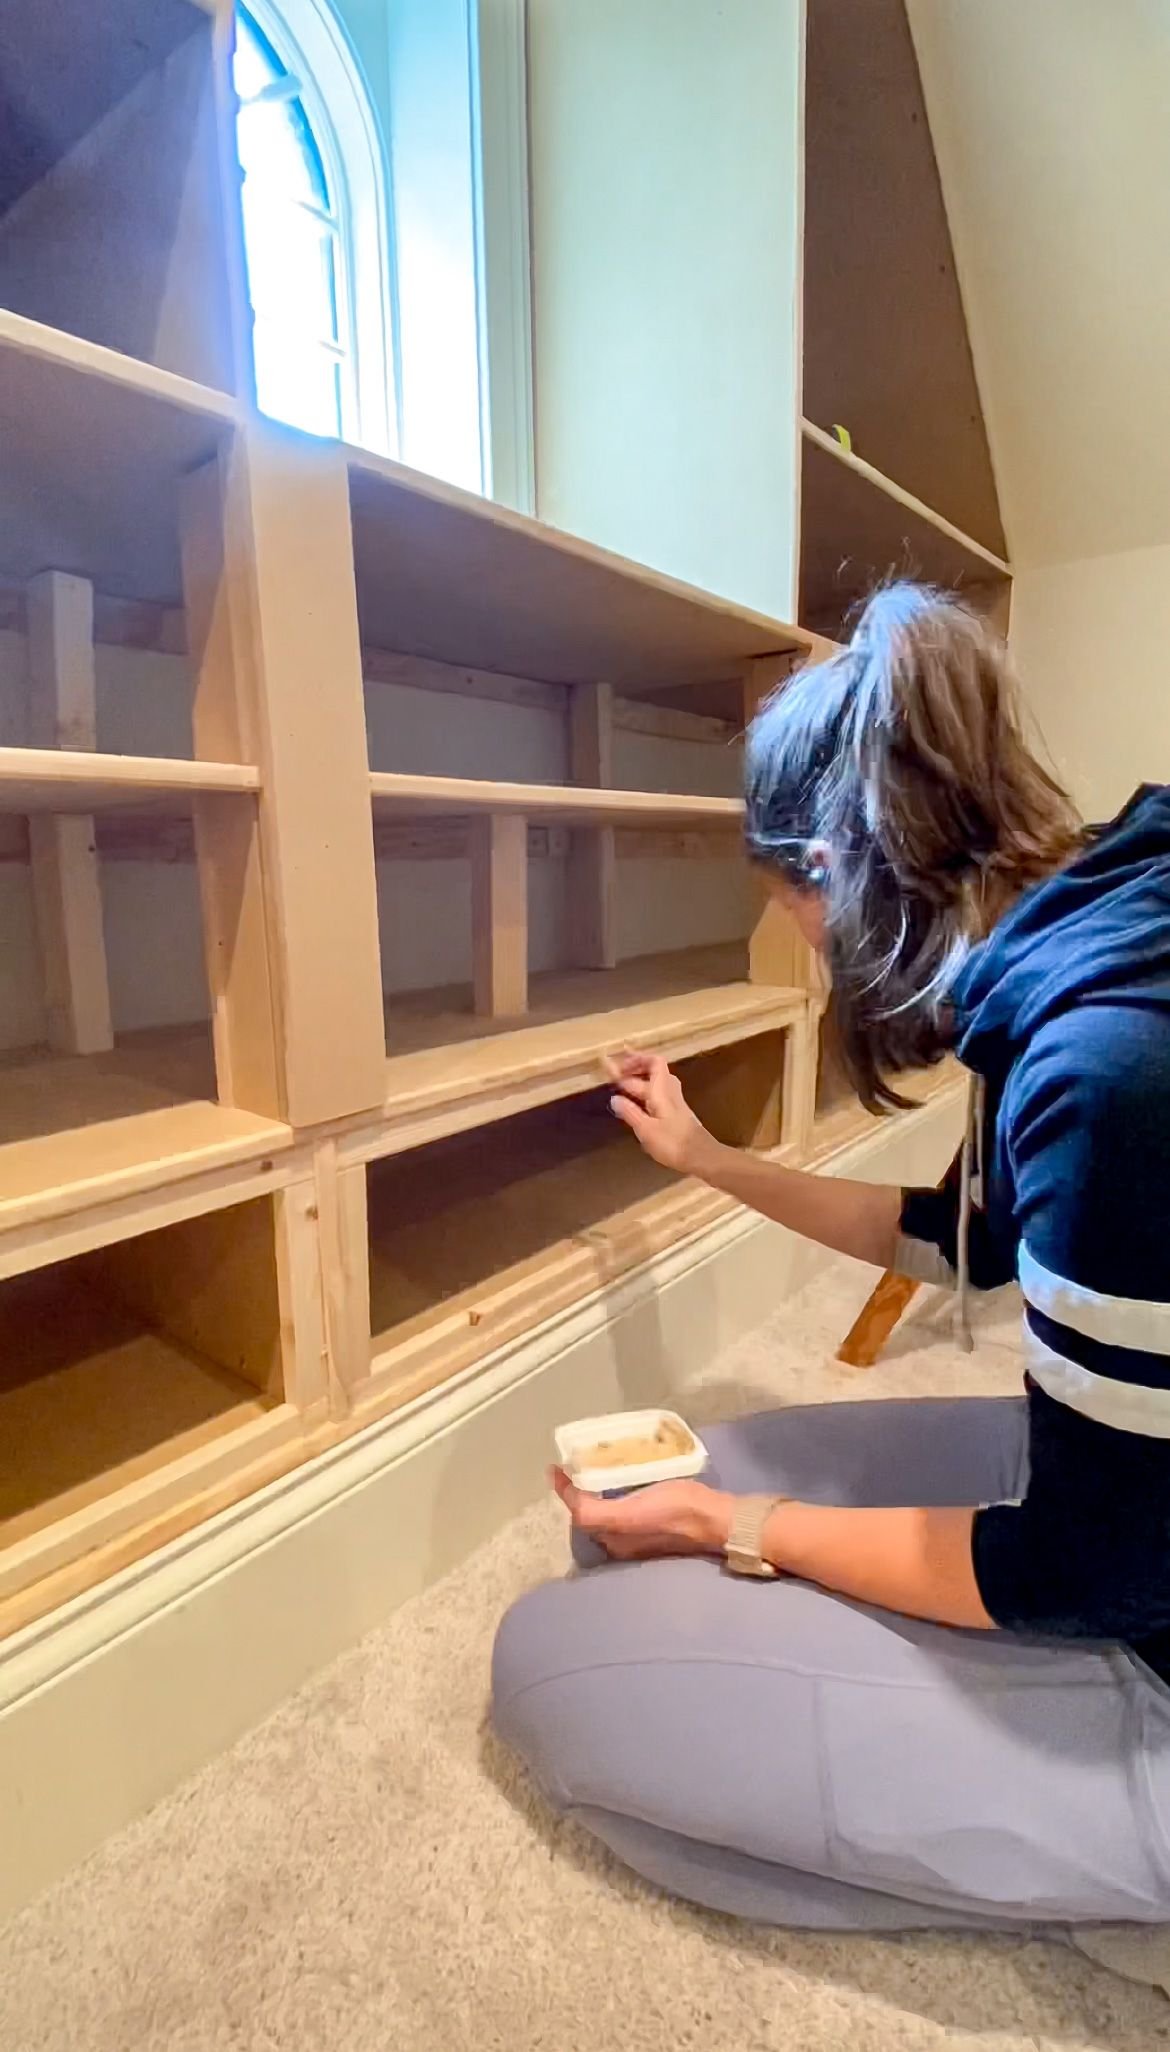
I bought 12 foot pieces so I could have continuous trim and there weren't going to be any pieces needing to be joined together or overlapped at all. Then I caulked, wood filled, and sanded everything in here so it would be perfect and all ready to be painted. I didn't end up doing the painting on this project because, when I did the second round of this project, I was in my first trimester of my pregnancy. We decided that, because this is a very enclosed space, being around the fumes wouldn't be the best thing for me. My mom hired someone who has done a lot of painting at their house and he did an amazing job. It looks so good!
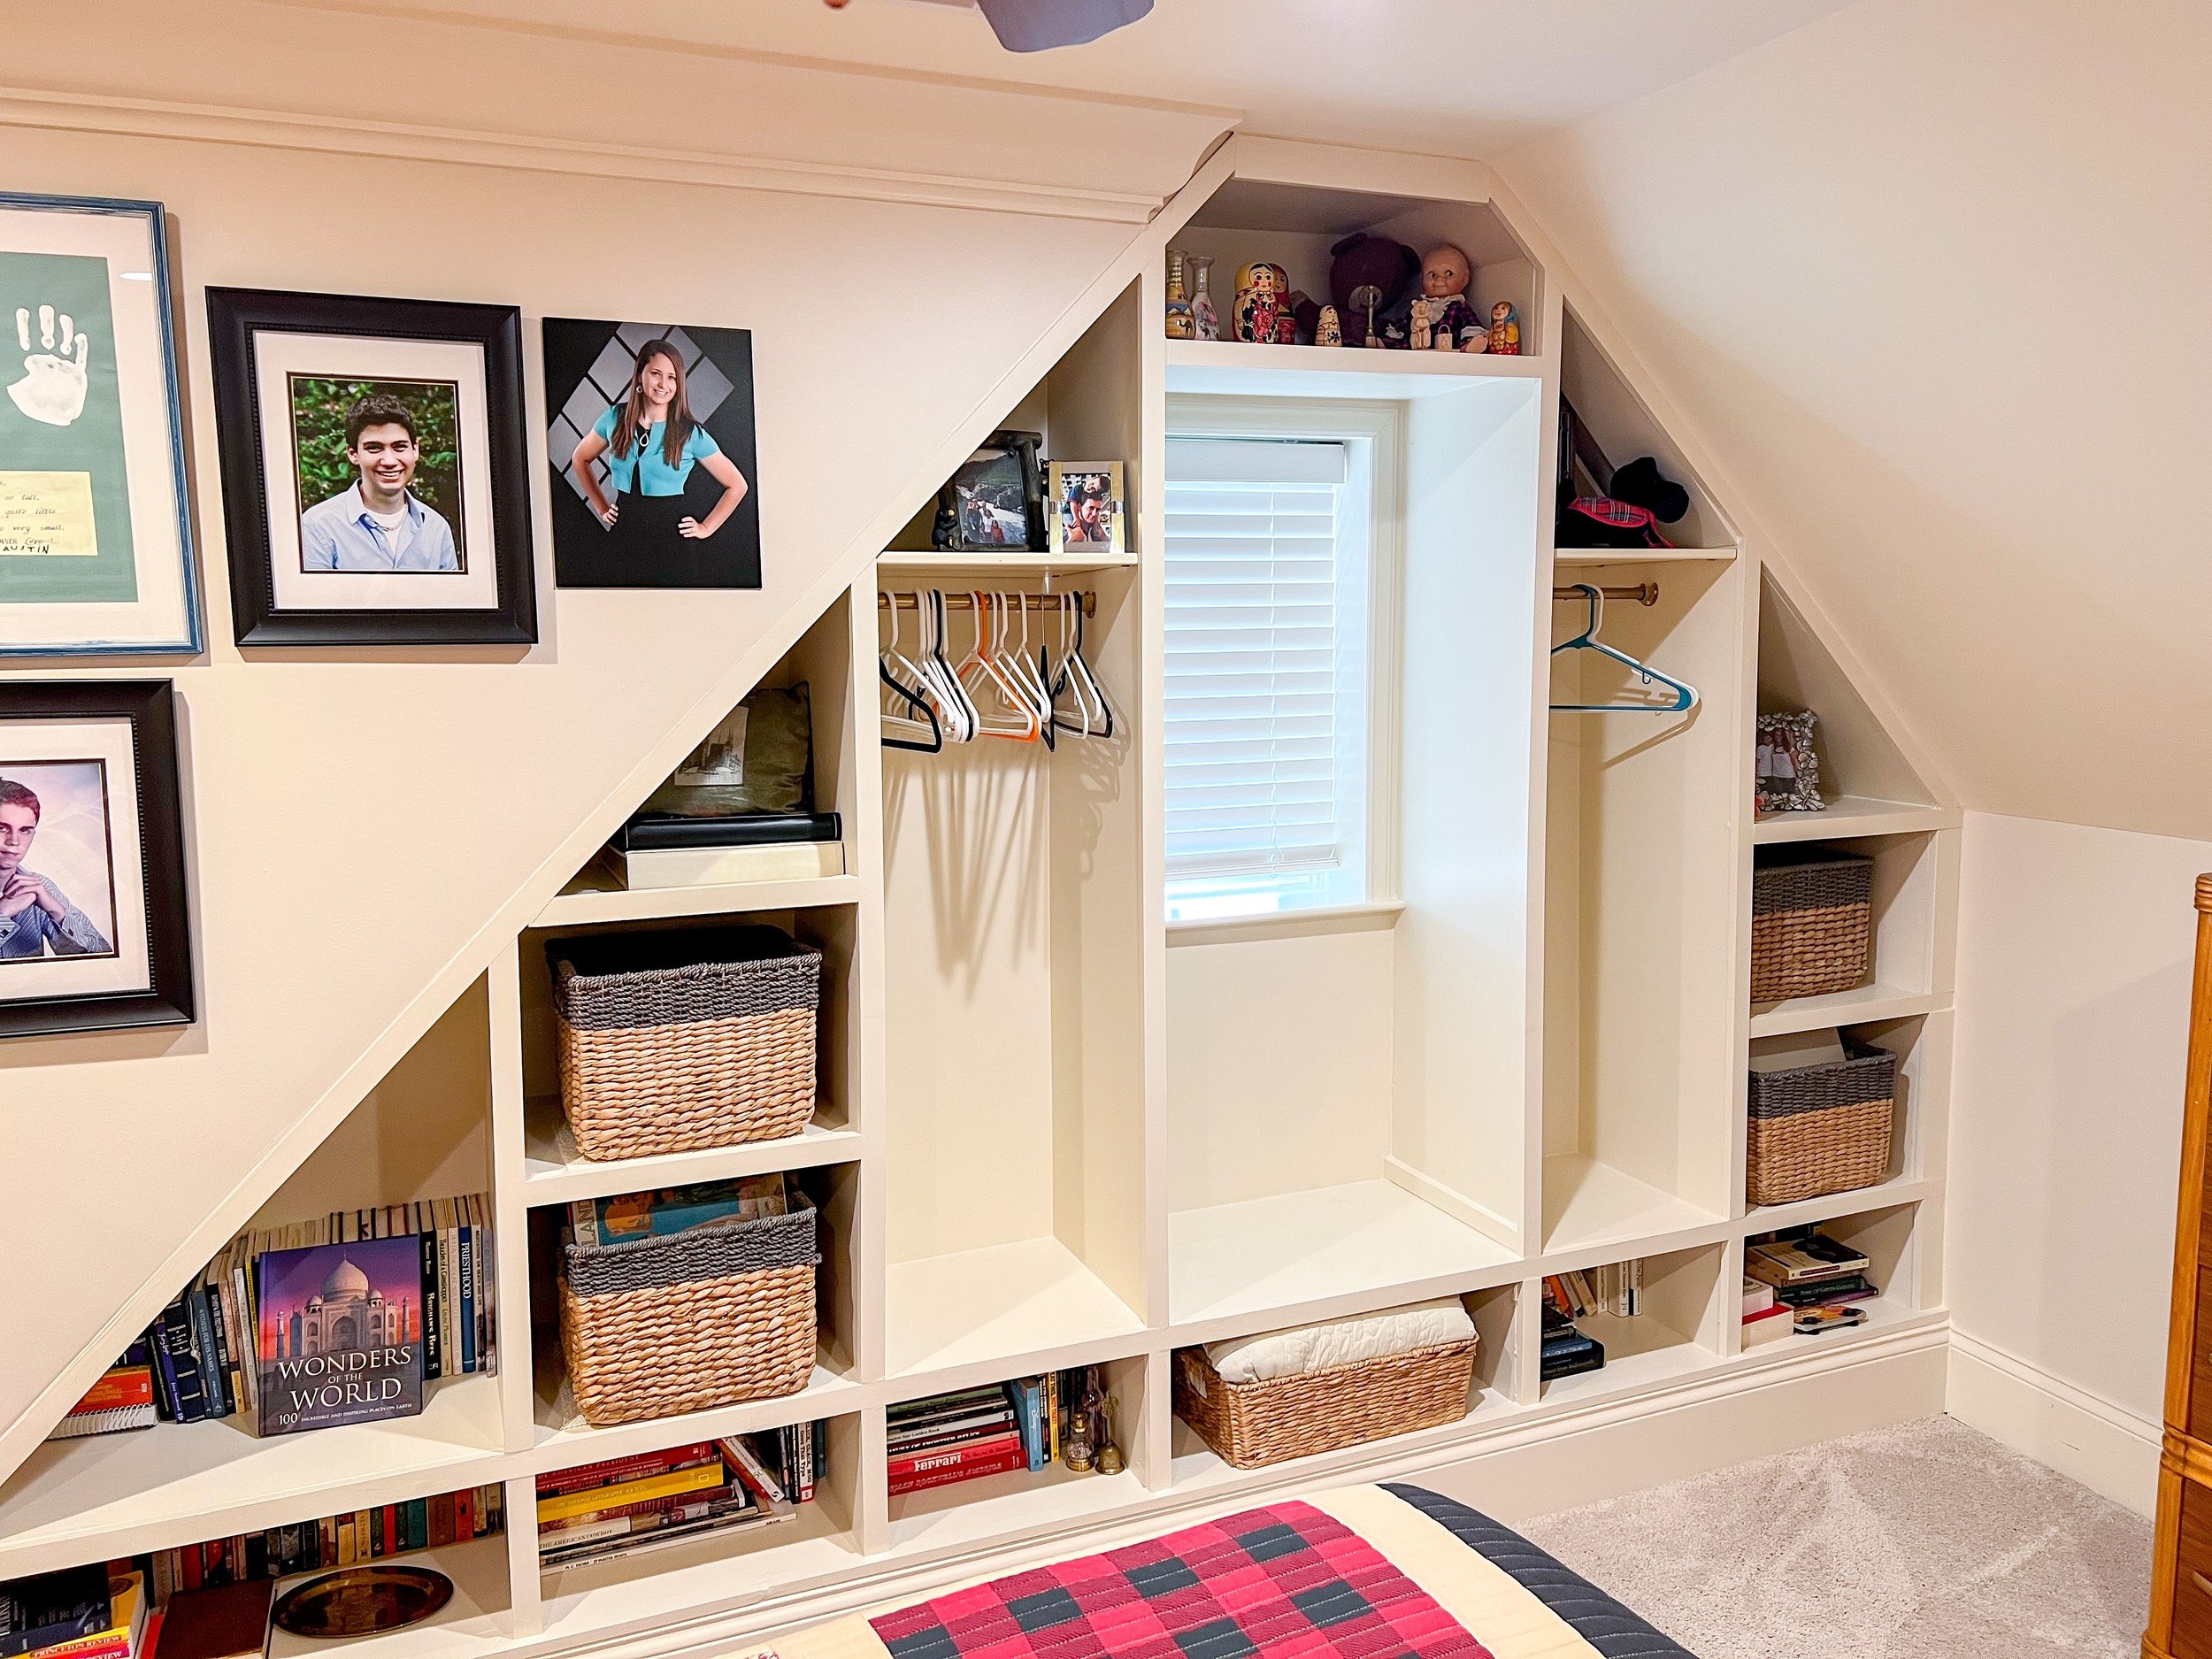
Later, I also added new casing around the window as well so that looked completely finished. Now this space acts as a closet in the guest room and we love it. The last thing we need to do is order doors to be put on here. One of the other things I've learned since doing this project the first time that doors are not something I'm good at building myself. My mom will hire those out and that's ok! Knowing my limitations in my DIY career has helped me to perfect the things I am good at instead of wasting time on the things I'm not. This project has taught me so much and I'm glad I got to put all of my skills to work. I look forward at what I can accomplish in the next two years too!
When You Have to Redo a DIY Project | Shop