Make Your Own Wall Mounted Umbrella Holder

I very often have lots of scrap wood left over from different projects I have done. My mom requested an umbrella holder so she could hang it on the wall in her garage where the umbrellas could be out of the way and off the floor. I decided to take some of the scrap wood I had laying around and make an umbrella stand for her. This was a really easy project with very few materials and I'm going to walk you through how to do it!
Make Your Own Wall Mounted Umbrella Holder | Prep Work

First, I made the pieces that are going to keep the umbrellas from falling out. For these, I used 1X2s and 1x6s and I'm using 45 degree mitered cuts to do these so they all match up really nicely. I cut a longer piece of both a 1x6 and 1x2 and then I cut shorter pieces of both the 1x6 by and the 1x2 all the same lengths and then laid them out so I could make sure that they would all match up. The mitered edges gave me a really nice corner. In order to secure them, I used a little bit of wood glue and my brad nailer. I secured them with a clamp at a 90 degree angle in order to keep them together while I secured them with the brad nailer.
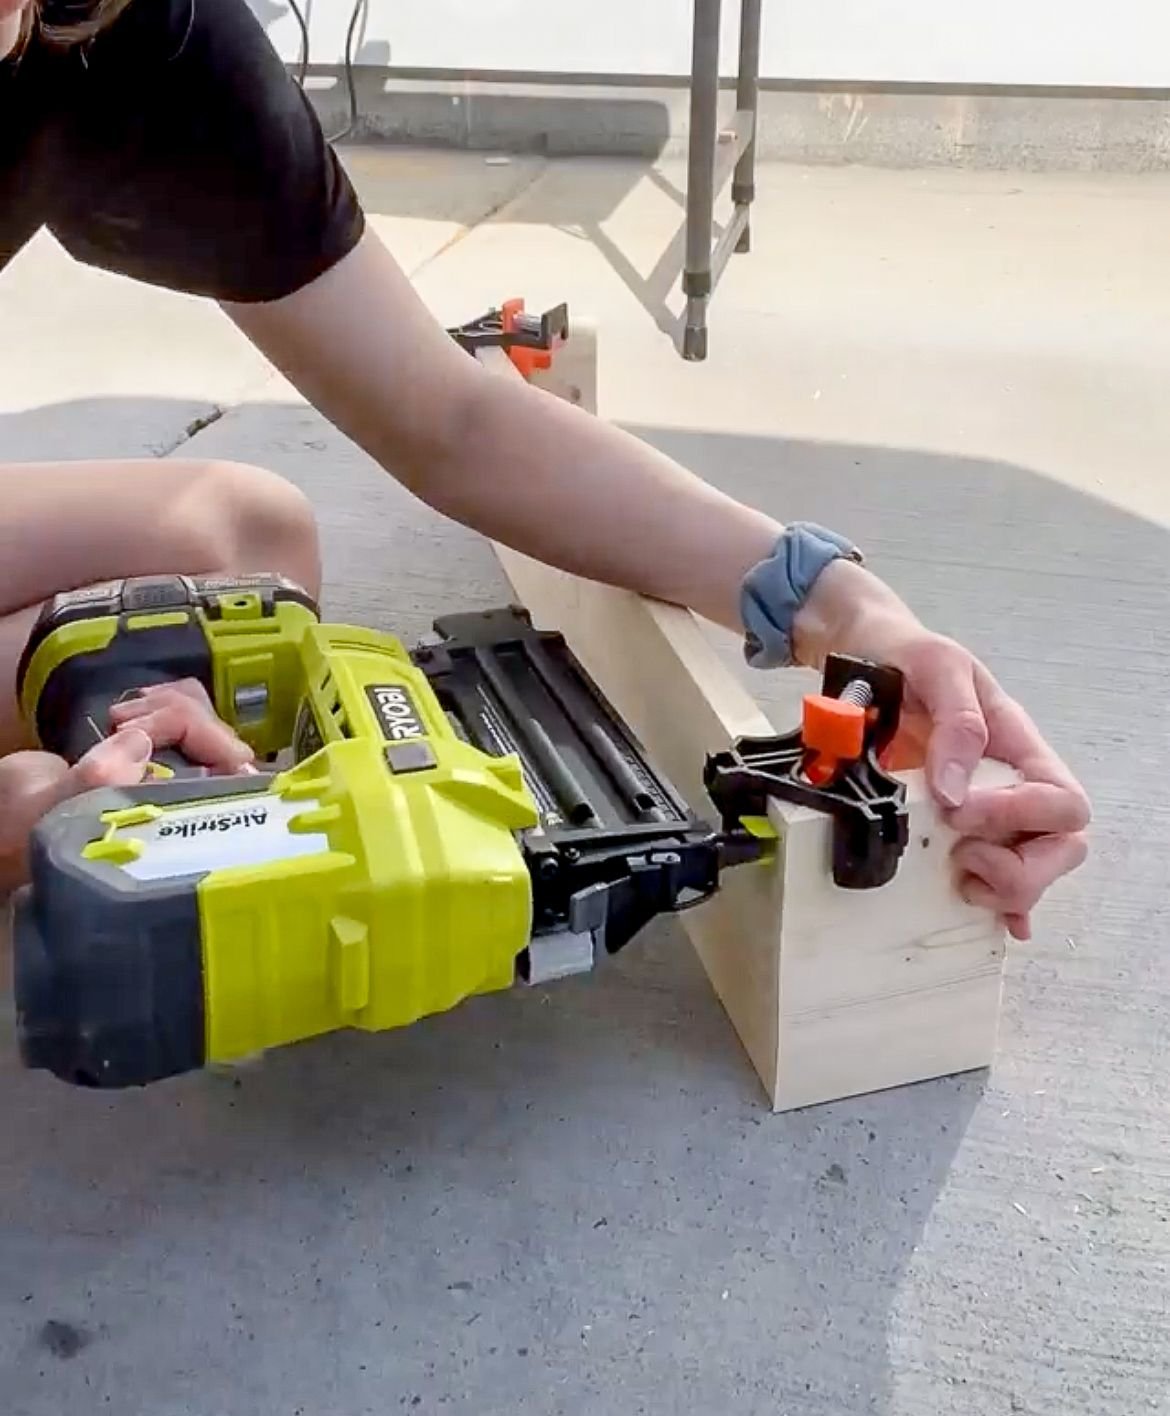
Then I cut two pieces of plywood, one that was going to serve as the back of the piece and the other one that was going to be the bottom so it was the same width and length of that box that I just created. I took the smaller piece of plywood and drilled holes in it so water could drain out of it. I didn't want to have any pooling or molding in there. Then, using my brad nailer and some clamps, I secured the plywood pieces to the bigger three sided box I made.

I wanted to make sure I measured and rechecked everything to ensure it was level. When I did this, I really focused on making sure this was going to work for big umbrellas on top because I am going to have a solution for smaller umbrellas on the bottom. This honestly took me about 10 minutes to put together once I had all the wood cut. So probably 15 or 20 total. It's a very easy project.

Make Your Own Wall Mounted Umbrella Holder | Finishing Work
Then I wood filled, sanded, primed, and painted it. Since this is raw wood, I did one coat of primer, and then two coats of paint. I painted it the same color as my mom's garage because she wanted it to blend seamlessly into the wall.

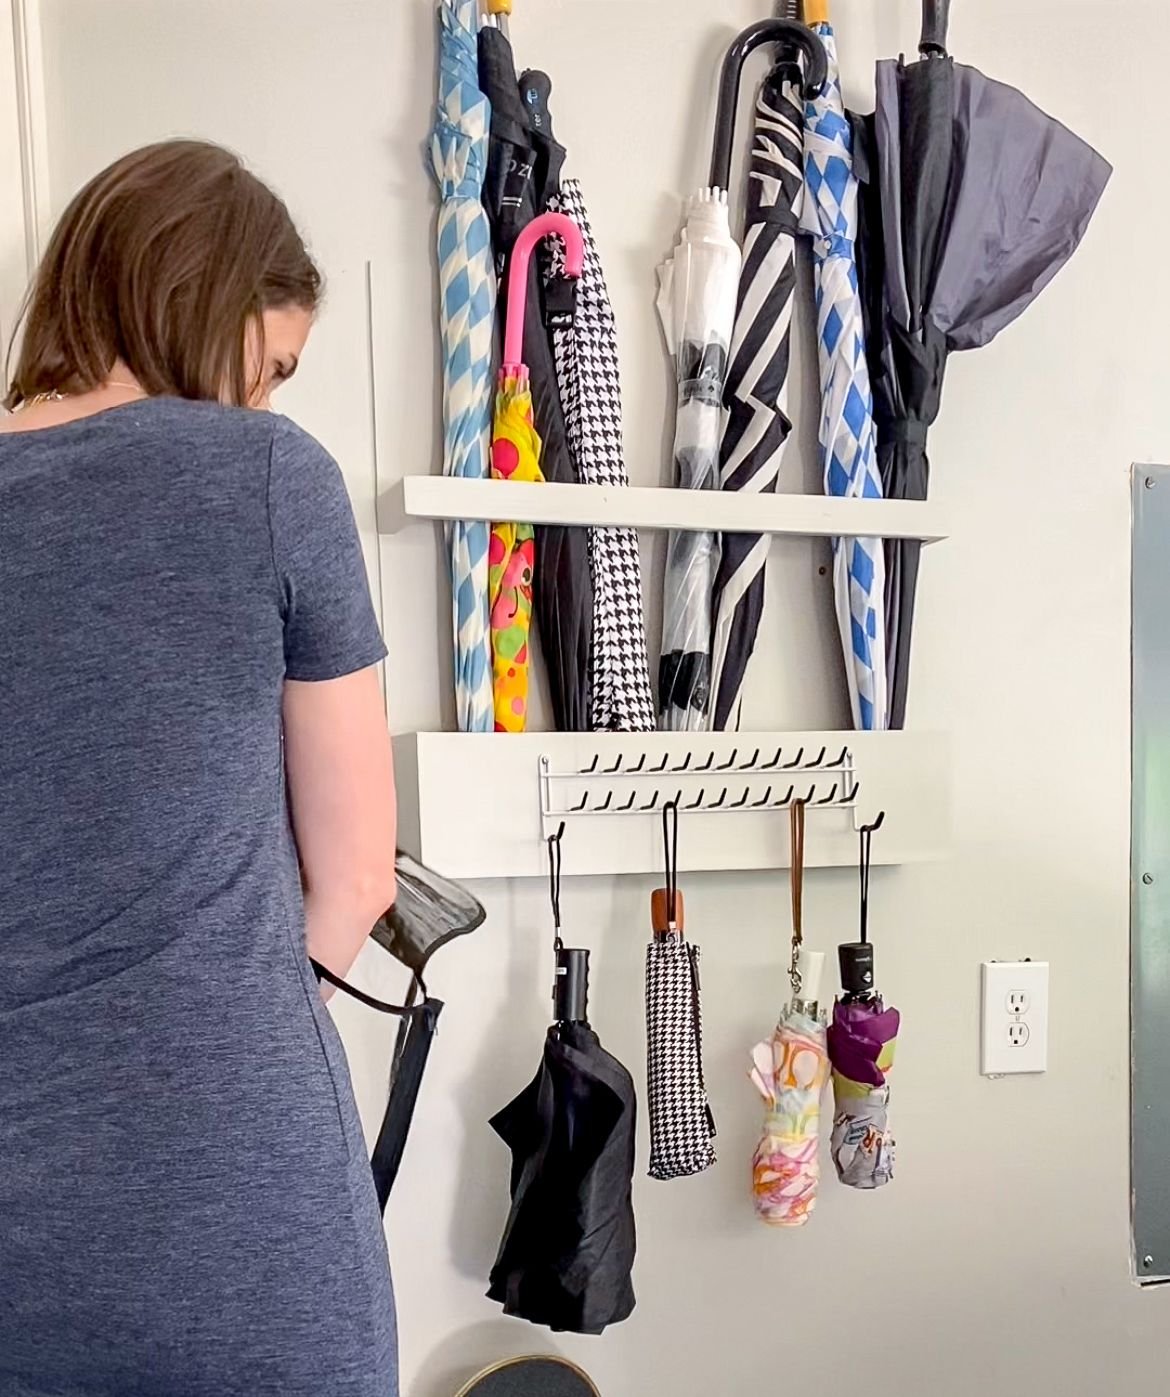
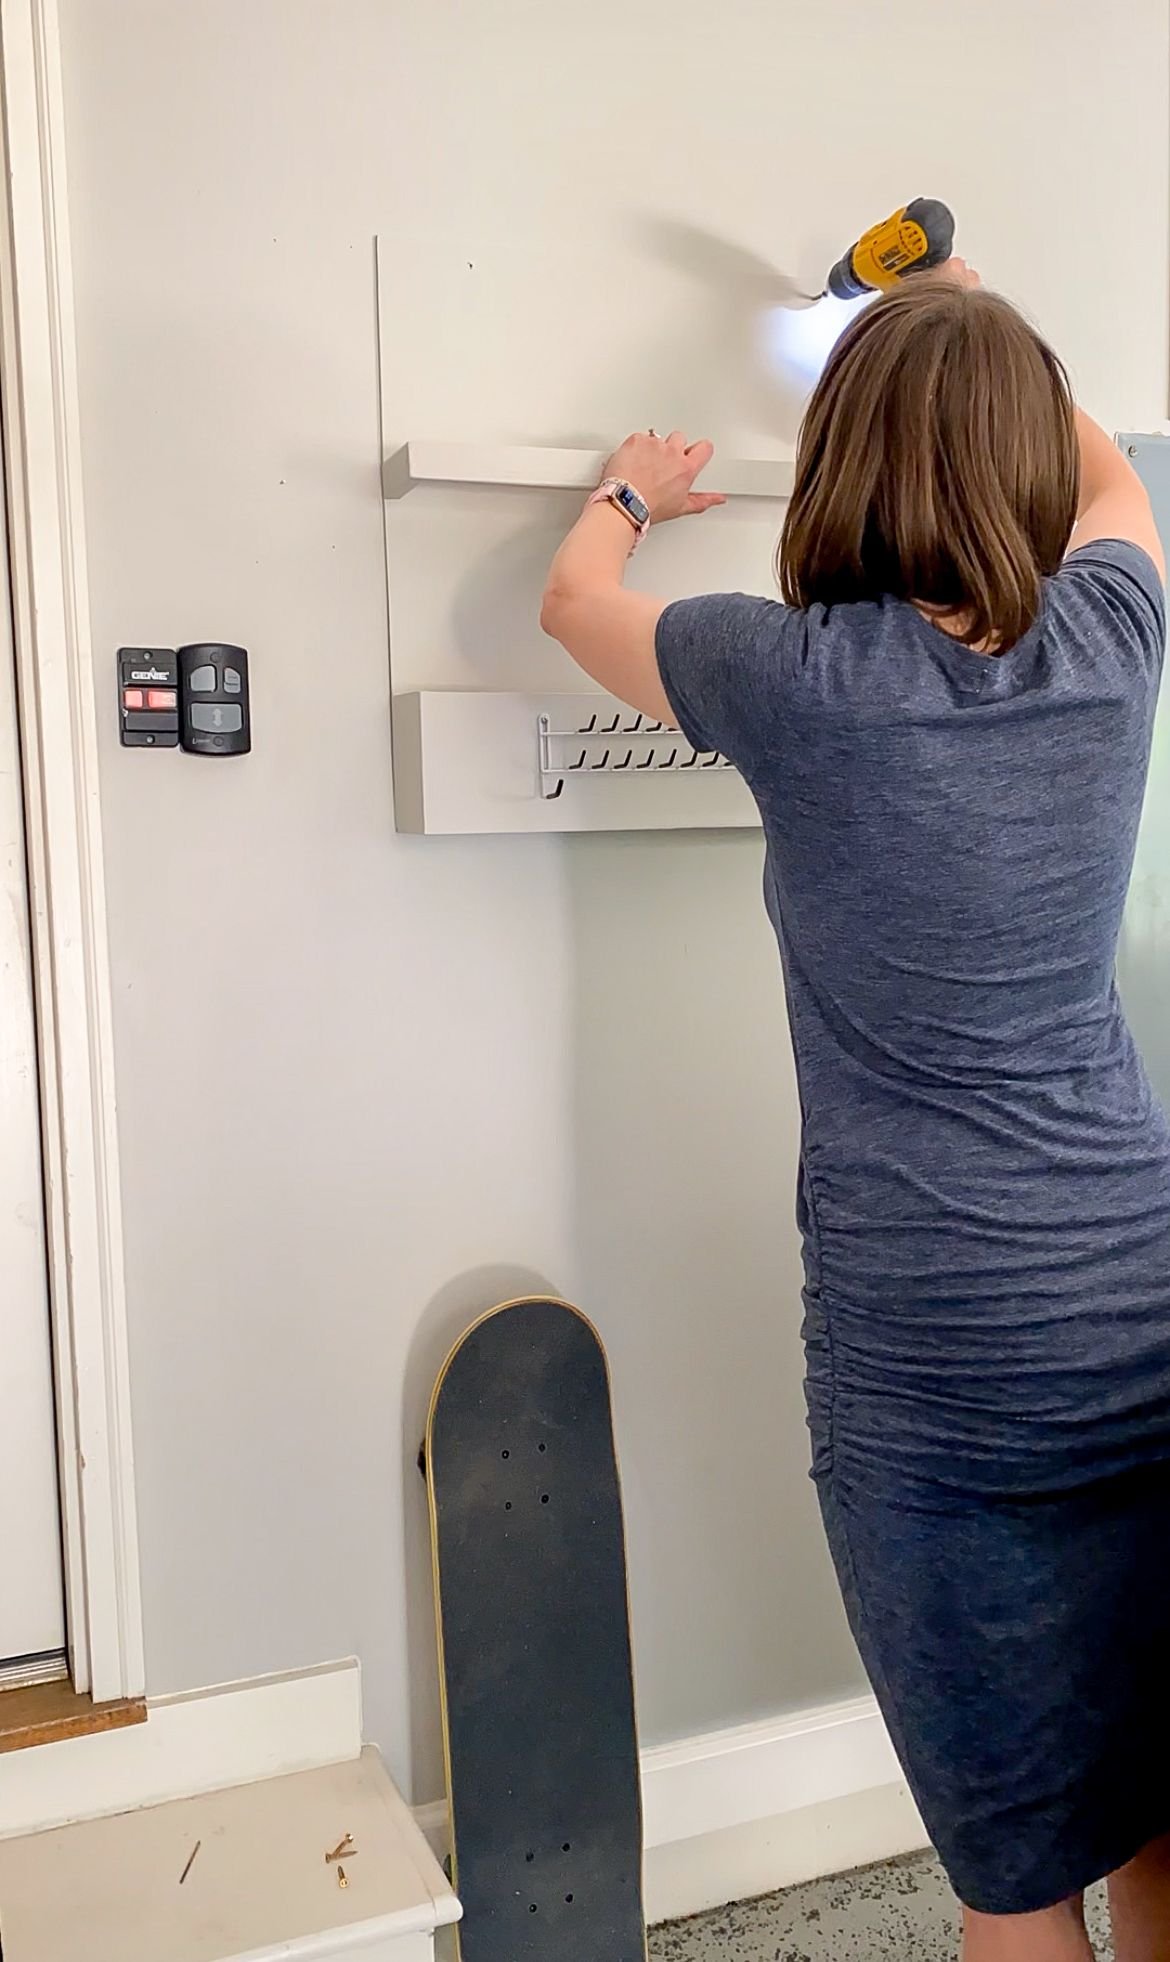
Then it was time to hang it. I found the studs in the wall, marked them, pre-drilled holes, and then used wood screws to secure the umbrella holder to the studs. I used, I think, six screws to do this to make sure it wasn't going to go anywhere. I put the larger umbrellas on the top section. Lastly, I figured out the solution for the smaller umbrellas. I secured this little set of hooks to the front of the umbrella holder and it serves as the perfect place to hang smaller umbrellas.
My grandmother really loved umbrellas, and so when they moved in with my parents my mom inherited a lot. This was really necessary for her and she's really happy with it and how it turned out. I love it too and I love that I was able to use scrap wood to make a whole new project. I encourage you to find new and creative ways to use scrap wood around your house too!