
How to Use a Router & Router Table
You know by now that I love tools that make my DIY experience easier. I've made it my mission to share easy tool tutorials as often as I can because we don't gatekeep around here! With that, let's talk about how to use a router and a router table.
How to Use a Router & Router Table | What is a Router?
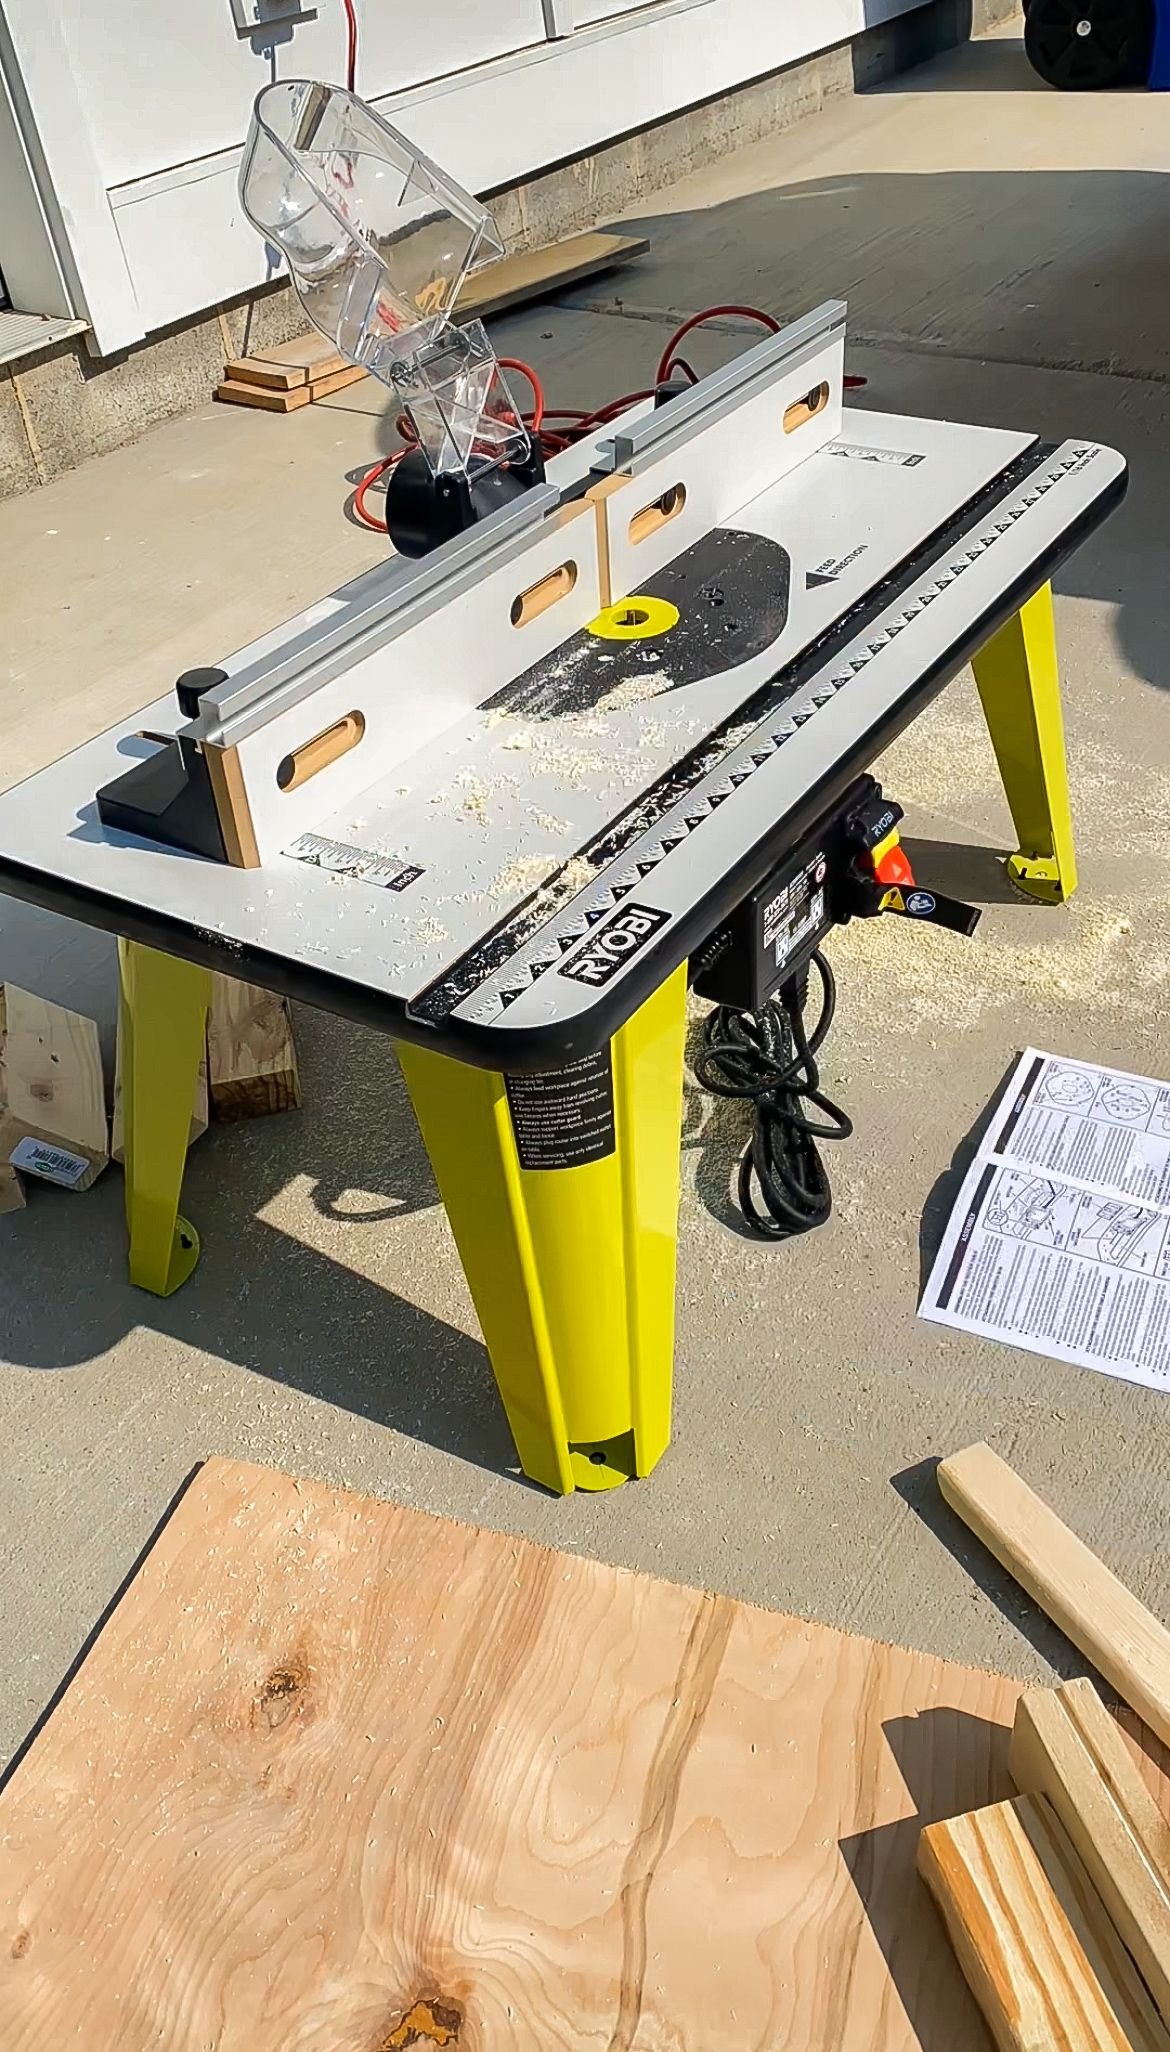
First things first, let's talk about routers. There are two different kinds of routers: palm router, fixed base router. When you're using a router table, you're going to need to use a fixed base router, a palm router is not going to do the job. The router I have is the Ryobi fixed base router and the Ryobi router table. The purpose of a router is to allow you to add detail or remove parts from a piece of wood. For example, the windowsill right by my refrigerator had a lip on it kept the refrigerator door from opening all the way. So my father in law came and used our palm router took off that lip from the window sill. This made it so we could open the door all the way. Another thing you're going to use a router for is to create a channel in a piece of wood to allow you to insert something into it. On this type of project is you will want to use a router table because it helps you keep everything in line and straight.
How to Use a Router & Router Table | Getting Started
Pro tip: when you get a new tool test it out on a scrap piece of wood first, so you're not wasting project wood on troubleshooting. Get acquainted with your machine! Before you even get started using your router table, though, you will want to make sure you have your personal protection equipment like headphones, safety goggles and even gloves.
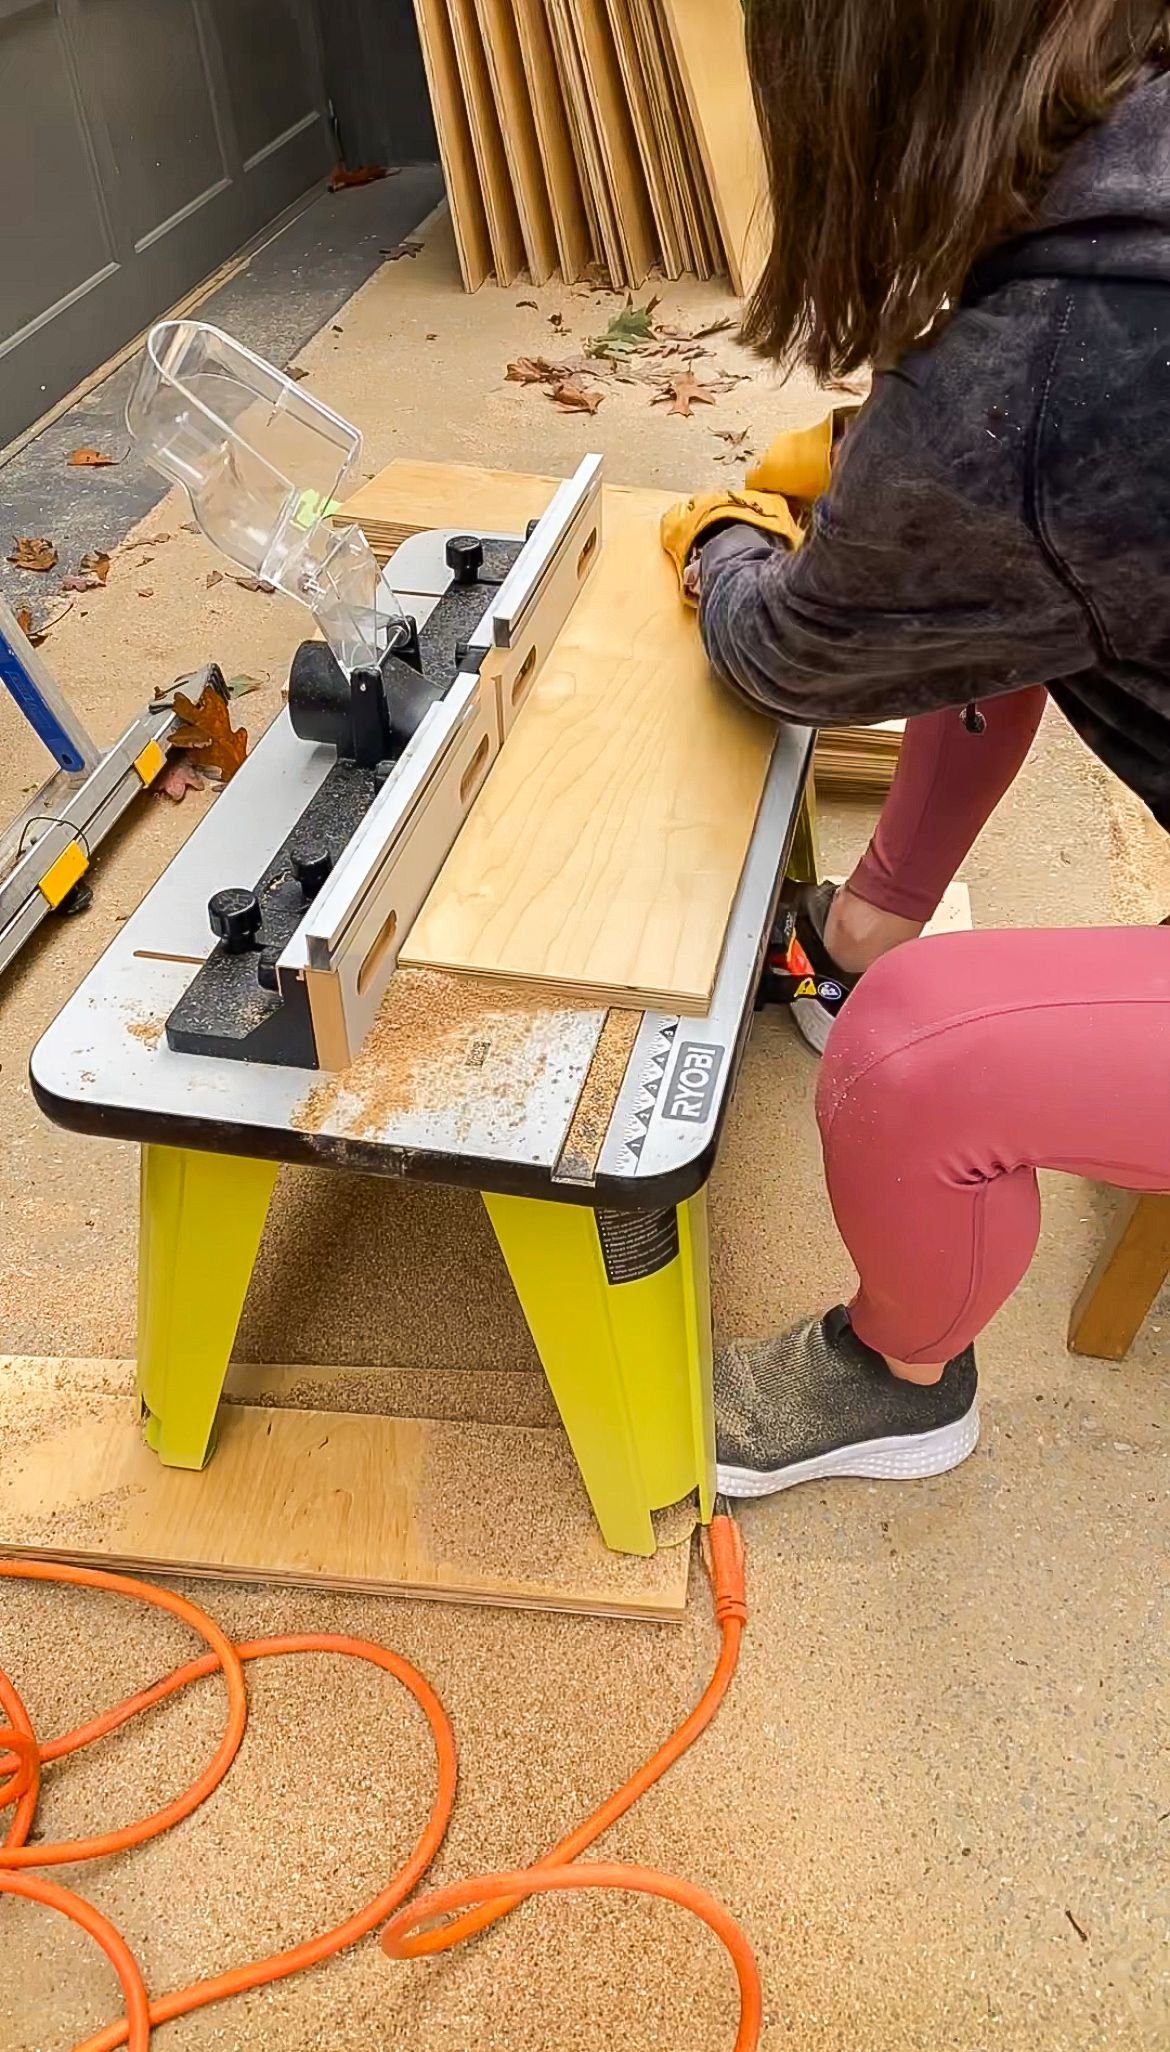
When using a router table, you're going to attach the fixed base router to the top of the table so that the router bit is coming out of the top of it. Then you'll run your pieces of wood through the table along the router bit to create those channels in the wood. You can adjust the fixed base router so that the blade is at different heights coming off the top of the table. This will either increase or decrease the depth of the cut that you make when you're putting it through the router table.The way to do that varies based on your actual router. So I would highly suggest referencing your manual when you do.
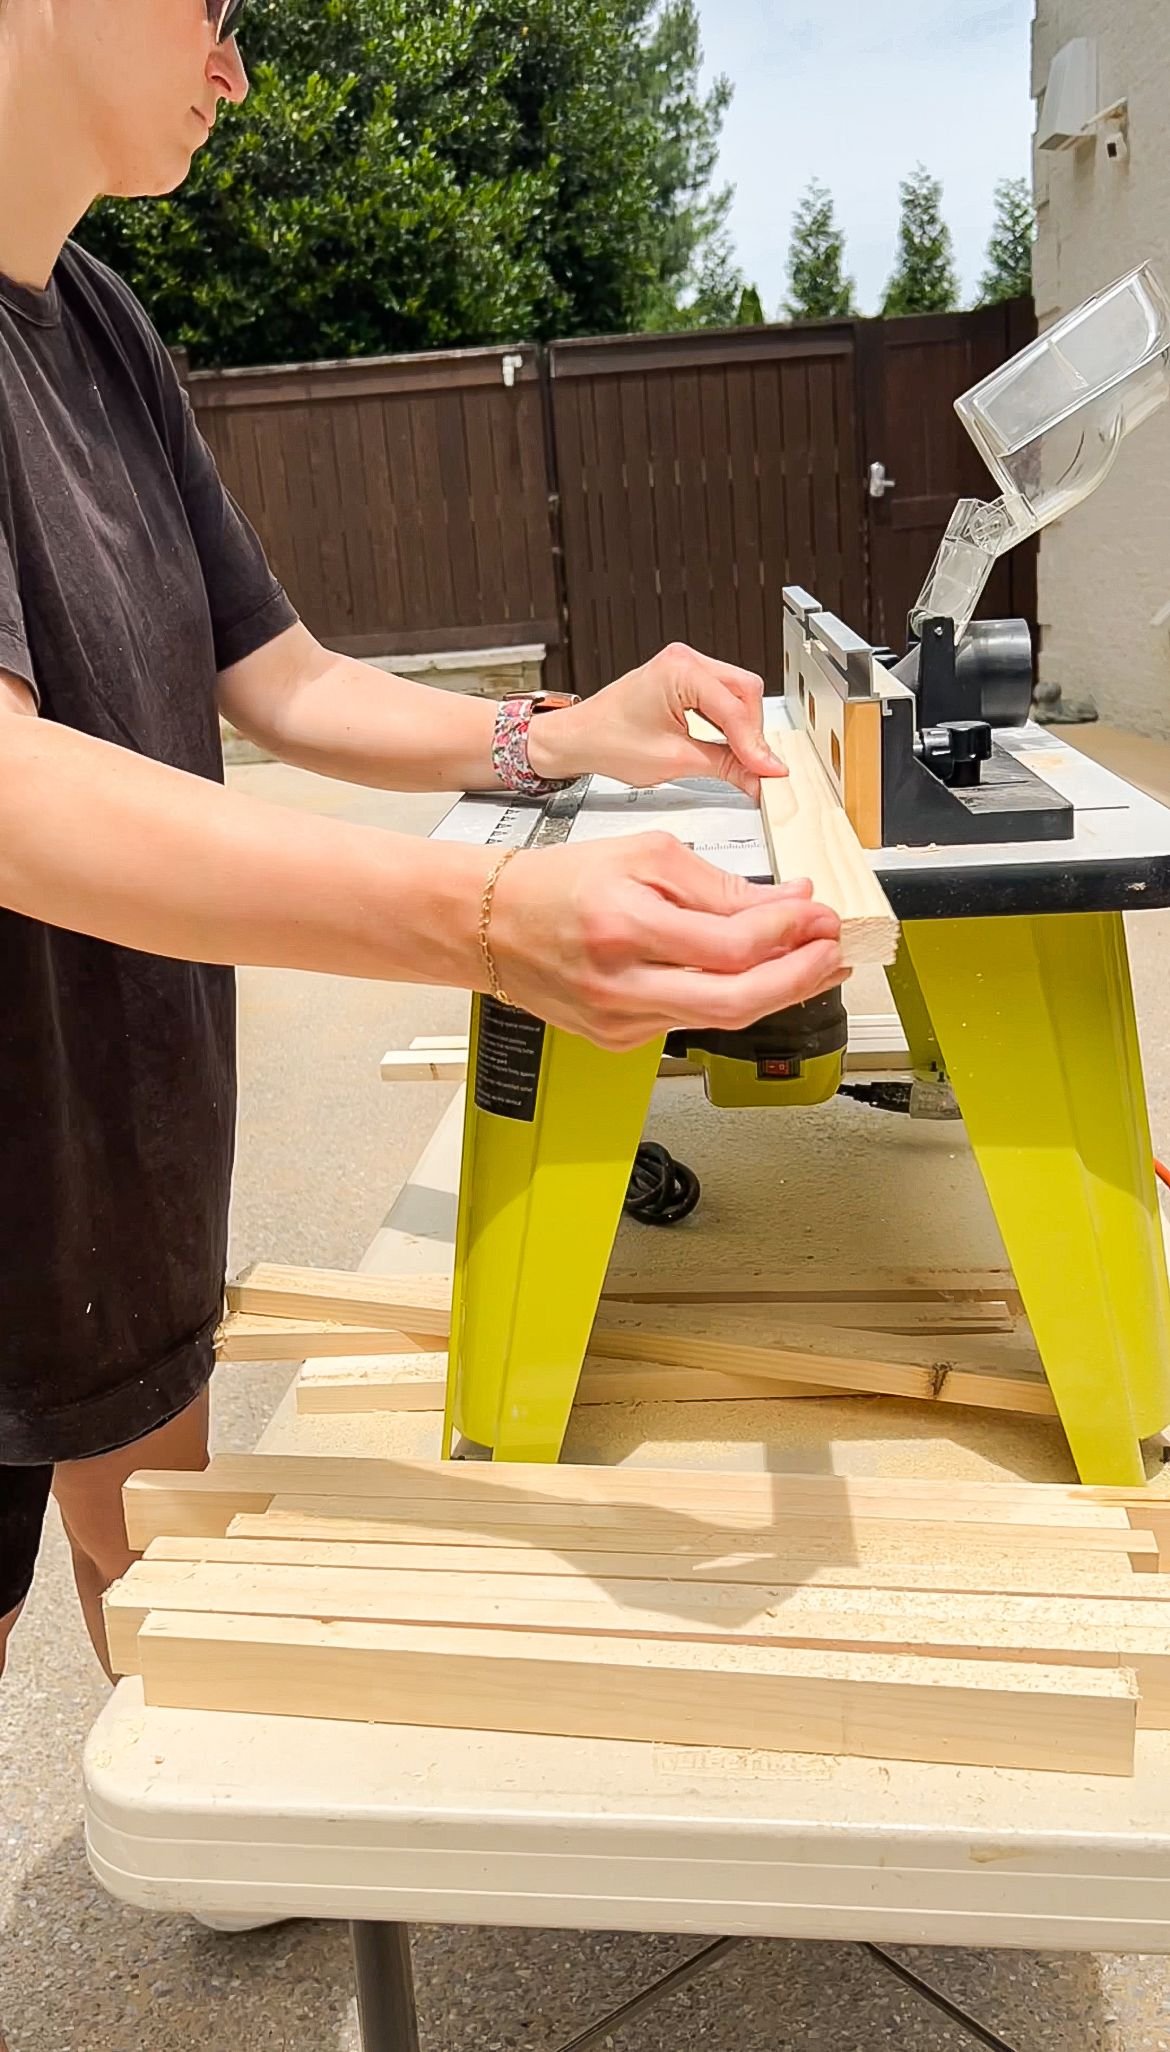
When you are pushing a piece of wood through the router table, you don't want to have your hand anywhere near the blade. I make sure to keep my hands away from the black piece that is surrounding the base of the router because that is where you can get caught and possibly lose a finger. If you need to, use a push stick to get the piece of wood all the way across the router table without risking your hand.

How to Use a Router & Router Table | Where Do I Use a Router?
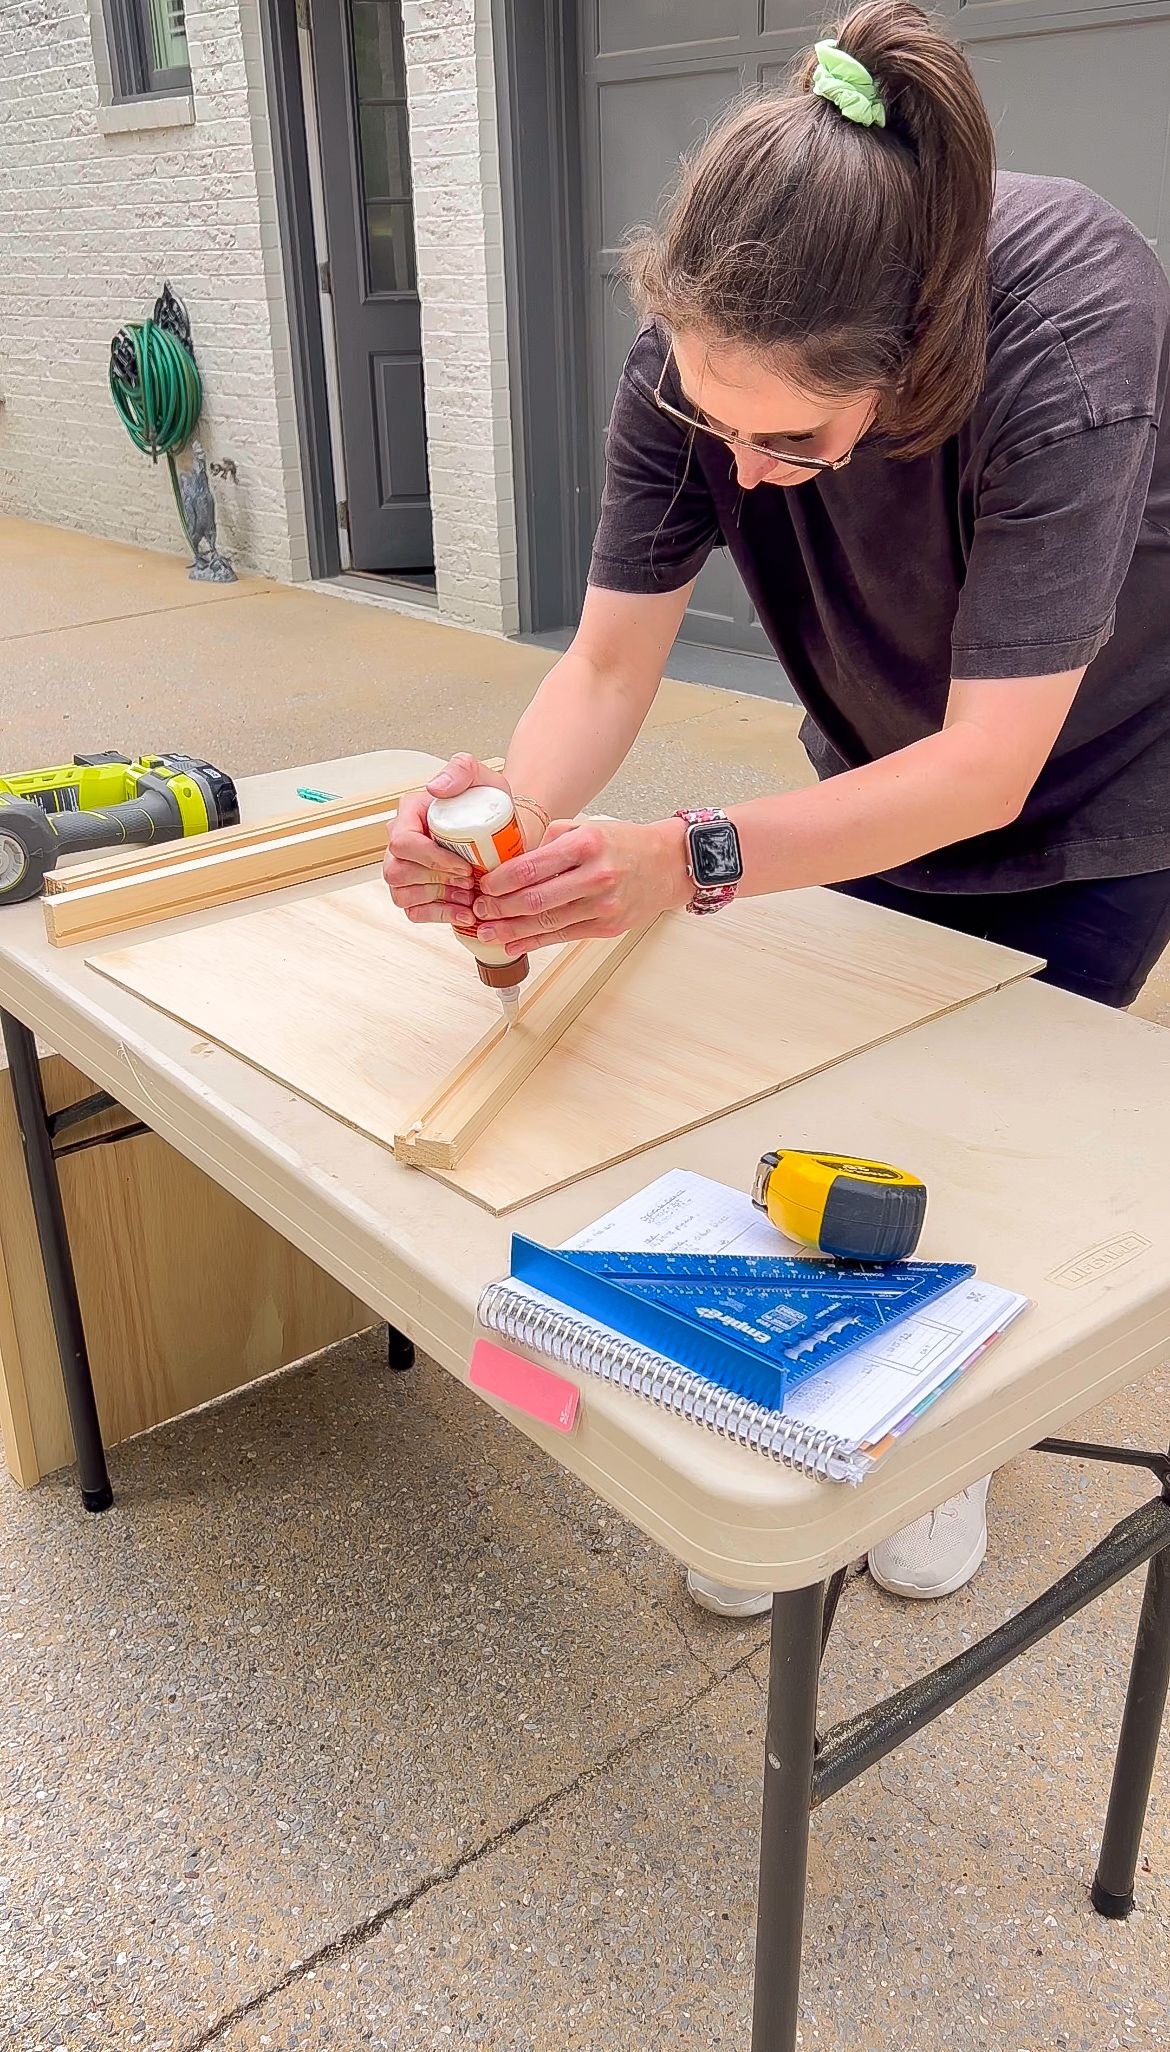
I have used a router for a lot of projects. For example I put 1x2s through the router table to do a cut in the center of it to create a picture frame that will eventually turn into a cork board. Making cuts with a router in these pieces of board allows me to then take a 1x8 inch piece of plywood and insert it into the pieces of wood. It comes tougher really easily.
I also used a router when I did the pullout drawers for my cabinet. I used the router table to cut into each of 1x2s. That gave me the ability to then inset the wood into the frame. This gives an overall finished and polished look that you wouldn't necessarily get if you just took the piece of plywood and attached it to the bottom of the frame instead of insetting it. I've also done this with drawers. Again, this gives you a much more polished finished look, and I think it actually helps with the structure of the wood as it takes on more wear.
How to Use a Router & Router Table | Shop
