
How to Use Recycled Materials to Create a Coral Reef

Someone at my daughter's school discovered what I do and they asked me to help out with the set for the elementary school musical, Finding Nemo, this year. After spending some time with teachers and creative directors, we came up with some fun pieces using a variety of different materials. Let me show you what we did!
How to Use Recycled Materials to Create a Coral Reef | What We Asked to be Donated

Bottle Caps
Plastic Bottles (2-Liters, Gallon Jugs, Water Bottles)
Soda Cans
Plastic Containers (Yogurt, Broken Tupperware, Buckets)
Unwanted or broken Holiday Decorations (Christmas Lights that work or are broken)
Random items that aren’t glass
Old Kitchen Utensils
Anything that you could donate that isn’t dangerous
How to Use Recycled Materials to Create a Coral Reef | Coral Reef & Frame
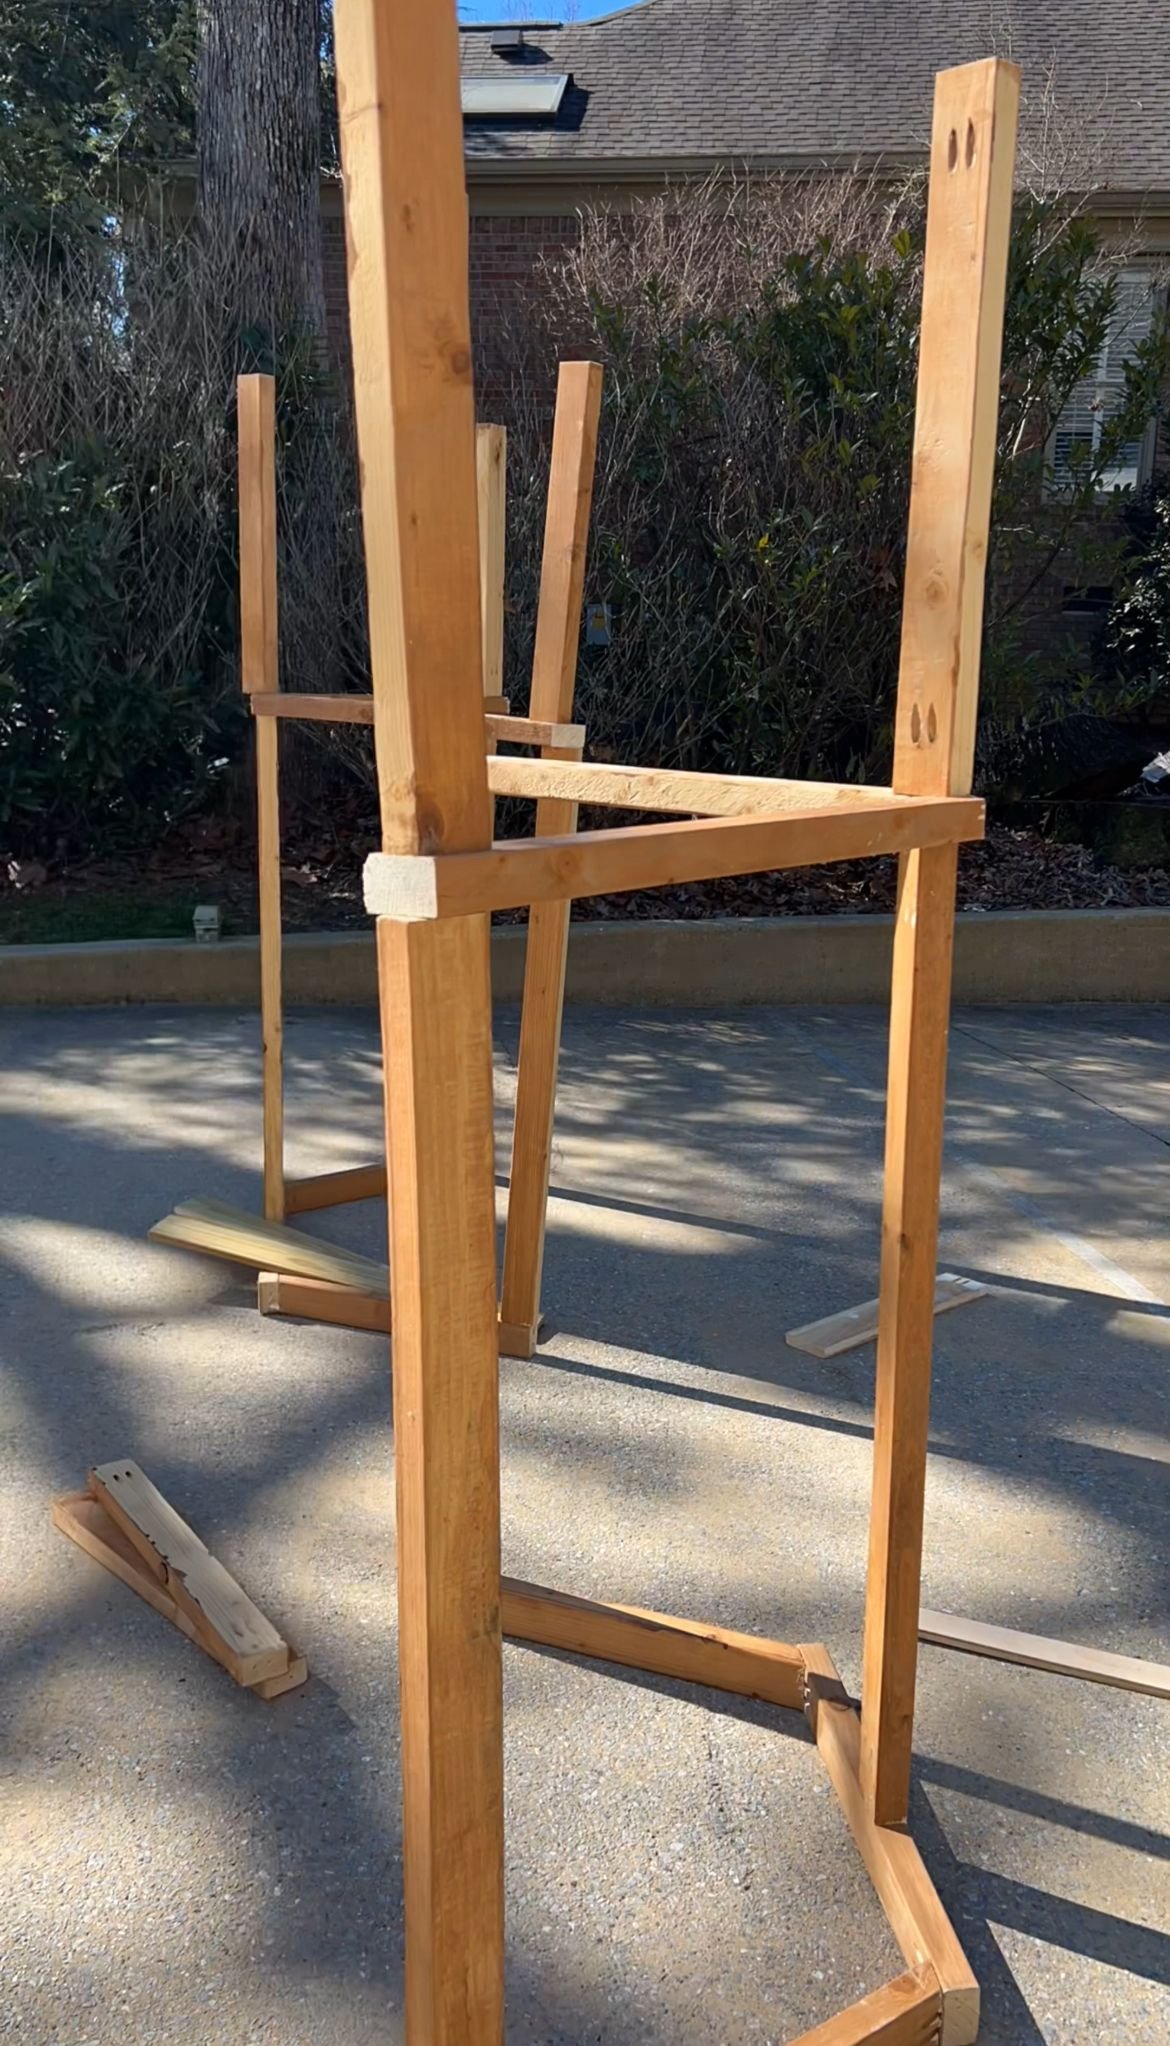
I built the frames for the coral to hold all of the pieces of recycled material we were going to create. I knew three things: 1) I wanted to use only scrap wood (since these pieces were going to be covered anyways), 2) I wanted it to come off of the wall a little bit and be between 4 and 6 feet tall (so they stood out behind the kids) and 3) I needed to make two, one for each side of the stage. These were super easy to throw together. I just screwed them together for the base at angles and then used my Kreg pocket hole jig to put pocket holes in the other pieces so I could then add another cross support section at the top of the vertical pieces. Then I did another set of vertical pieces and another top of frame support at the the very top to attach them to the base. Looking back, I definitely would have covered this frame in cardboard so there was more of a structure for the pieces to adhere to, but we made it work and it still looks good.
How to Use Recycled Materials to Create a Coral Reef | Bubbles
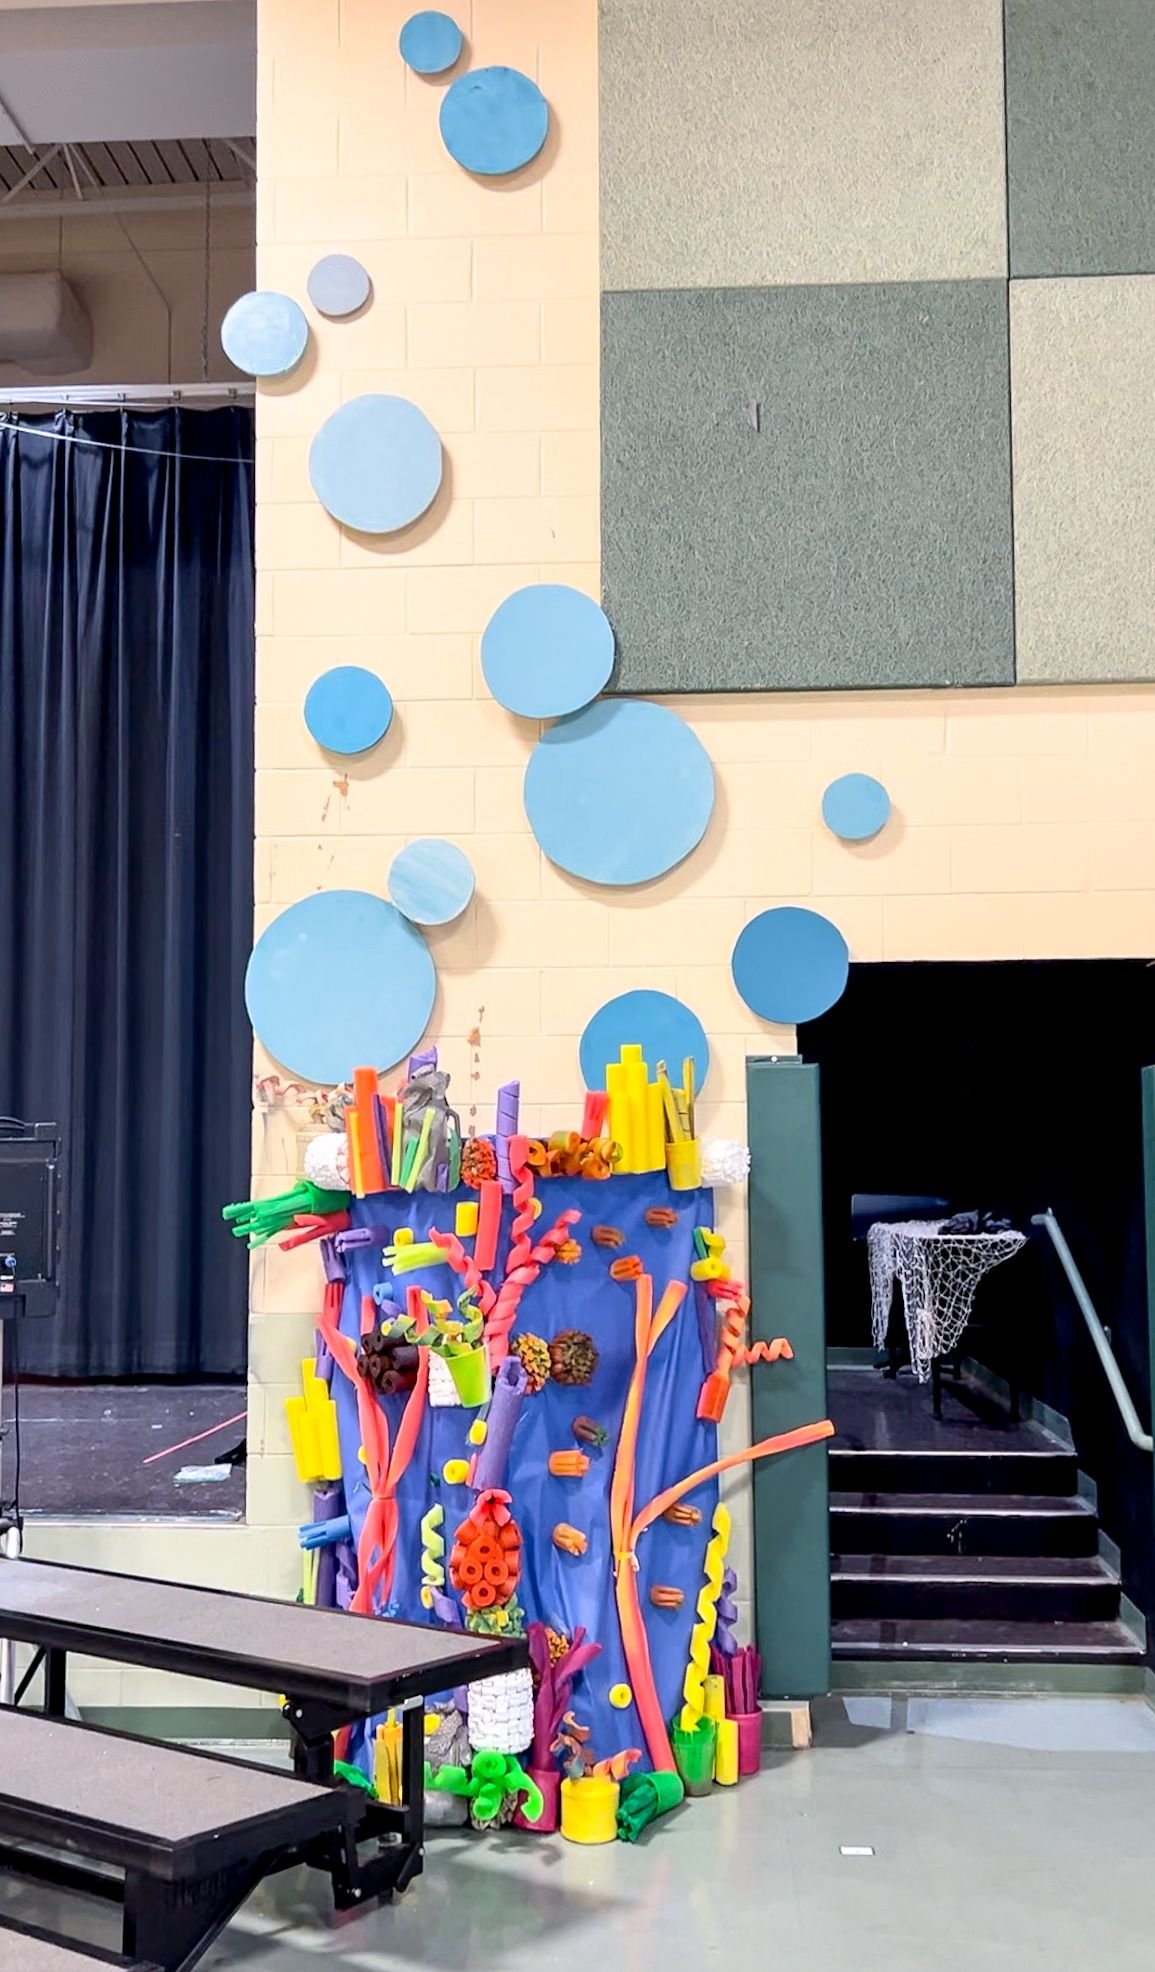
We wanted some coral pieces and bubbles for the set. The director of the play wanted to have bubbles going up the sides of the stage, kind of above the coral I made. I used different things around the house to trace a bunch of circles on a ton of scrap plywood and MDF I had already laying around. I used my jigsaw to cut all of them out. I cut out about 30 circles in varying sizes. Once they were all cut out, I sanded down the edges so there wasn't anything sharp or poking out. I took them to the school so the kids could help me put the backs on and paint them.
For the back of the bubbles, we used my brad nailer and secured scrap pieces of 2x4 and any other scrap wood I could find so the Bubbles would kind of pop off the wall and give a little bit more of a 3D effect. Then, the kids painted them with leftover sample paint I had from when I was painting my powder bathroom and my laundry room. I used a combination of double sided velcro and industrial grade adhesive strip tape to secure them to the wall along the sides of the stage at the school. I had another parent help me put those on the wall because I am terrified of heights and I was not going that far up a ladder!
How to Use Recycled Materials to Create a Coral Reef | Sea Creatures
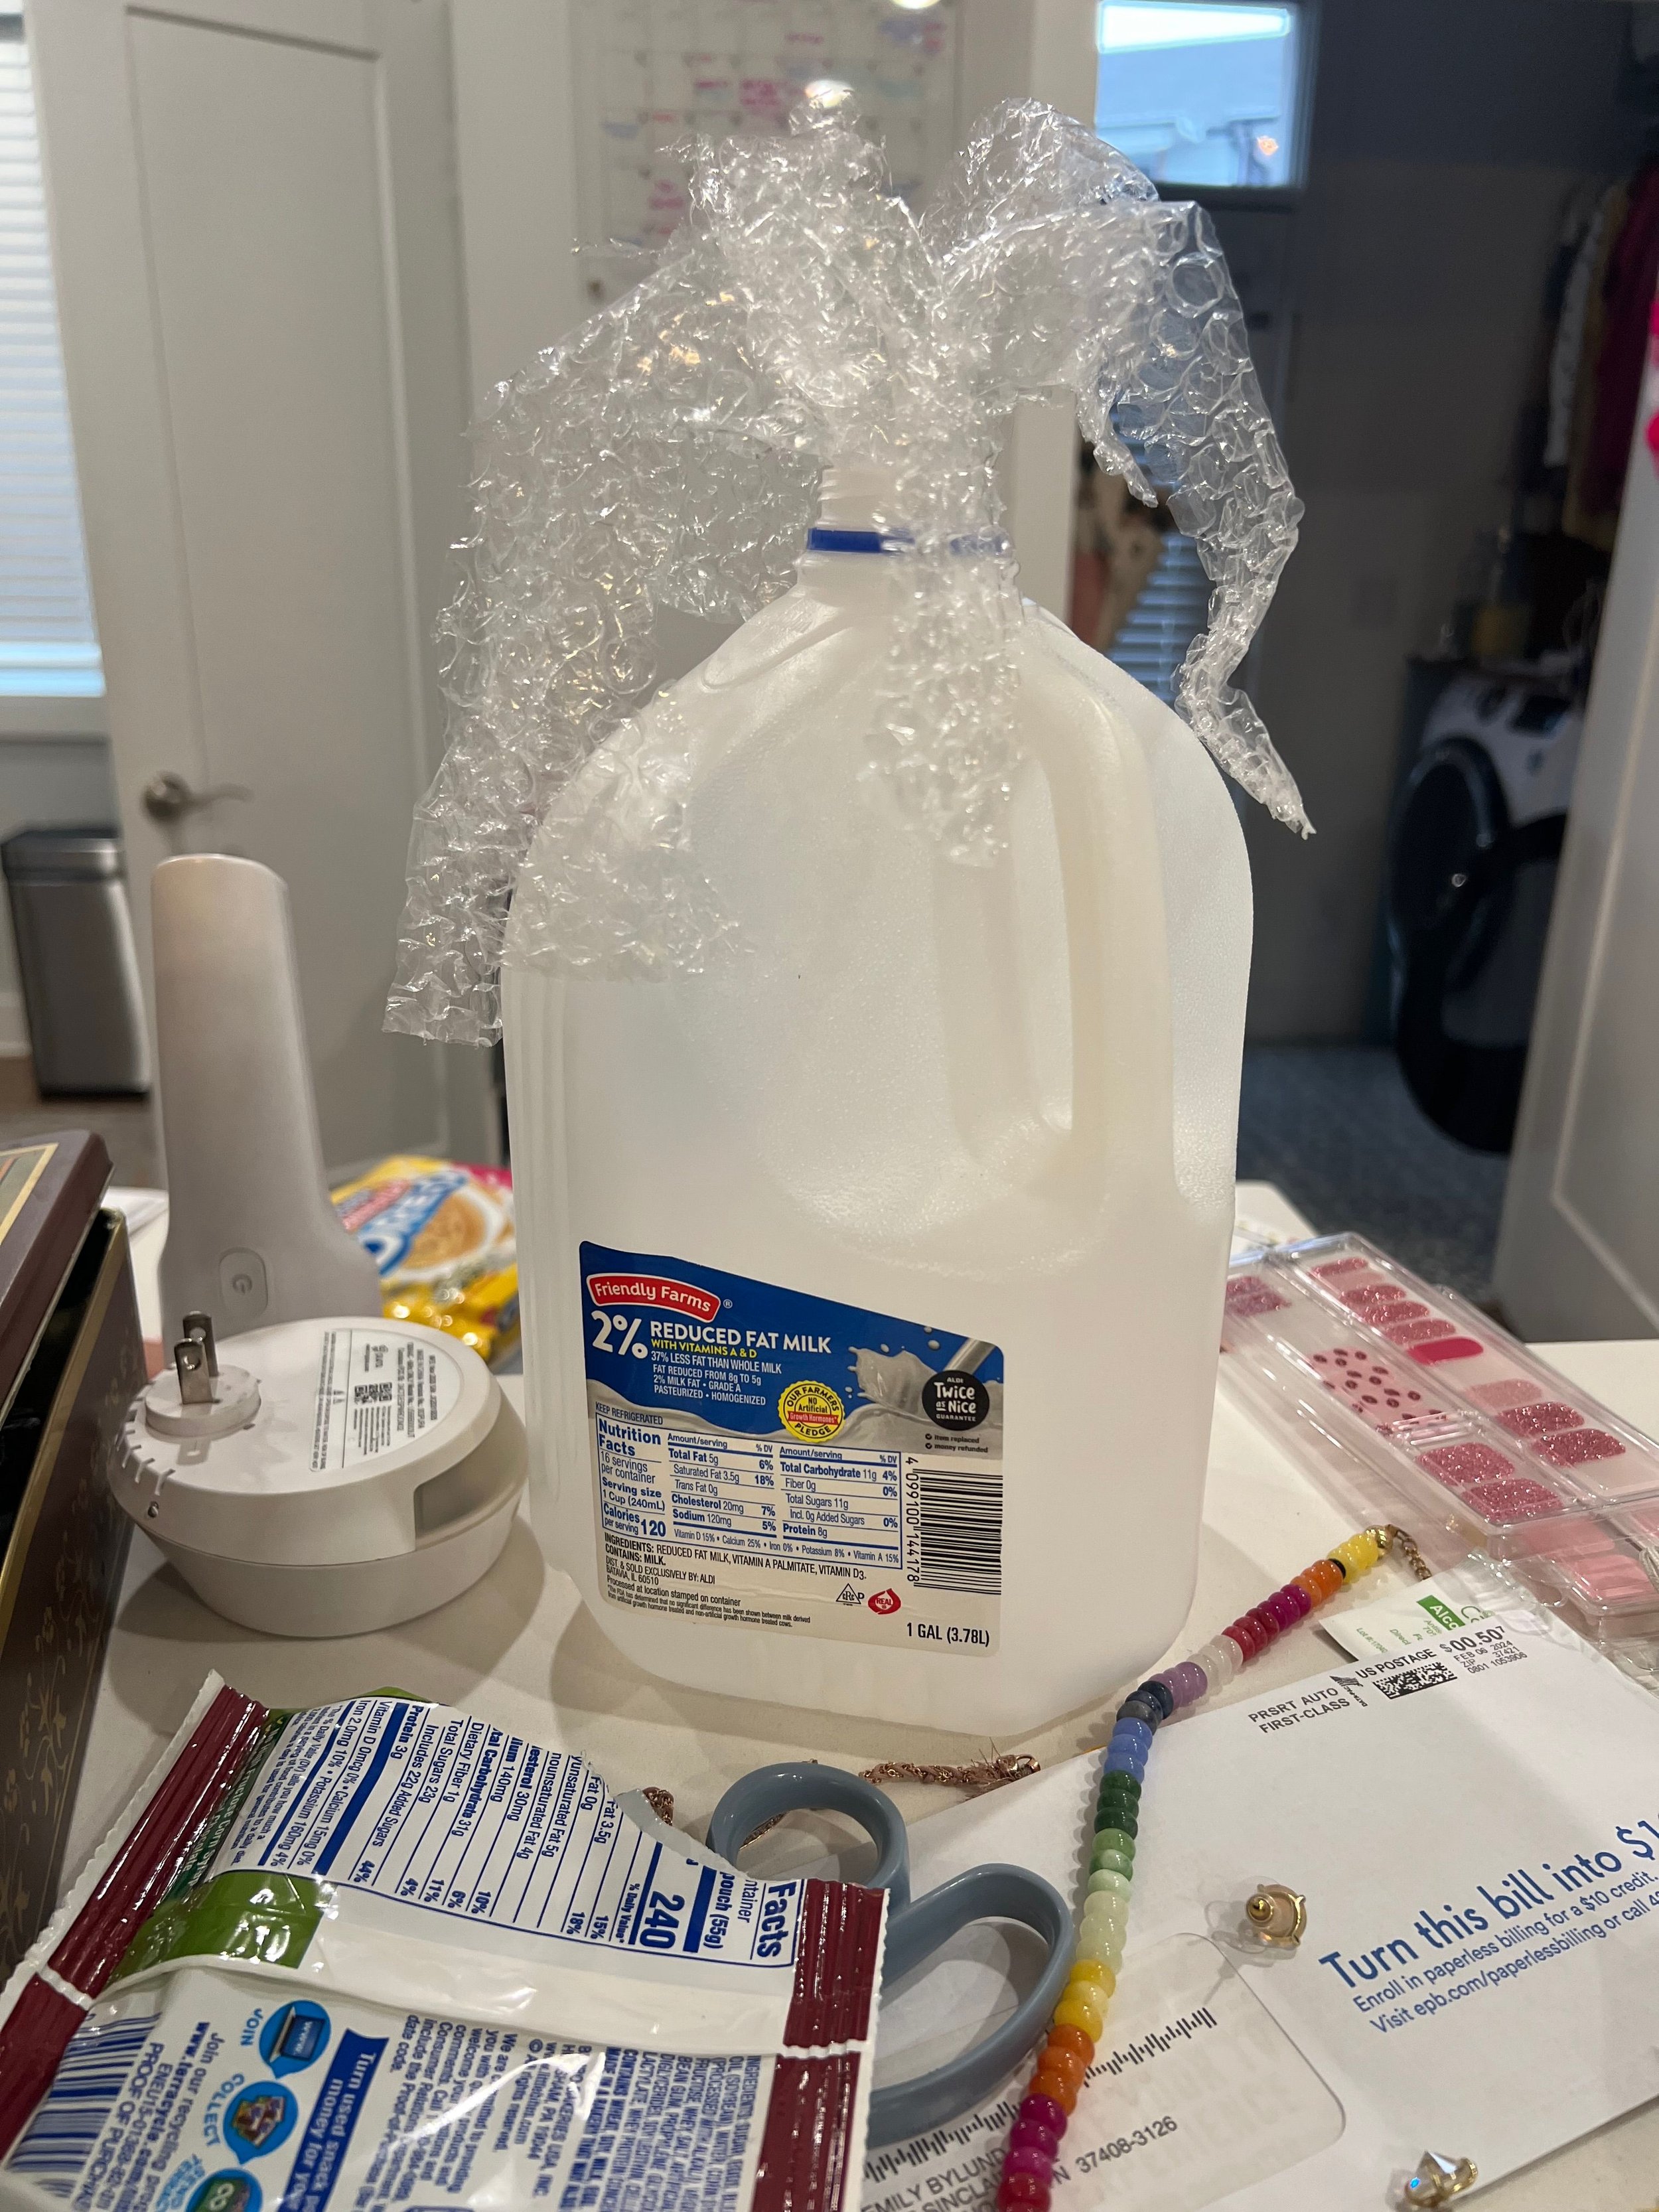
These are some of what I considered my "sea creatures". Using the recycled items, I tried to come up with as many different creatures as I could and some of them I didn't do multiples of. For this one, I cut some bubble wrap into strips and put into a gallon milk jug.
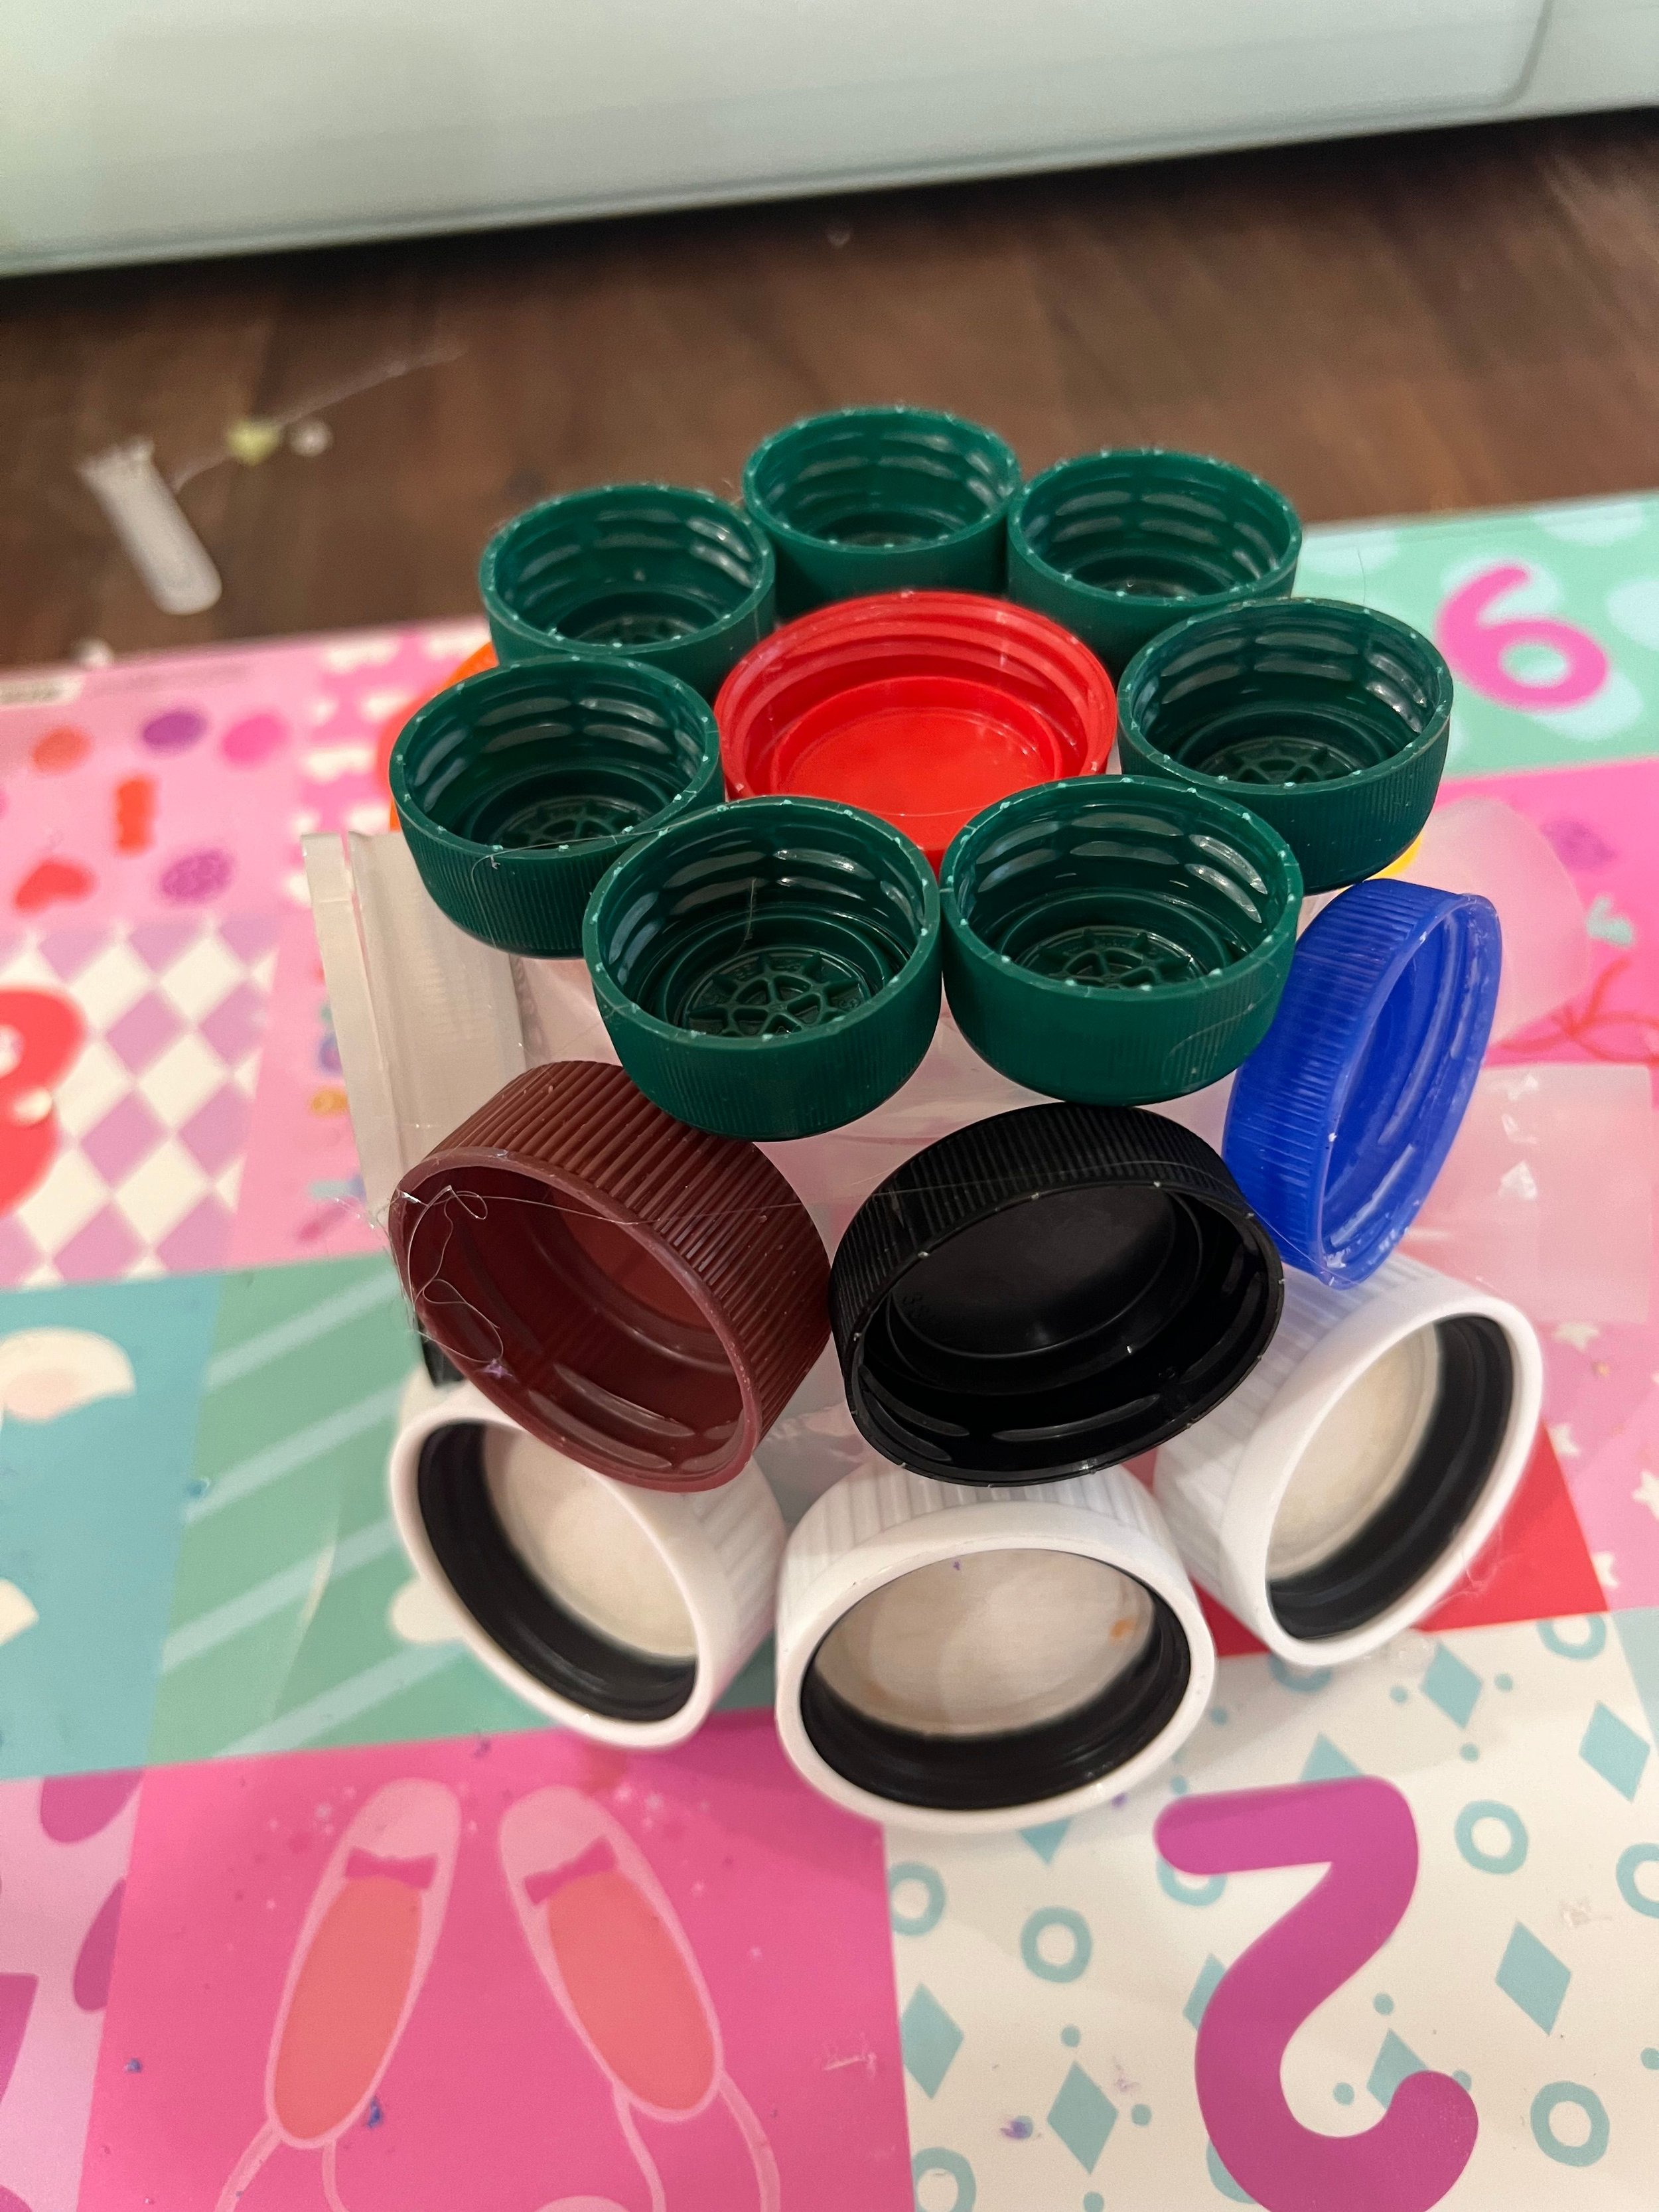
For another creature, I glued caps to a container. We did a lot of this one. I've got probably 10 of these because a lot of people gave us caps and this was a really great one because you can do either way for the caps and it looks like so many different things. I would say that this is probably on the easier side. You do have to know how to use a hot glue gun though.
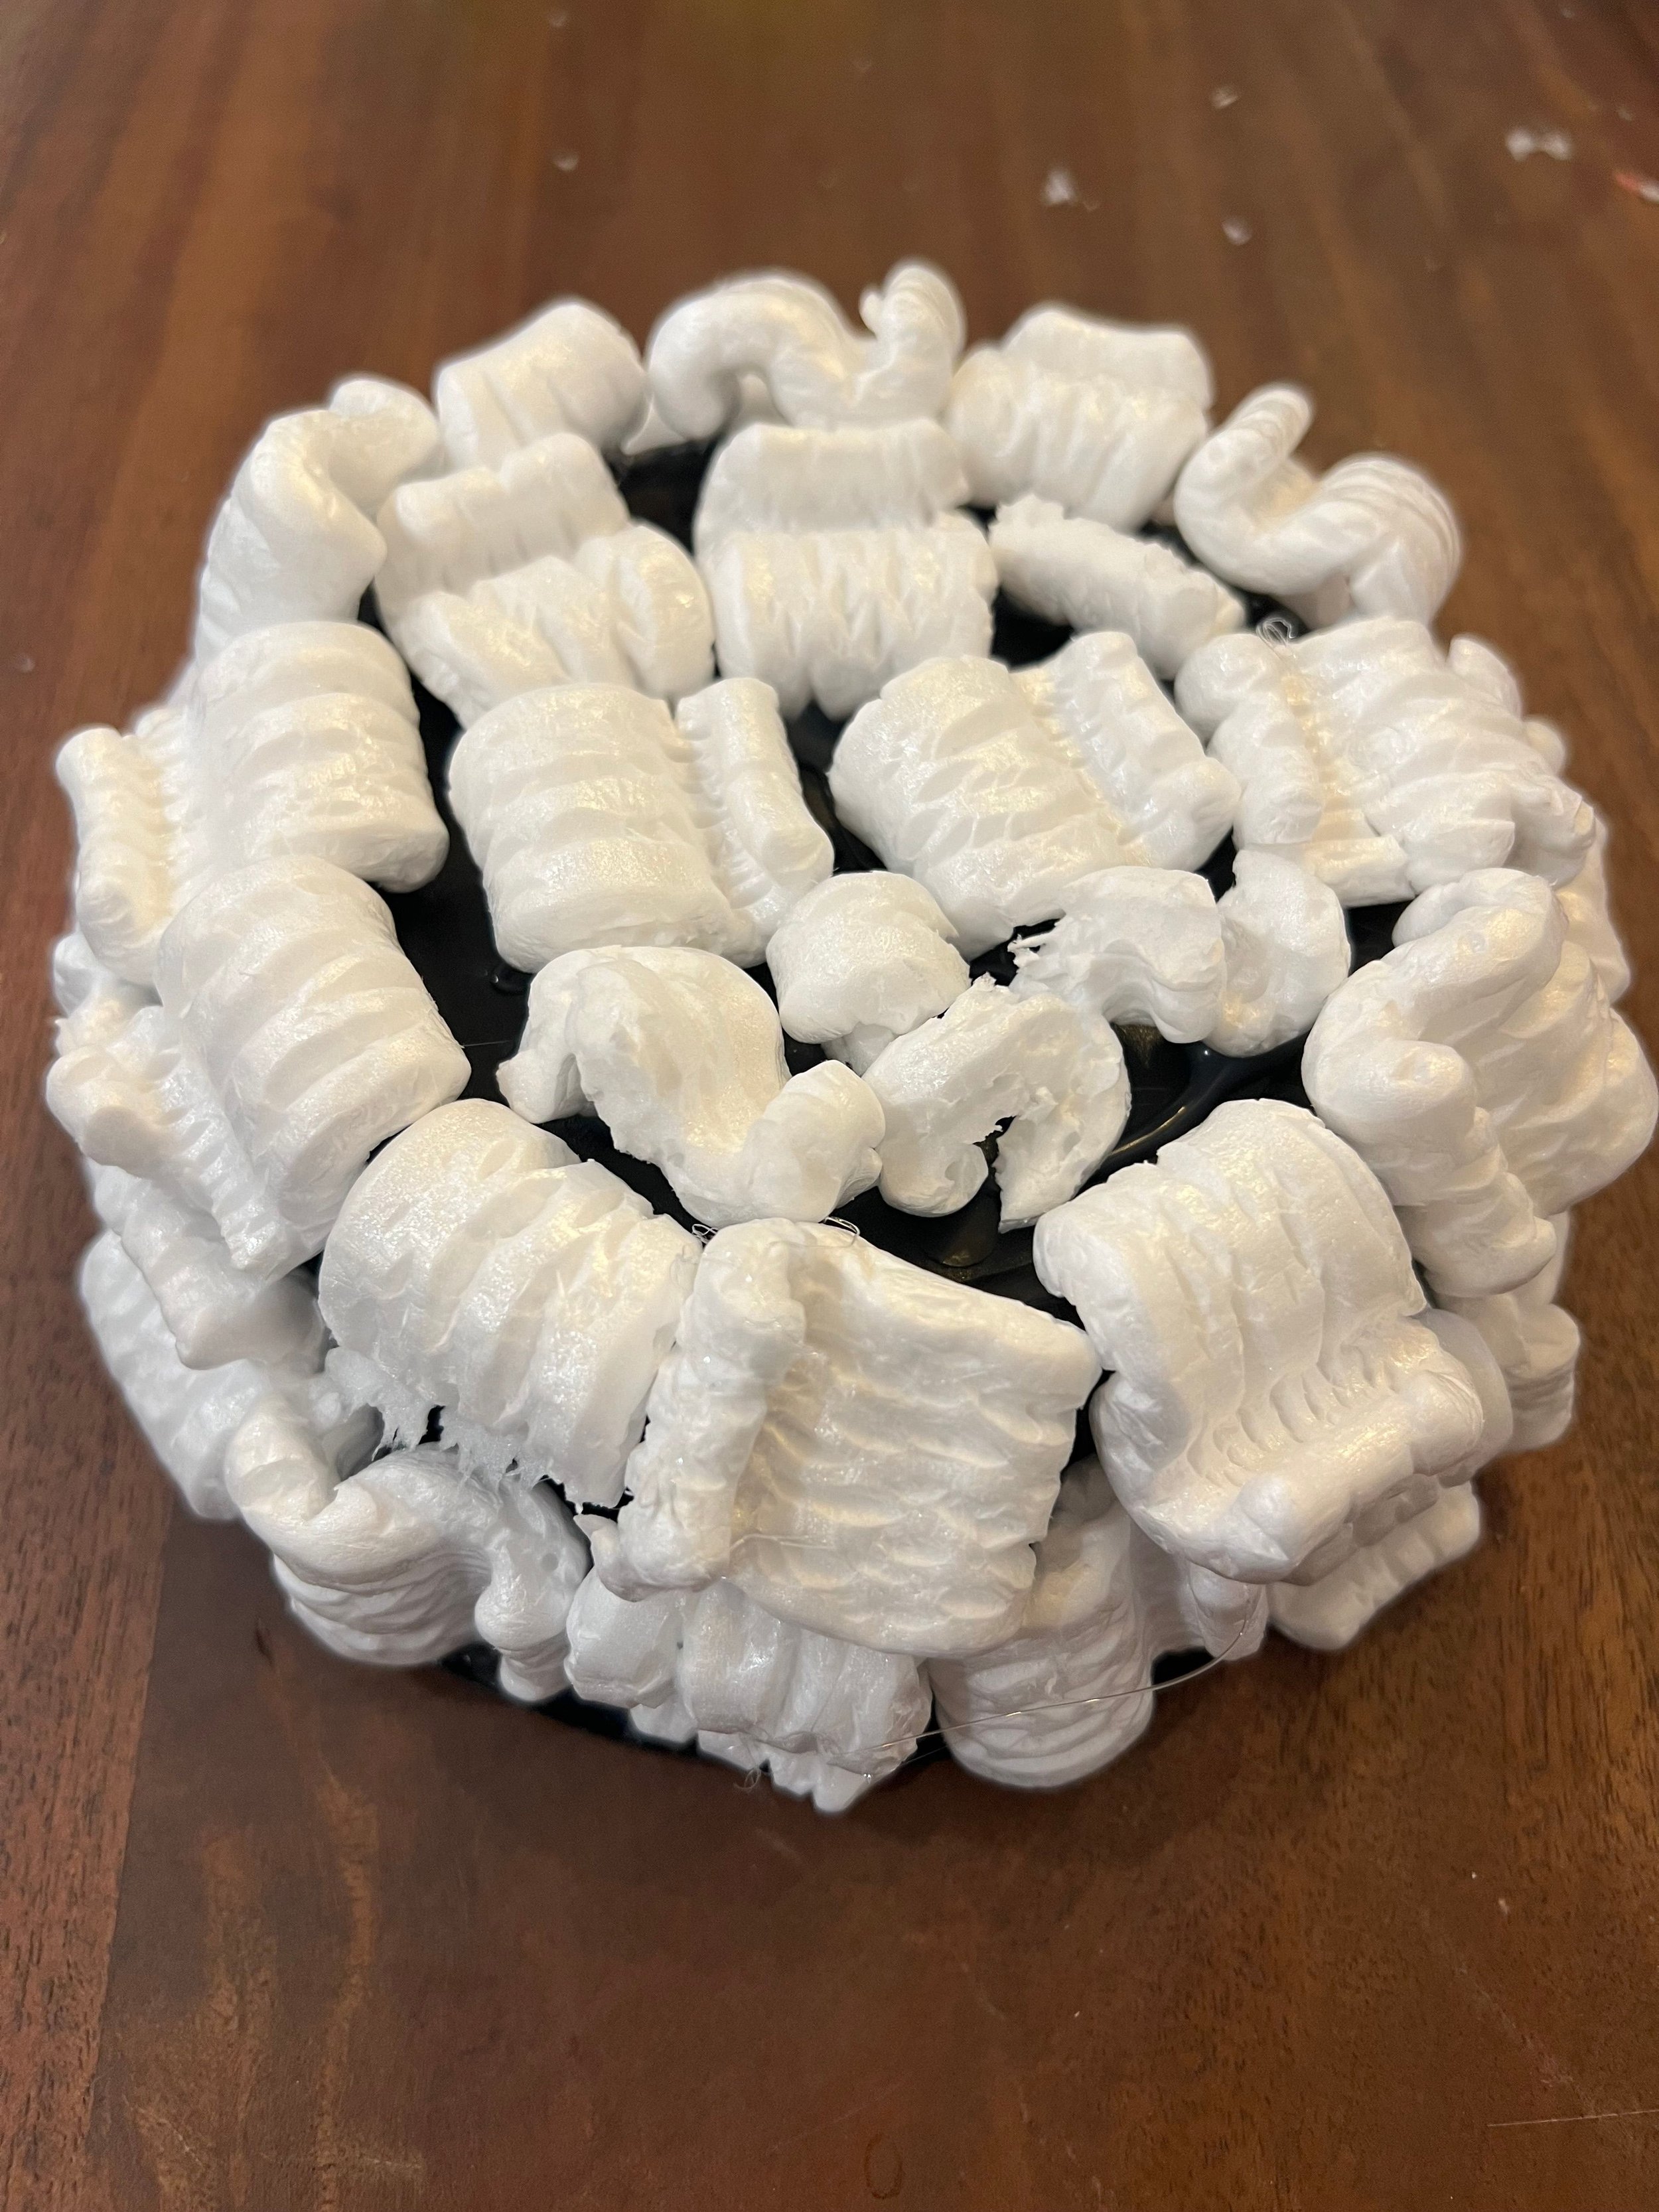
I used styrofoam packing peanuts on a few pieces. I figured out part of the way through that you can’t paint styrofoam, so putting it on the blue container was not ideal. Going forward, I only used white or clear containers to put styrofoam onto. The other thing I discovered while doing this was that if you put hot glue directly on the styrofoam packing peanut, the packing peanut will melt. If you put it onto the container and then place the styrofoam packing peanut onto the glue on the container, it will not melt. These were a little bit trickier because I had to break some of the styrofoam apart to get exactly the shape I needed for each section. Not a huge deal, but out of all of the different creatures I made using recycled materials, this one was probably the most complicated, especially considering I discovered I could not paint them.
How to Use Recycled Materials to Create a Coral Reef | The Many Uses of Pool Noodles

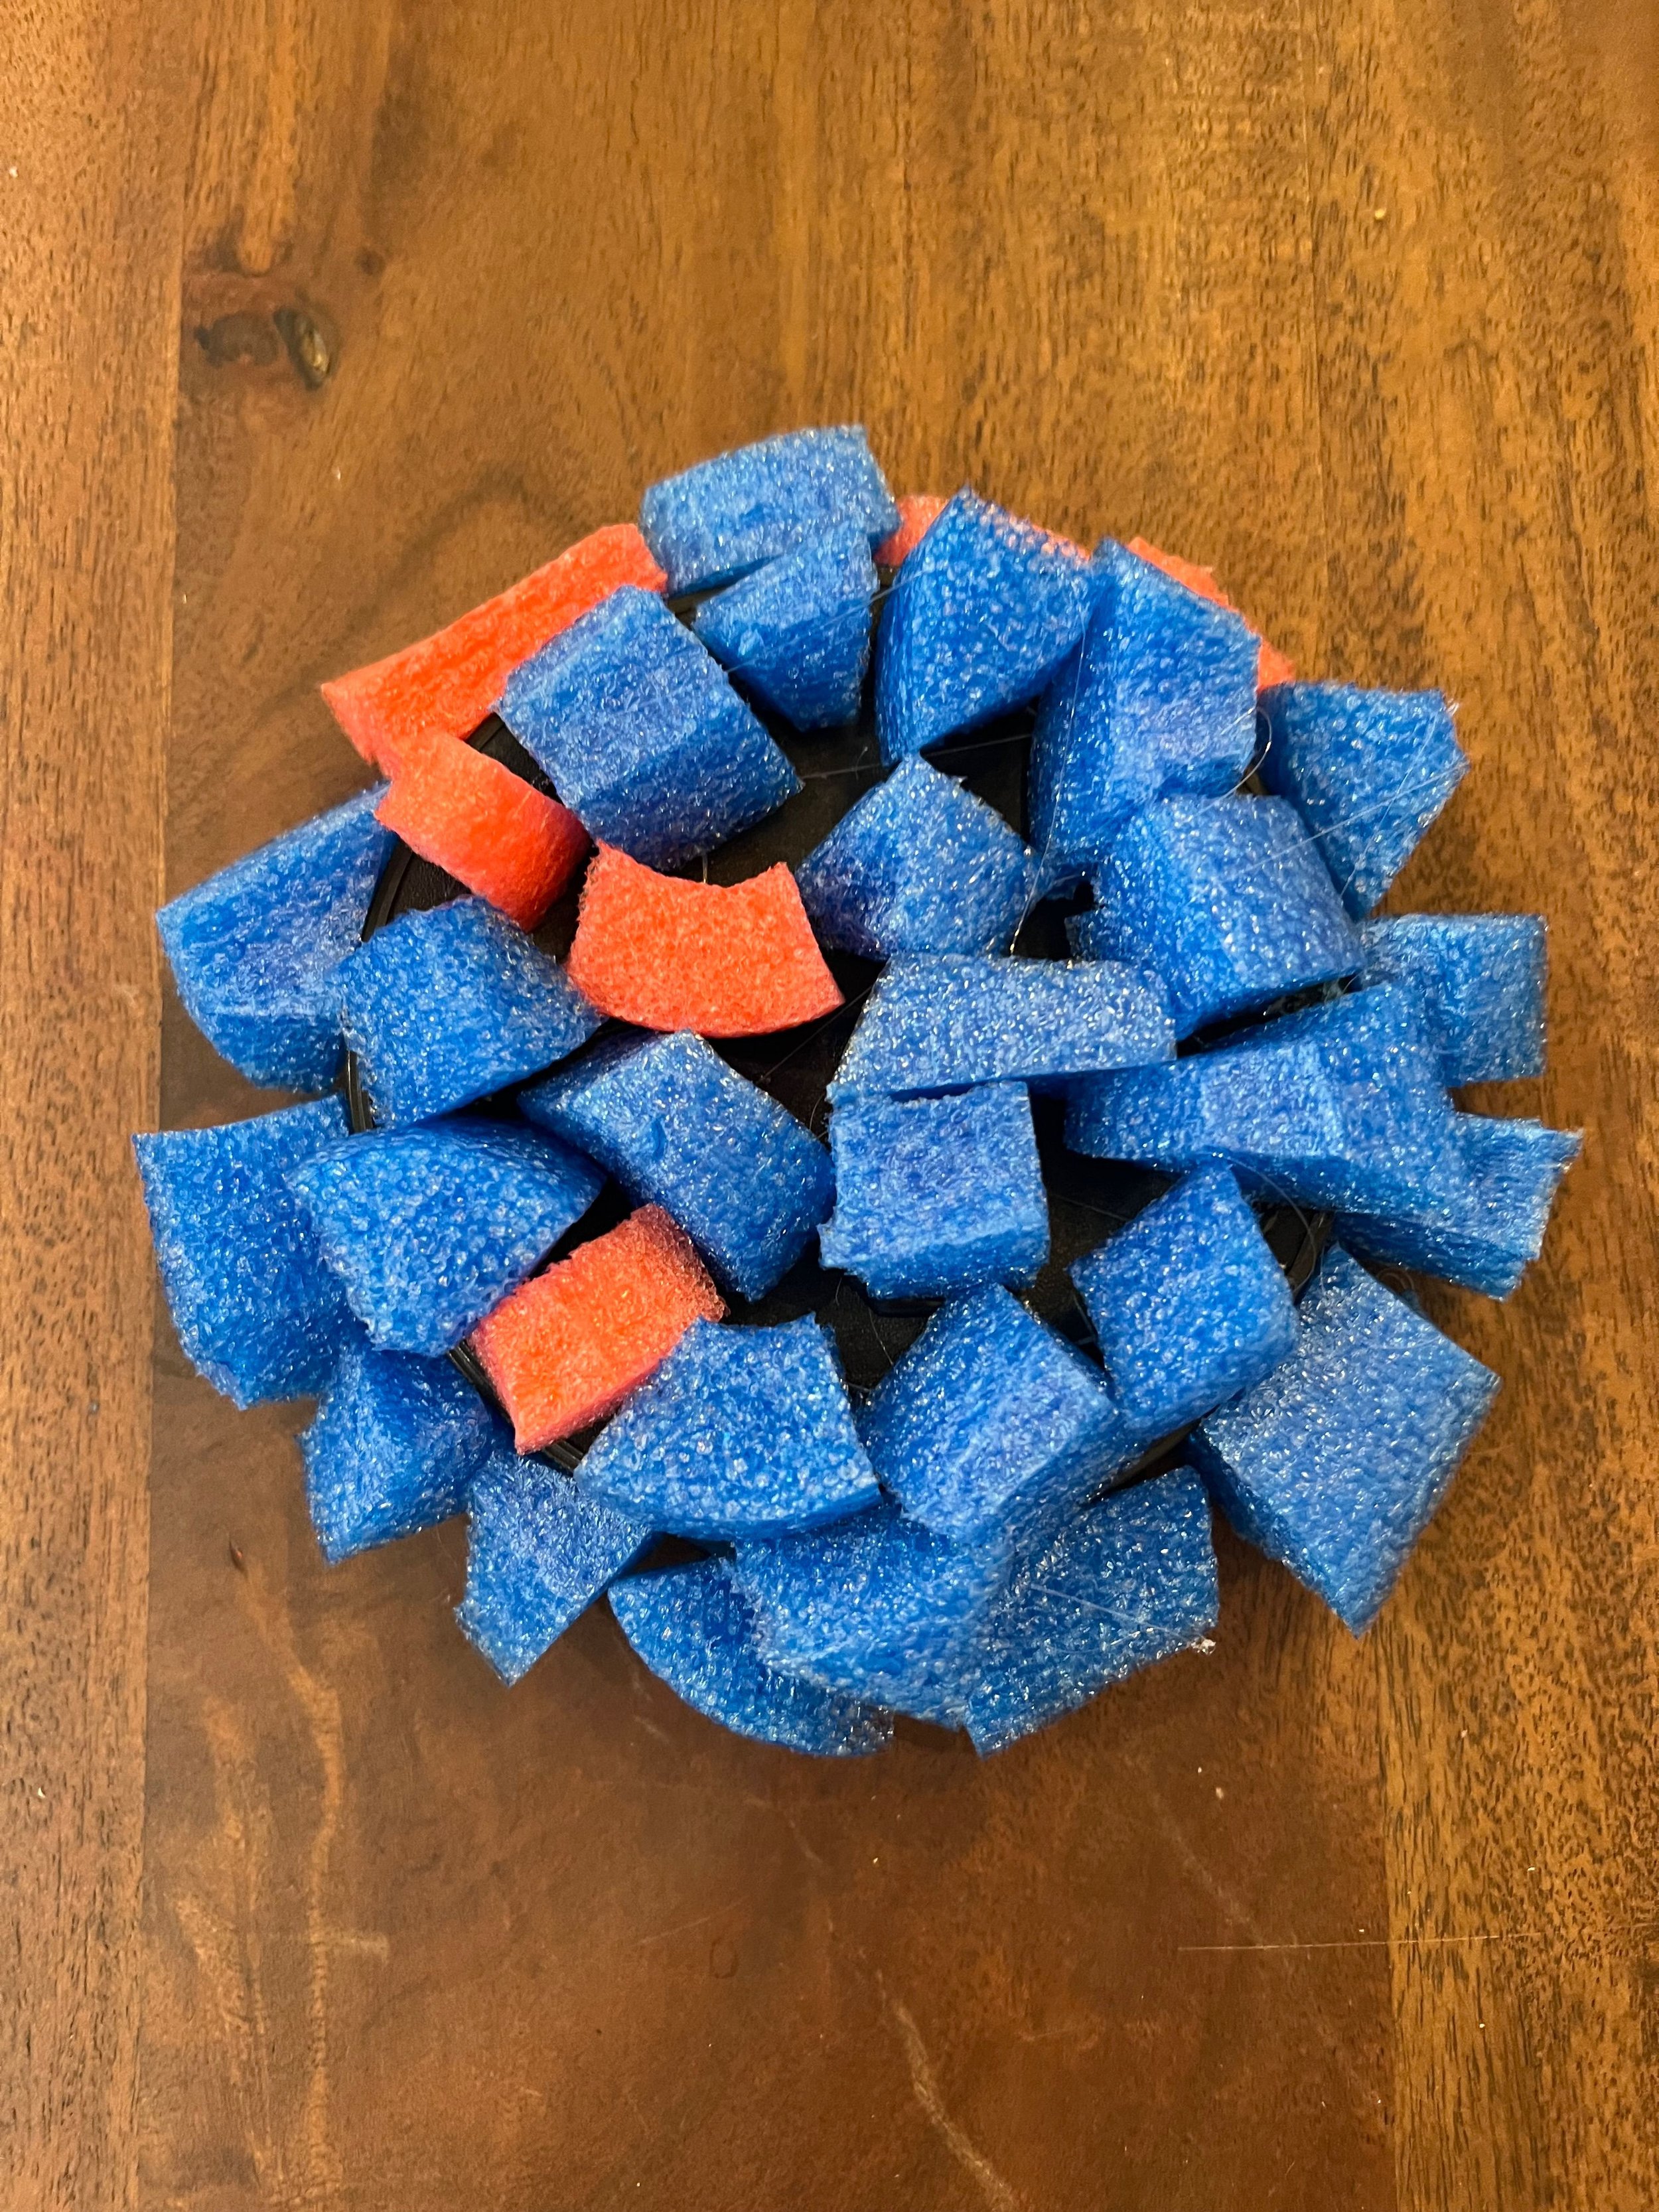
I can now do so many things with pool noodles! One of the things we did was cut medium sized sections of the pool noodles and then glued those to the container lid. We also cut strips of pool noodles and glued them into other containers.

I used lots of scrap pieces of pool noodle and then glued those to containers or lids depending on how many scraps I had.

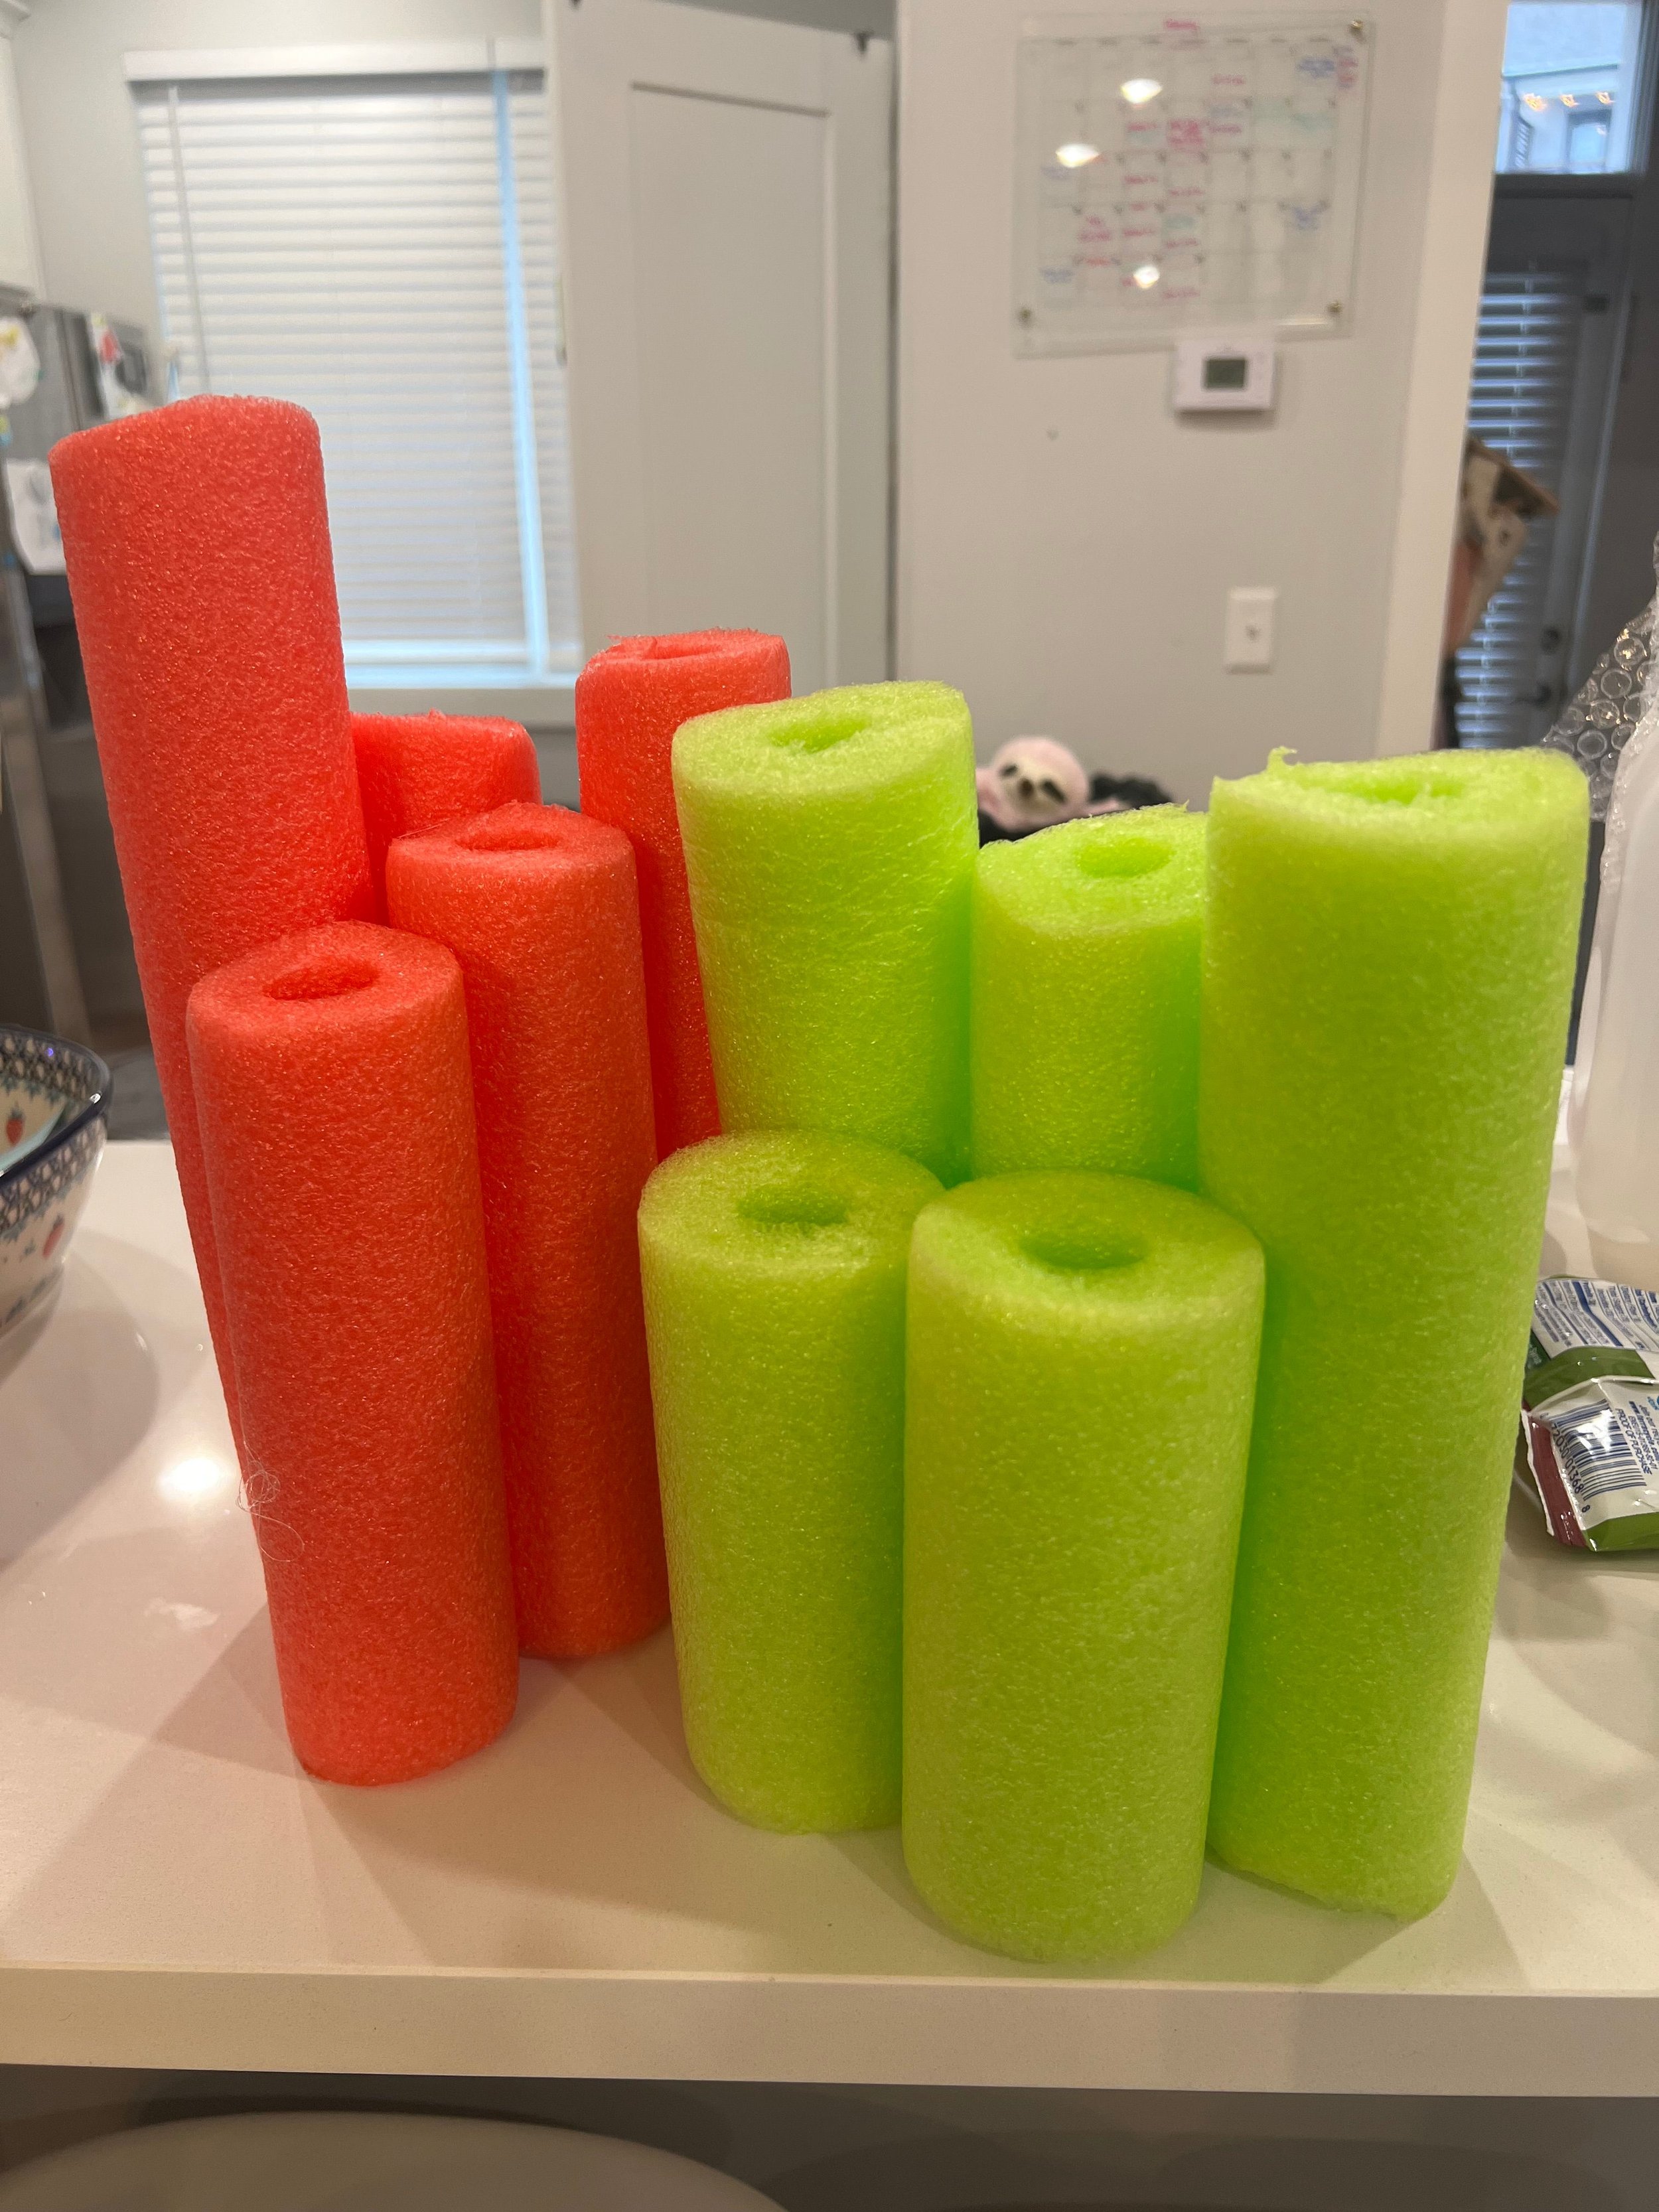
I cut different sized sections of pool noodles and then glued them together. It kind of looks like tubes you would find in a coral reef. I did it a bunch of different colors and we spray painted some of them.
I cut small sections of pool noodle and then cut strips into them, not all the way through though. Then took out every other section and put a few pieces in the middle.
I then used the scraps from those and made these little kind of like spiky sea anemone looking things. I glued those two container lids. We were very effective at using all the parts of a pool noodle.
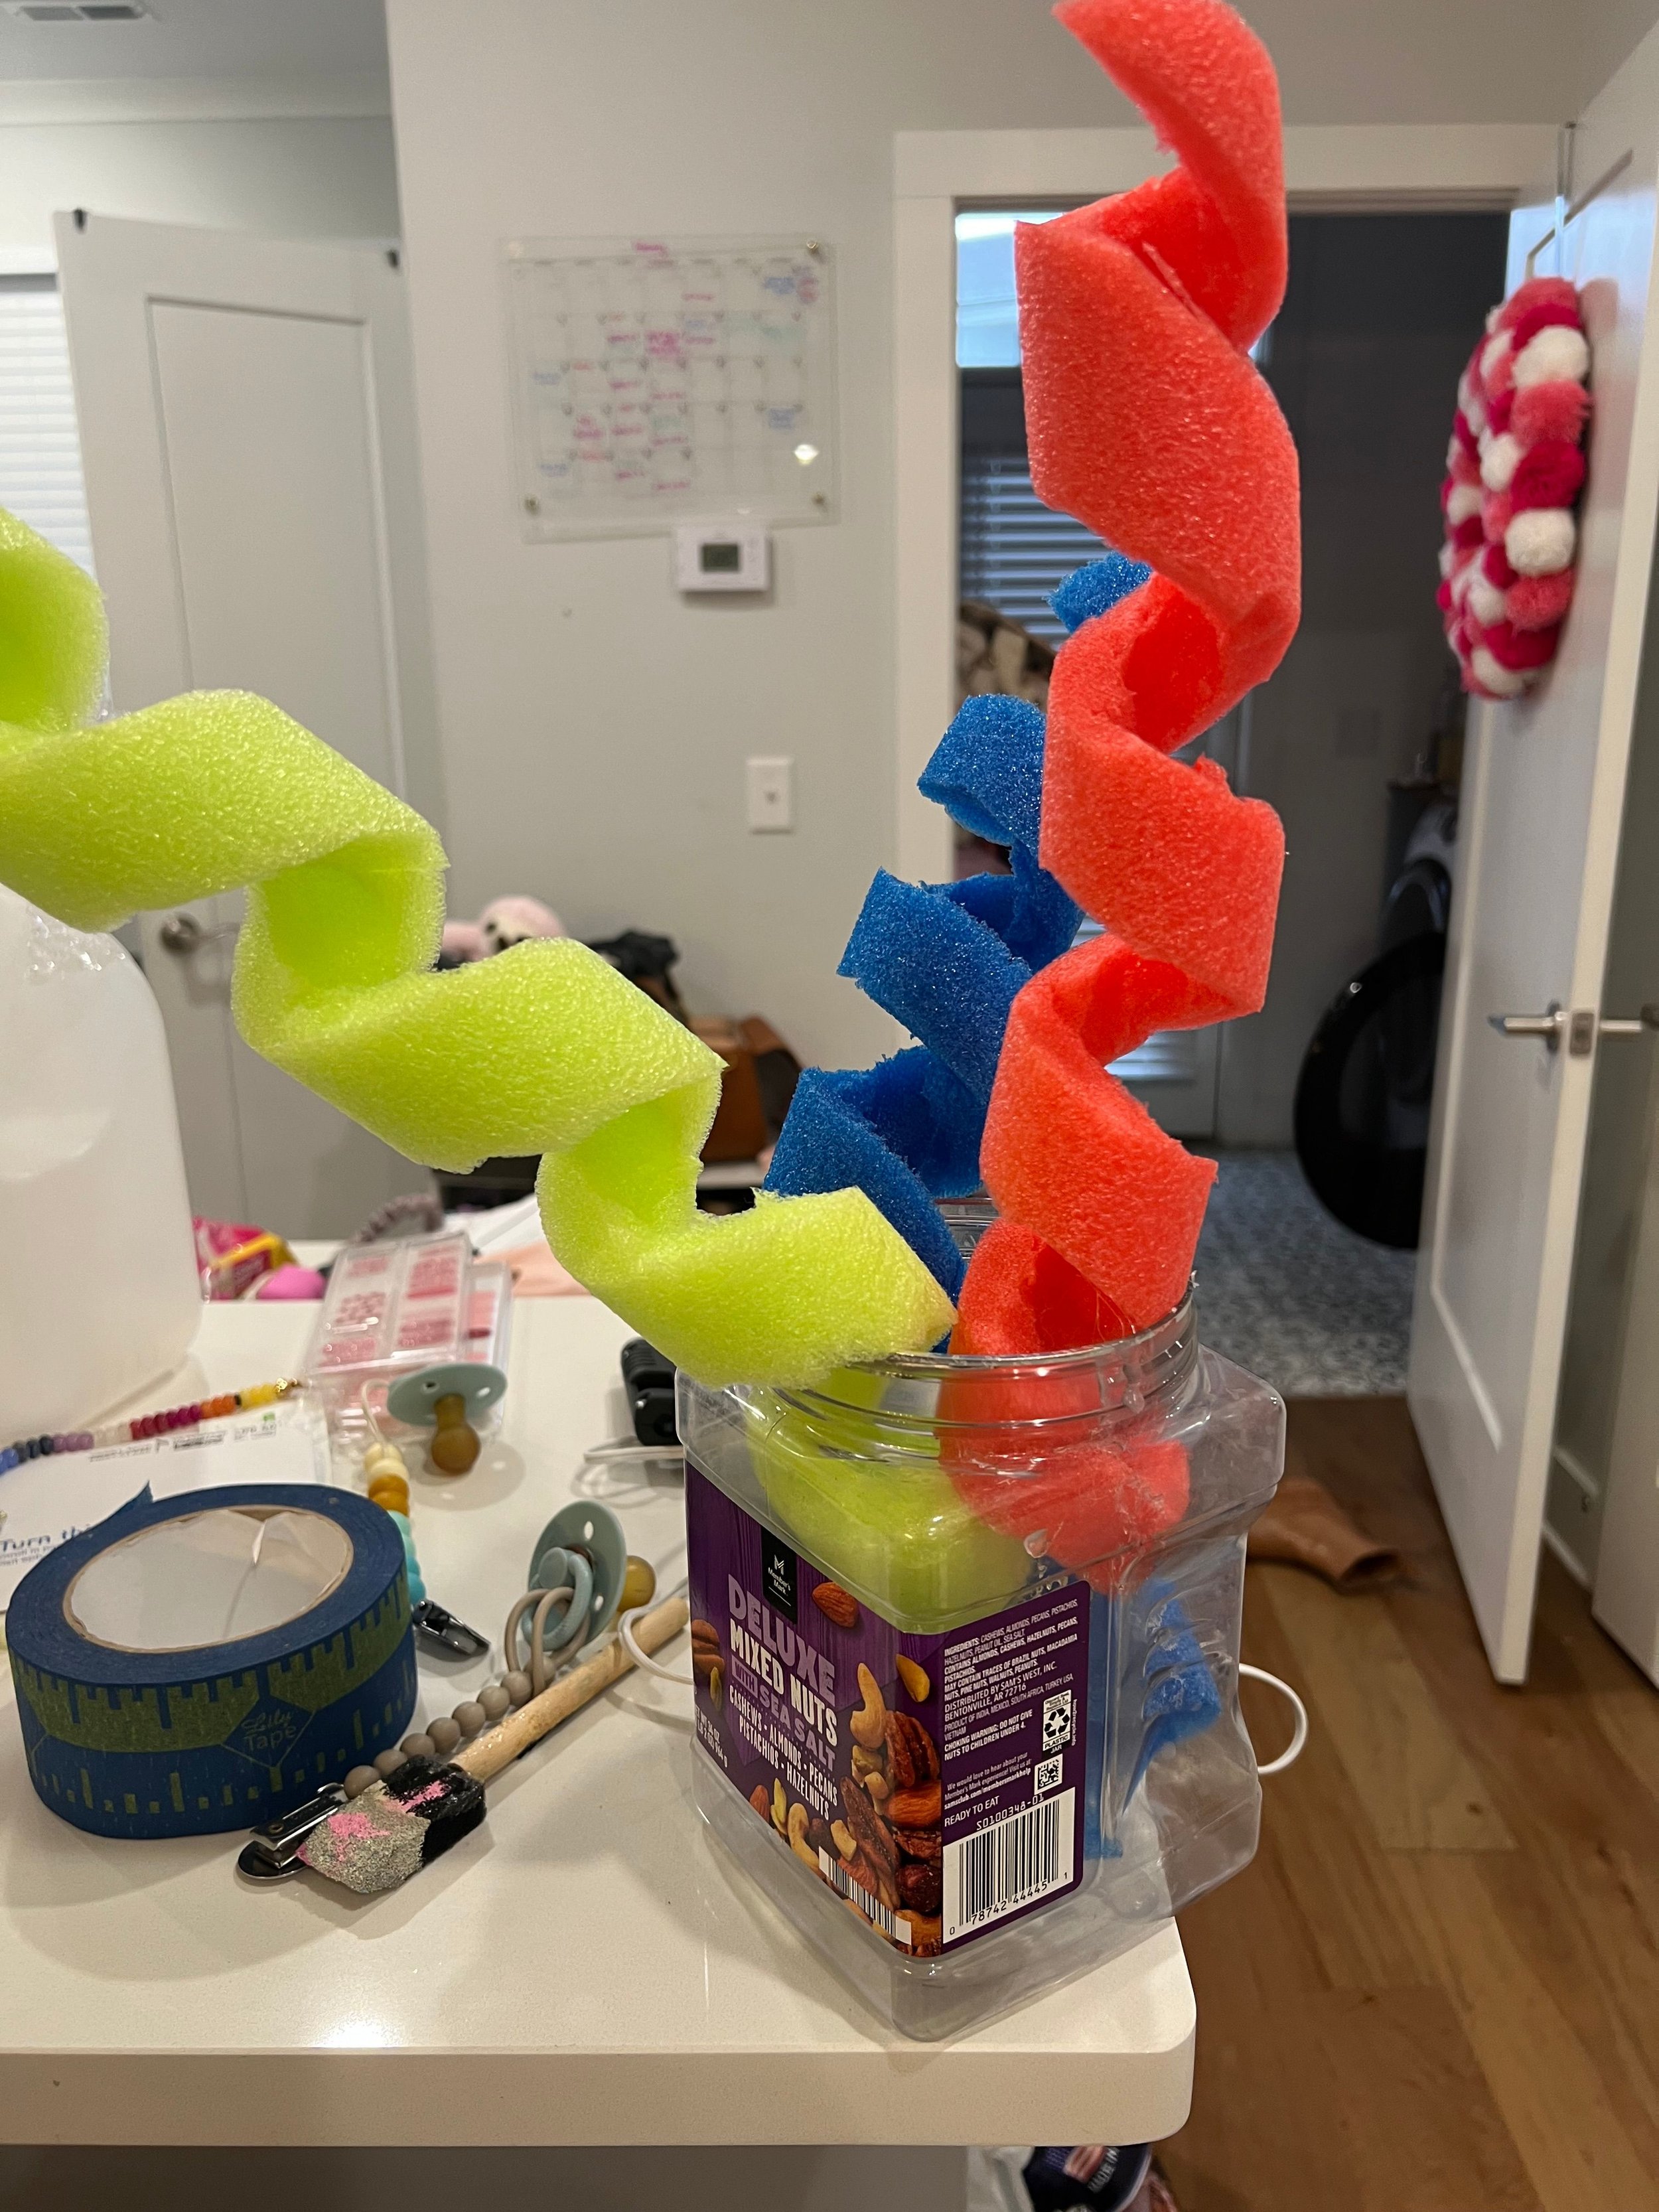
One of my favorite things to do was just spiral cut them. To do this you cut them once in a spiral and then you go through and you cut it again in a spiral to get that gap in between. And then I would put them in containers so that they kind of are these like tentacle looking things.
How to Use Recycled Materials to Create a Coral Reef | Final Touches
The little sea and anemone creature were also super easy to make. I just cut little sections of chicken wire then cut long strips of tulle. Once I had them cut, I rolled them up. That I kept the length and I got them to a nice width. Once I had all of them rolled up, I started threading them through the chicken wire. I threaded each side through a hole so the ends were both sticking out of the same side of the chicken wire and I looped on the other side. I continued to do this for the entire section, looping pieces of tulle through. I left a few sections of the chicken wire empty so I could use those to secure this piece when it's done. I used several different colors of tulle to kind of get different dimensions and colors to them. I did mix colors in some of them as well and I really like how that turned out.
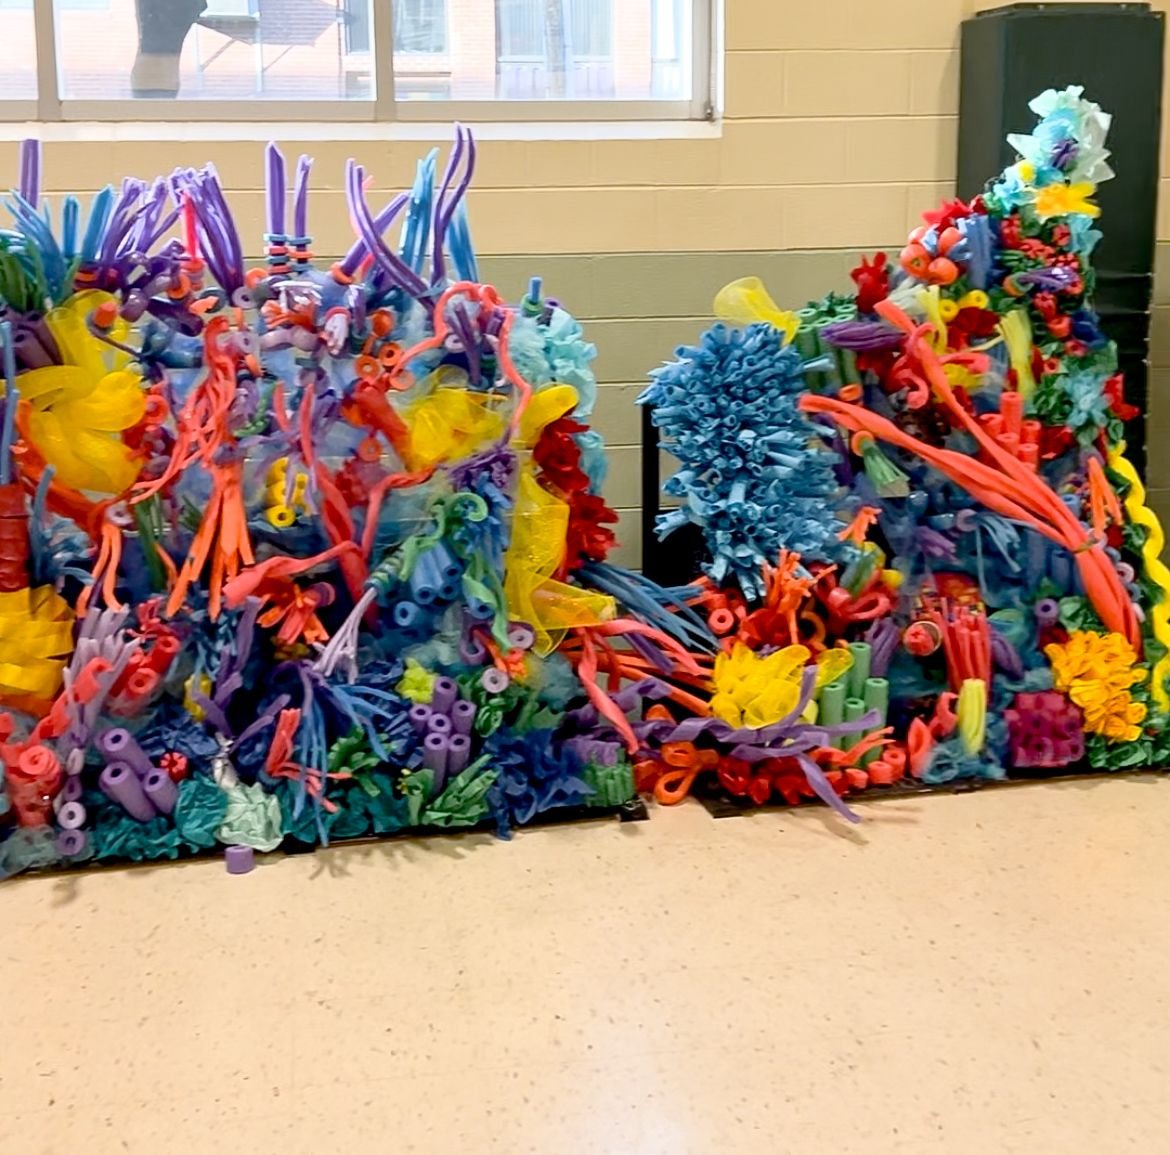
We then cut holes in the chicken wire or hot glue to adhere all of the pieces to the different structures. I mostly did this by myself, but I had a couple of work days where I took stuff in and stage crew helped me design and build stuff. We weaved a lot of tulle and tissue paper in to fill in the gaps. After, we filled all of what we could with the pool noodles and all the other creations that everyone made.

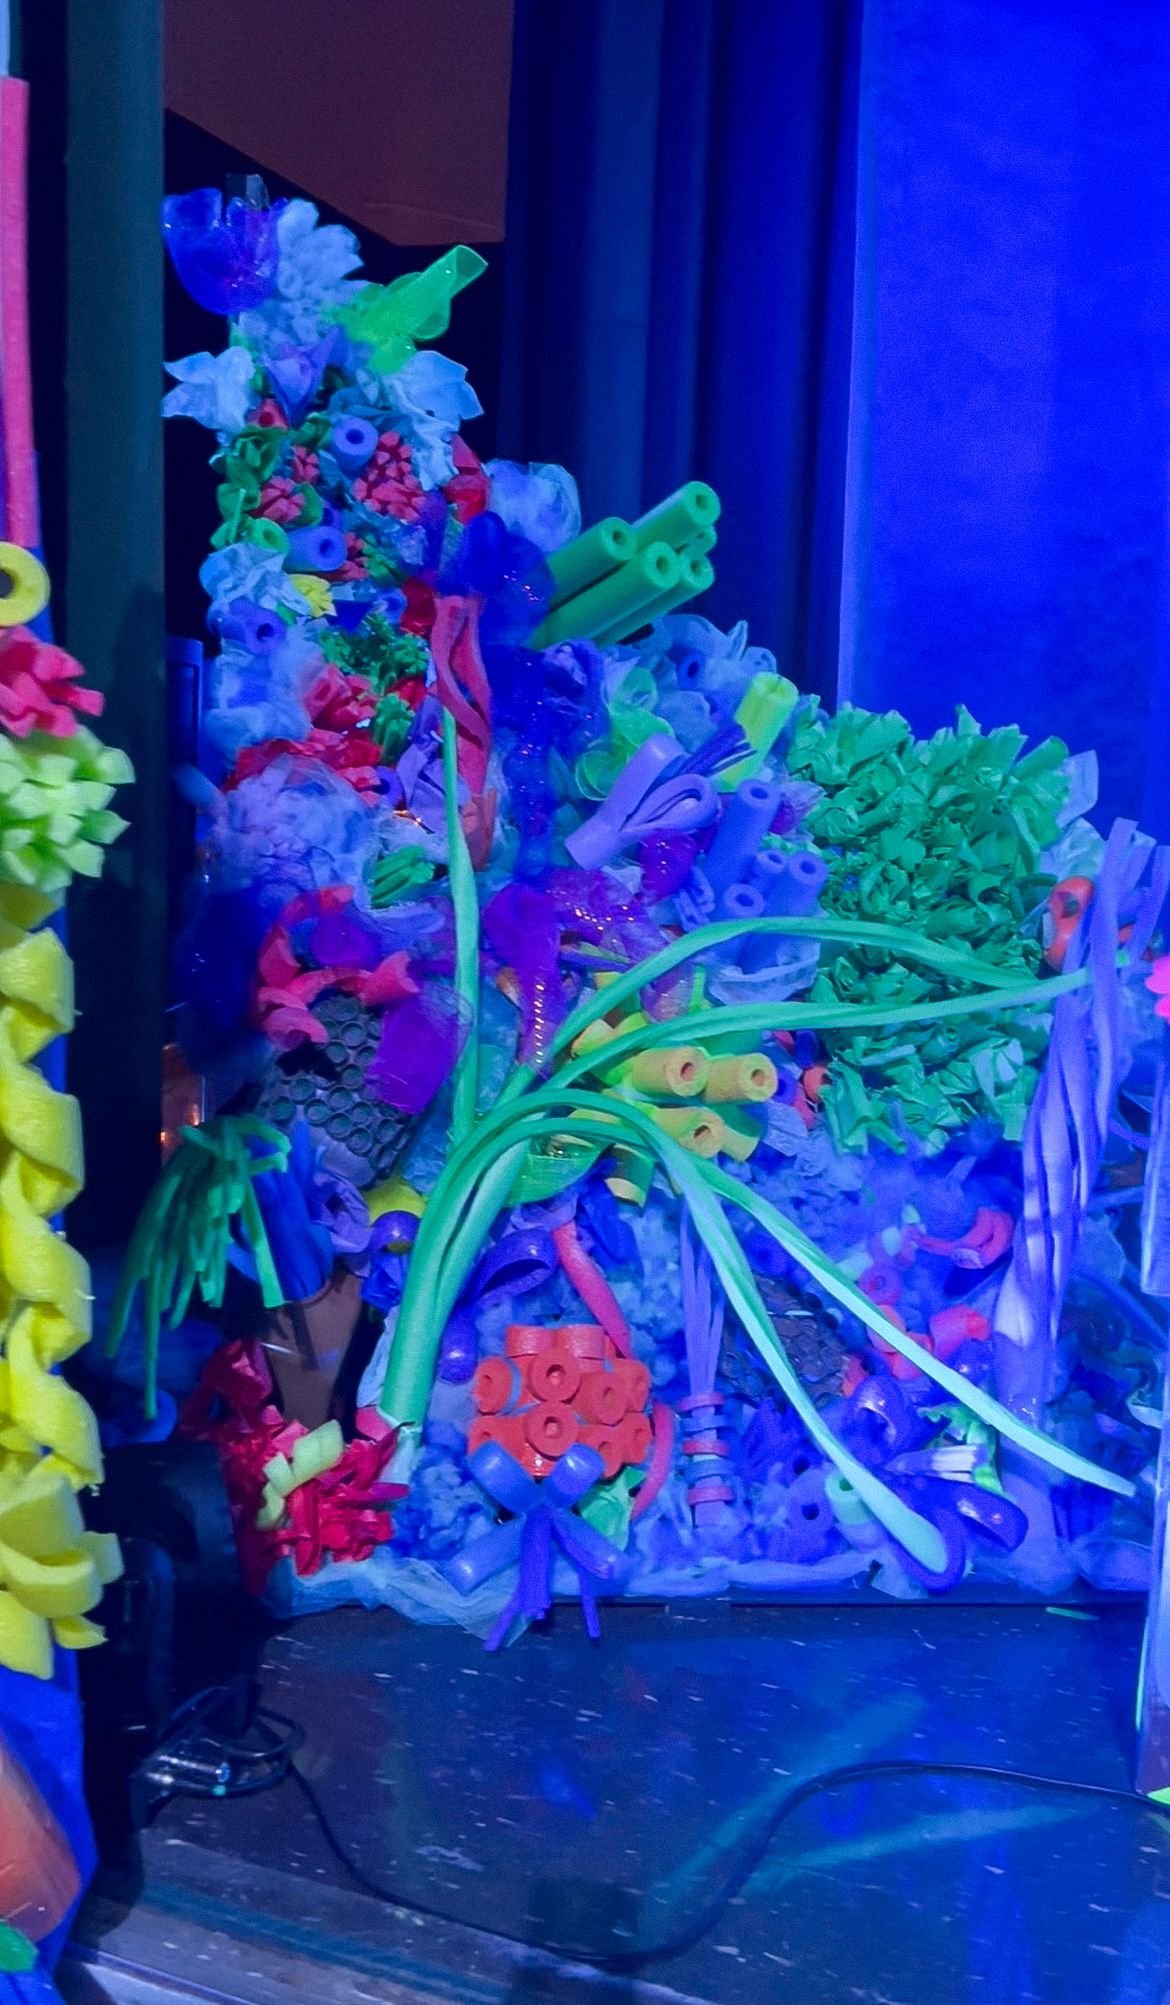
I absolutely love how it all turned out. The stage lighting ended up pairing really well with all of the colors and made everything pop. I really hope the kids love it as much as I do and I can't wait to see how the play turns out, the kids worked so hard!
How to Use Recycled Materials to Create a Coral Reef | Shop
