
How To Use a Brad Nailer
A brad nailer is one of the most useful tools I have in my DIY arsenal. It is a type of nail gun that shoots tiny nails easily into a surface. It's great for more delicate projects like decorative panels, trim, etc. It can be really daunting using a new tool, so let me show you how to use one so you can be more confident for your next DIY project.

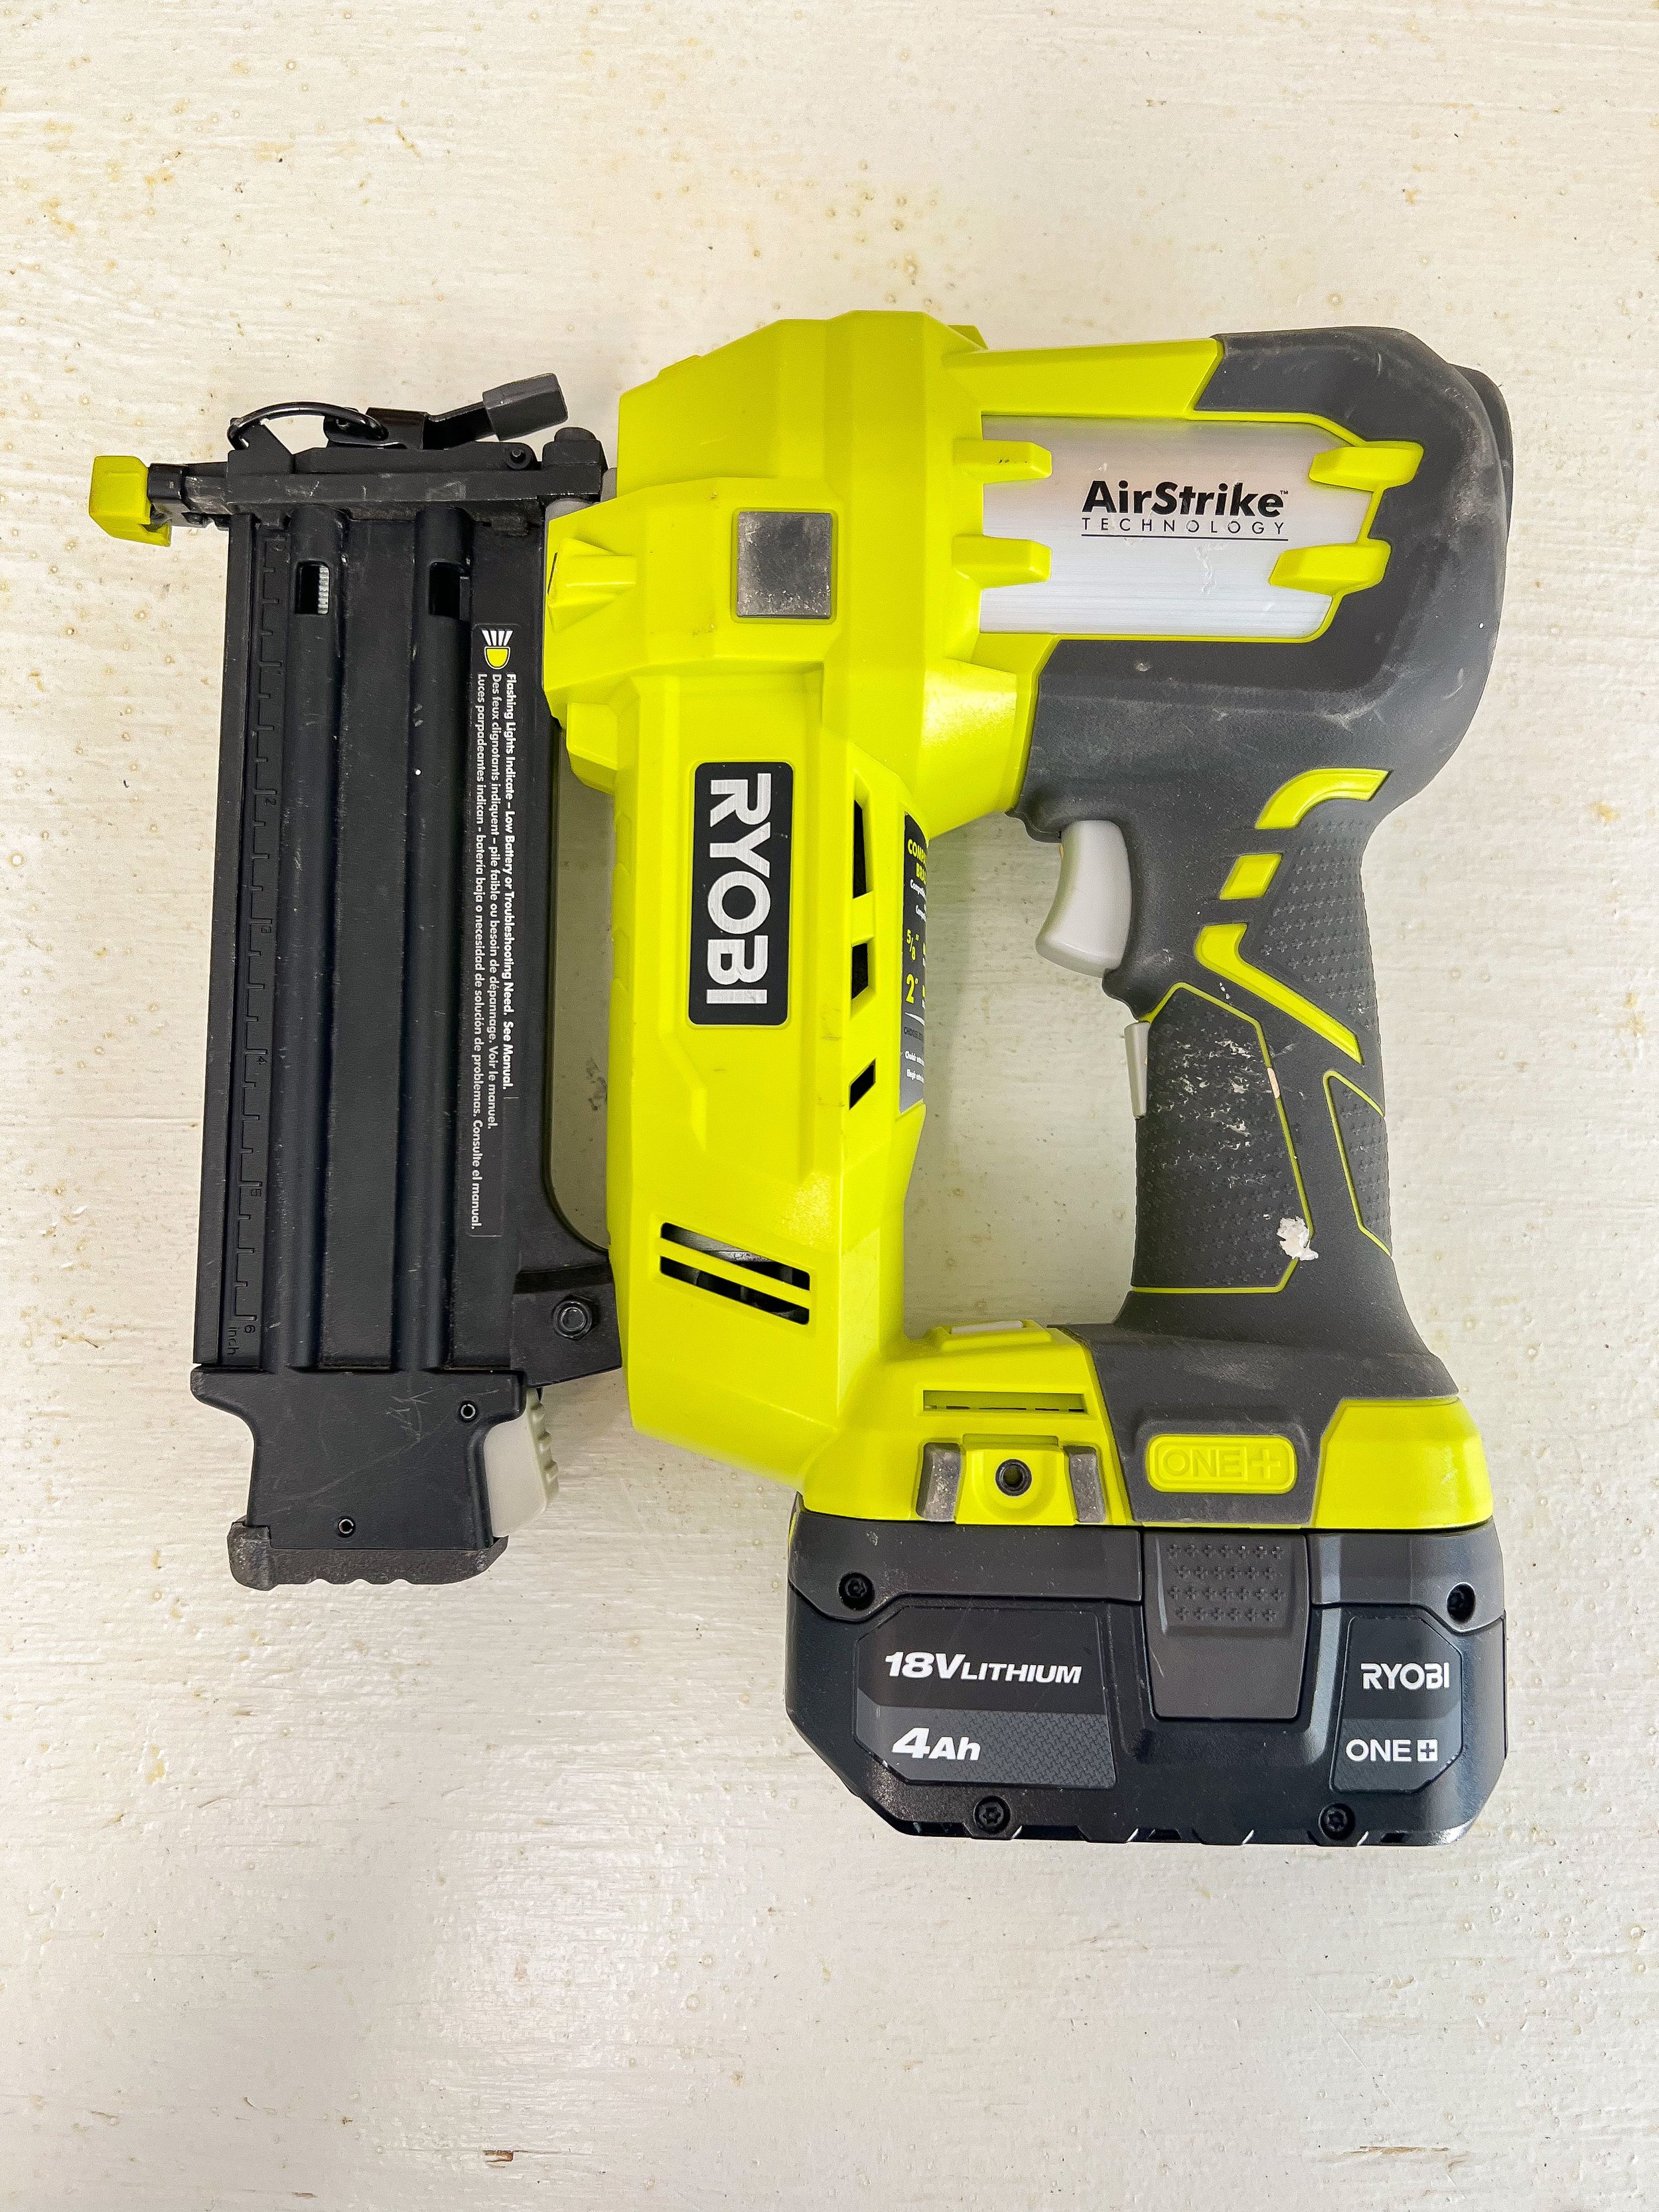
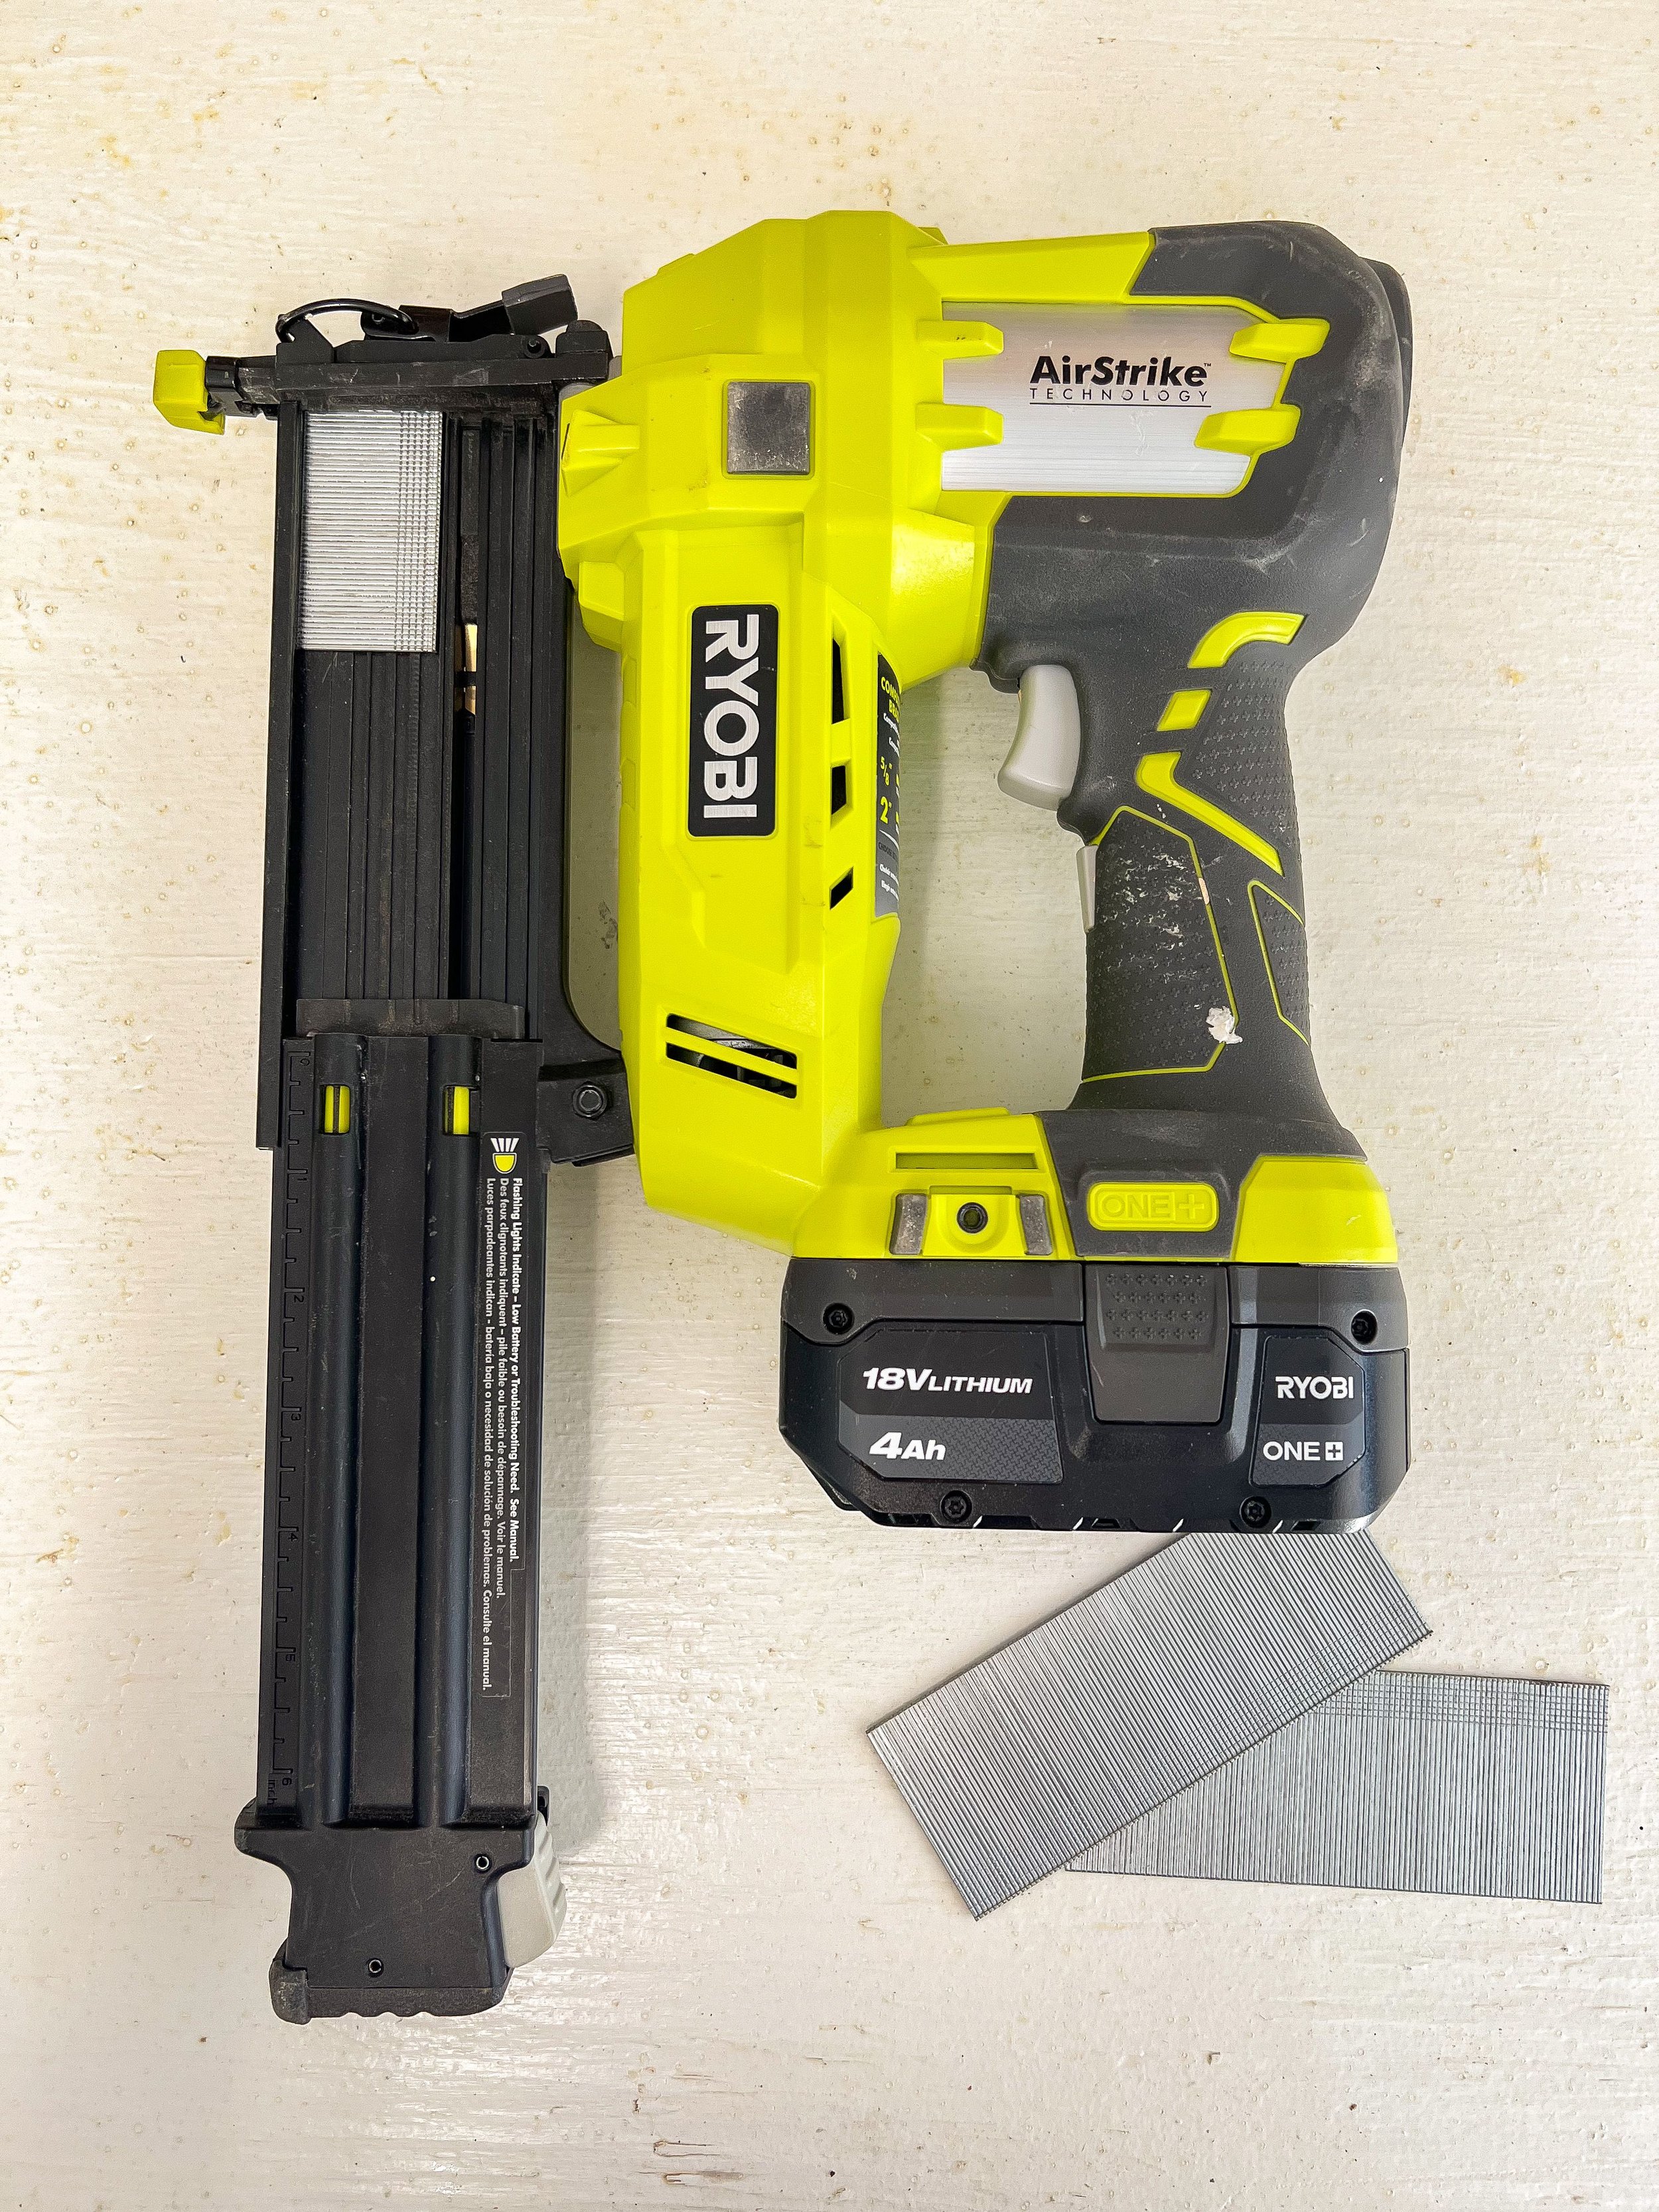
I use the Ryobi 18 Volt One+ Cordless Airstrike 18 Gauge brad nailer. This battery can be used on any of the other Ryobi One Plus cordless tools. As an FYI: it's super important to remove the battery when the brad nailer is not in use as a safety measure. The first thing you need to do when you're ready to use your brad nailer is insert the nails. To do this, press the gray button and pull down. Grab the strip of nails making sure the top of the nail is facing towards the gun and the sharp end faces out. Then, push the cover back over the nails. You may need to press the gray button to lock it back into place.
After inserting the nails, I recommend practicing on a piece of scrap wood. Press the tip of the nail gun firmly against the scrap wood and then hold the trigger. Keep your fingers on the trigger until the nail is fully in the wood. Repeat until your piece is fully secure. It's that easy! This is one of my favorites. I use it for absolutely every project. It's cordless, does not require an air compressor and it's budget friendly. Follow along for more easy tool tutorials.

How To Use a Brad Nailer | Shop