
How to Get the Closet of Your Dreams Without Breaking the Bank

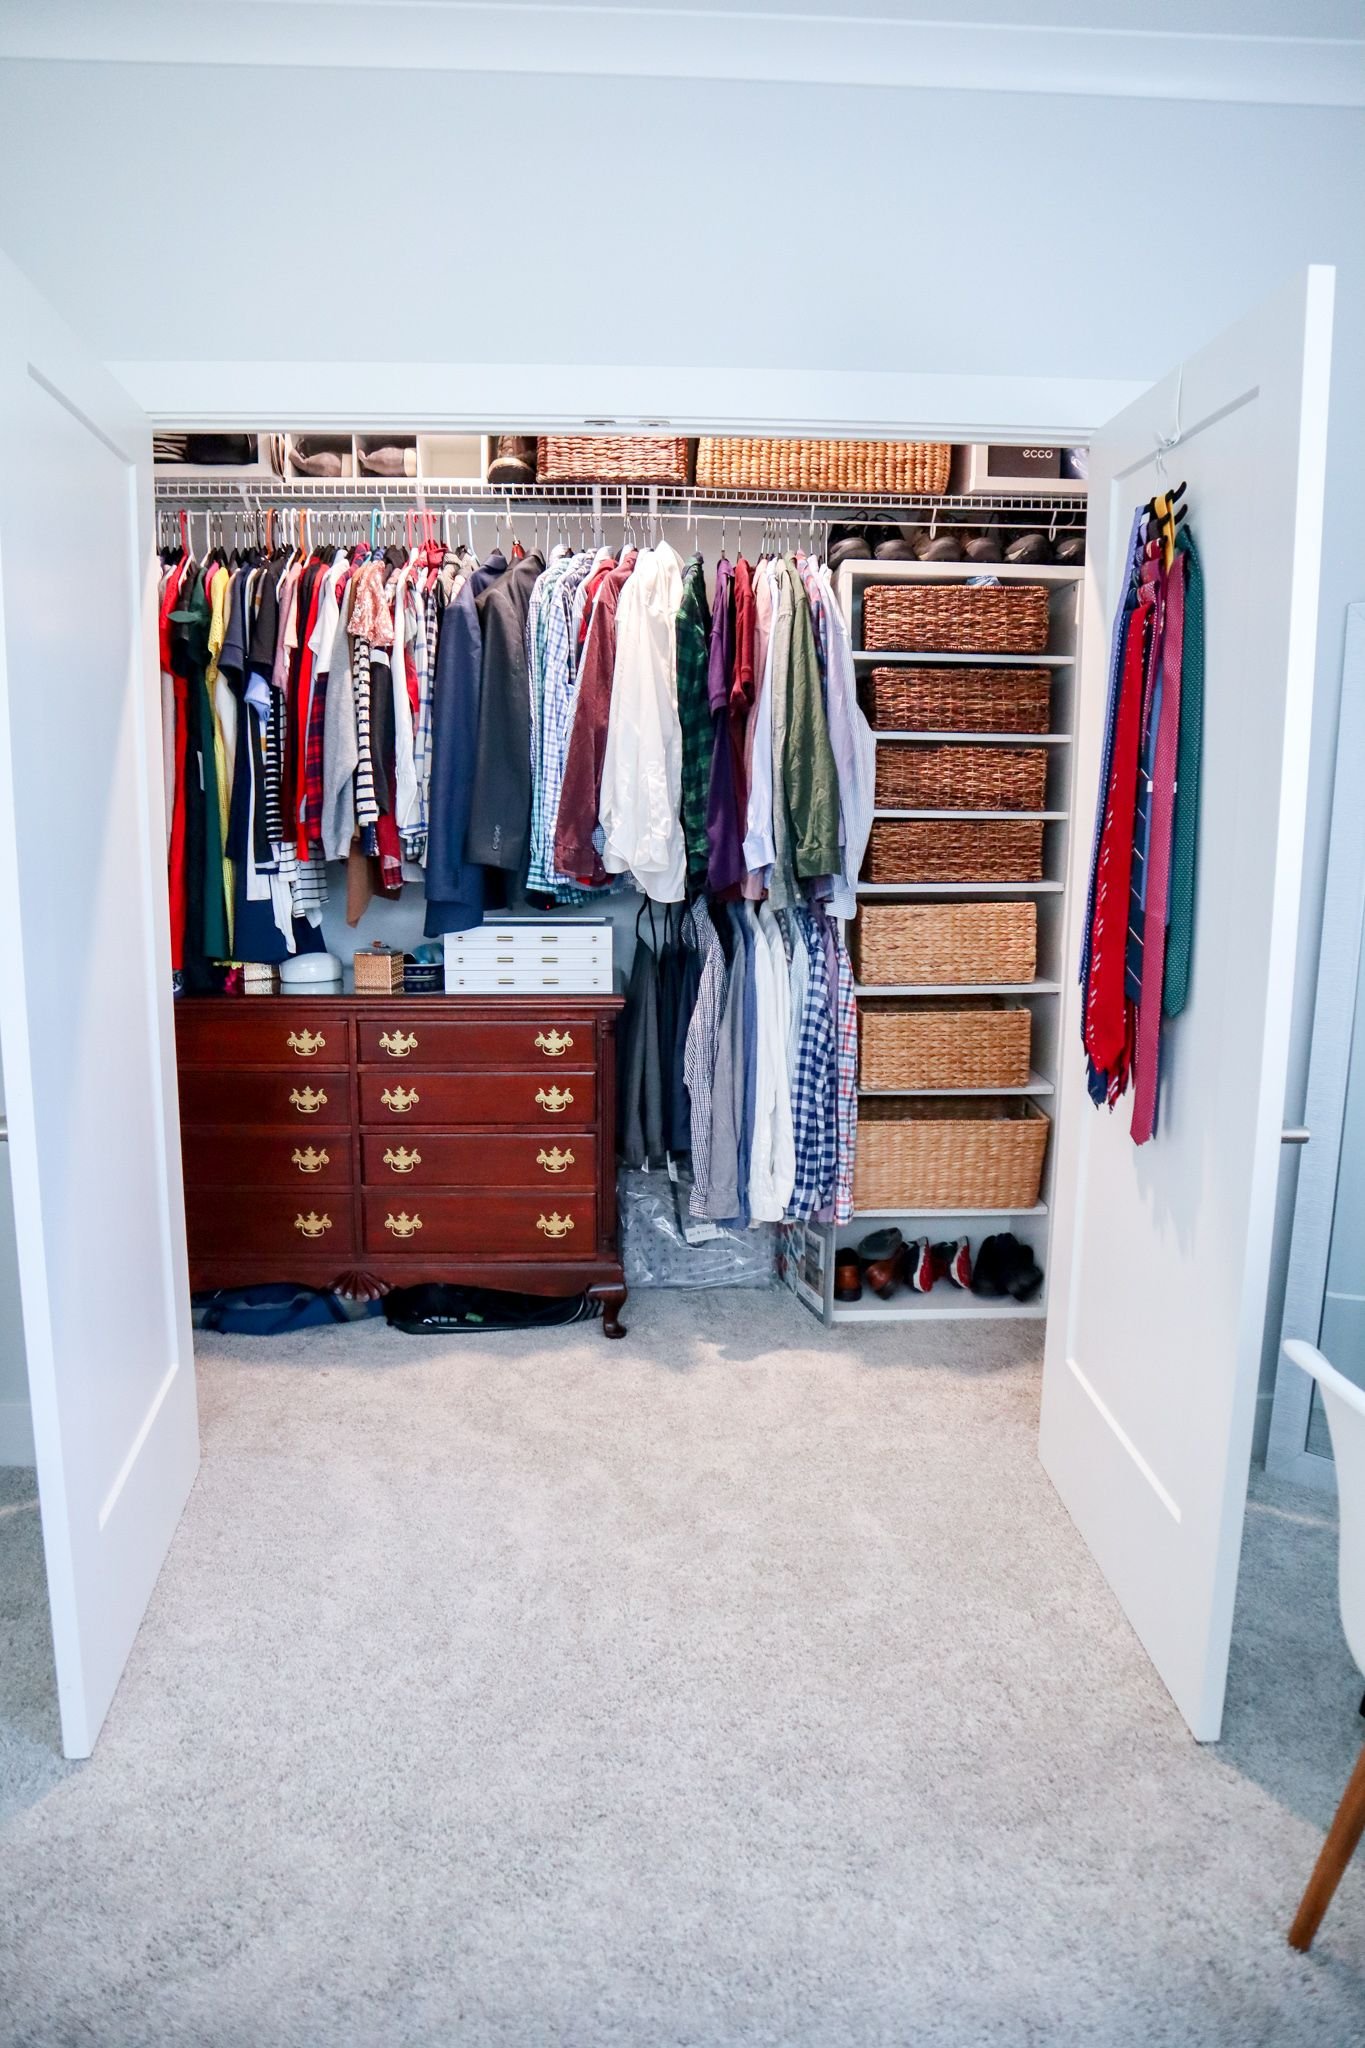
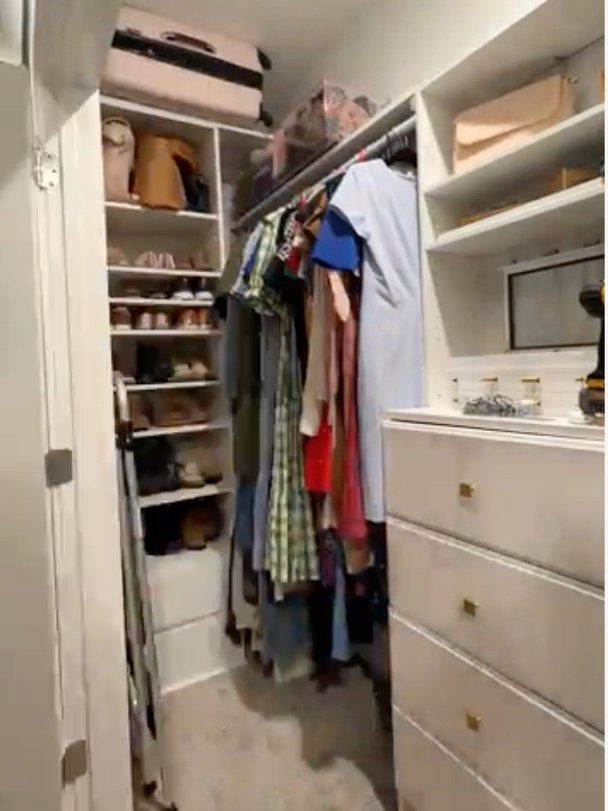
When we moved into our house in 2020, I knew I wanted to redo our primary bedroom closet. It had wire shelving that I hate and wasn't utilizing the space efficiently. I started off with an IKEA design using the PAX system. I measured everything, decided how much hanging space and drawers we needed, and how our clothes would fit in. I had it all planned out. However, our closest IKEA is two hours away and it didn't have everything we needed. It was going be $250 to ship and some of it wouldn't even be able to ship. I decided to use things we had and buy some other things to fit the space and make it on my own.

How to Get the Closet of Your Dreams Without Breaking the Bank | Phase 1
Over time I was able to collect eight drawers from when I redid my dad's closet. I got a few sheets of pre-drilled melamine and I made two sets of drawers, one with four drawers for myself and a set for my husband. I added these sets of drawers to our closet, and then came up with a plan around those drawers for what I was going to do with this space.

I got a few pieces from Walmart, Target, and Amazon and started to create a closet without using IKEA, which was so much more doable for me. I took everything out of our closet including the ridiculous wire shelving (if you're new here, I DESPISE wire shelving) and painted everything so I could start with a clean space and start to install what I had.

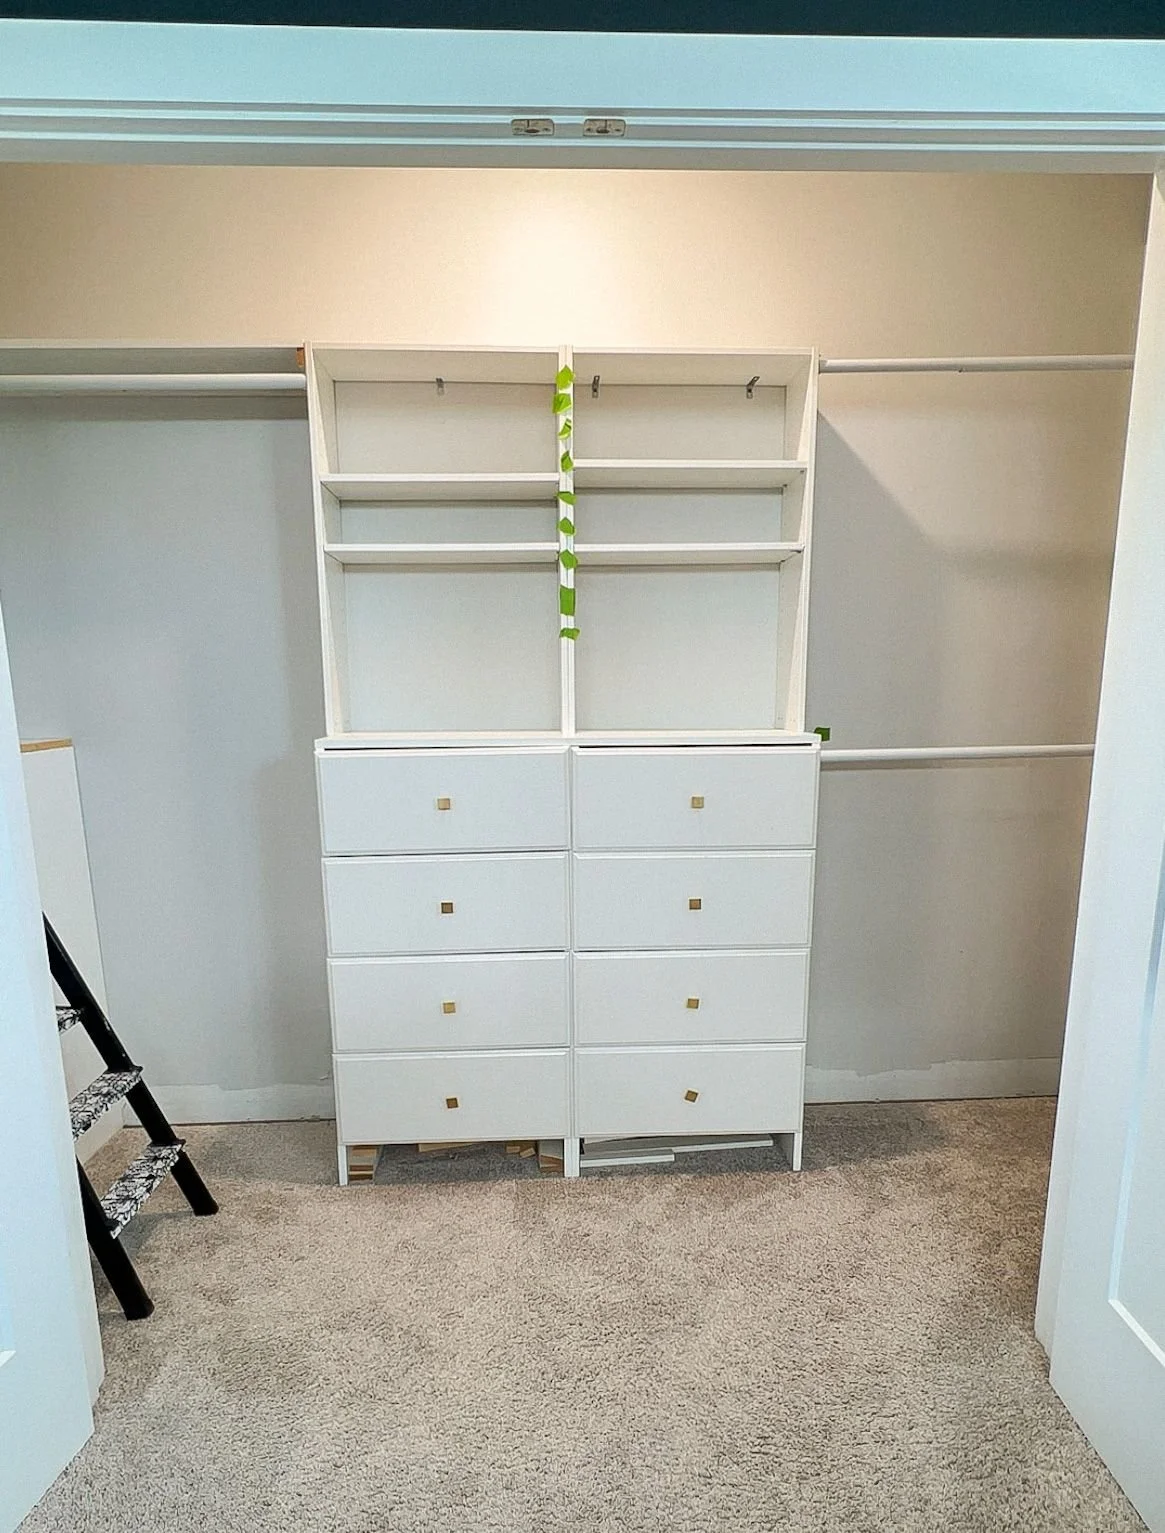
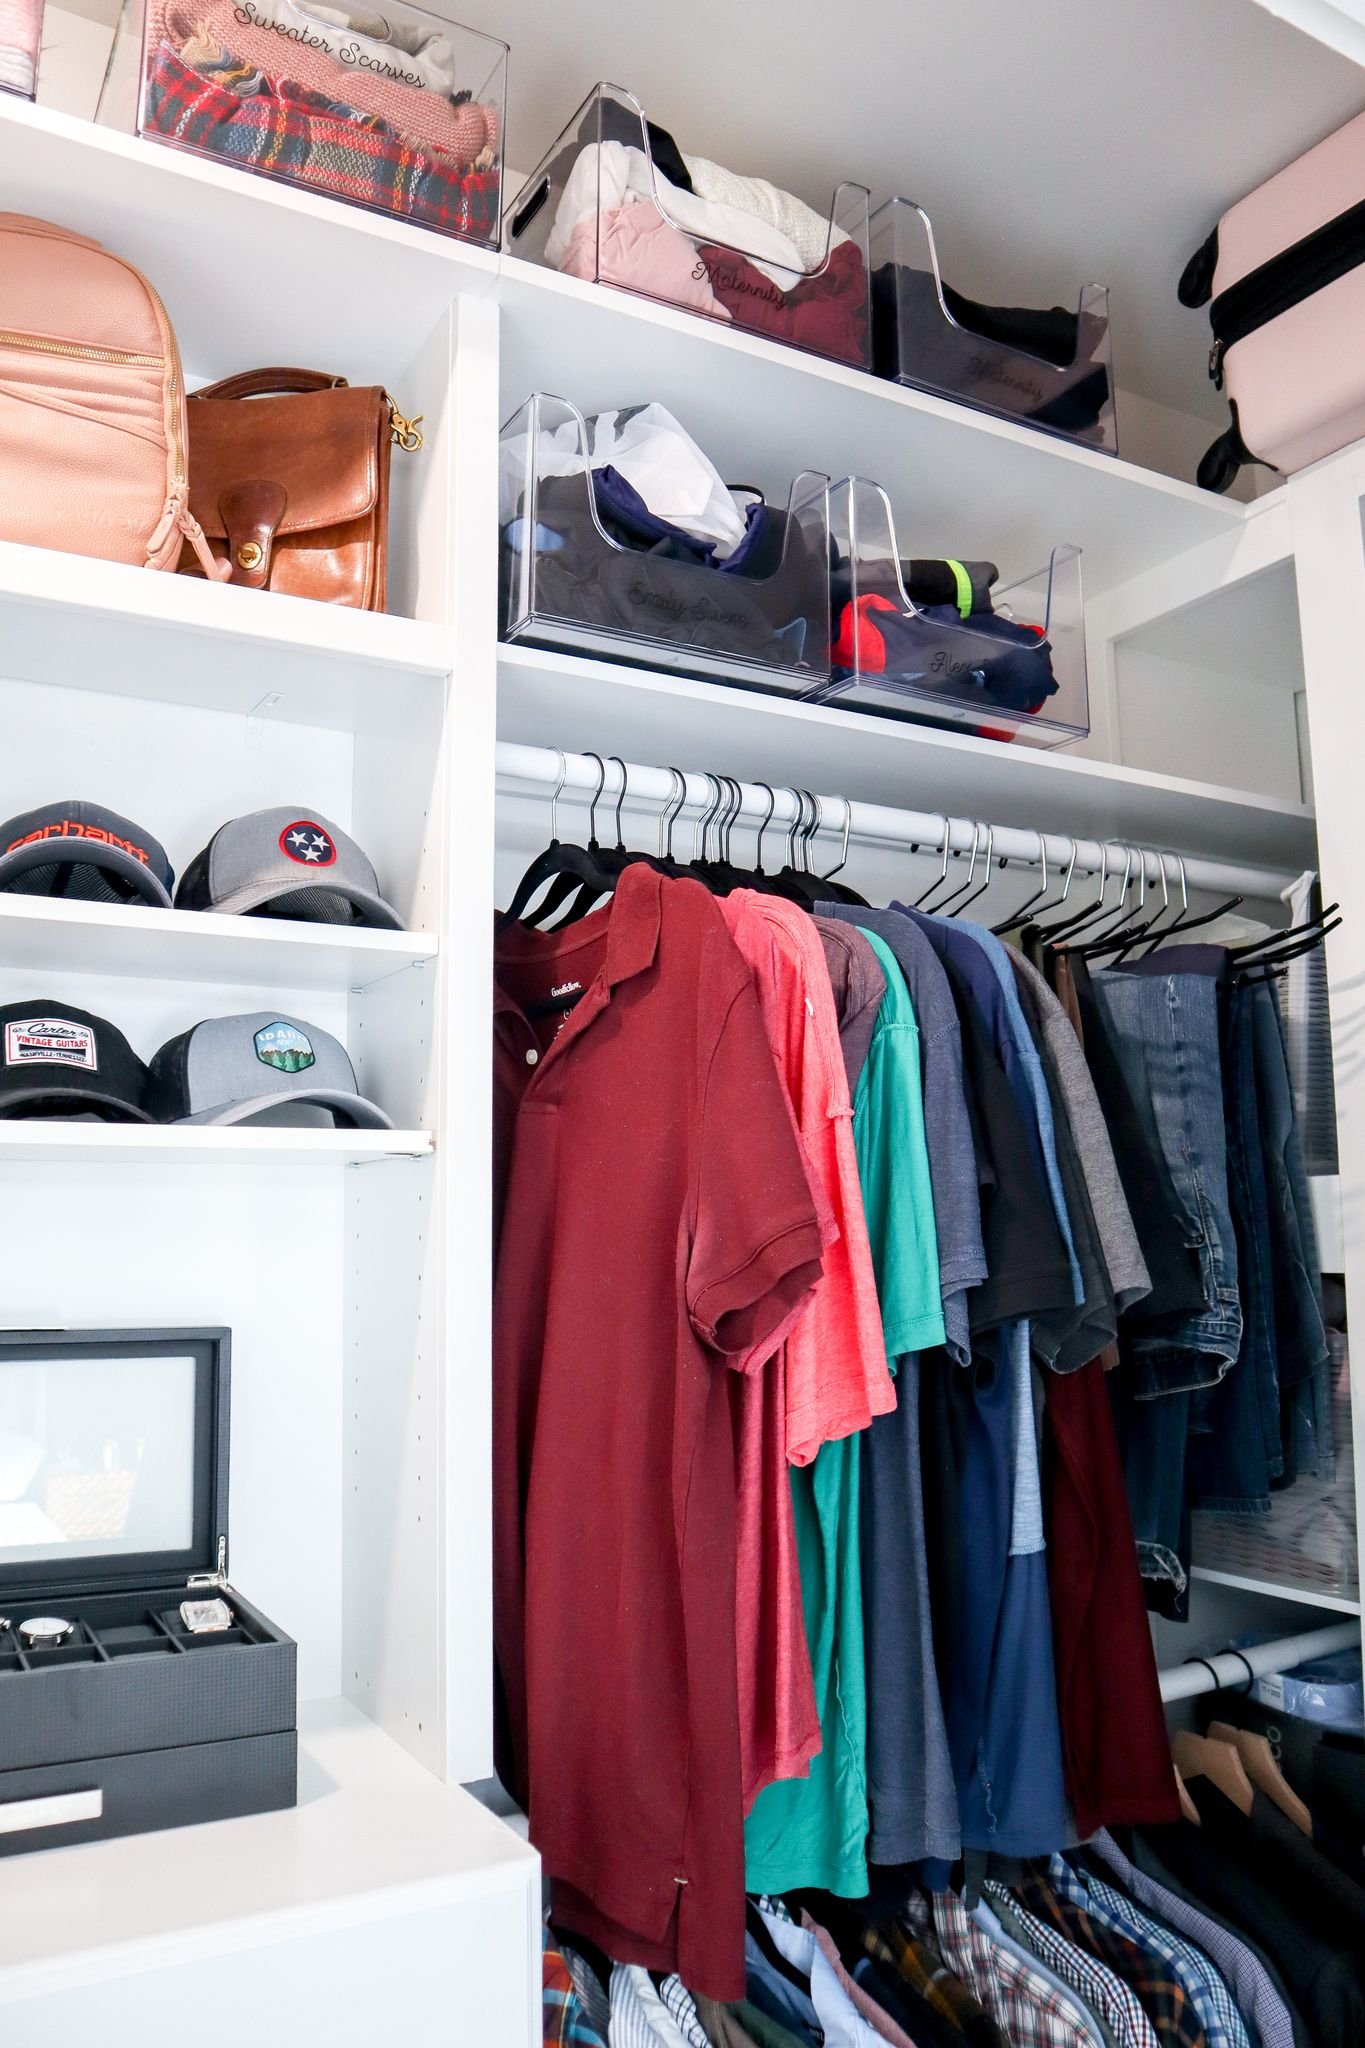
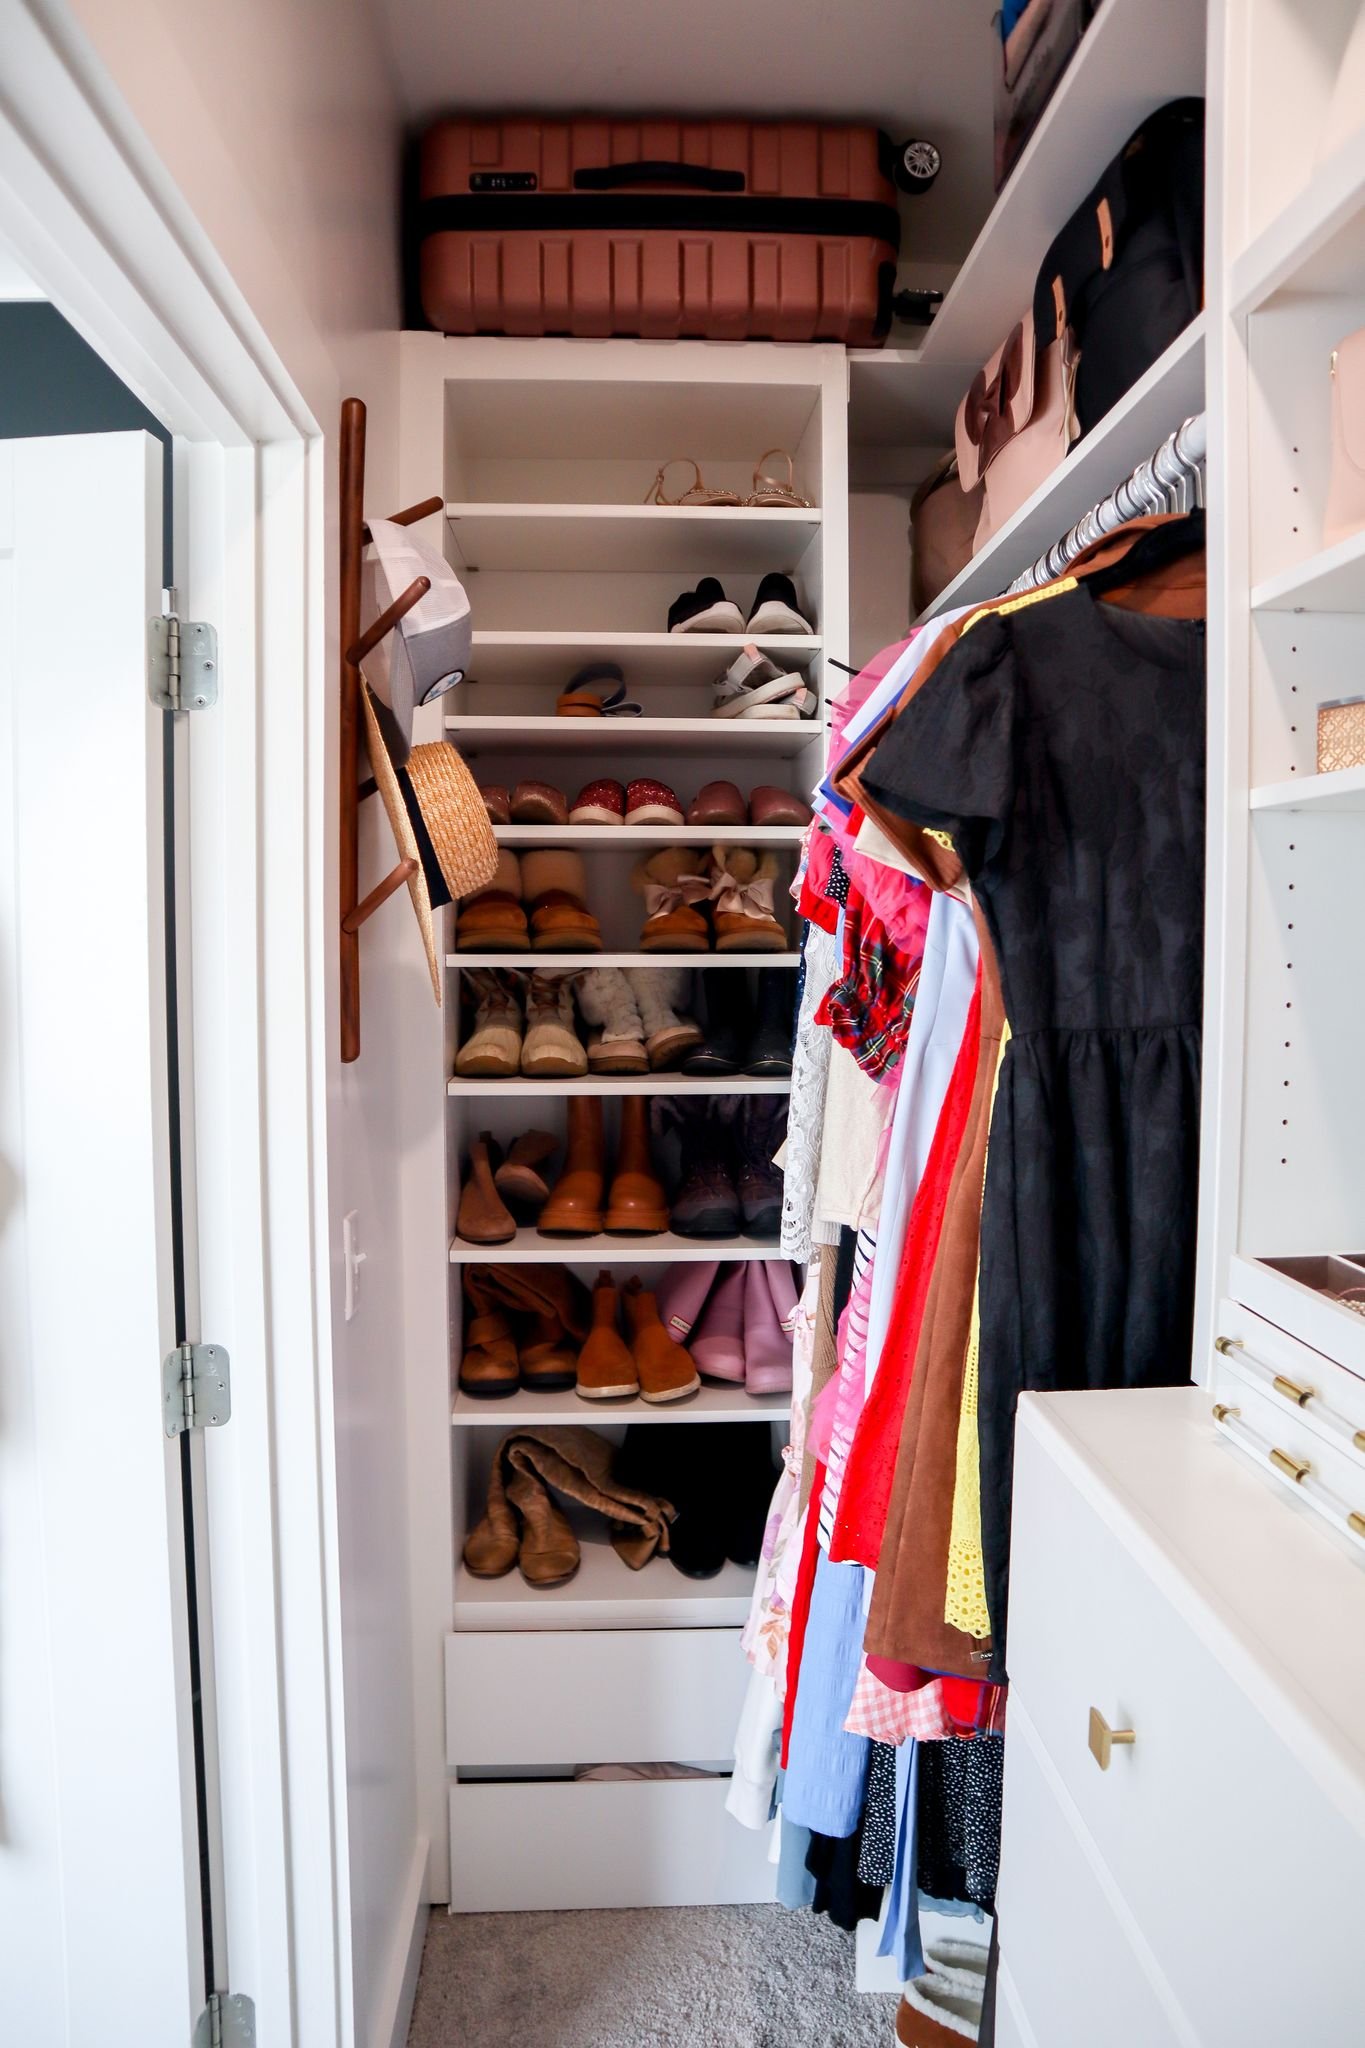
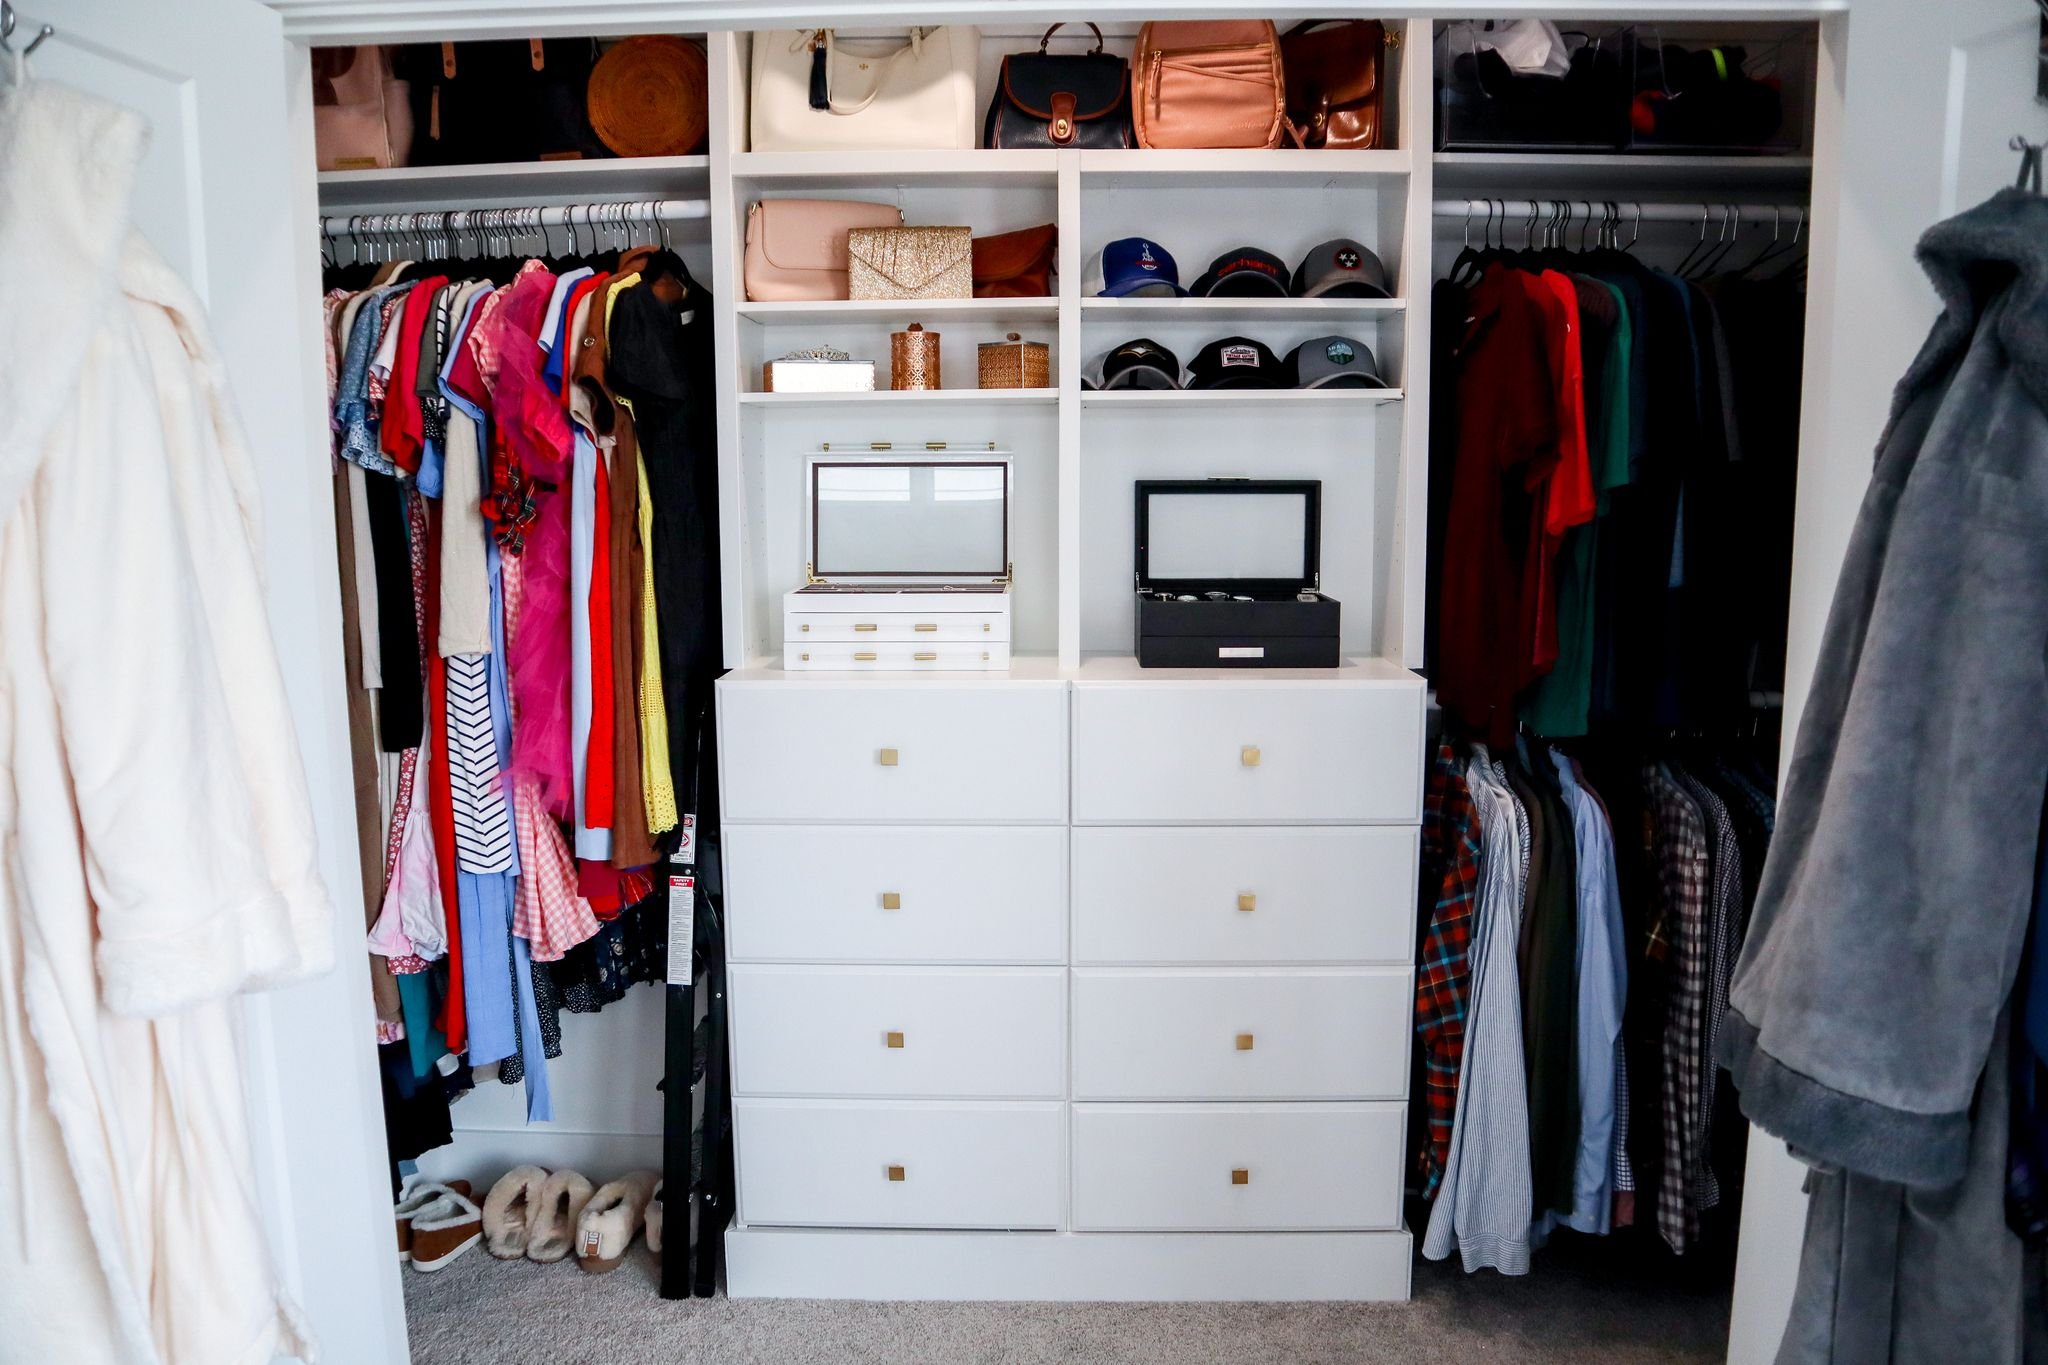
First I installed the sets of drawers I made and topped them with melamine. My plan was then to put shelves and drawers on the sides of these main drawers that I had built. so I put a smaller set of shelves on top of the drawers and I moved things around. So that hanging space would work and the shelves would work. So I did a small hanging section to the left where my stuff was going to be, and then a longer hanging section up top. And then on the right where my husband's stuff is, I used these cubbies, these square storage things that we already had, stacked them to create more storage space, added the drawers back in, put everything back in.
How to Get the Closet of Your Dreams Without Breaking the Bank | Phase 2
My husband works from home and his office is our bedroom so I only had the two days that he was on a work trip to get things done. So I wasn't able to completely finish it and by the time I was ready to get back into it, I was pregnant and prioritizing other projects. So I came back to it almost a year later to get it all finished.
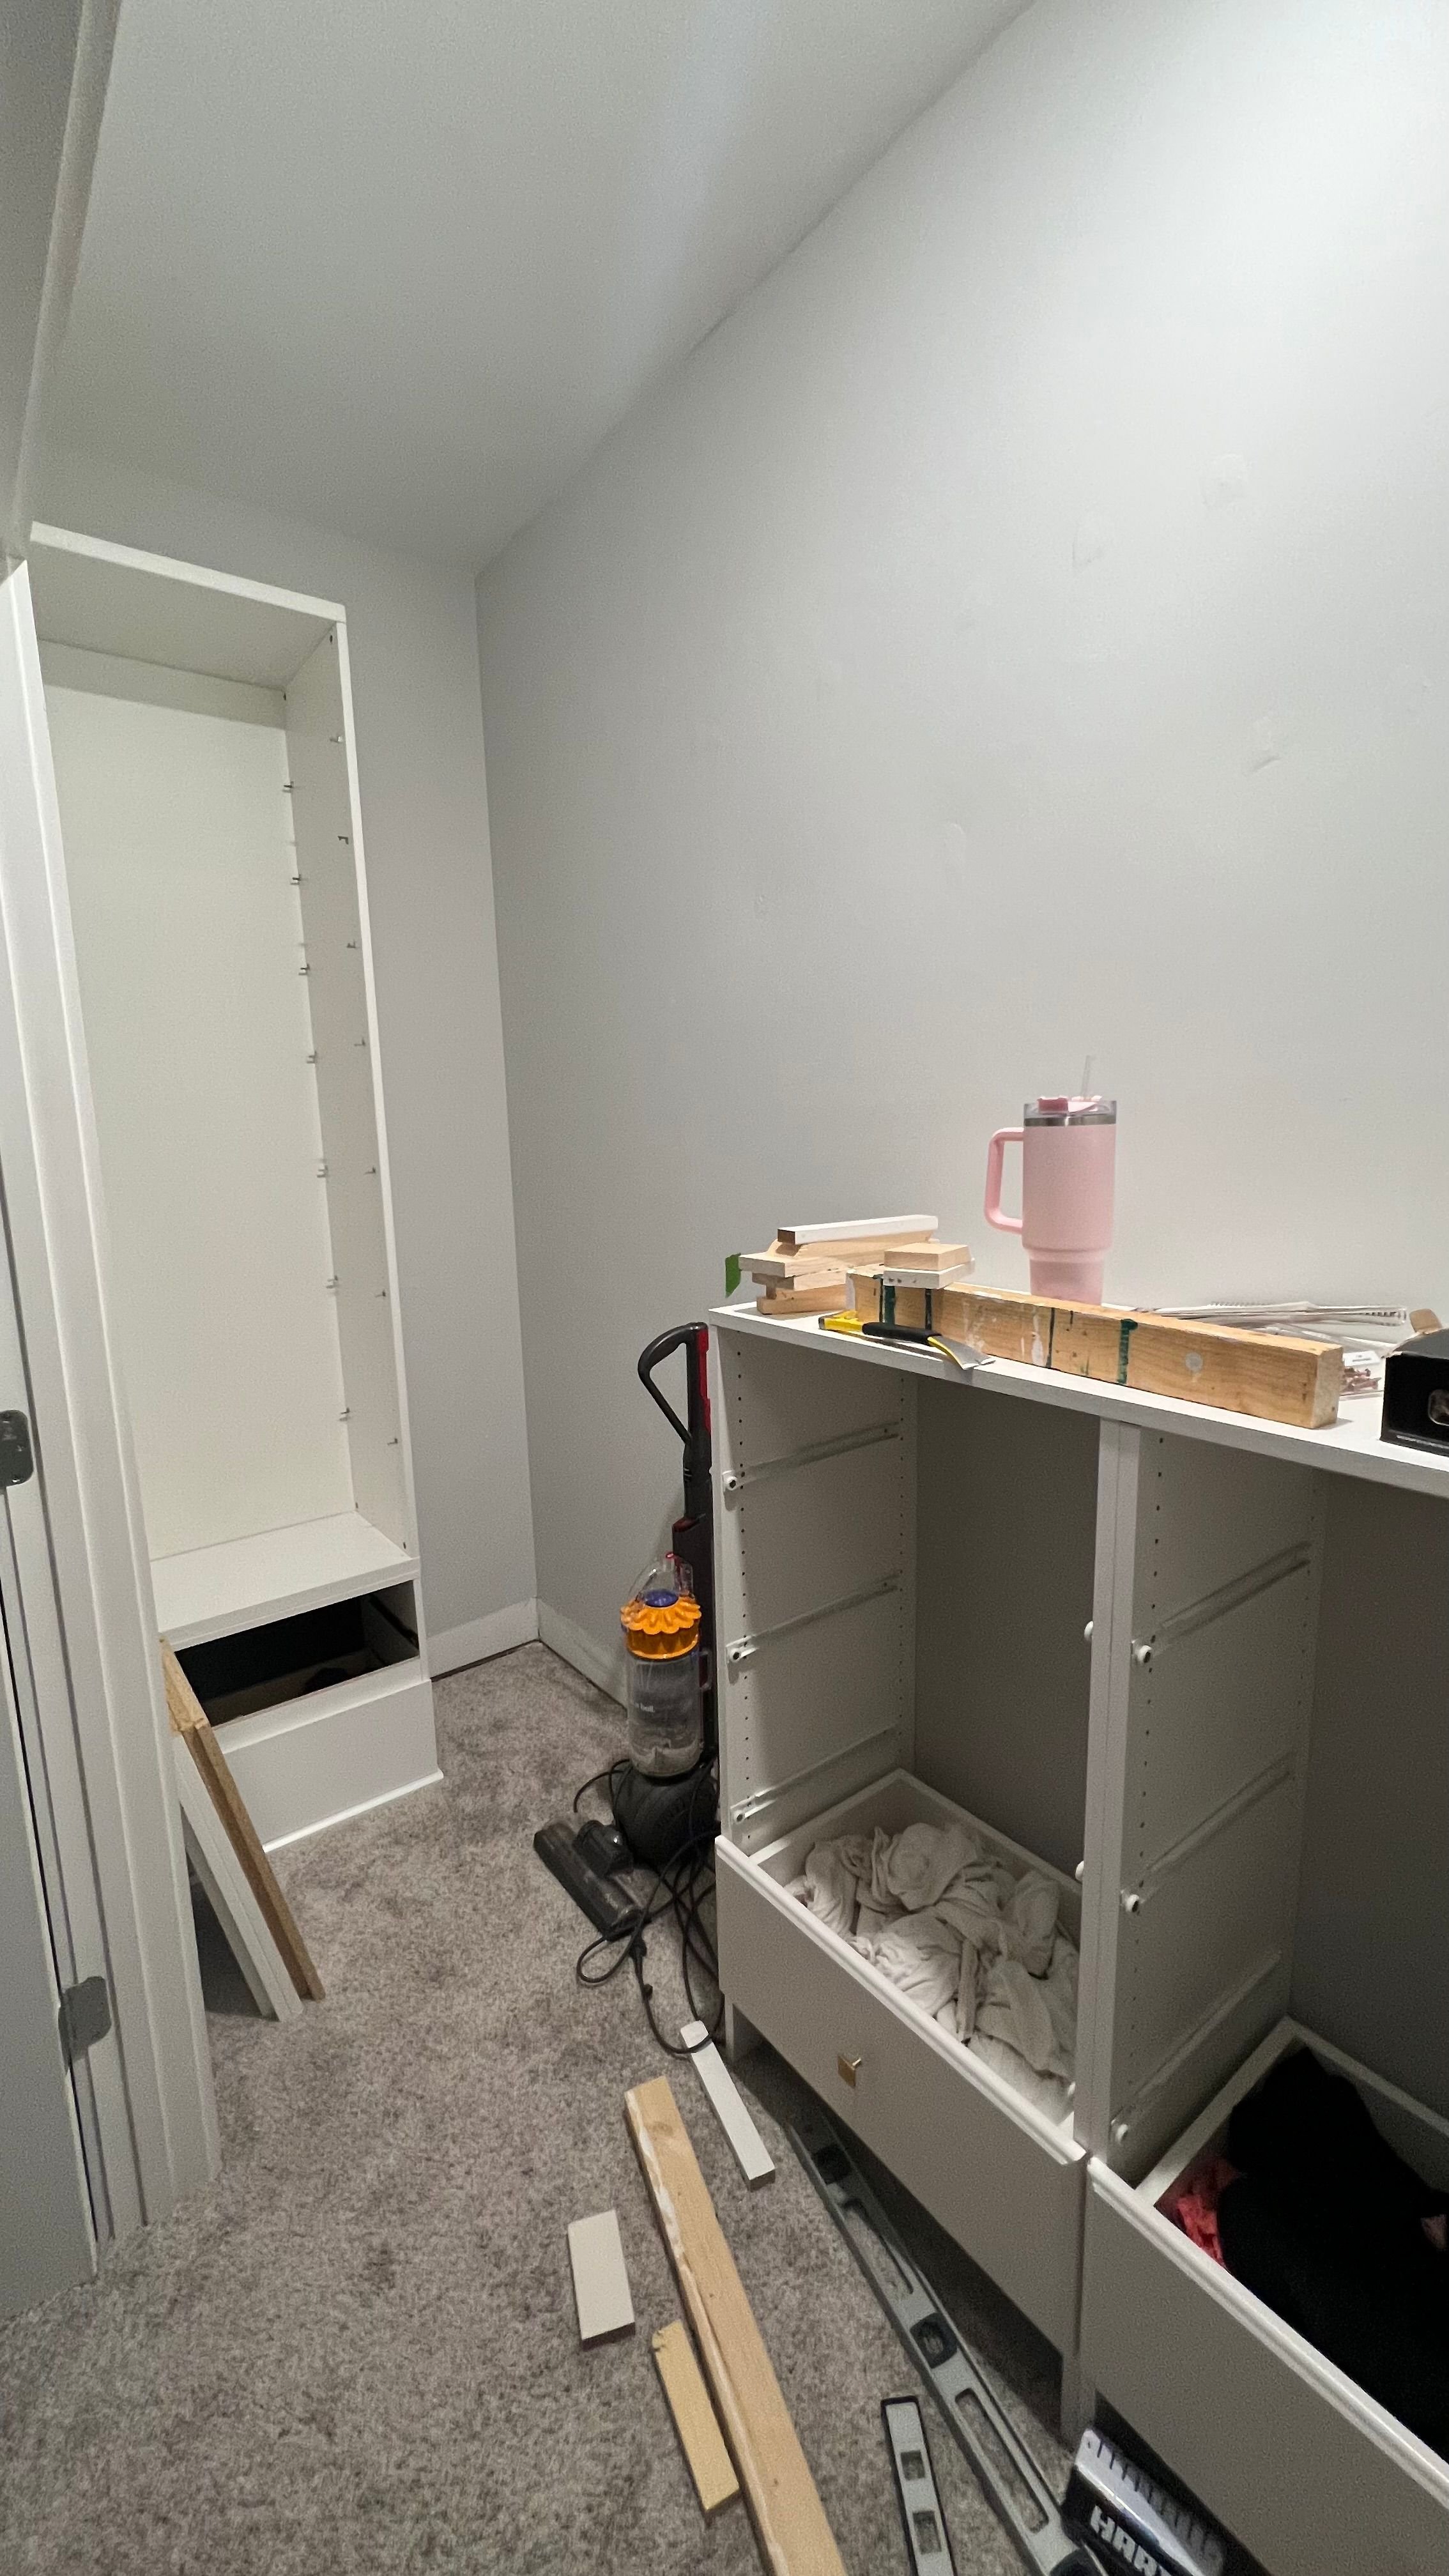
I, once again, took everything out and started fixing the drawers. They were crooked and it was driving me nuts. It took a little more time than I was expecting, but I got them fixed. I removed all of the trim that I had initially put in here because I didn't like it, and I found something that I liked better. I extended the top shelf all the way across to the wall, added more trim, and then added a second shelf on top, because I wanted to utilize all of the space from floor to ceiling. I then added a few more pieces of trim to make it all look built in. However, I didn't add trim to the shelves anywhere in this closet because I wanted to keep the shelving as customizable as possible so we can change them based on what our needs are.
I caulked, wood-filled, sanded, cleaned everything off, and primed the closet. I decided to paint everything Pure White by Sherwin Williams. It's the same white as the trim color throughout the rest of our house so it really made everything blend together nicely. I installed two hanging rods on my husband's side, two on my side and then two spaces for shorter hanging. Lastly, I organized all of our stuff to fit the new closet. Not only did all of our stuff fit, but I actually think there's more room. It's just a better utilized space and everything has a place.
How to Get the Closet of Your Dreams Without Breaking the Bank | Cost Breakdown

Let's break down the cost of building this closet. Like I mentioned before, originally I planned on this being an Ikea PAX closet. I had planned everything out on Ikea's website in their PAX tool. The cost and accessibility of Ikea, however, made it not worth it. So I searched for alternate items on Walmart, Target and Amazon and used some items that I already owned. I was able to recycle the large bookshelves that we've had for six years, I believe, the two sets of four drawers and three sets of 13 inch cube storage shelves. I also have items like wood filler, paint, screws, etc. I was able to purchase two smaller sets of double drawers and a smaller sets of shelves that have three shelves on them each. Everything else that I used, I got from Home Depot.
So for the actual cost breakdown, anything that I would've used to make it look built in (trim, caulk, etc.) I included that in the cost breakdown because I used all of those items when I built the closet without the IKEA system. The total cost, including sales tax in Tennessee, would've been $2,732.07. That price includes the shipping costs from Ikea. Now, if I had had to buy every single thing that I used for the closet including all the items that I mentioned before that I already owned, the total cost would've been $1,260.21.
Now, doing it with items I already owned my actual cost, with sales tax, was $662.88. I was able to save $2,609.19. If someone else were to do it and have to buy all of the items, they still would've saved $1,471.86. I absolutely LOVE how this closet turned out and love it even more realizing how much money I saved. You can shop everything I used to create this custom closet in the links. I hope you can save a bunch of money by thinking out of the box if you create your own closet too. Good luck!
How to Get the Closet of Your Dreams Without Breaking the Bank | Shop