
How to Fix Antique Furniture
We have a set that was my grandmother's from childhood, so it is over a hundred years old. It is the small vanity, a tall dresser, and then what used to be a set of twin beds that my parents had combined into a queen bed. The head board is two headboards combined into one. There is a distinct seam where the two bed frames were combined. The issue we have is that on the footboard of the bed frame there is a rippled detail piece at very bottom. This piece is starting to come off, the glue has worn away and some of the dowels are breaking. It's a very sentimental piece I know my parents don't want to have to get rid of. I decided to take a look at it and see if there was something I could do to fix it.

How to Fix Antique Furniture | You Can Do It Too!

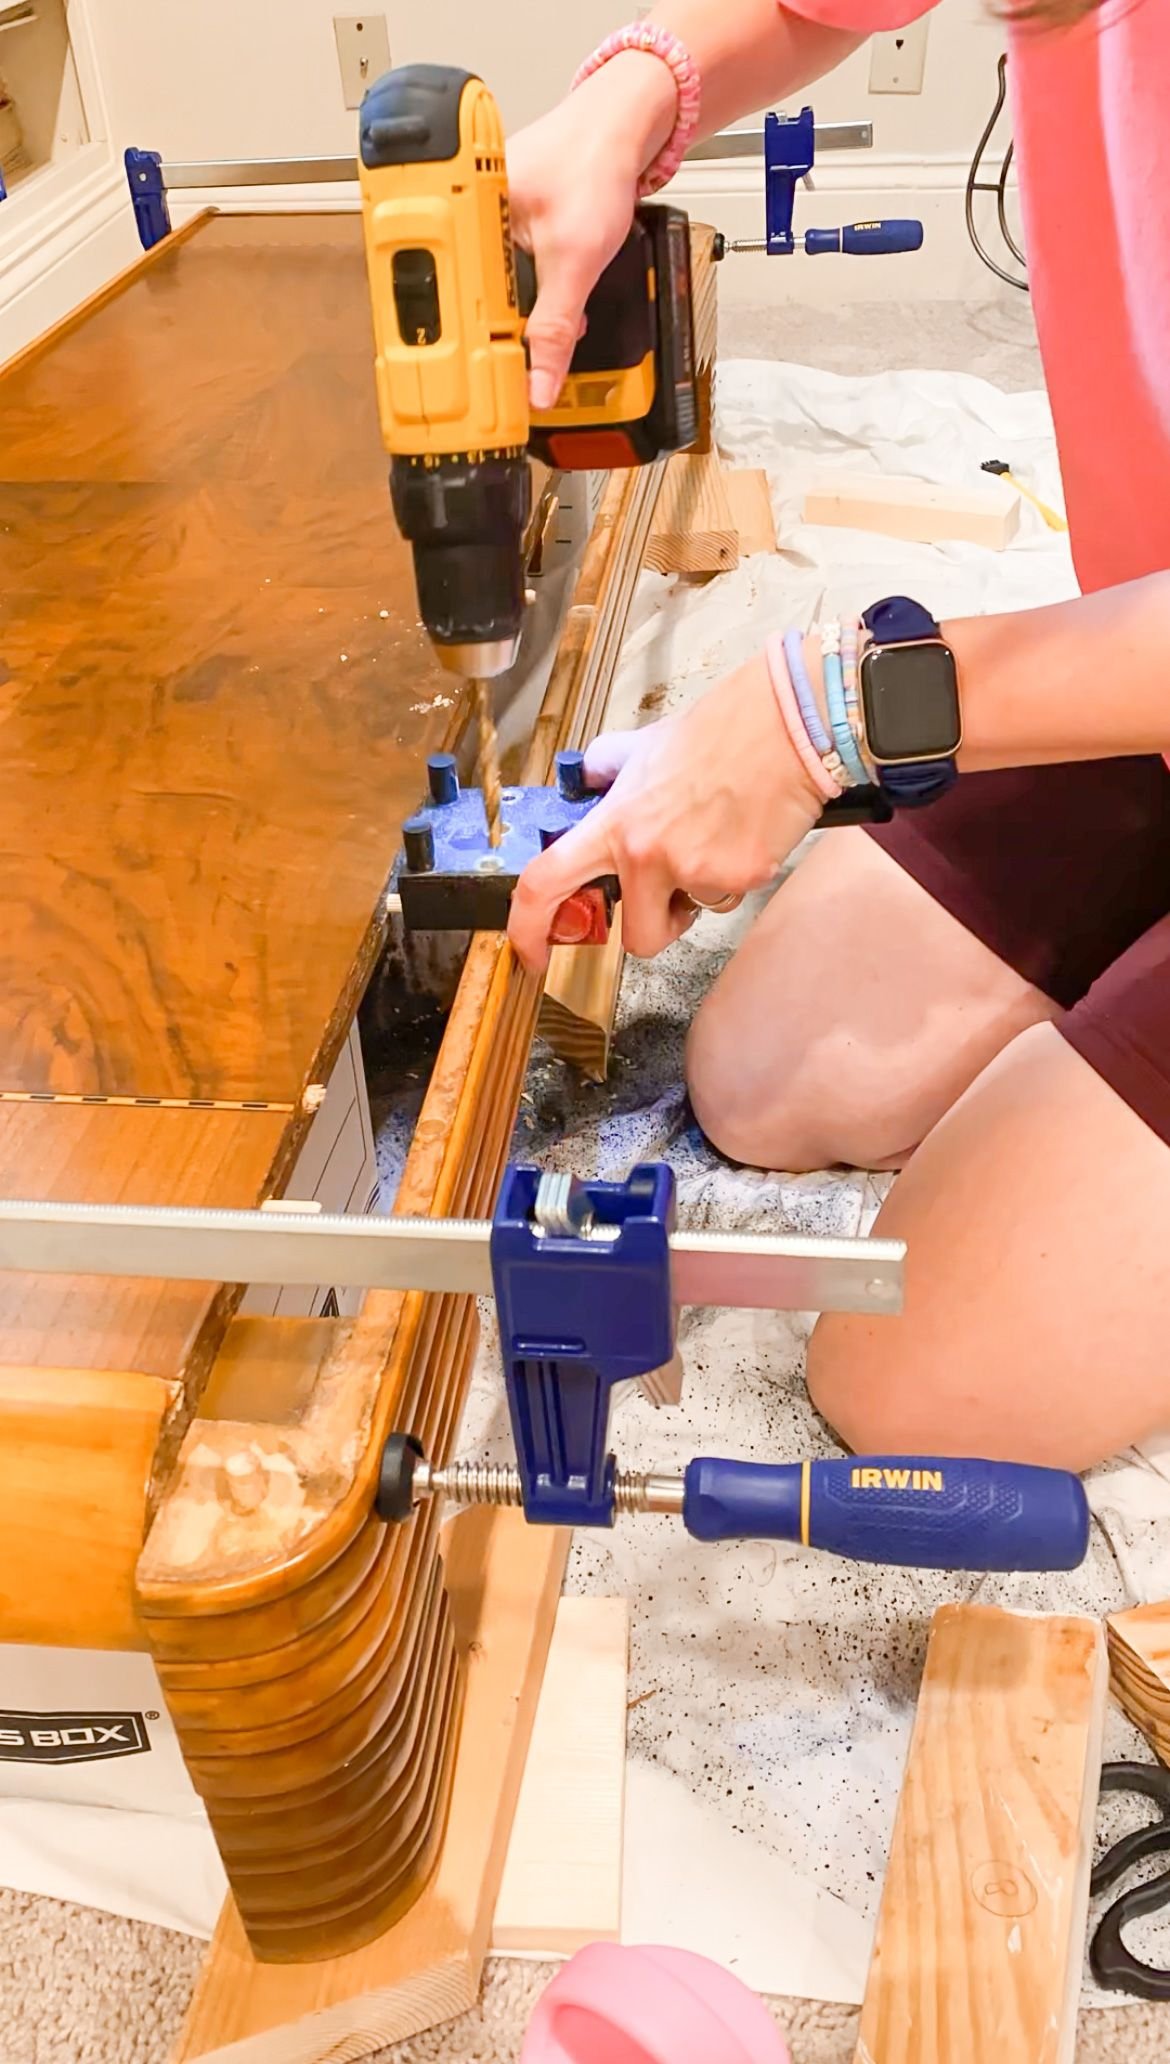
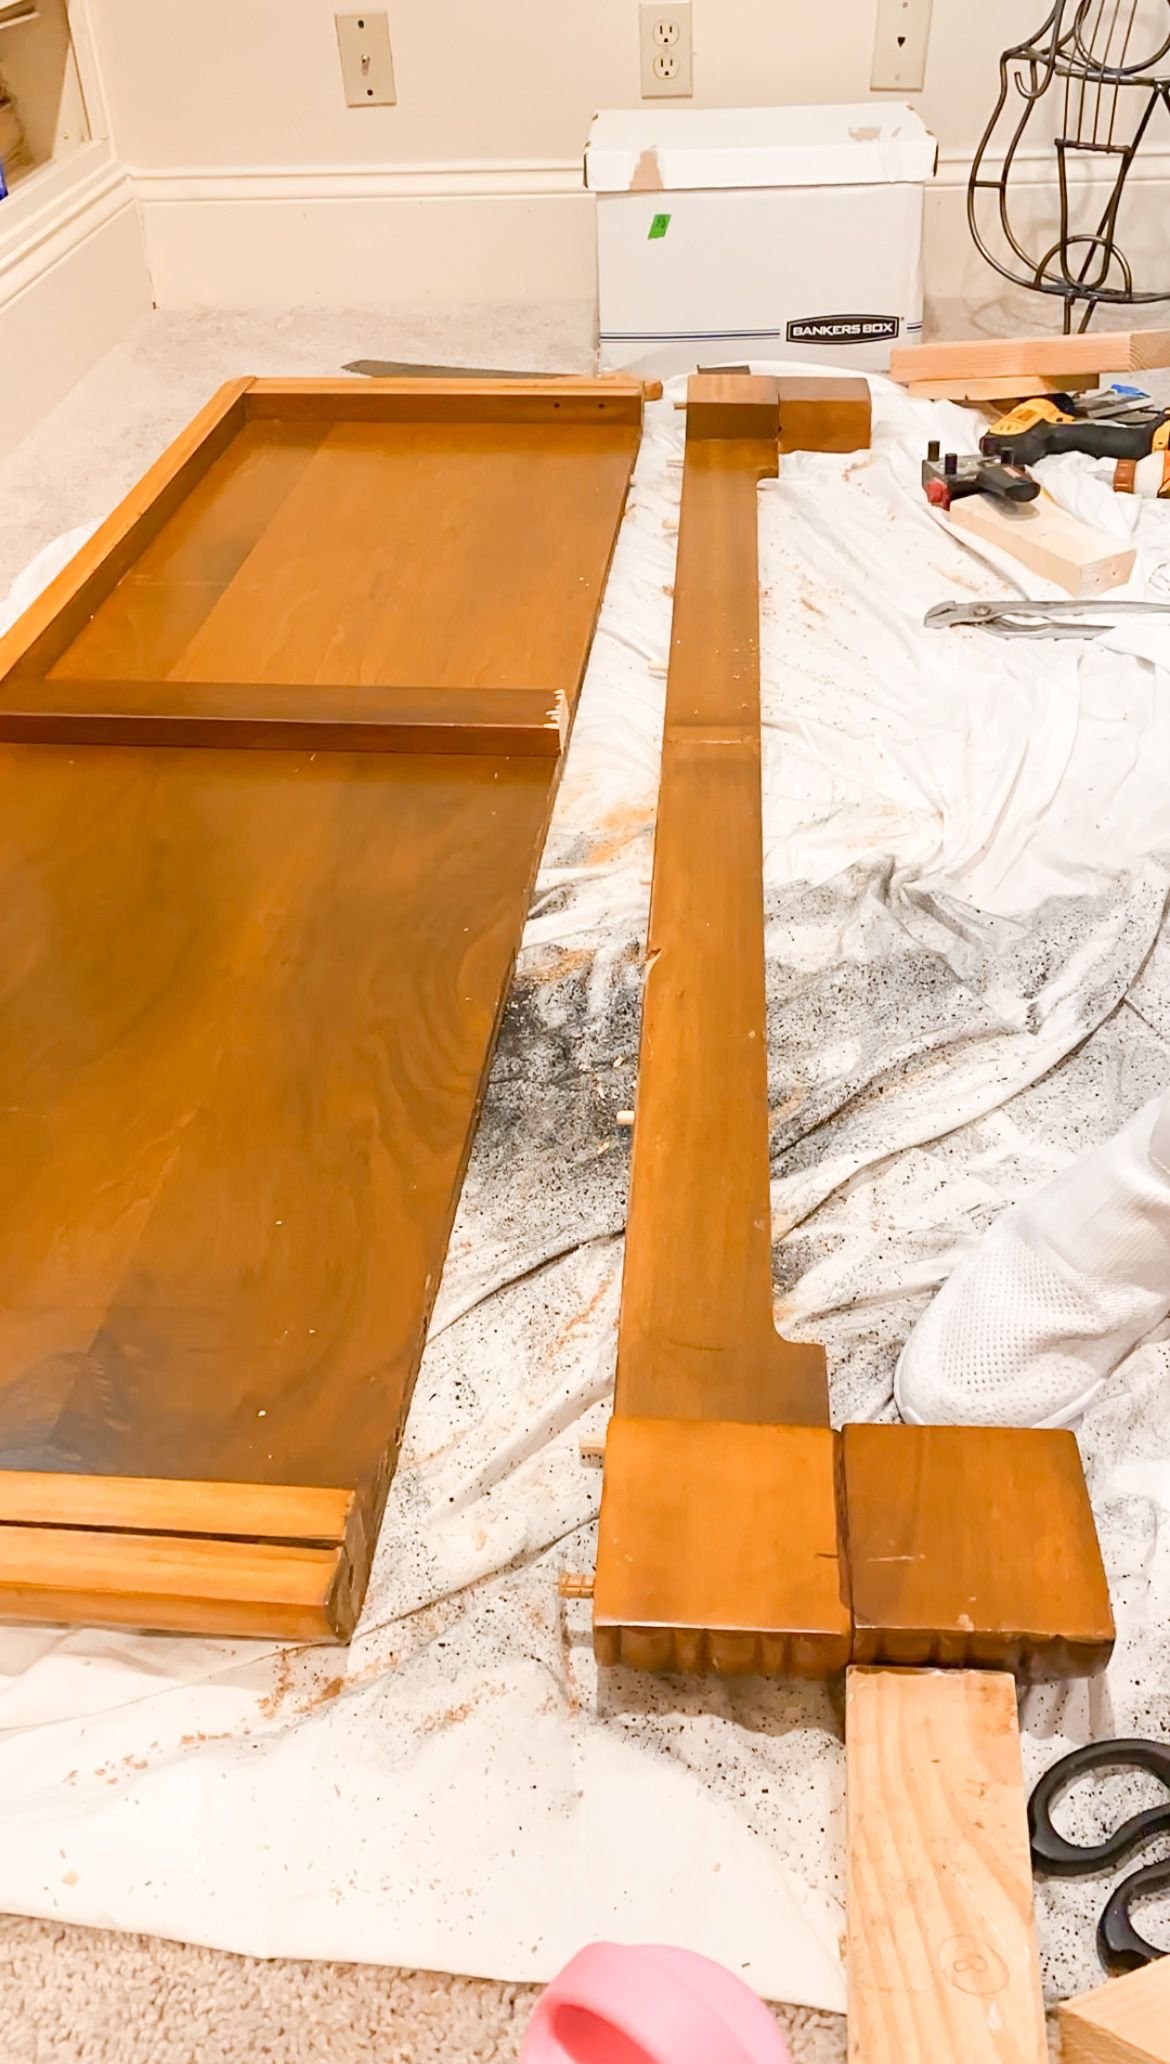
After I removed the bottom detail piece I could see that there was a piece of wood holding the two different foot boards together. Upon further inspection, I realized the glue had just disintegrated and a lot of the dowel holes were chipping and splitting. Some of the dowels were completely split making them no longer usable, or they were too close to the edge. I carefully removed all of the old dowels and I started to drill new dowel holes. This created more support between the trim detail and the actual footboard piece. I used my dowel hole jig, which I've talked about before and absolutely love, and created new dowel holes centered on the footboard, which provided the stability I needed.
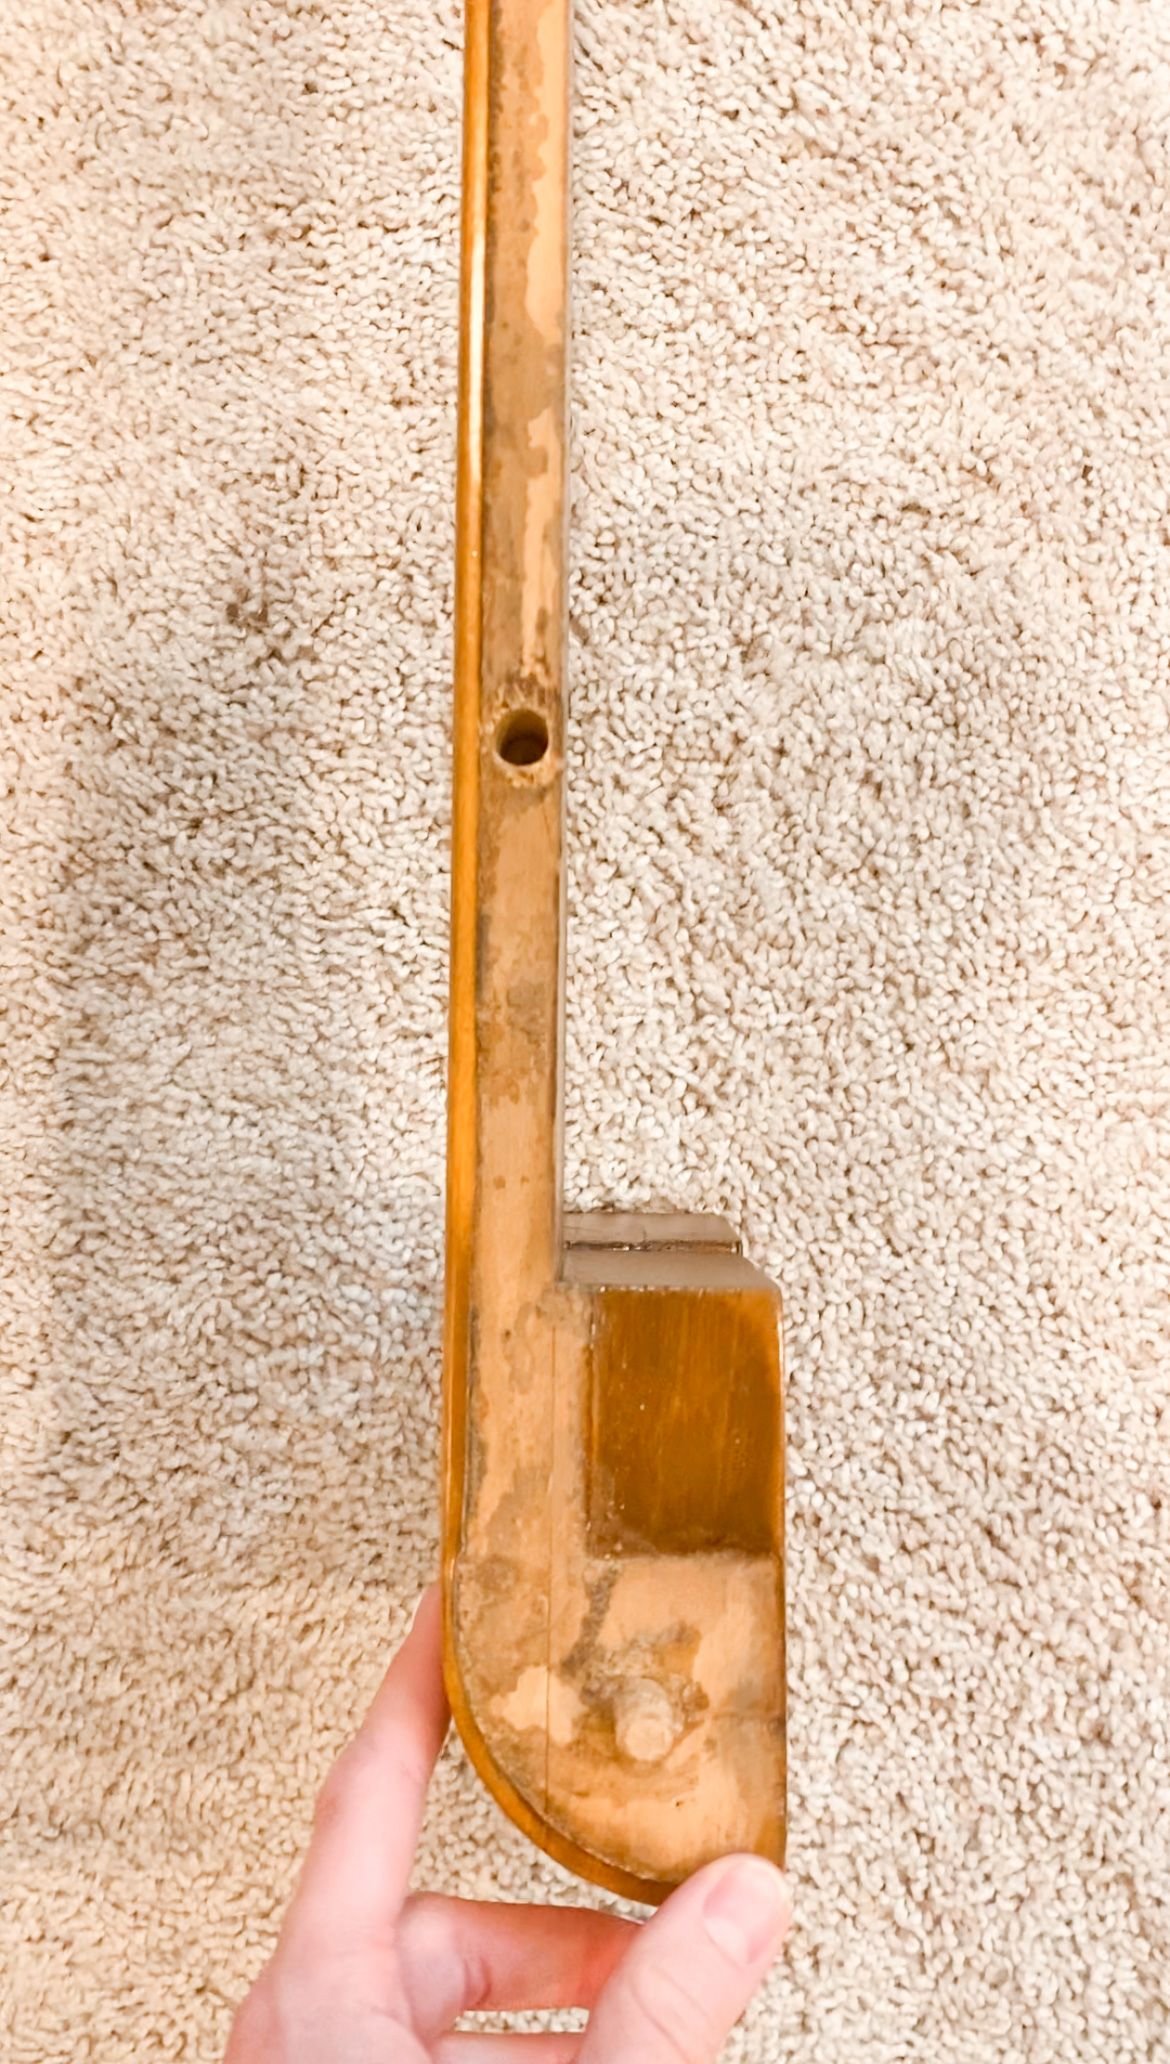

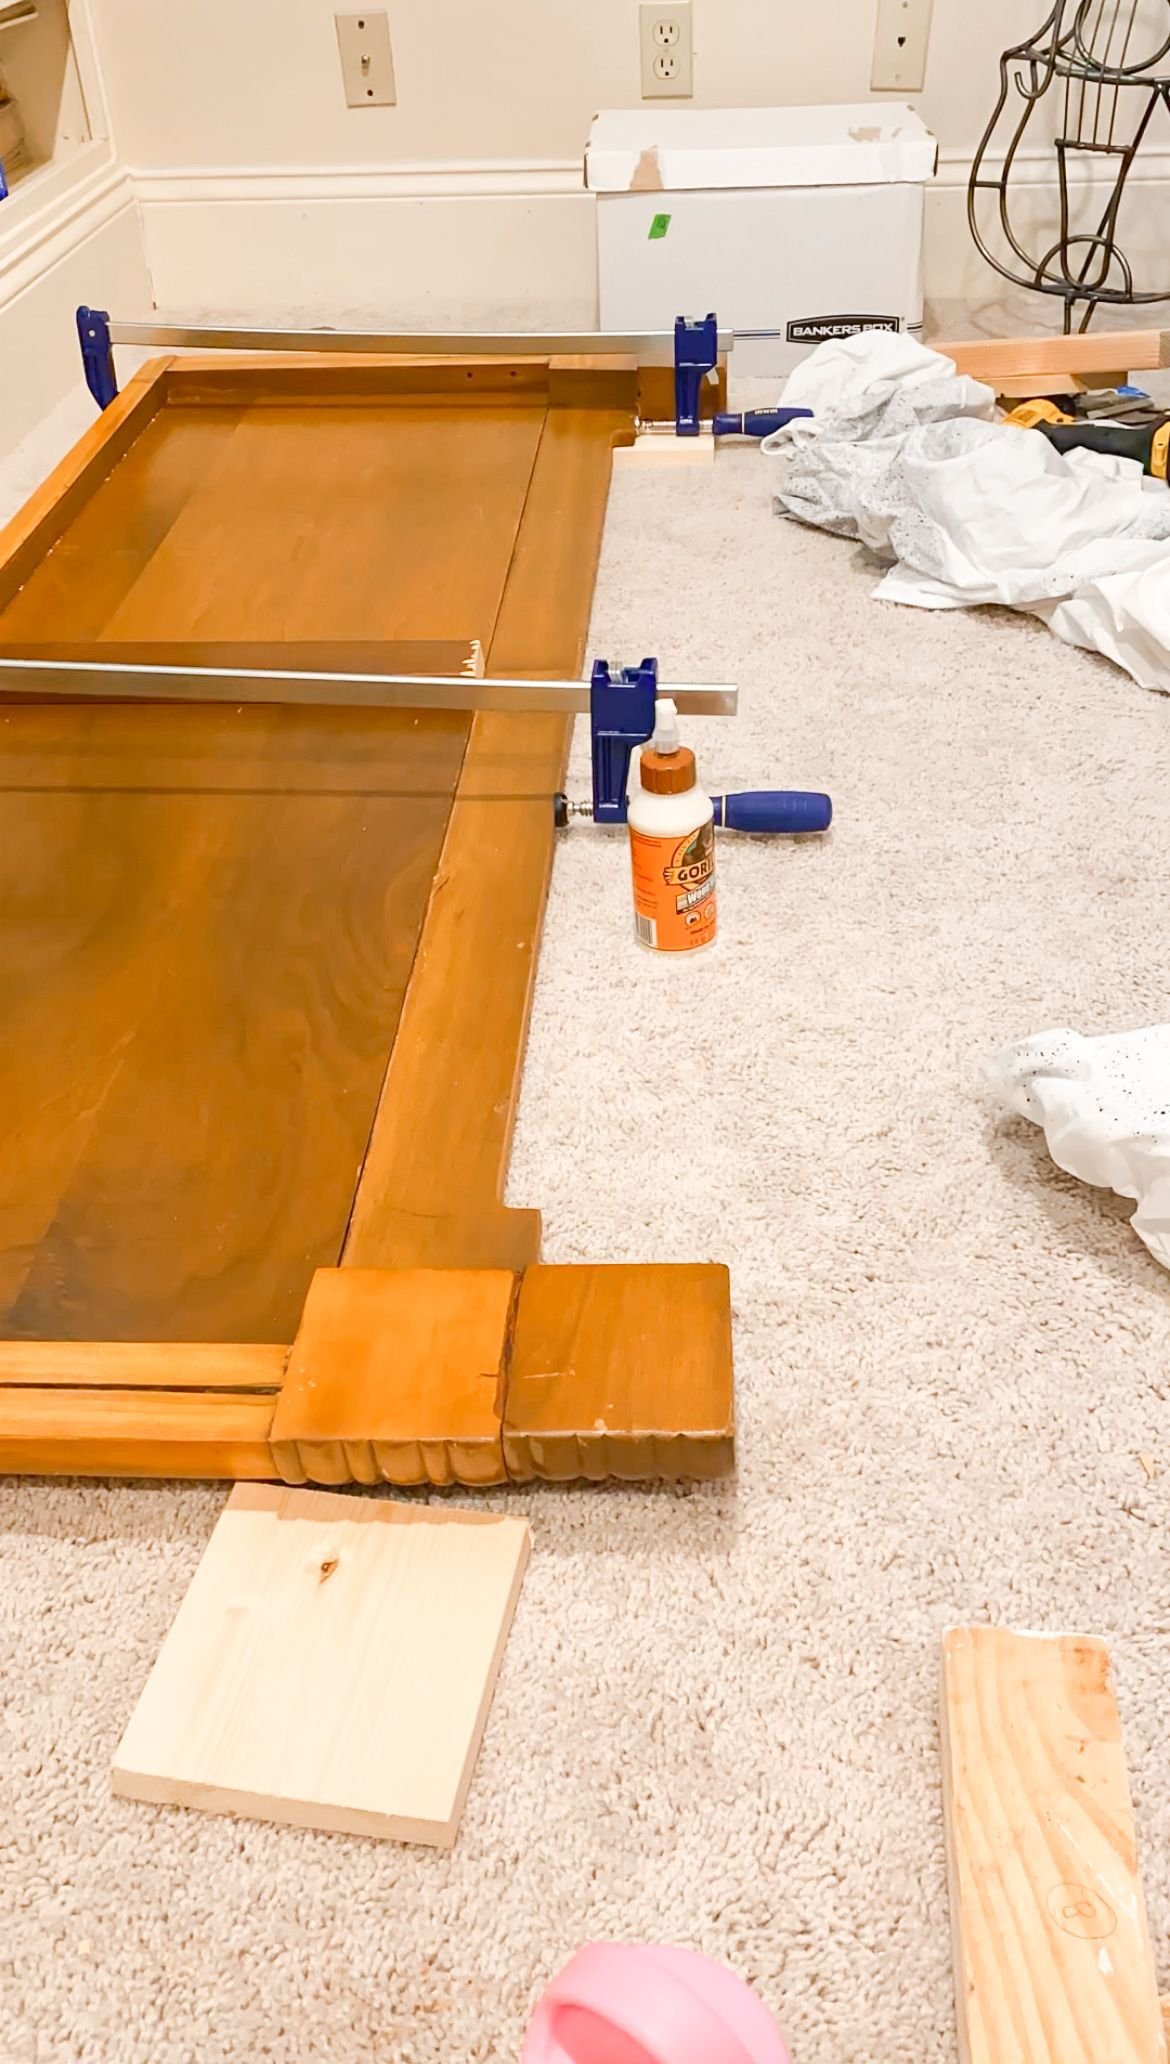
The next step was to cut the long wood piece that was hanging off the edge. I ended up having to use a hand saw to cut that piece so I could line up the dowels and the dowel holes for the new sets I was creating. Once I got that piece trimmed to size, I clamped the trim piece into place so I could drill dowel holes in the trim piece to line up with the new dowel holes in the footboard. My dowel hole jig was CRUCIAL for the project and makes creating dowel holes that line up perfectly really easy. Once I finished making the new dowel holes, I glued the trim piece to the rest of the footboard. I used clamps to secure everything and left it dry for about three days to make sure it was perfectly dry. I really didn't want to risk it being wet or anything happening to it after it was finished. Once everything was dry, we reassembled and I am confident it is now secure!
This is my encouragement to you to try and fix that antique piece you have that's coming apart. Instead of getting rid of it or trying to find somebody who can possibly fix it for you, take a look and see if you can fix it yourself. A little wood glue and a pocket hole jig can go a long way in making your antiques usable again! Everything I used is linked above.
How to Fix Antique Furniture | Shop