How to Add Edge Banding to Your Project
We're going to take a quick pivot from our Argentina content to talk about a previous project. Remember the wall of closets in my mom's house for my grandparents that have since passed away? The one thing I did not do was add edge banding to the drawers and the shelves. I figured I would go over why you want to add edge banding to a project and how to do it.
How to Add Edge Banding to Your Project | Wall of Closets
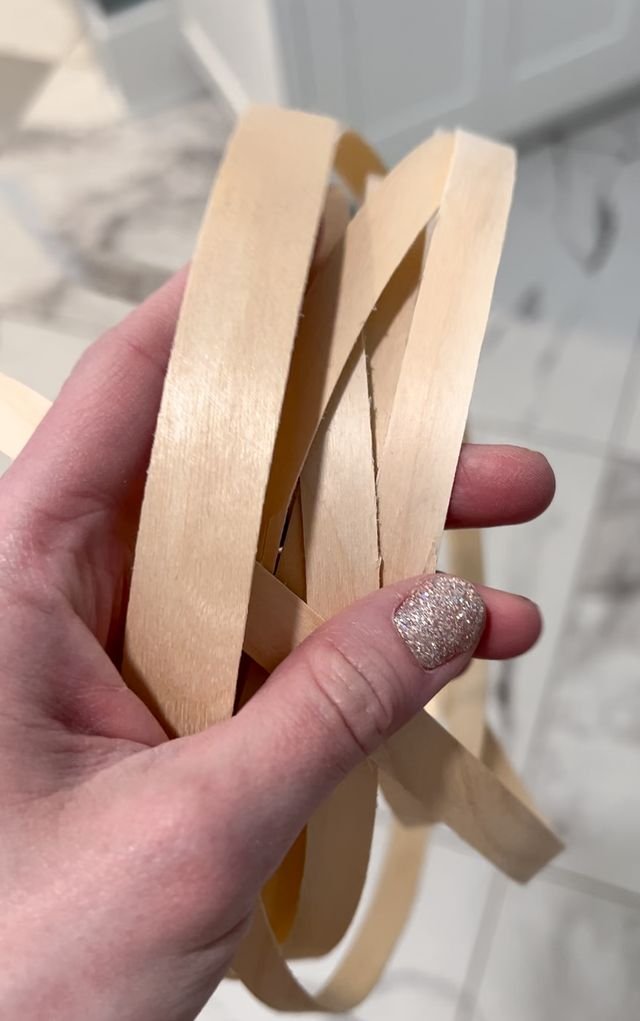
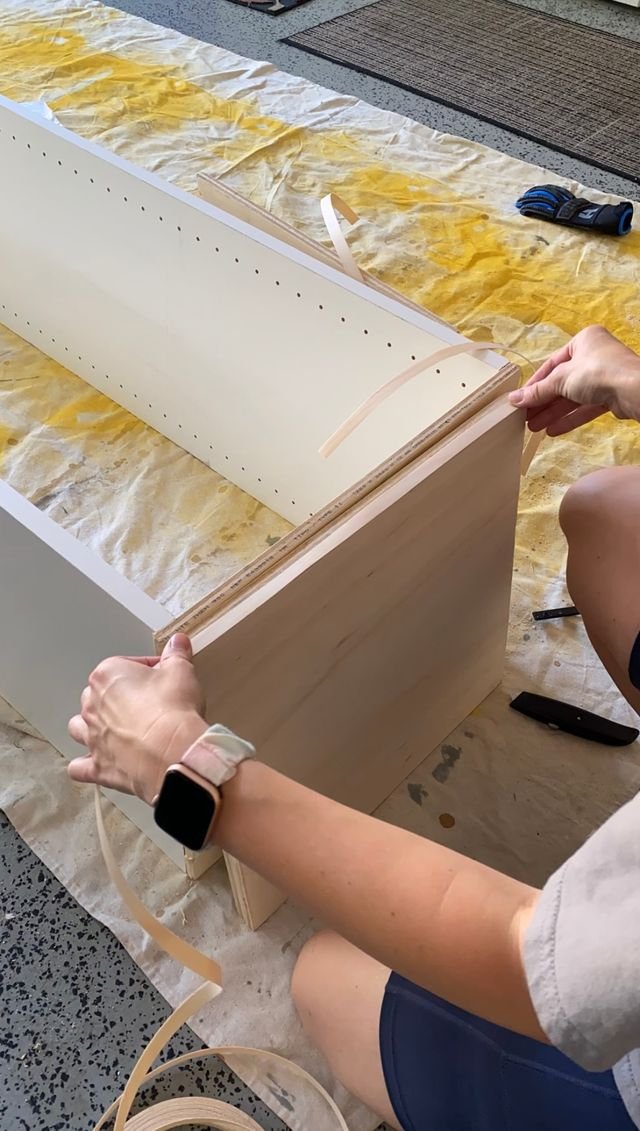
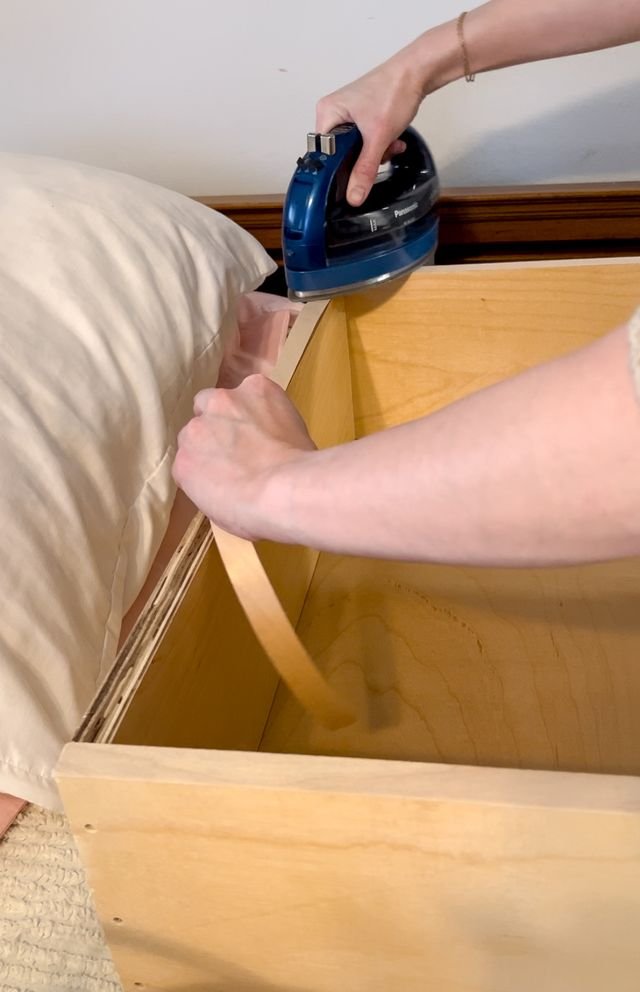
You usually want to add edge banding to a project on a raw wood edge you're not going to add paint or wood trim to. I like to add edge banding to any raw wood edge and then paint or stain it because edge banding is paintable and stainable. Edge banding comes in a variety of widths and wood types so you can match it to any project. As far as supplies go, you are going to need your edge banding of choice, a utility knife and an iron. My favorite iron is one my mom has, it's cordless and small to get into the small spaces. For the edge banding, you'll want to use the width closest to the width of the wood you are adding it to. For the closet, I used 3/4 inch wood so I was able to use a 3/4 inch edge banding. I ironed the edge banding on and then cut it. Depending on the project, I will also measure out the length I need with the edge banding and cut it with the utility knife.
When you're ironing you want to make sure you're using a medium heat because you don't want to burn the edge banding but you want to make sure it is hot enough to activate the glue. Make sure you're spending a lot of time running the iron up and down the edge banding. As the heat from the iron activates the glue on the inside of the edge banding, it will adhere the edge banding to your project. The rough side of the edge banding is where the glue is and that is what faces the raw wood, the smooth side faces out and looks nice and neat.
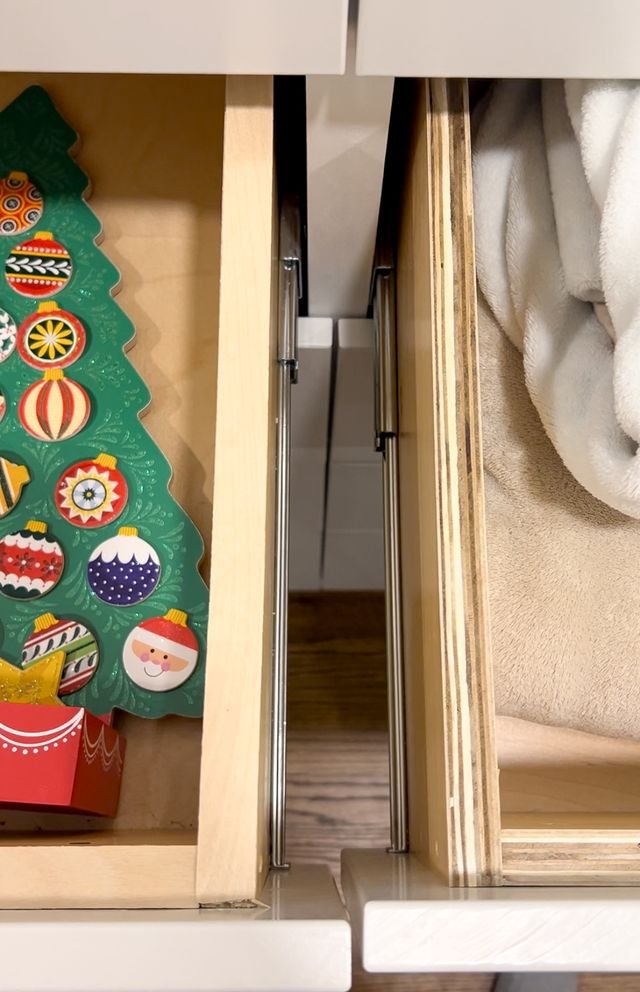
It is crucial that you take your time and continue to run the iron over the edge banding until it is fully adheres to the raw edge of the wood. If, in the future, the banding does peel up, you can go back in with an iron and run it back over so it re-adheres. I've done it several times. For this project, I was doing drawers, so I had to make sure all of the sides were covered. I did this because not only did I not like how the raw wood looked, but also this specific kind of wood, UV veneer finished plywood, has raw edges that splinter a lot. When I was originally creating this project and building the closet, I had to wear gloves whenever I handled the wood because it splintered and I got tons of splinters in my hands.
To avoid anyone getting splinters when they opened a drawer, I felt like edge banding was really important to add to this project so it was safe. I have noticed the more projects I do, the more edge banding I seem to add. Because there are so many different widths and so many different types of edge banding, you really can find something that's going to match your project. I like that it adds a nice finished look to every project, so you don't have that raw wood look. When I look back on past projects I’ve done, I wish I would have added edge banding because it looks so much better than adding paint to a raw edge. It does cost a little bit more, but it adds that next level of professionalism to a project.


