Creating a More Functional Coat Closet
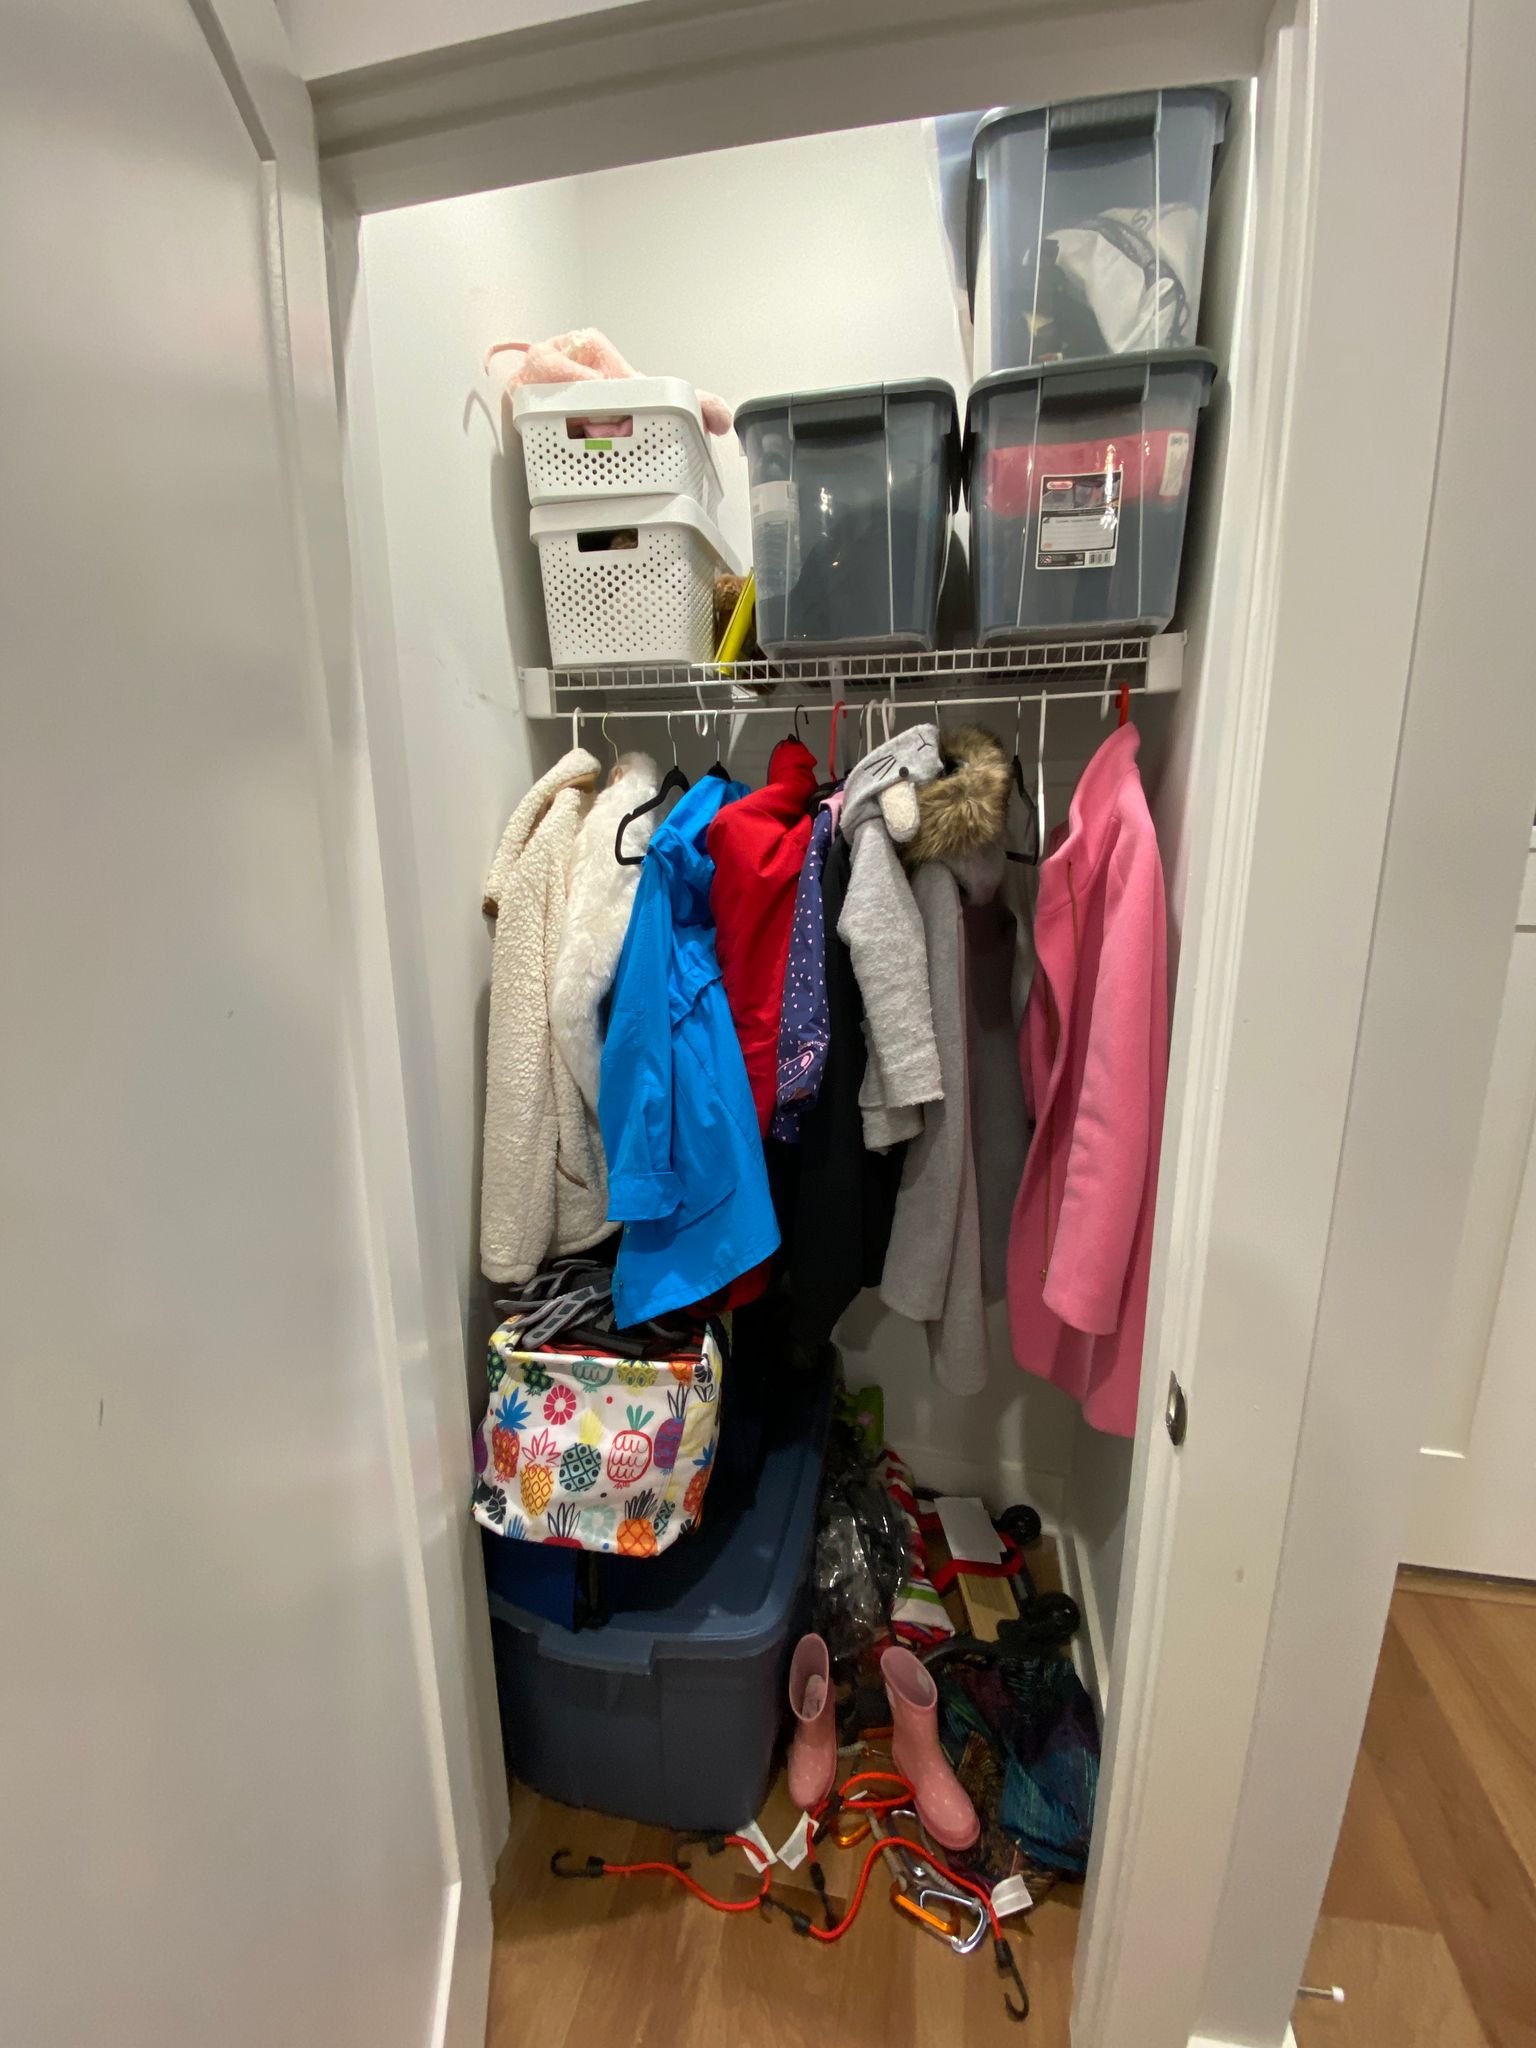
If you’ve been here a while you will know that I LOVE reimagining underutilized spaces, especially closets. Our builder grade coat closet is a prime example of underutilized space and just wasn’t cutting it for our needs. I knew I wanted to get my hands on it, so I decided to remove everything from it and get to work.

Creating A More Functional Coat Closet | Getting Started
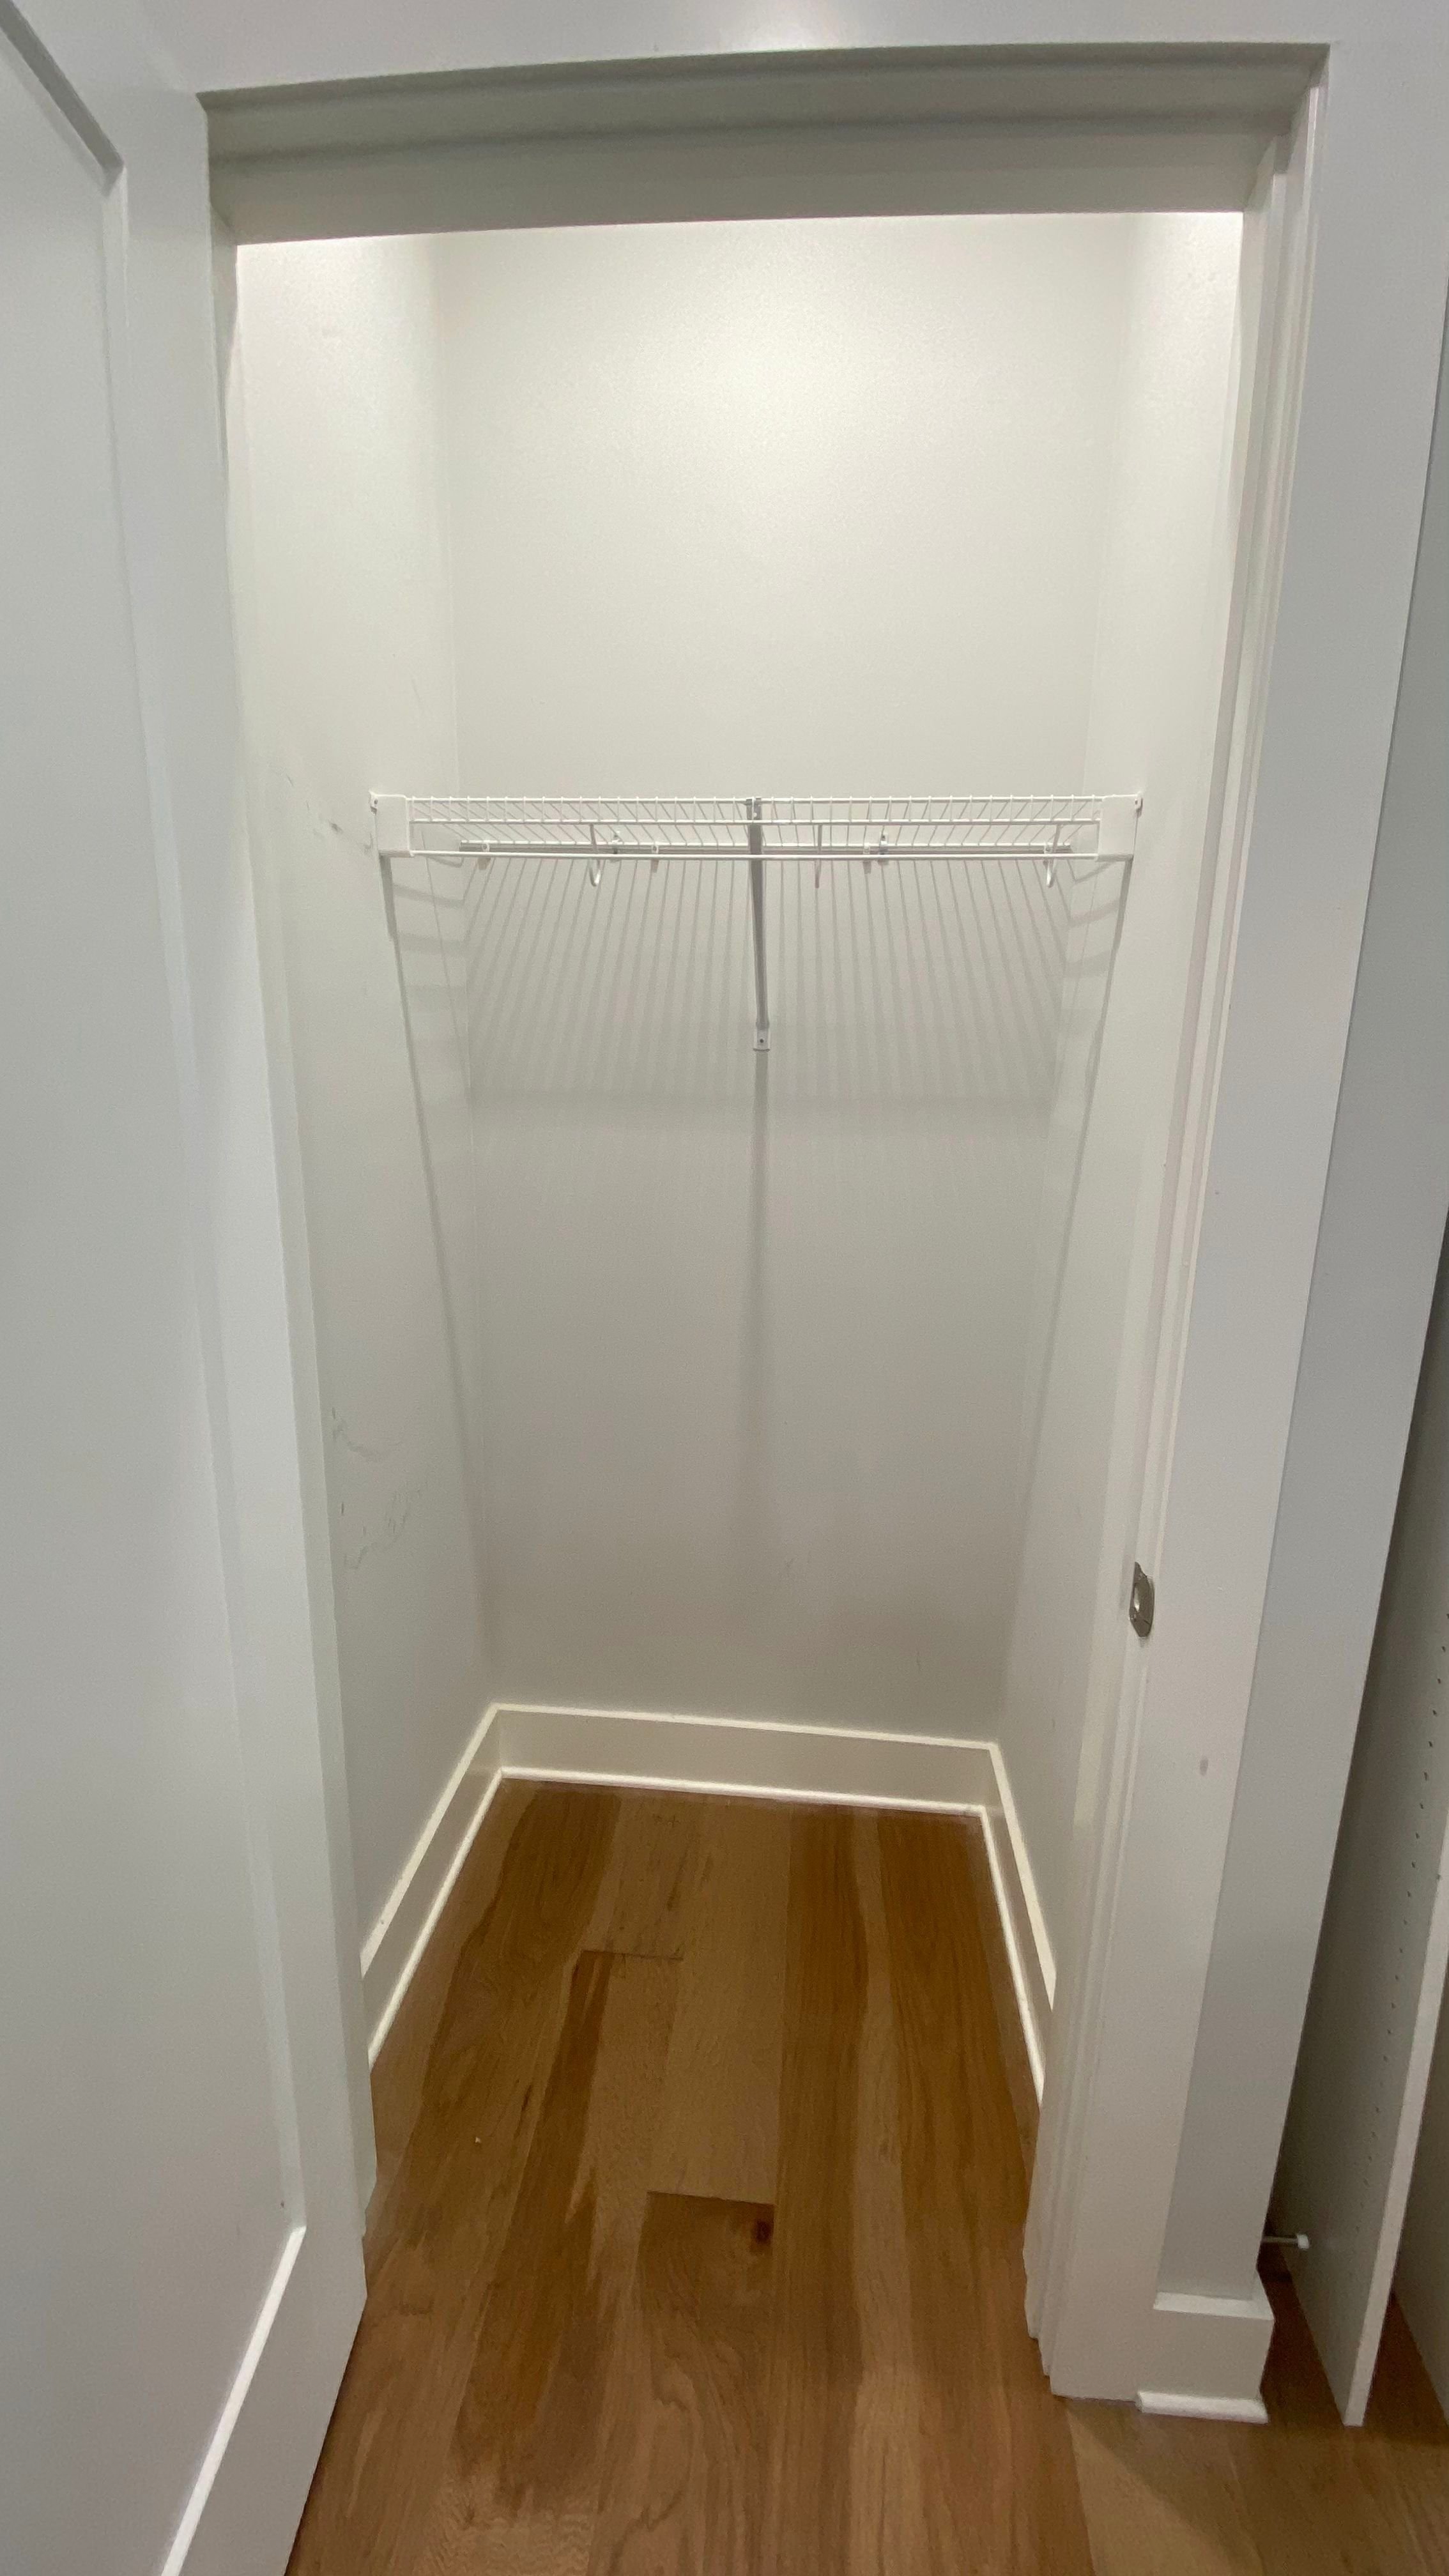
First, I took out the wire shelf. I can’t stand wire shelving. So many builders use it and I think they’re just ugly and incredibly unhelpful. I didn’t worry about patching the holes in the wall from the wire shelf because they were all going to be covered up, so it didn't matter. I got to work creating a custom shelving unit I actually liked for this project. I used my peg hole jig to create shelves that I attached to three drilled sheets of melamine. Unfortunately, the peg holes did not fit into the holes that were already pre-drilled into the sheets of melamine so I had to create new ones.

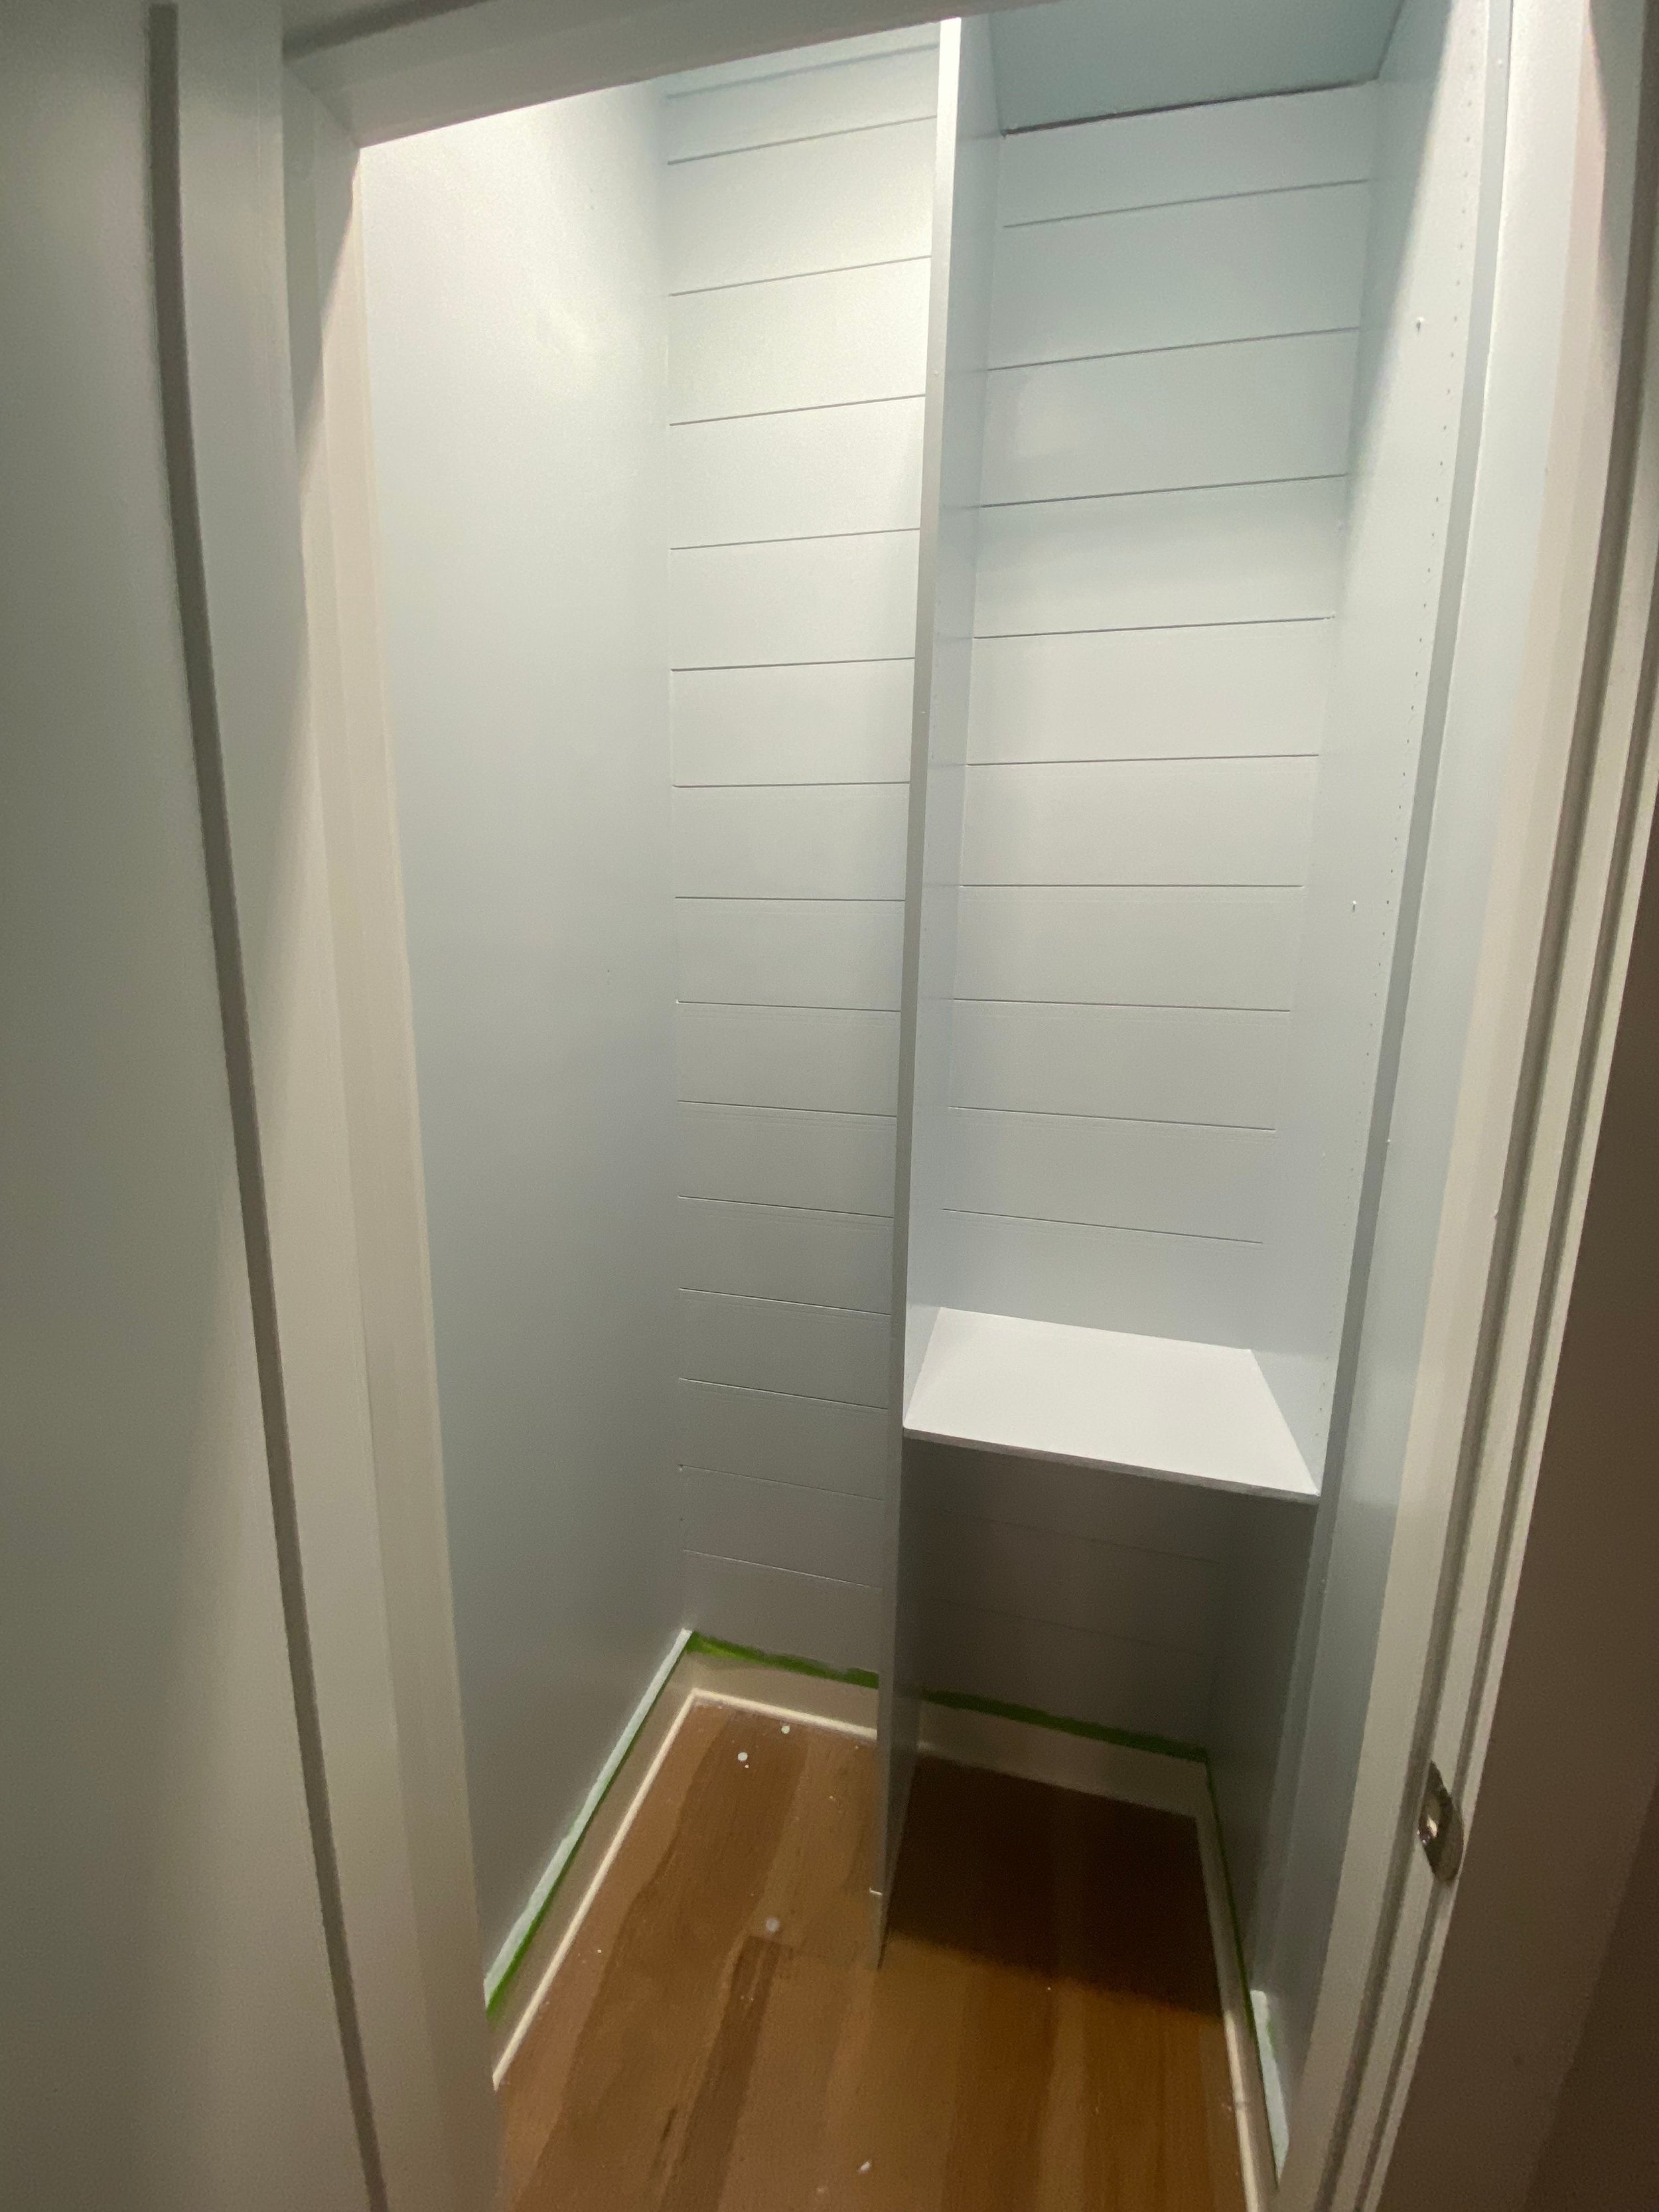
Then I secured the first piece of melamine to the studs on one side of the closet. I put a shelf at the top and then one about two-thirds of the way down for stability and structure. These two shelves were being used to stabilize the whole unit so I didn’t make them movable and secured them to the second piece of melamine. We have tall ceilings, and so I decided in order to best utilize the space, I was going to hang two rods on the opposite side of the closet from the shelving unit. I know the taller rod might be extra tall for some people, but we can reach it and it was absolutely necessary.
I had some leftover shiplap from other projects I wanted to use so I cut those pieces as well as some more shelving. These shelves are movable so I can rearrange them if our needs change. I sanded everything I just cut so it was all ready to go. I added edge banding and pre-painted the movable shelves.
Creating A More Functional Coat Closet | Finishing Touches
I added shiplap to the back of the closet securing it with my brad nailer. I love how it adds a little extra something to the back of the closet. Then, once everything was installed, I wood-filled all of the holes and caulked all of the gaps, sanded all of that down, added edge banding to the two permanent shelves, and started painting.
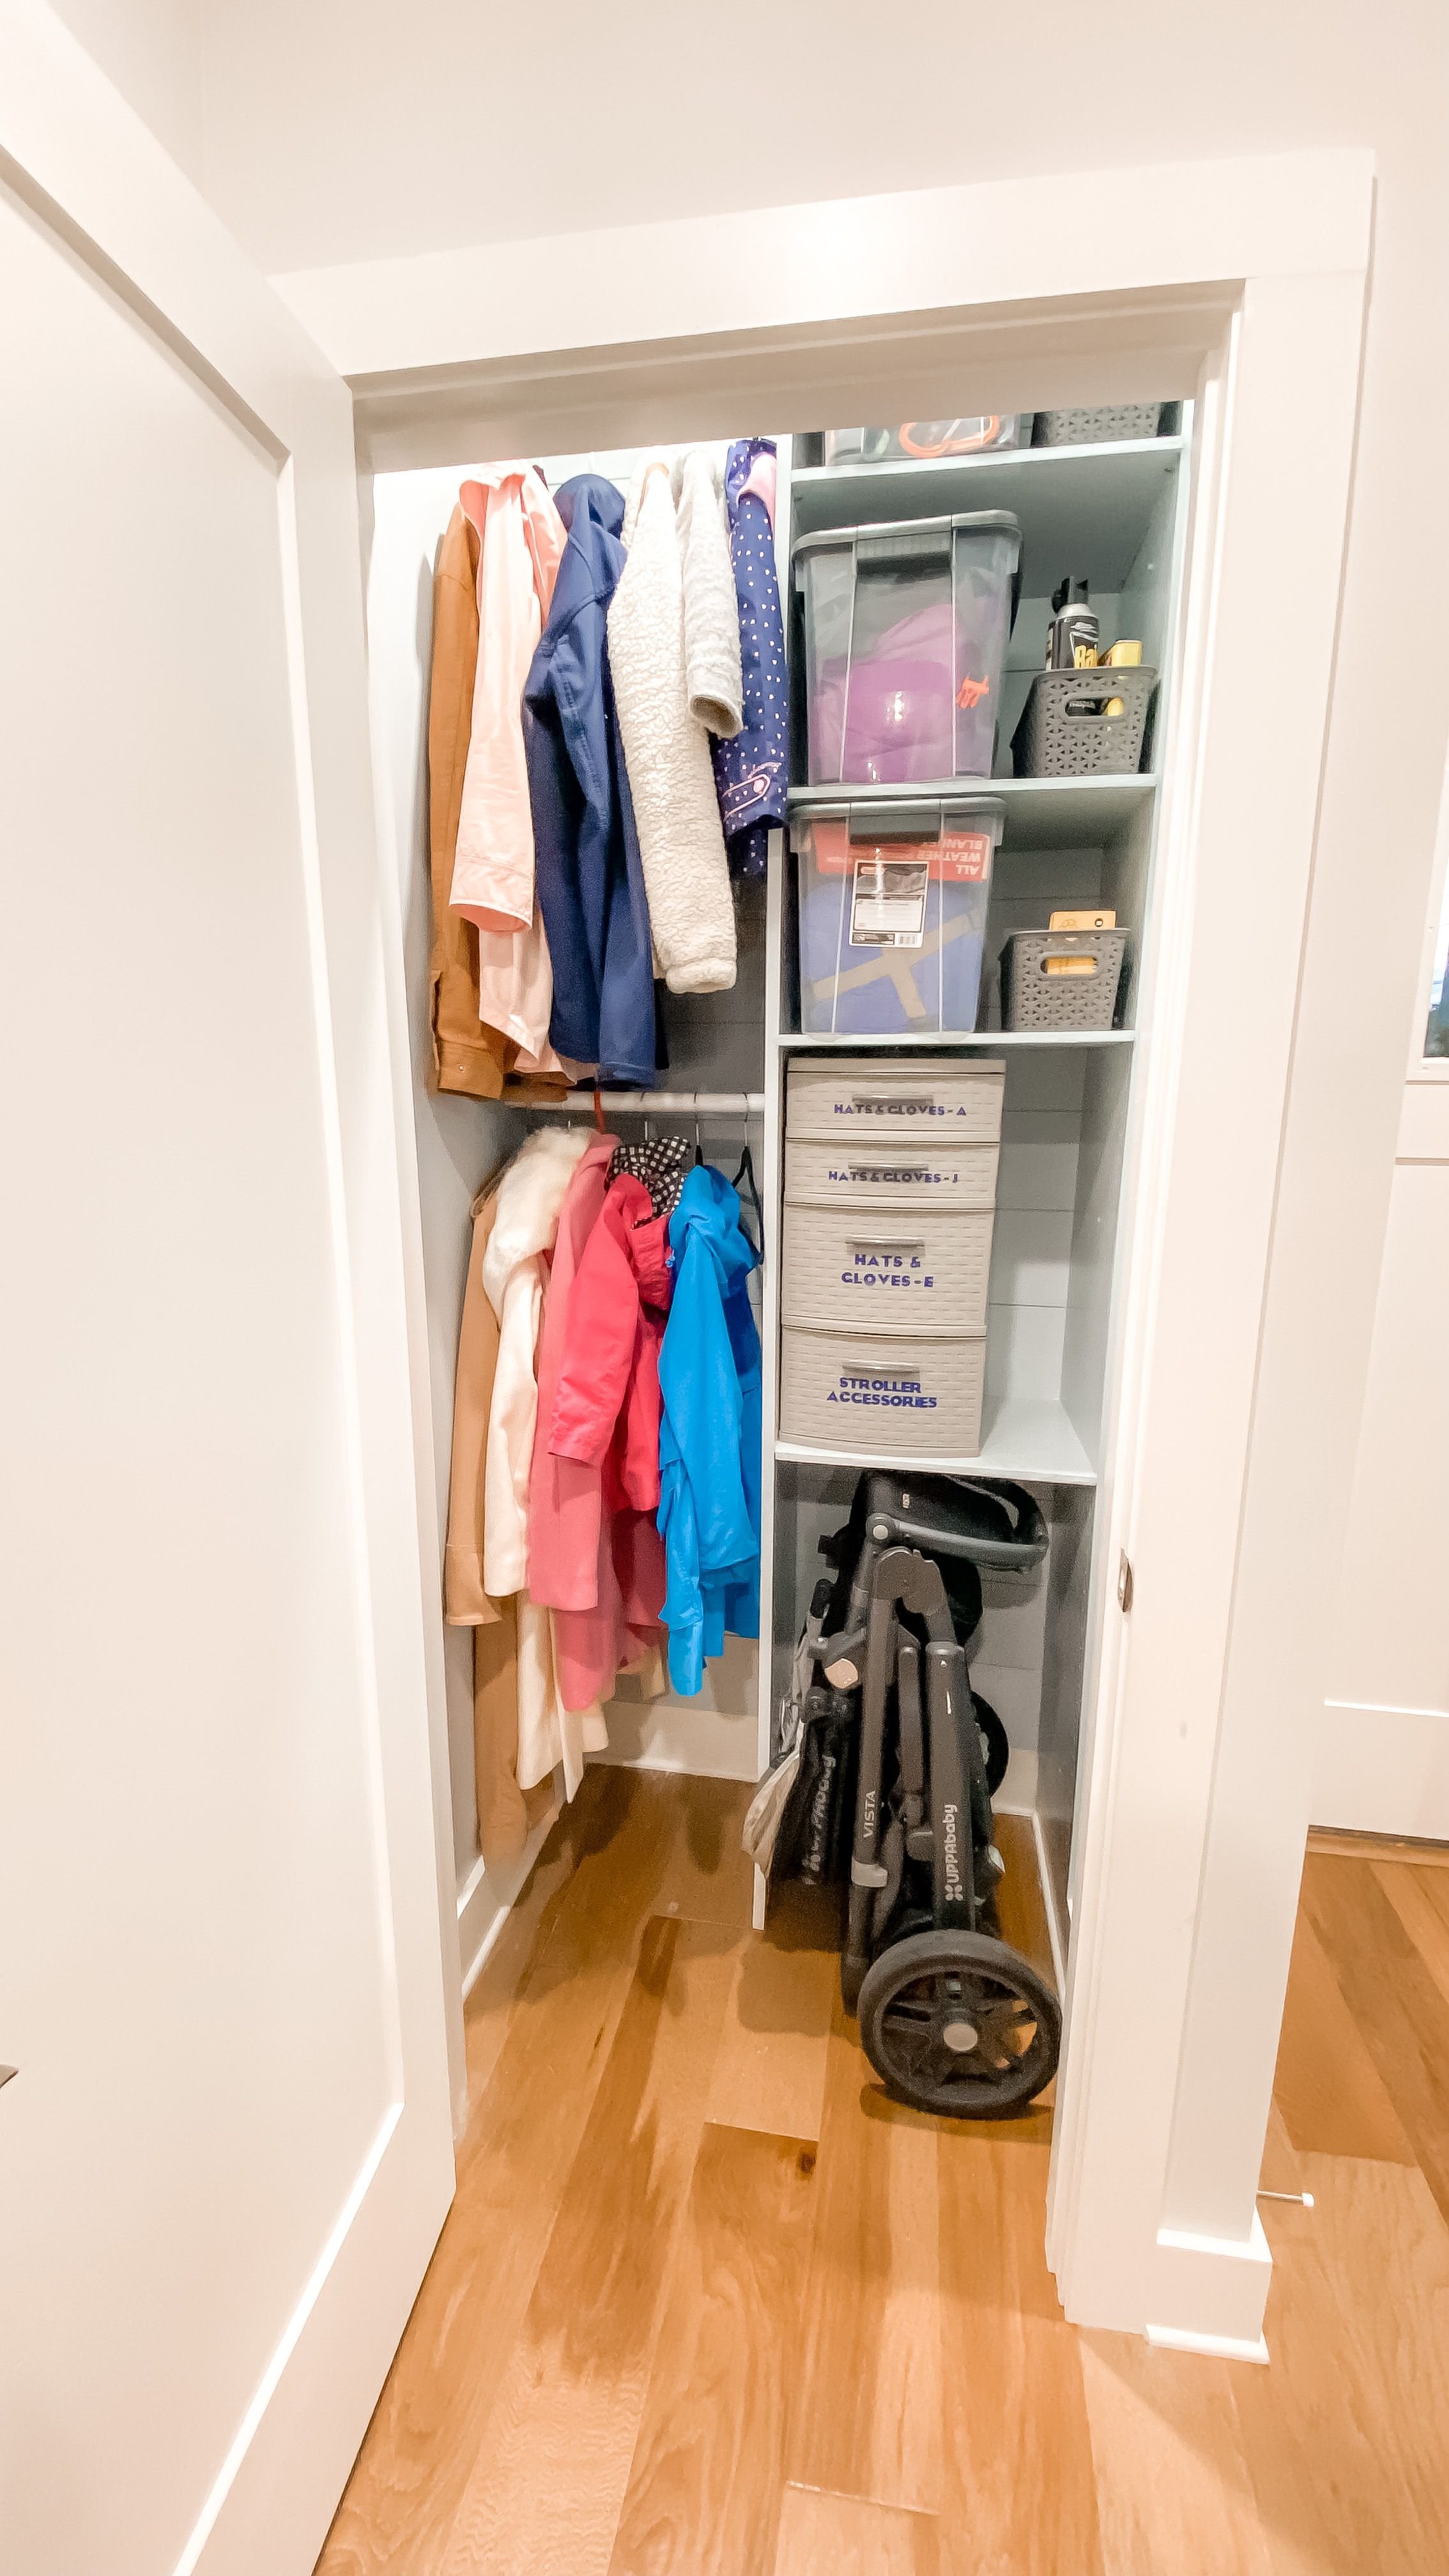
I used the same color, Van Cortland Blue by Benjamin Moore, that I used in the laundry room because I had extra and because I love this color. I painted everything inside of this closet, the walls, the shelves, the shiplap, everything. After it dried, I put everything back in the closet and it was done! This space is so much more functional now. We can fit way more stuff in it and the organization makes me so happy.