
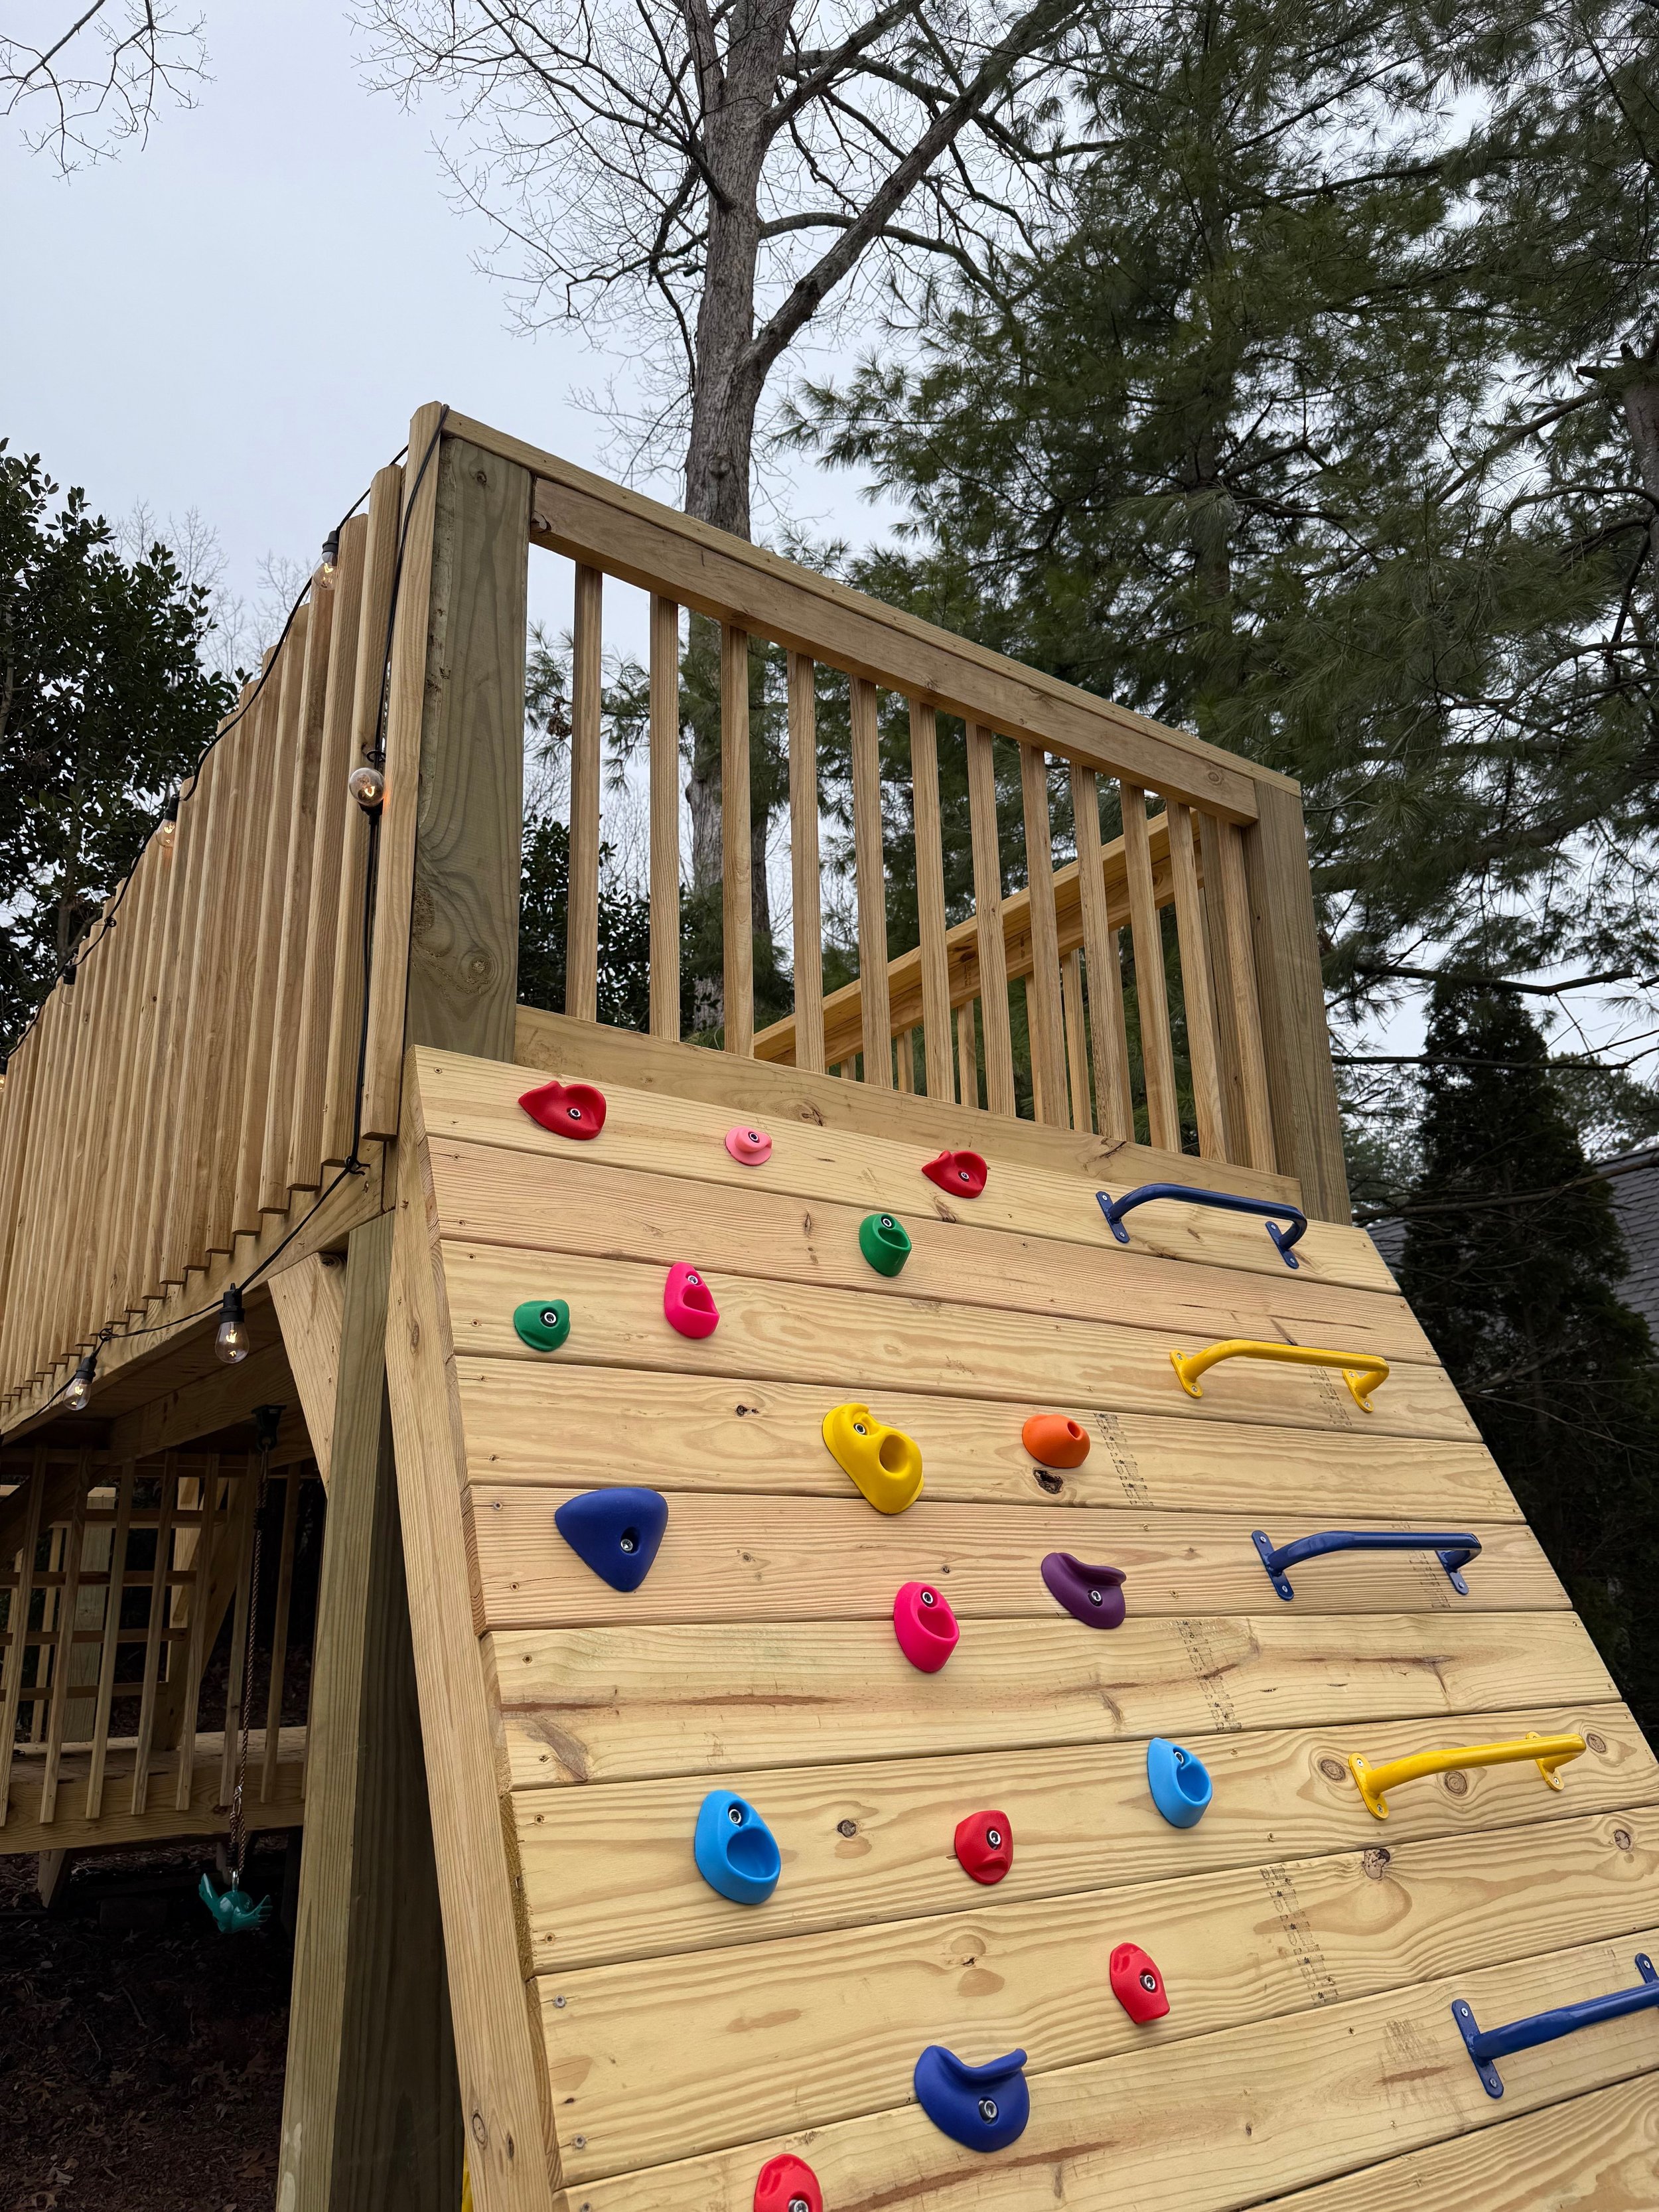
Climbing Wall Gate
We've reached the third and final installment of the climbing wall for the treehouse at my parents’ house. So far, I have done the rock climbing wall, the ladder wall, and now I'm doing the gate at the top of the wall so the kids can get into the treehouse, but not fall off it.
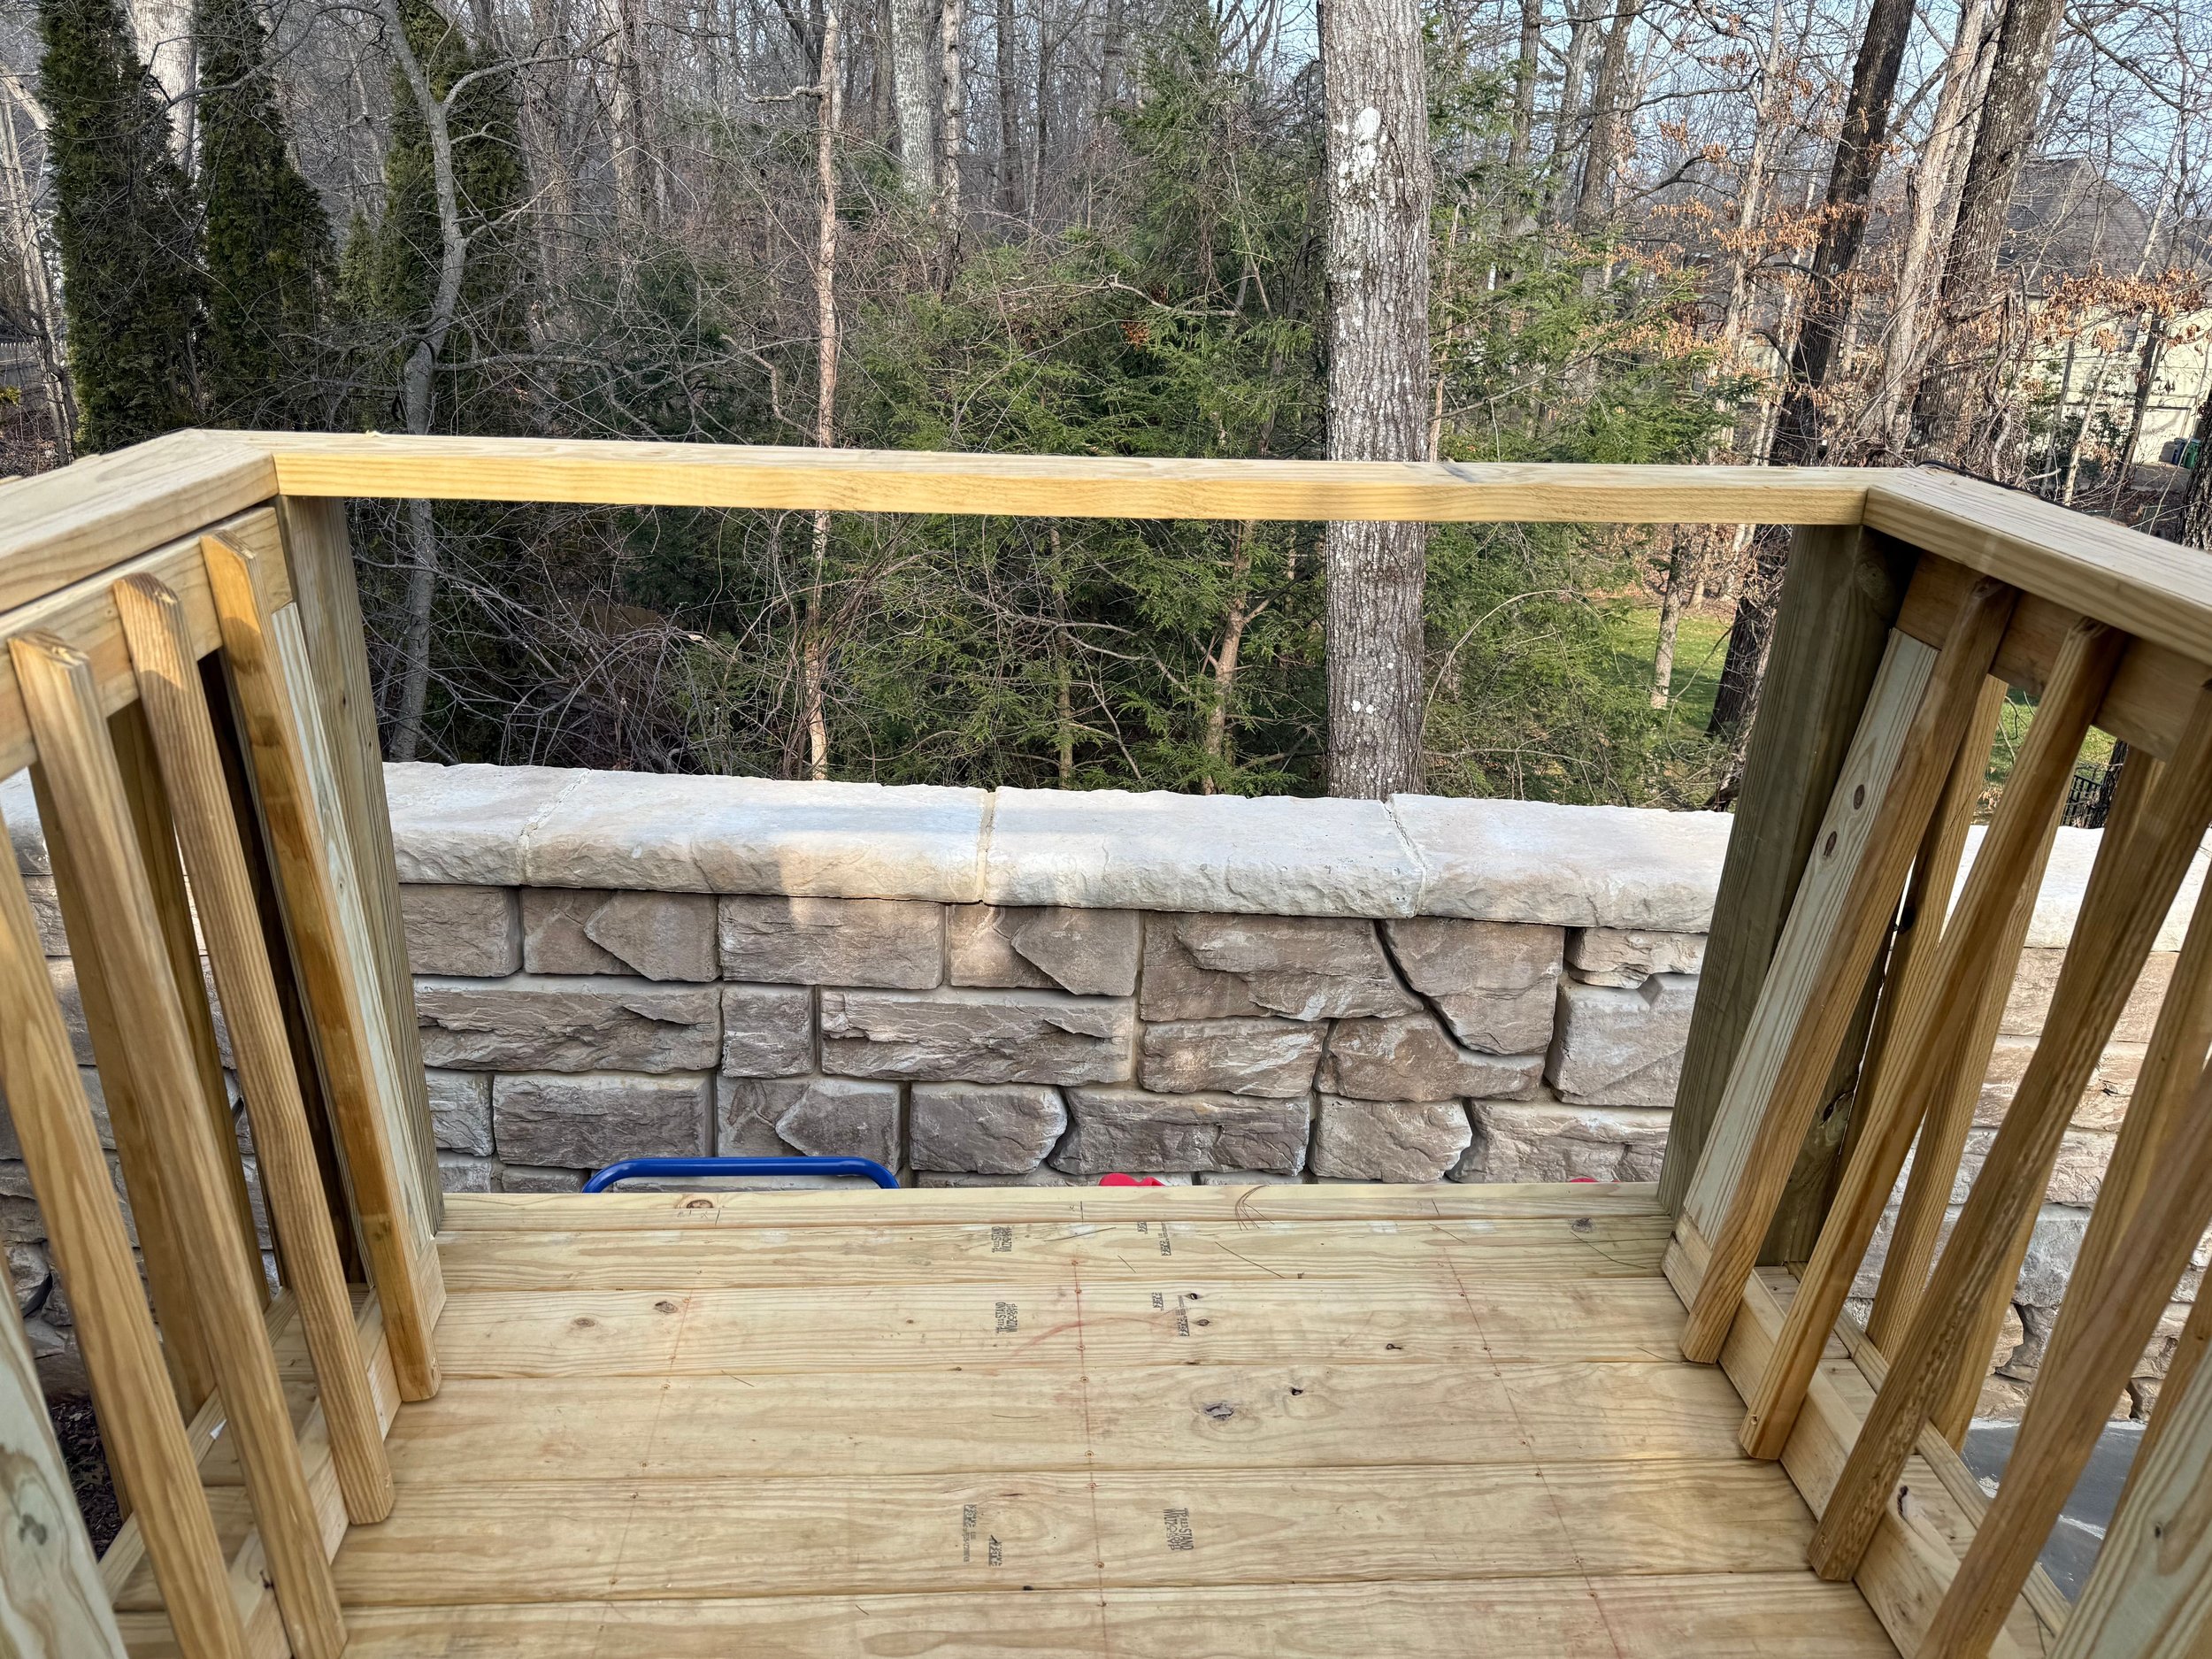
The plan is to remove some of the slats, add some more framing pieces to fix the placements of the slats and then attach it to the rest of the treehouse with hinges. I also have some gate stops to keep the gate from opening outwards. The contractor who built the treehouse made a piece of railing for the gate that could be taken off and the kids could climb up here and it wouldn't be a problem. Instead of just leaving it open, I wanted to turn it into a gate. First step was removing a section of railing. There were just a few screws I needed to undo and then I was able to just pop the railing off. The piece I used to create the gate was already mostly framed so I only needed a few extra things supplies-wise. I got a few pieces of treated 2X4 wood and cut them down so I could add a little bit more framing to each side of the gate so it wasn't wobbly. I cut four pieces into 28 1/2 inch pieces, two for each side of the gate. This was the first time I have used my saw in almost 8 months so it felt really good! Being able to build something again after such a long break was so good for me.
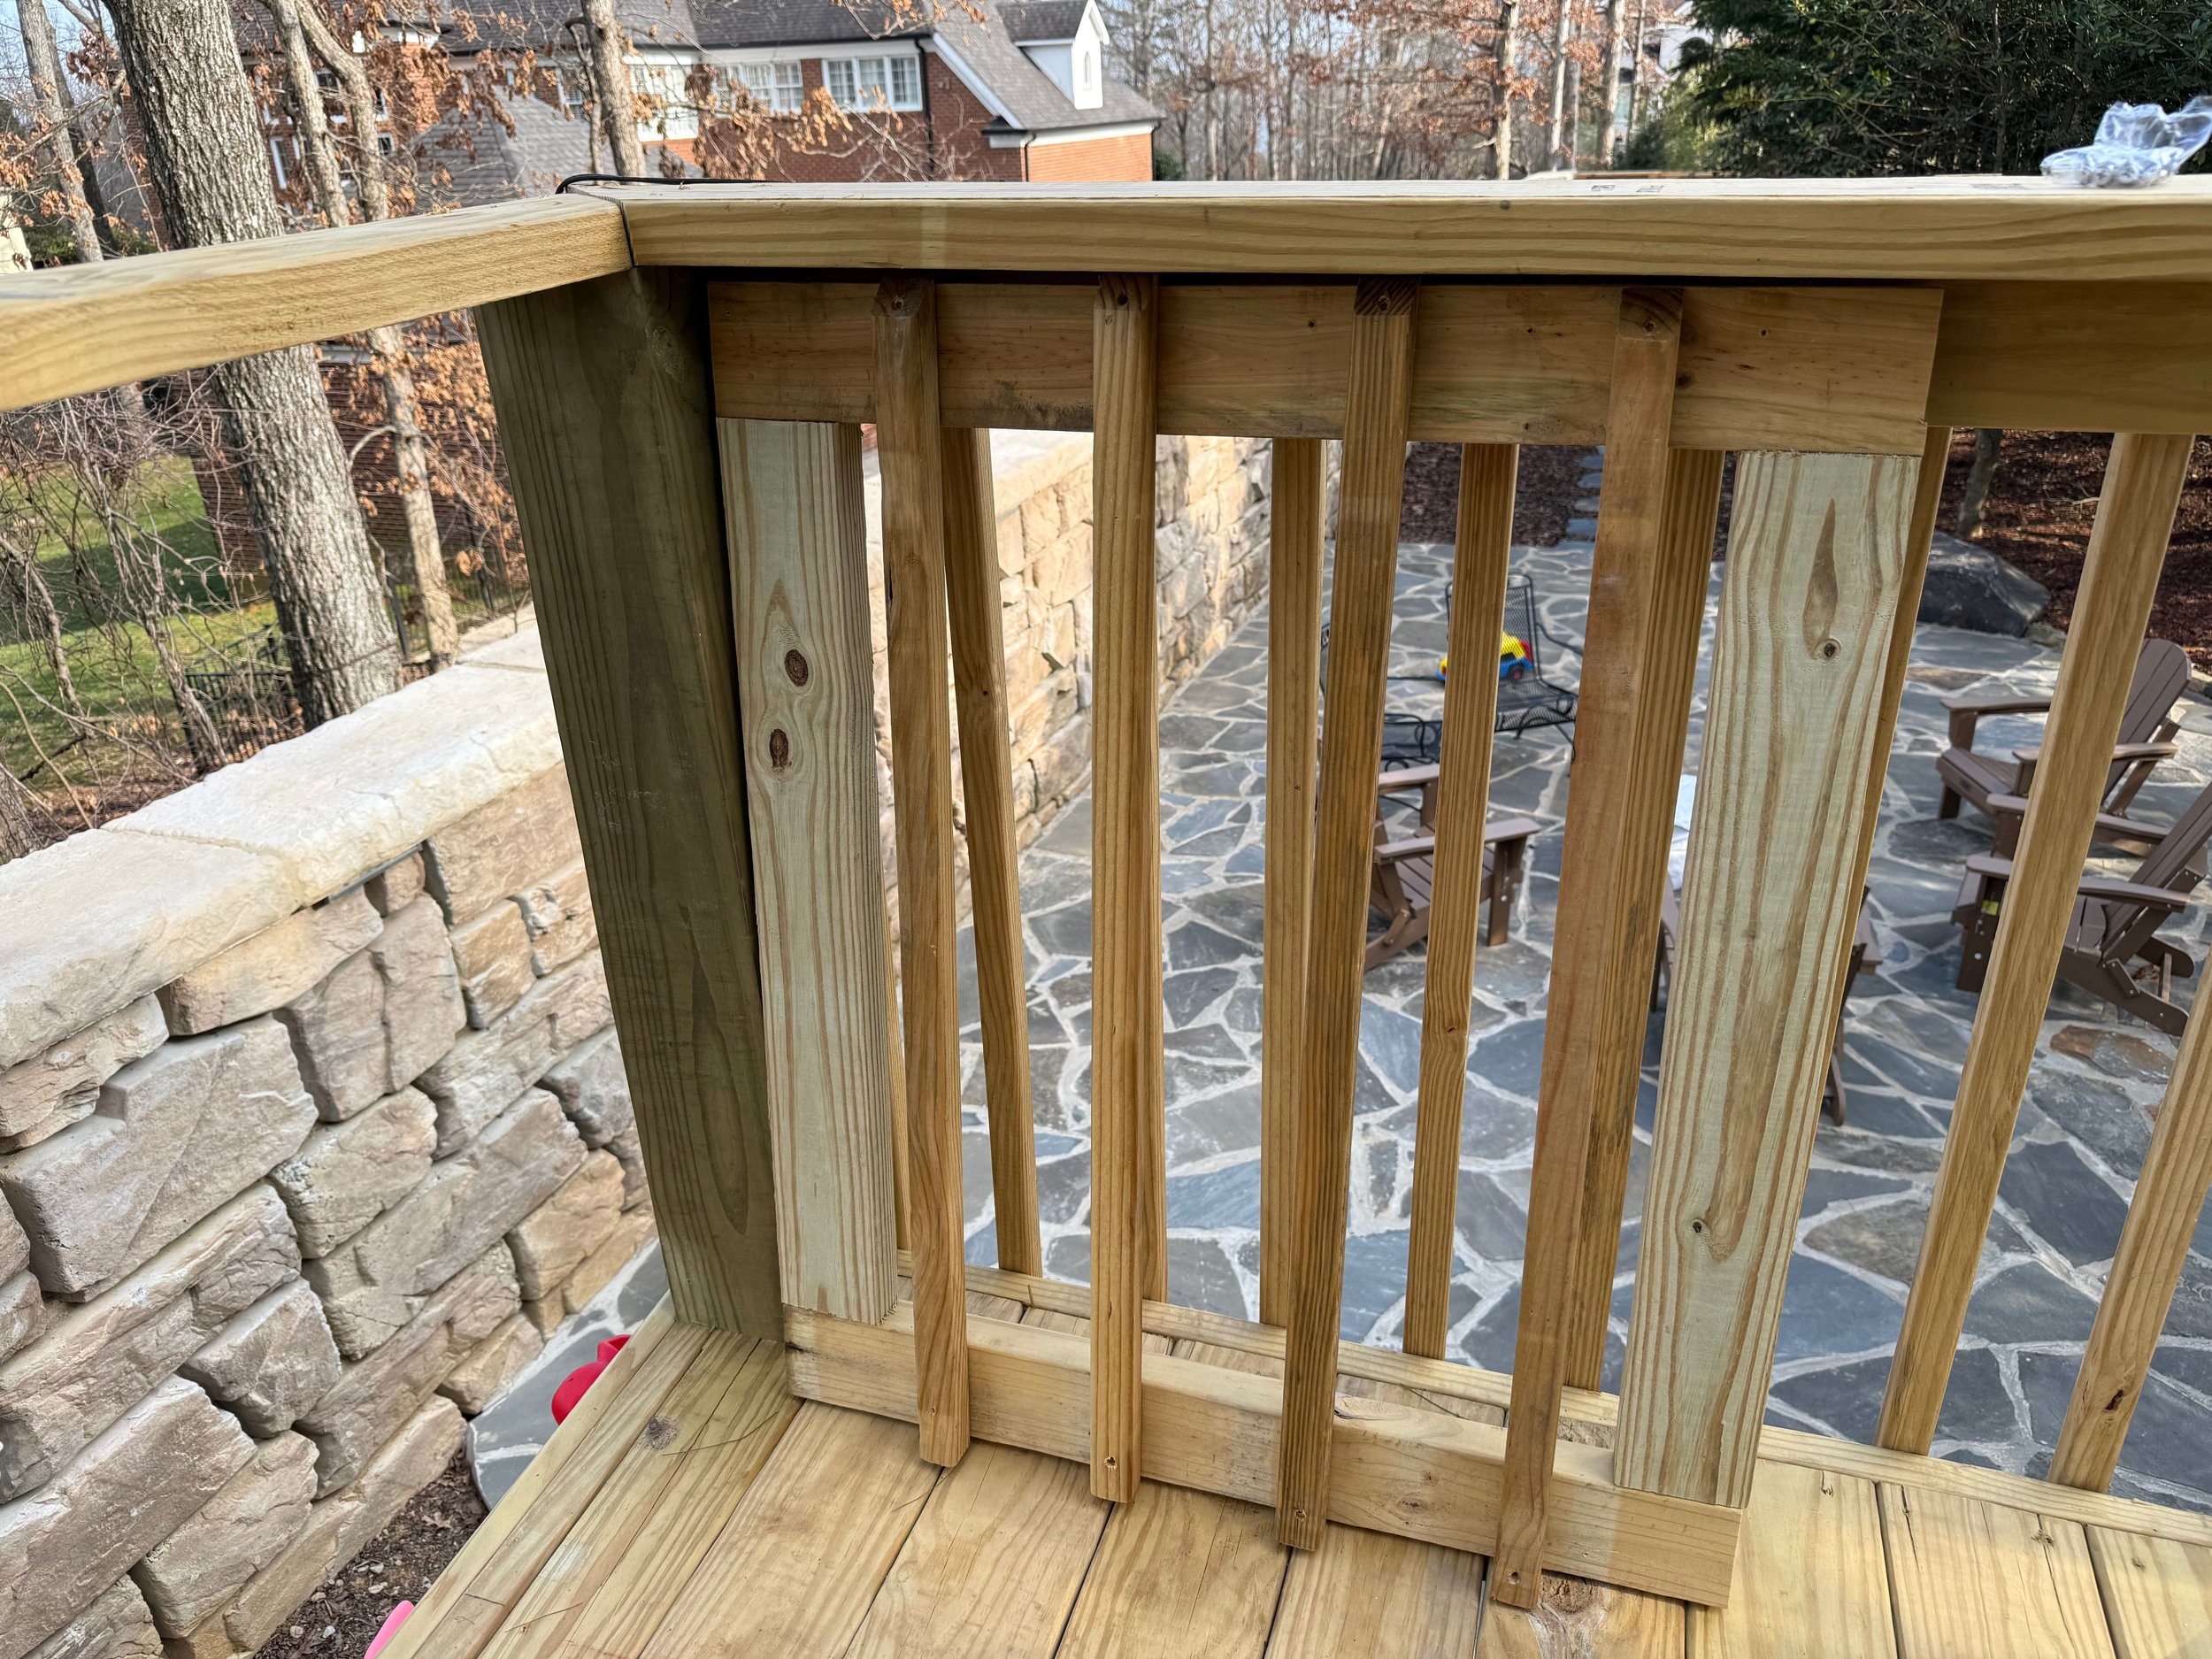
Once I had the boards cut, I started removing the slats from the piece I knew I needed out of the way. I took slats off each end and then two out of the middle so it was easier for me to cut the gate down. Then, I flipped the whole thing over because it gave me a much better angle for cutting with the circular saw. I had to decide how wide to make the gate. I needed to account for space for the hinges, the latch and for the gate to open and close so it couldn't remain the same length it was originally. I ended up taking 1 inch of one of the ends and then took that new length, divided it in half and cut down that spot which left me with two equal sized pieces. I flipped the two pieces back over and I added the two pieces of wood I had previously cut down to each side which left me with a full frame. I used exterior wood screws I already had on hand. They were a little longer than I needed, but I made it work. I used two screws on each side, anywhere where the wood joined to ensure everything was secure.

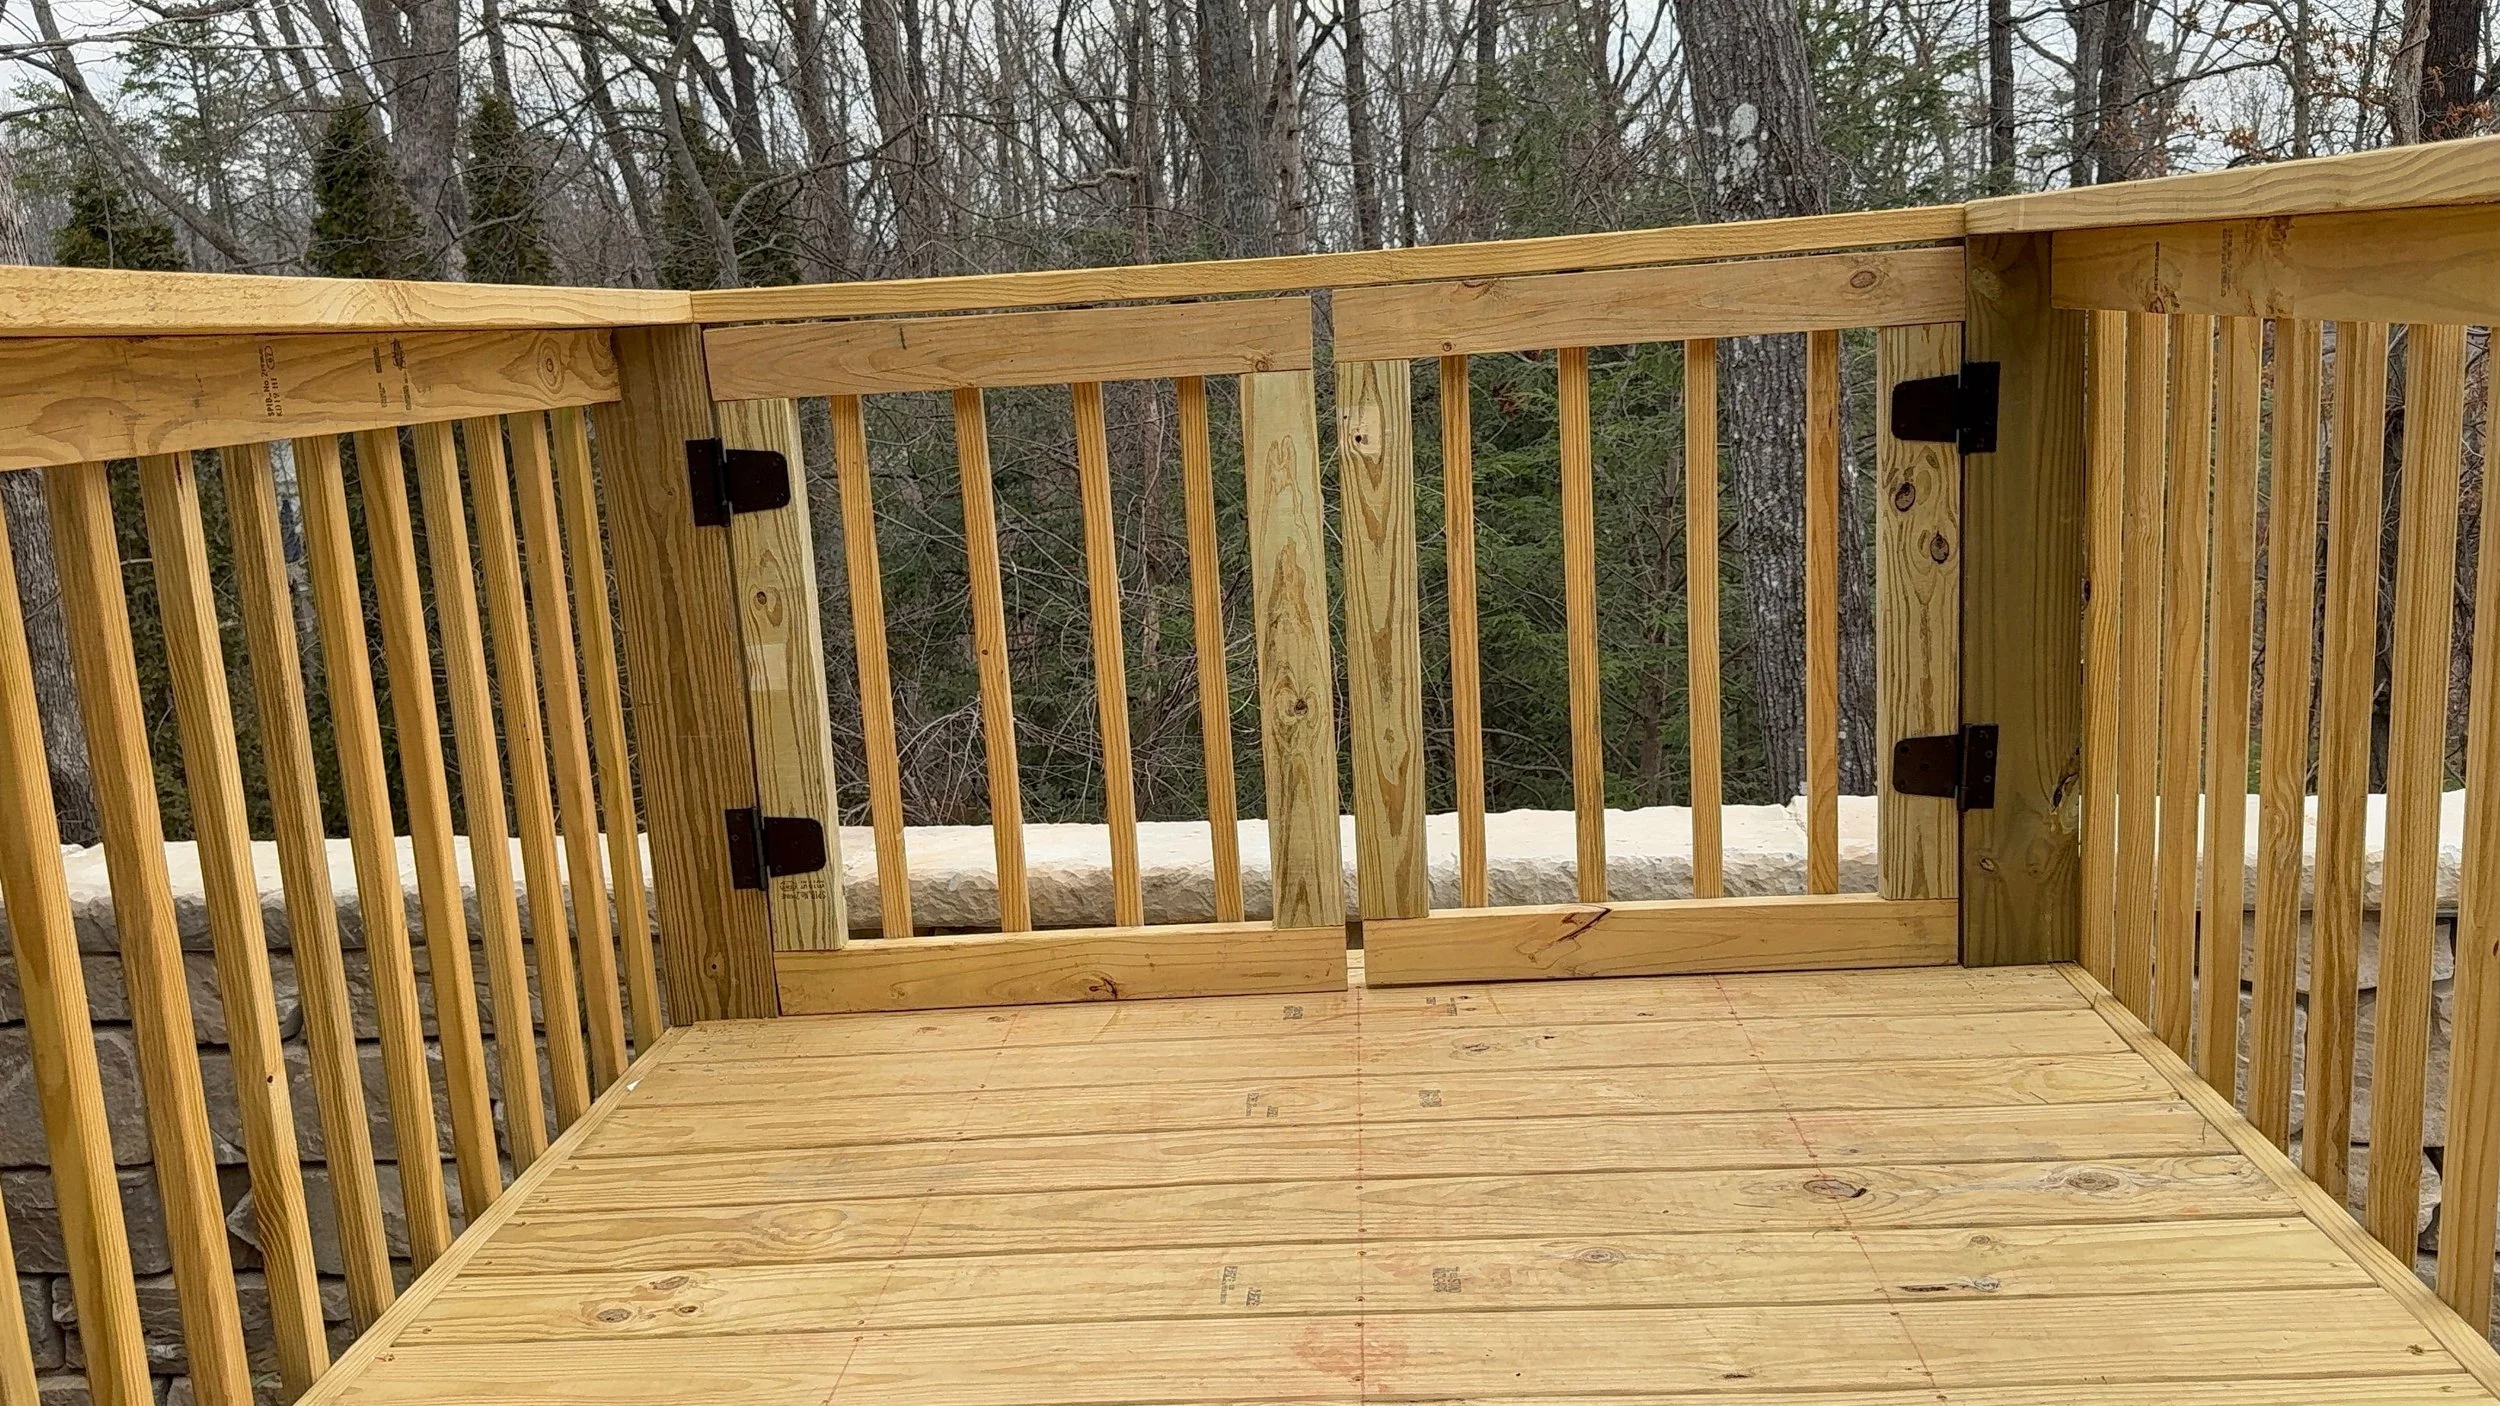
Once the side pieces were secure, I started moving the slats around to make the gate look more intentional because originally it just looked like I slapped some slats on haphazardly. I started on the outsides and secured those slats to the gate at about two inches away from the outside frame, then eyeballed the two slats in the middle. When that was done, it was time to secure the gate to the treehouse. I got some hinges that only open in one direction, which I thought would be helpful safety-wise. I marked where I needed to pre-drill each of the holes for the screws for the hinges and used two hinges per gate. I screwed the 4 hinges into place and secured it to the treehouse. I thought I was done, but after watching my kids play on it for a few days I realized my daredevil son had found a way to open the gate all the way and hang out in that space, which is NOT the safest. Since its about a 12-15 foot drop, I decided to add a latch as an extra safety measure.
I didn't want to add a latch because my oldest, who is almost 8, doesn't have the motor skills to climb up the ladder, hold onto the wall while reaching through and opening a latch on the inside of the gate. However, I found a solution! I used a latch cable. I drilled a hole through the post, and then I put the latch cable through so my daughter has the ability to climb the wall and pull to undo the latch and push the gate open. I secured the latch side on the left, and then the piece that goes into the latch on the right, marked where I needed to pre drill the holes, and then drilled the holes and screwed them in. I decided to put the latch at the bottom of the gate instead of the top of the gate because it's much easier to access.

I'm really happy with how this little gate turned out and feel much more confident that my kids can play safely.
That wraps up the climbing wall but I have so many more plans for this outdoor space so stay tuned!