Making the Climbing Wall
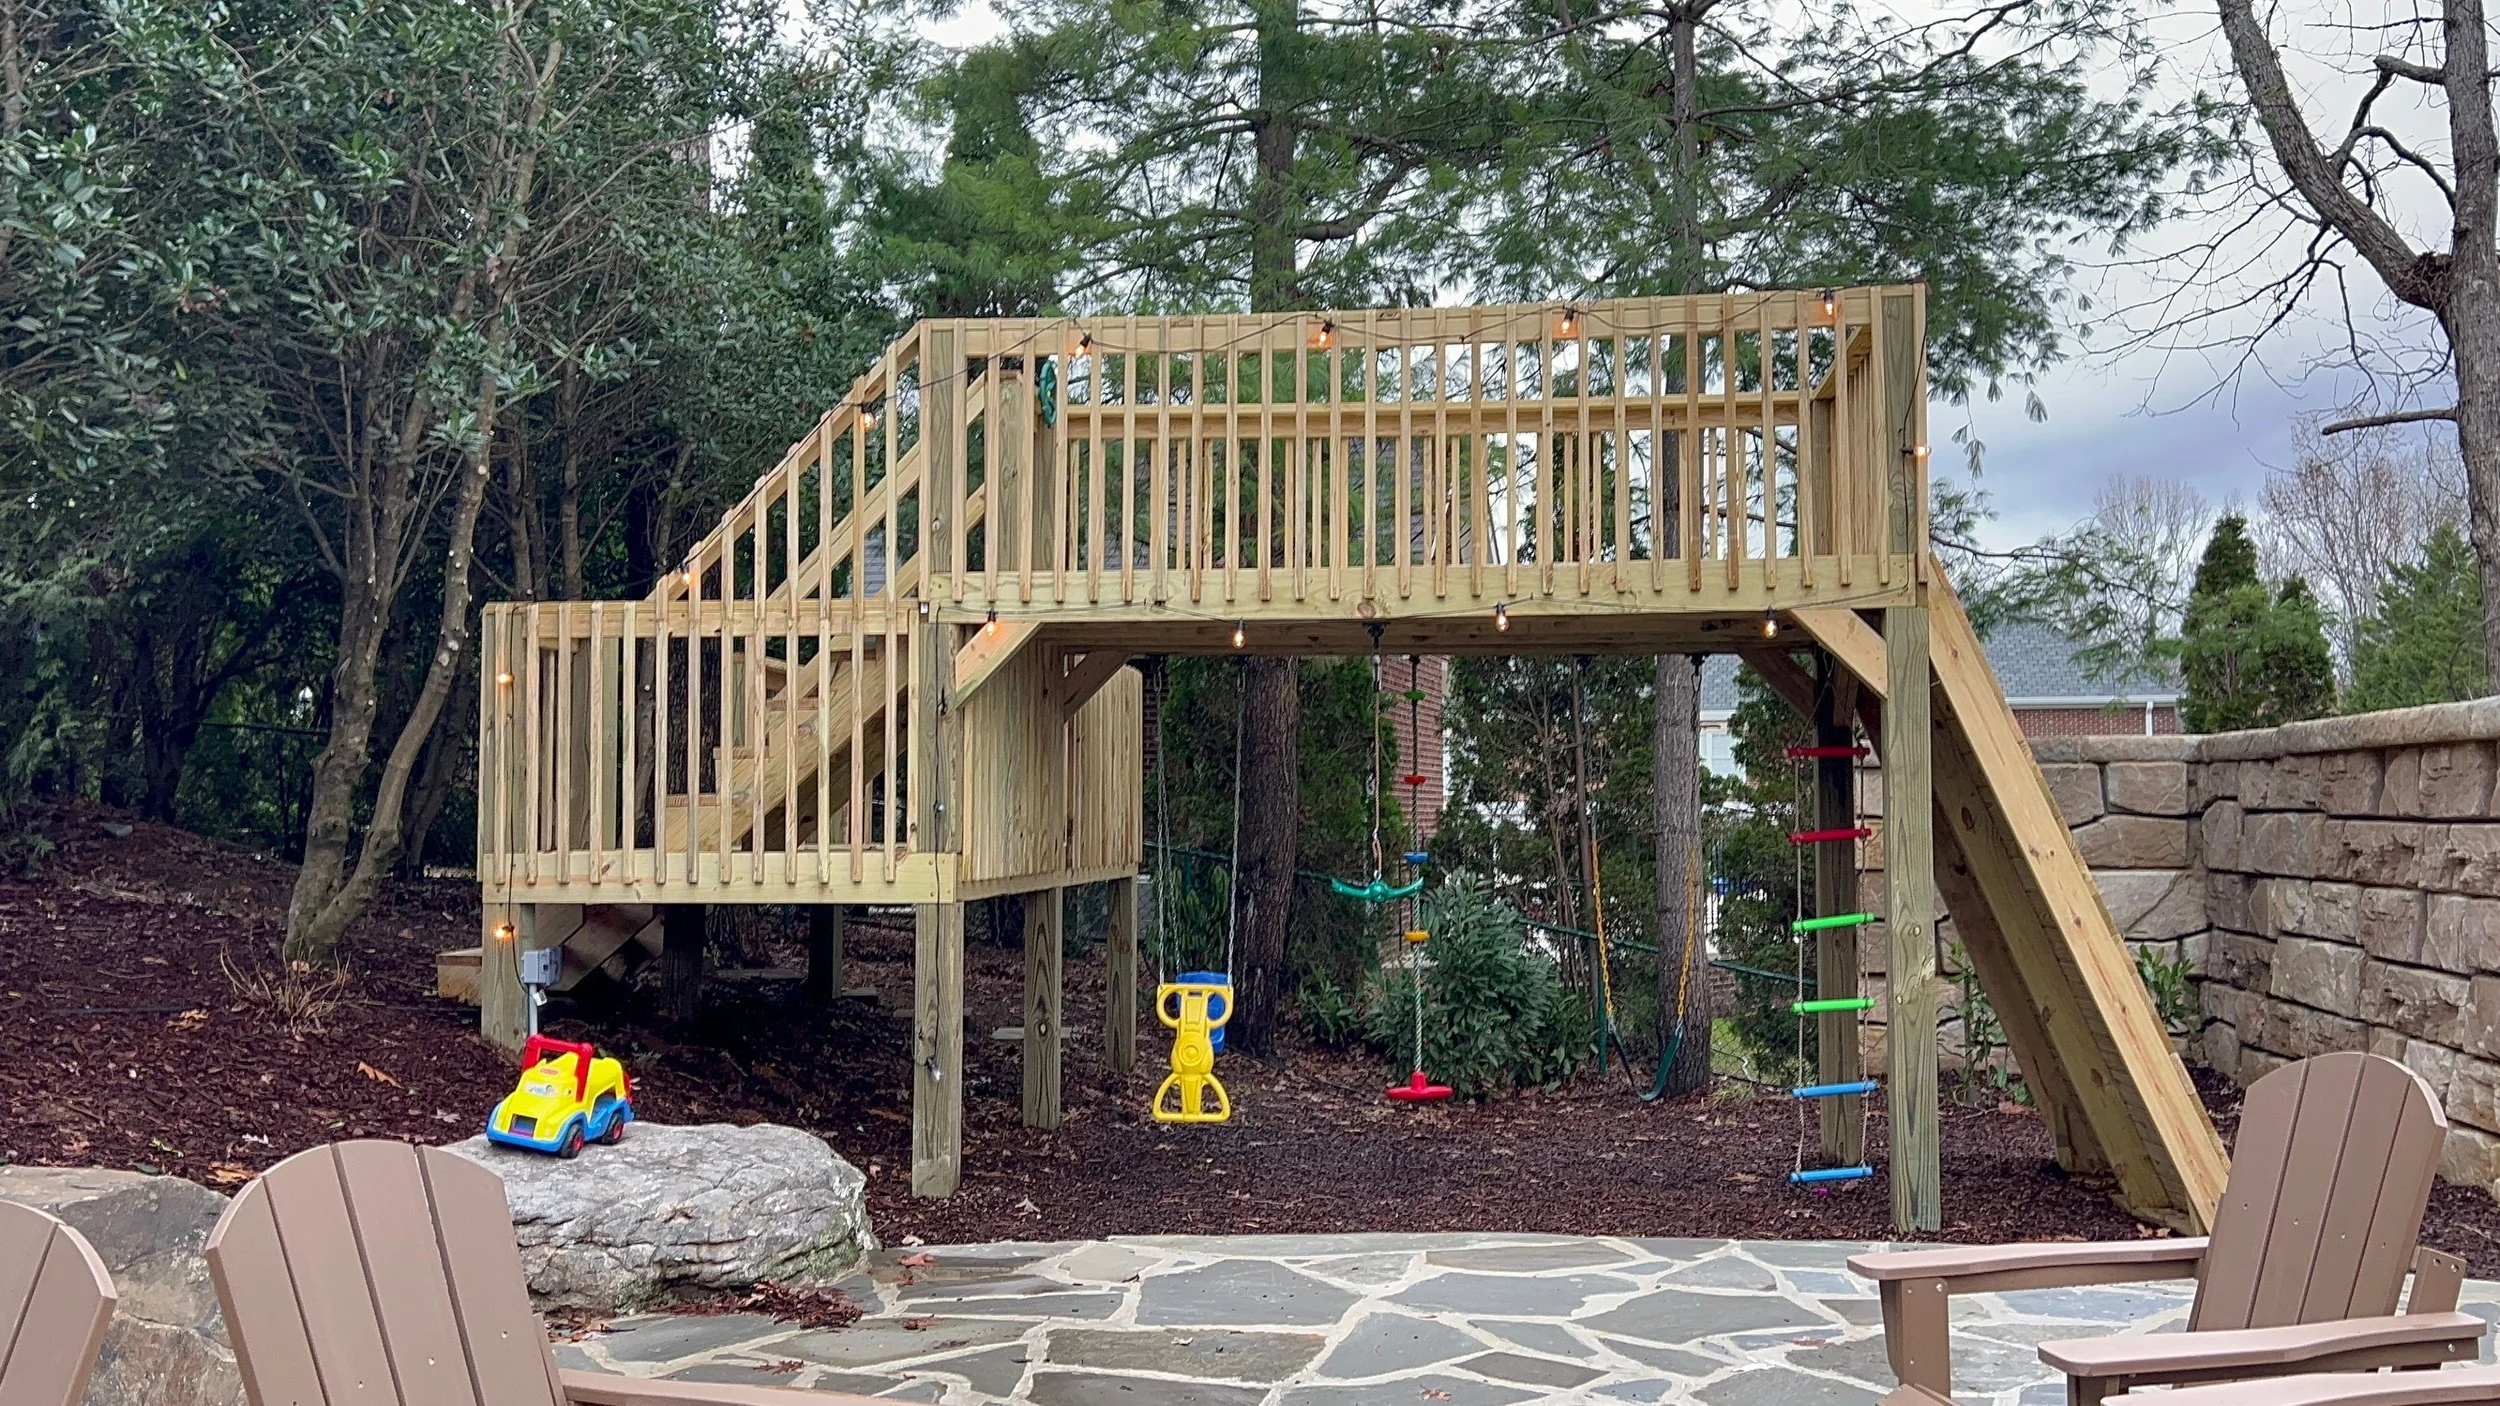
While we were in Argentina, my parents totally revamped the side of their yard. The previous owners of their house did a lot of landscaping before they left, but there was still a whole side of the yard that was completely untouched. There was a really weird hill that always had drainage issues so my parents decided to fix it. They built stairs down to a patio area and had a giant stone wall put in. While the workers were working on everything, my parents had them build an awesome tree house for my kids. I made some videos previously about what I planned for this space, but things changed because the tree that everything was originally going to be built around died, so we had to pivot directions. I’m not upset because it looks so good!
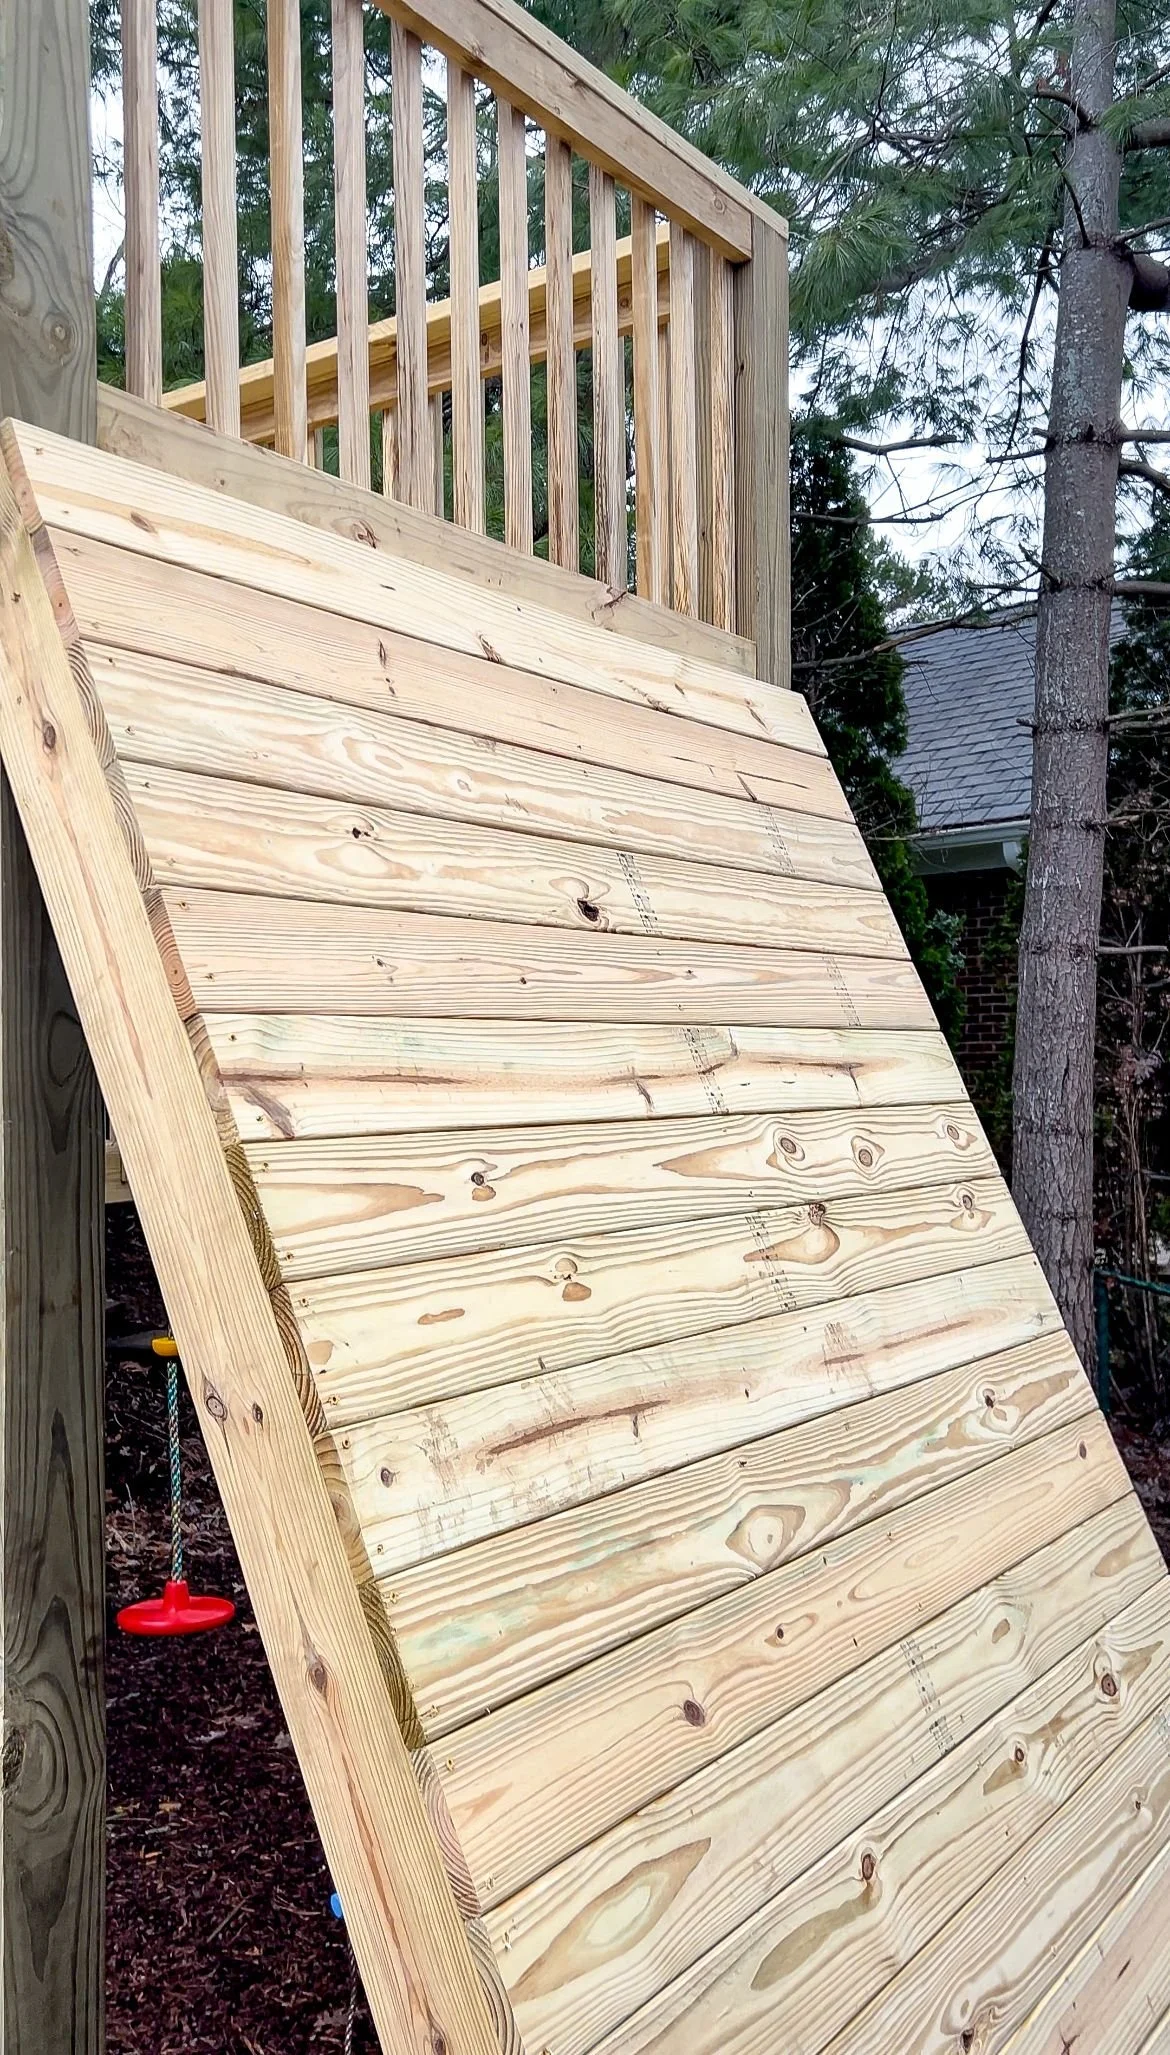
The whole space was so well thought out and so well done. I was originally expecting to come back and have the platforms of the treehouse done leaving me to do everything else. However, they got SO much done that there isn't any structural things for me to do, so I get to focus on the fun stuff! Now it's a set of freestanding platforms concreted into the ground. There's a lower platform and then stairs up to a higher platform, which are both massive and allow for a lot of free play. This really is a blank slate for me to be able to add all of the fun things and I am SO excited. They already have the swings underneath, which is great. The builders also made a huge wall for me that I'm putting a climbing wall on one side of and a ladder on the other. Today, I'm starting the climbing wall.
Making the Climbing Wall | Prep Work
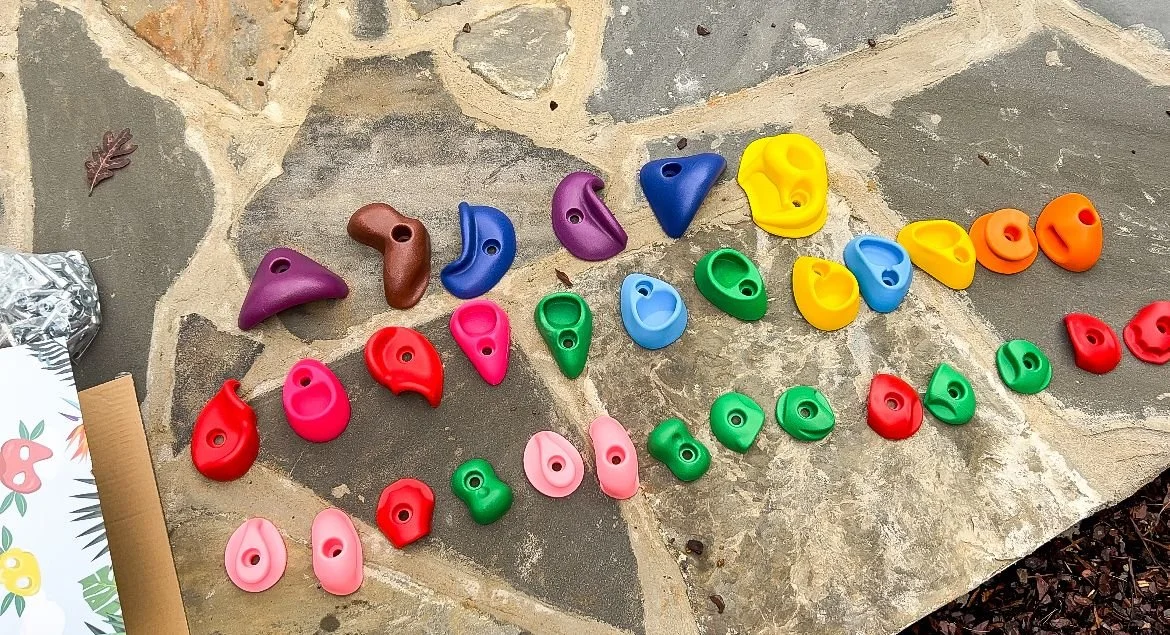
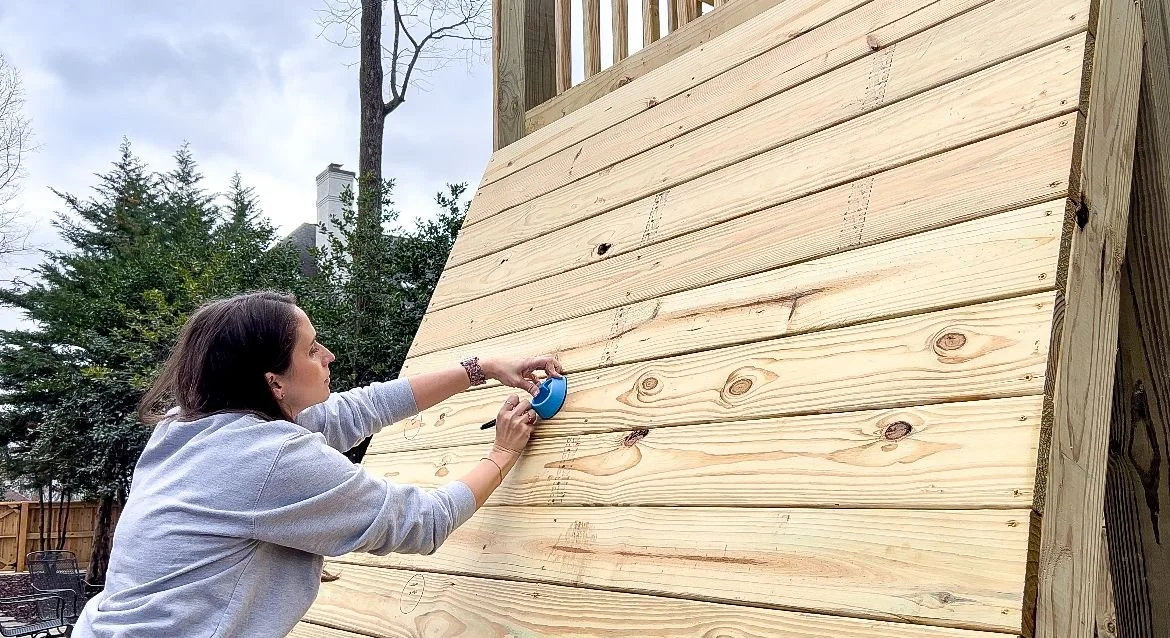
The handholds I'm using come in a pack of 32. They have these really awesome bolts that thread through the front of the climbing hold and then on the back end they have a piece that you hammer into the wood. It basically pins into the wood and threads the bolt. The wall is very big so I needed varying sizes of handholds. I wasn't sure I was going to have enough of them. I decided to trace all of the holds onto the wood so I could map out where everything goes.
I started off tracing with a pencil but since the wood is treated, the pencil didn't work, so I opted for a Sharpie instead. I traced each handhold and the hole that needed to be drilled and then wrote in the middle what color it was. I started off doing things in sets of three. I wanted to make sure the holds went from as low as possible to as high as possible so it would be accessible for both my 7 year old and 2 year old.
Making the Climbing Wall | Drilling and Securing
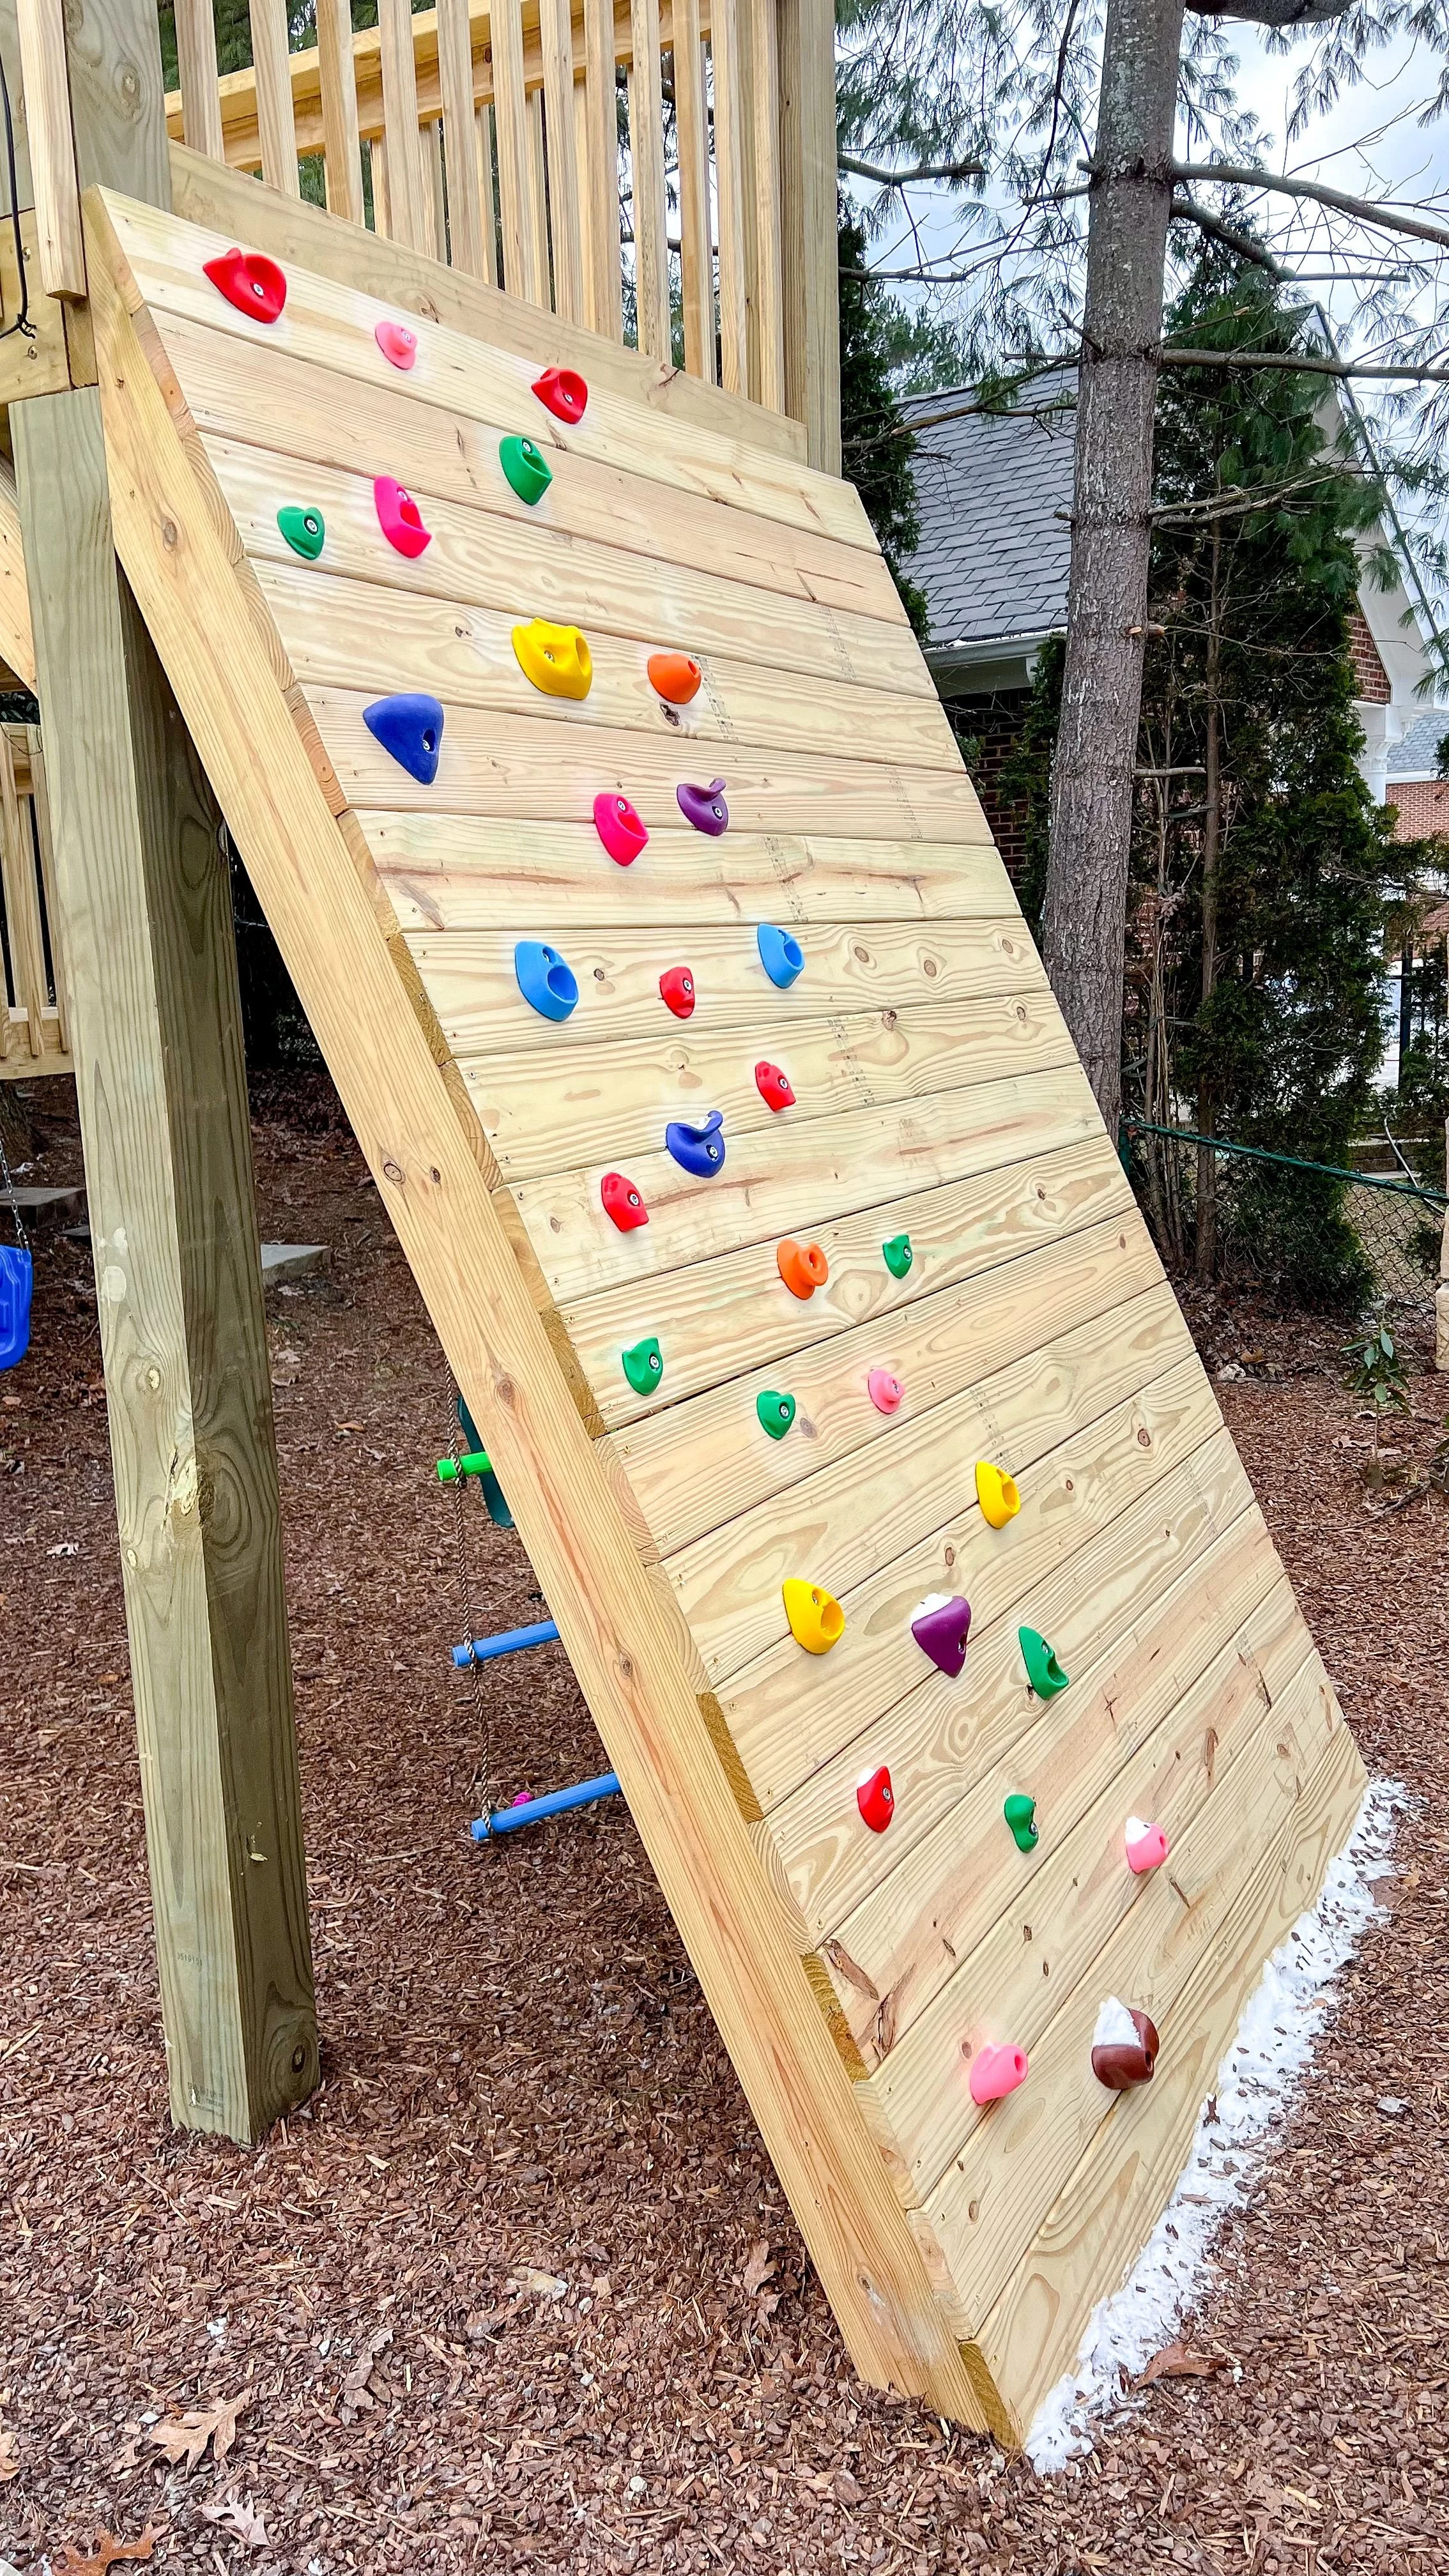
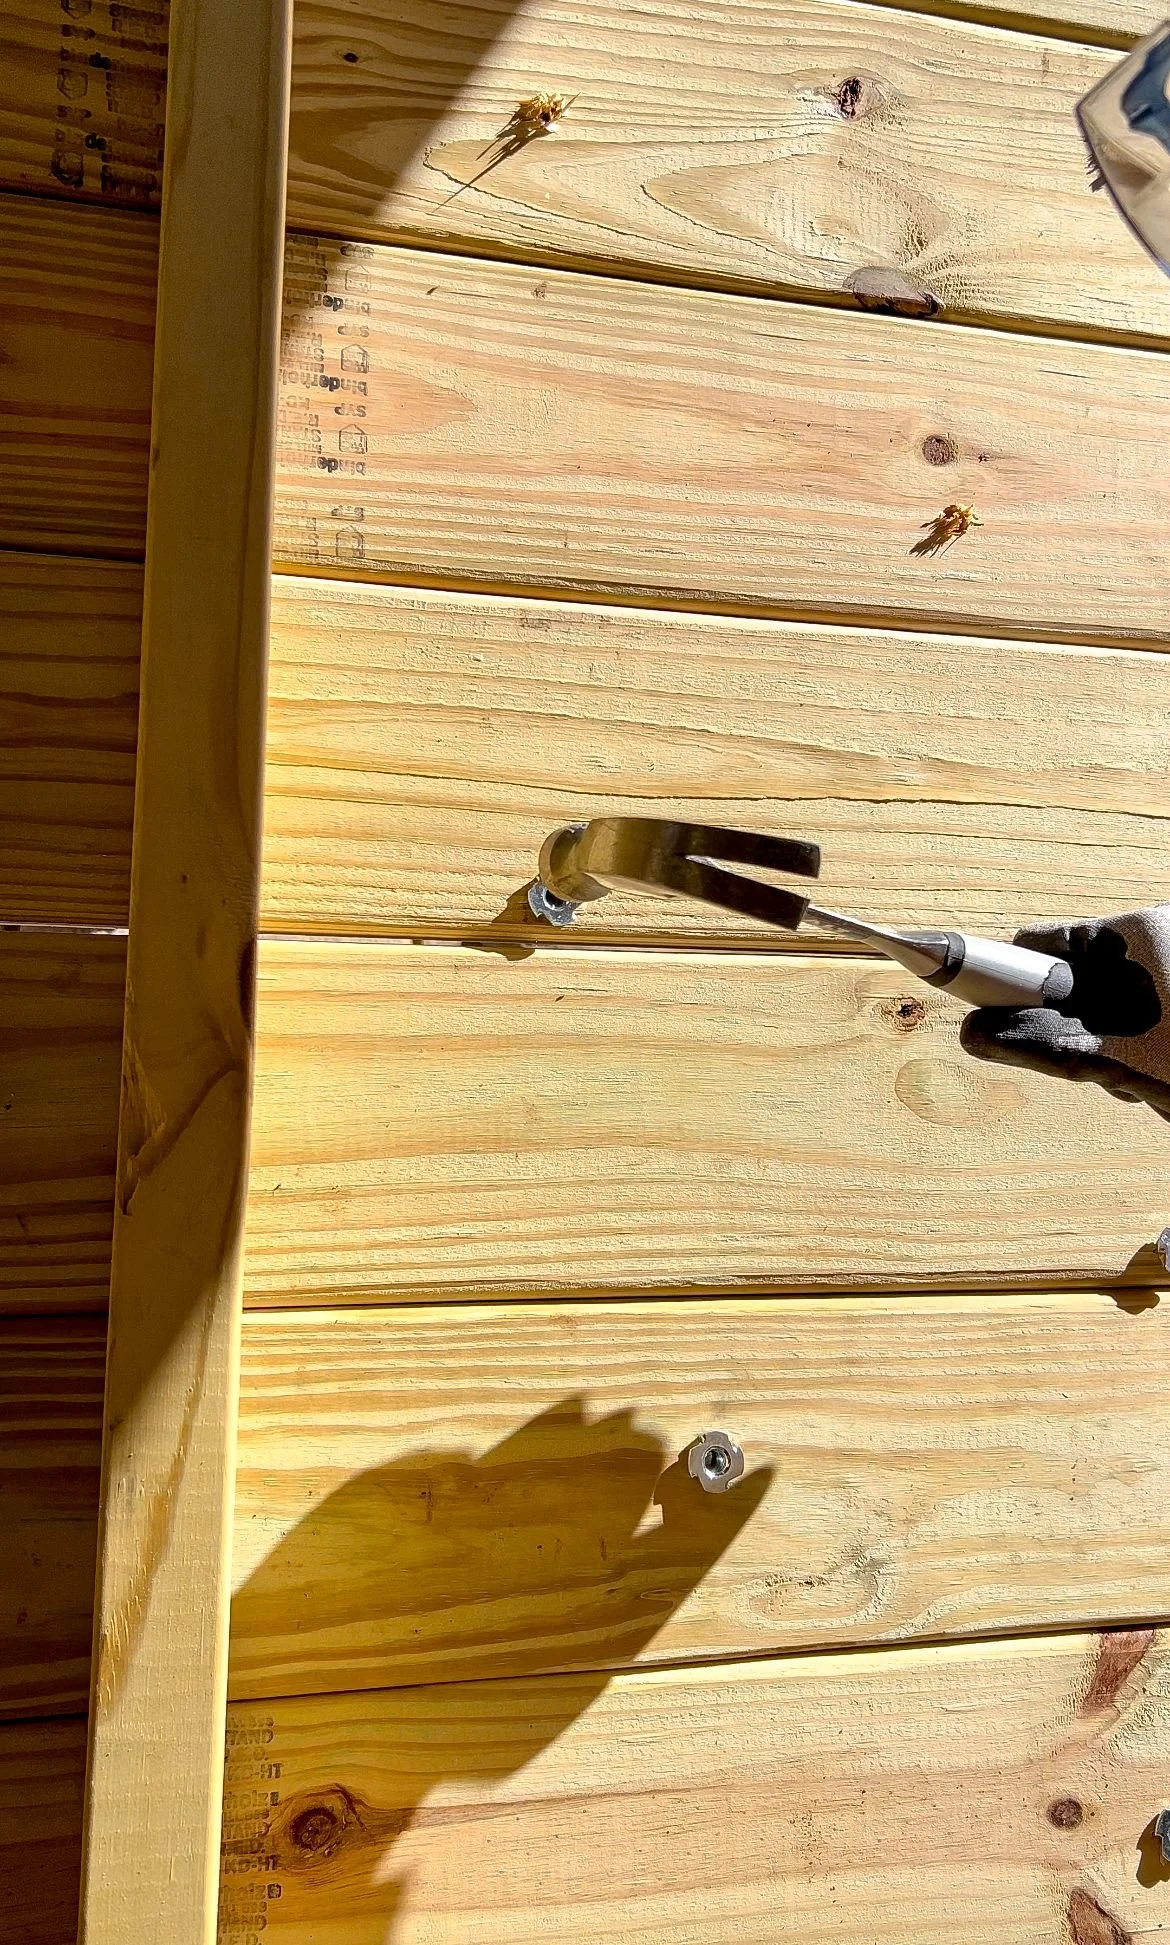
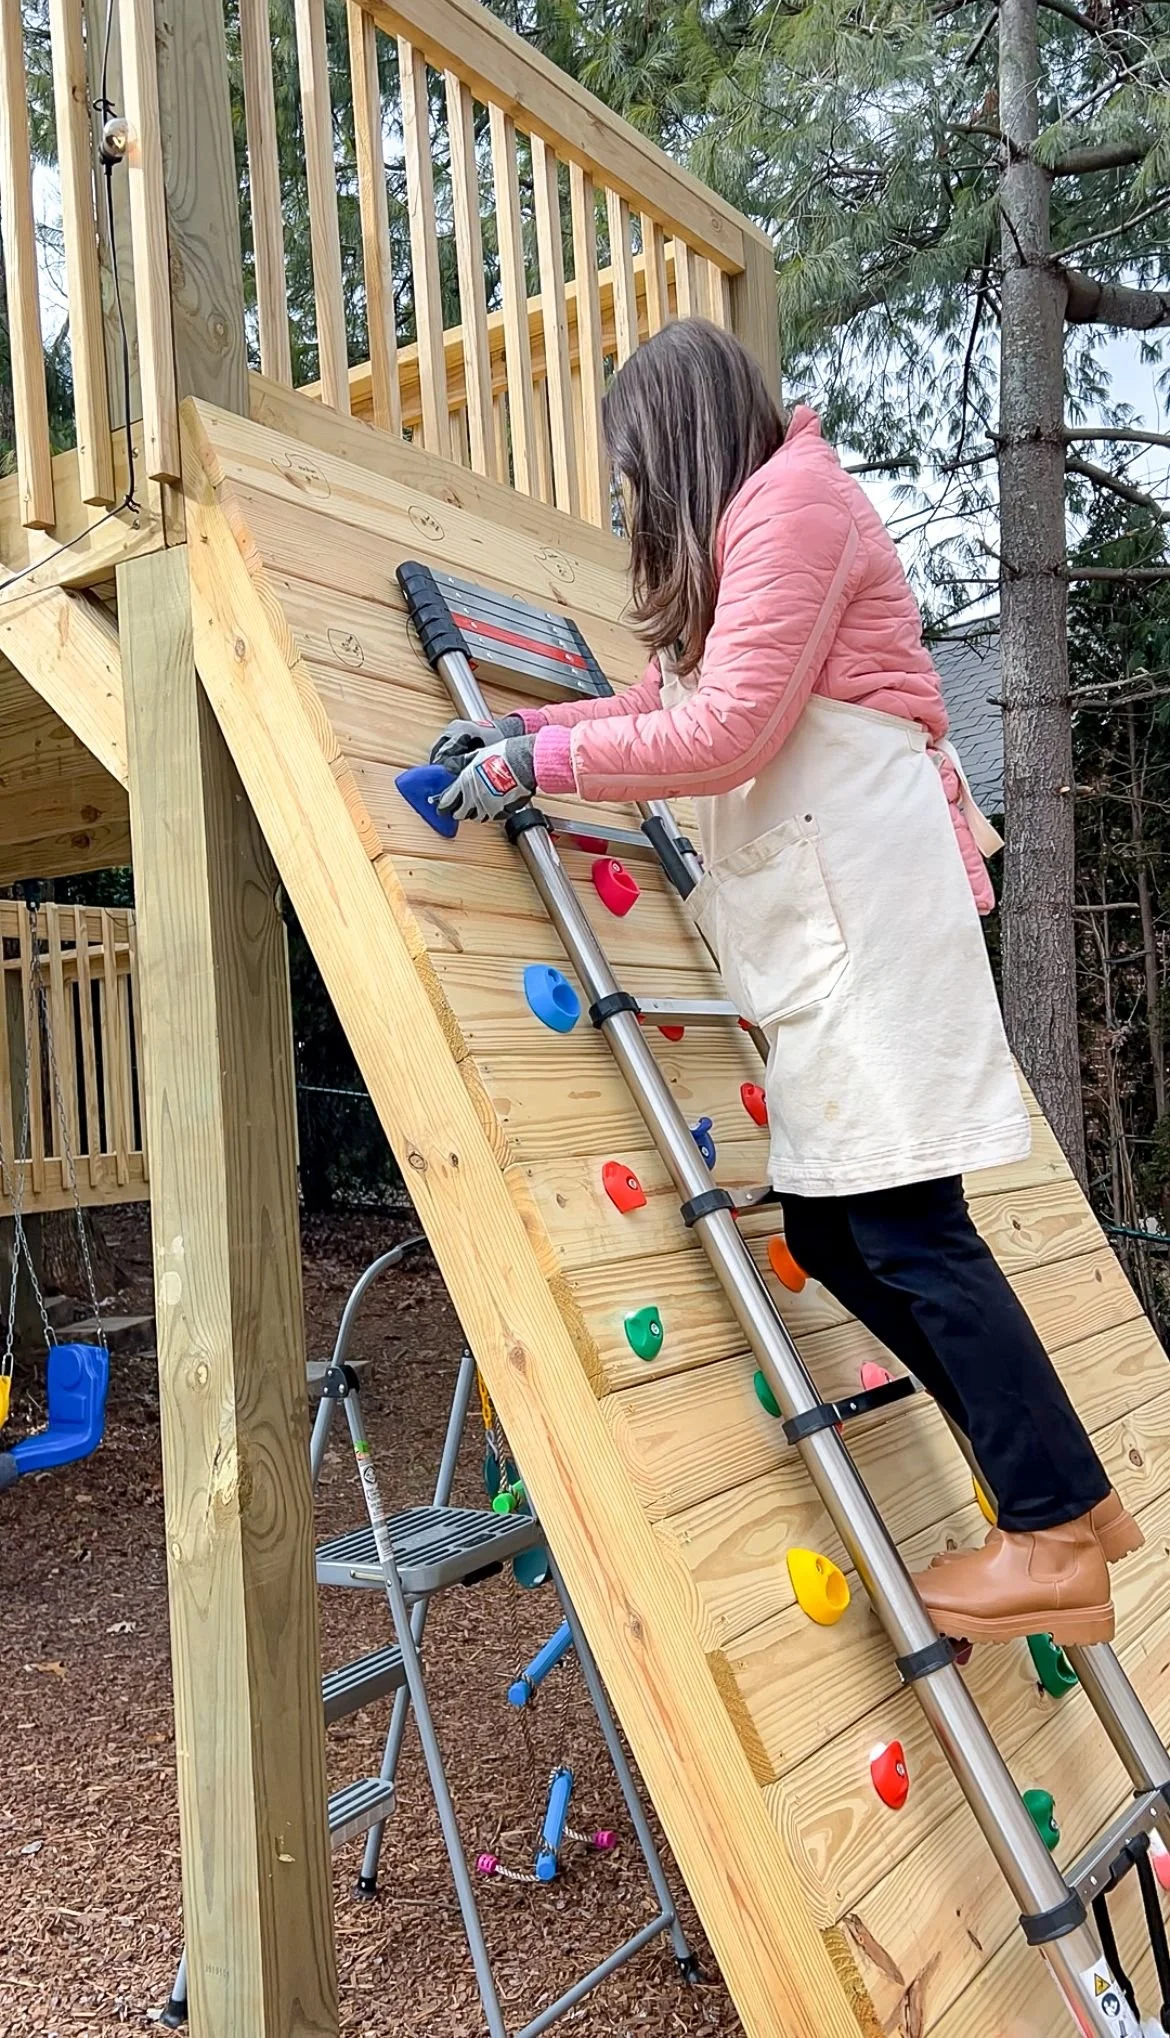
Then I started placing the handholds. I took the extra time to sand down the sharpie I used on the wood between securing each hand hold so that it looked nice when I was done. I placed two or three handholds at a time so I was able to easily keep track of which one I was working on at the moment. The set of handholds comes with all of the things that you need, including the allen wrench that works for the screws. I had to secure a washer on the bolt, put the bolt in and then use the Allen wrench to screw in each one. To ensure that these were extra tight once I couldn't turn the allen wrench any further, I used the hammer and hammered them in to be extra safe.
I got into a groove and as long as everything was lined up, it went pretty fast and easily. However, there were a few times where the hole just didn't line up right so I had to do some extra work to get it in. As I got higher up on the wall, the step stool I was using wasn't tall enough so I had to get my telescoping ladder to reach the top. The last three pieces at the very top of the wall were a little bit tricky because the frame for the top deck was in the way of me being able to easily put the backs in for these bolts. I ended up screwing the bolts in without the handholds and then put the backs on the other side so that they could thread onto the bolts. Then I came back to the front side and screwed the bolts in as tight as possible so that they would pull the back ends in and into the wood. Once that was done, I unscrewed the bolts, made sure that the back pieces remained embedded into the wood and placed the handholds. It was a few extra steps, but wasn't too bad.
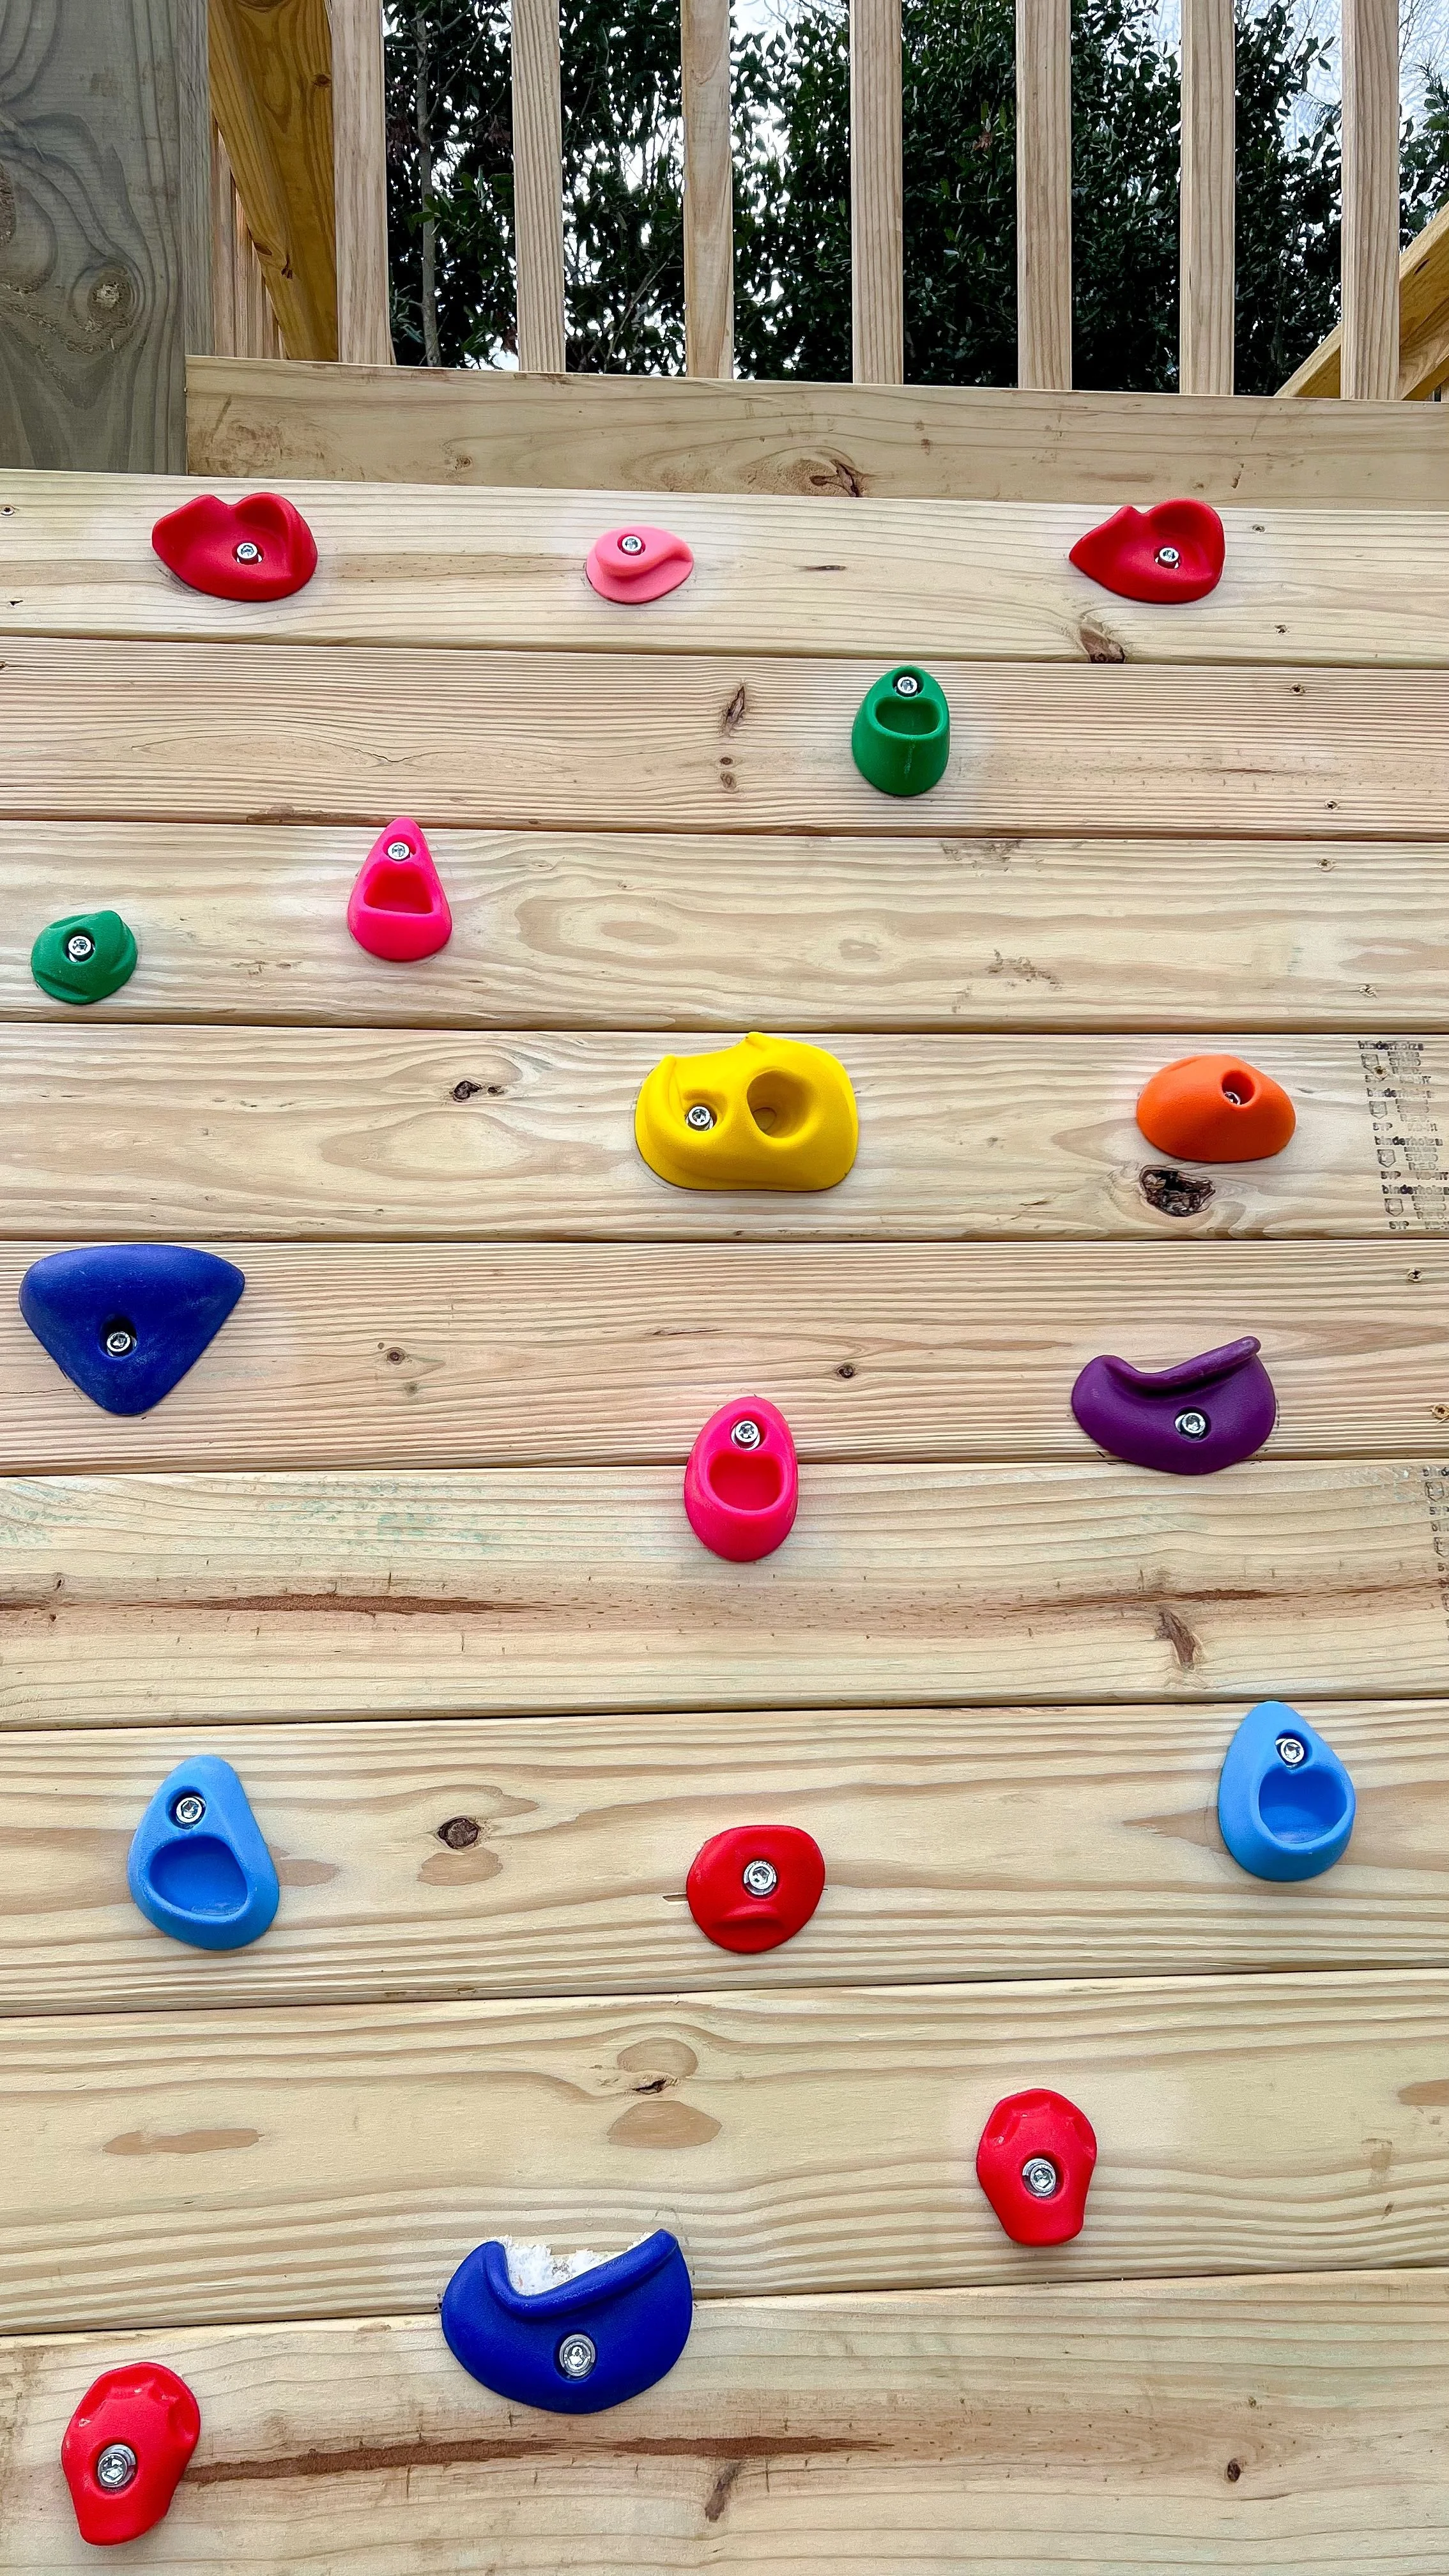
Honestly, this took a little bit longer than I was expecting, because I had to do it spread out over like two weeks, but I think it's awesome and the kids are excited. I can't wait to get working on the climbing ladder and gate, so stay tuned for those and the final reveal of this amazing custom backyard playground!

