
DIY Ladder Wall
I'm currently working on the tree house playground for my kids at my parents’ house. I already completed the rock climbing wall, and now I’m putting in a climbing ladder on the other side of the wall!
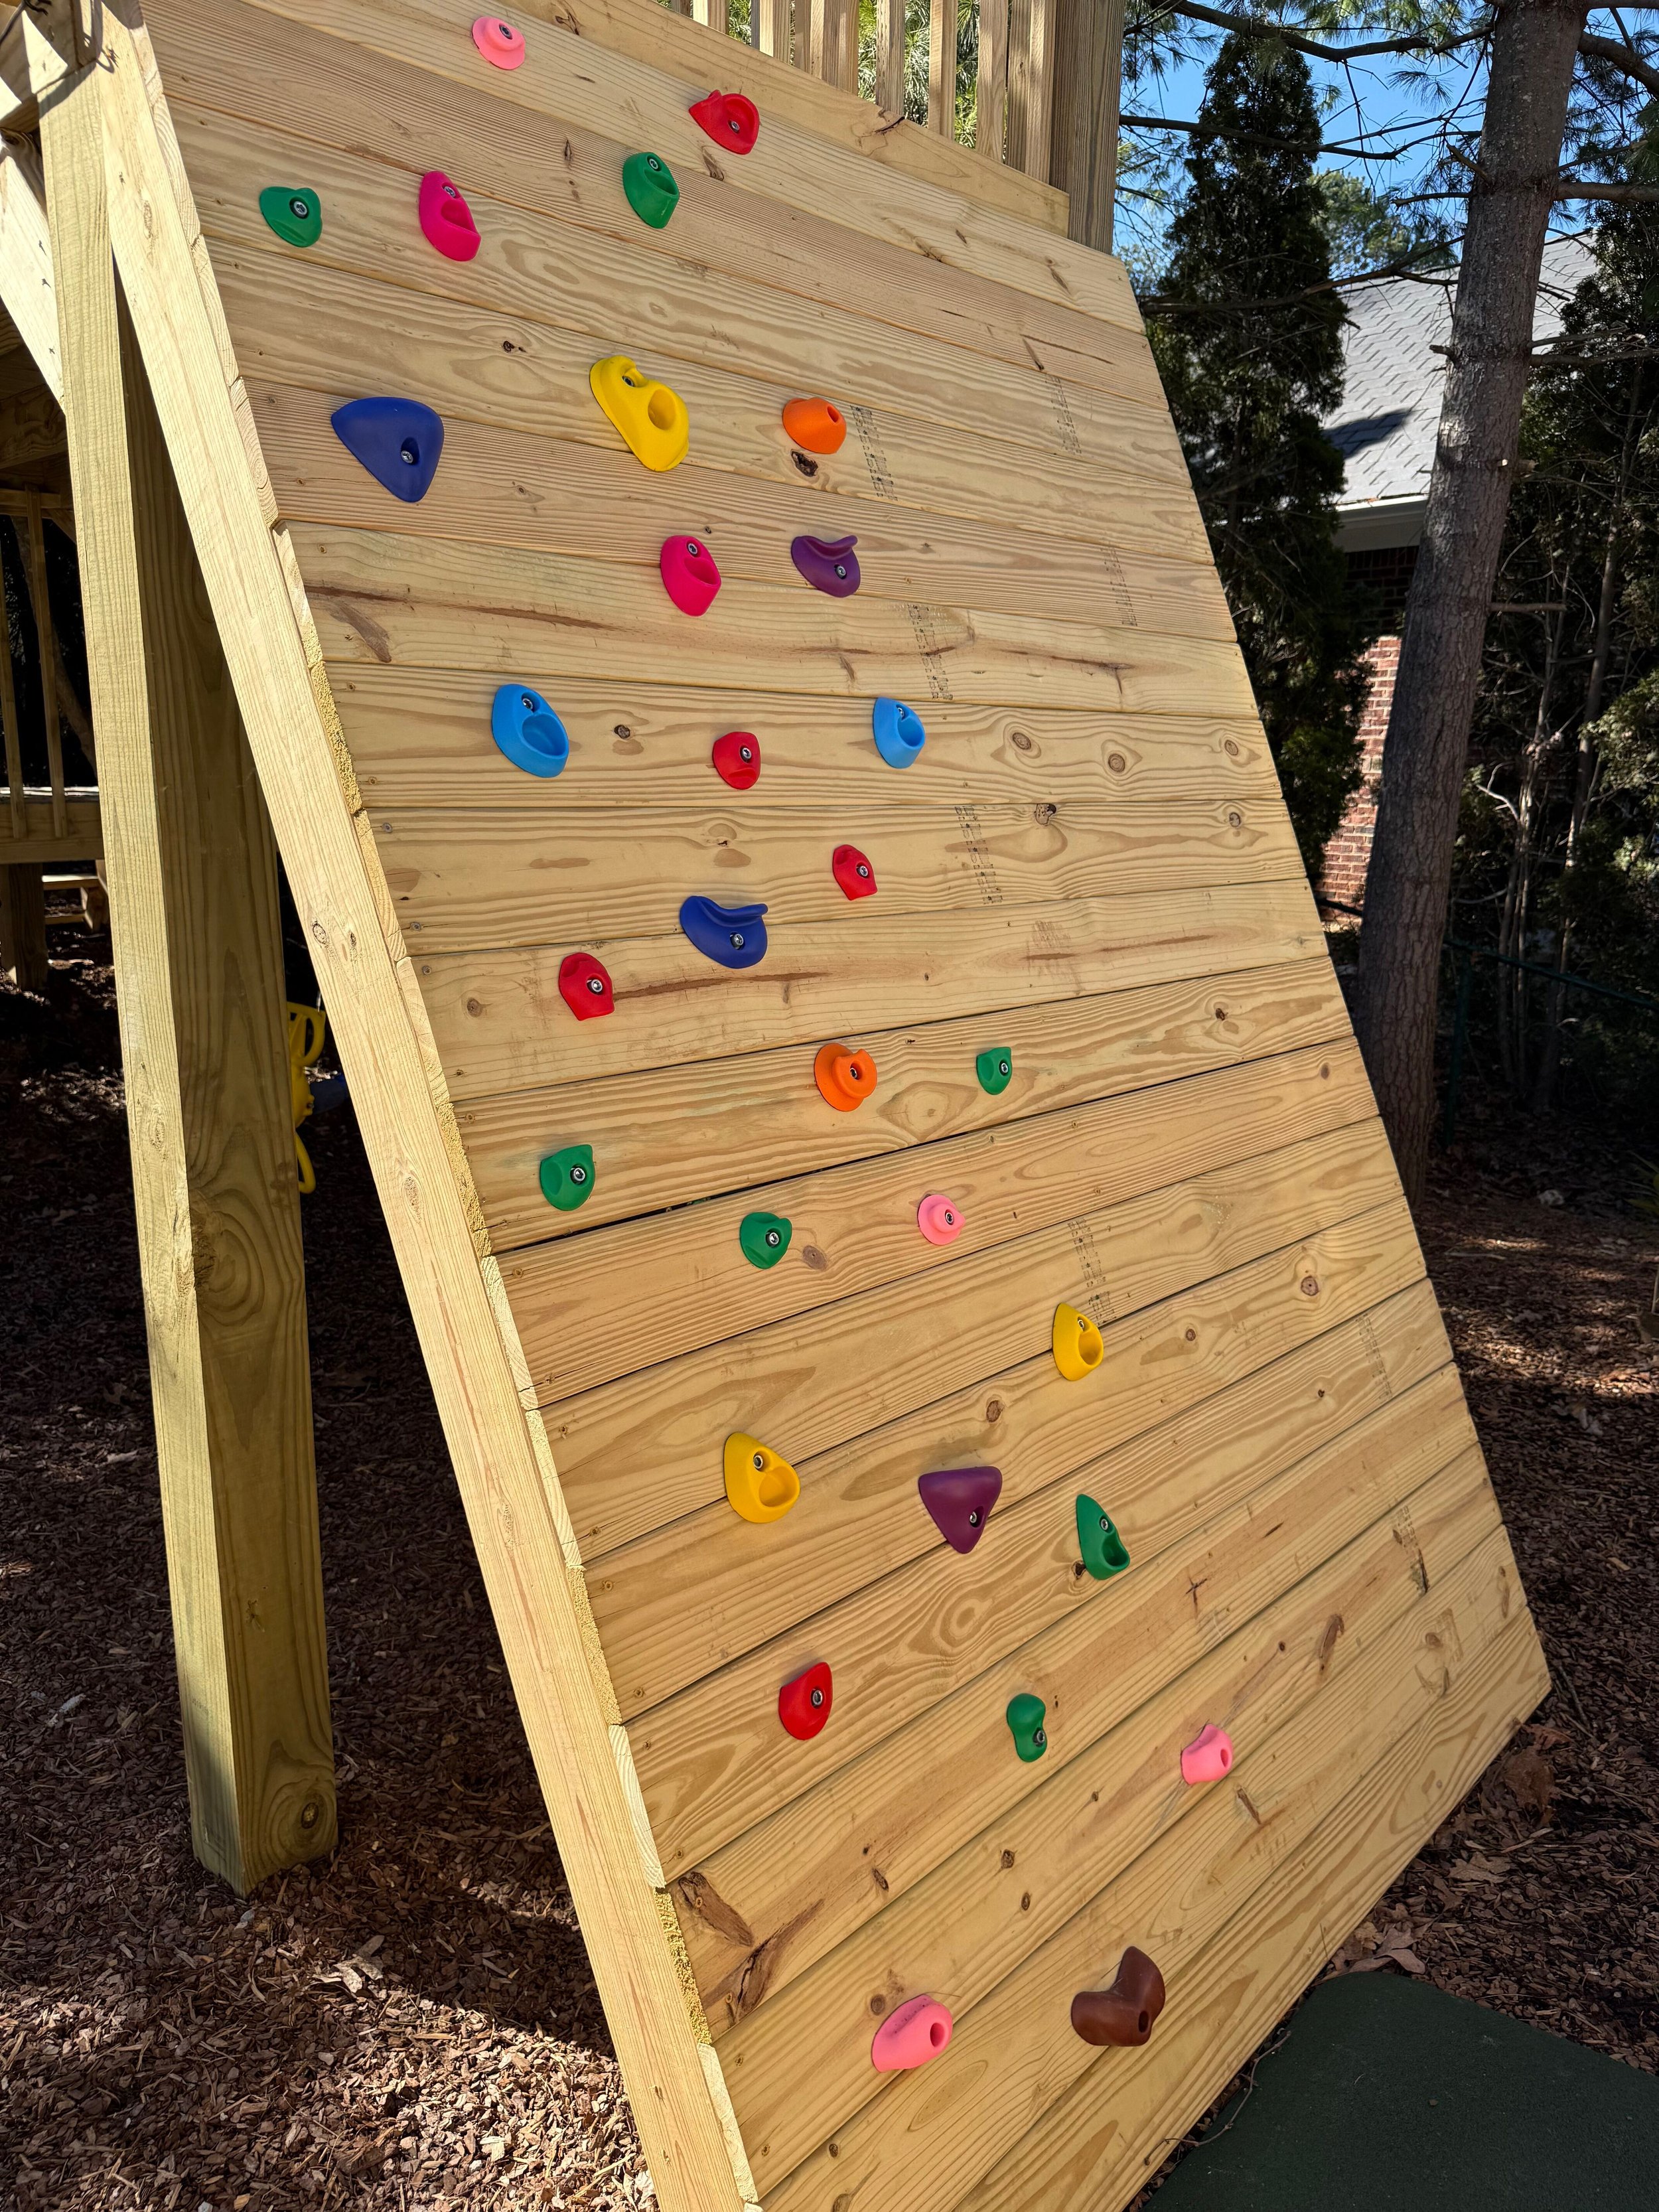
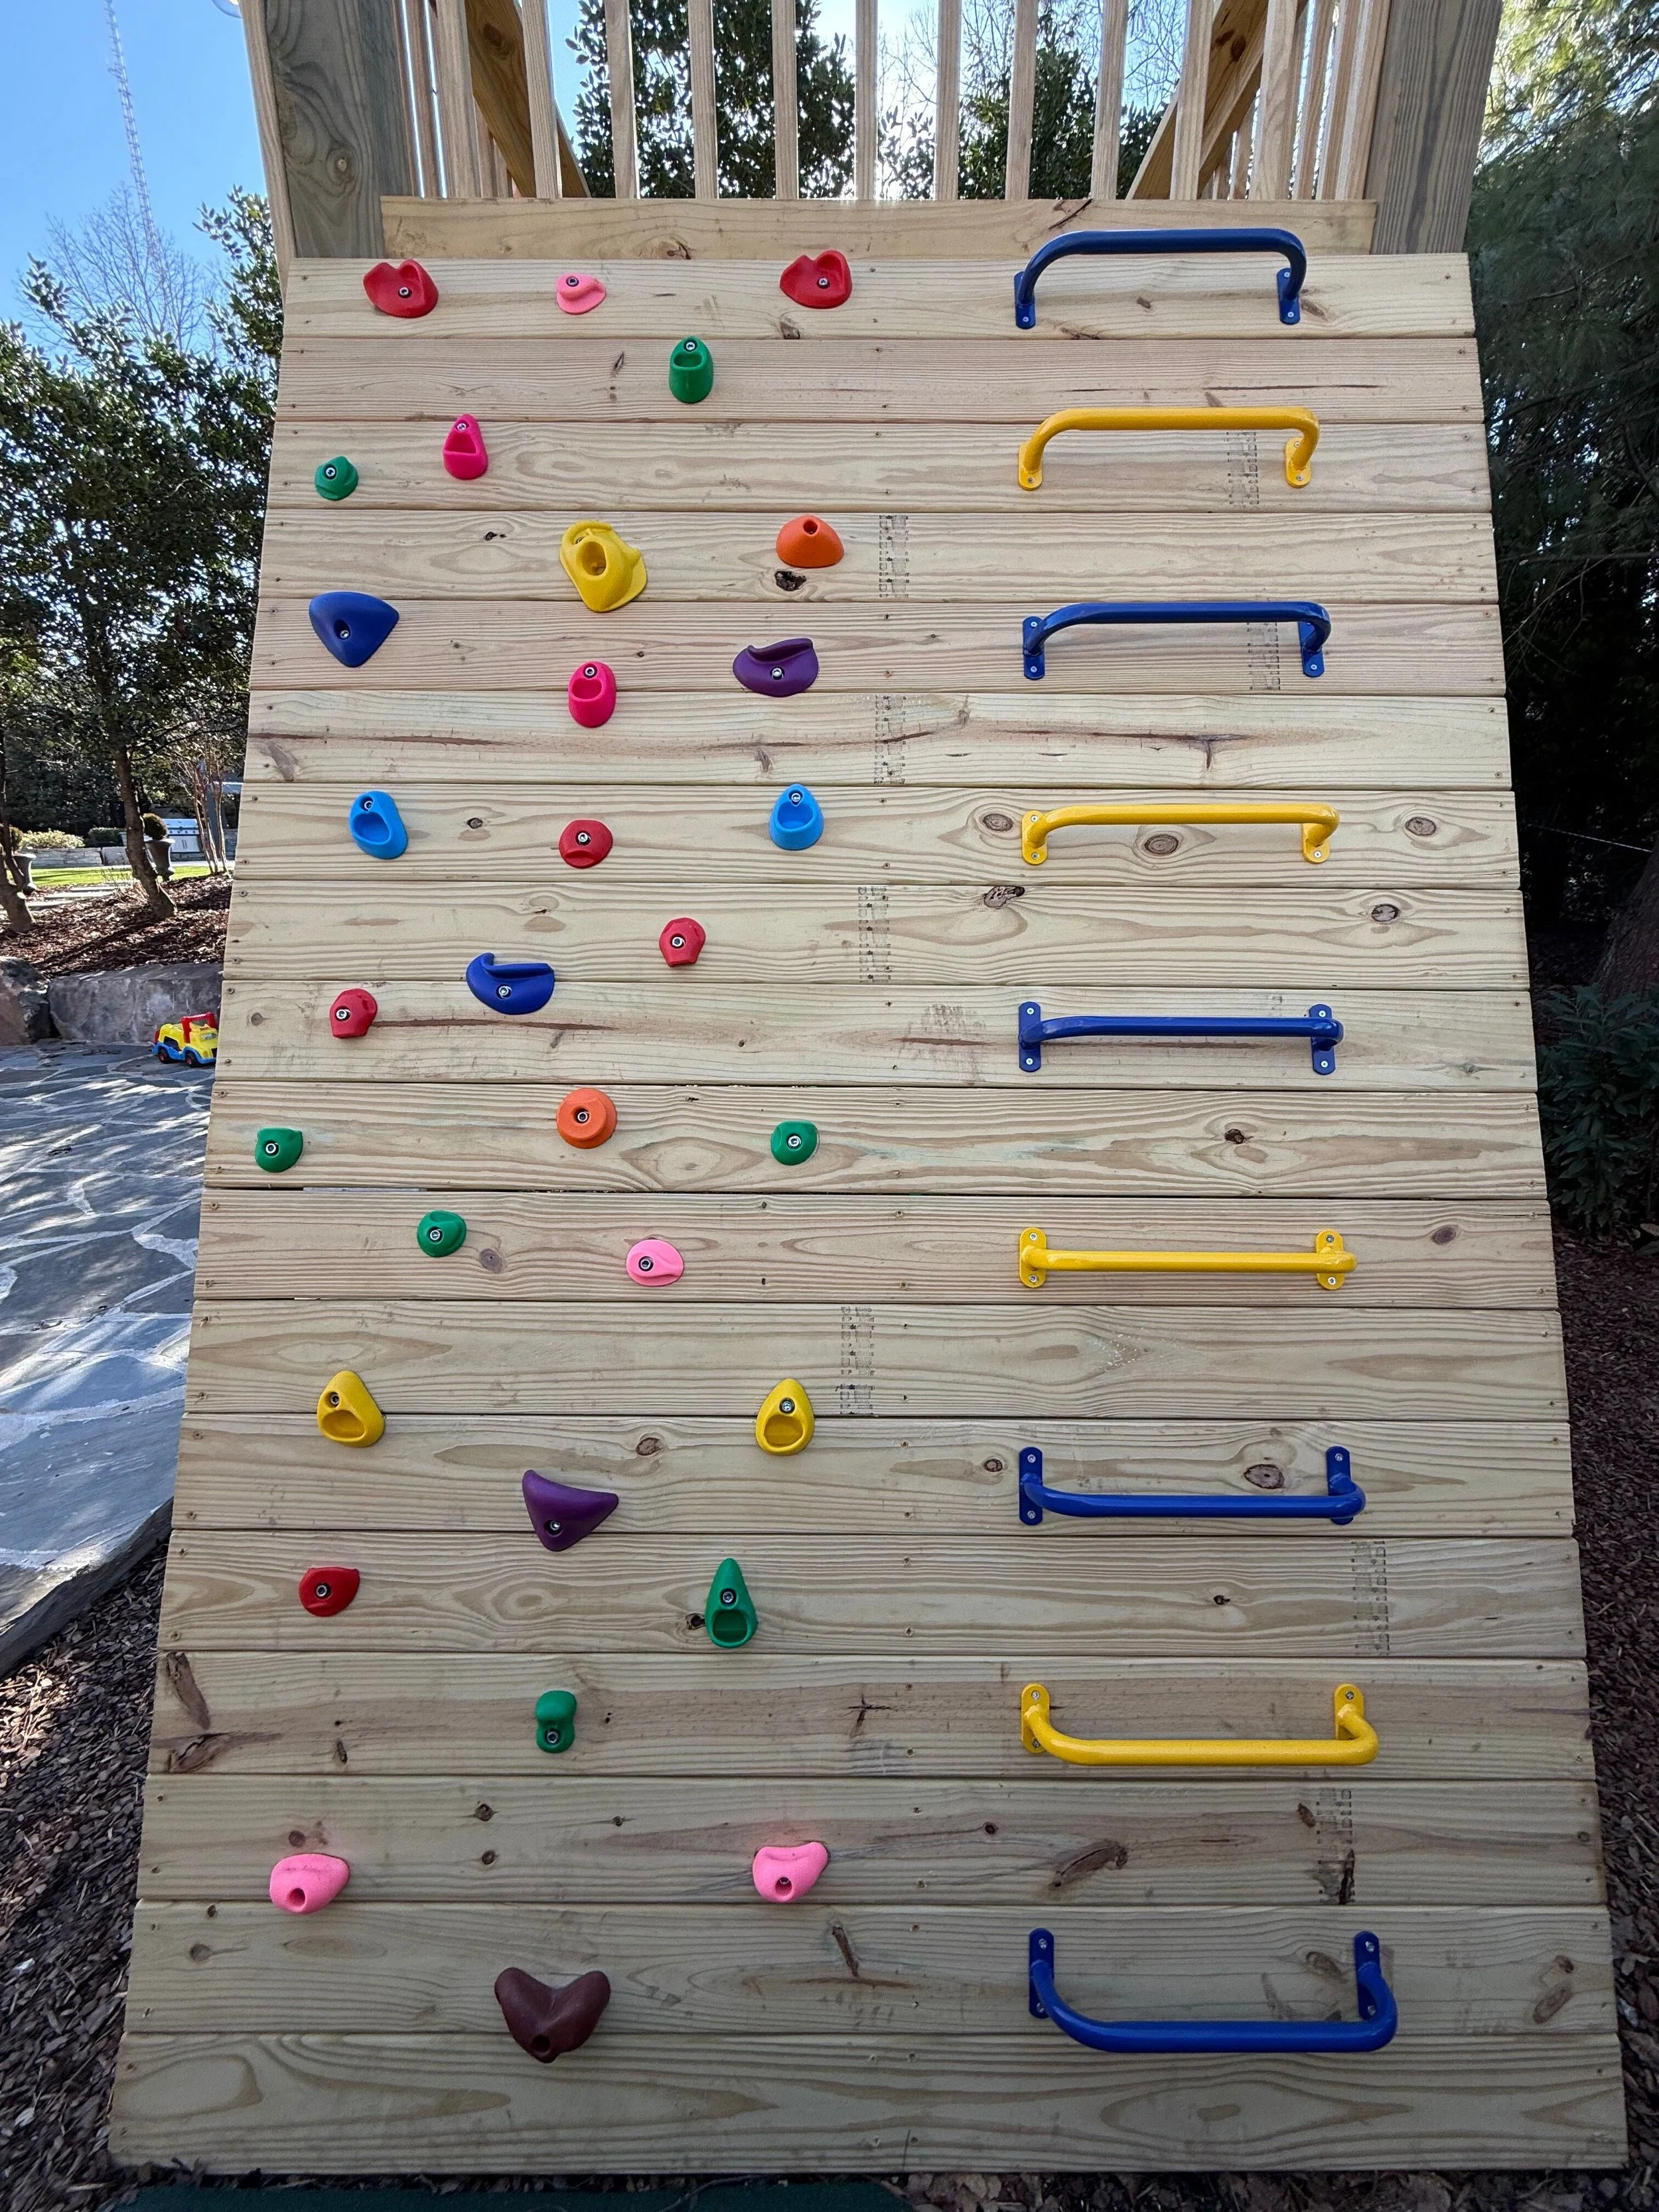
This wall is on the right side of the tree house. It's a slat wall the contractors built and then I added the handholds for the rock climbing wall. Now, on the blank half of the wall, I'm going to be adding the handholds for a climbing ladder. There are 18 slats and after some measuring, I decided it was best to go every other slat for the handholds. For the ladder, I'm using metal powder coated bars. They're each 17 inches long, so I'm going to alternate between blue and yellow, which is going to be really cute and will compliment the climbing wall.
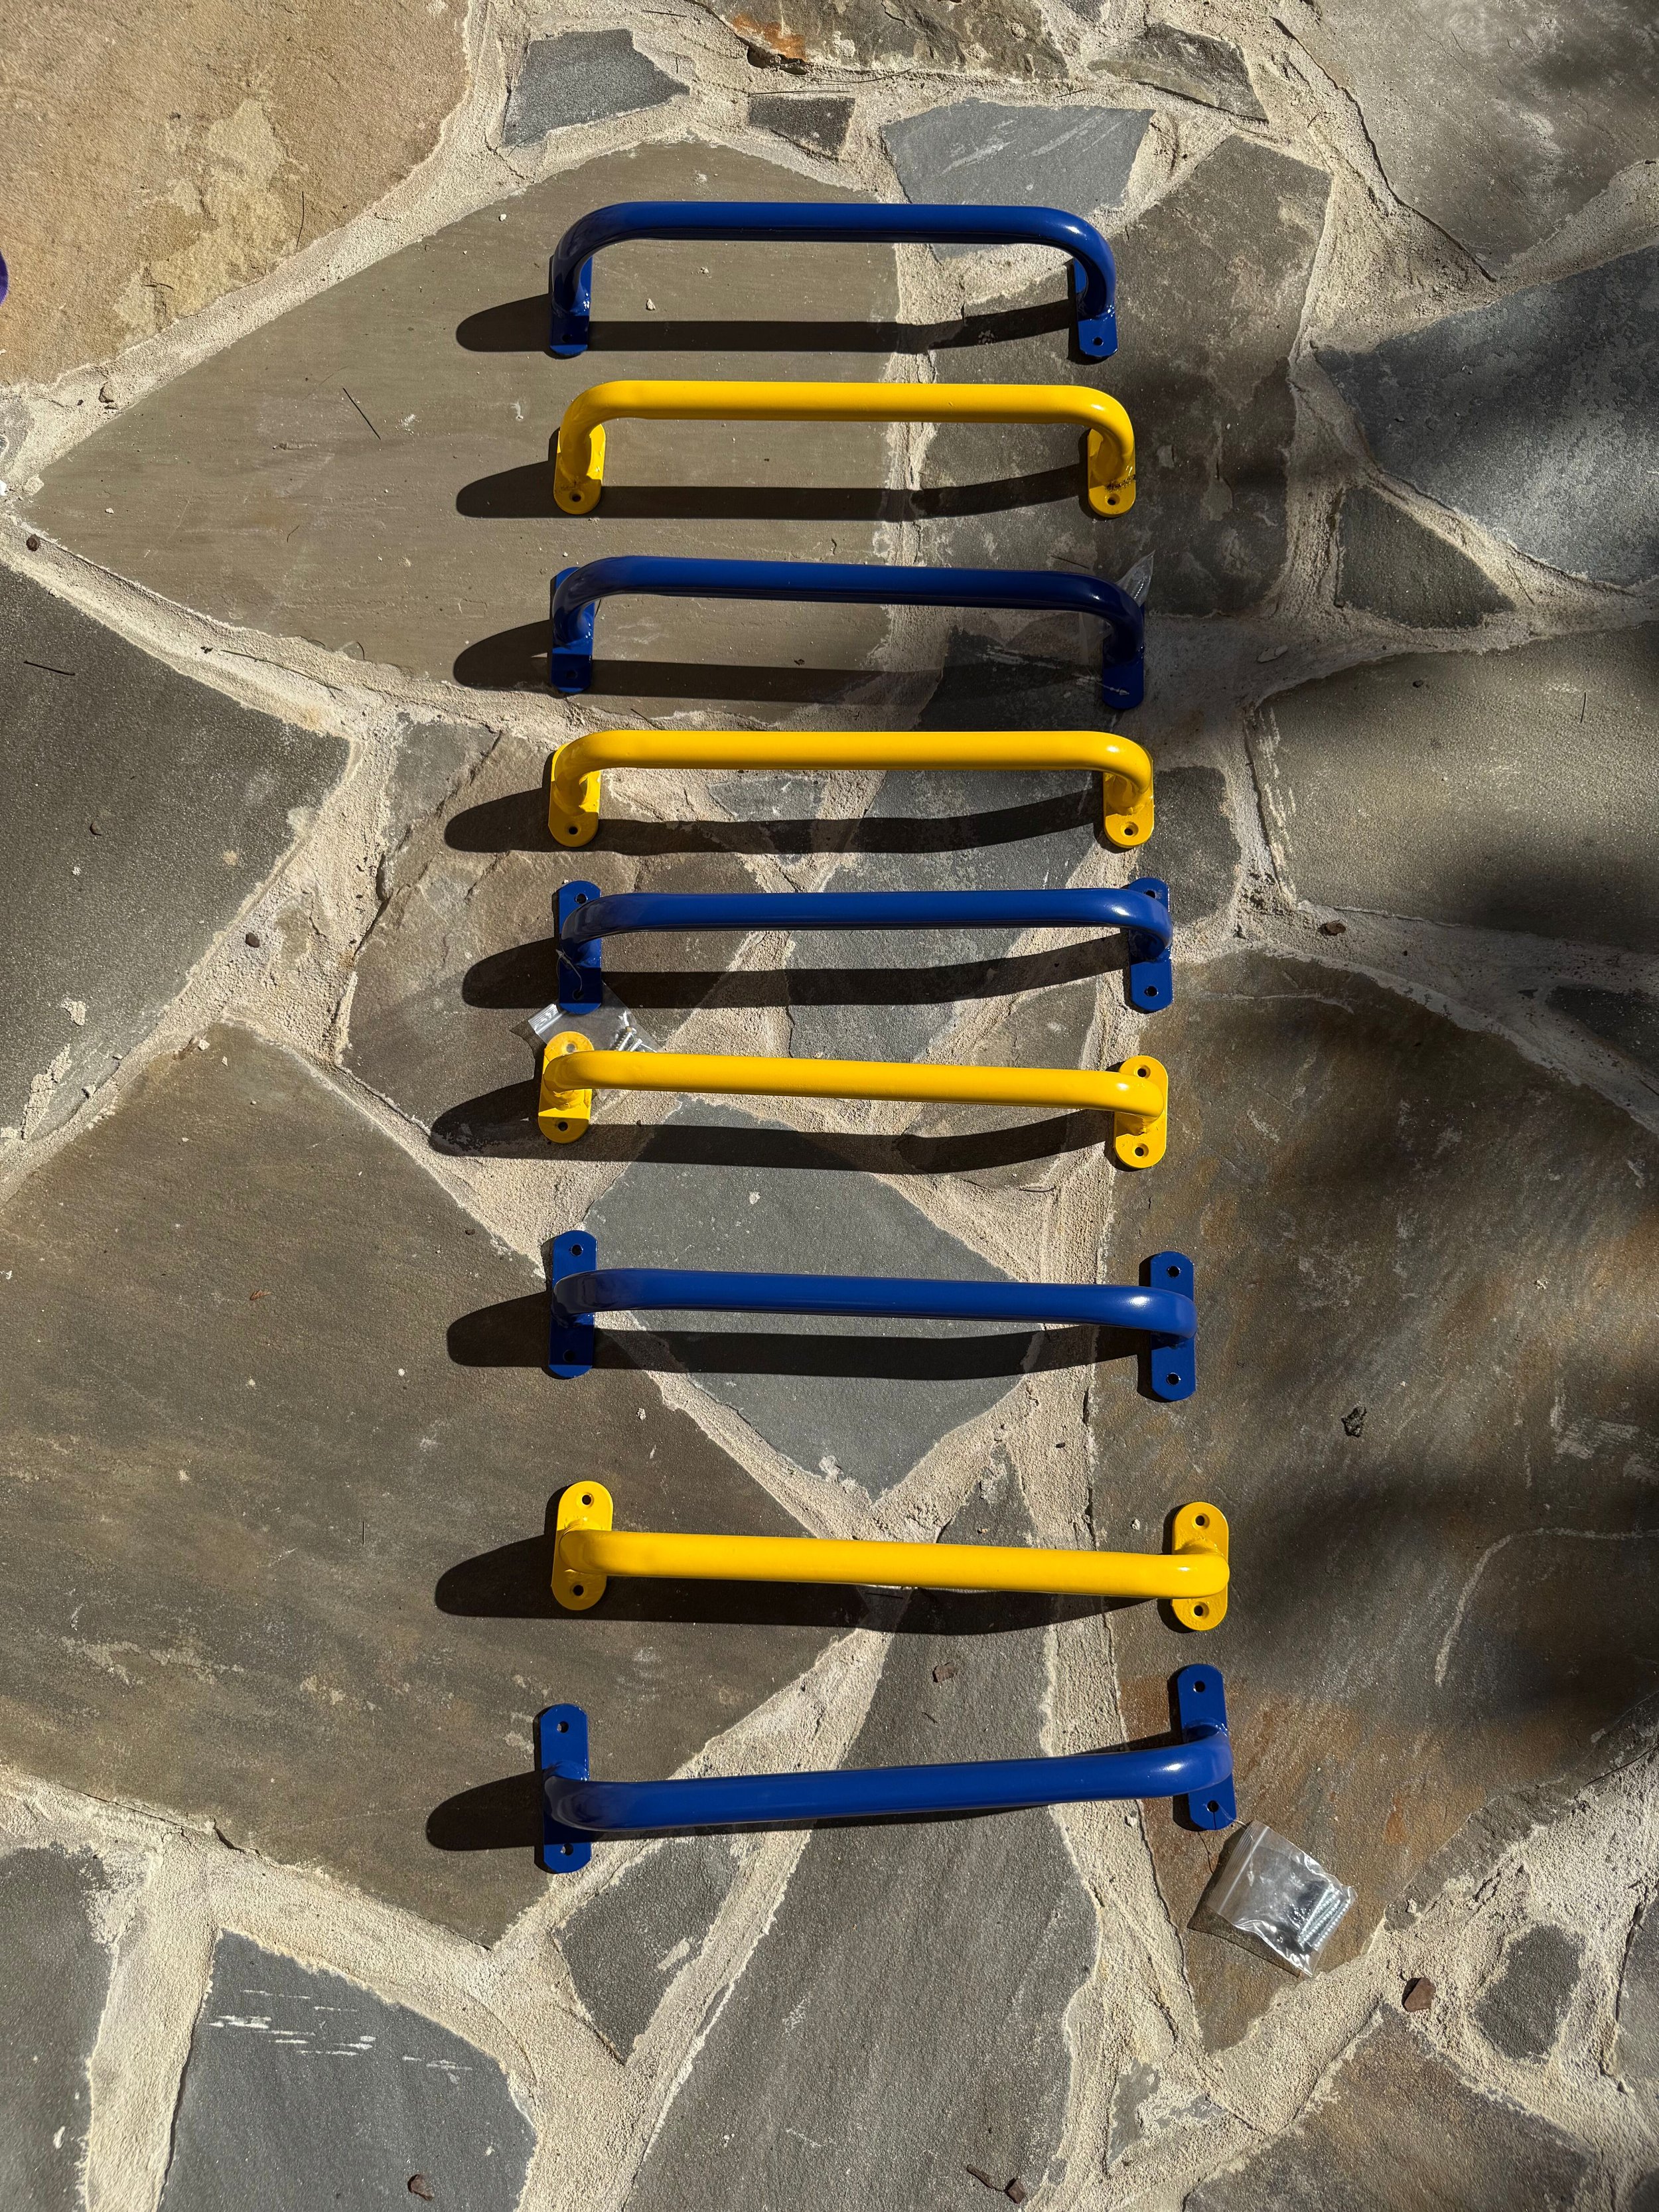
The bars are really easy to hang with just four screws each. I bought each color separate and one of the sets of bars actually came with screws that don't require pre-drilling which made hanging the first half of the wall really easy. I used a level as I went to ensure that each bar is level on its own and then also that it is level with both the bar above it and below it so we get a straight line. I found the best way to do this was to screw in one of the top screws on the right side of the bar first, then use the level to adjust the bar as needed and finally go on to screw in the rest of the screws. This way, I wasn't re-drilling anything, and everything went a lot faster.
My expandable ladder made this so easy. I'll be doing an updated Beginner DIY tools I recommend and this will definitely be on that list!
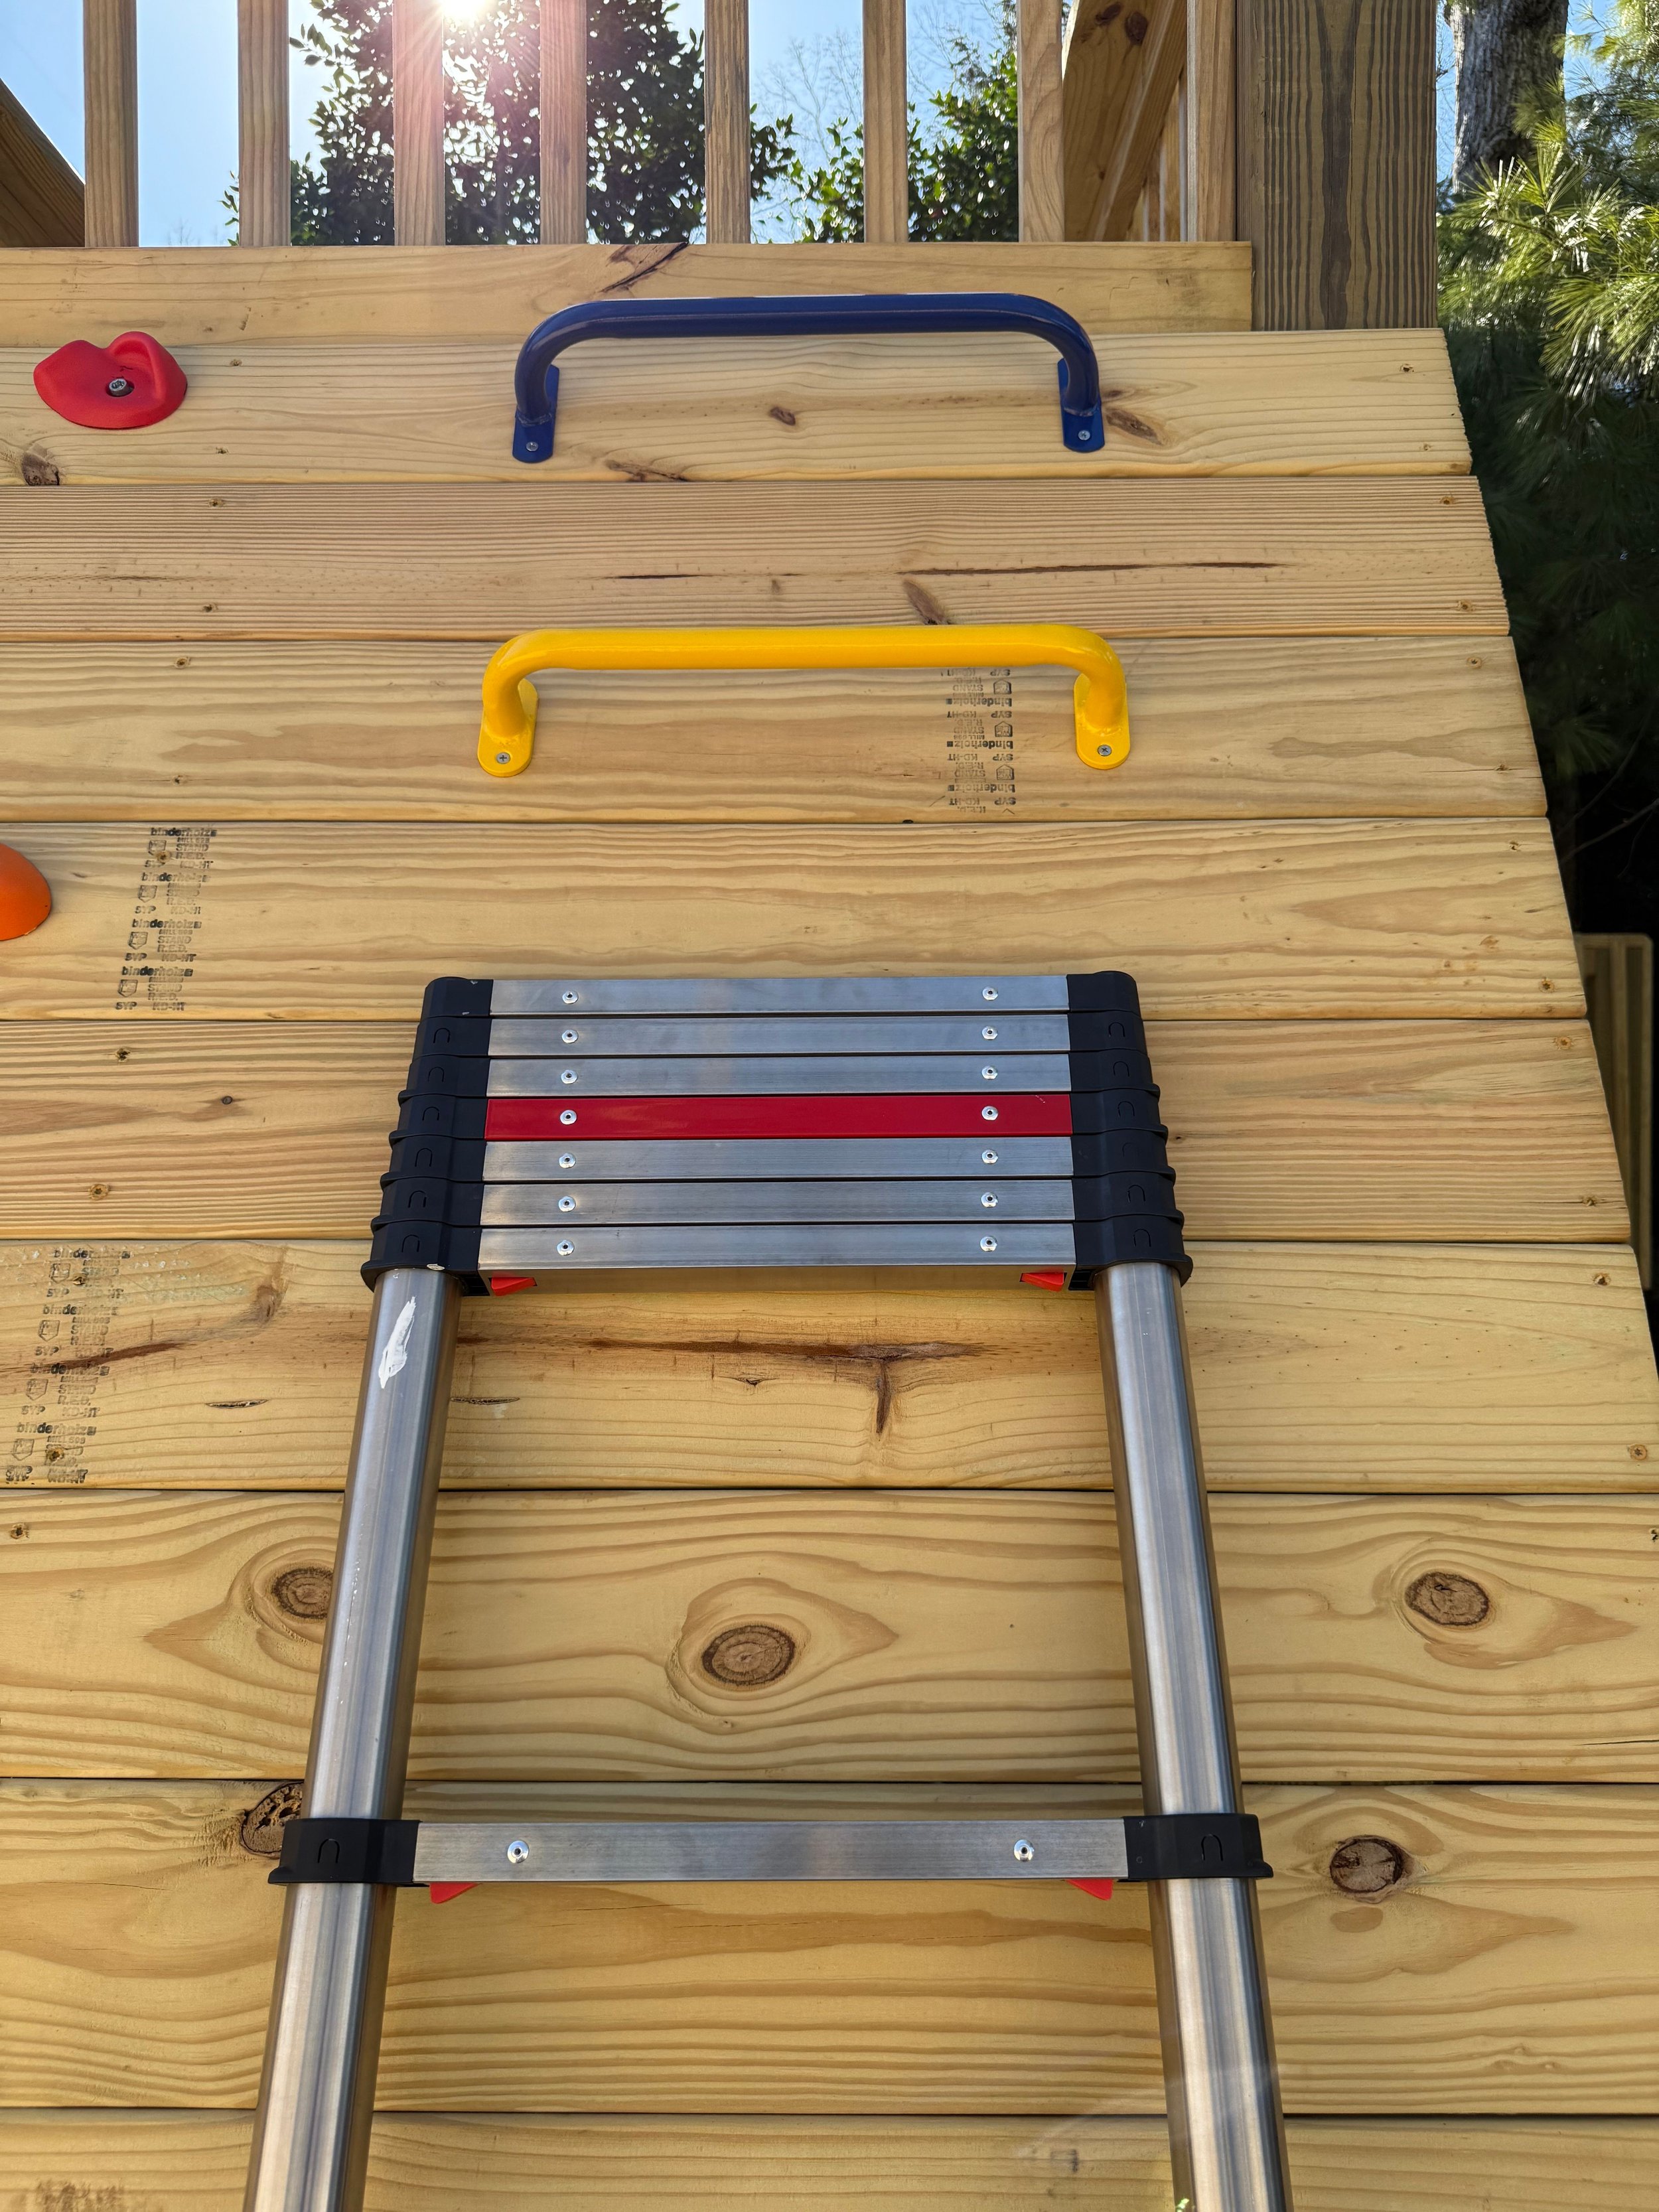
Once I got down to the bottom half of the wall, I ran out of pre-drilled screws so I added an extra step since I needed to drill holes first. This is also a situation where having a power drill and an impact driver that are both battery powered was super helpful because I could easily switch between the two and I don't have to change anything out!

All in all, this project took me less than an hour to do, even with need to pre-drill the holes for the bottom half of the bars. Once I was done, I had to test it out for myself before I let my kids on it. I'm very hopeful these bars will hold up with wear and tear from my kids as well as the weather changes living in Tennessee brings.
The next step in this project is to make a gate at the very top of this so the kids are safe when they're at the top of the treehouse, so stay tuned for that!