
Adding Storage and Color to a Bathroom

The bathroom in our loft is a very large space with not a lot of storage, like most of our house. It’s also really basic and builder grade. There’s nothing wrong with that, but it doesn’t reflect my current design style. So I got to work coming up with a plan to revamp it into something functional that I love.

Adding Storage & Color to Your Bathroom | Getting Started
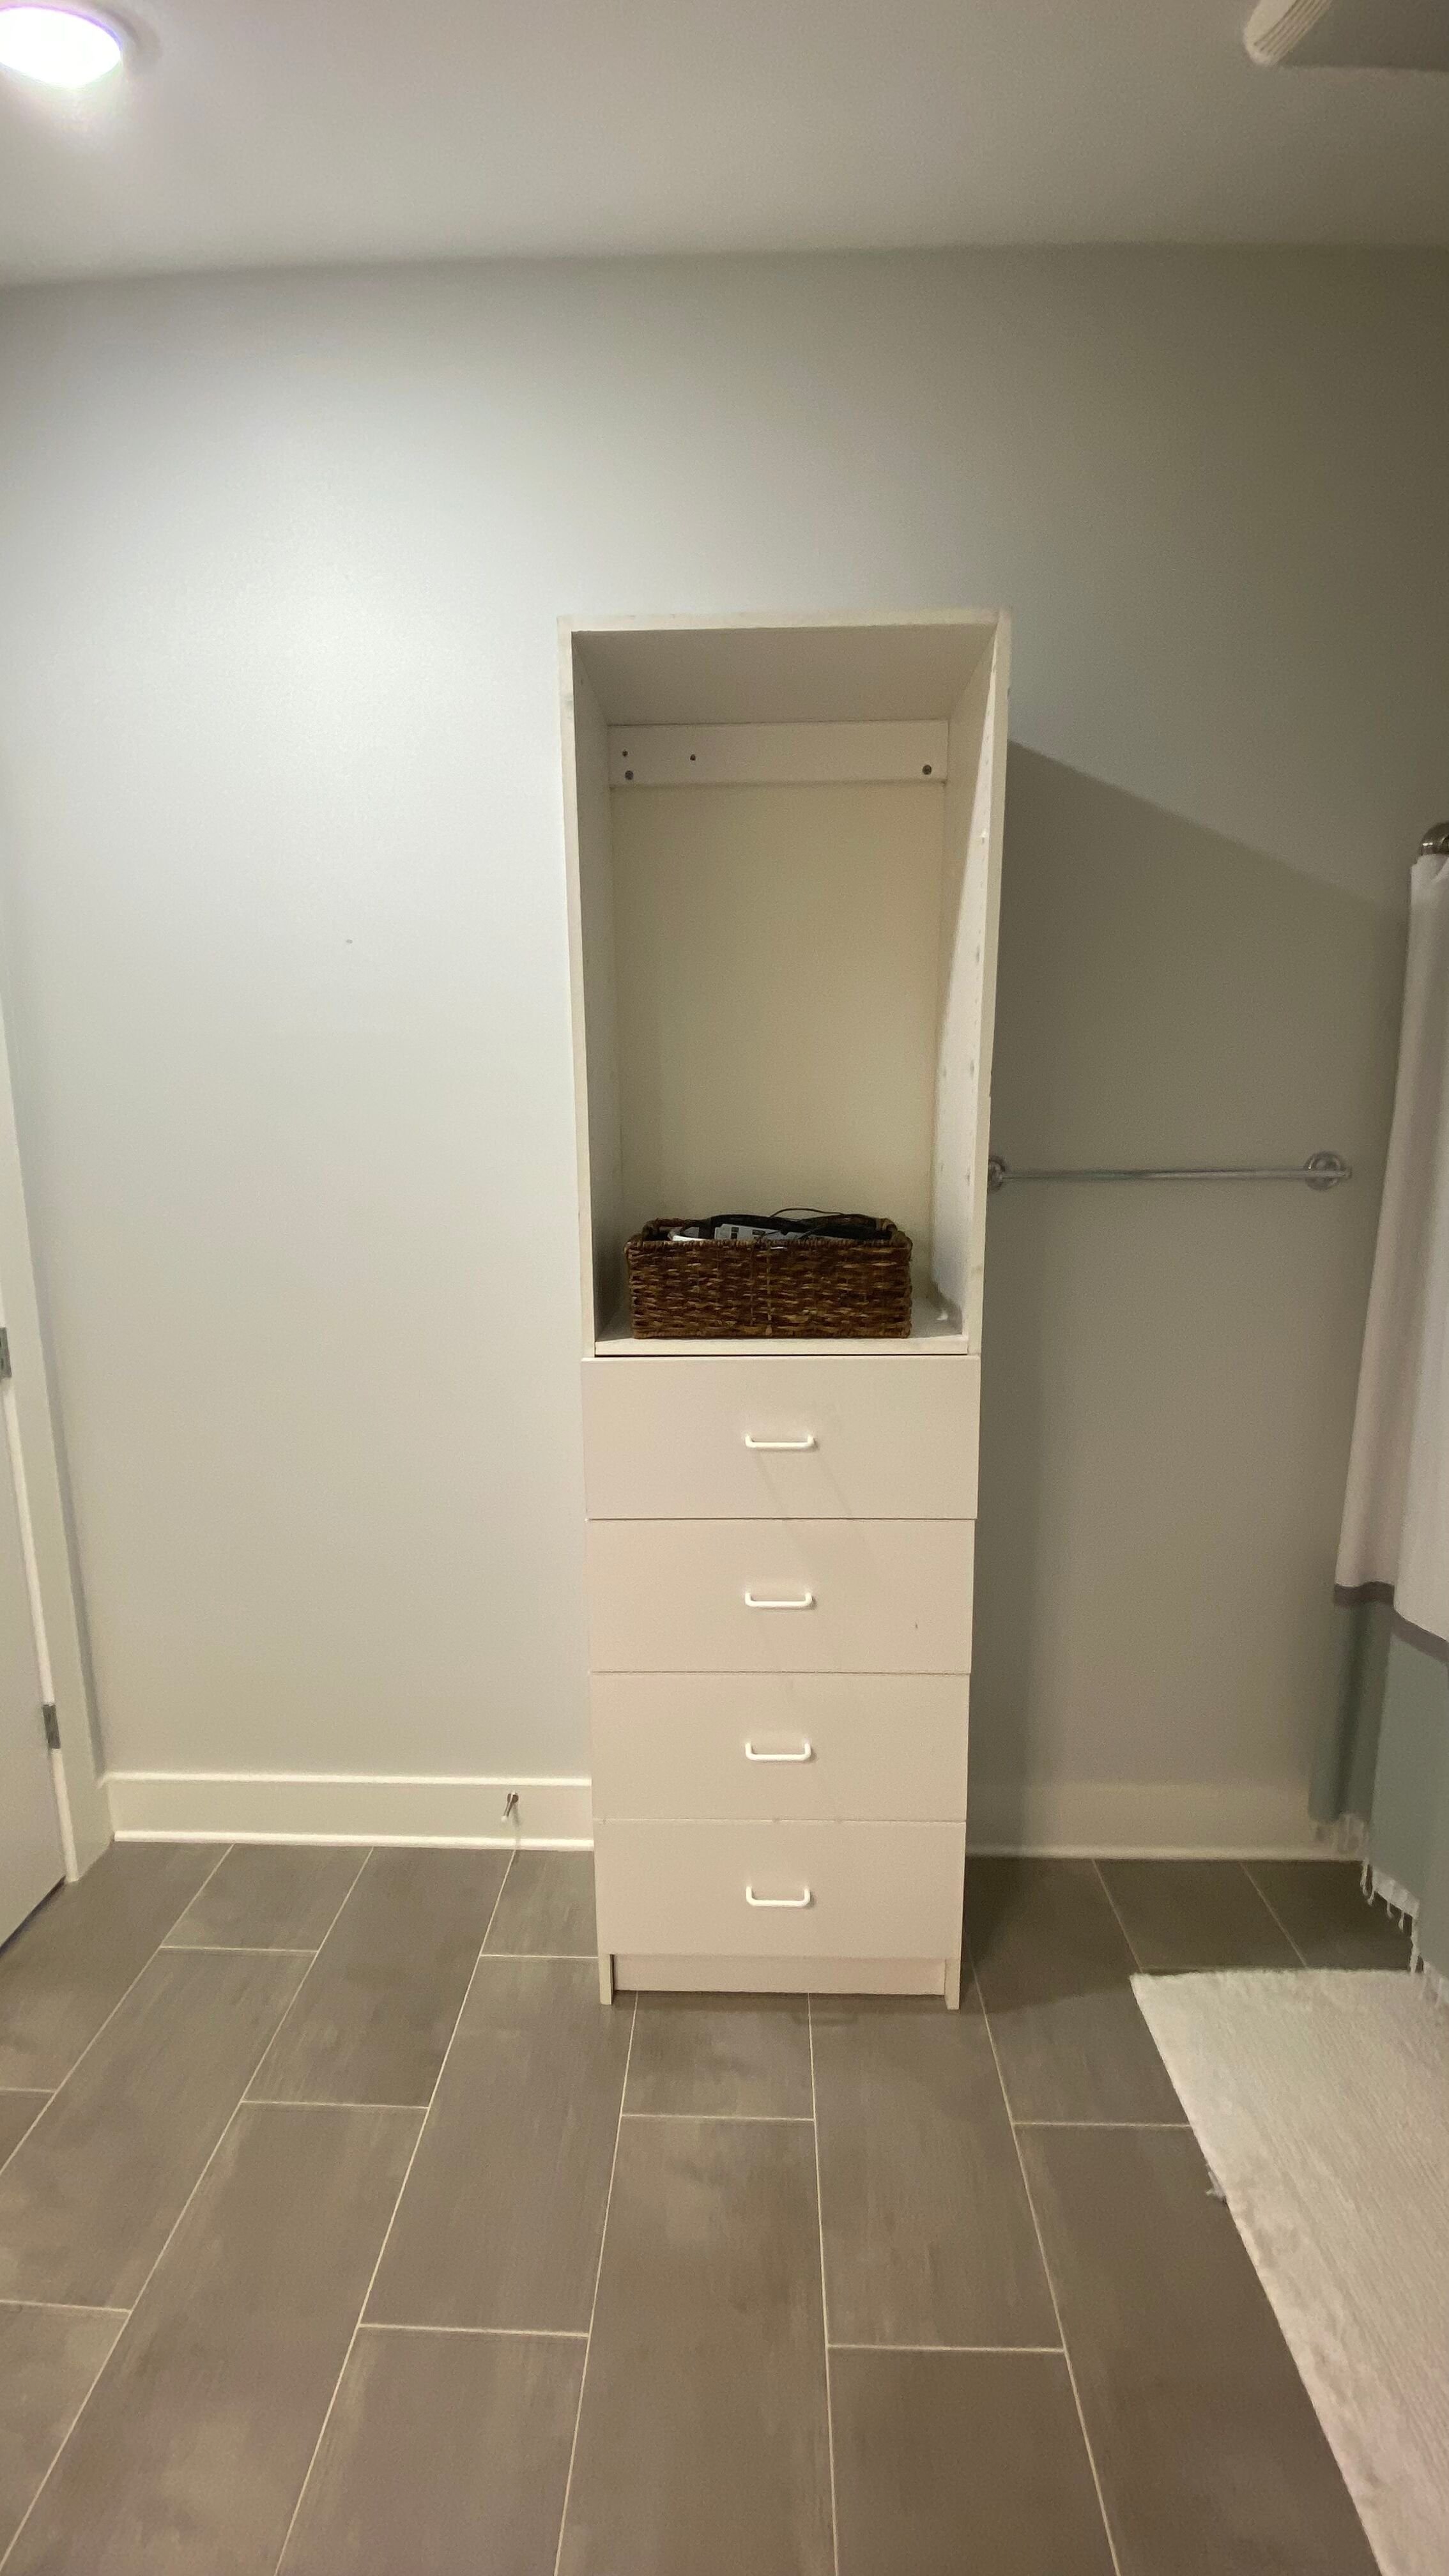
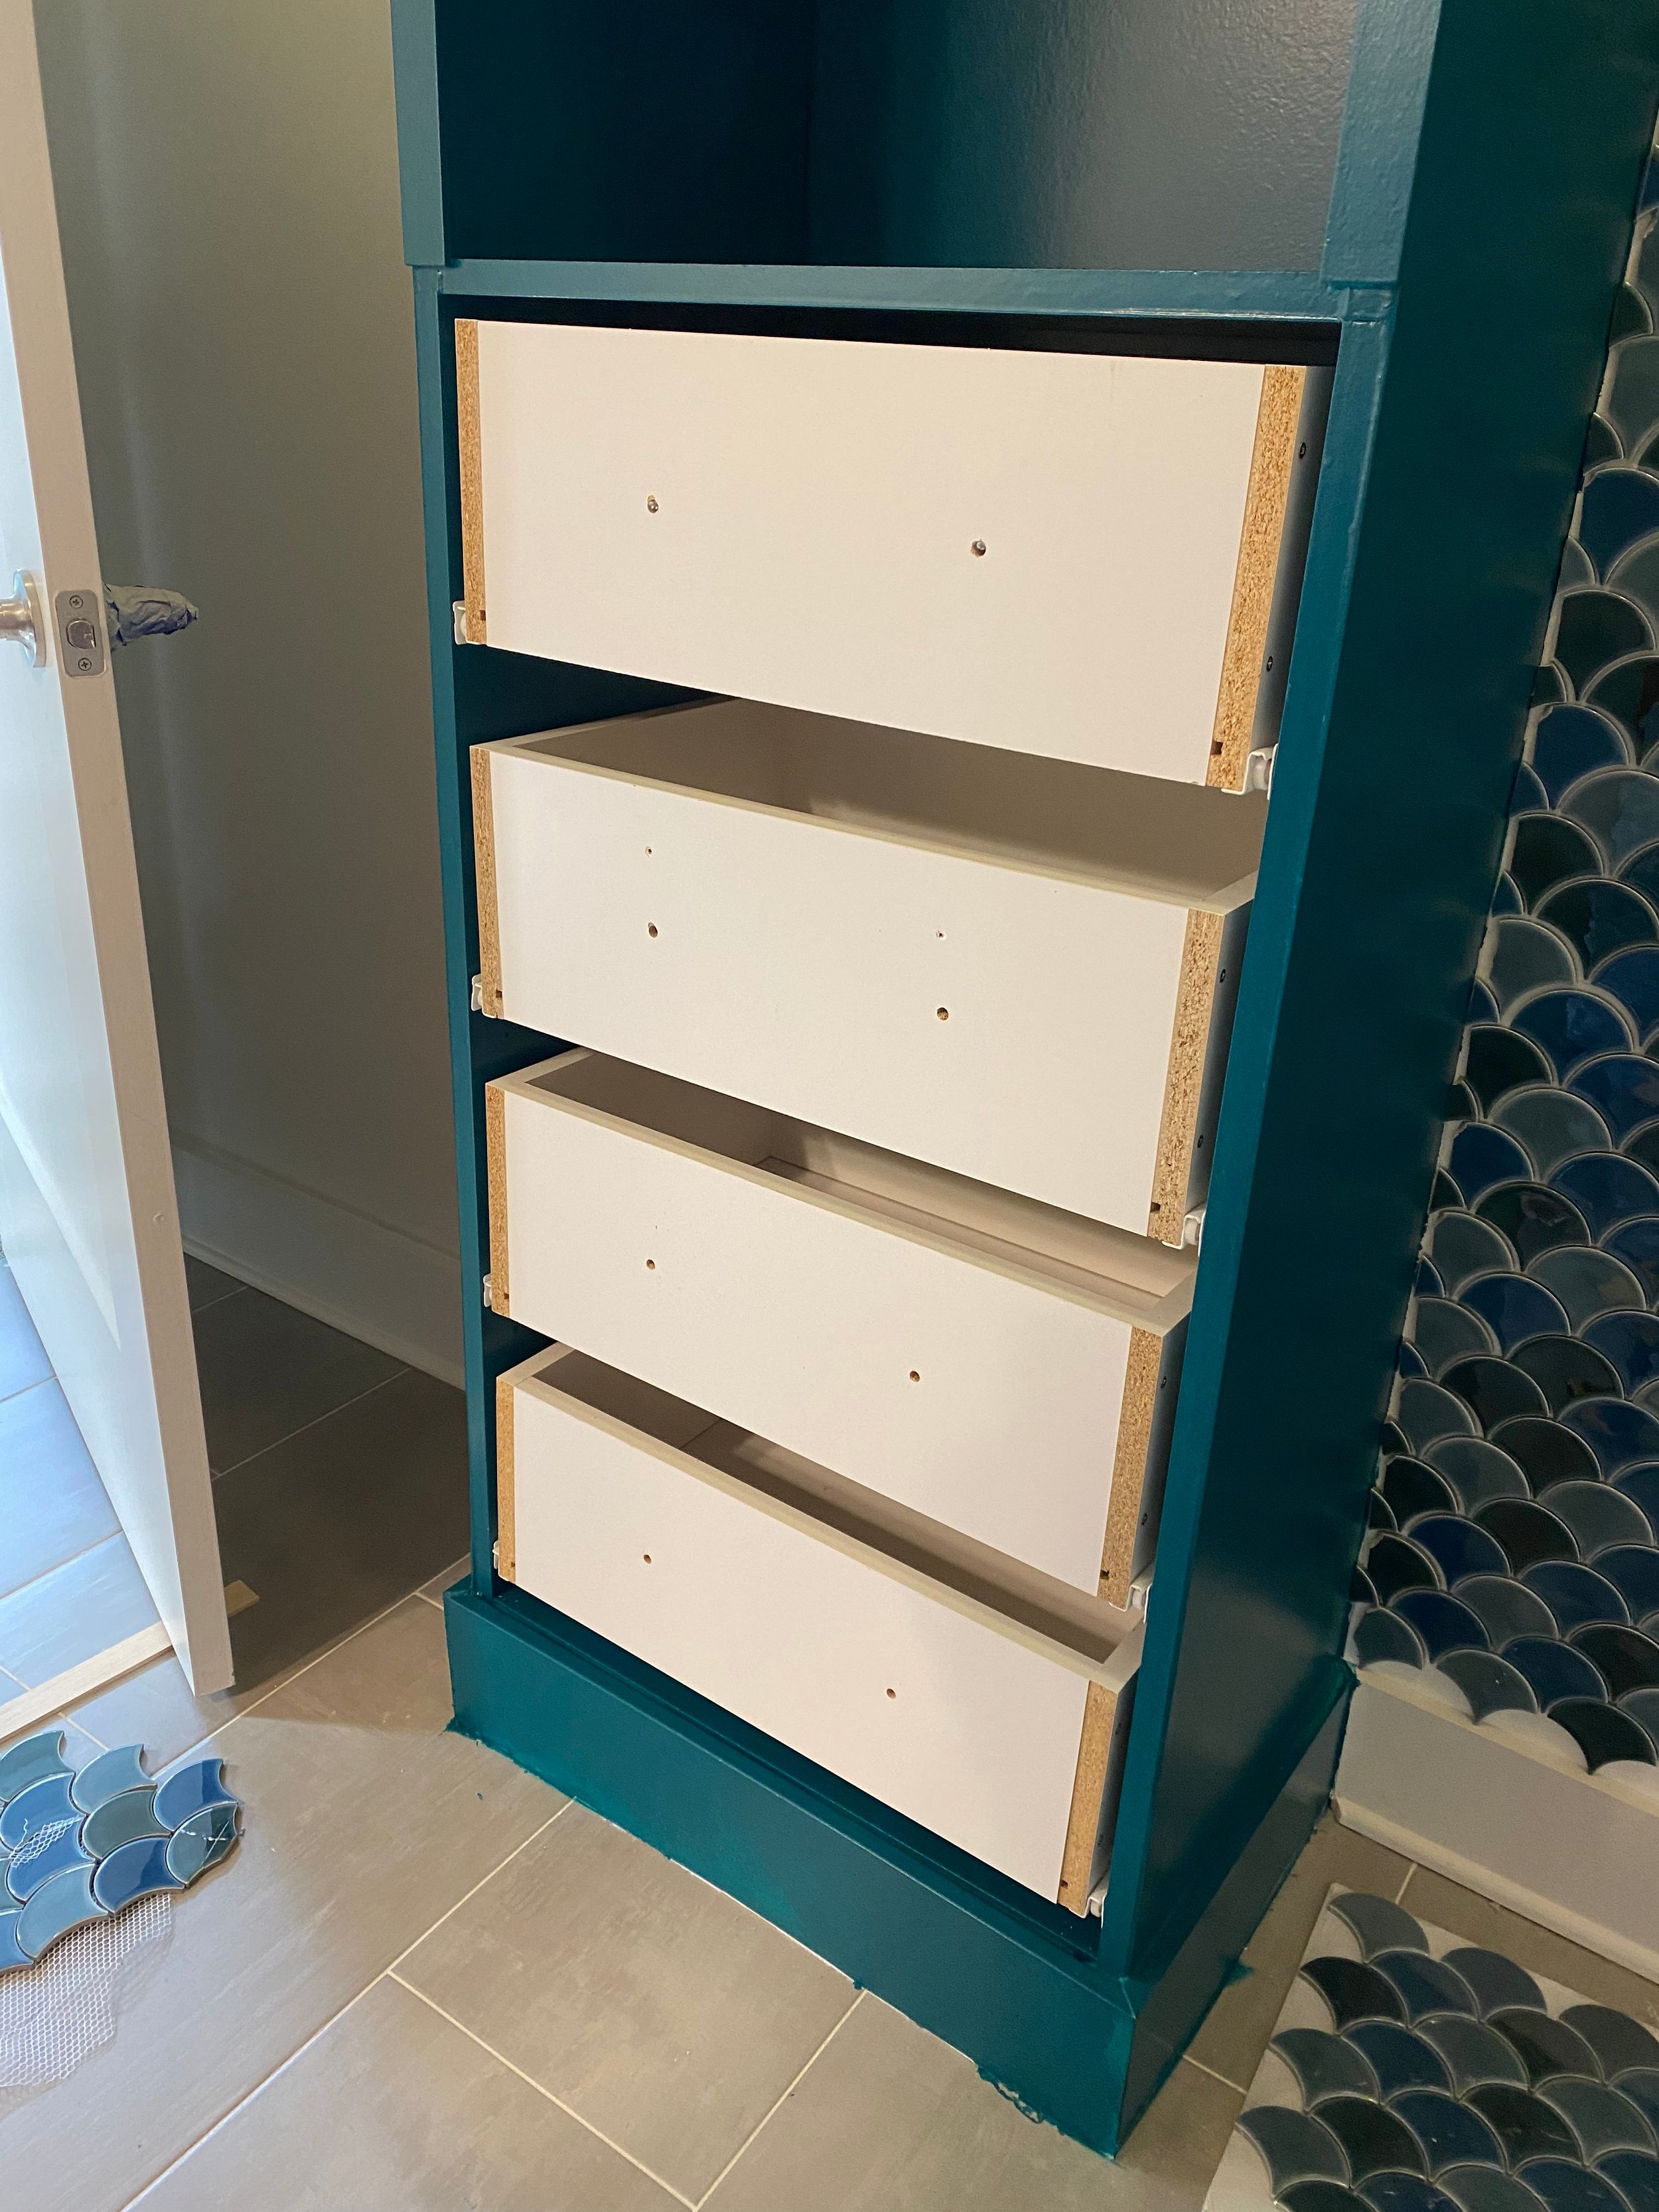
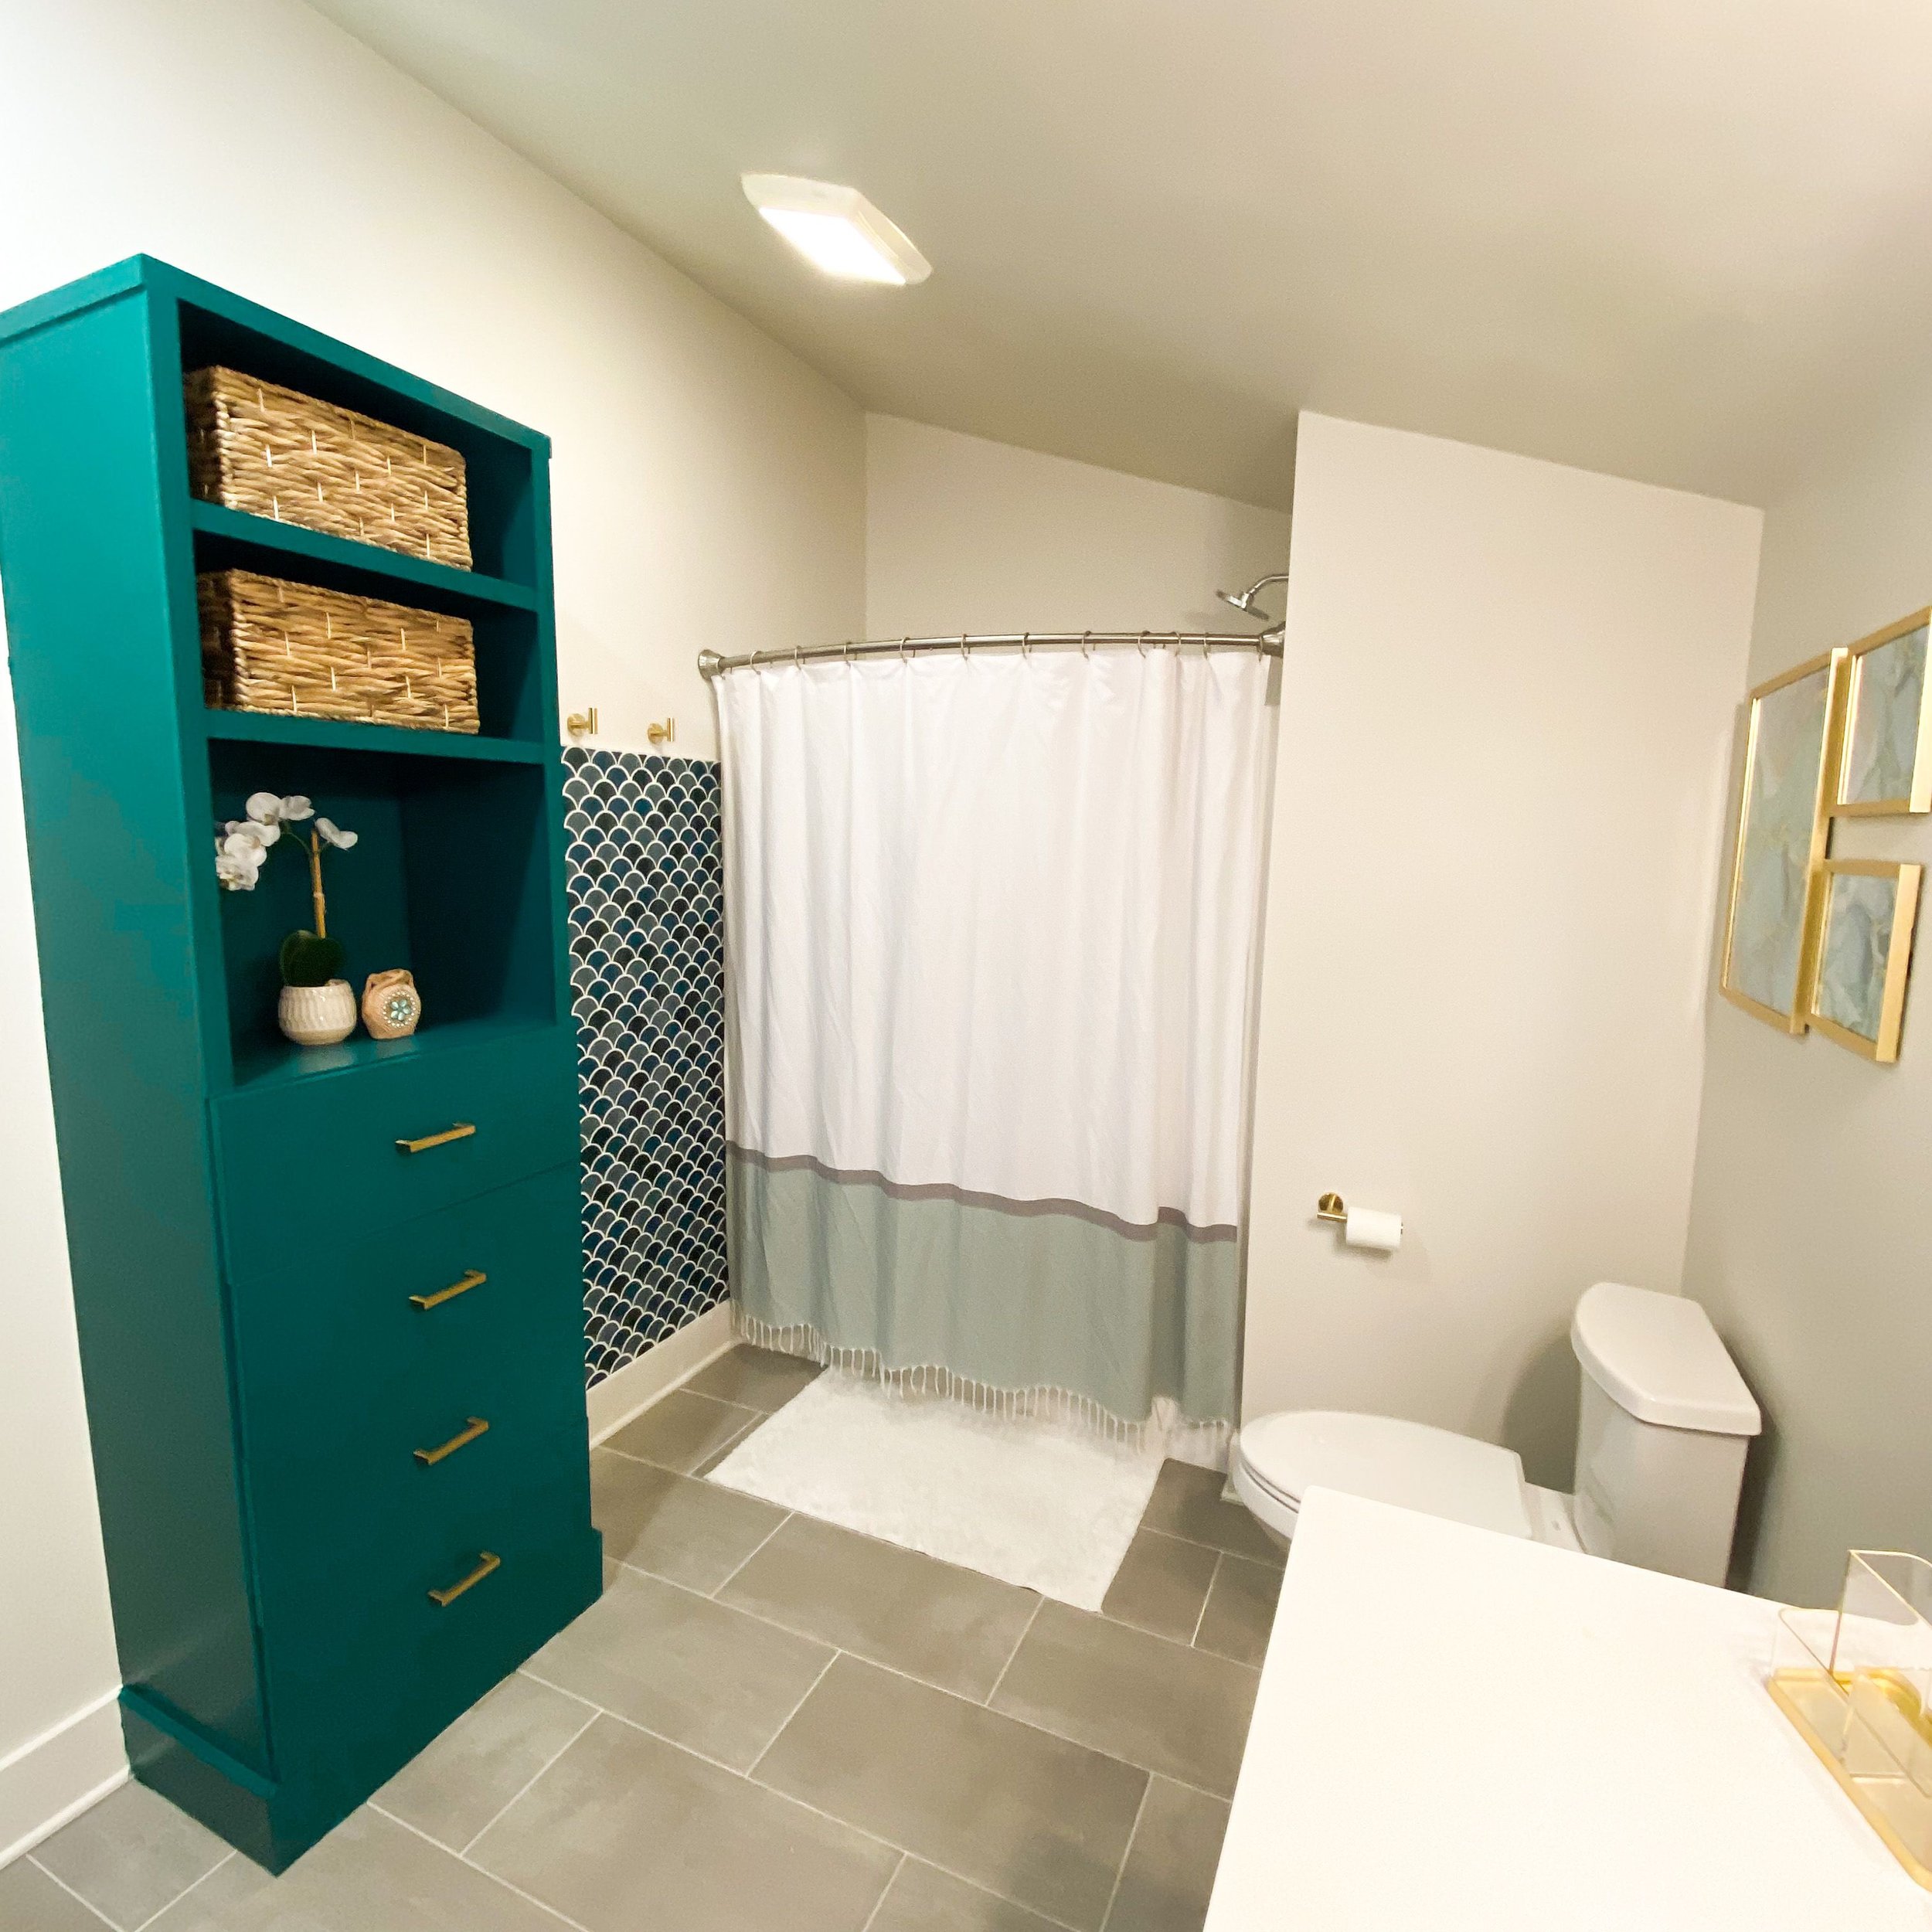
To start the project, the first thing I did was remove the baseboards, and I added a set of drawers and shelves I got for free when we demo-ed my grandparents’ closet. I put 1/8 inch plywood on both sides so there wasn't a space between the two sections, but also the melamine had pre-drilled holes on both sides so I wanted those covered up. I also added trim to make it truly look built in. Then, I removed all of the handles and the faces from the drawers and the cabinet doors, taped everything off and got ready for paint.

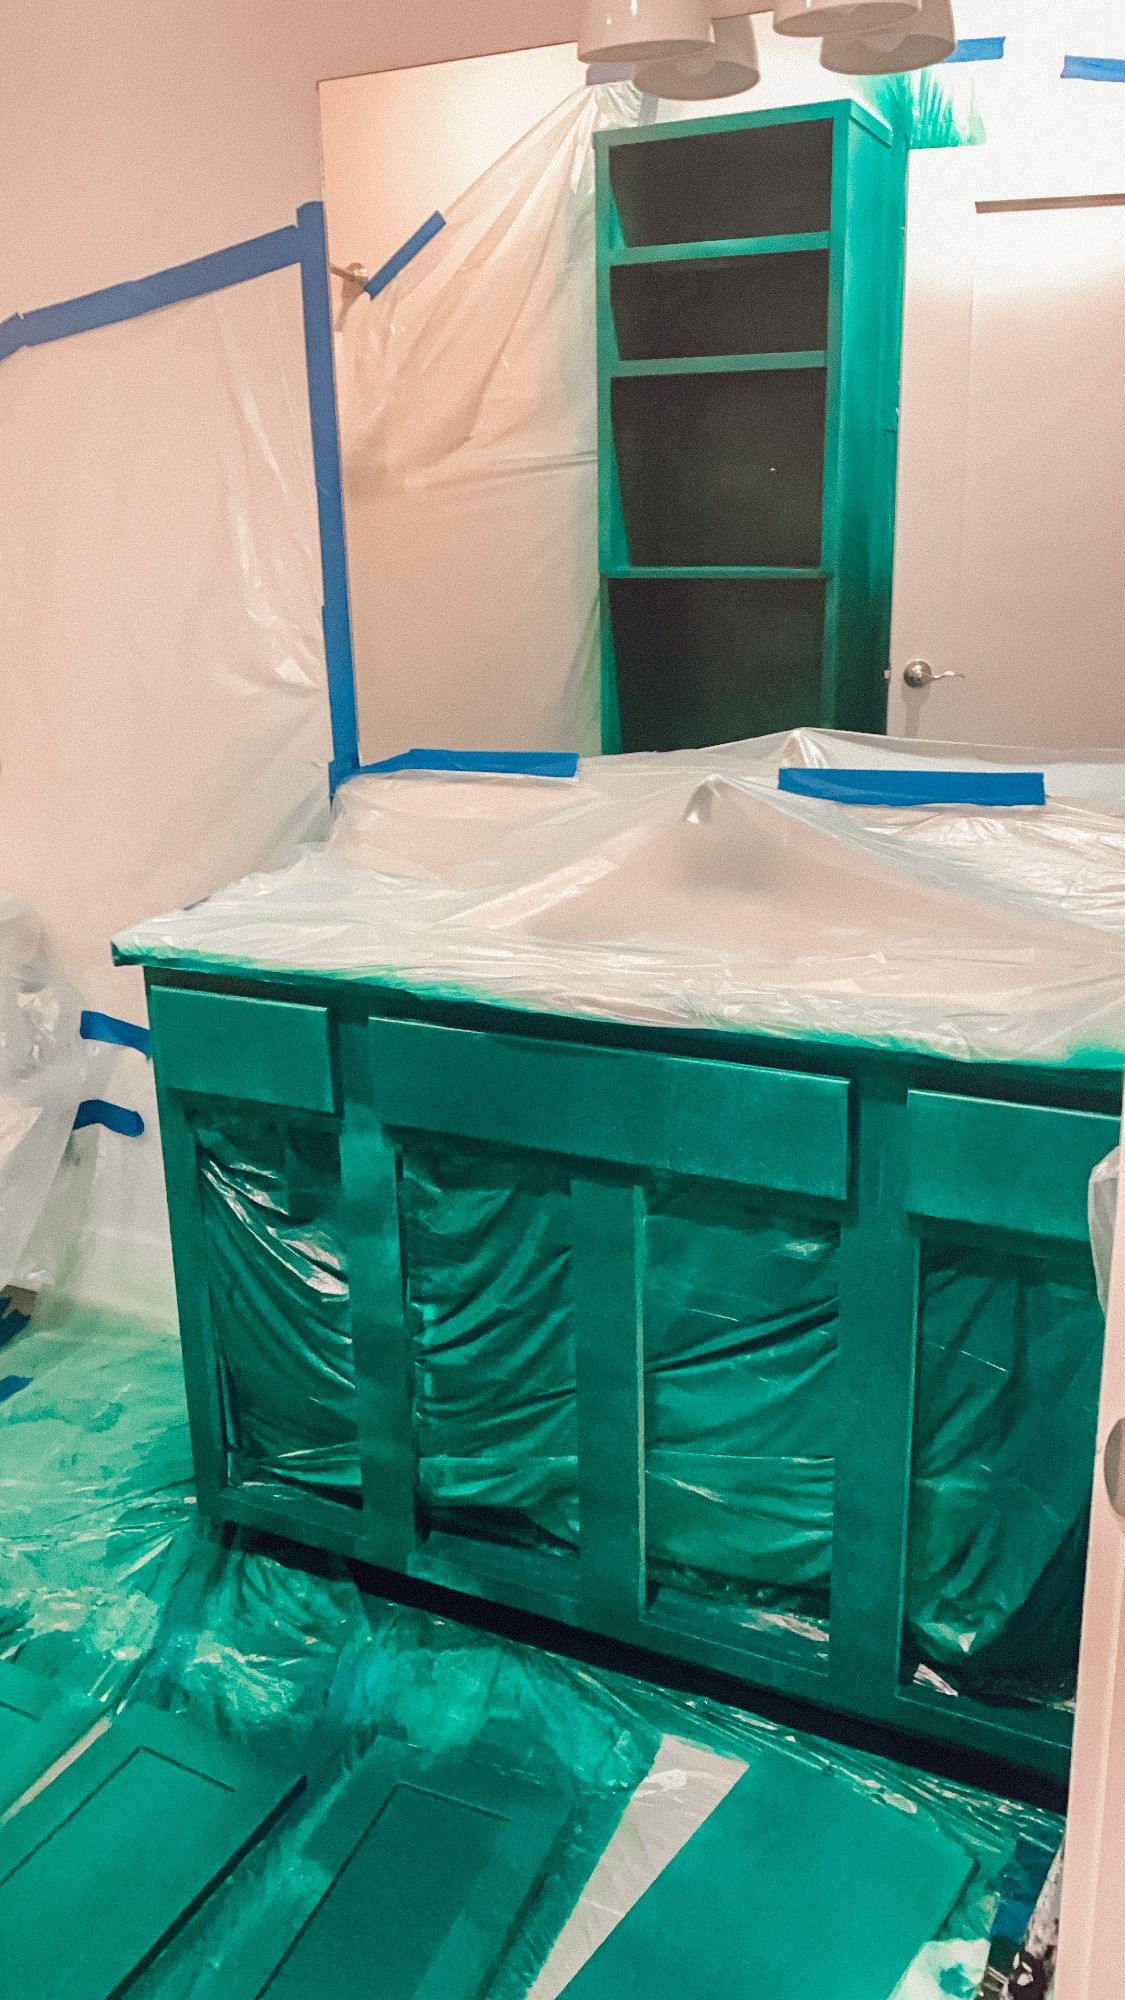
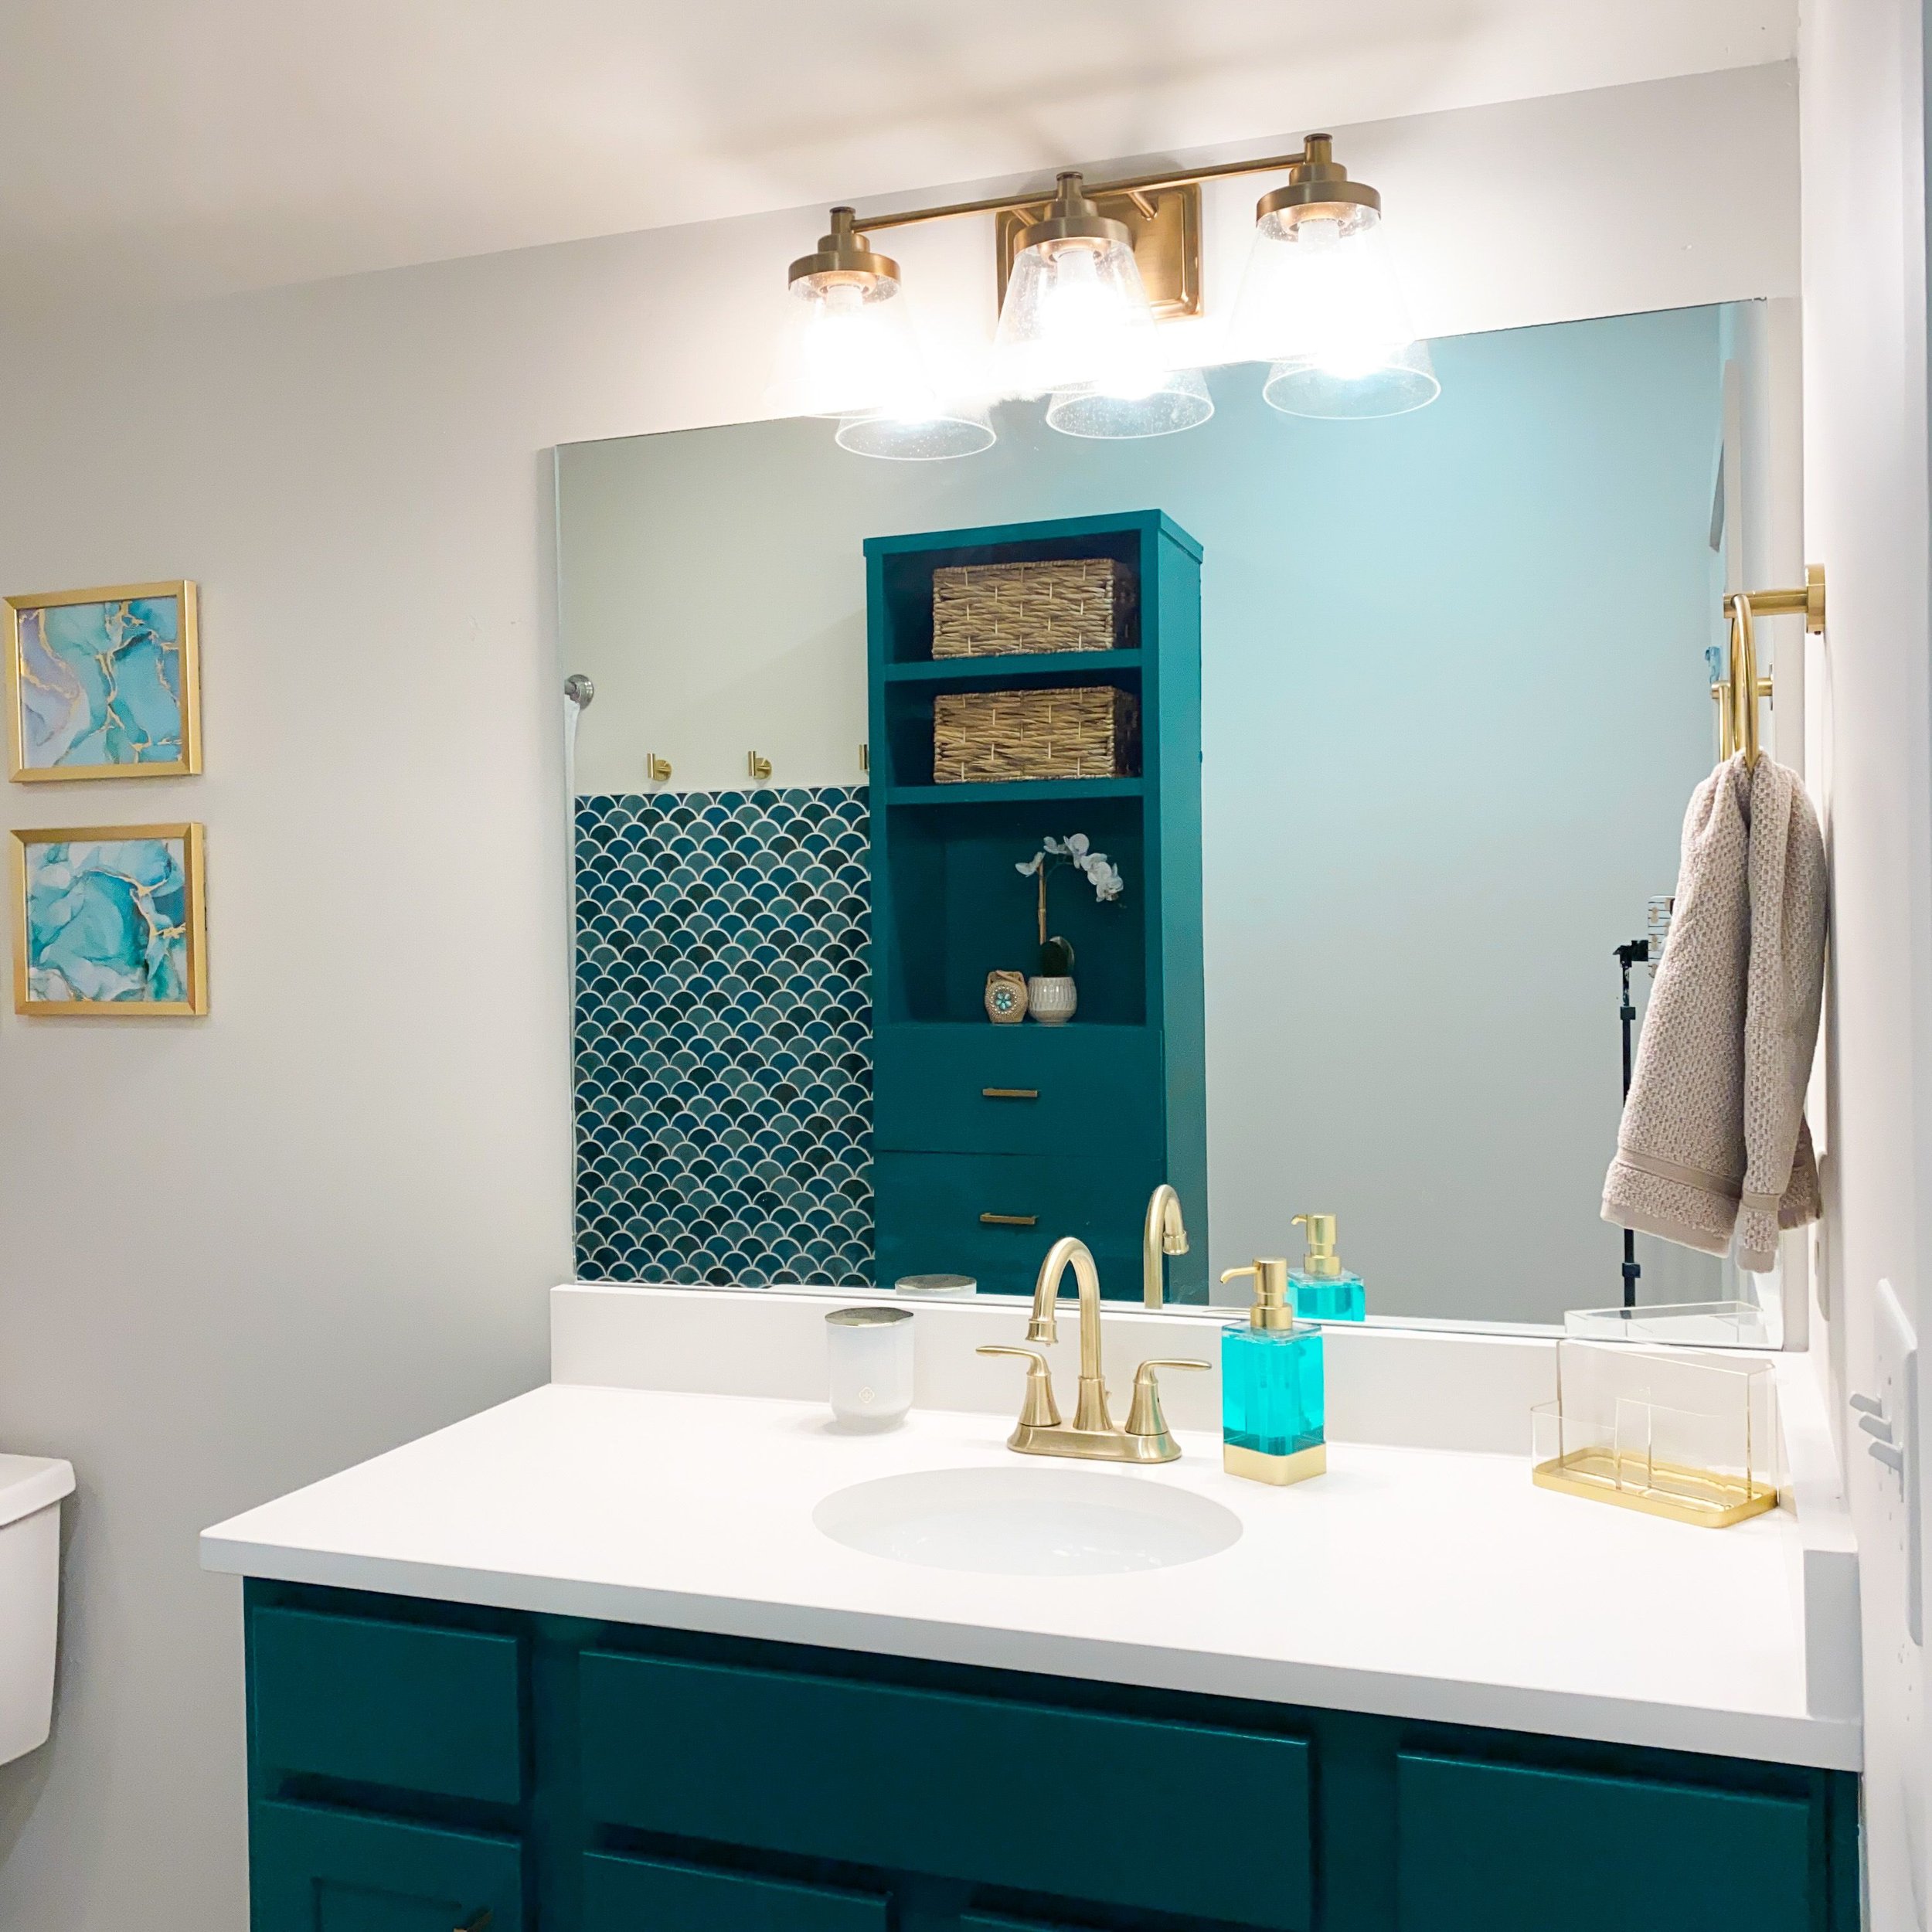
I painted the original vanity and the new cabinet the color Cape Verde by Sherwin Williams in the emerald urethane trim enamel. This paint holds up really well in high traffic areas, like furniture, cabinets, drawers, etc. After it dried, I sanded between coats of paint to make sure I had a smooth finish and then did a second coat of paint. I taped off the rest of the room and painted the walls City Loft also by Sherwin Williams. Next, I started working on the tile feature wall between the bathtub and the new cabinets.
Adding Storage & Color to Your Bathroom | Tile Feature Wall
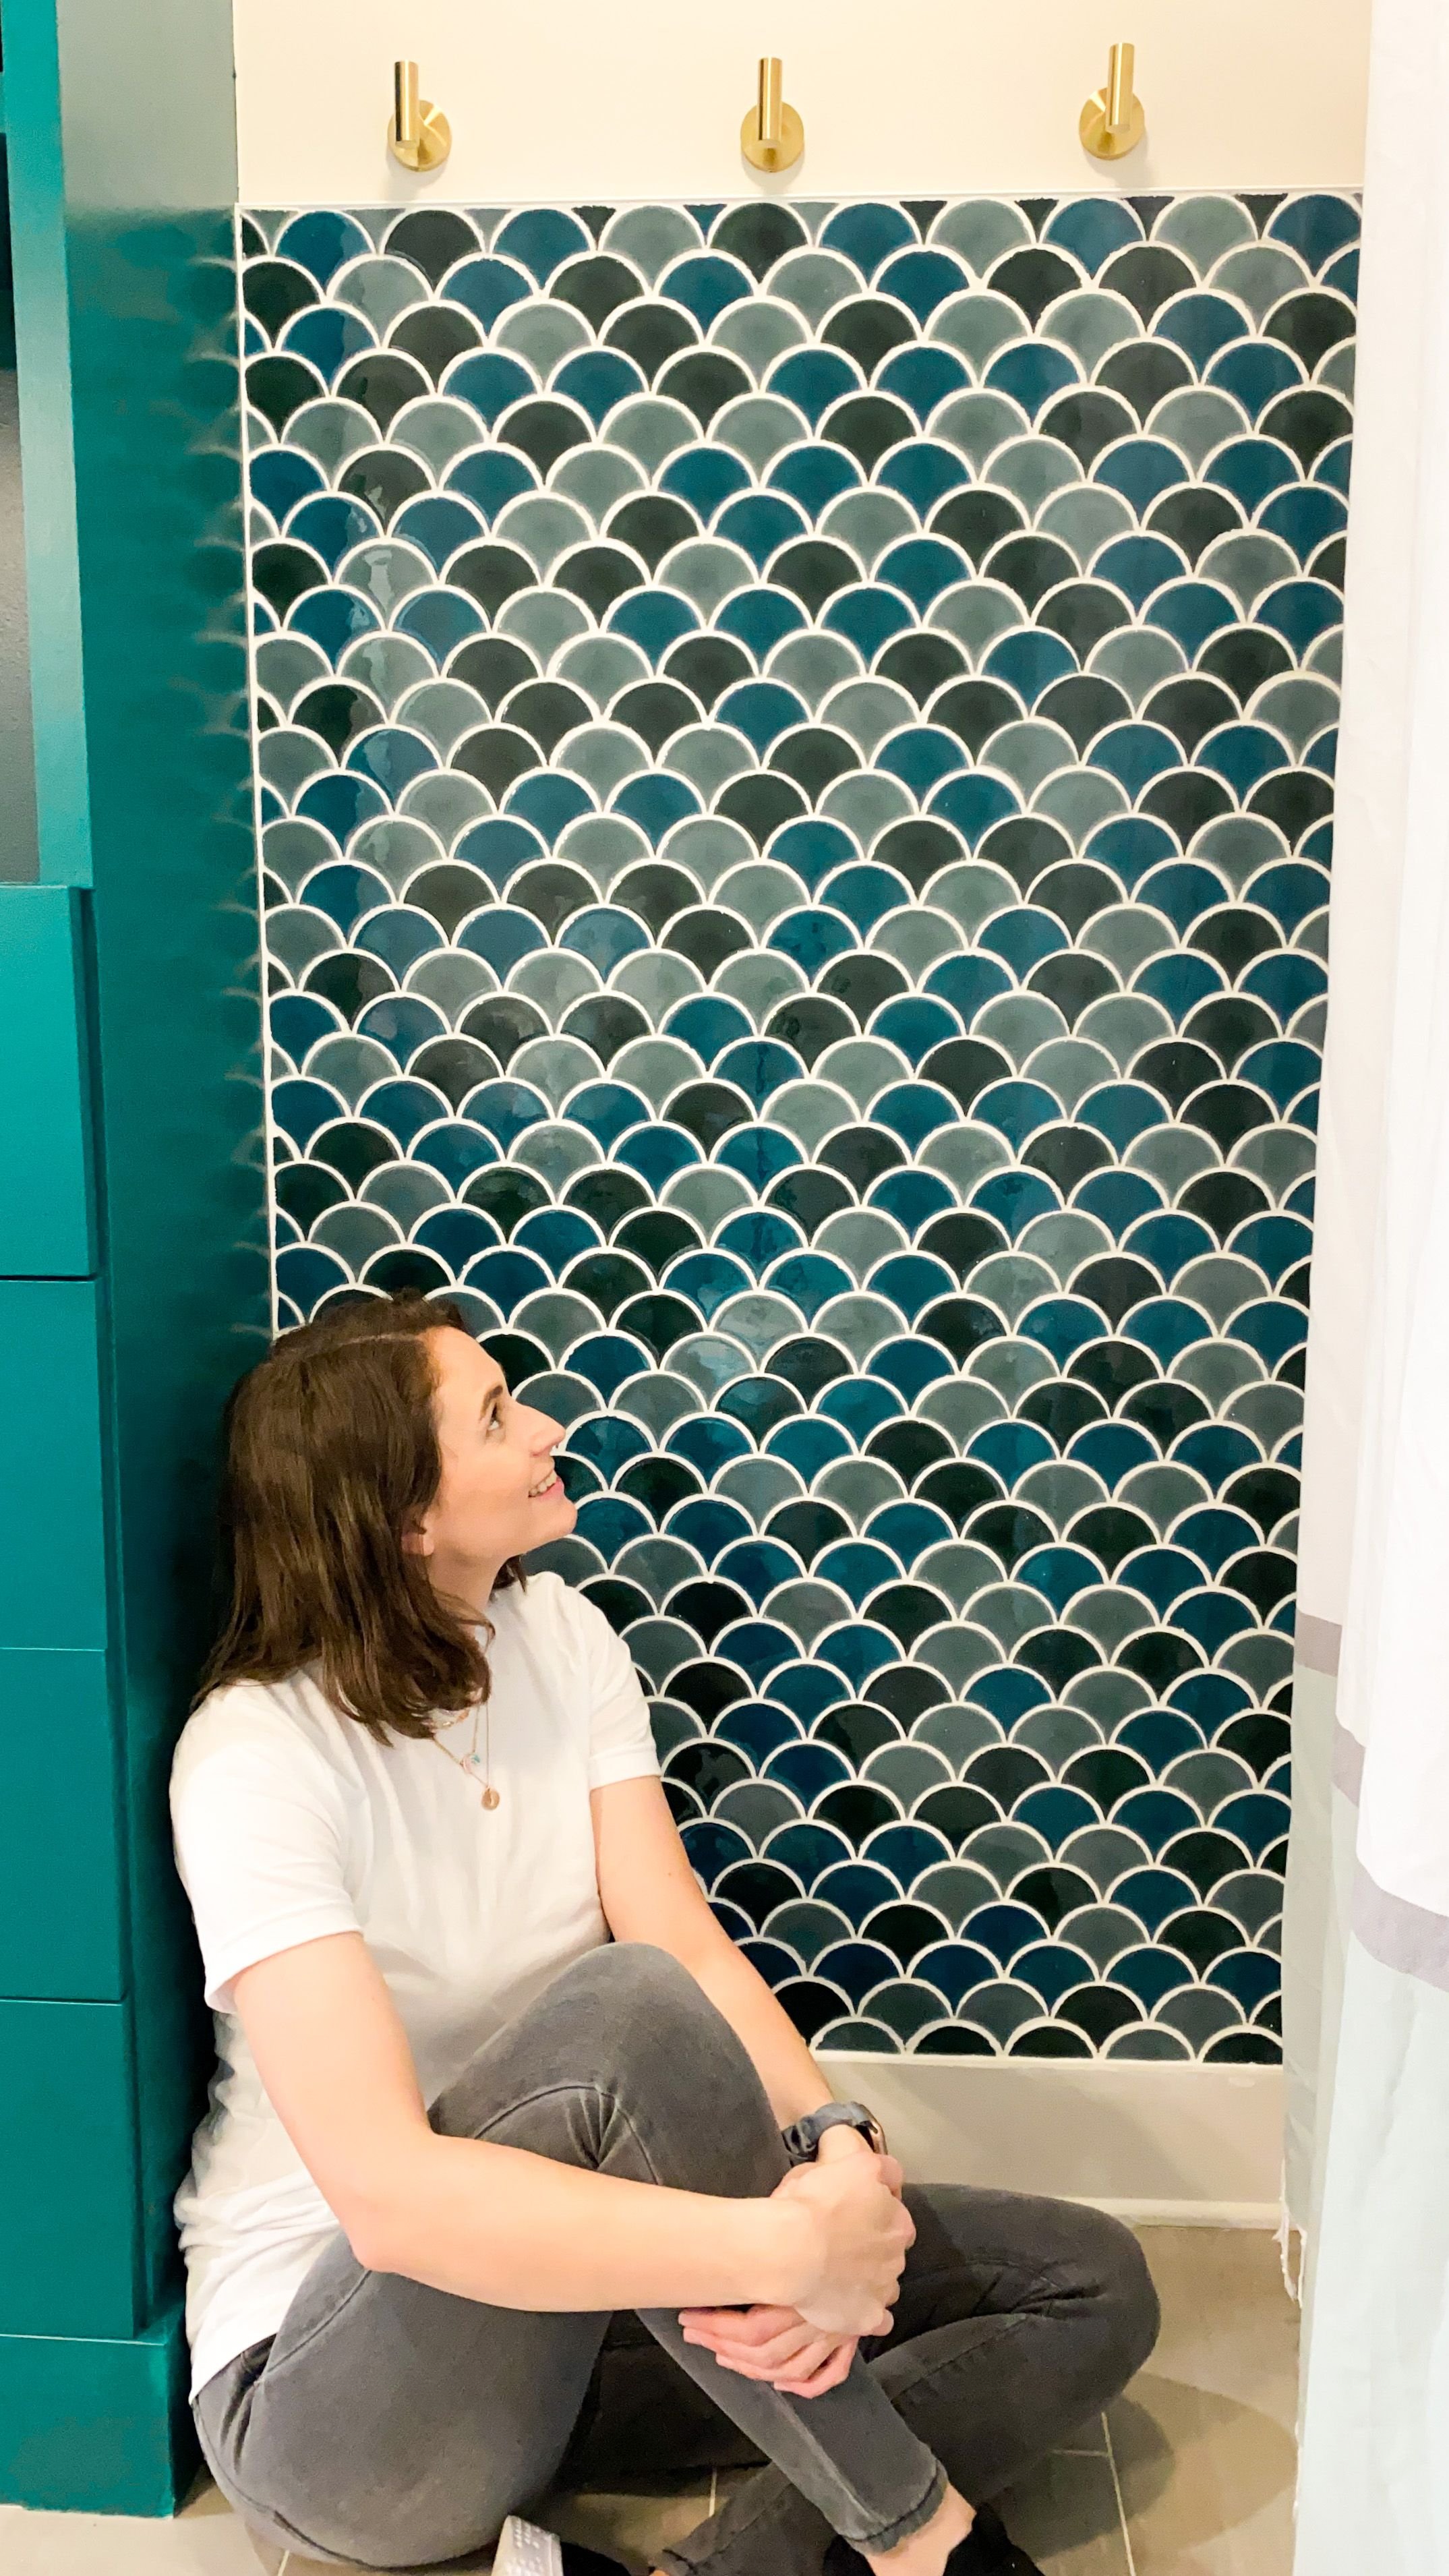
I started by putting Muscle Bound tile adhesive on the wall. This product replaces mortar and is great for small areas. It's a little bit more expensive, BUT it's zero mess and is waterproof. I started adding on this fish scale/mermaid tail tile. I spent months looking for the perfect tile and fell in love with this one. It came in 12x12 sheets, so, for the most part, I was able to just stick it on the wall.
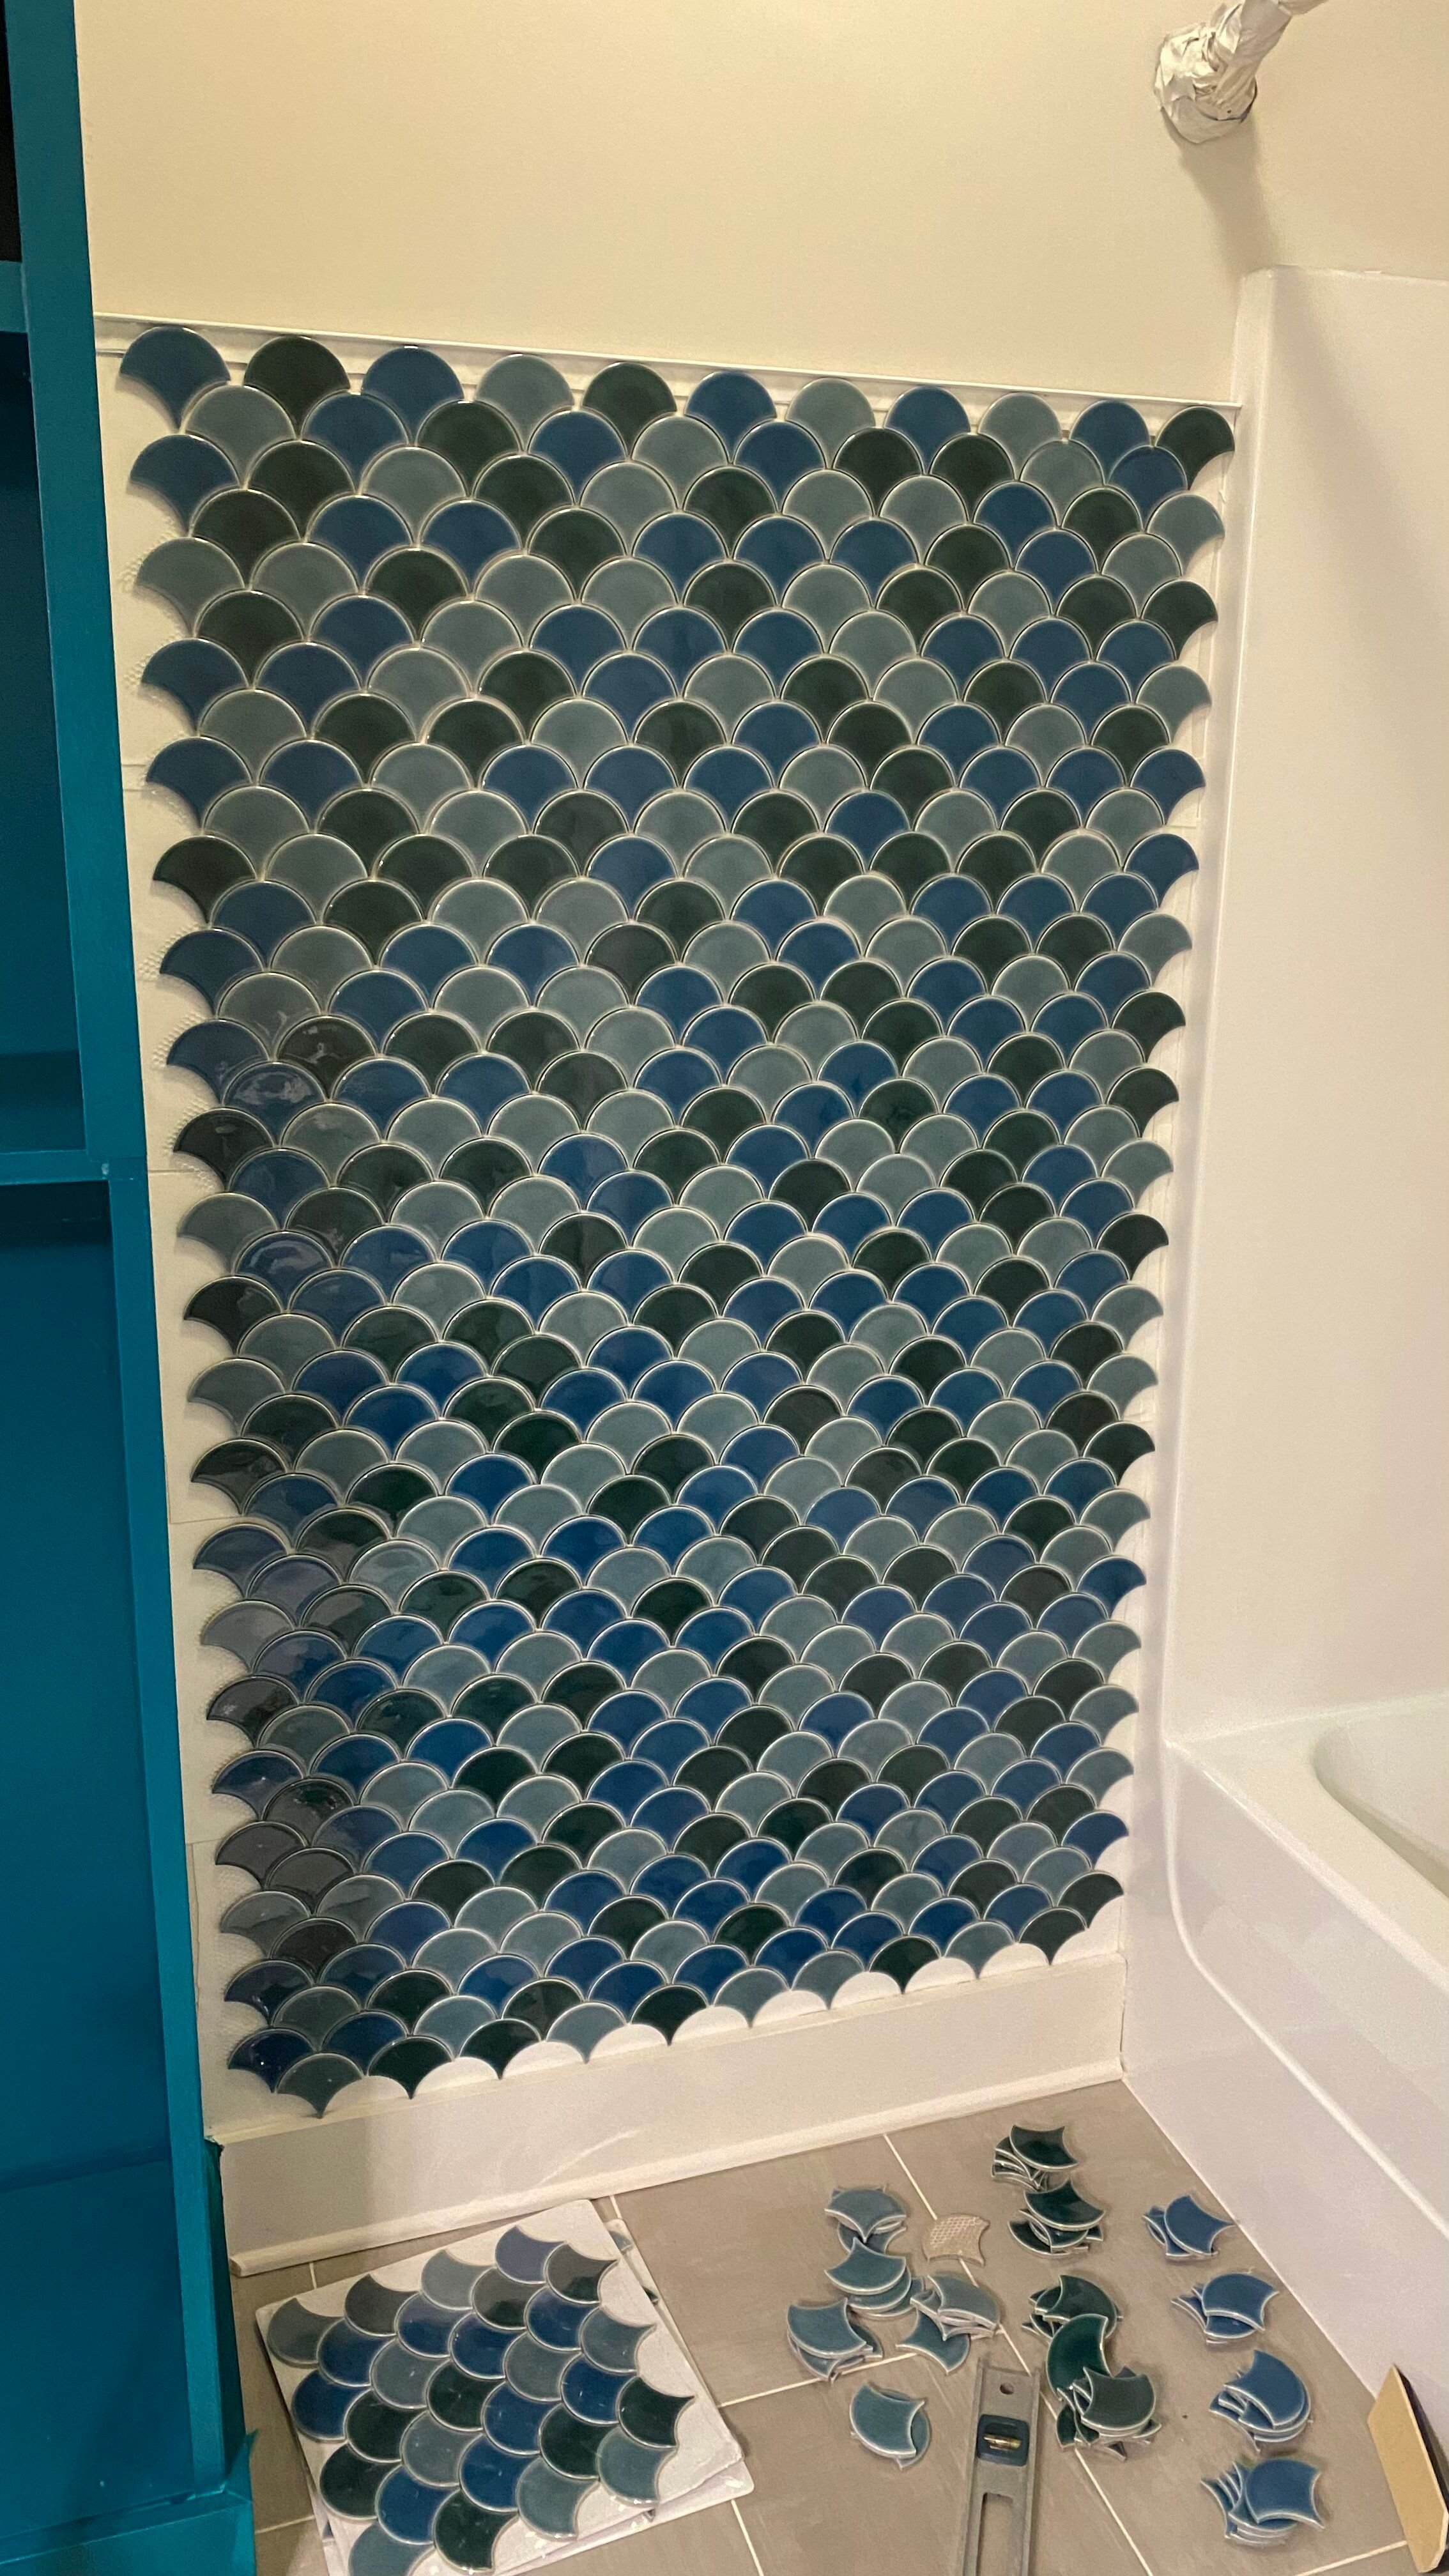
I used my tiny tile saw my aunt gave to me to cut the few pieces that needed to be trimmed down. This saw is perfect for cutting down a lot of the tile pieces I needed because they were just so teeny tiny, and I wanted them to fit in perfectly. Then, I used pure white pre-mixed grout, put it all over the tile, let the grout dry per the manufacturer's recommendation, and wiped all of the film off. Honestly, the tile wall in this bathroom is probably my favorite part of the whole project!
Adding Storage & Color to Your Bathroom | Finishing Details
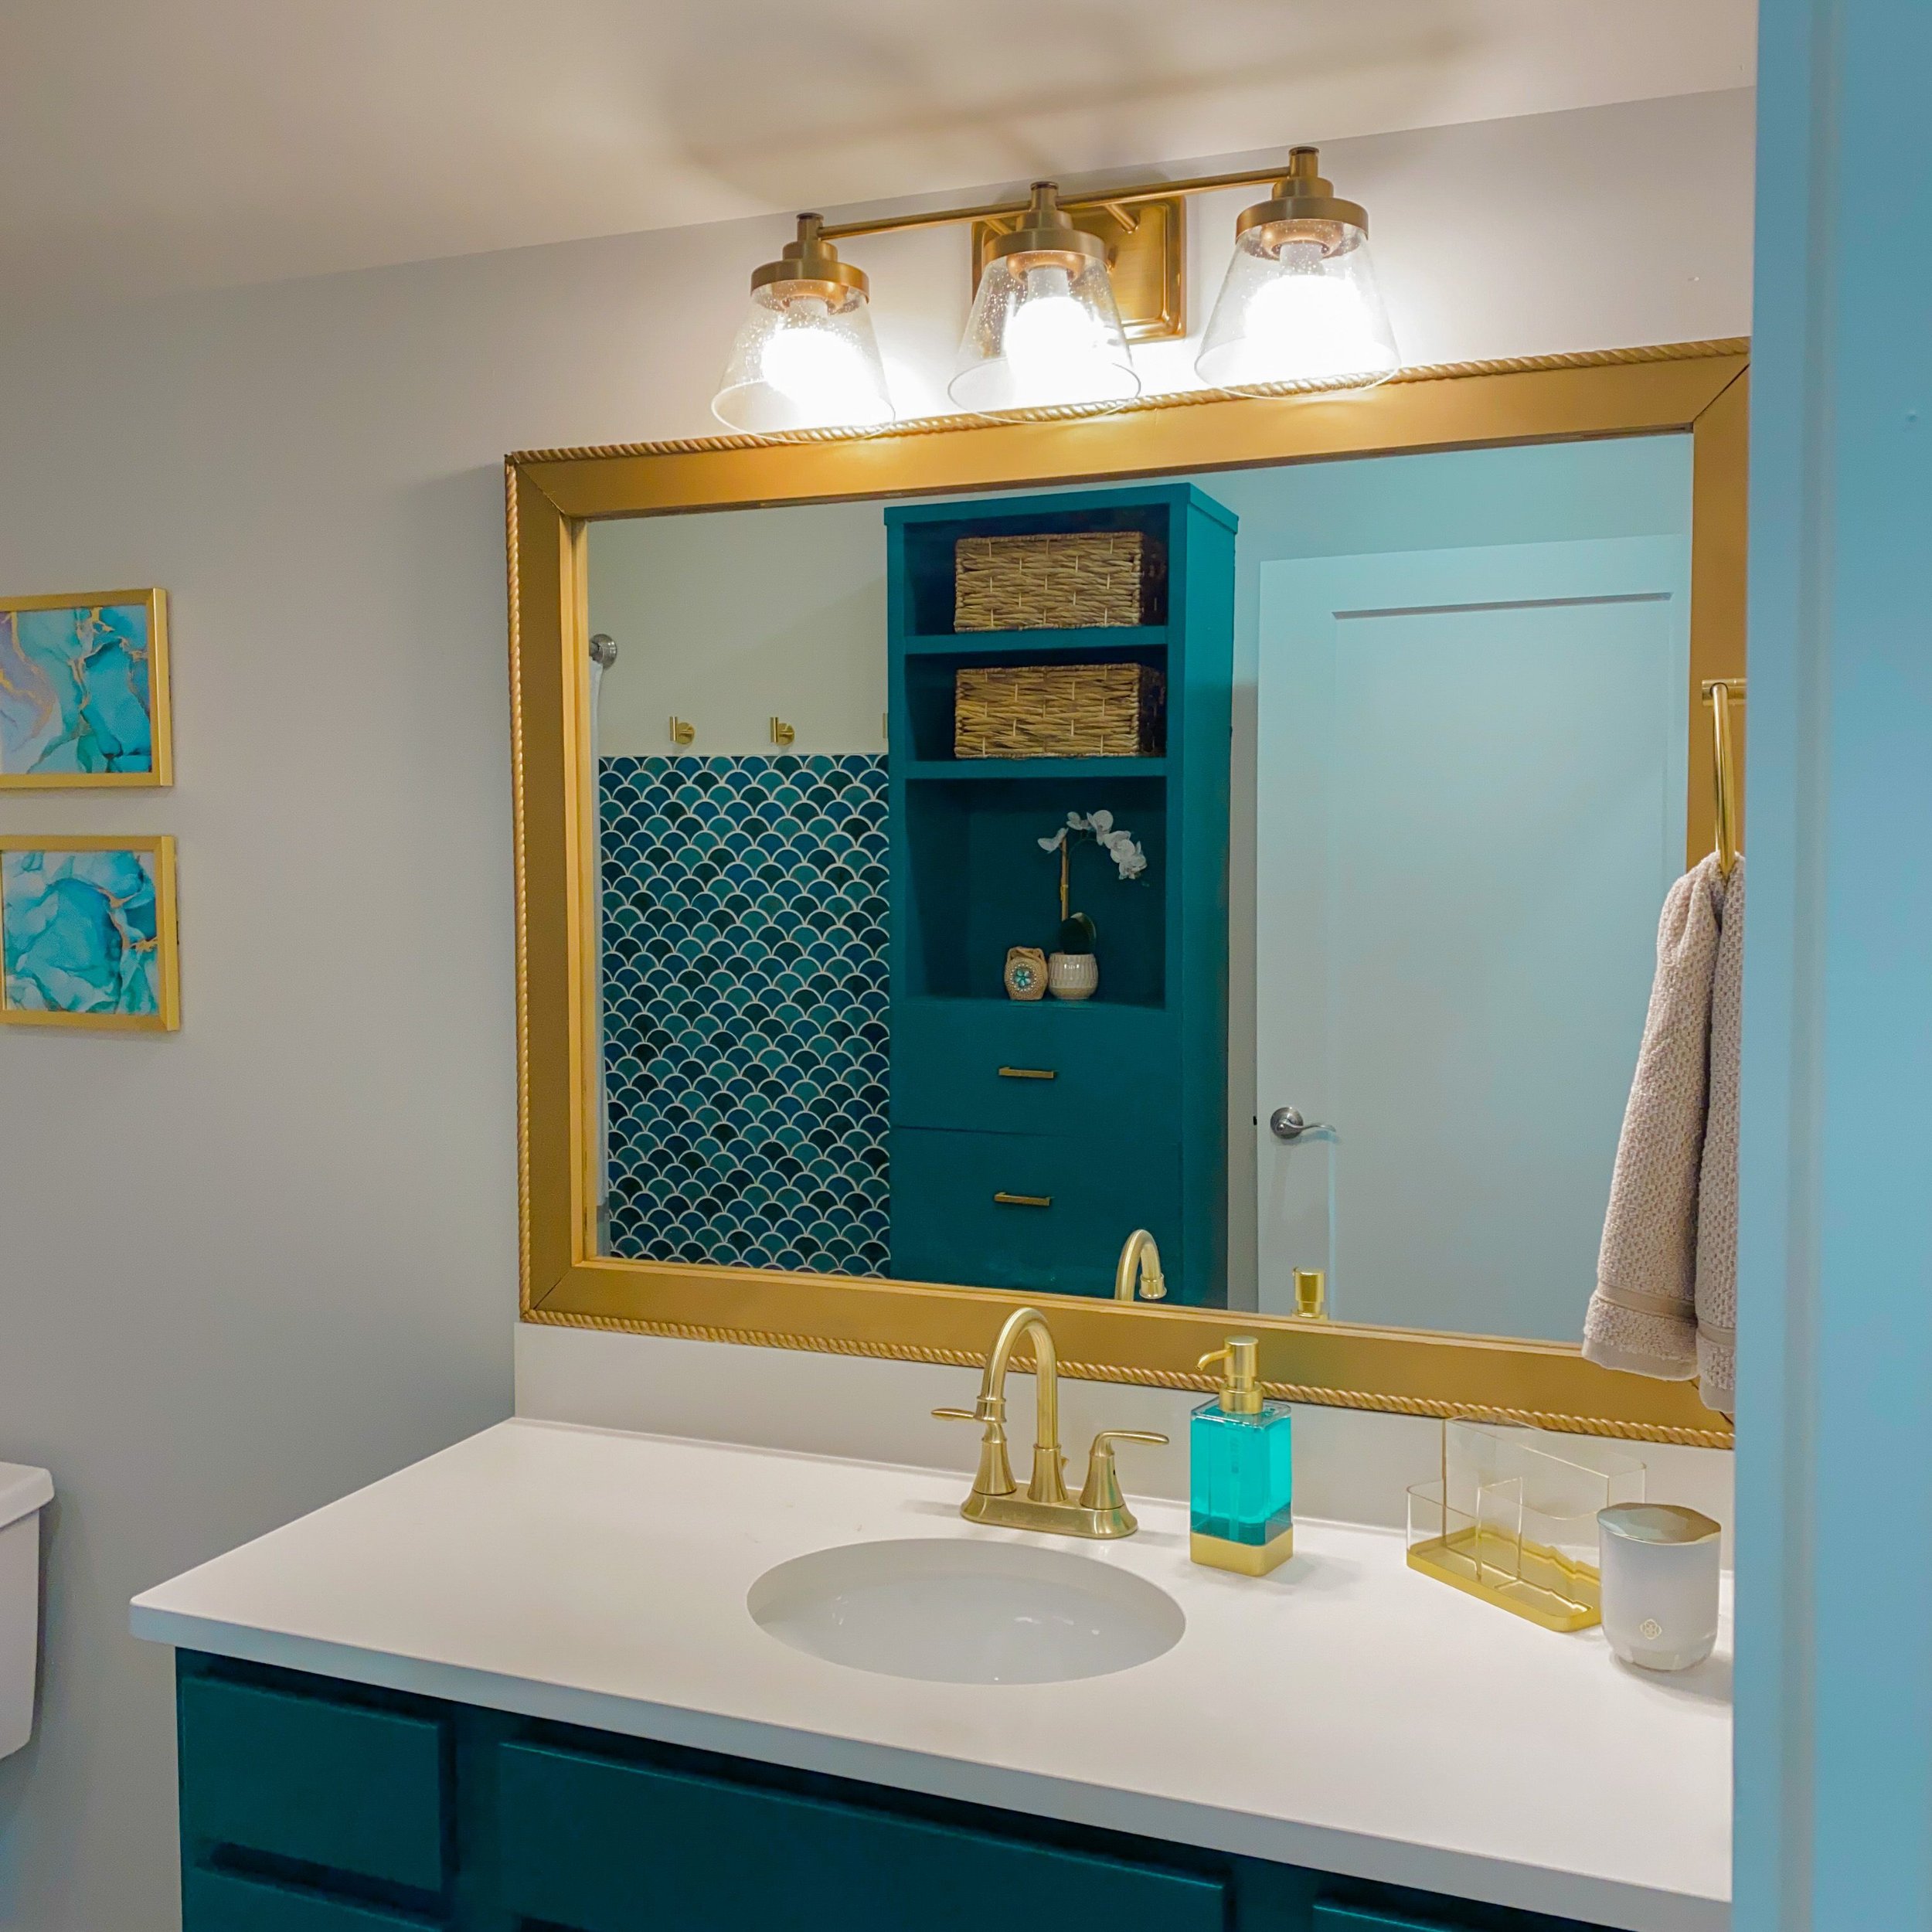
Next up, I decided to change the faucet on the sink. The original hardware is silver, but I’m much more of a brass/gold girl so I love the change. I was gifted a beautiful light fixture from Progress Lighting and installed that too. I decided I didn't like how the mirror looked so I made a frame for it. I have a completely separate blog post for this that will go over how exactly made this and how you can replicate it, so stay tuned for that!
As a finishing touch, I found a raw wood stool and painted it the same color as the vanity. Now we have this custom stool in the bathroom instead of some random stool that doesn't match, and I think it looks so much better. That was it! The total cost for this project, if I went out and purchased everything, would’ve been $1,282. My personal cost was $436. I absolutely love how this space turned out. The bathroom has so much personality and, once I add some ocean and fish touches, will be perfect for baby boy.

Adding Storage and Color to a Bathroom | Shop