
A Wall of Closets
When my parents moved into their house over three years ago, my grandparents also moved into the house with them. After about a year in the house, my parents decided to renovate the Jack and Jill bathroom and two bedrooms into a suite for my grandparents. When they were designing the suite, one of the things they wanted in the renovation was to create a hallway of closets. While my mom got several quotes from multiple companies for installing a set of closets in this space, they were all very expensive. Together, we came up with a design and I decided it to tackle it myself.
A Wall of Closets | Phase 1
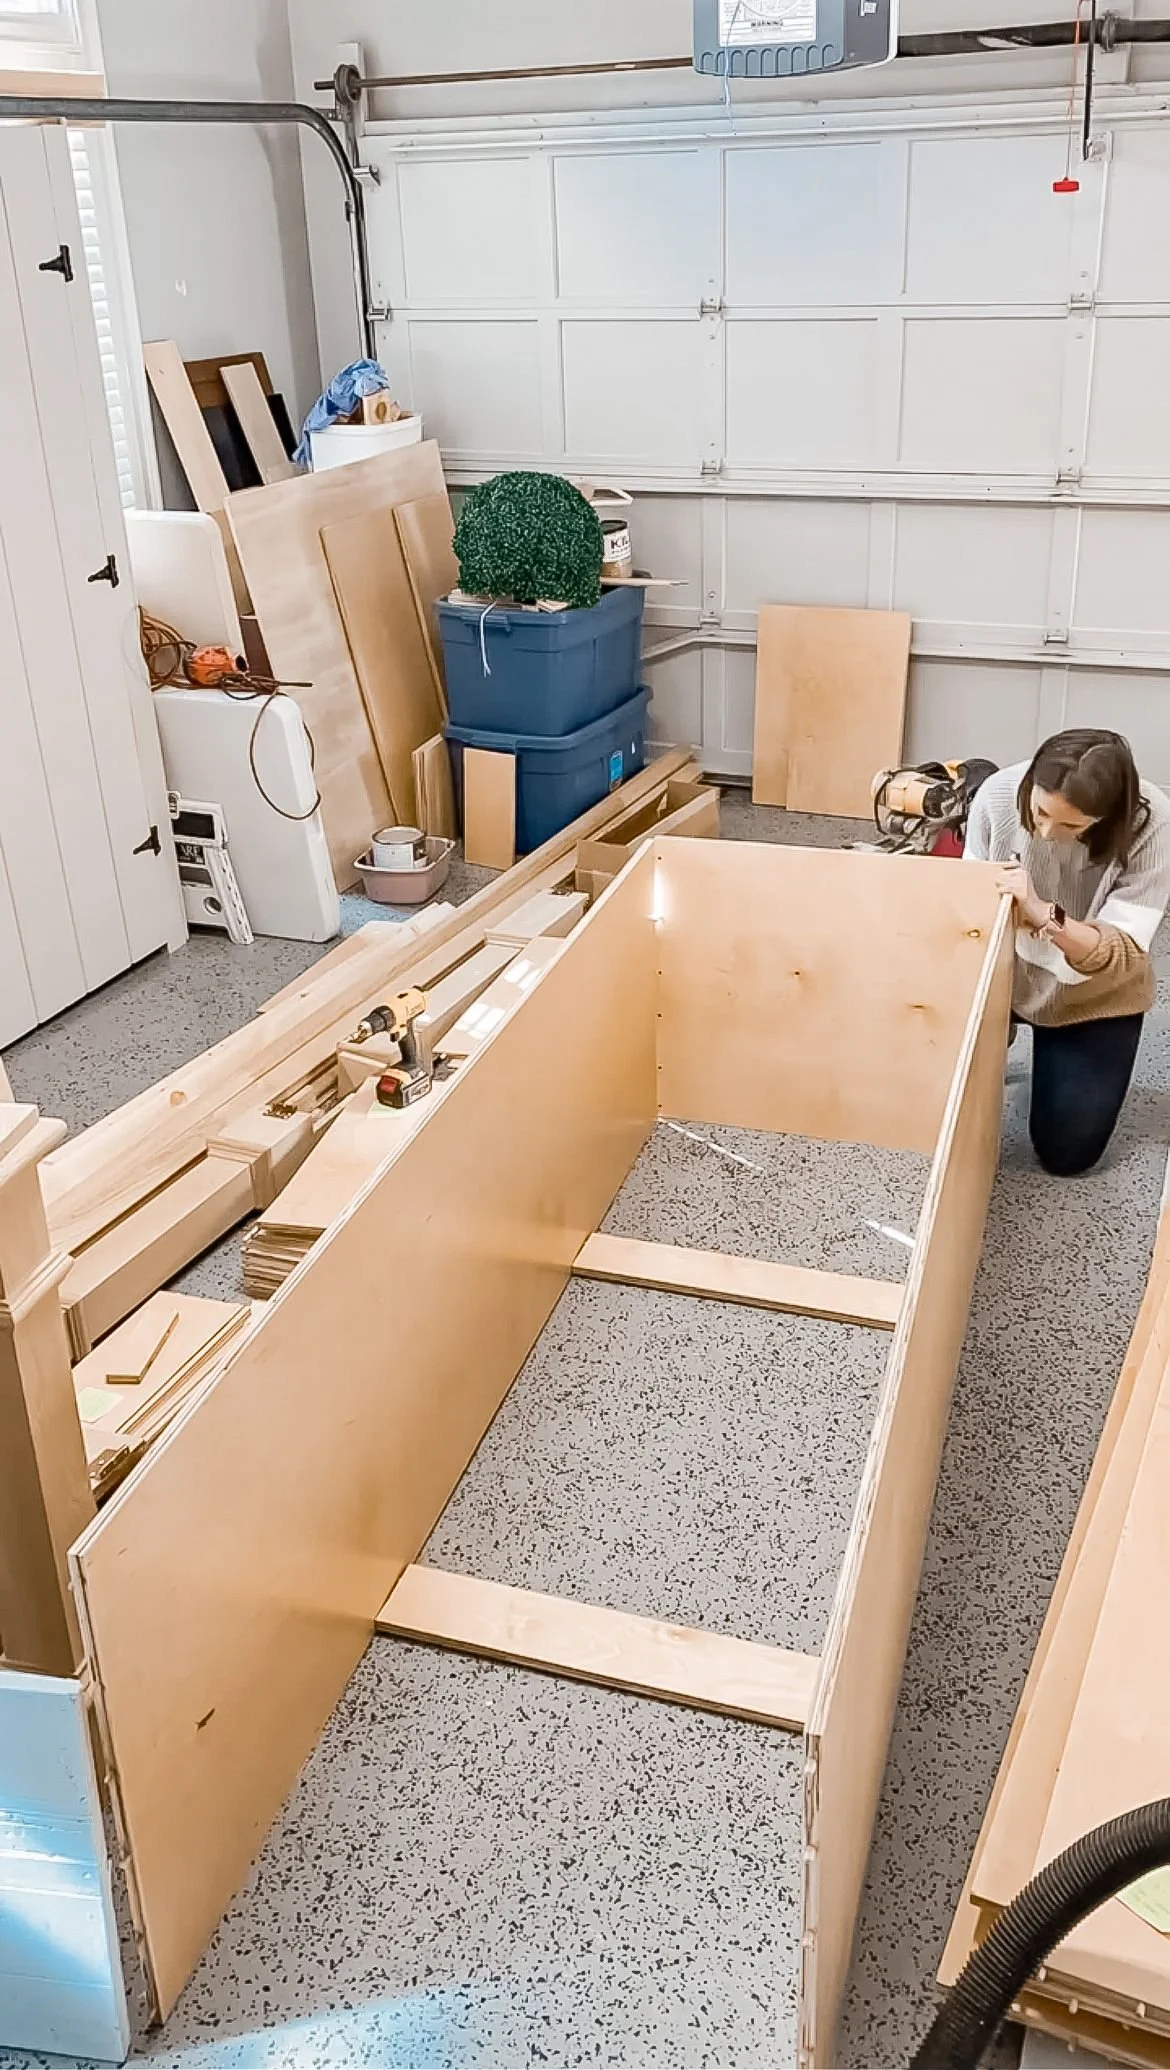
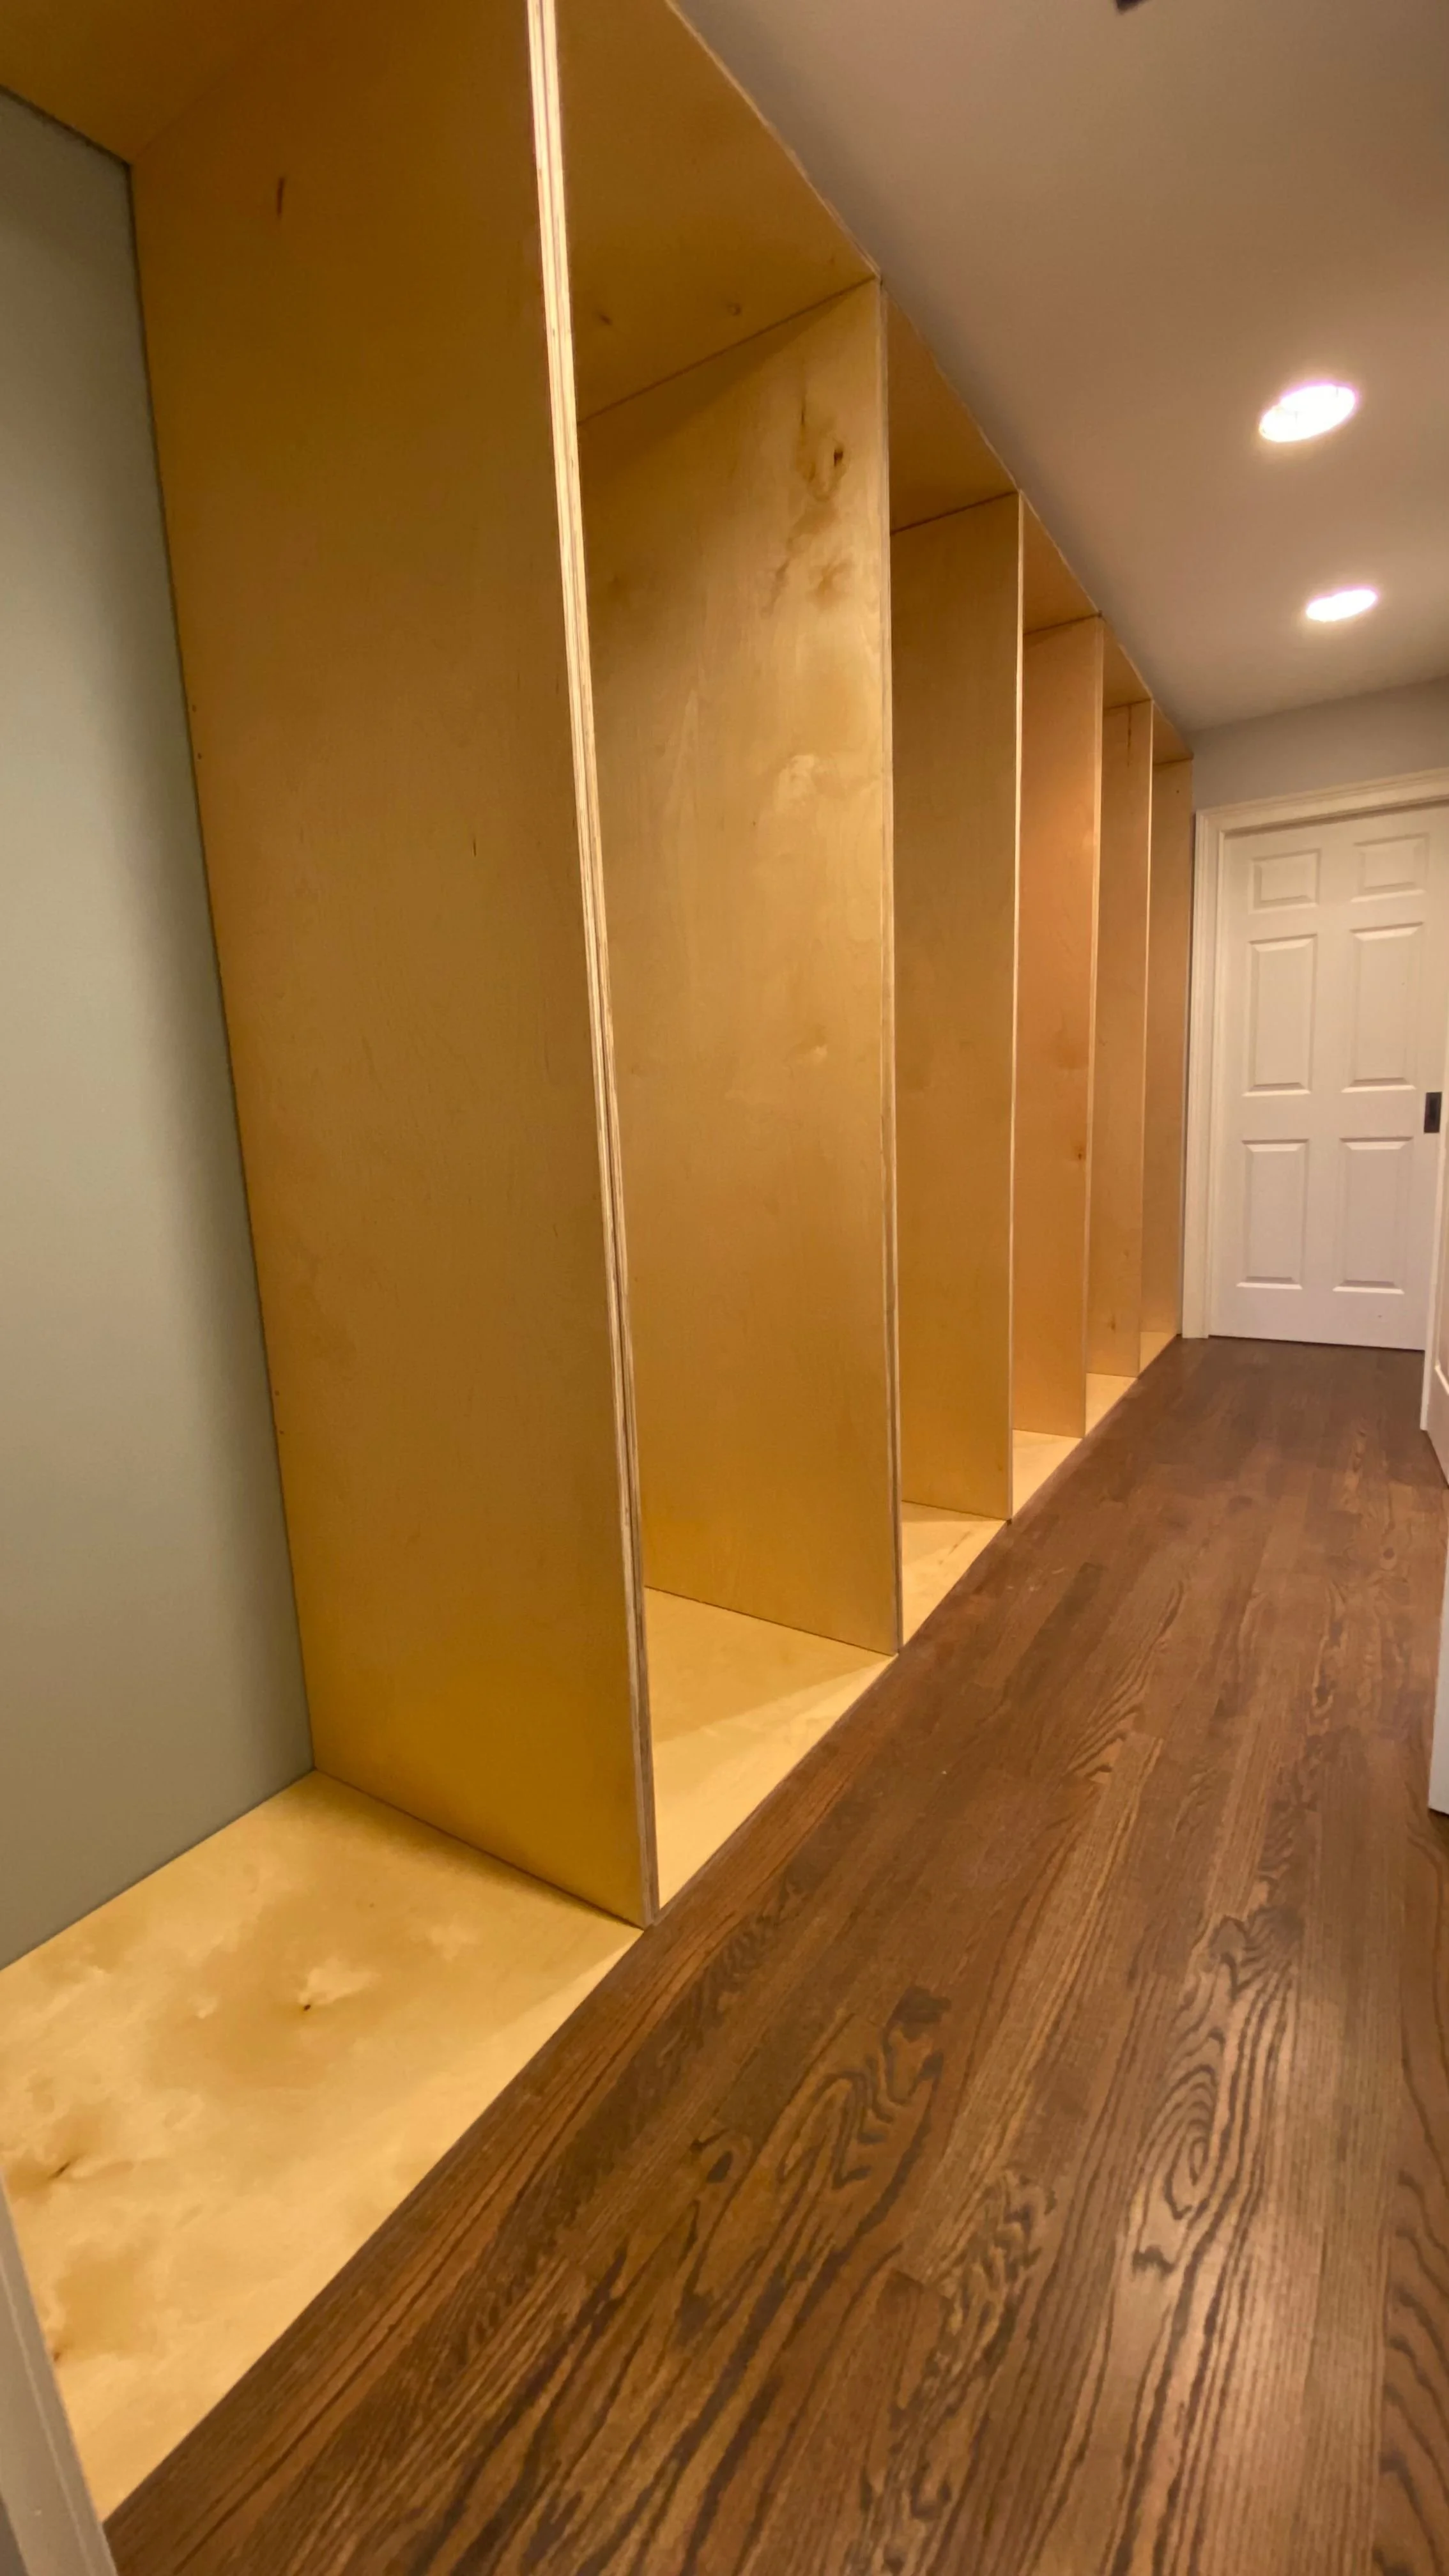
I started the project by creating six giant rectangular boxes that would be the base for the hallway of closets followed by shelves and drawers. I bought a dowel hole jig to secure everything and then used a lot of glue and a lot of dowel holes. This project was a great experience on getting everything perfectly square every time. For this project, I used UV treated plywood, which means there's a shiny veneer to the top of the plywood. The point of this wood is you don't need to paint it. It's very smooth and while it technically can be painted, it's not necessarily easy to paint. It's great that you can just keep it unpainted while still looking nice. When you cut this type of plywood you will have exposed edges. These edges tend to splinter very easily, so wearing gloves while working with it is a must. I got enough splinters in my hands during this project that I quickly learned to wear gloves the entire time.
This was a massive undertaking and is still the largest project I have ever done. Originally the design for this project was more catered towards the needs of my grandmother and the things she had in her closet. However, about a month into the build, while my grandparents were away staying with other family members while their living space was being renovated, my grandmother very suddenly passed away. So, while my grandfather was coming back to still live in the space, my grandmother was not which meant so she didn't need the customized space I had originally created.
A Wall of Closets | Phase 2
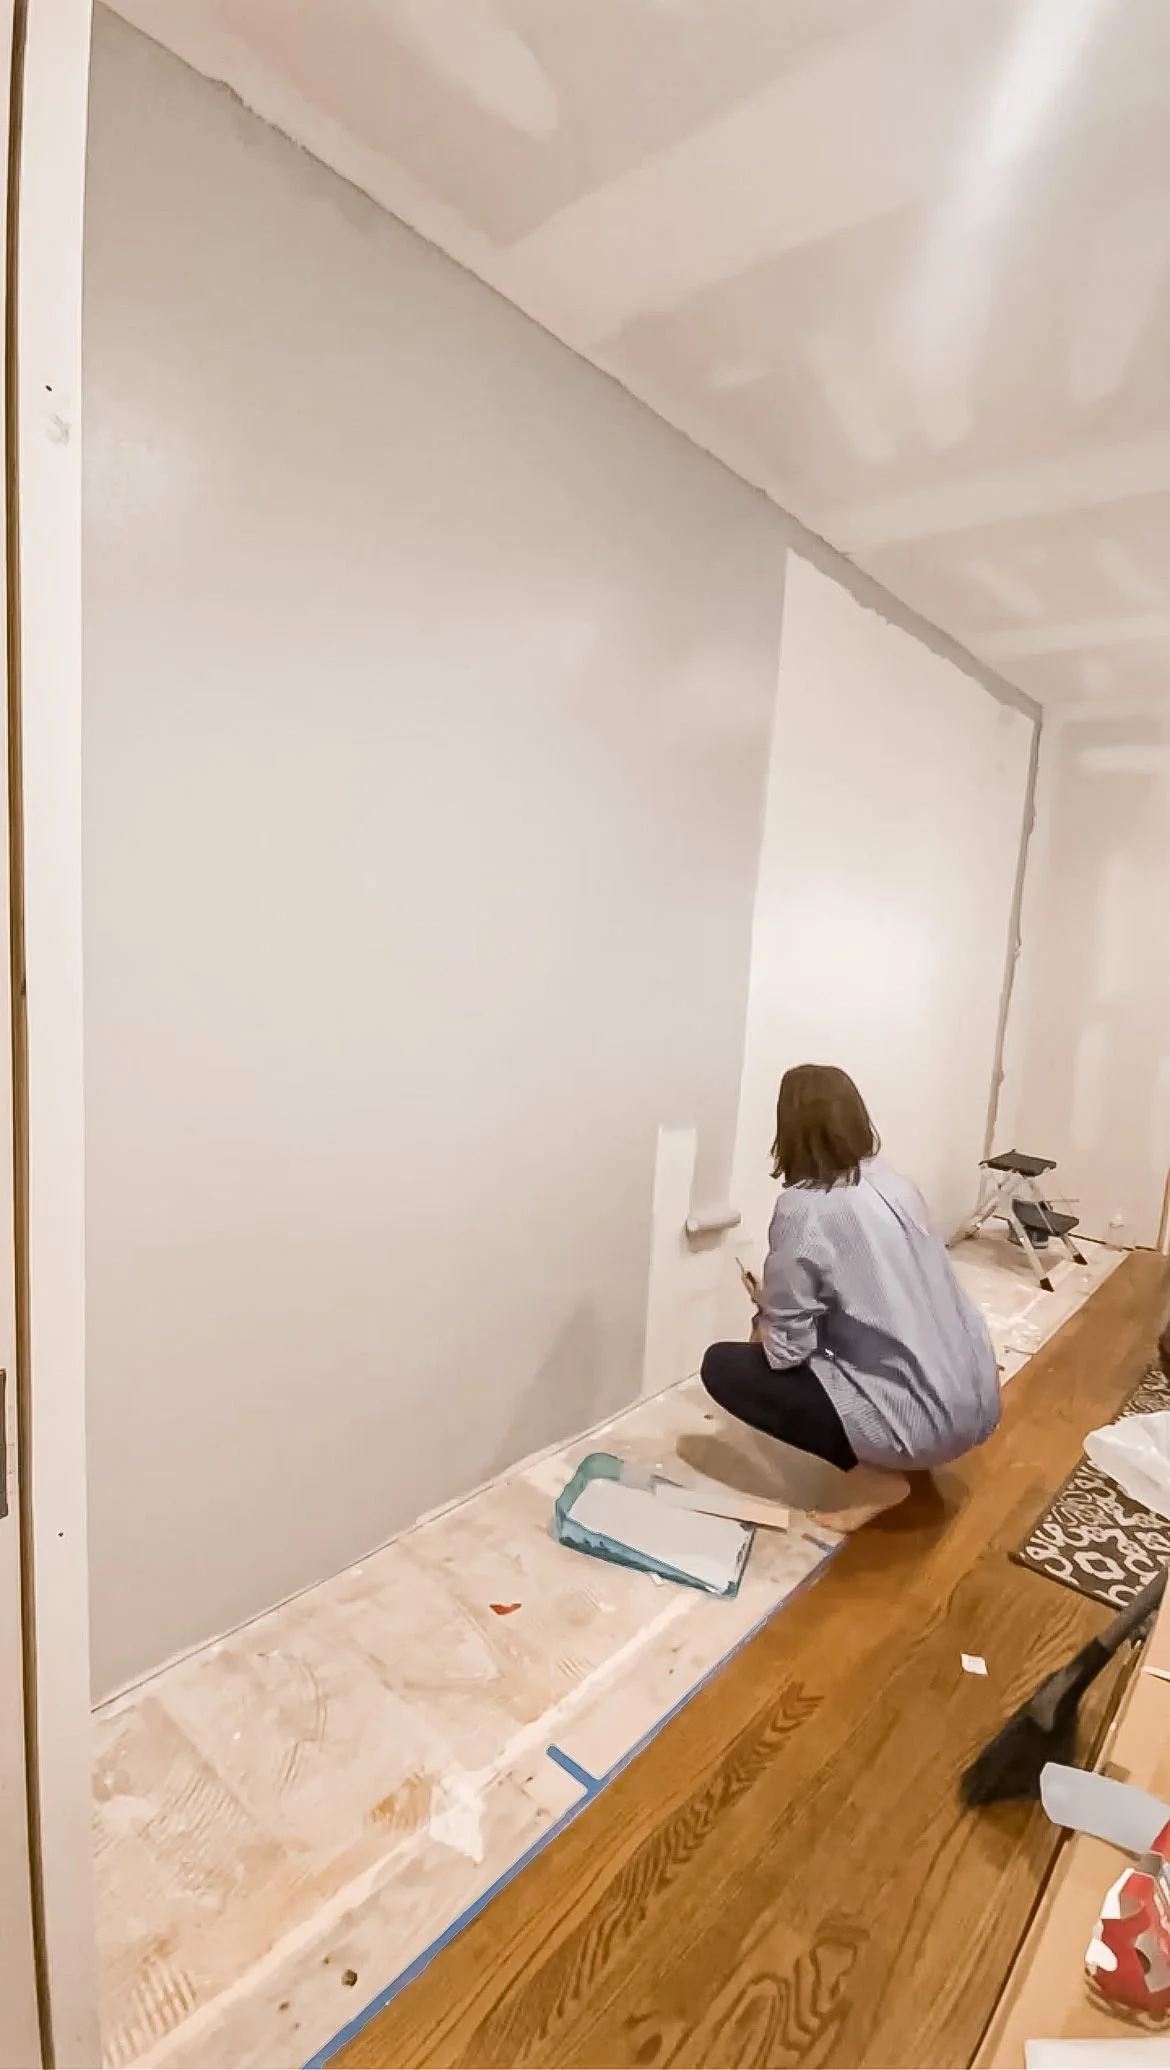
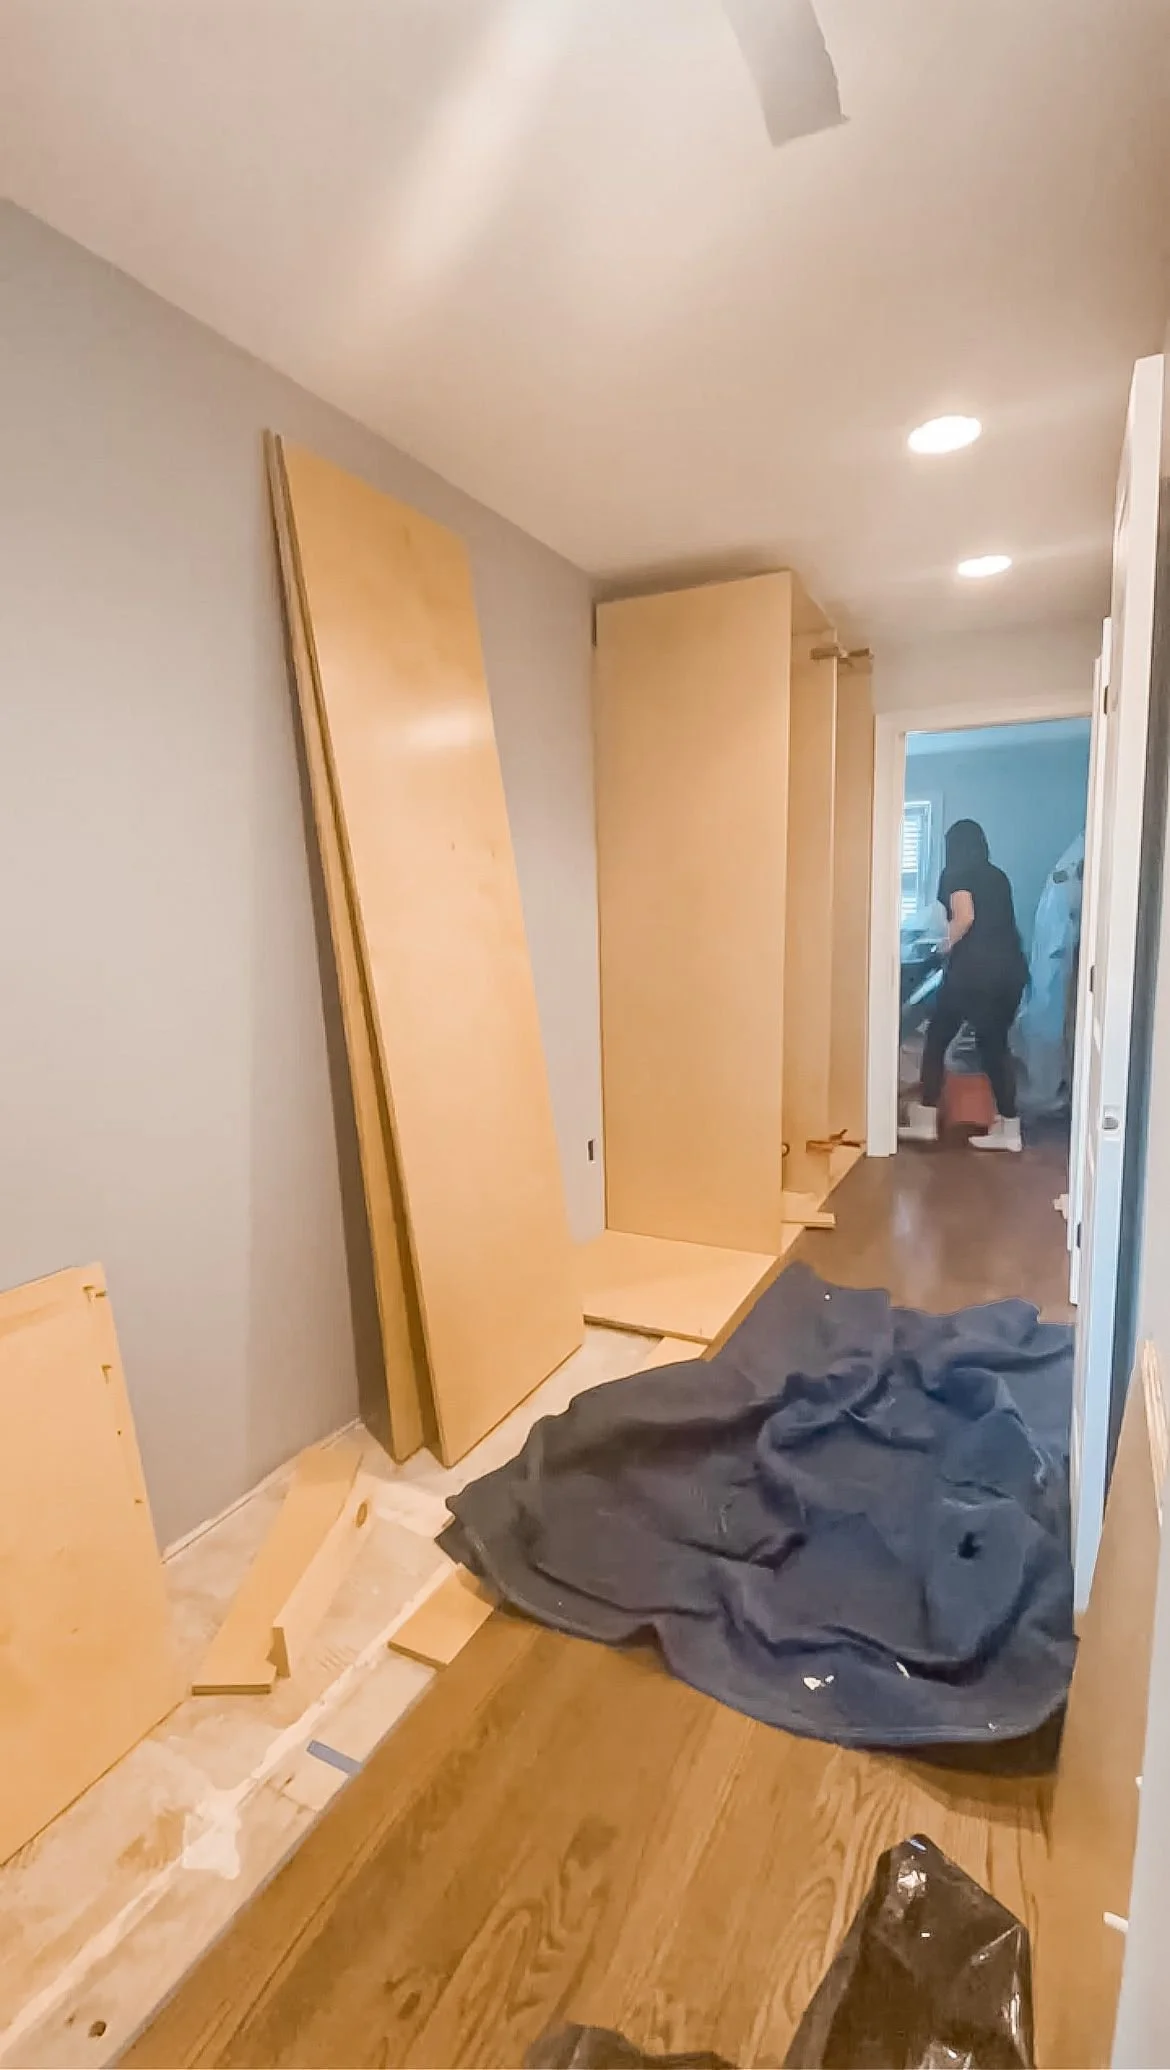
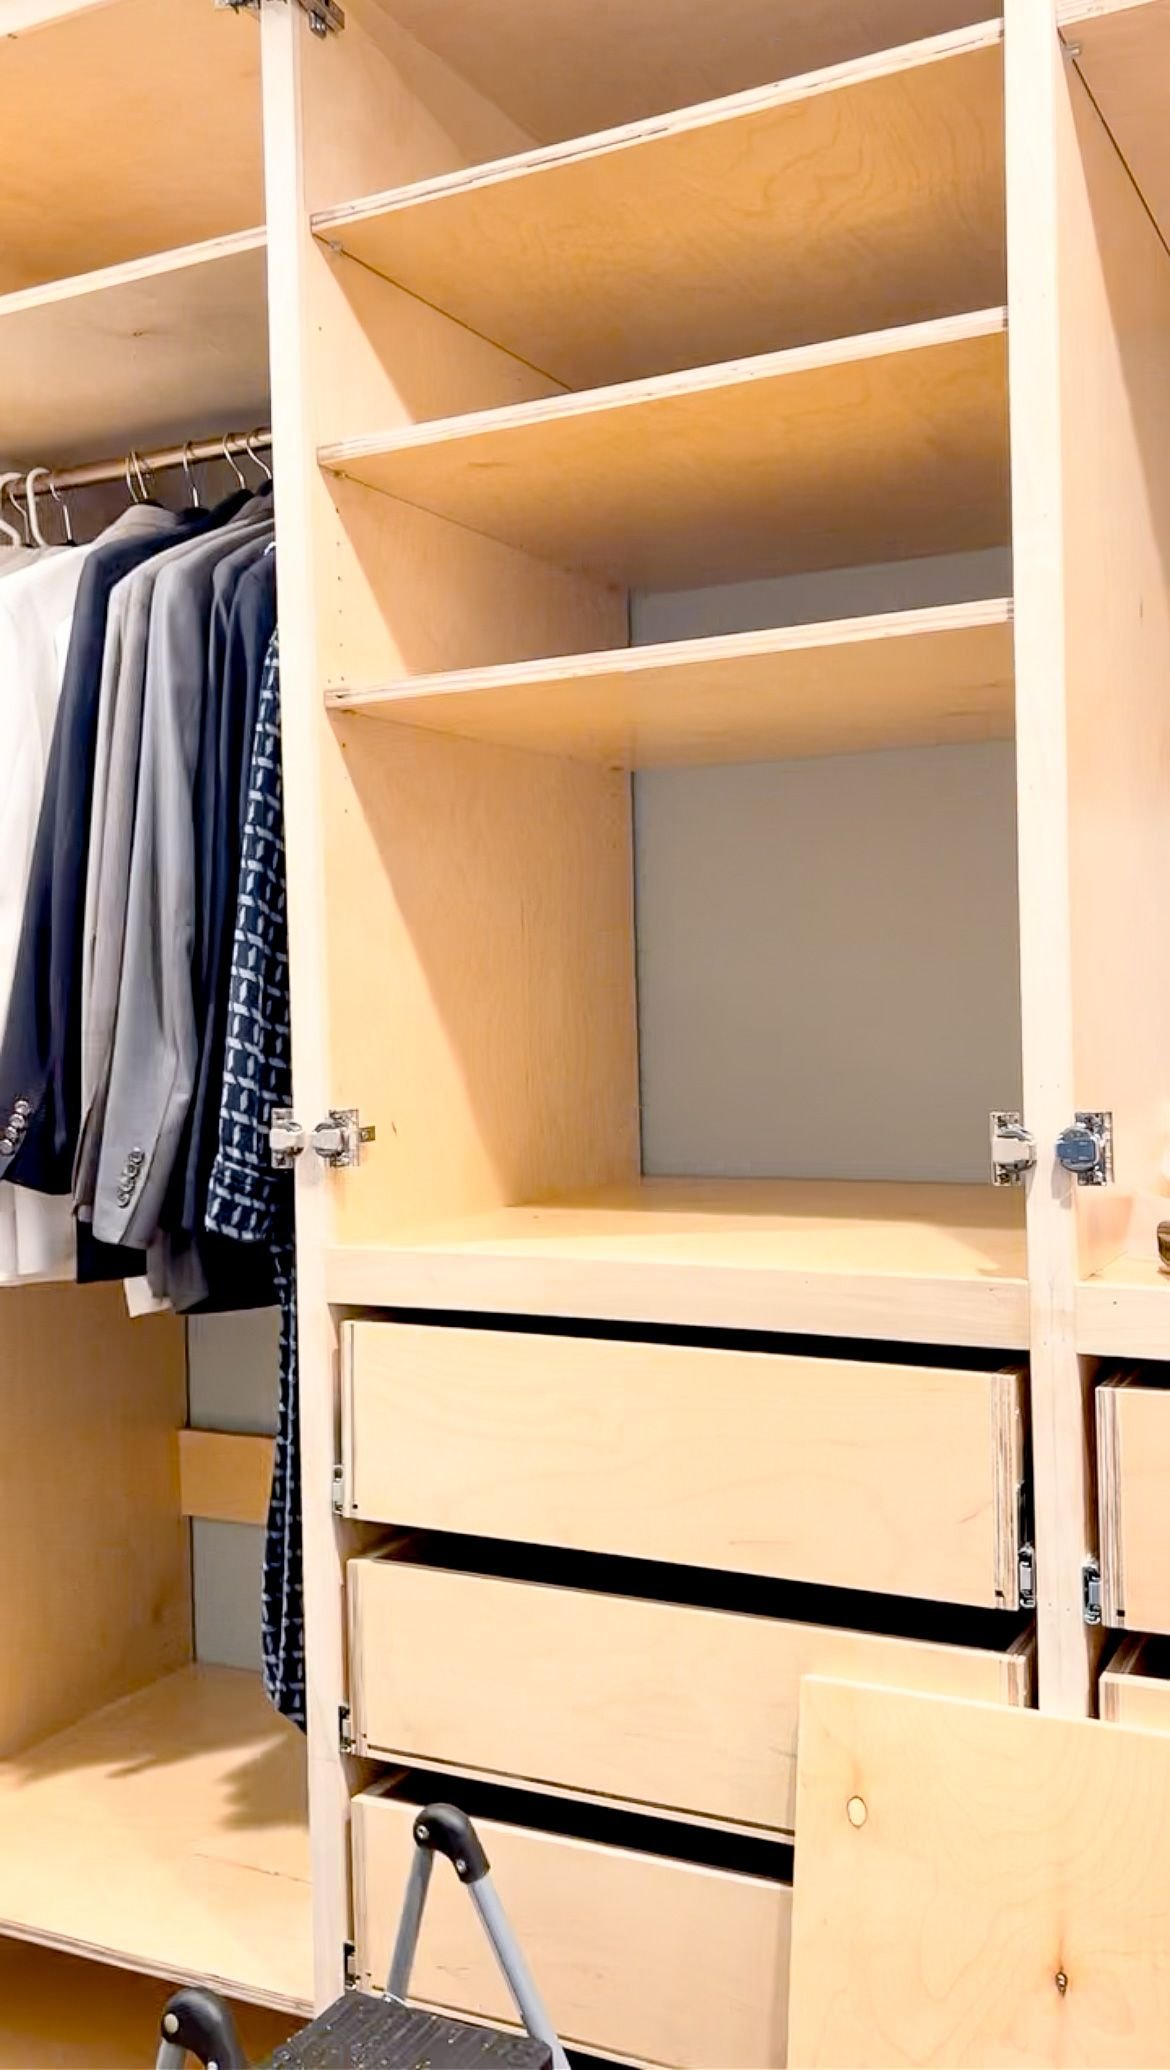
I quickly changed the design and got the six boxes into the closet with a lot of help from my parents because they needed to go on the second floor and they were very, very heavy. We were on a tight deadline to get them in so when my grandfather came back to his space, there wasn't a giant construction zone. Who wants that after losing their spouse of 60 years? After we got the boxes in and installed, I took a step back for a probably six or so months because I didn't have the emotional ability to go back and finish it. The team working on the rest of the renovation was able to step in and get the doors made. I have learned from lots of experience that doors are not something I am good at so I always hire those out. Thankfully, since I was working with my mom who was also grieving, she gave me a lot of time and space to have the ability to come back and fully finish this project when I was ready.
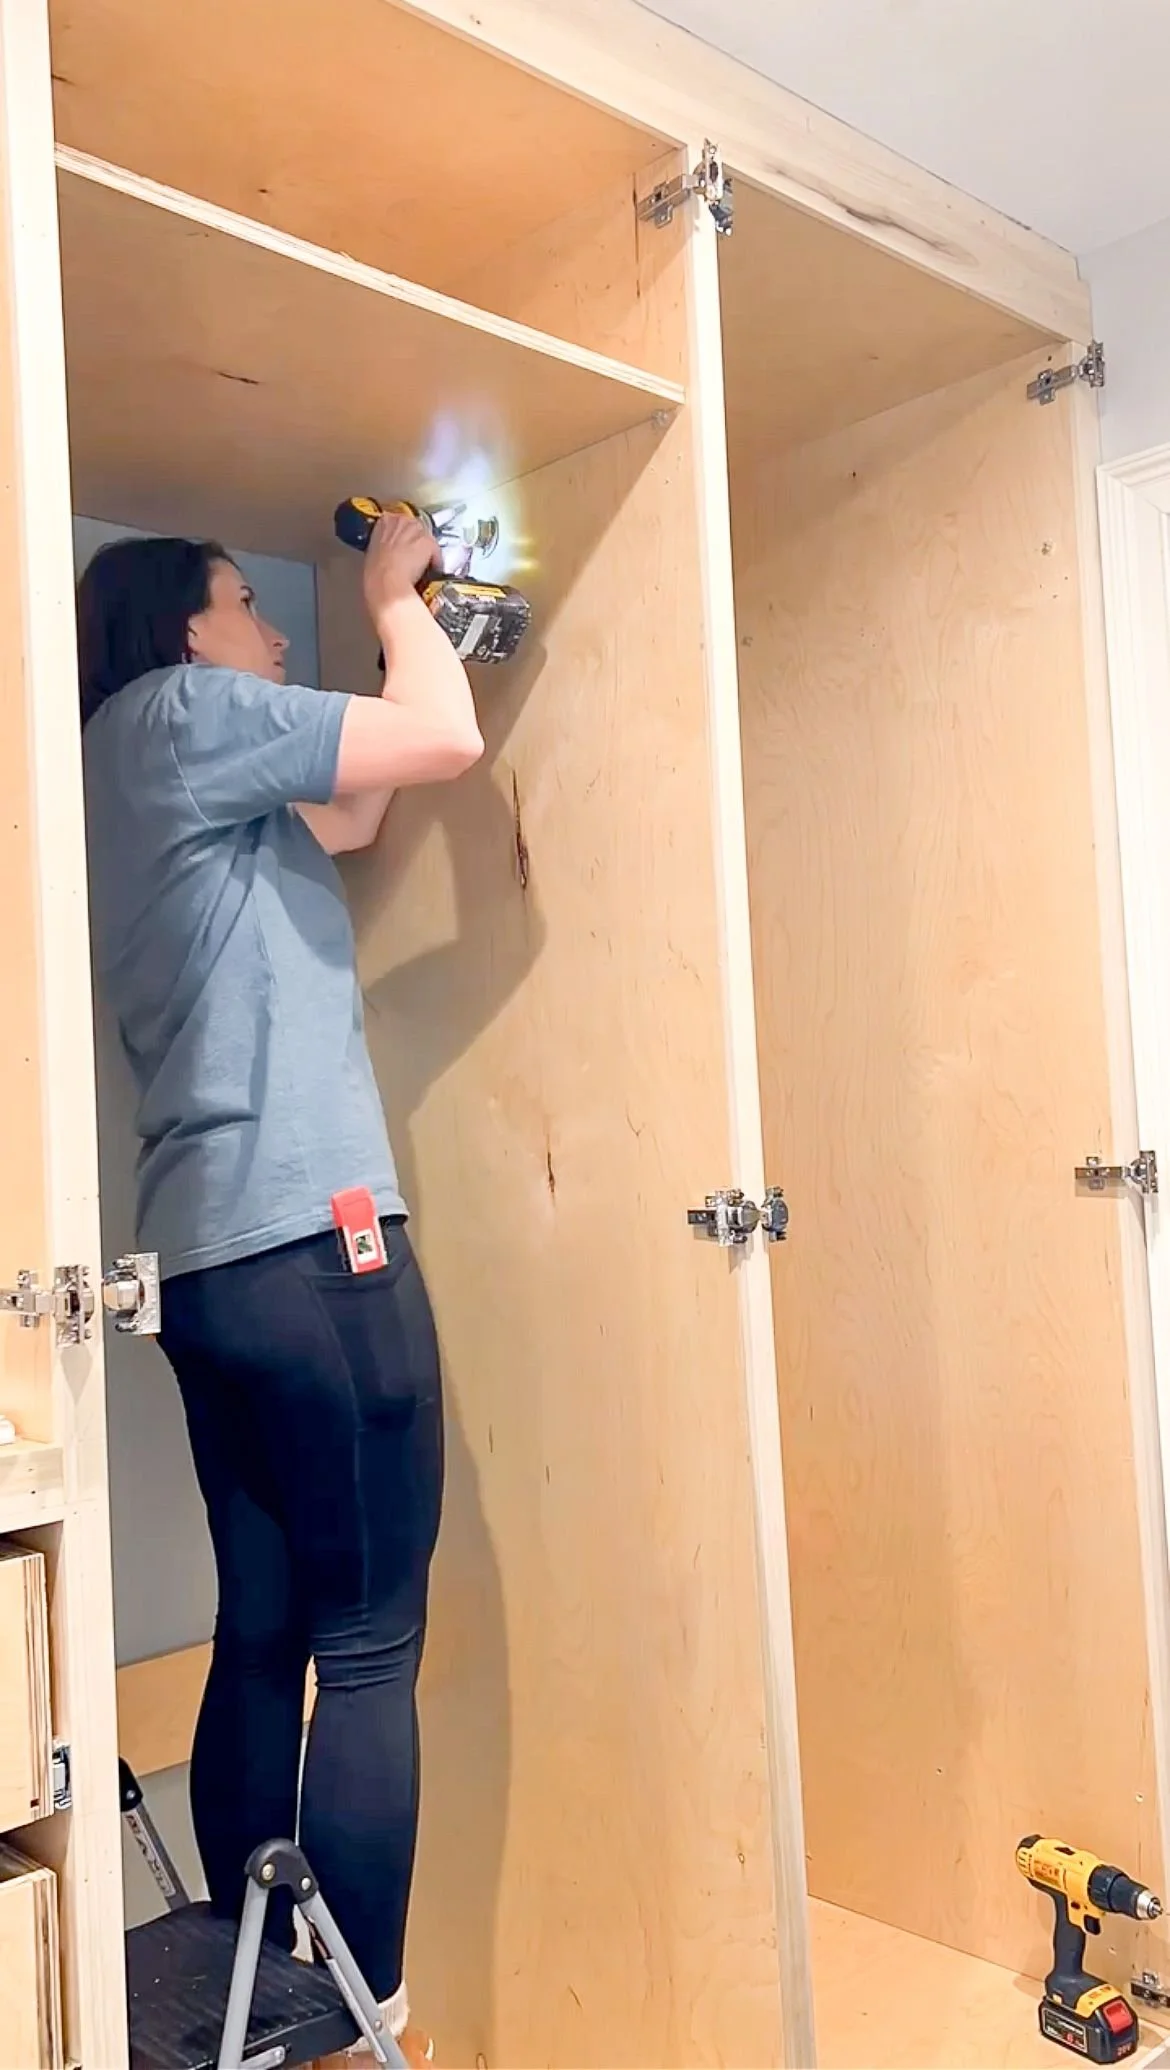
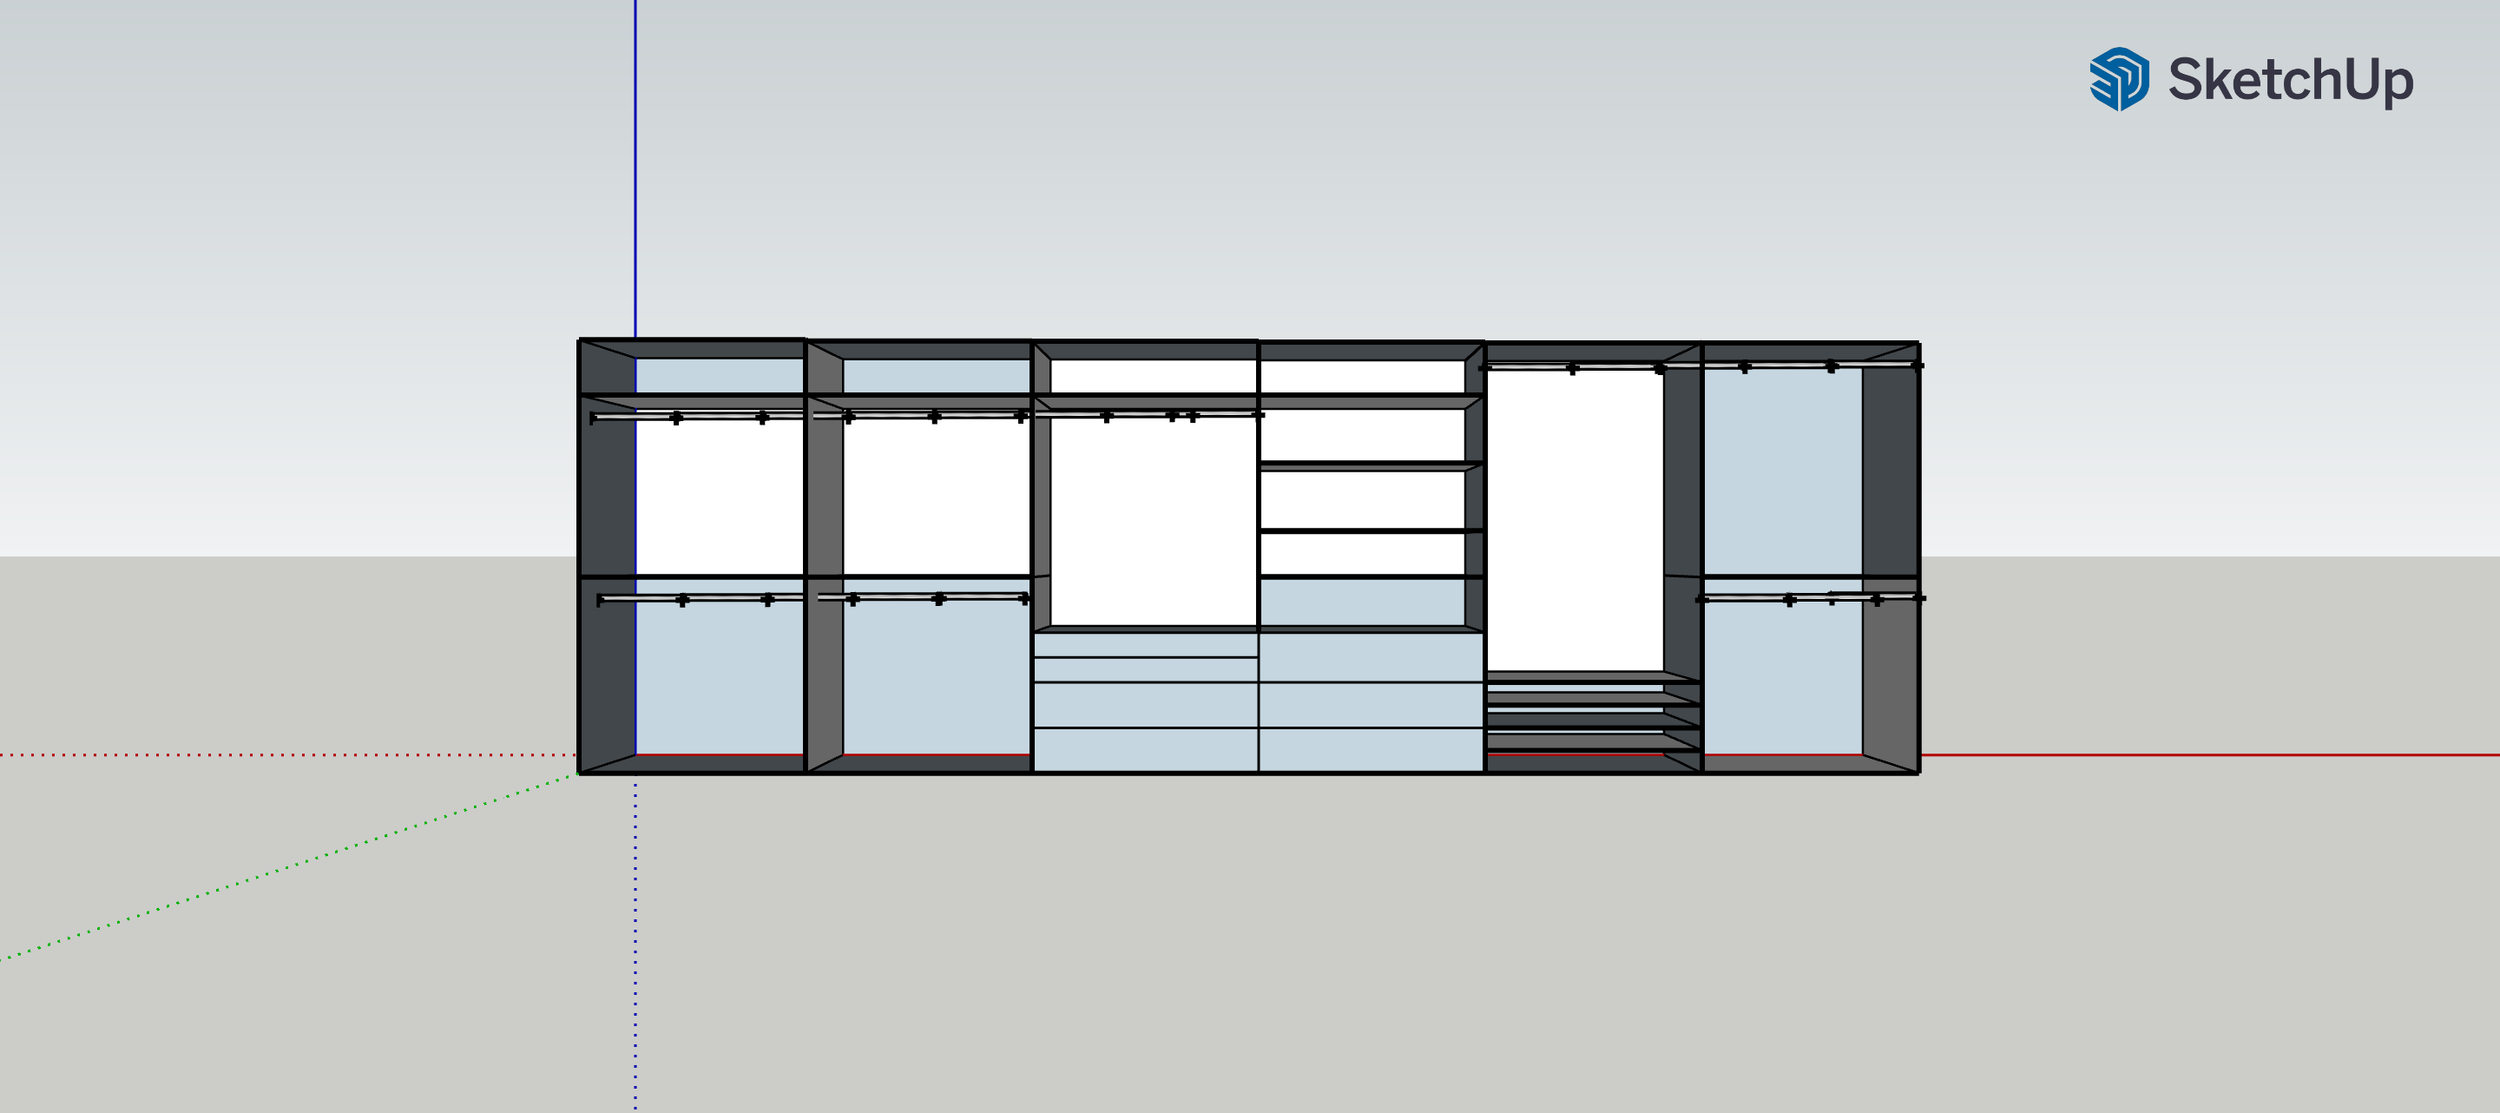
Once I was ready, I added shelves in each section along with hanging rods, some of which were single, some were double. There were a few places where I added adjustable shelving, especially on the bottom of some of these sections for shoe storage, as well as shelving in the two middle units because it allowed for rearranging the shelves based on the needs of whoever was using the closet.
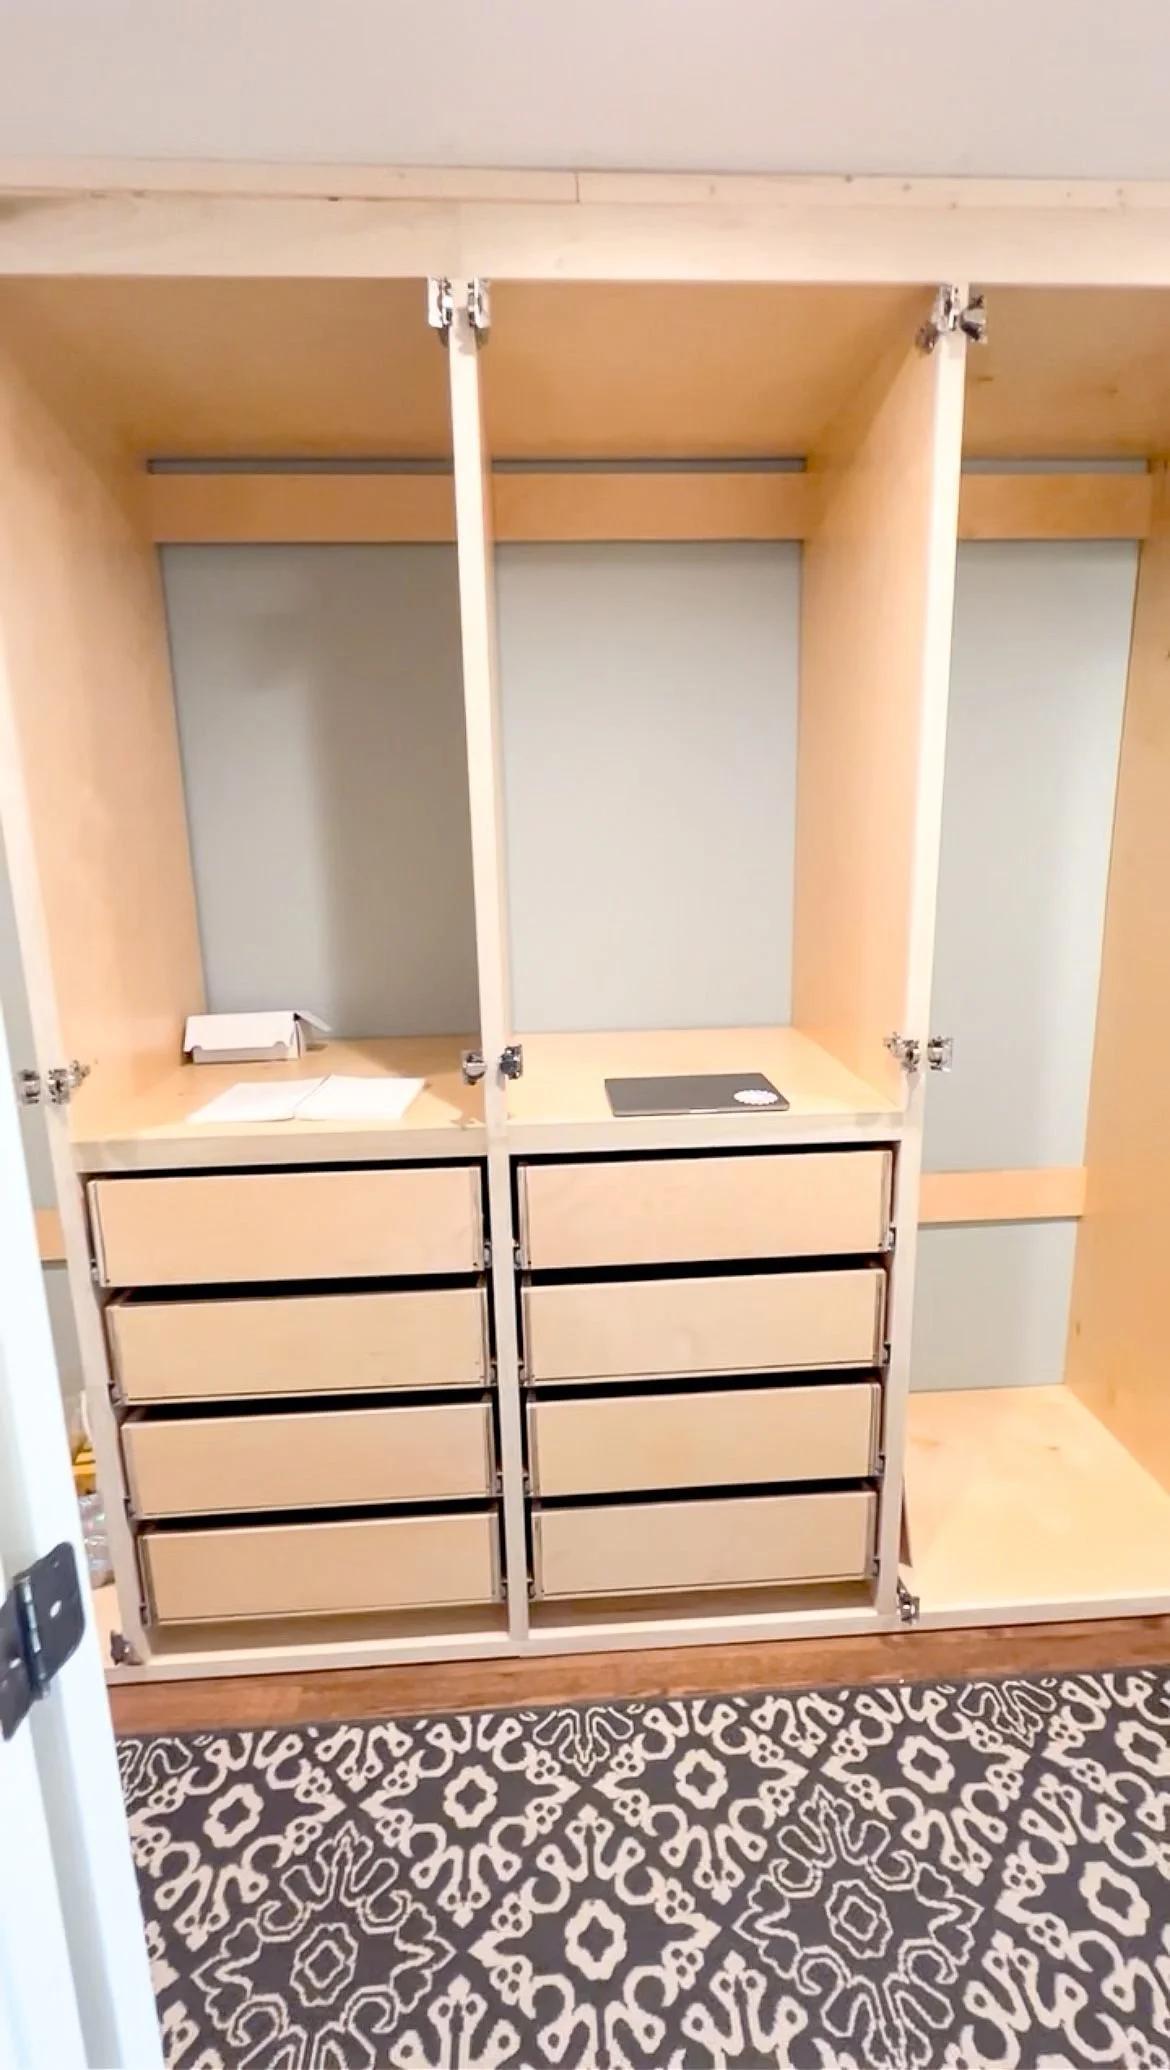
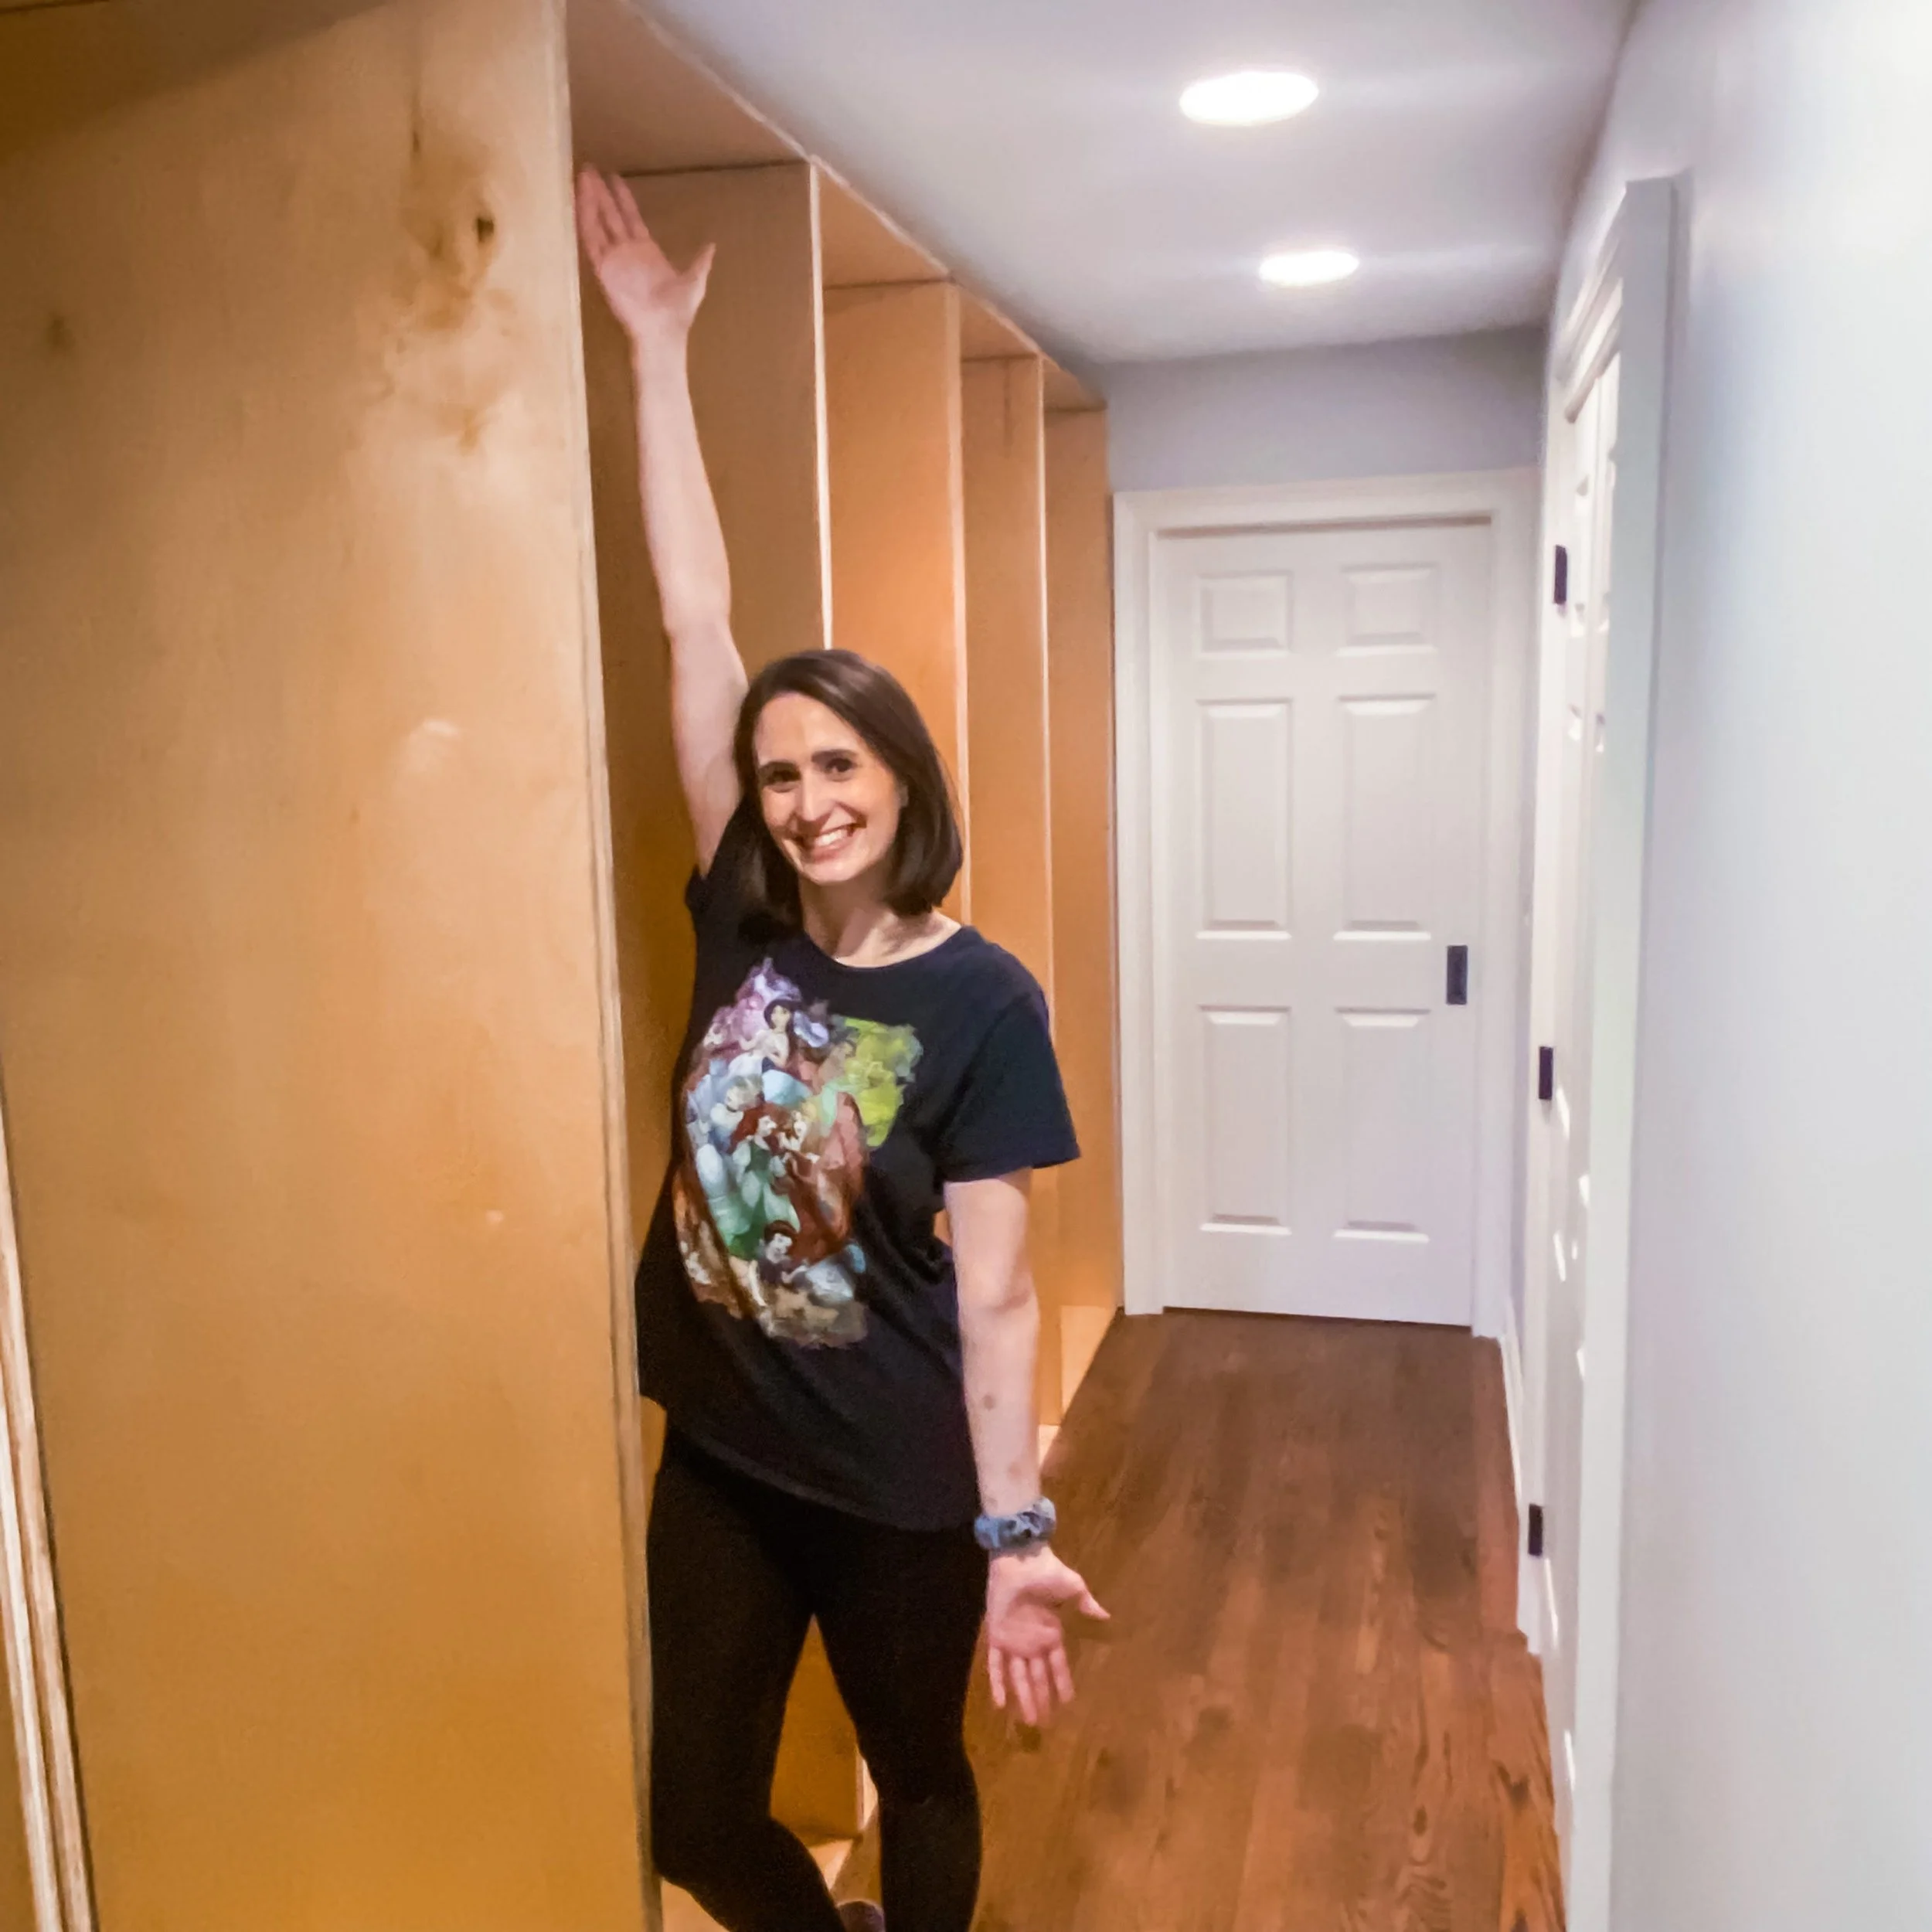
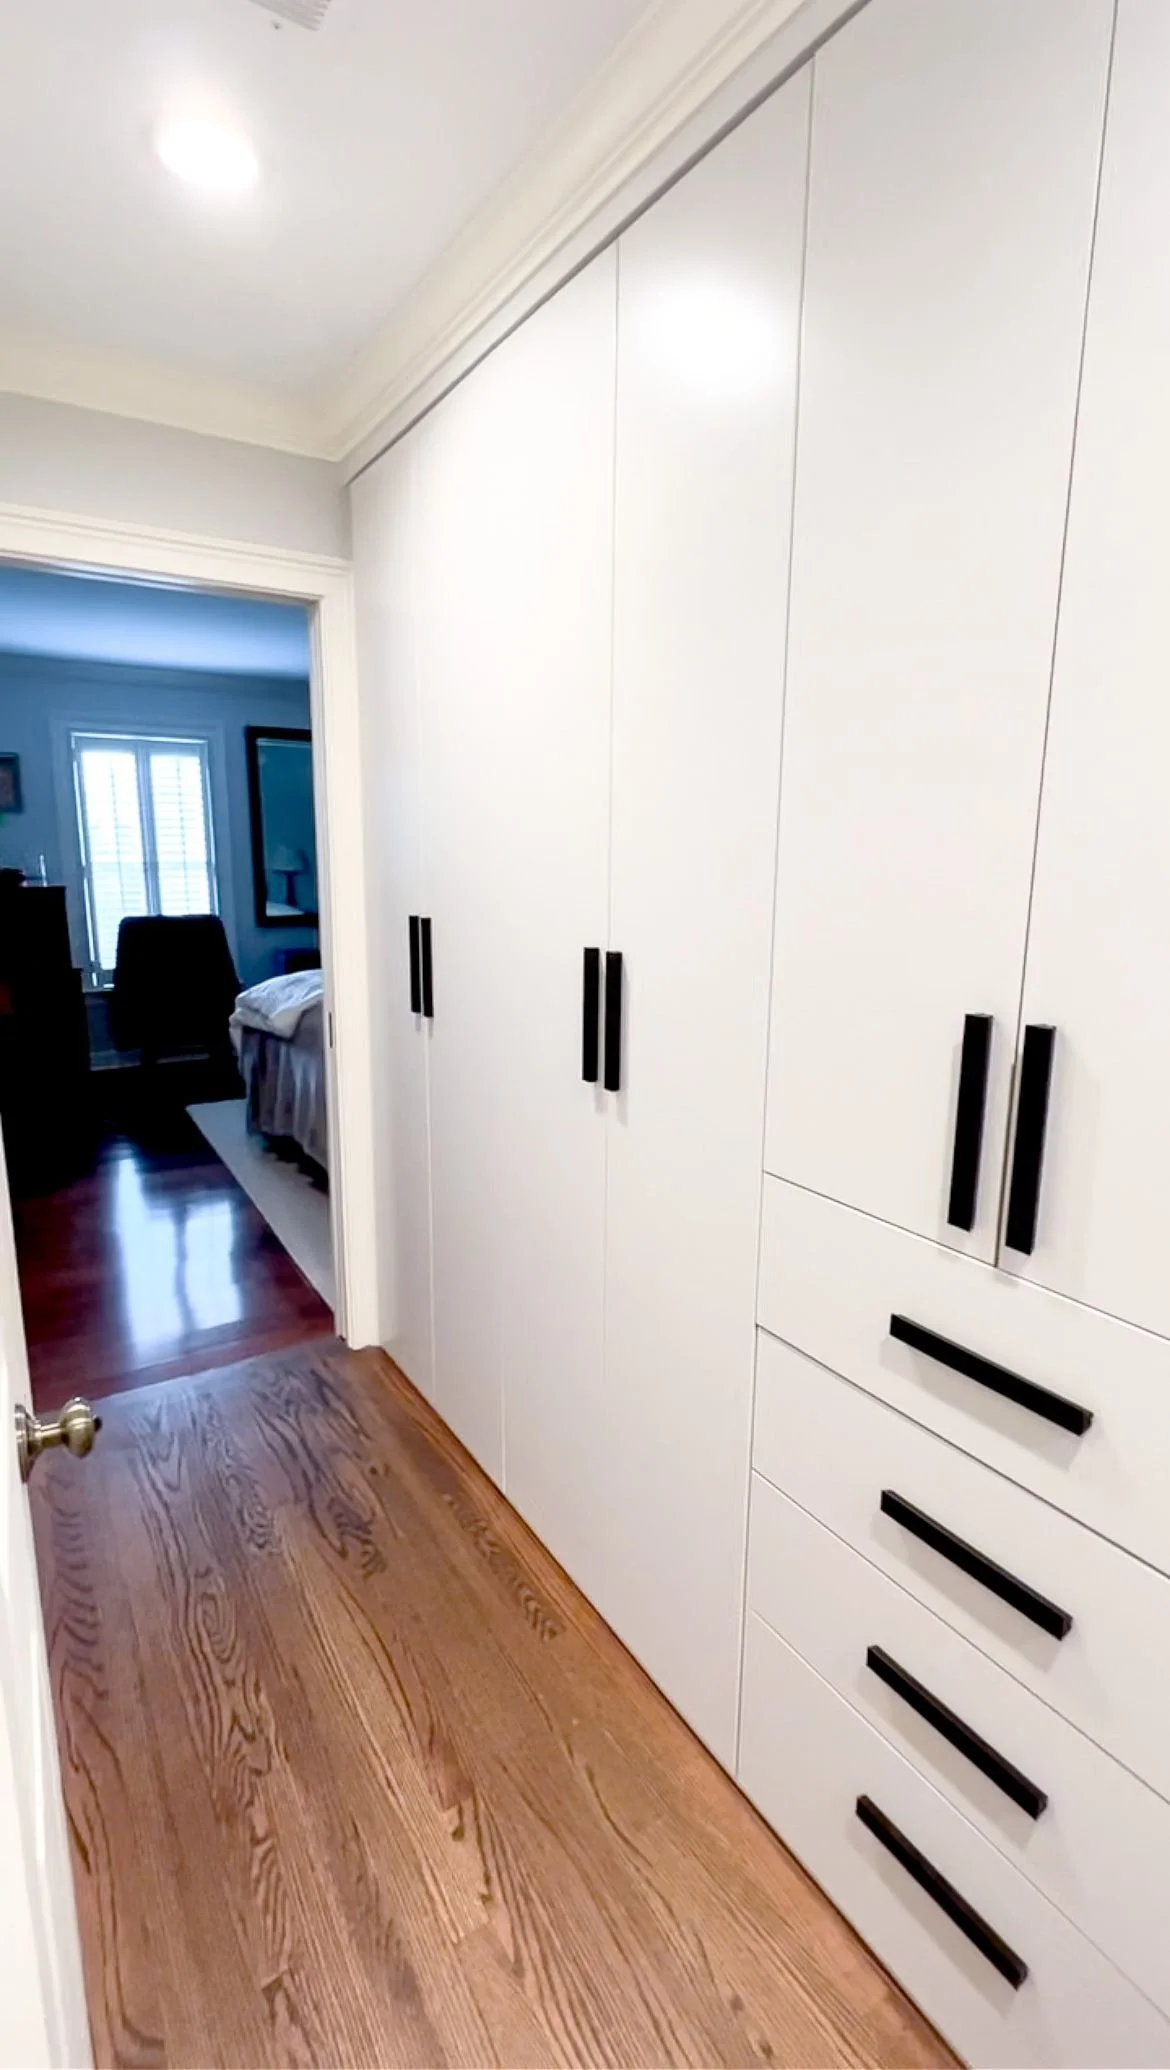
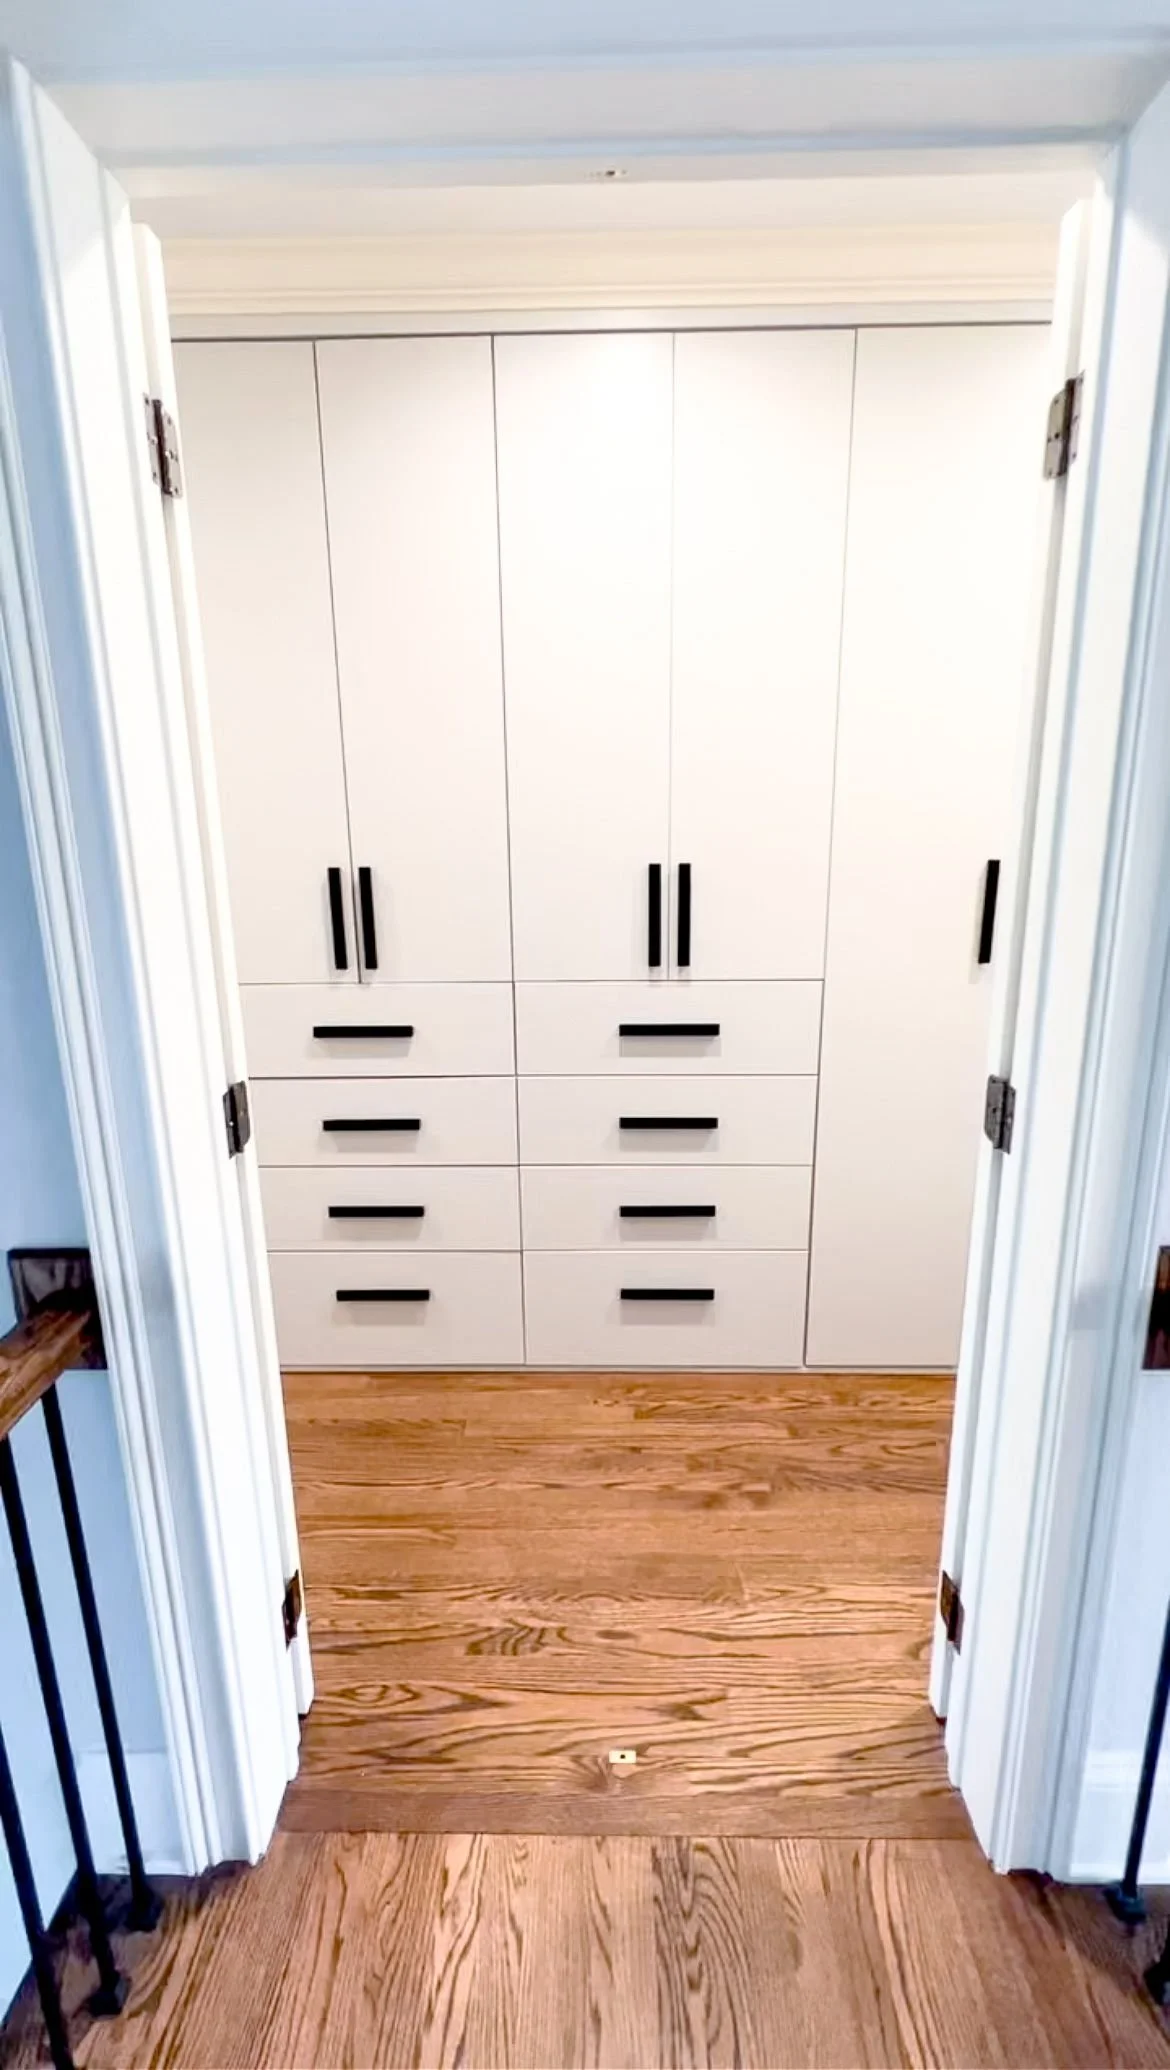
After everything was added on my end, we then had the carpenter come in, finish off all the doors and install them. We ended up with this really gorgeous setup of a hallway. We have closets built into the wall and you'd never know it when walking in here except for the door handles. While it's more space than my grandfather needs on his own now, this still works really well long term for the Jack and Jill bedroom set up. Currently the extra space is used for extra storage, but it also works in the future for the longevity of the house. This project was filled with more physical and emotional ups and downs than any other project I have done, but I’m so happy with how it eventually turned out. You can shop all of the tools I used below.
A Wall of Closets | Shop
