
Kreg Pin Hole Jig Tutorial
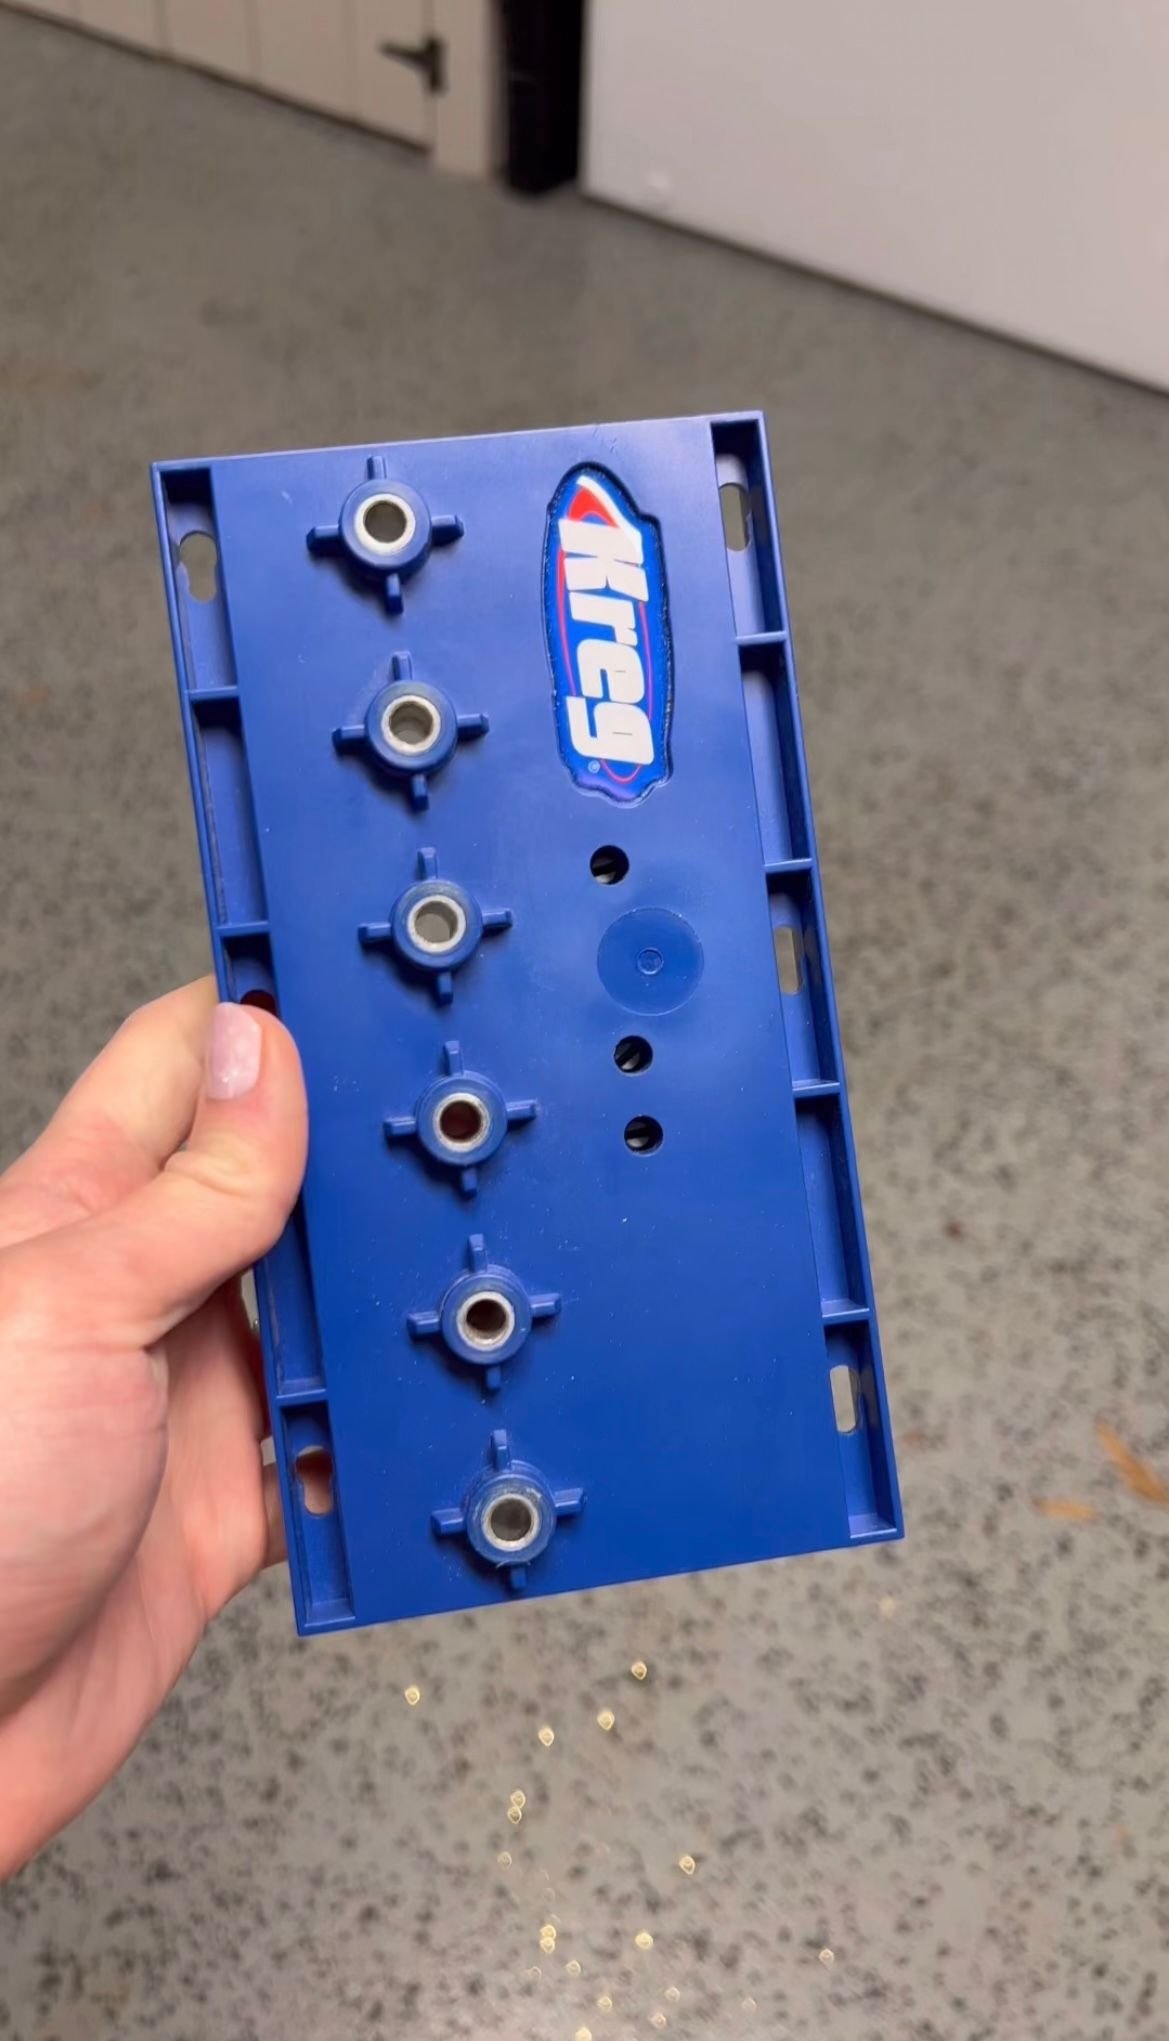
Let's talk about how to use a pinhole jig to create custom shelving pretty much anywhere you want. The jig I'm using is from Kreg and honestly they make some of the best jigs out there!

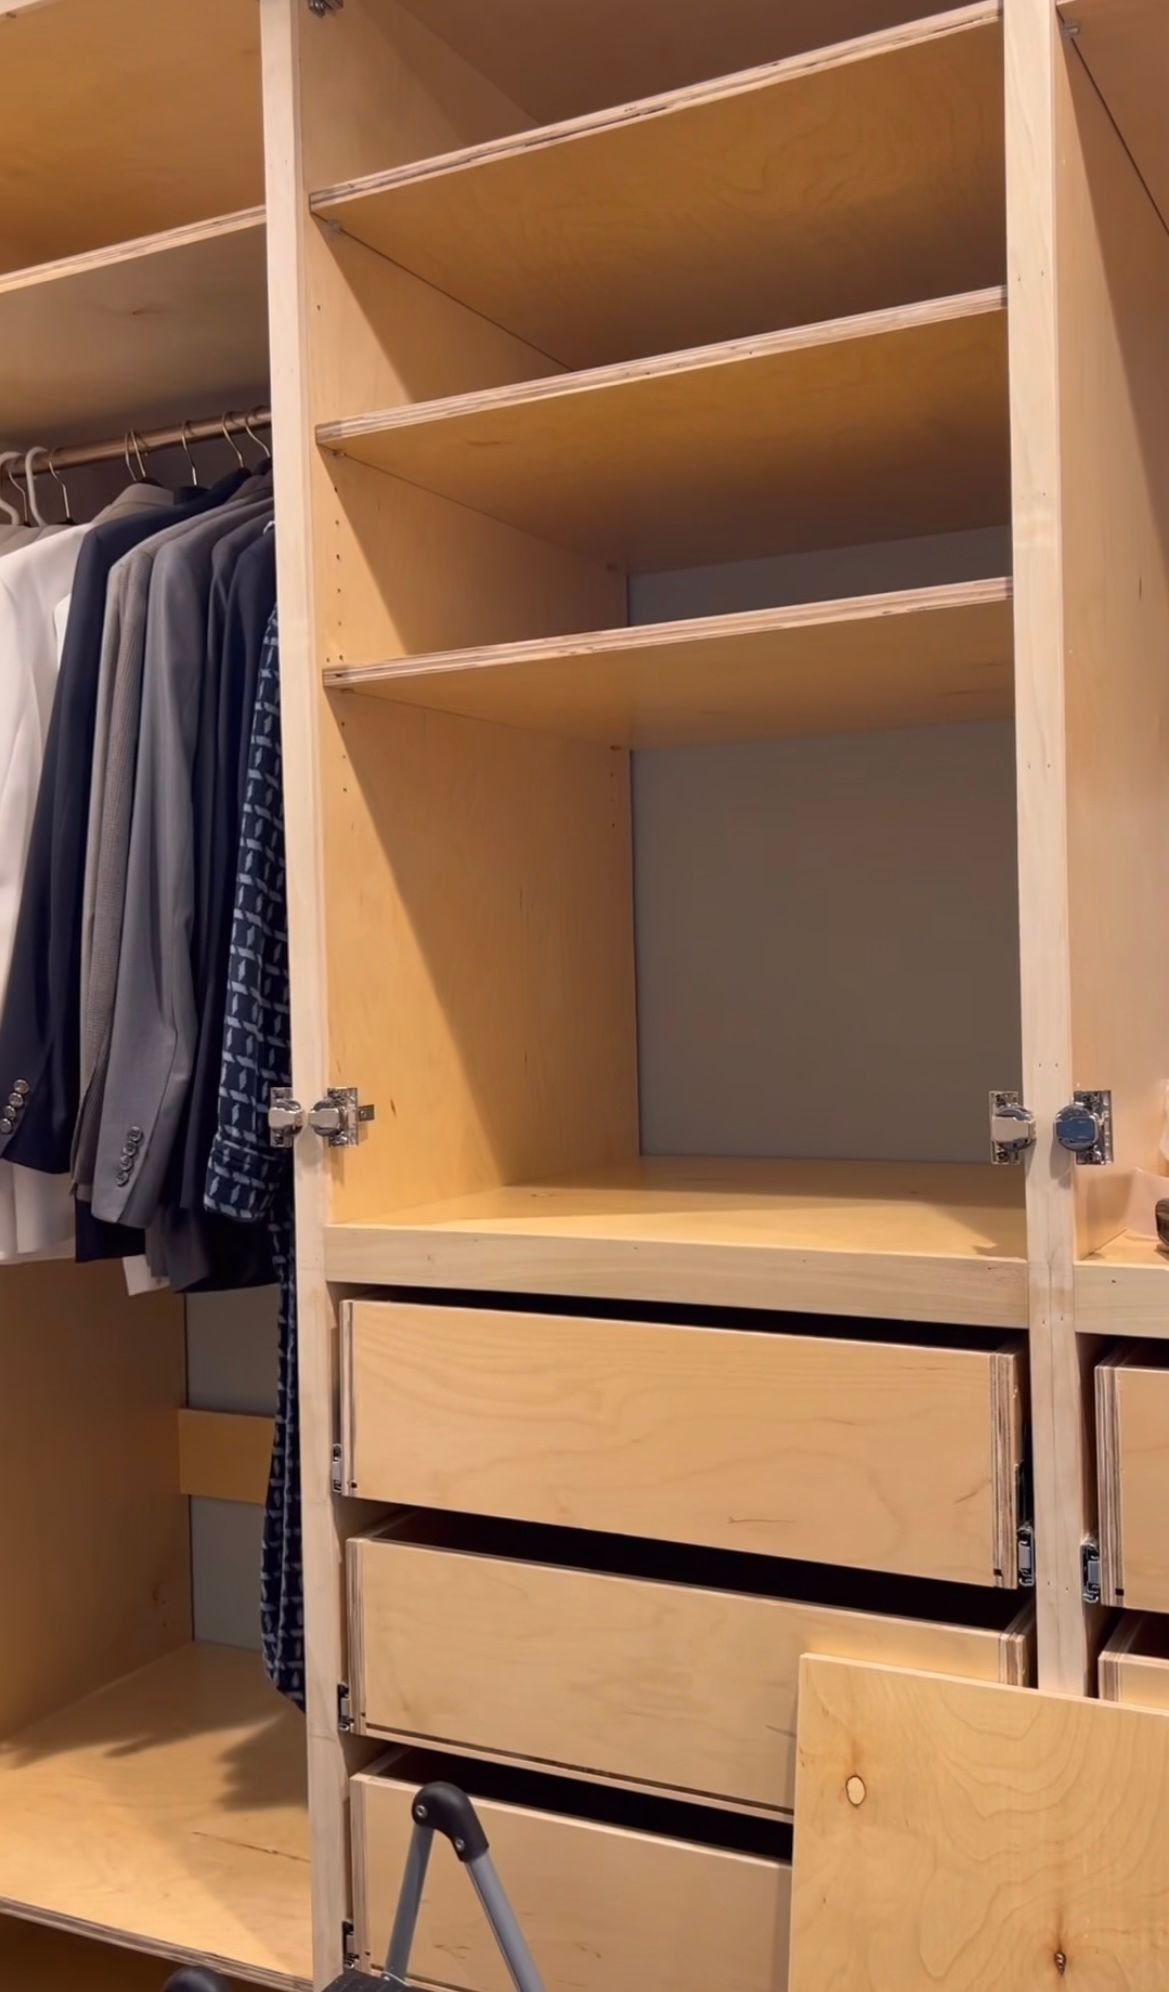
To use the jig, you first place it exactly where you want the holes to go. The holes I'm making now are going to be the pinholes to hold up a shelf in a closet system. I'm going to hold the jig in place while I drill the first anchor hole. Once that first hole is drilled, I keep the jig in place by placing the provided pin inside of the jig through the hole I just drilled. This will hold the jig in place while I drill the rest of the holes. Drilling all of the holes provided isn't always necessary, but if you're trying to make a shelf adjustable, you are going to want to give yourself a few options so it can be adjusted in the future.
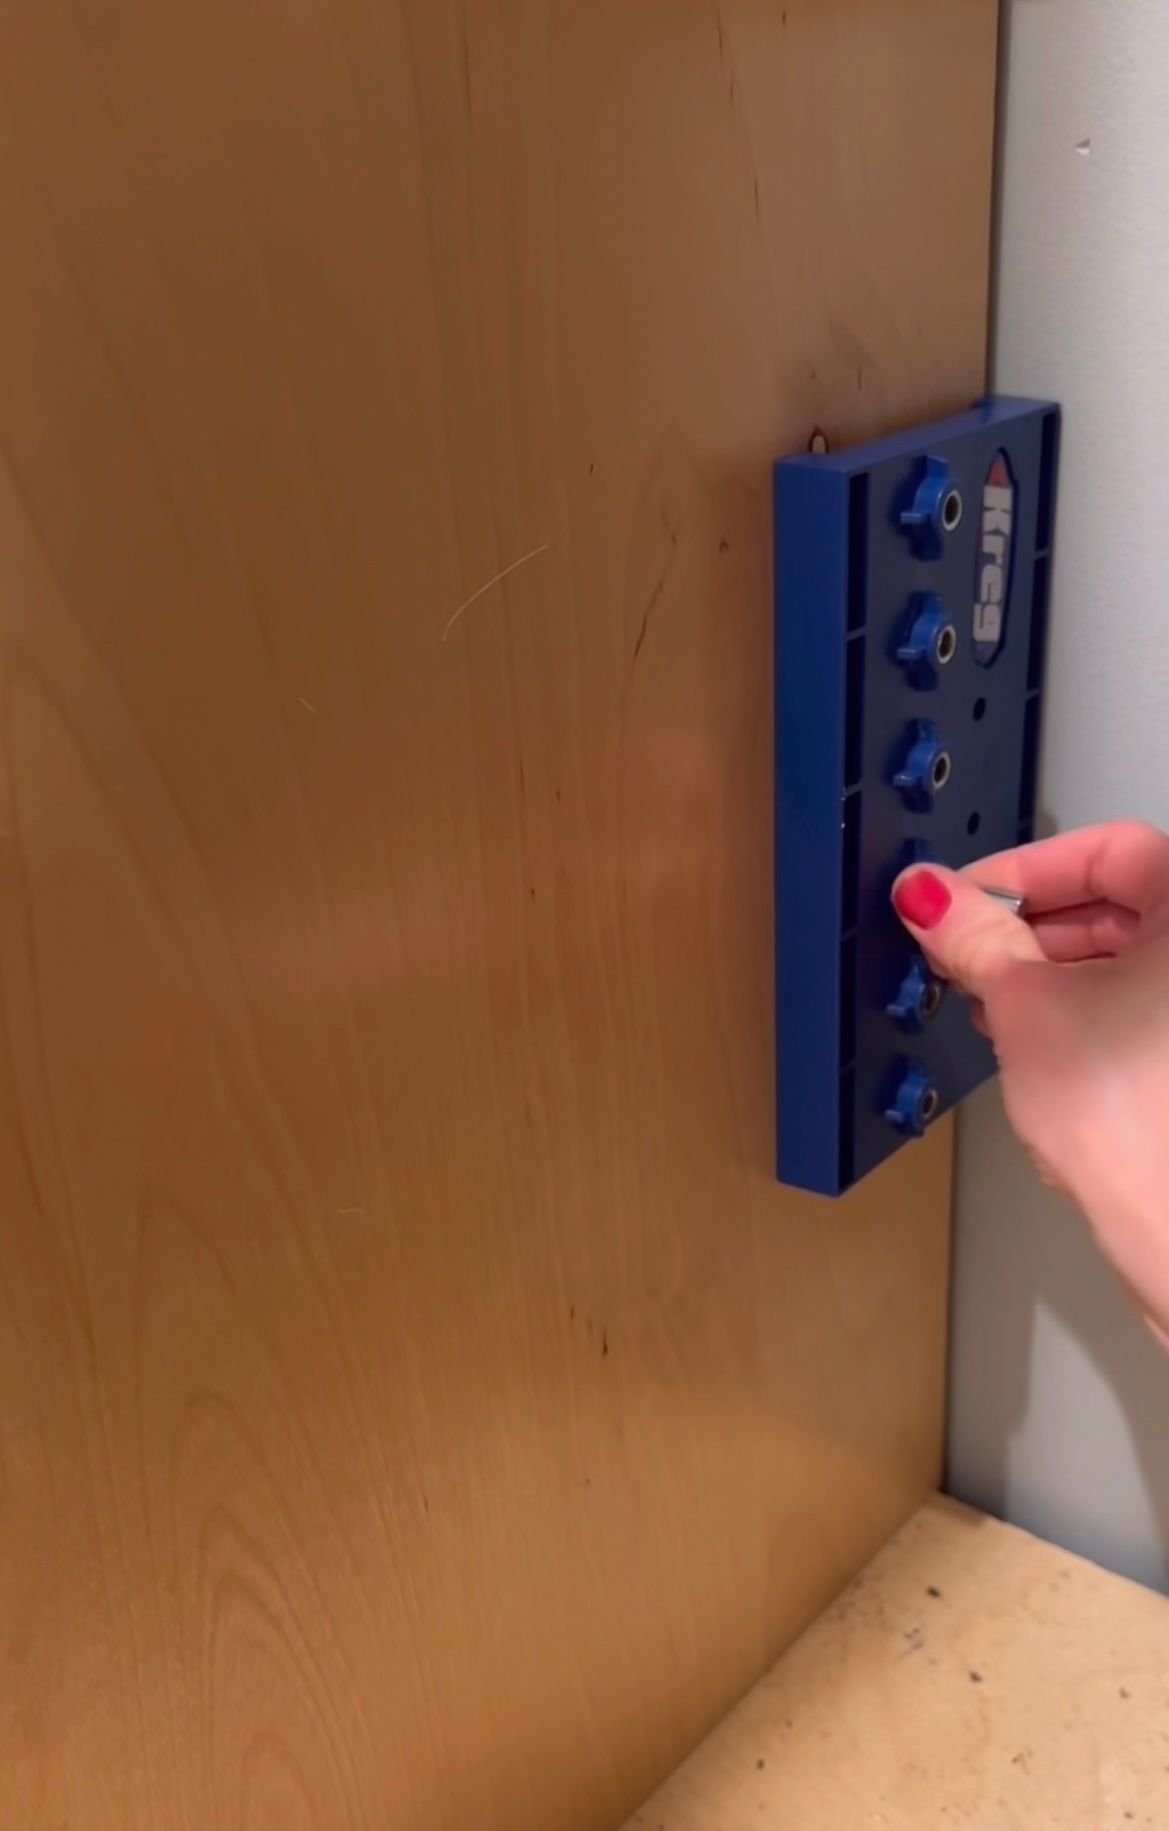

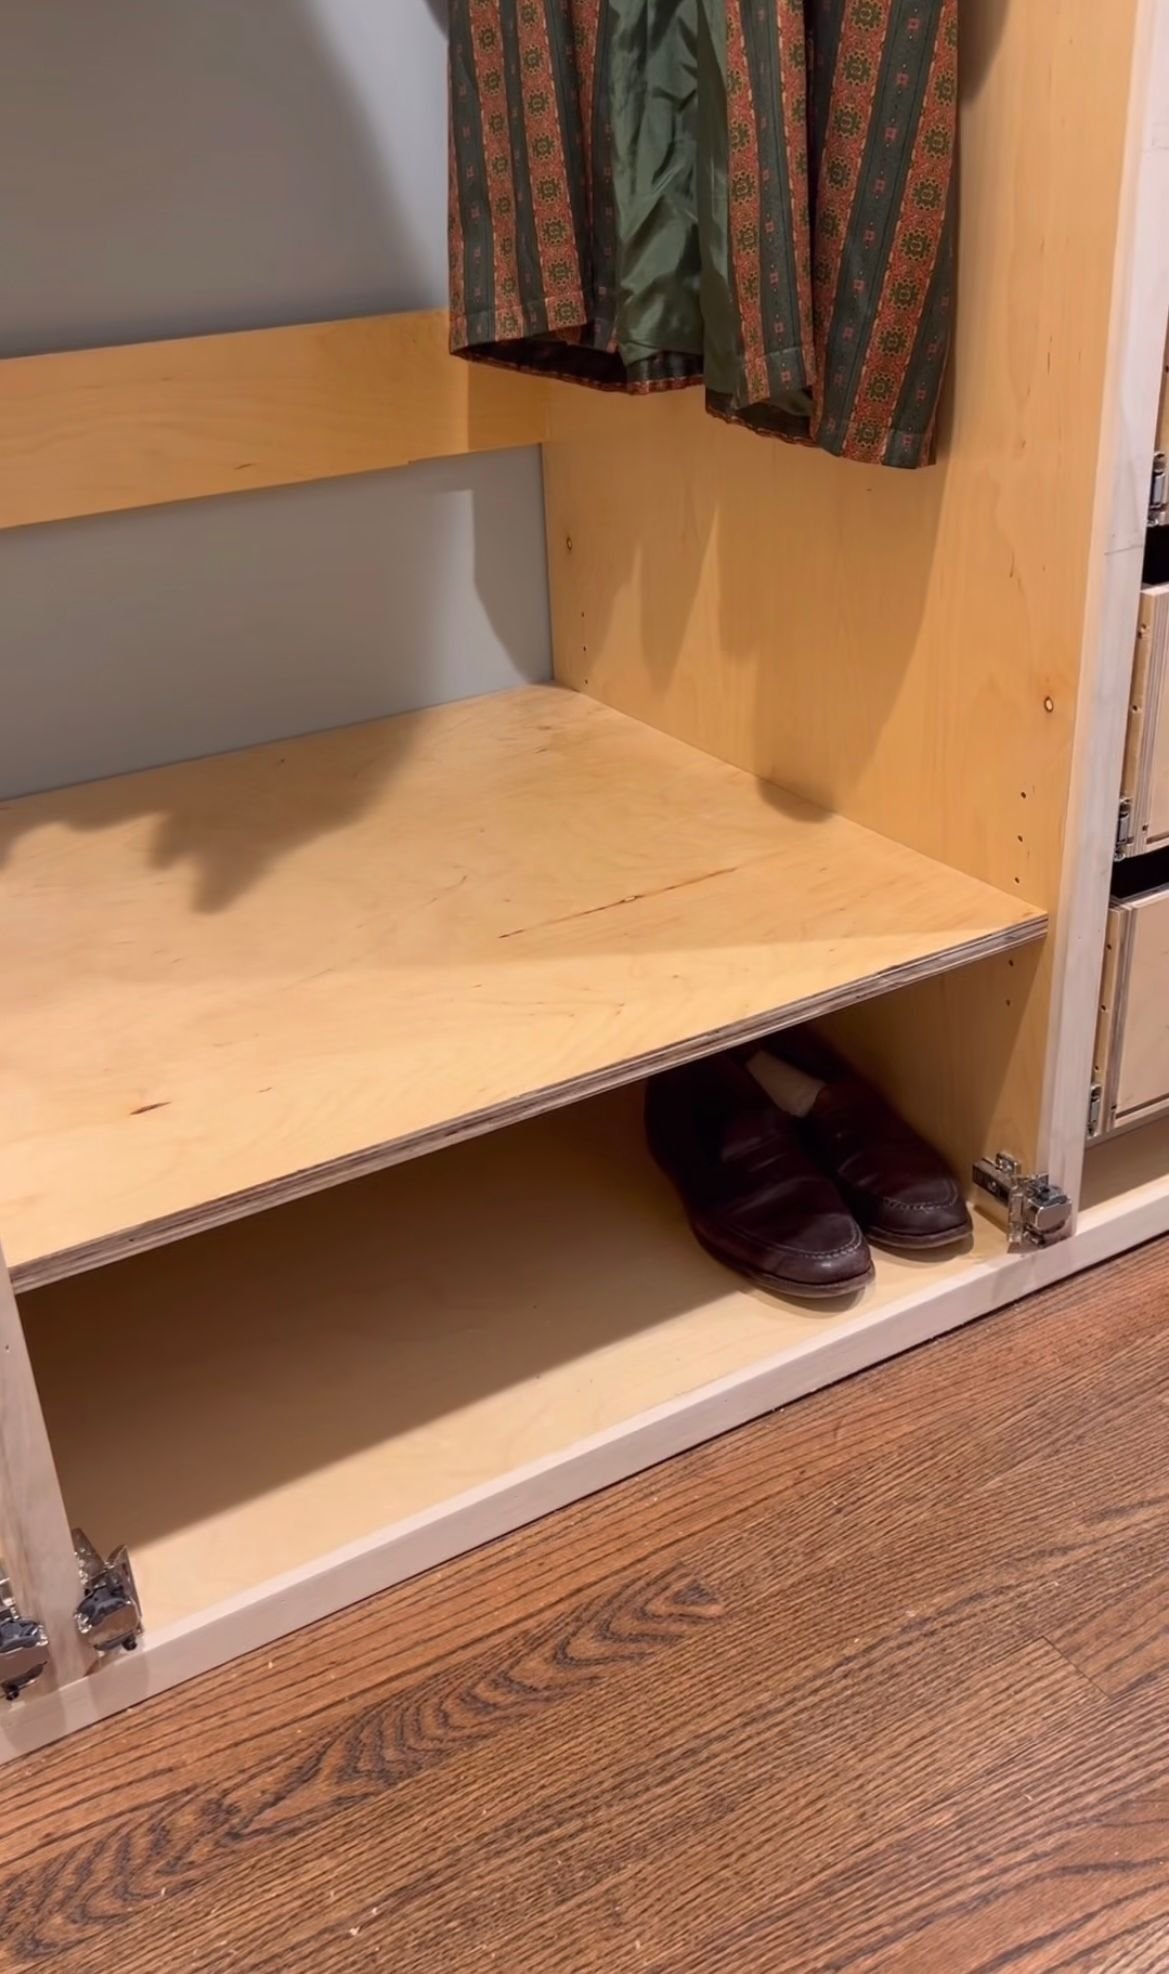
I'm going drill holes in the front and back corners of my system so the shelf has somewhere to rest on the pinholes. This pinhole jig also comes with a nifty little piece you can place on either side of the jig and it lines it up squarely with the outside of the unit you're working on. There's also space to clamp it into place as well so you can make sure it doesn't move anywhere while you're doing the initial drilling.
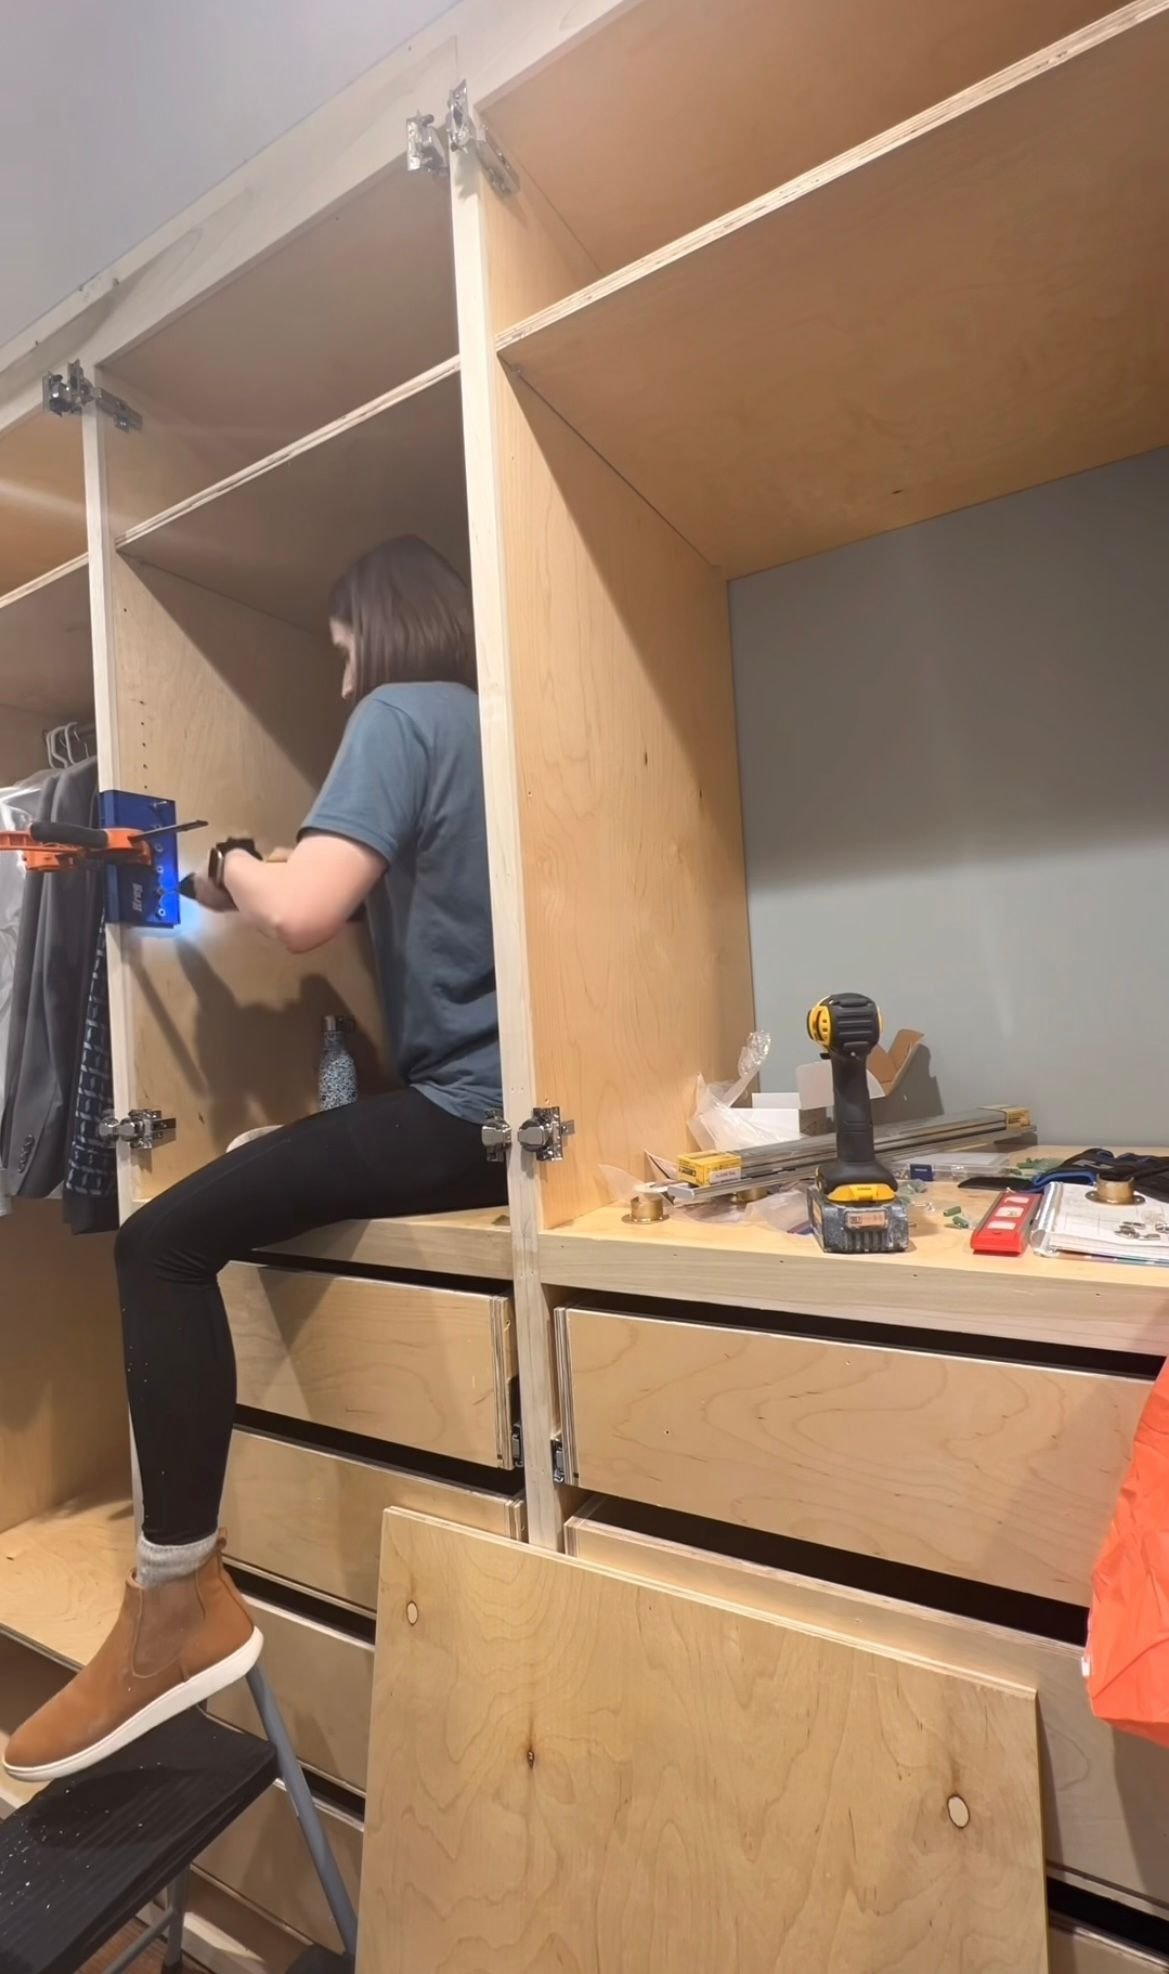
Once I get all four of the corners done, I am able to then add the pins and the shelf and it can be adjusted for whatever height I need it to be later on. Using a pinhole jig is a great way to add holes in the wood allowing you to easily have a more customized piece of furniture. Stay tuned for more easy tool tutorials!
Kreg Pin Hole Jig Tutorial | Shop
