
How to Use a Multi Tool
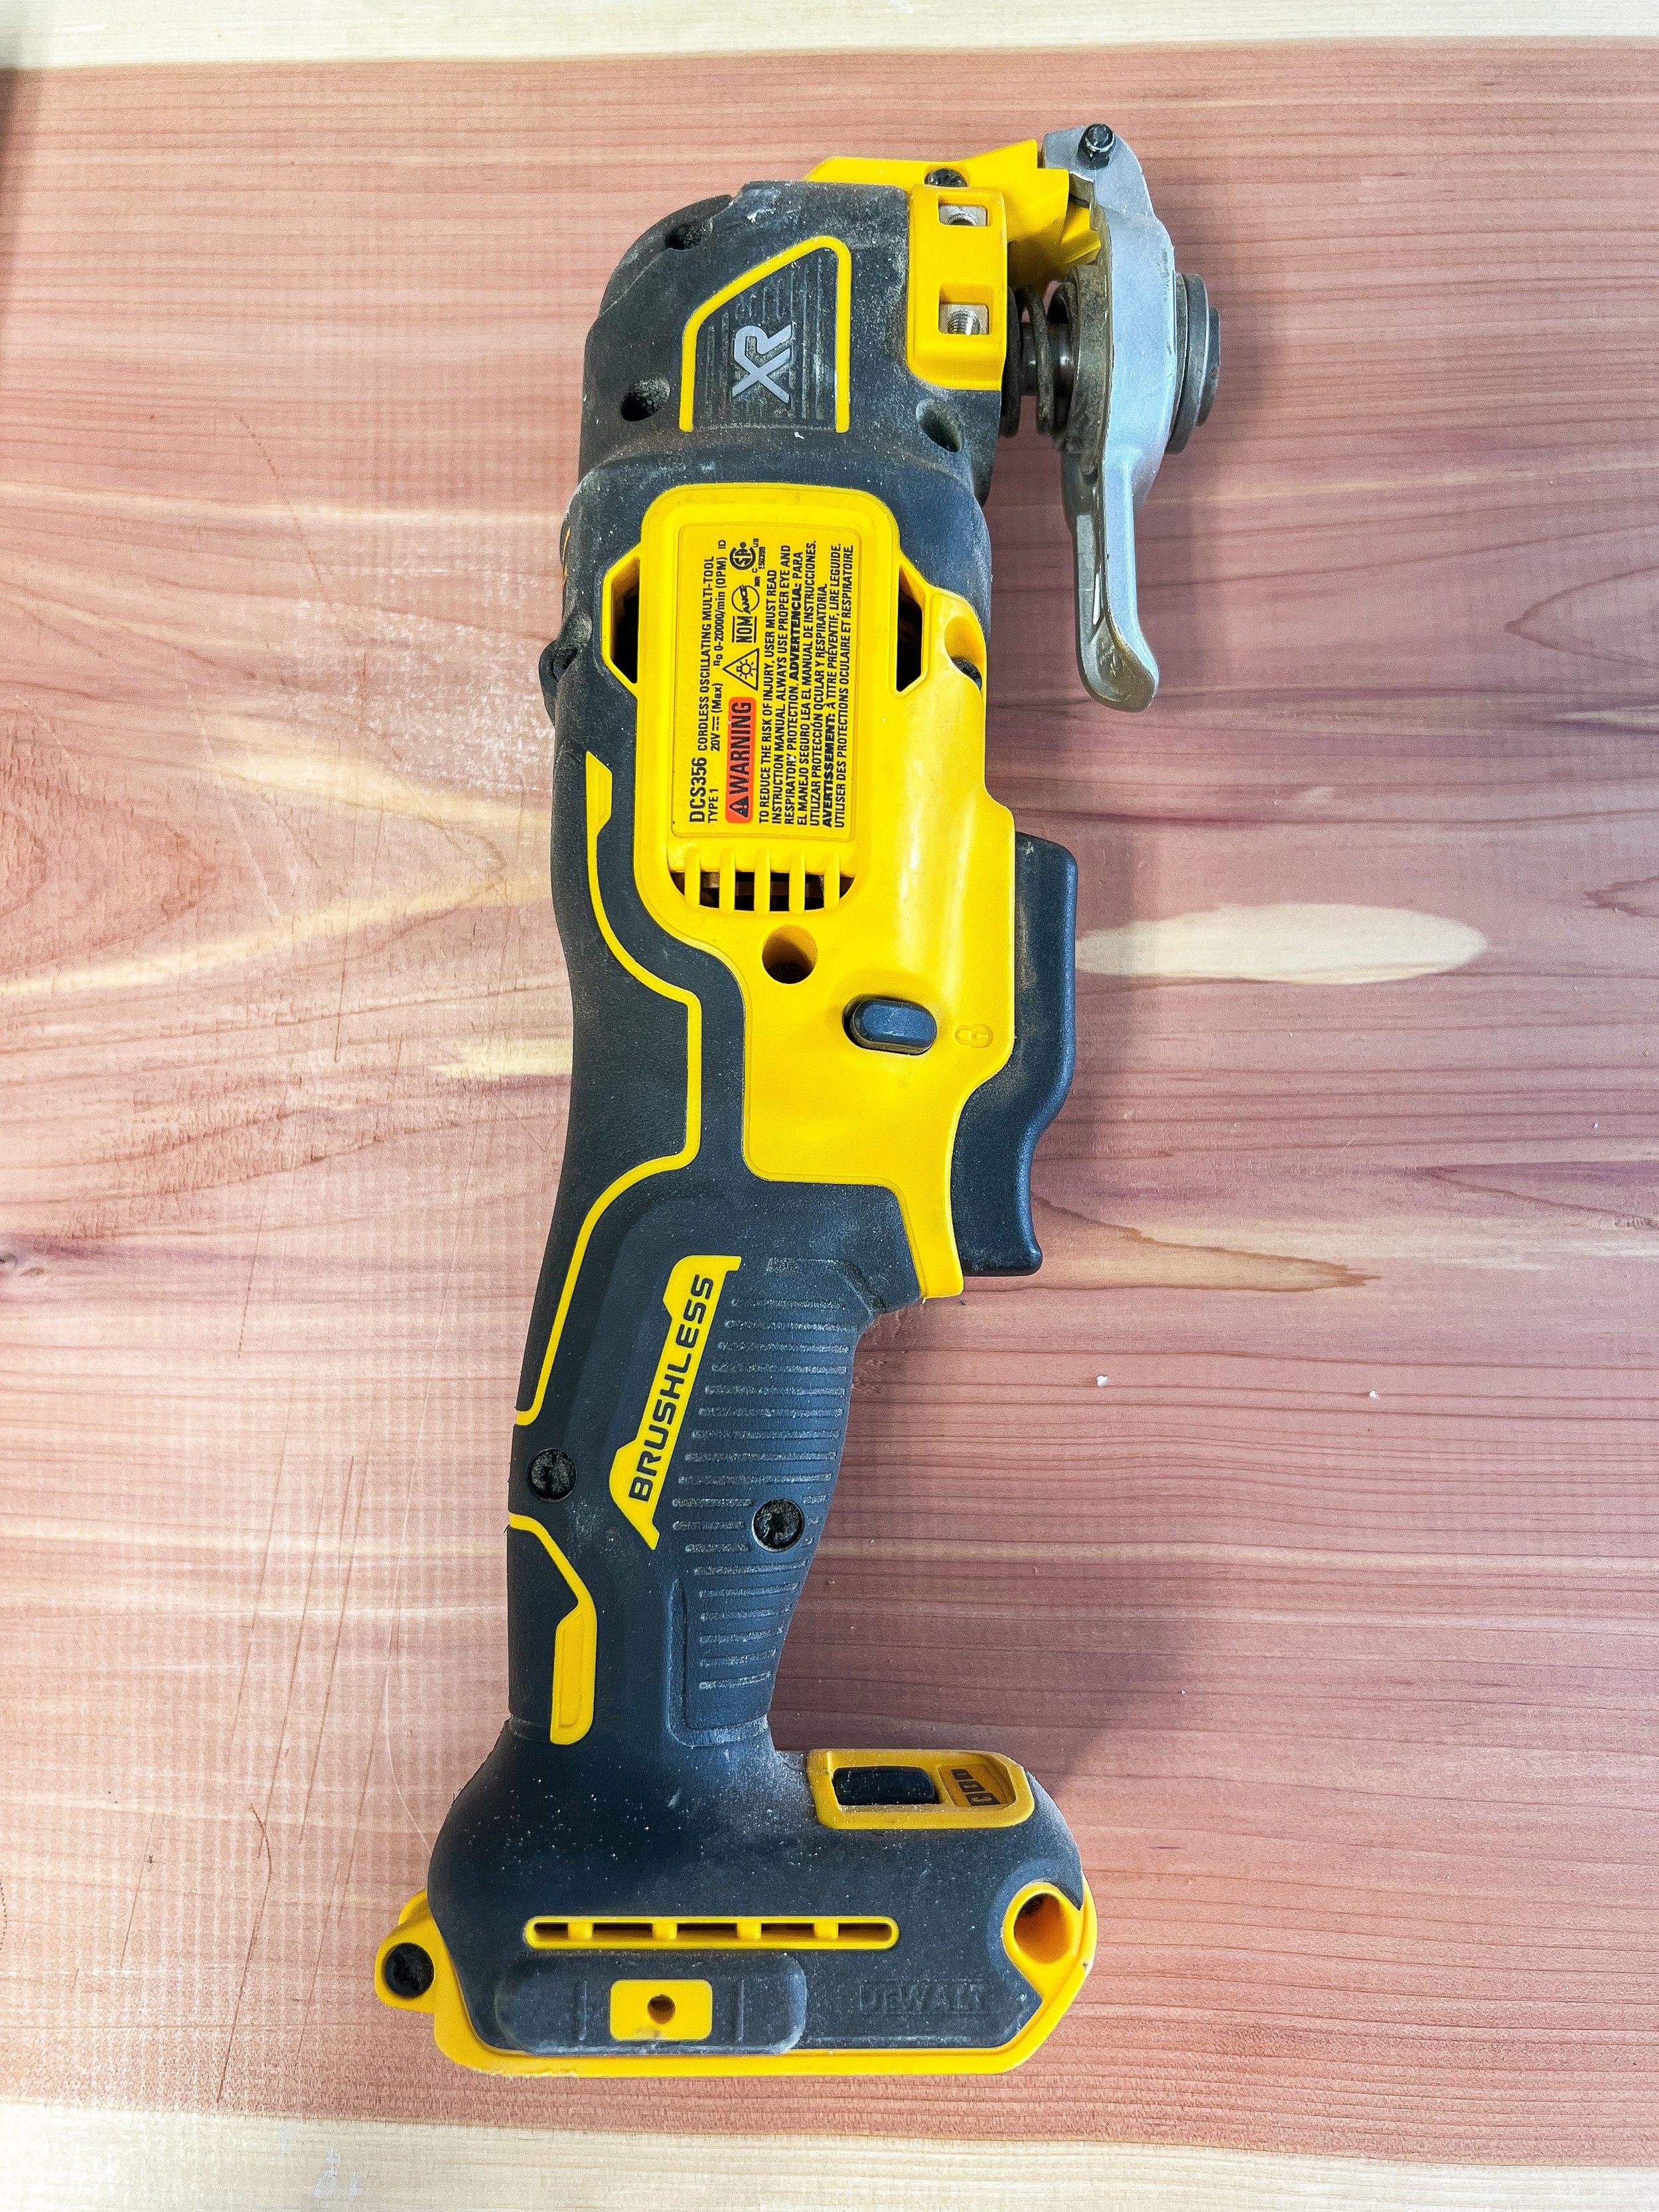
A multi tool is a power tool capable of taking on a bunch of different DIY jobs. The one I have is the DEWALT 20V MAX XR Brushless Cordless 3 Speed Oscillating Multi tool. I love this tool because it can be used for SO many different things. It has a head that you can put different attachments onto. I mostly use it for cutting, but you can also use it for sanding and polishing. Let's talk about it!
How to Use a Multi Tool | Getting Started
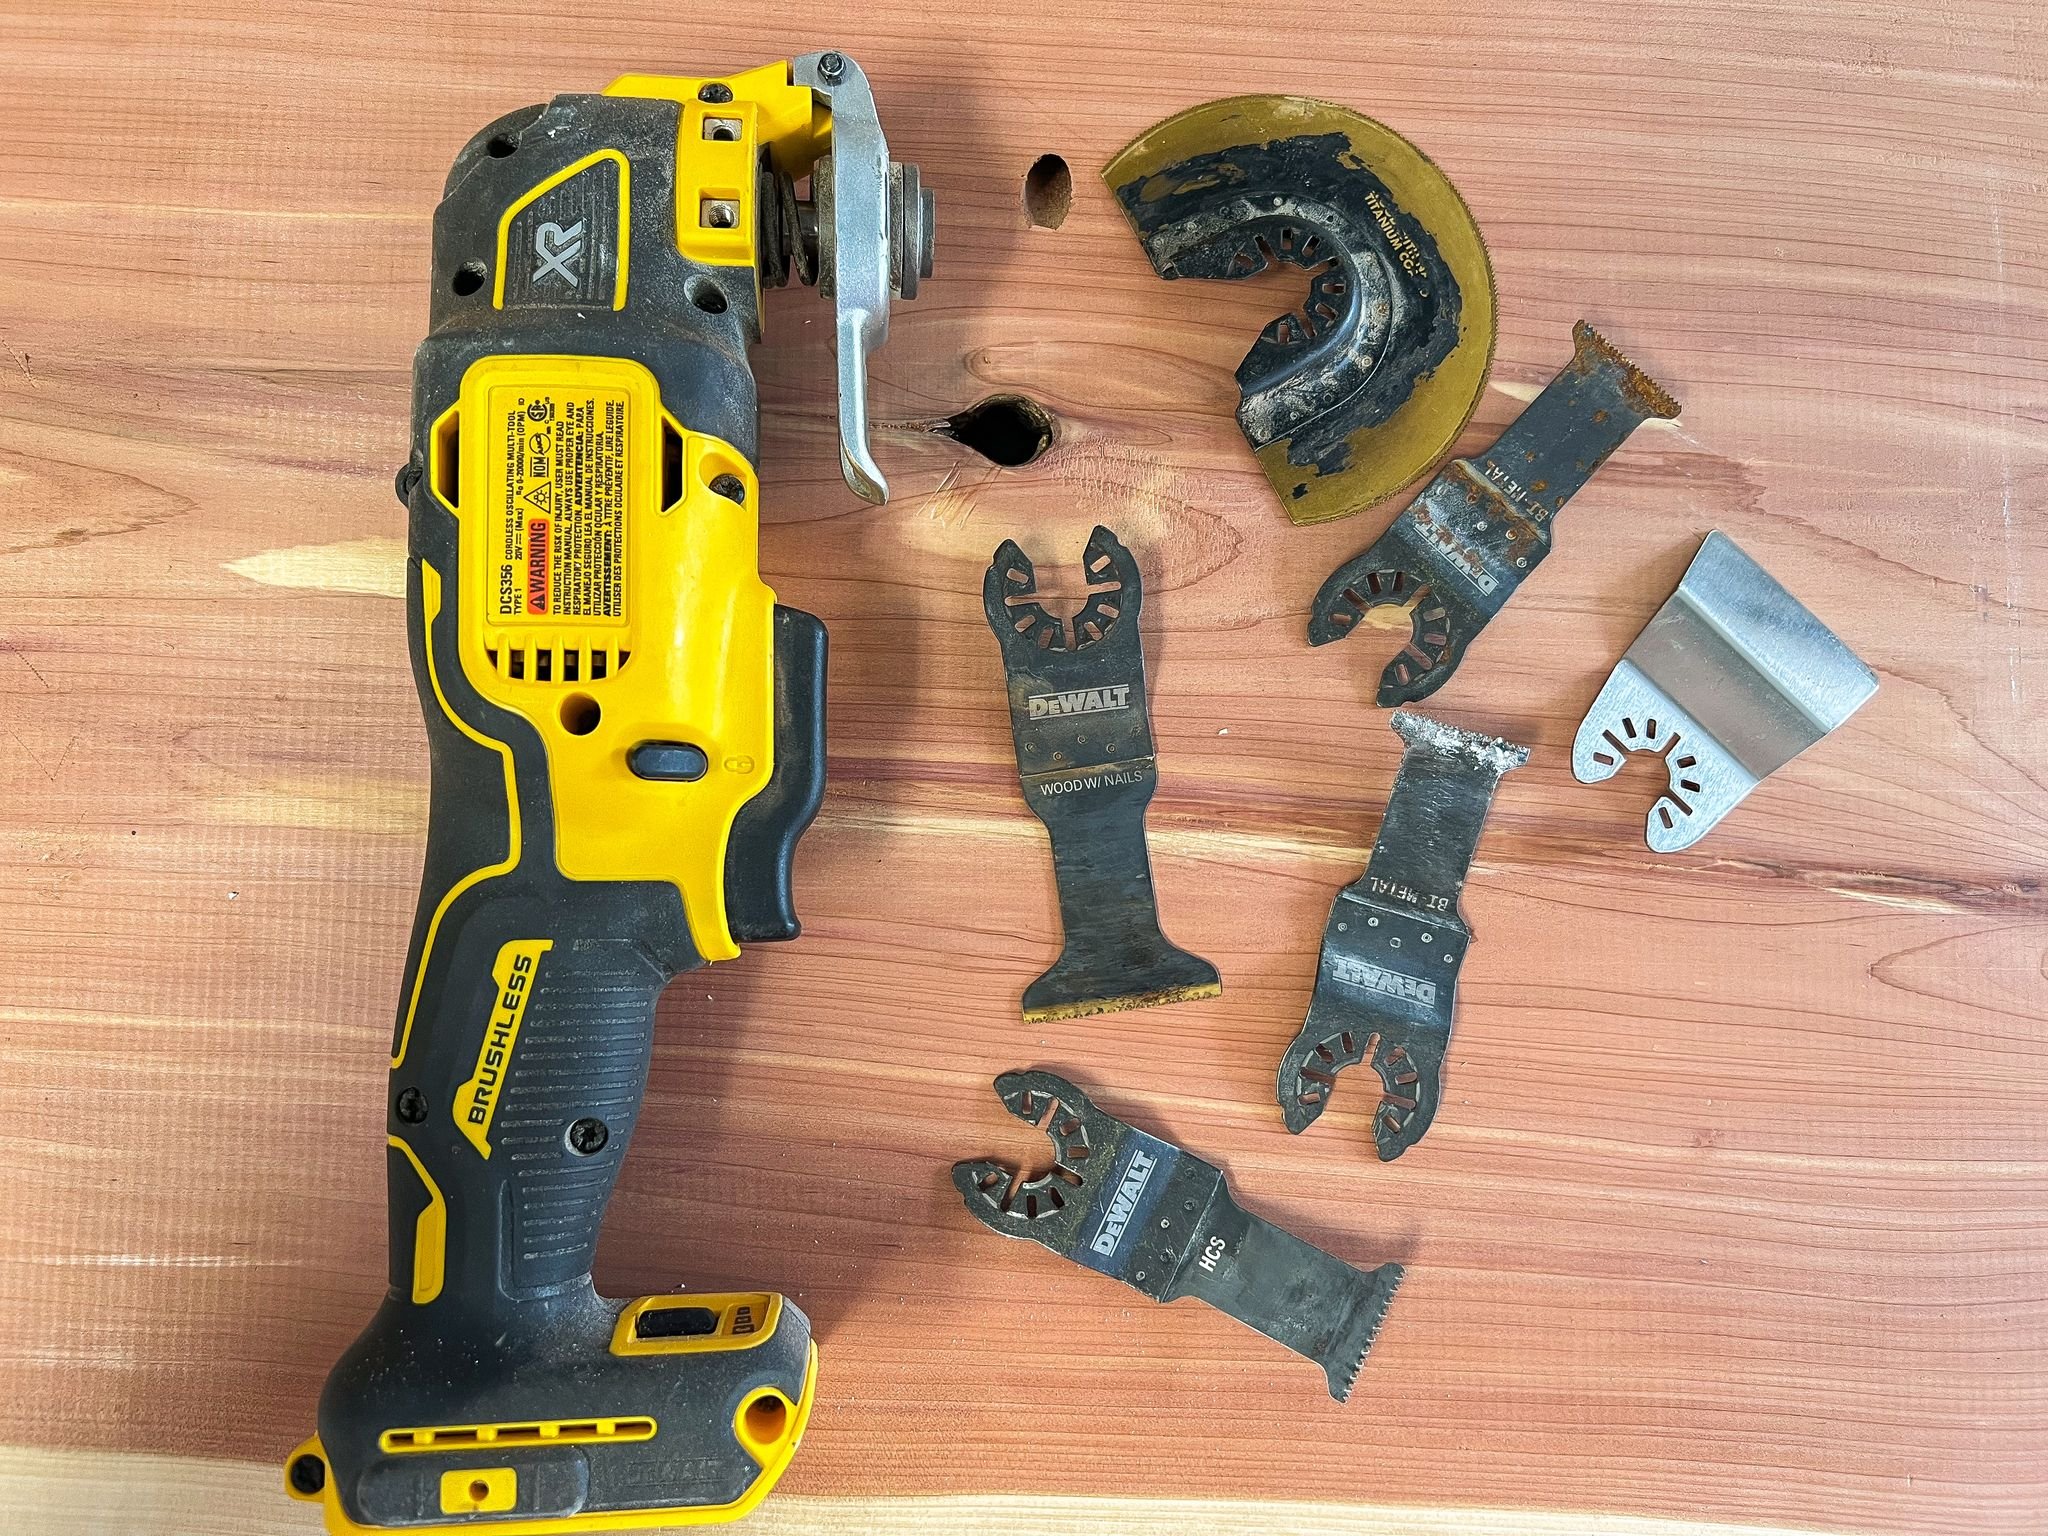
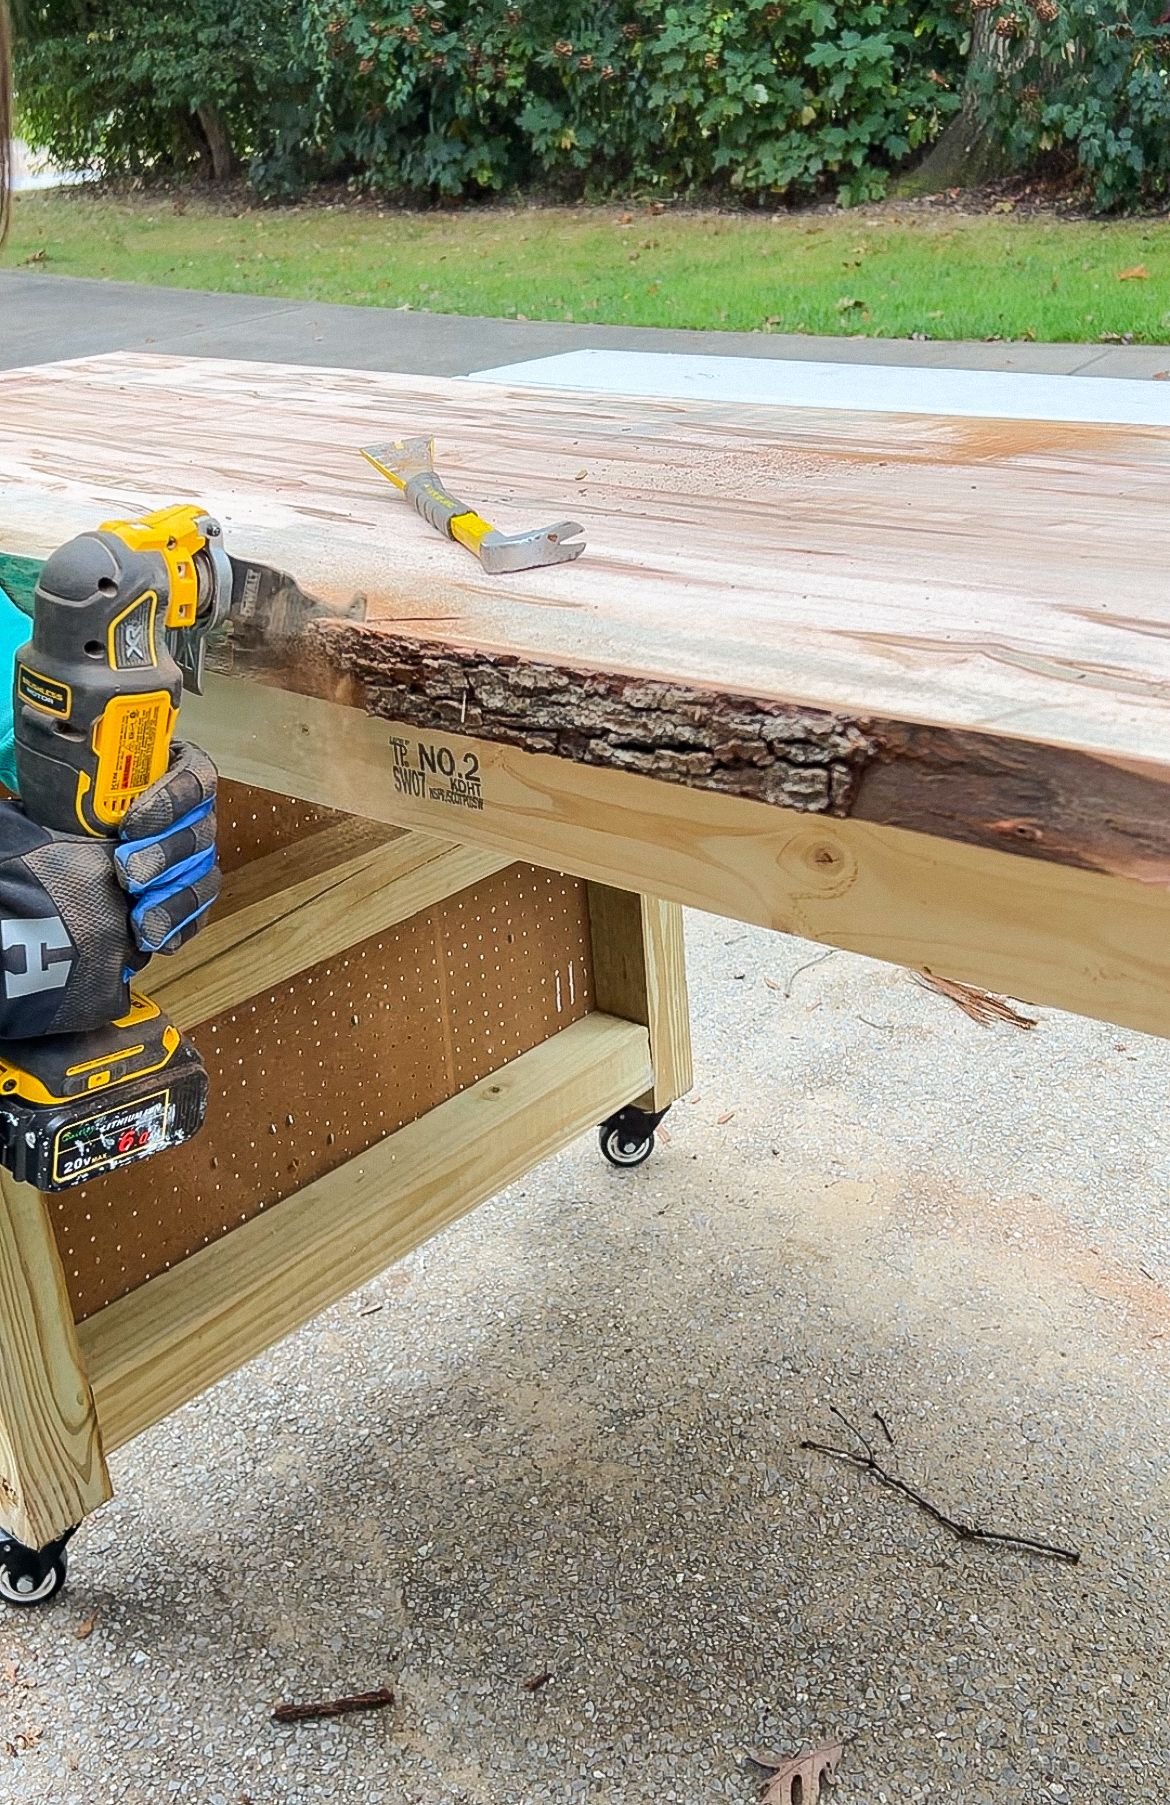
There are different blades you can get depending on the material you're cutting. You can also choose which of the 3 speeds is the best for what you're doing. To start, you're going to decide what attachment you're going to use. Like I said, I mostly use this for cutting. Mostly wood, but sometimes I do use it for metal and plastic. The blades are all labeled so this is pretty easy to figure out. Once you decide what you're going to use as the attachment, you're going to push on the clamp, insert the attachment, release it and it's locked in. Now you can start using it. I most recently used it on the live edge wood headboard piece when I was prepping the wood.
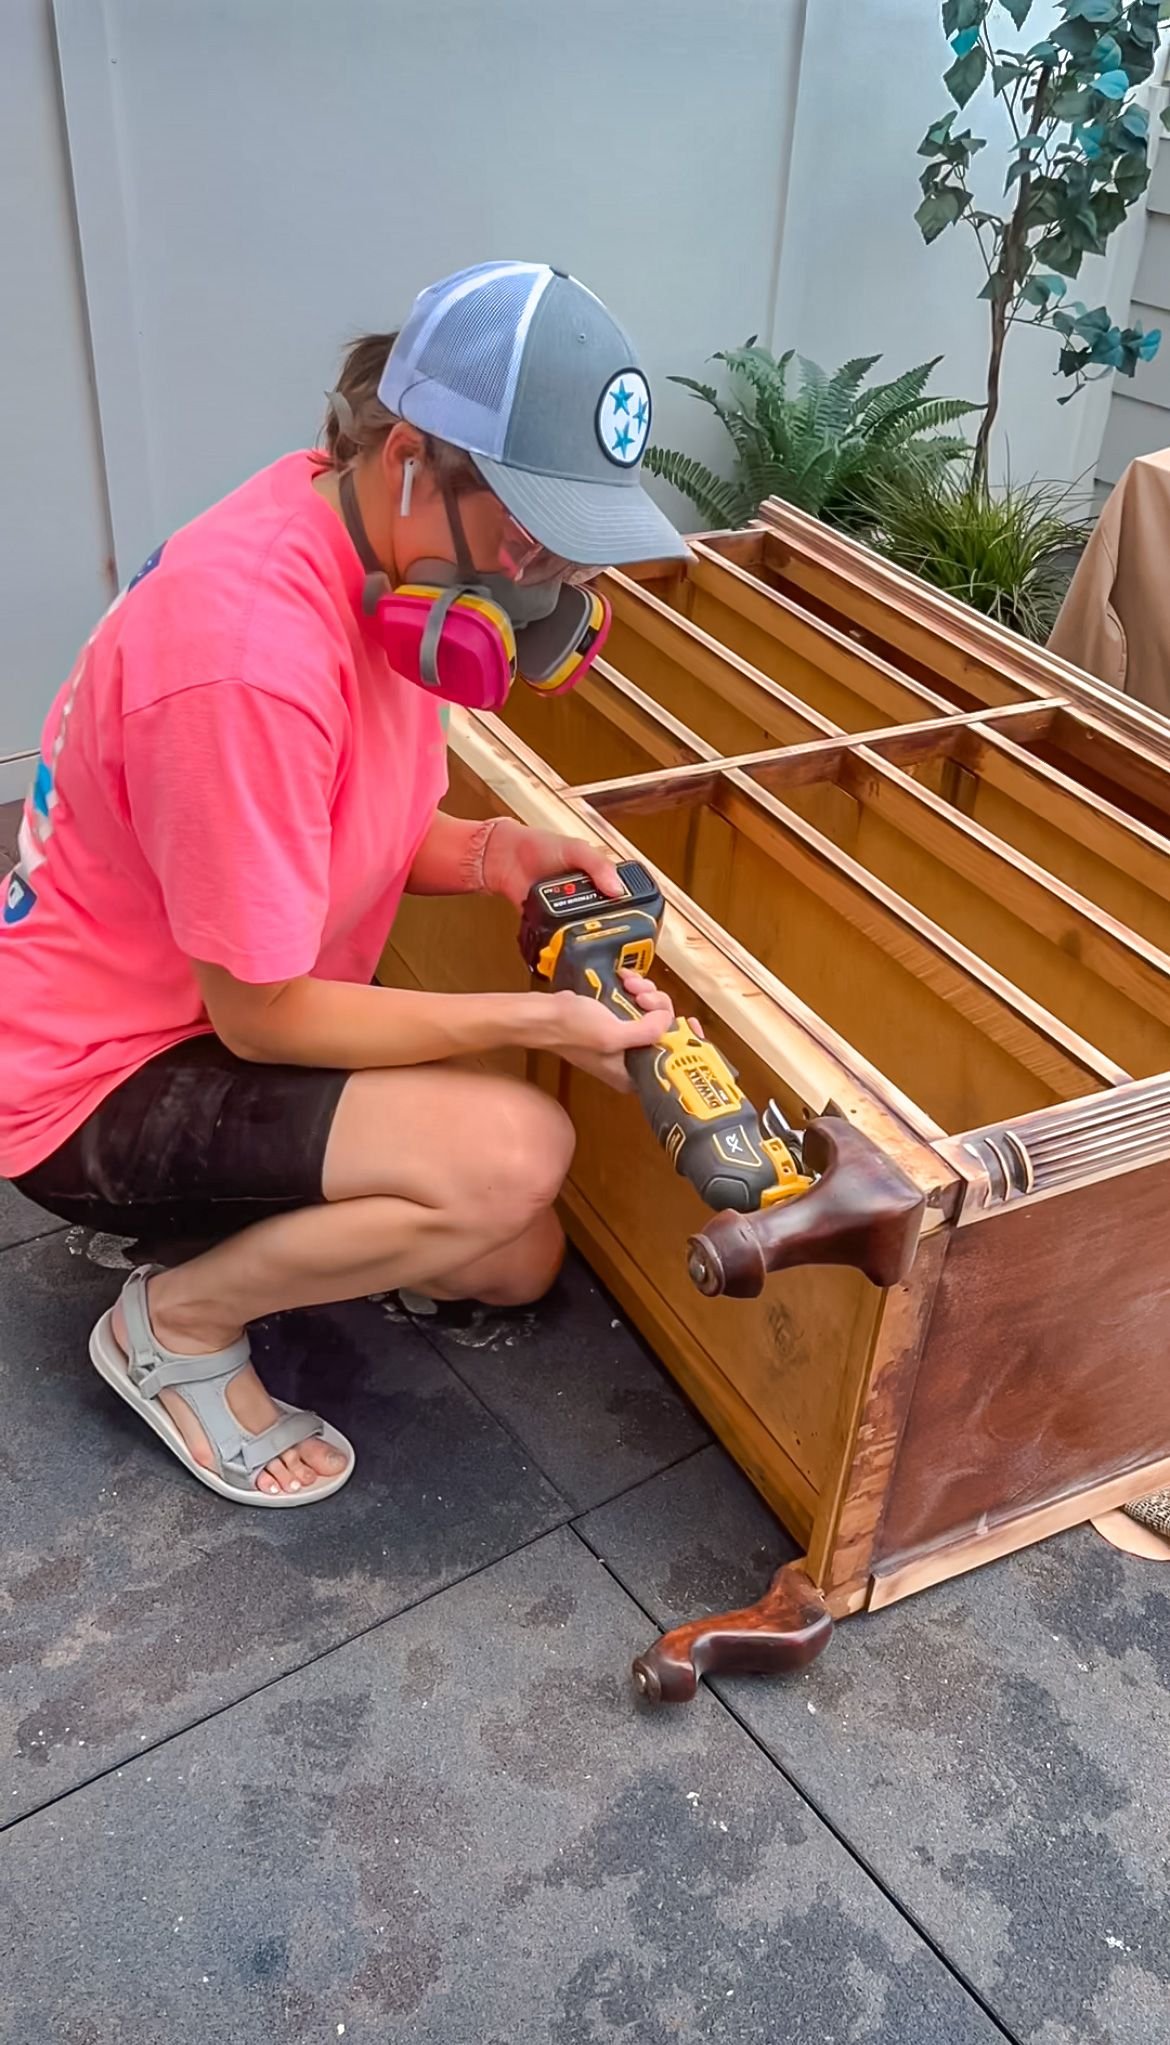
I use this oscillating multi tool on almost every single project I do because it's useful for so many different things. Every now and then when I need to cut a closet rod or a PVC pipe, I can get this out and put the right blade on it and cut the piece I need to pretty quickly. Another thing I've used this for is actually to cut the legs off of the dressers I redid last year.
How to Use a Multi Tool | Removing Parts of Baseboards
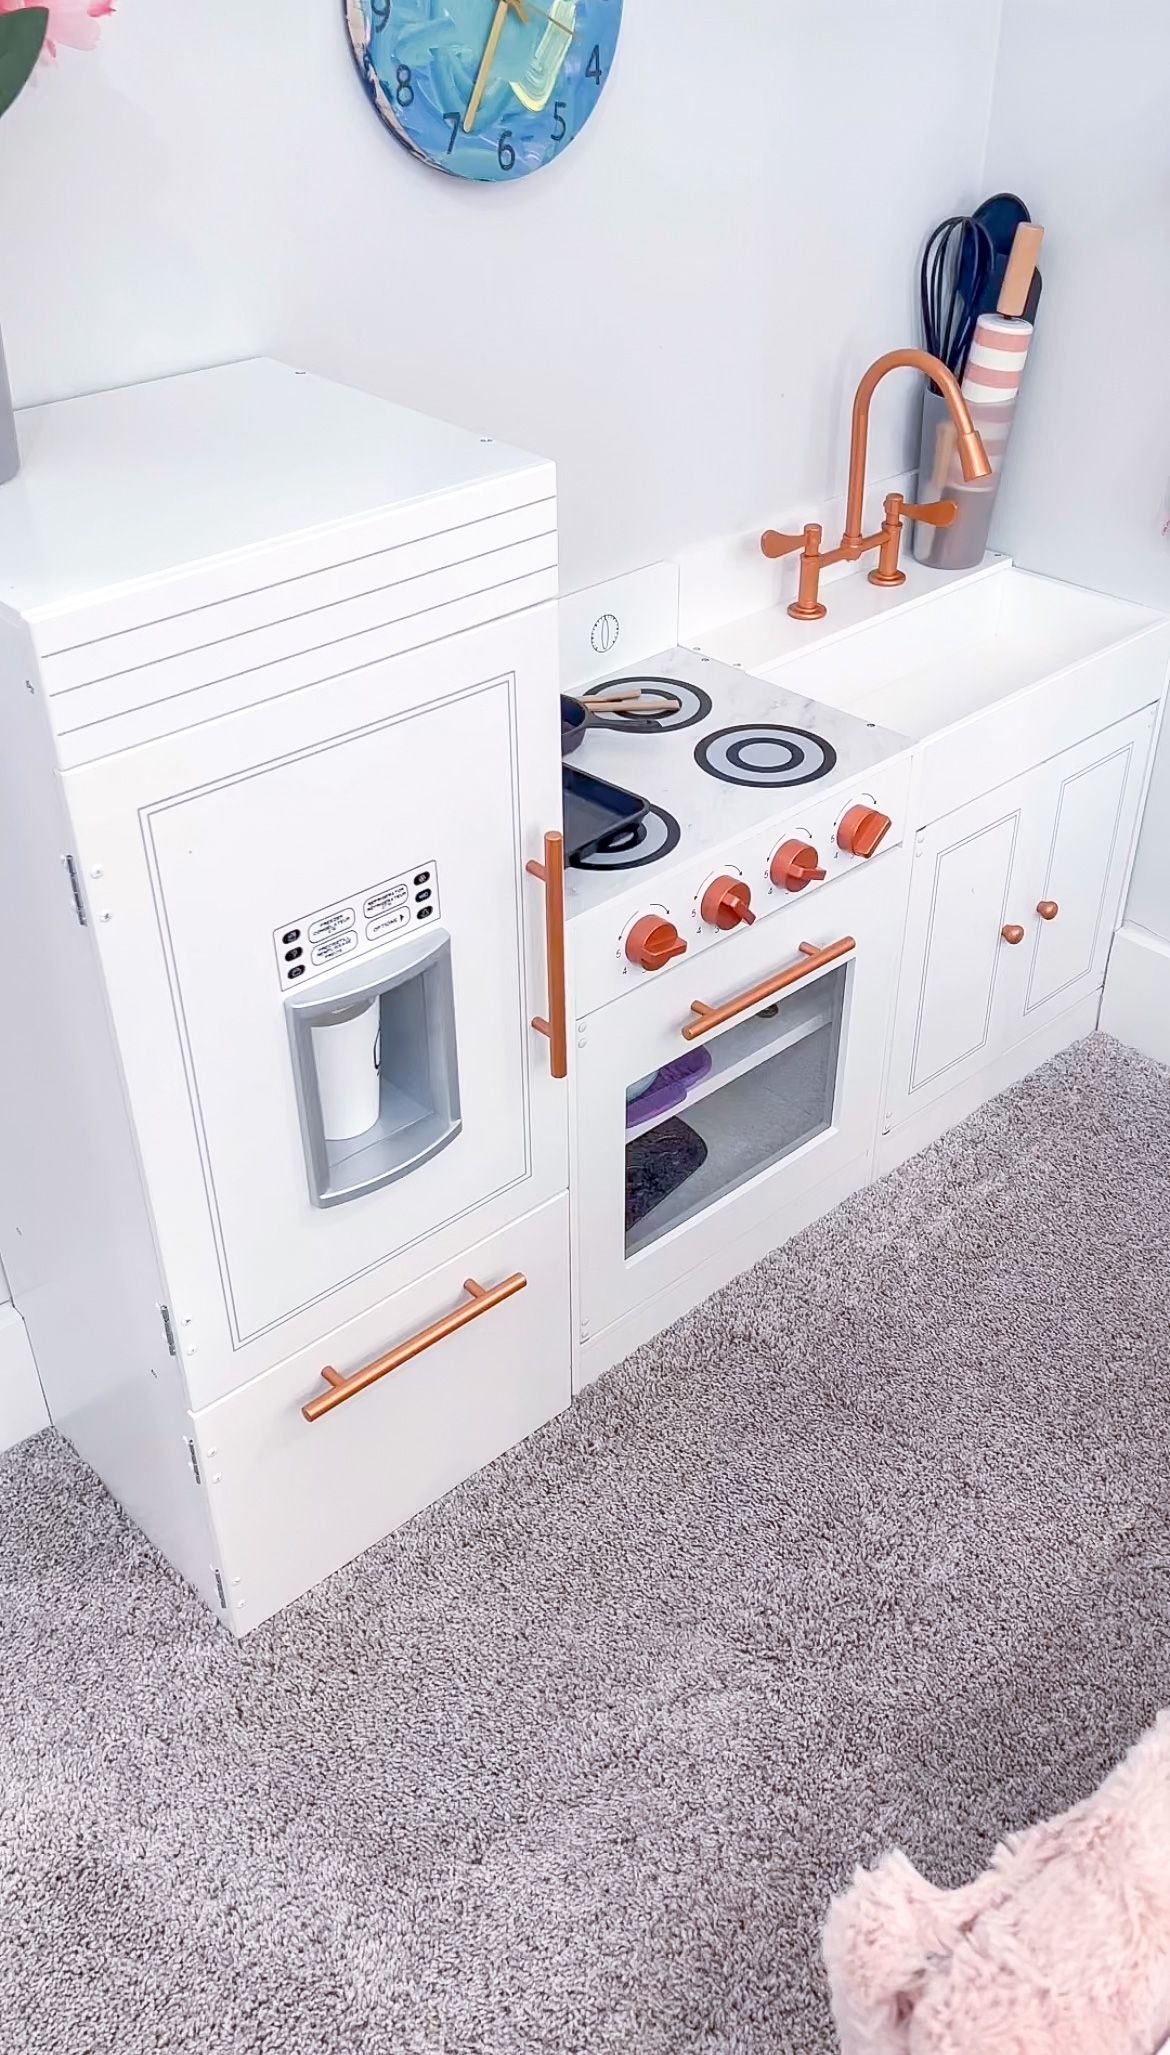
The thing I use the multi tool most for is when I'm removing baseboards, but only wanting to take a piece off instead of the whole board. For example, the baseboards at my house are three quarters of an inch thick, which means nothing is flush against the wall. When I mounted my daughter's play kitchen to the wall I removed part of the baseboard so it was flush against the wall. I like using this for projects I'm doing when I want something to look really built in because removing the baseboard from just part of the wall is a lot harder if you don't have a tool like this.
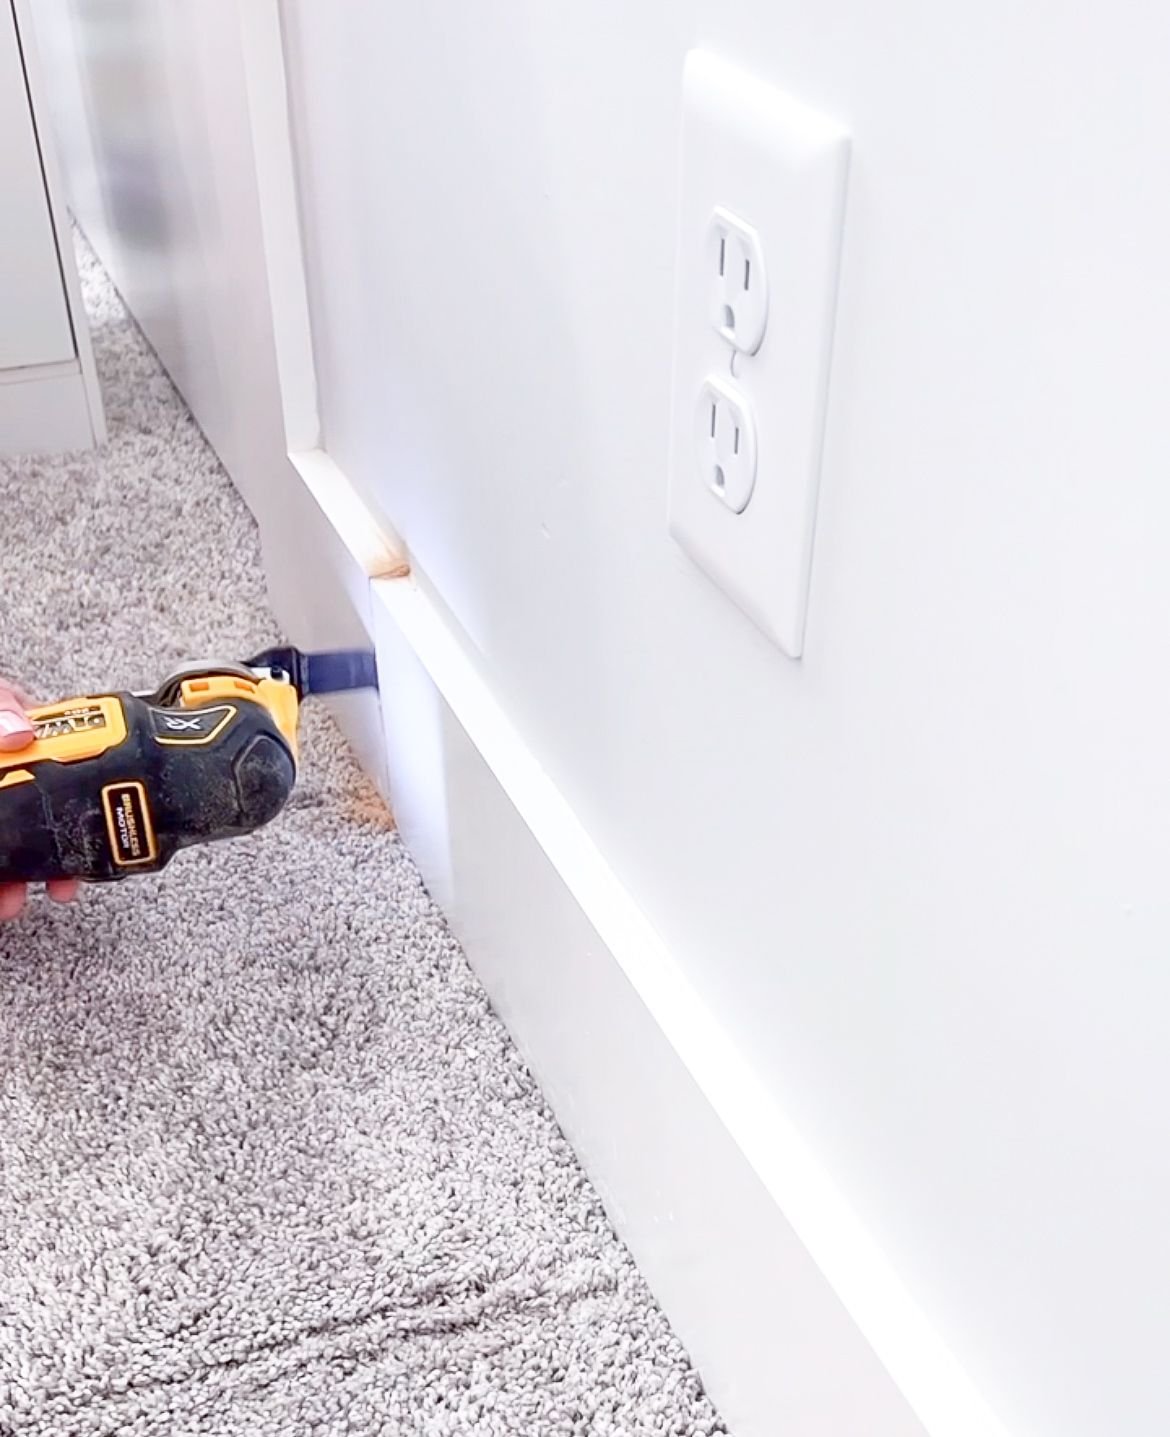
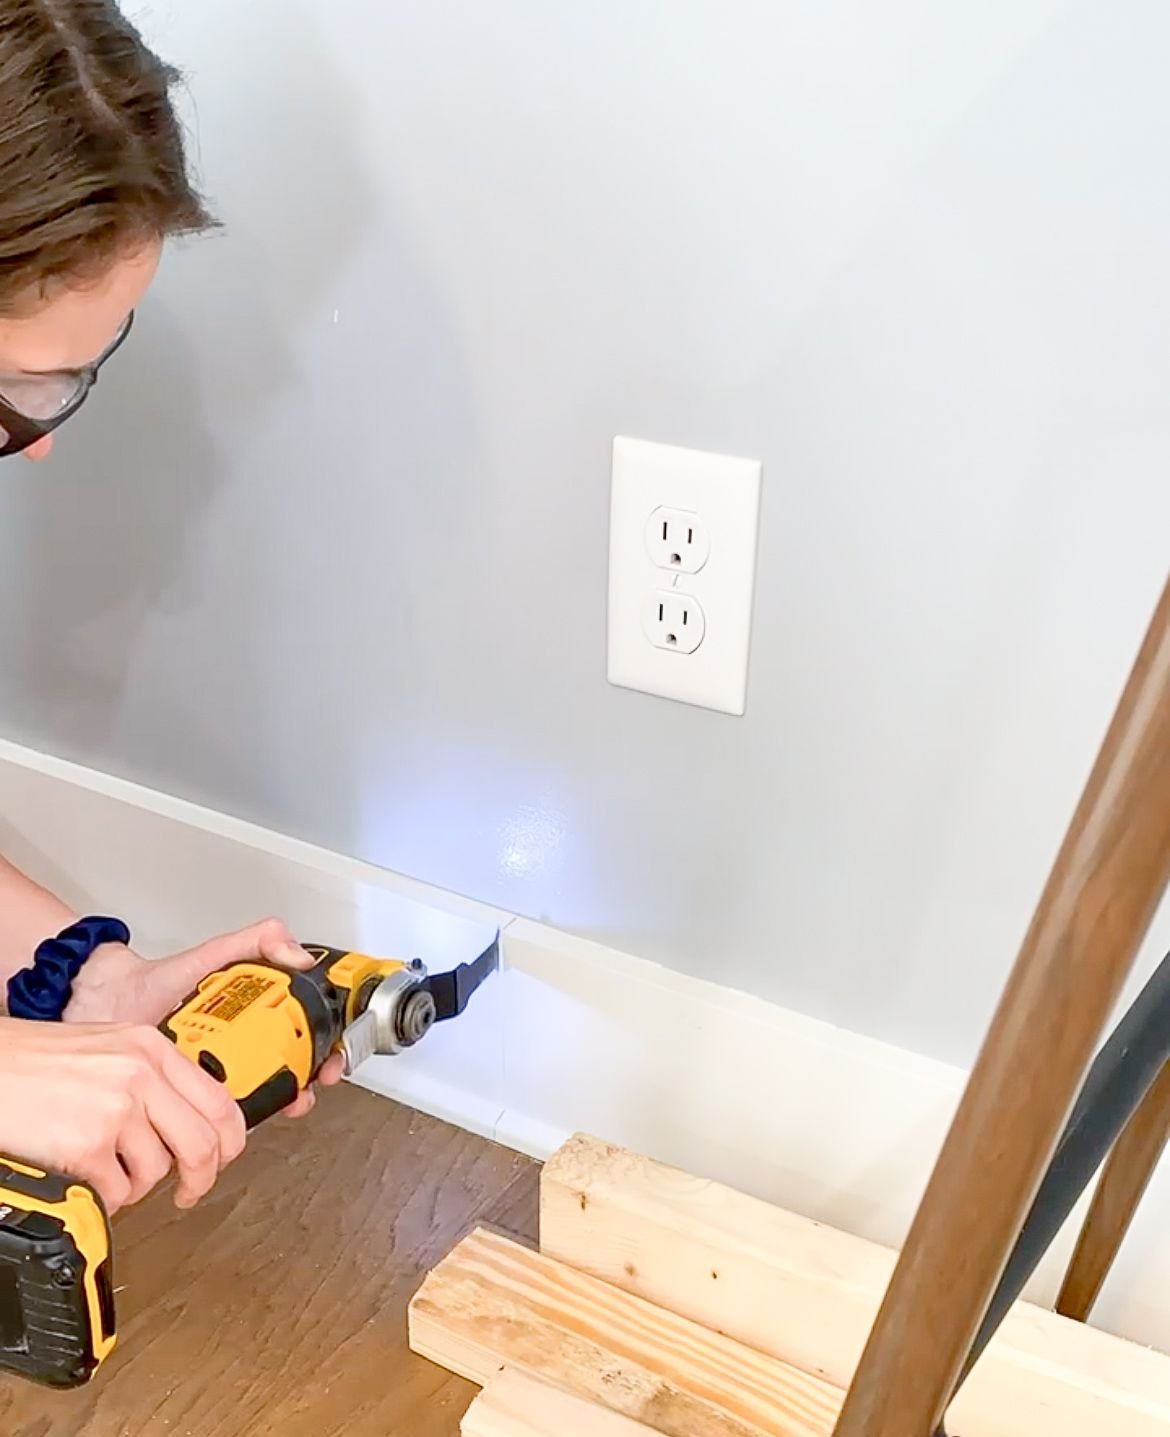
I'm going to walk you through how to do that using a multi tool. You're going to decide where exactly you're going to cut the baseboard based on the bottom frame of the piece you're installing. At a minimum I like to have at LEAST the longest piece cut. Sometimes, I just build the entire frame so I know exactly where I need to cut in every single spot. You're then going to turn on the multi tool so it starts oscillating and begin to cut through the baseboard. You want to cut all the way through to the drywall (without going through the drywall) and make sure that the cut goes all the way down the baseboard to the floor. Be careful not to cut your floor, especially if it's hardwood.
Then you can start prying off the baseboard, with the tool I've mentioned in previous posts. If you do it right, you can reuse the baseboard you removed to wrap around the front of your piece so it truly looks built in. I will admit, the first couple of times I did this, I was not so great at it and it was a learning curve. I had to get new baseboards those first few times in order for the project to not look like a complete hack job. Once you get it down, though, it's pretty easy!

I cannot tell you how nice it is to have this tool in your DIY arsenal because it is super easy, really fast and even thought the circular saw might have worked the same way, it would have been a lot more hassle than it was worth to get it out. All in all, this is such a great option! Stay tuned for more easy tool tutorials.
How to Use a Multi Tool | Shop
