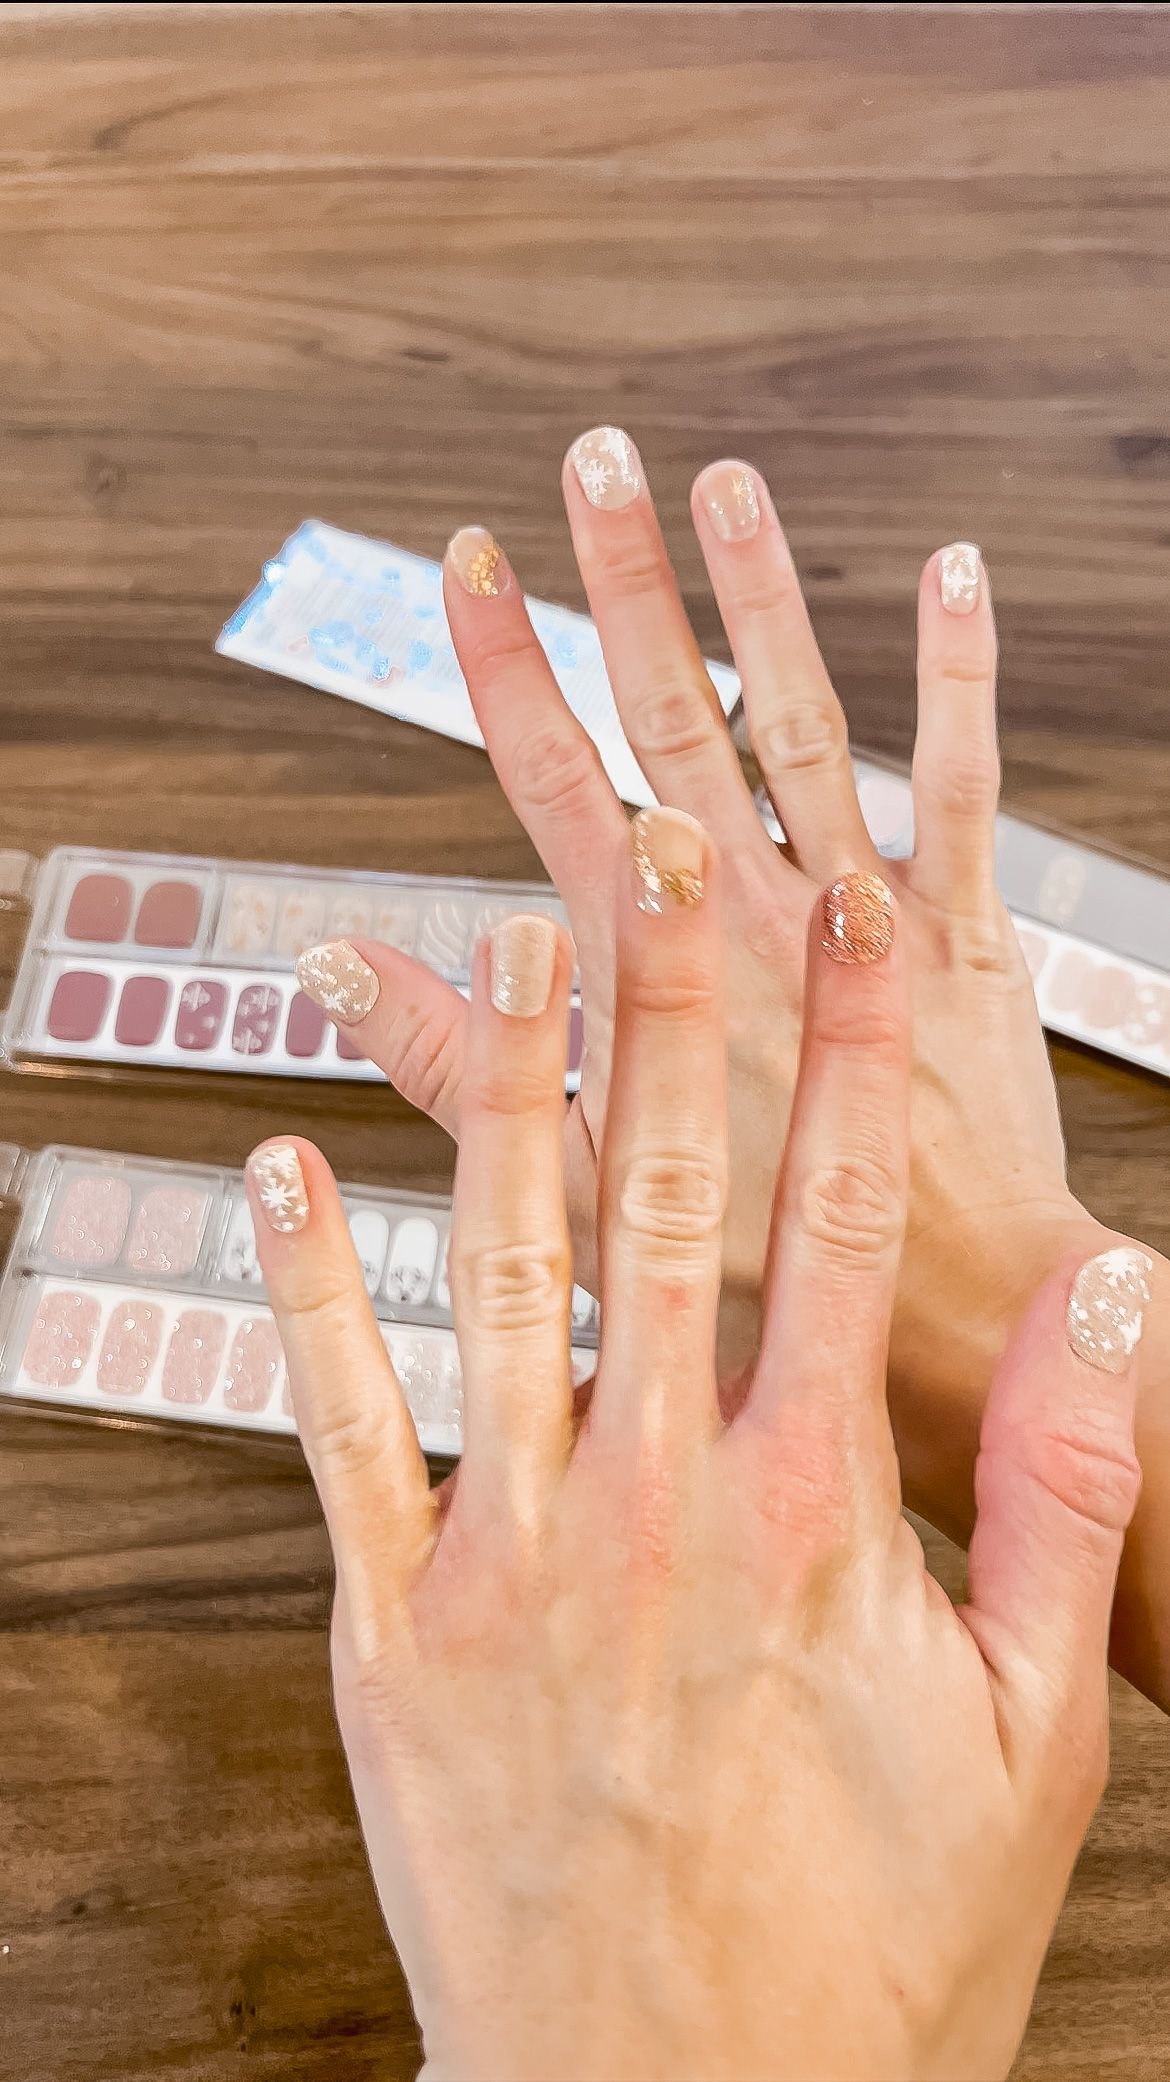
Easy Christmas Nails with Dashing Diva Gel Nail Strips
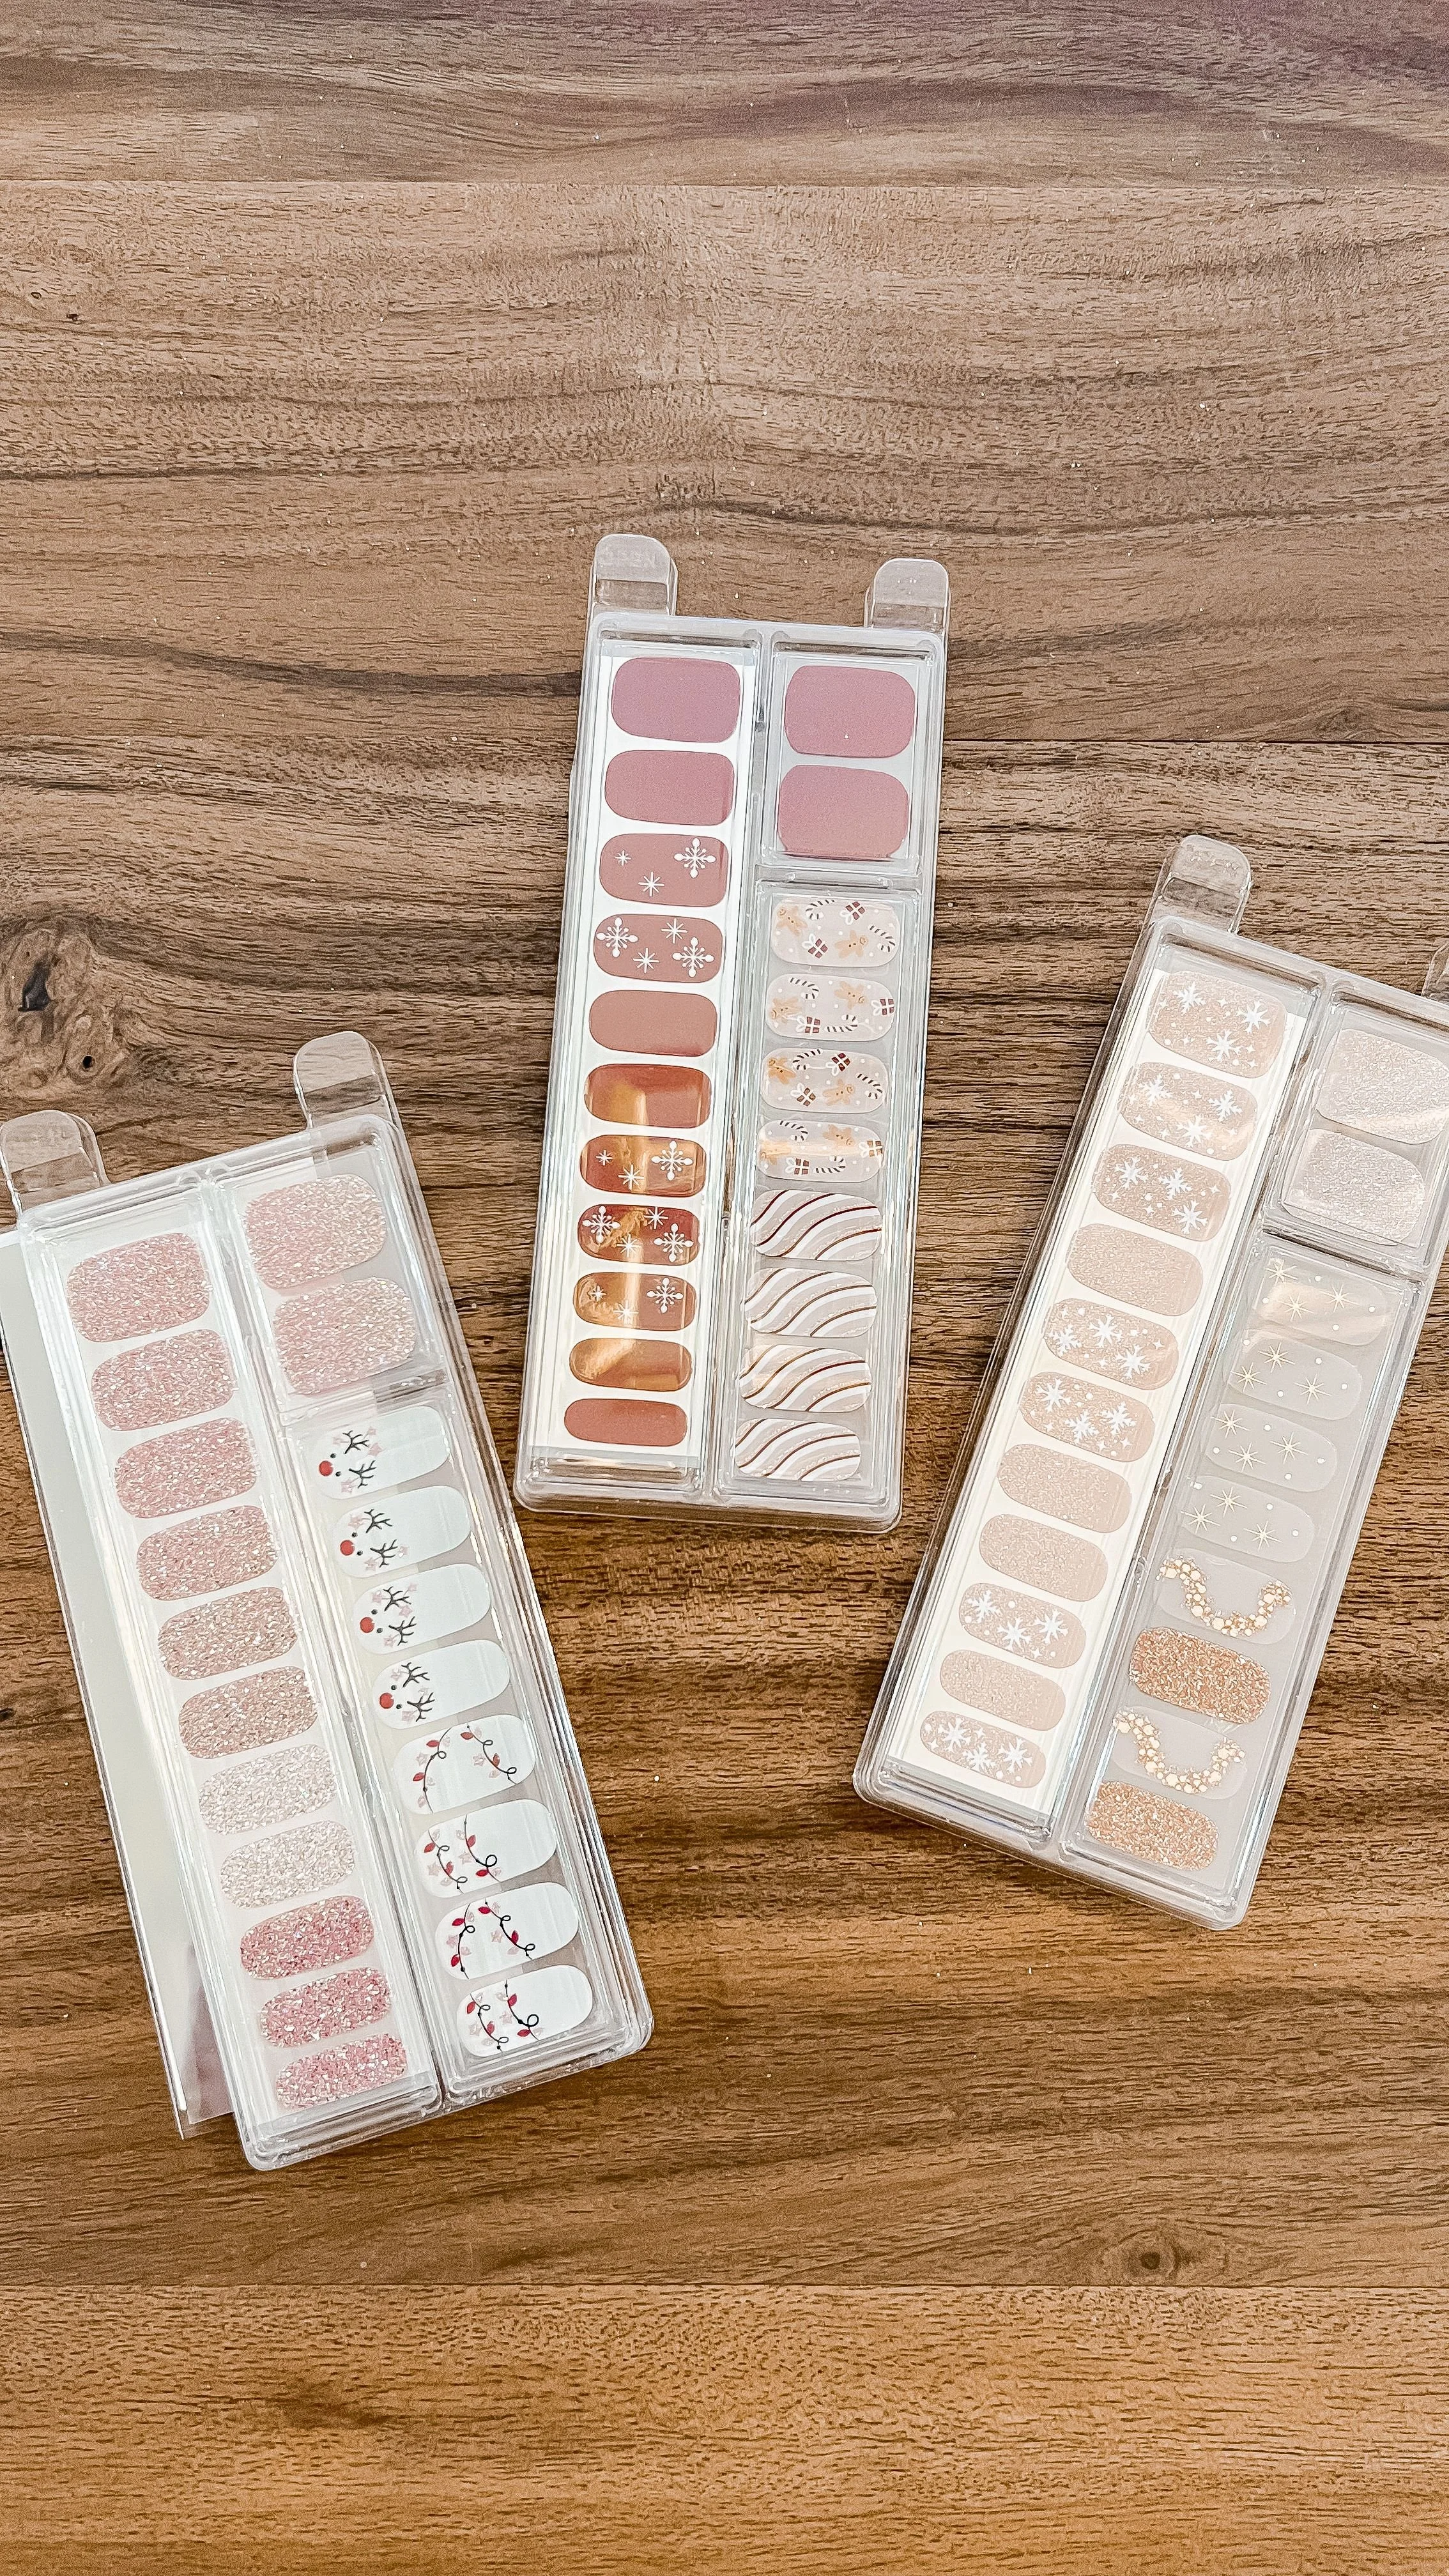
I'm fully entrenched in Christmas decorating at my house, so what better time to make my nails reflect my holiday spirit too! The three holiday themed nail strips from Dashing Diva that I currently have on hand are Candy Graham, Light Snow and Sugar Plum Dance. I feel like Candy Graham and Light Snow are a little too Christmas-y for this early in the season so I decided to go for the more subtle Sugar Plum Dance for this nail set.
Dashing Diva Christmas Nails | Why I Love Dashing Diva Nail Strips
I've talked in the past about my love for Dashing Diva gel nail strips. I've tried their press-on nails in the past as well, but I really prefer the nail strips for several reasons:
1) No glue involved (I hate how messy and complicated glue can get)
2) Less damage to your natural nails
3) The strips adhere directly to your nail nothing between the nail so your hair isn't going to get stuck in between them, which is the worst!
4) These last up to 3 weeks for me, even while doing projects!
5) There are SO many colors and patterns to choose from
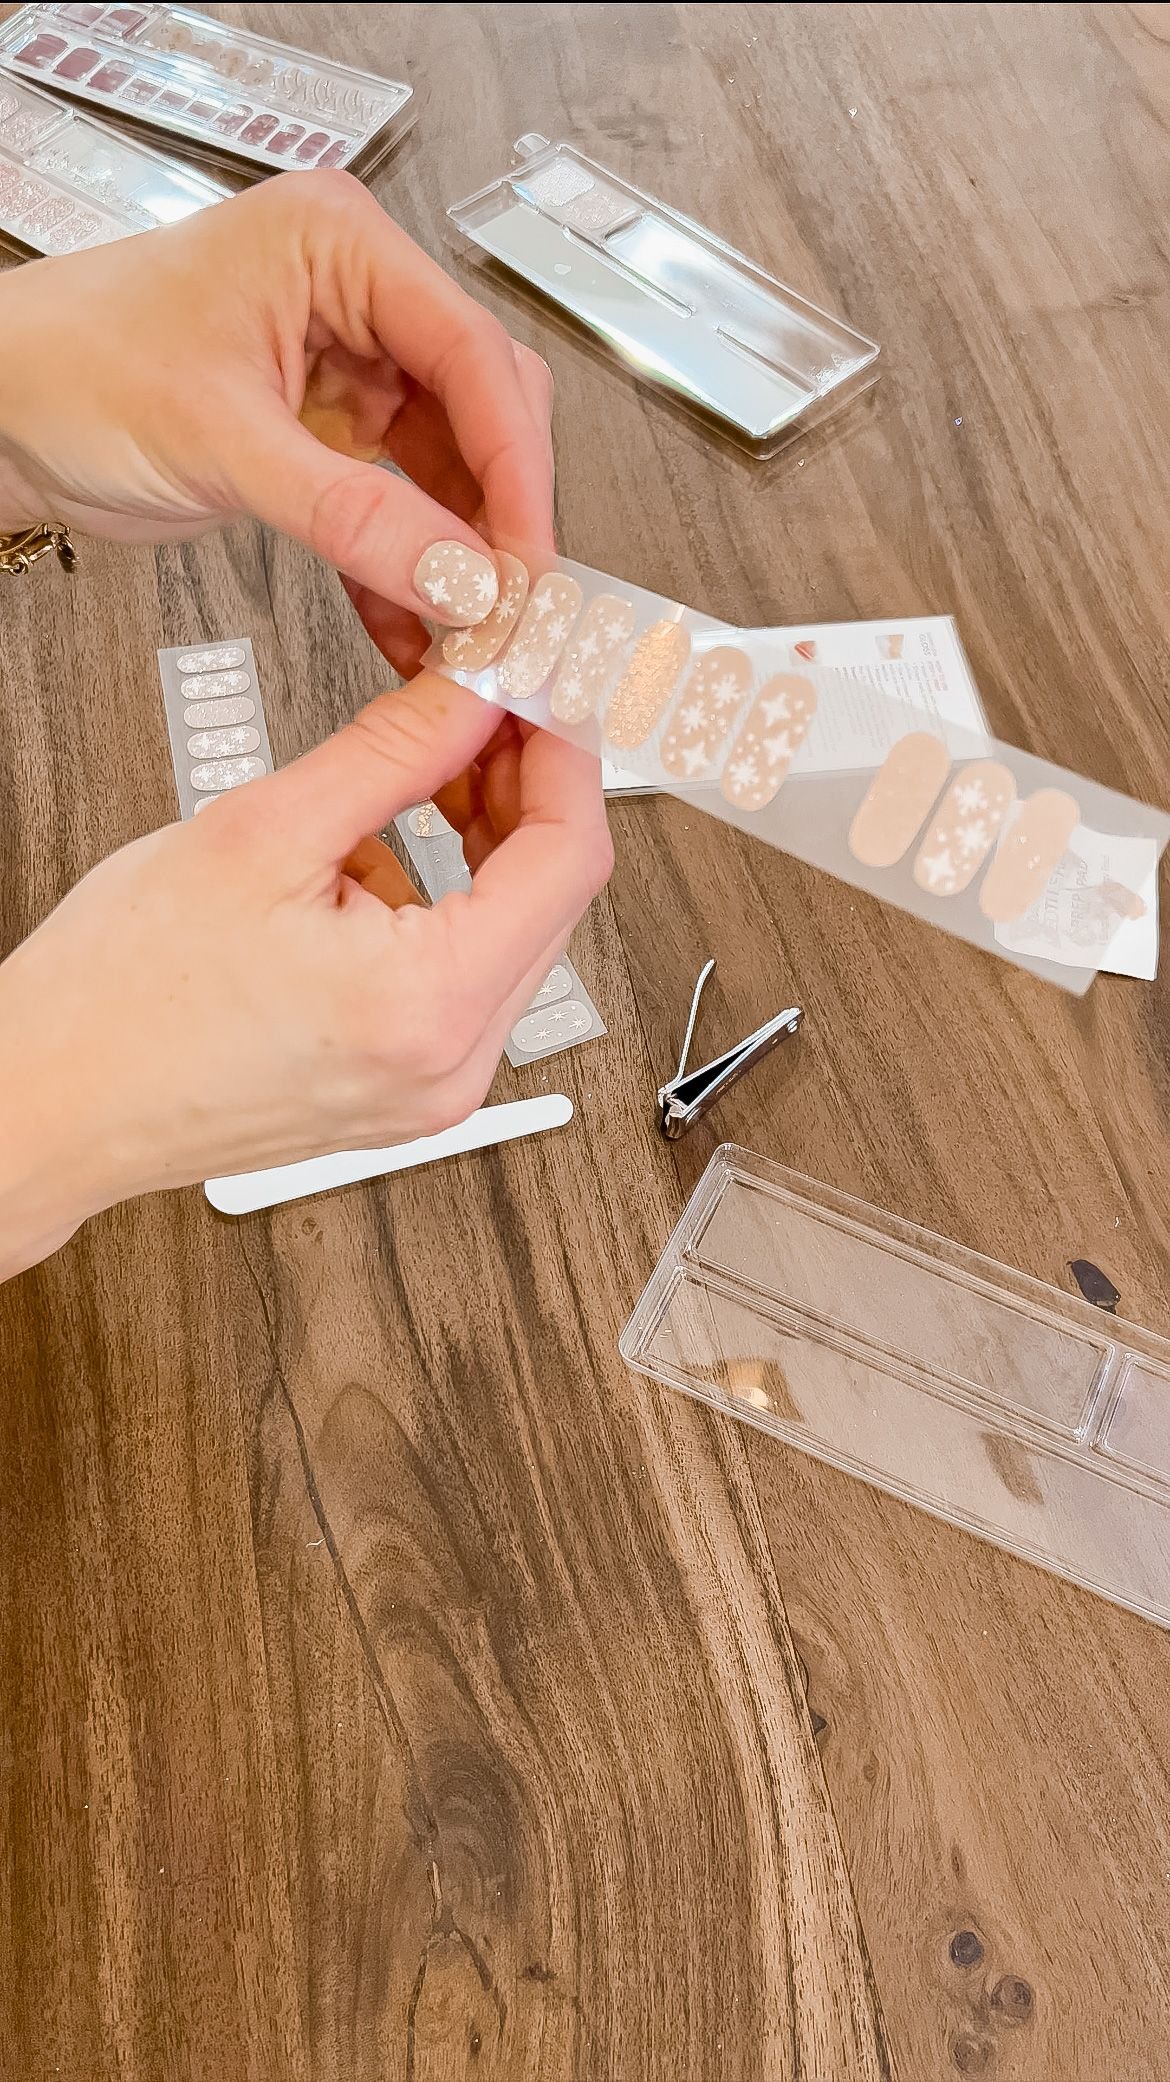
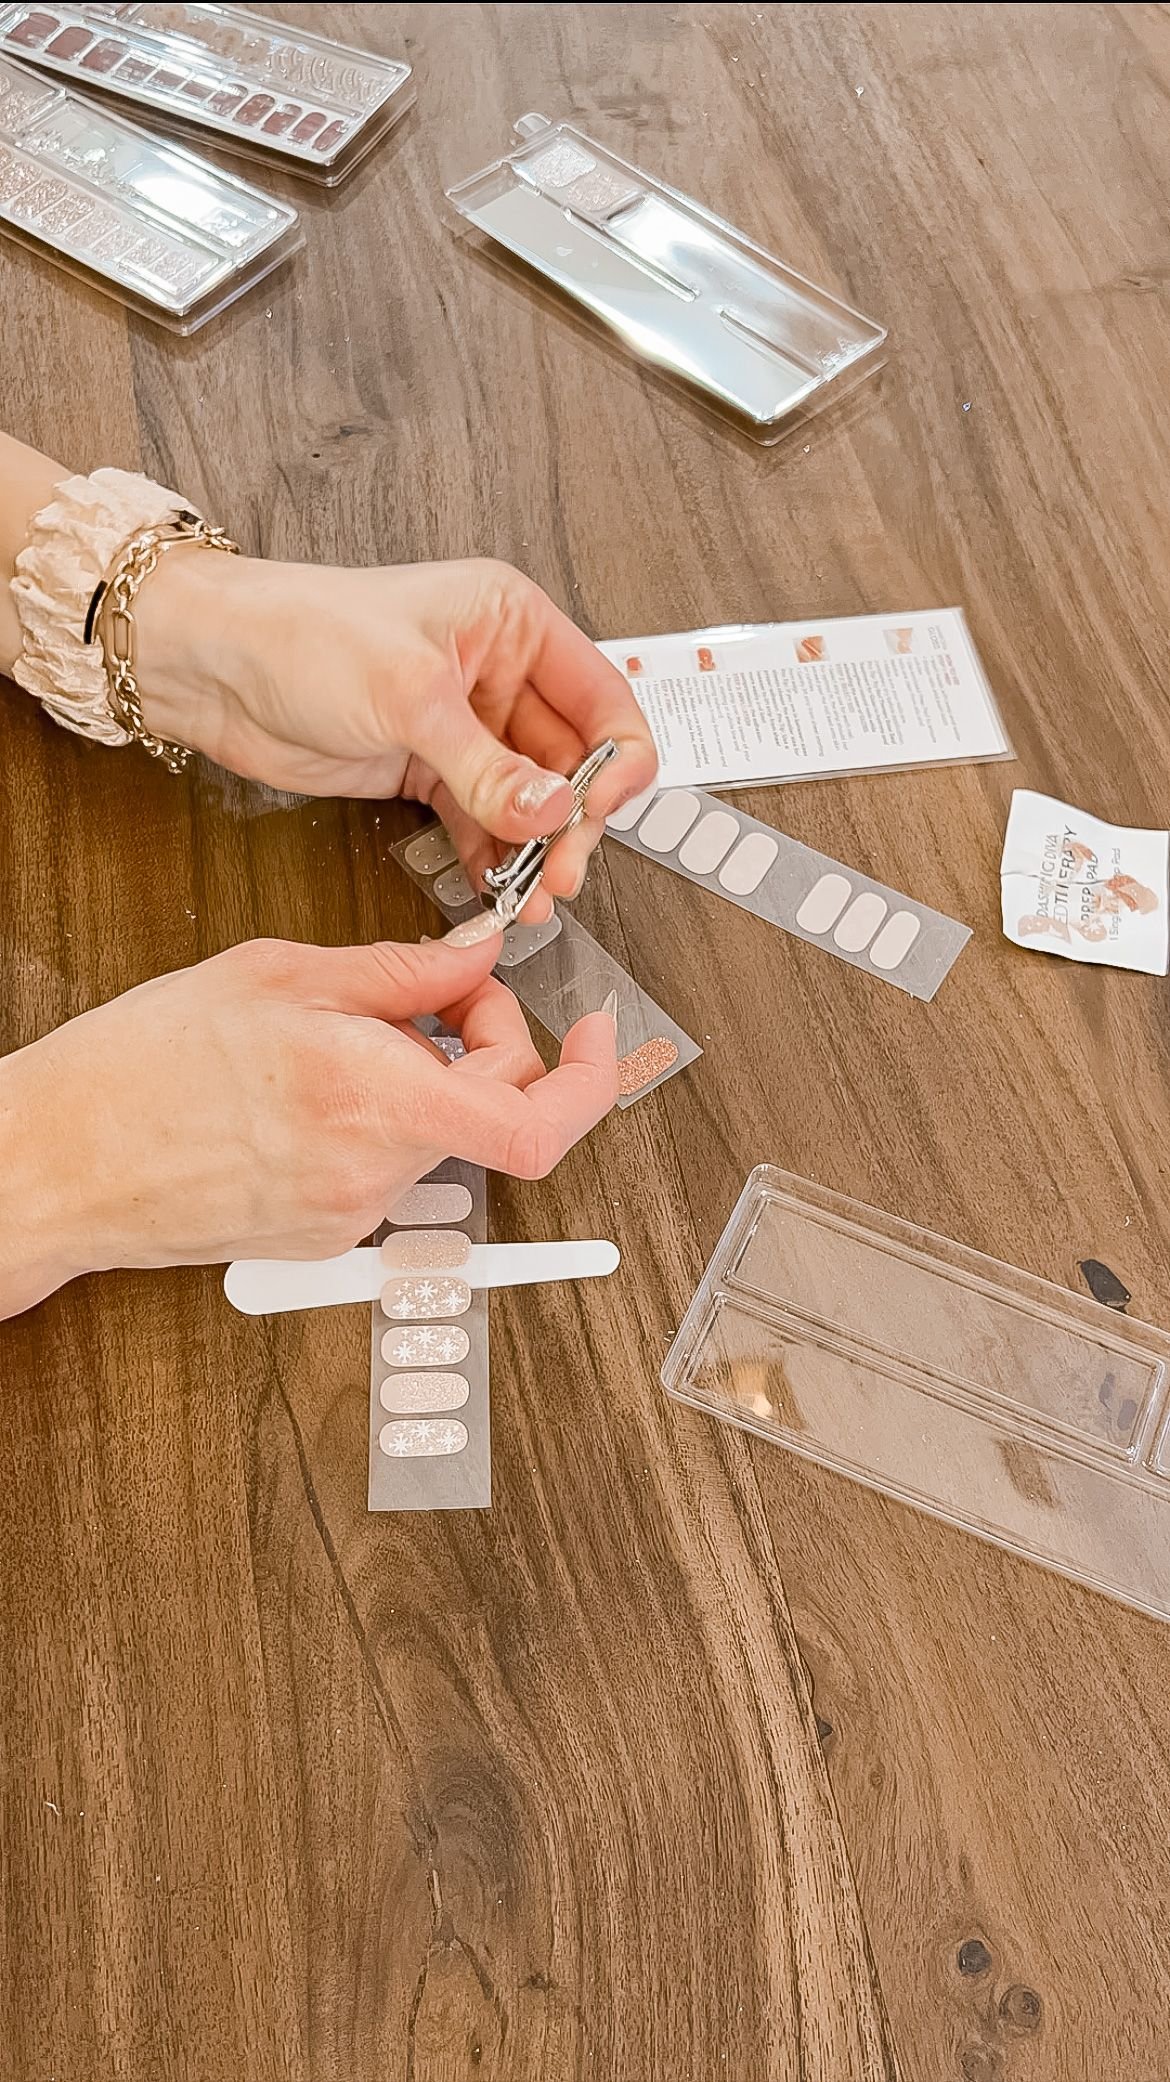
Dashing Diva Christmas Nails | Application
After a lot of trial and error, I’ve found that if I do these tricks I’m able to get these to stay for around 3 weeks. First things first, I make sure I start with clean, lightly buffed nails. Then, I find the right size for each of my nails. I have figured out there's really not a top or bottom side to these nails. One side is just a little bit wider than the other, so it's just best to match it to your each individual nail bed. I then clean each nail with the alcohol prep pad that’s provided in the kit. Try not to touch your nails after you do this because the oils from your fingers will make the adhesive not grip on to your nail as well. Then you remove the strip from the sheet, peeling it off from the end that you're going to end up trimming.
When applying to your nail, make sure it stays on your nail and doesn't go onto your cuticle AT ALL. When it overlaps onto your cuticle it looks very obvious that it’s a nail strip and not a professional manicure, which you don’t want! When I did this set, I tried to put a nail strip on one of my nails thinking it would work, then realized it didn’t. I took it off and put it back on the plastic. I've done this before and then used the strip on a different nail at a different time with no issue.
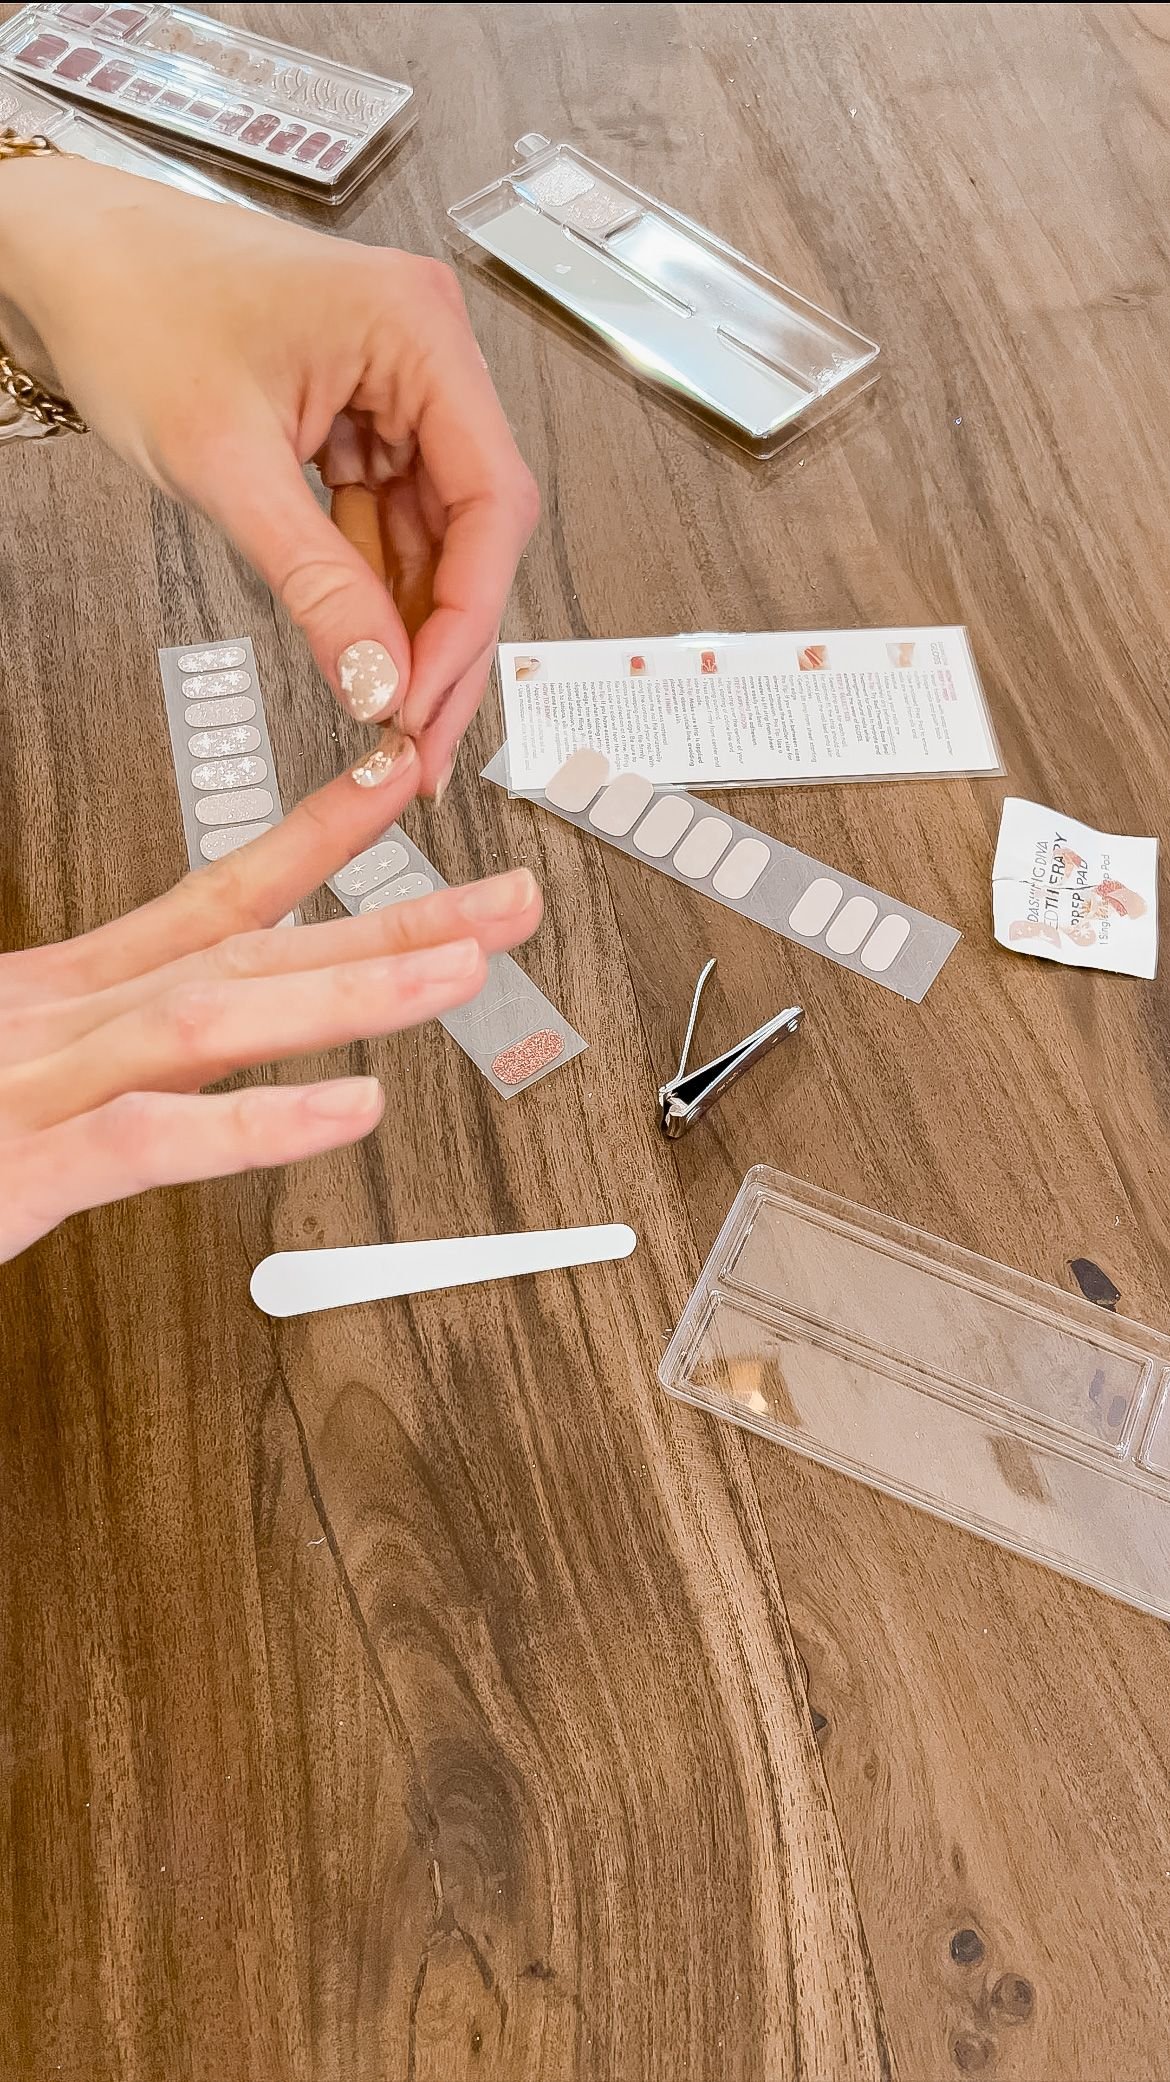
After I've figured out all of the correct strips for each finger, I lightly push them onto each nail. I finish one whole hand before I move onto trimming. I first clip the majority off the length with the nail clippers and then file it smooth with a nail file. Technically, you don't actually have to trim the nails down first and can just file the length off, but I have personally found that my nails last longer and the filing process goes better if I trim them down first. And that's it! The whole process is so easy and they look like I paid for a professional manicure when I paid 1/3 of the price. Grab some for yourself and have great looking nails for any occasion.