
DIY Princess Letters

When Jackie was a baby, I made cute personalized Minnie Mouse decor letters for her room. However, I felt like she grew out of them. I decided to change them up for my princess loving girl. I got MDF letters and tulle from Walmart and got to work!


DIY Princess Letters | Making the Letters
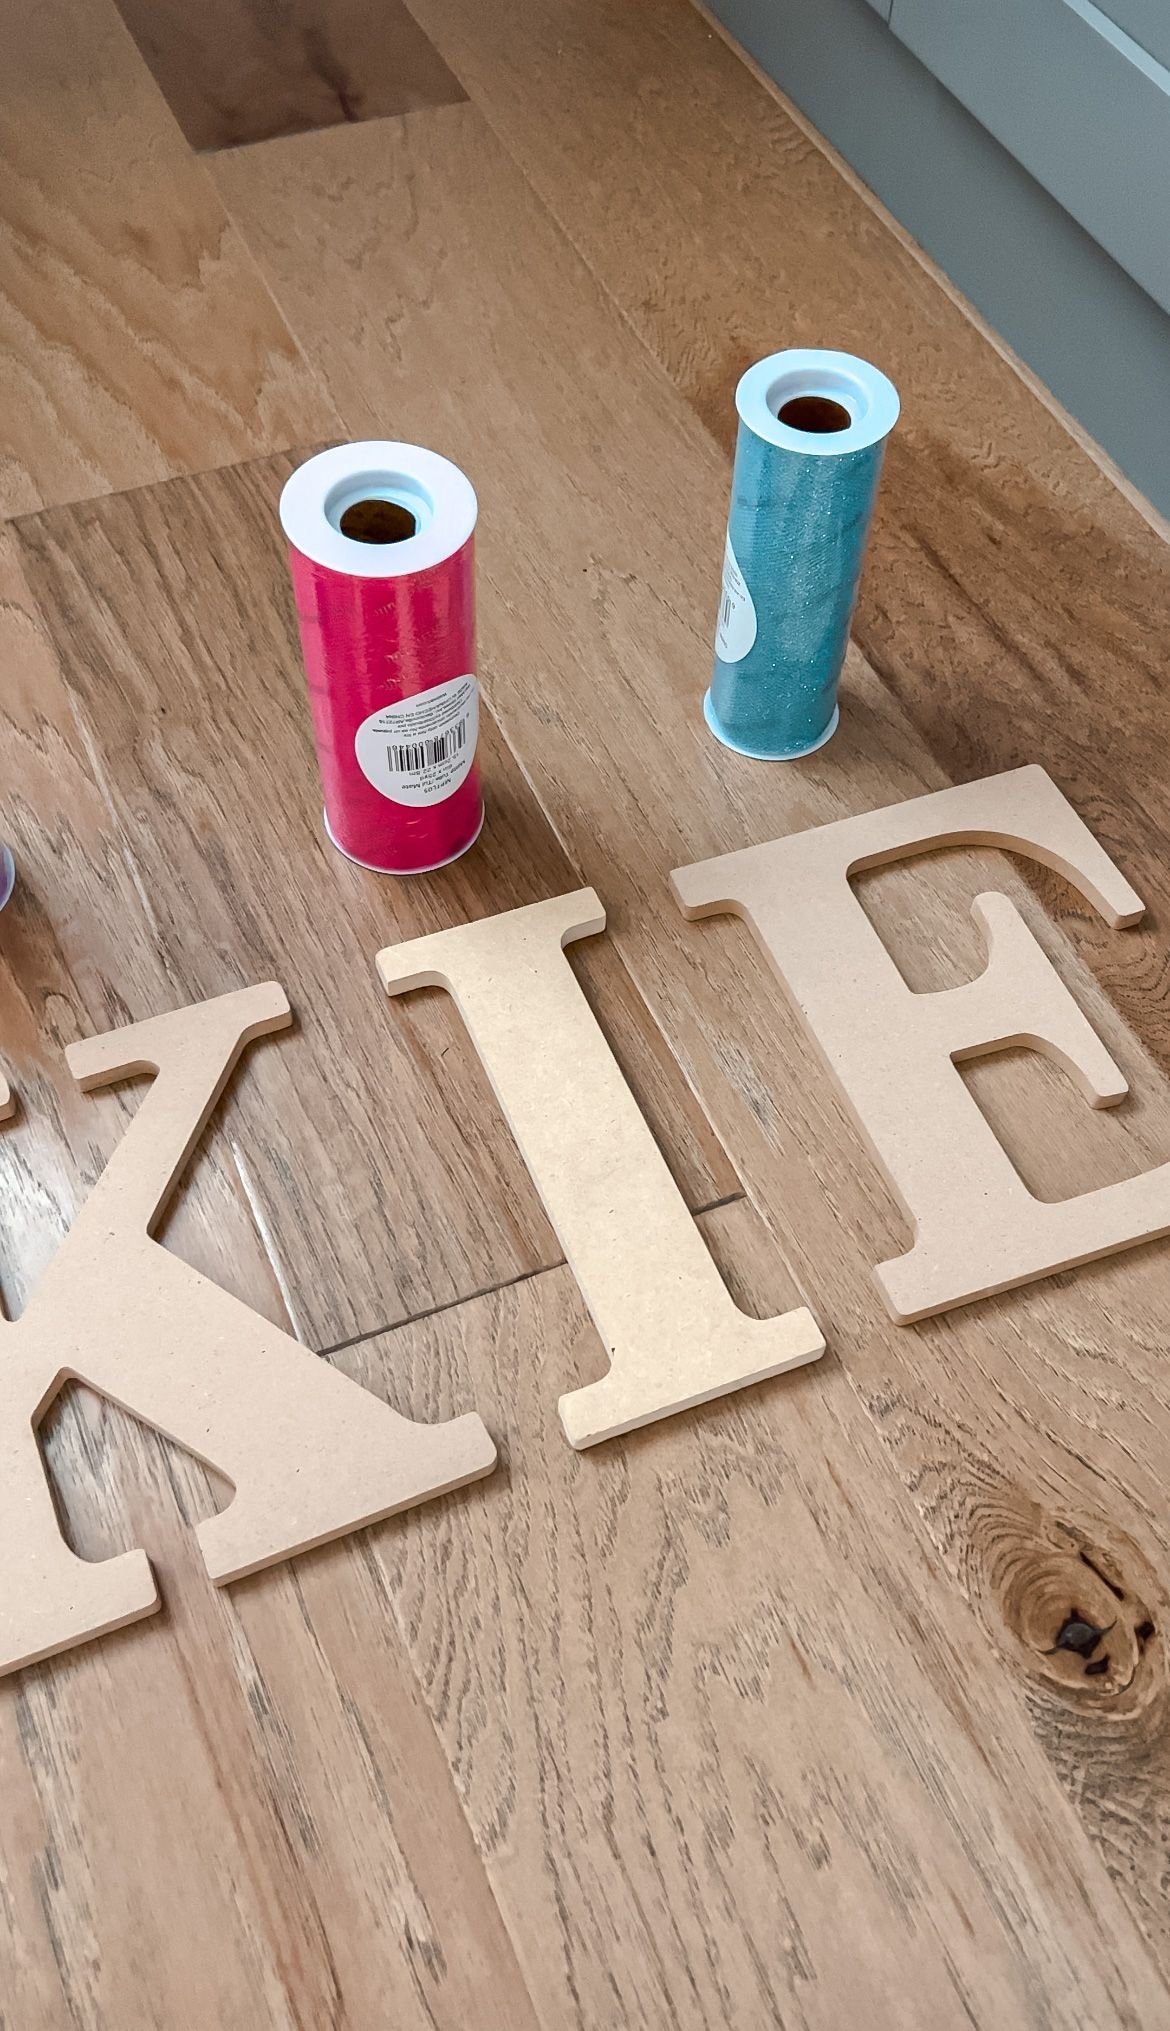
The first thing I did was use a hot glue gun to glue the tulle to the back of the letter and then I just started wrapping it all the way around. Tulle can be pretty sheer if you only wrap it around once or twice, but I wanted to make sure that none of the MDF was showing and it was a solid color when I was finished. I continued to wrap the tulle around the letter a lot to make sure it looked pretty seamless. After I wrapped it around the top of the "J", I went straight around as well, so it was even and not wrapped in funny directions. I made sure to wrap the tulle really tight so it didn't have any bulges, especially at the curve of the "J". Then, in order to secure it, I hot glued the tulle again on the back.

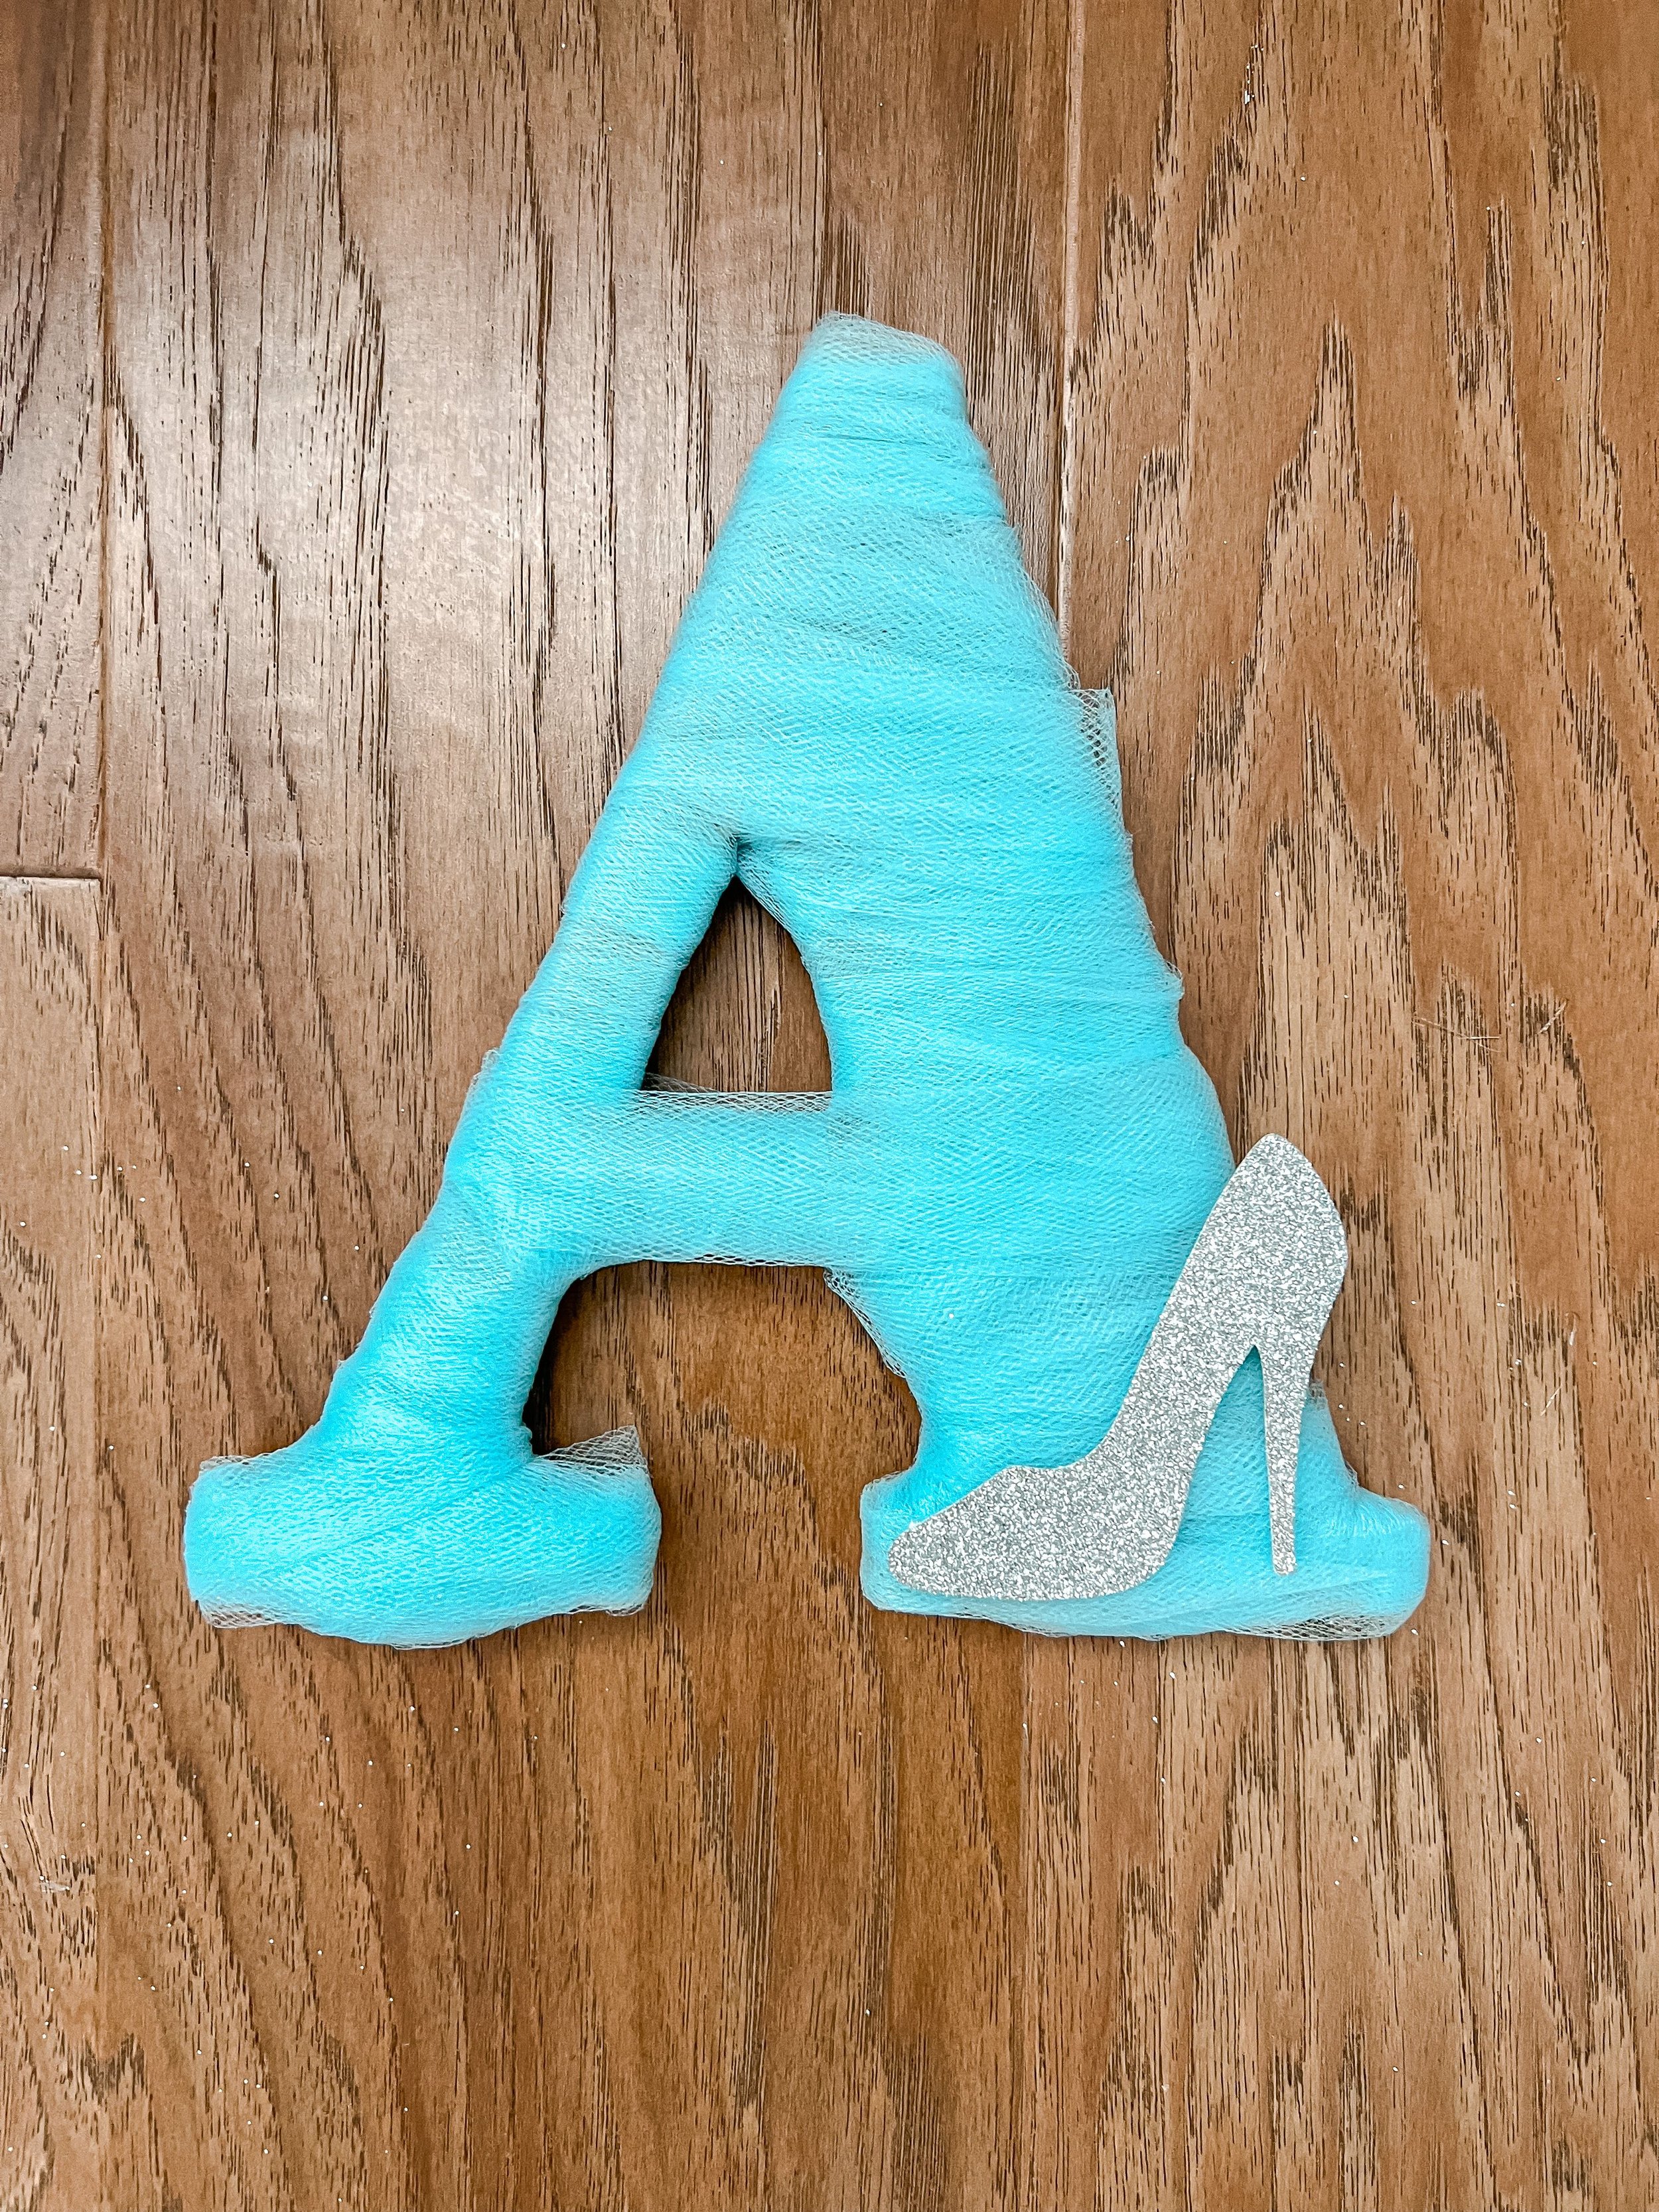
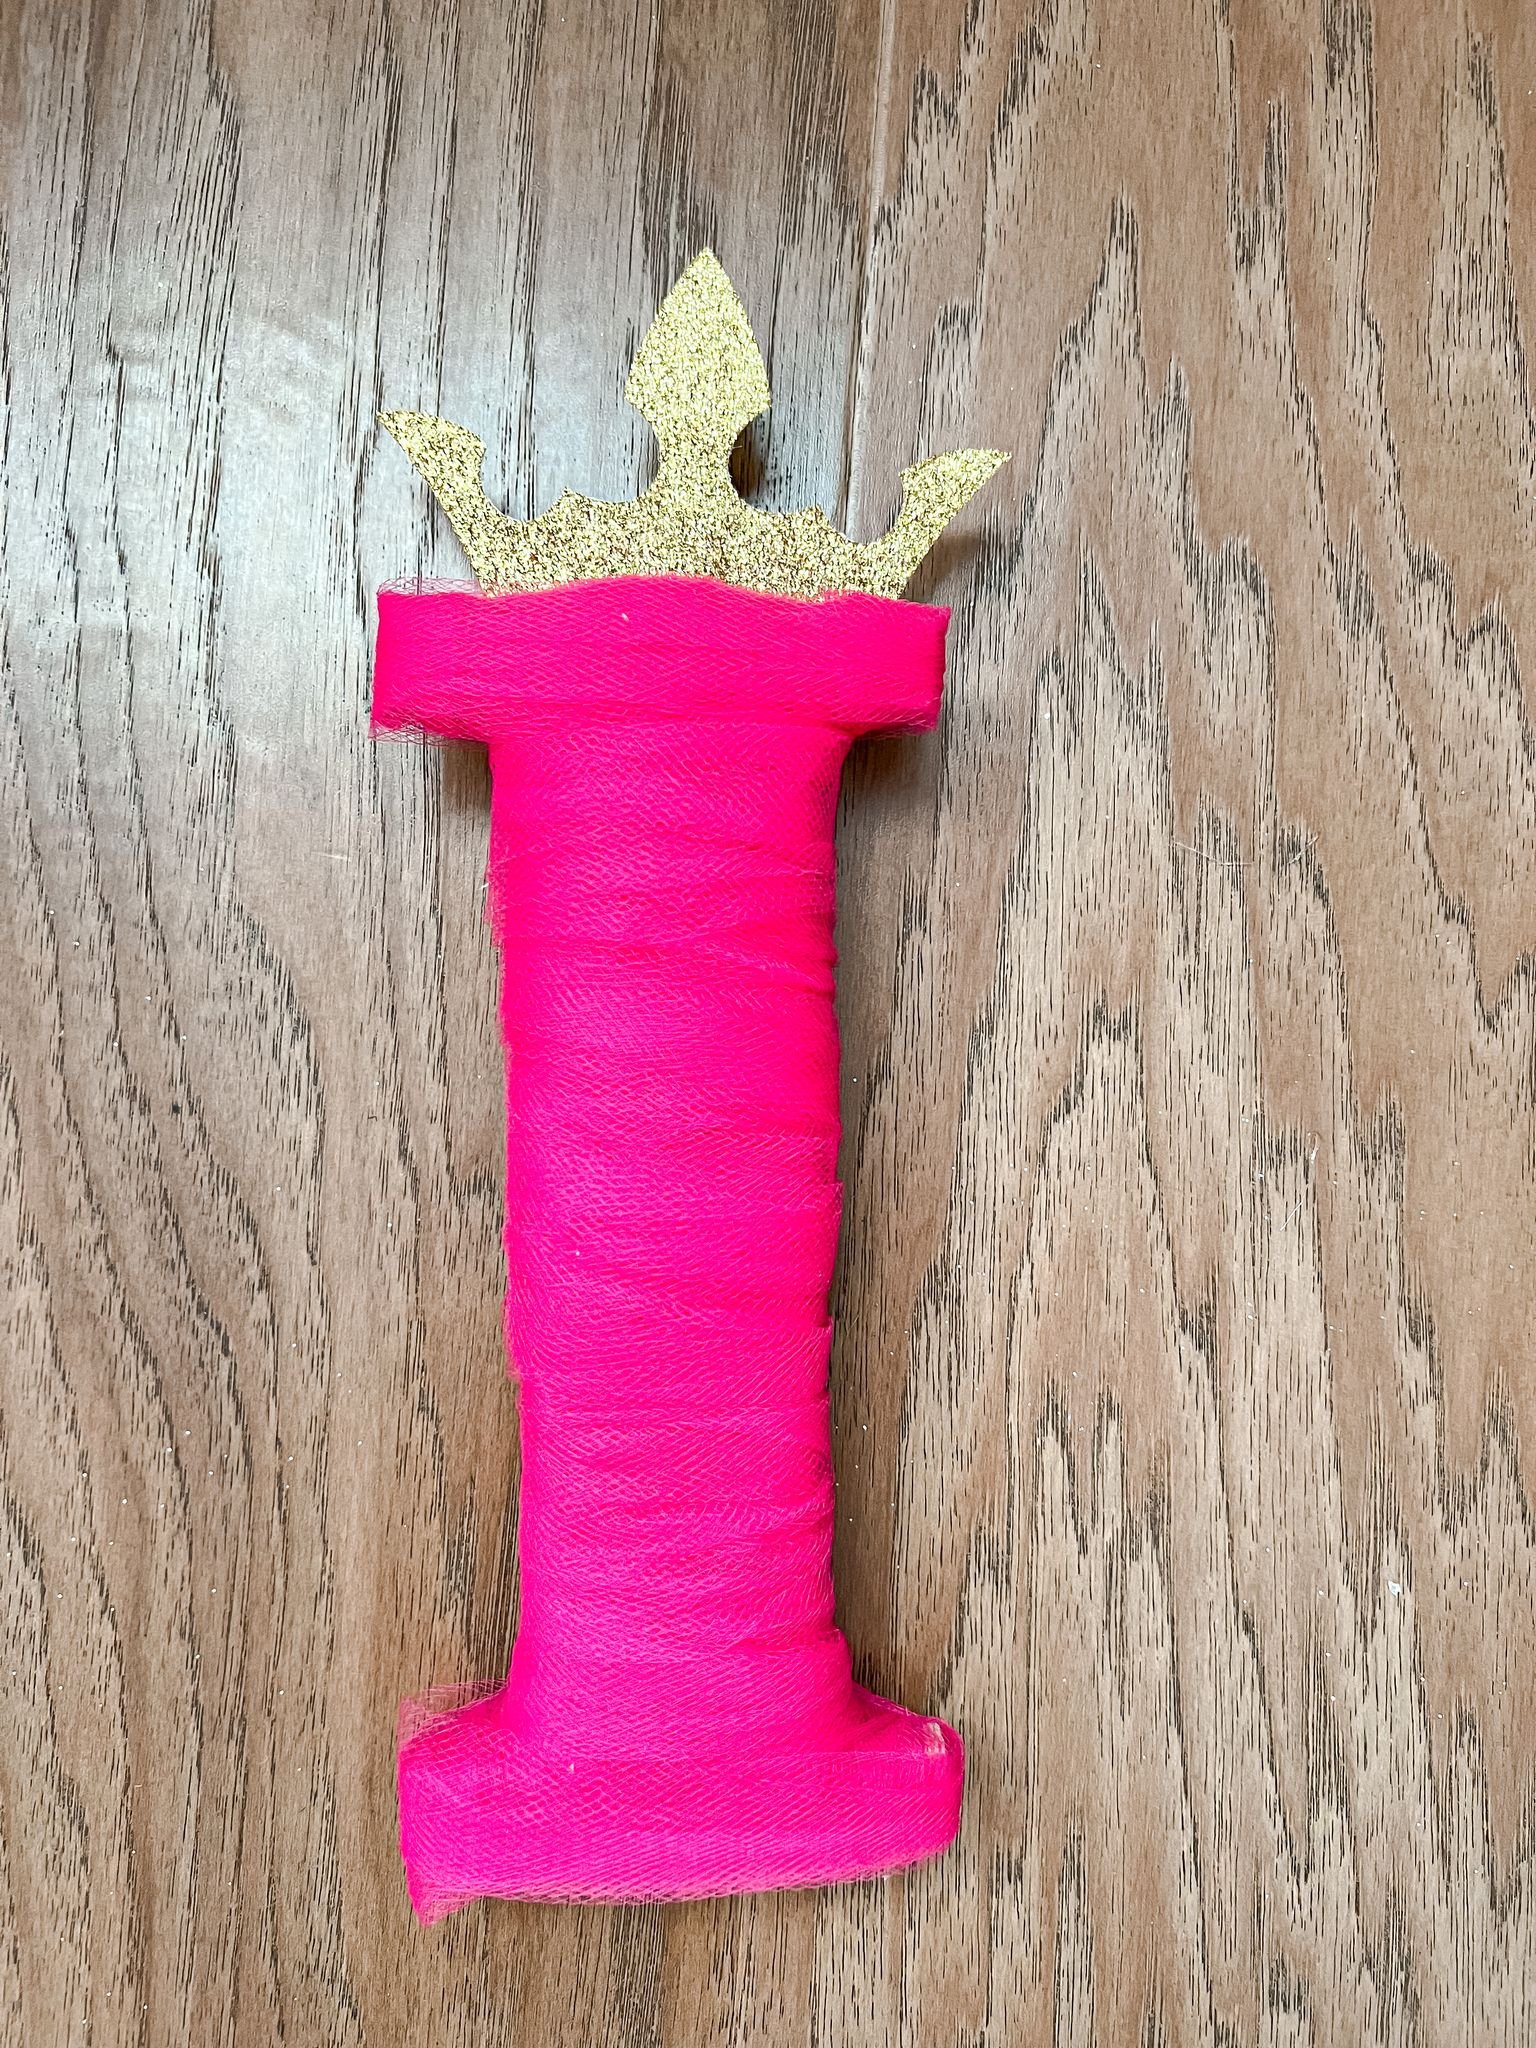
I repeated this with all of the letters and used a different color tulle for each letter, because each letter is a different princess. "J" is yellow for Belle, "A" is blue for Cinderella, "C" was teal for Ariel, "K" is purple for Rapunzel, "I " is pink for Aurora and lastly "E" is glitter blue for Elsa. Once all the letters were wrapped, I started adding the accessories to really make them into each individual princess.
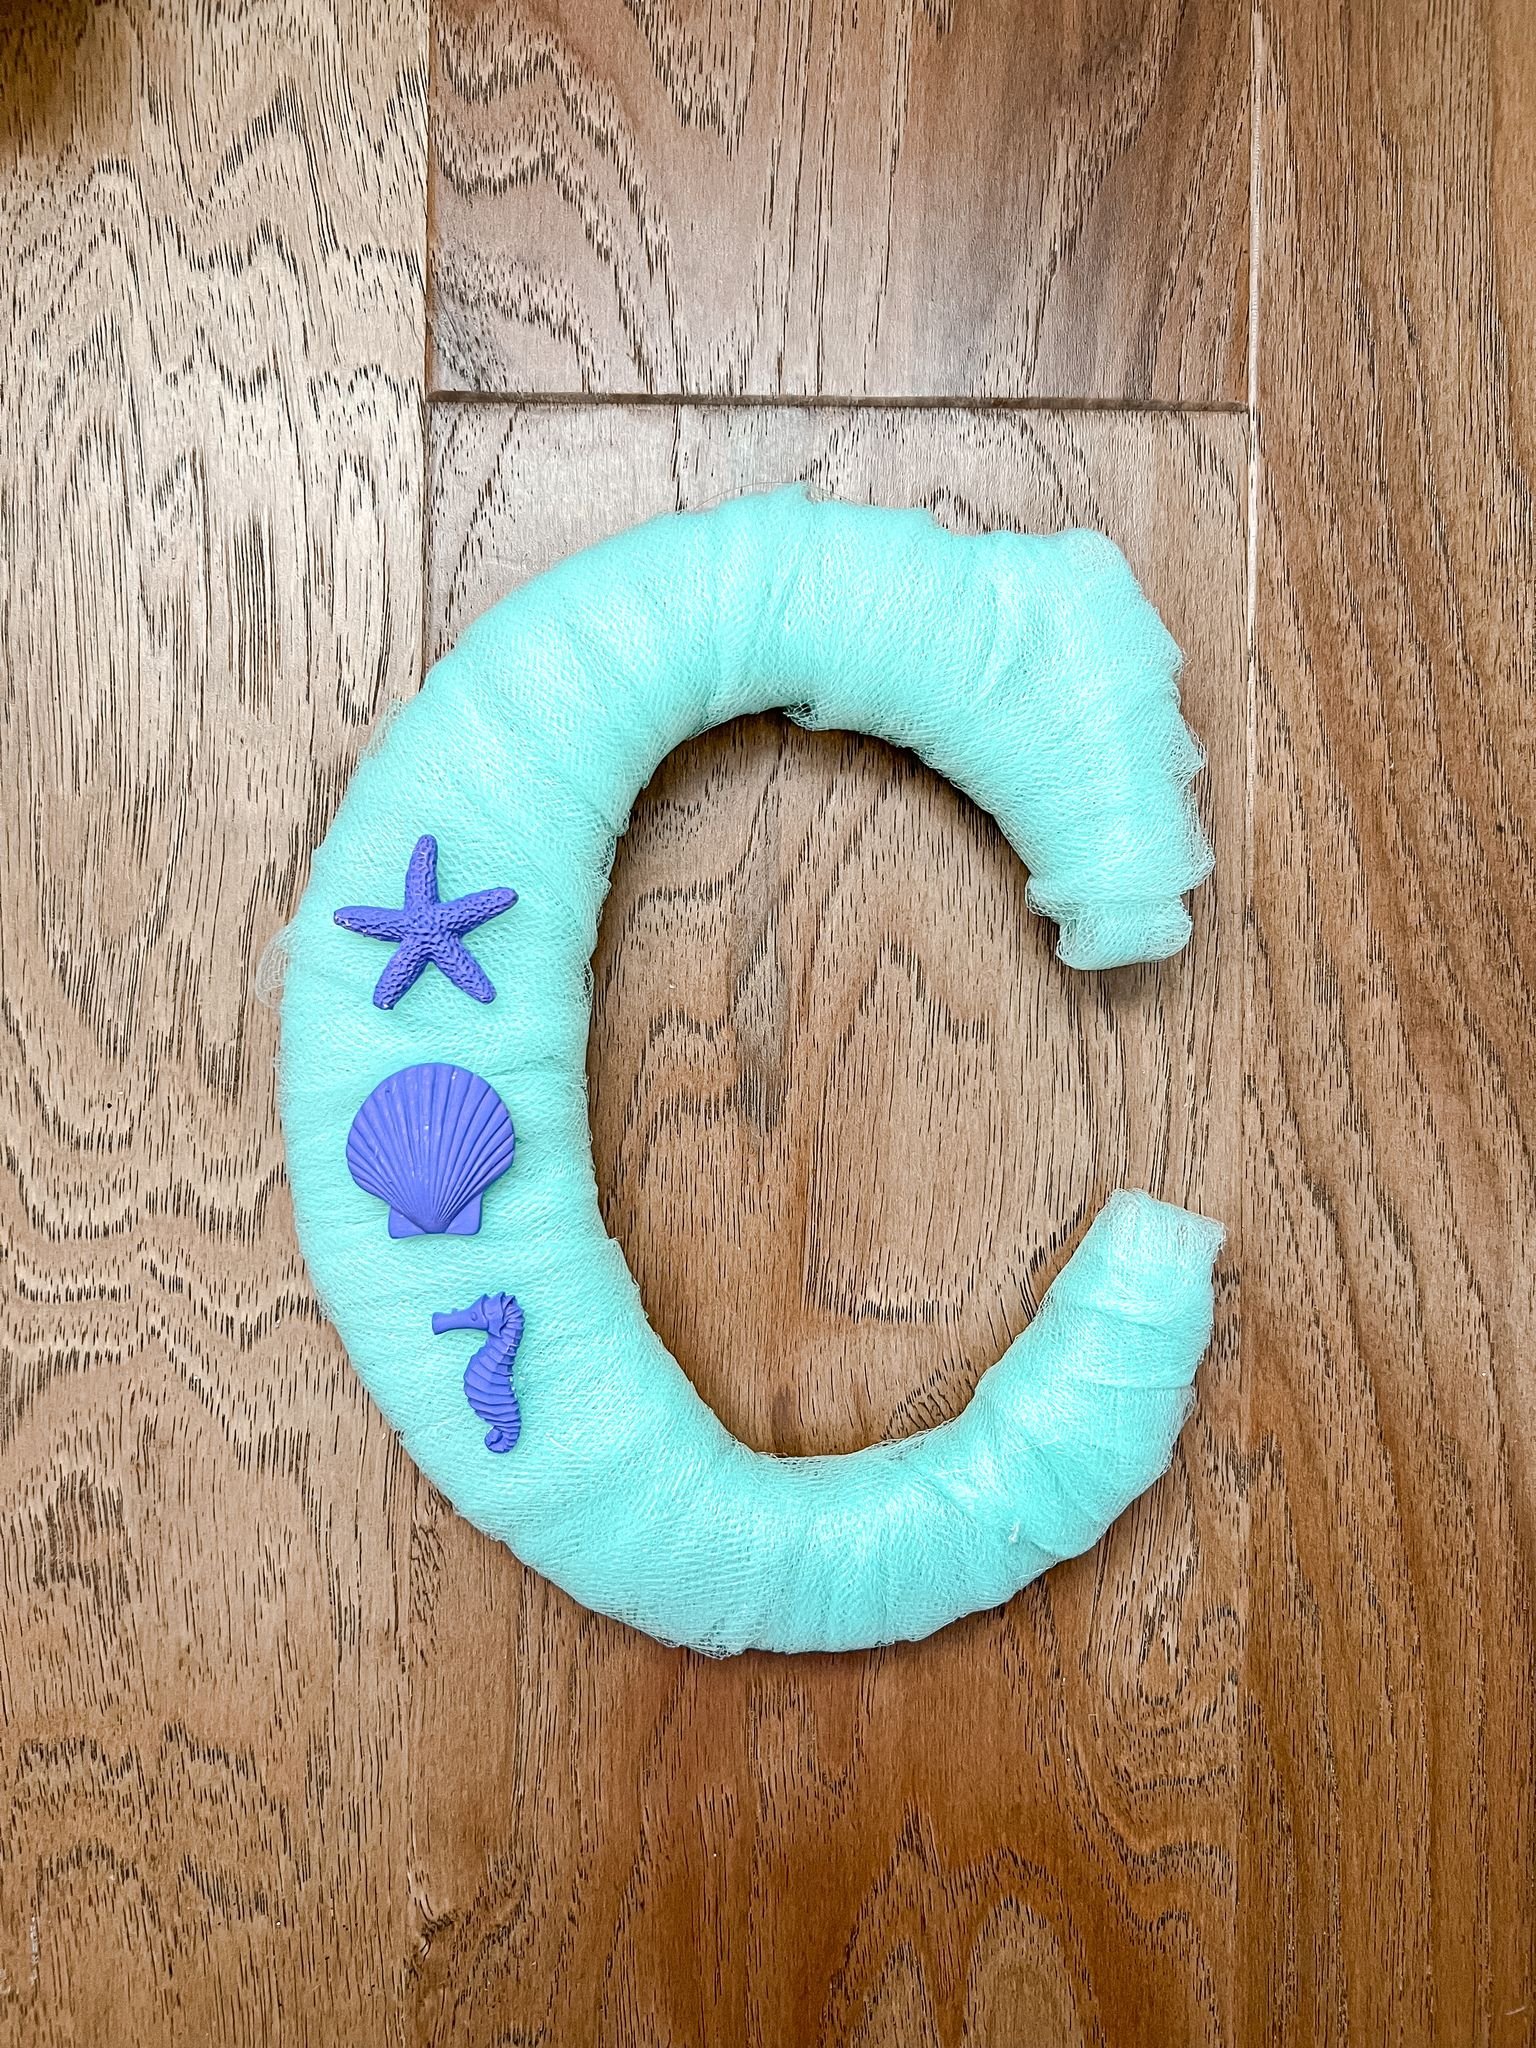

I added a small red rose with some hot glue for Belle. For Ariel, I got little sea creatures I painted purple and attached to the "C". For Rapunzel's letter, I braided some yellow yarn to make a really long braid. I hot glued some flowers wrapped around the "K" and hot glued the ends so that the yarn didn't fall off. Using my Cricut, I cut out some shapes on glitter paper. One of them was a high heeled shoe for the Cinderella "A" that I, again, just secured with hot glue. I also cut out a tiara on gold glitter paper and secured that to the "I " for Aurora. Lastly, I cut out three different snowflakes and glued those onto the "E" Elsa. This also could've been fun to add darker blue tulle on the bottom, but I personally wanted all these letters to be one solid color.

When I first made them, I hung them over her bookshelf where the Minnie Mouse letters originally were. However, when I redid her shelves, I had to move them. Finally, a year and a half later, put them over her closet door because she wanted them hung again. I used a level to make sure there was the same amount of space between the top of the door frame and then secured them to the wall with nails. I would recommend nails over command strips because command strips are not going hold up well against the tulle ribbon. I love how these letters turned out. I really like that they have more of a subtle princess vibe instead of being in your face princess. These could be a fun project to do with your own princess loving little one so stay tuned for more princess letters in the future!

DIY Princess Letters | Shop