
DIY King Bed Frame
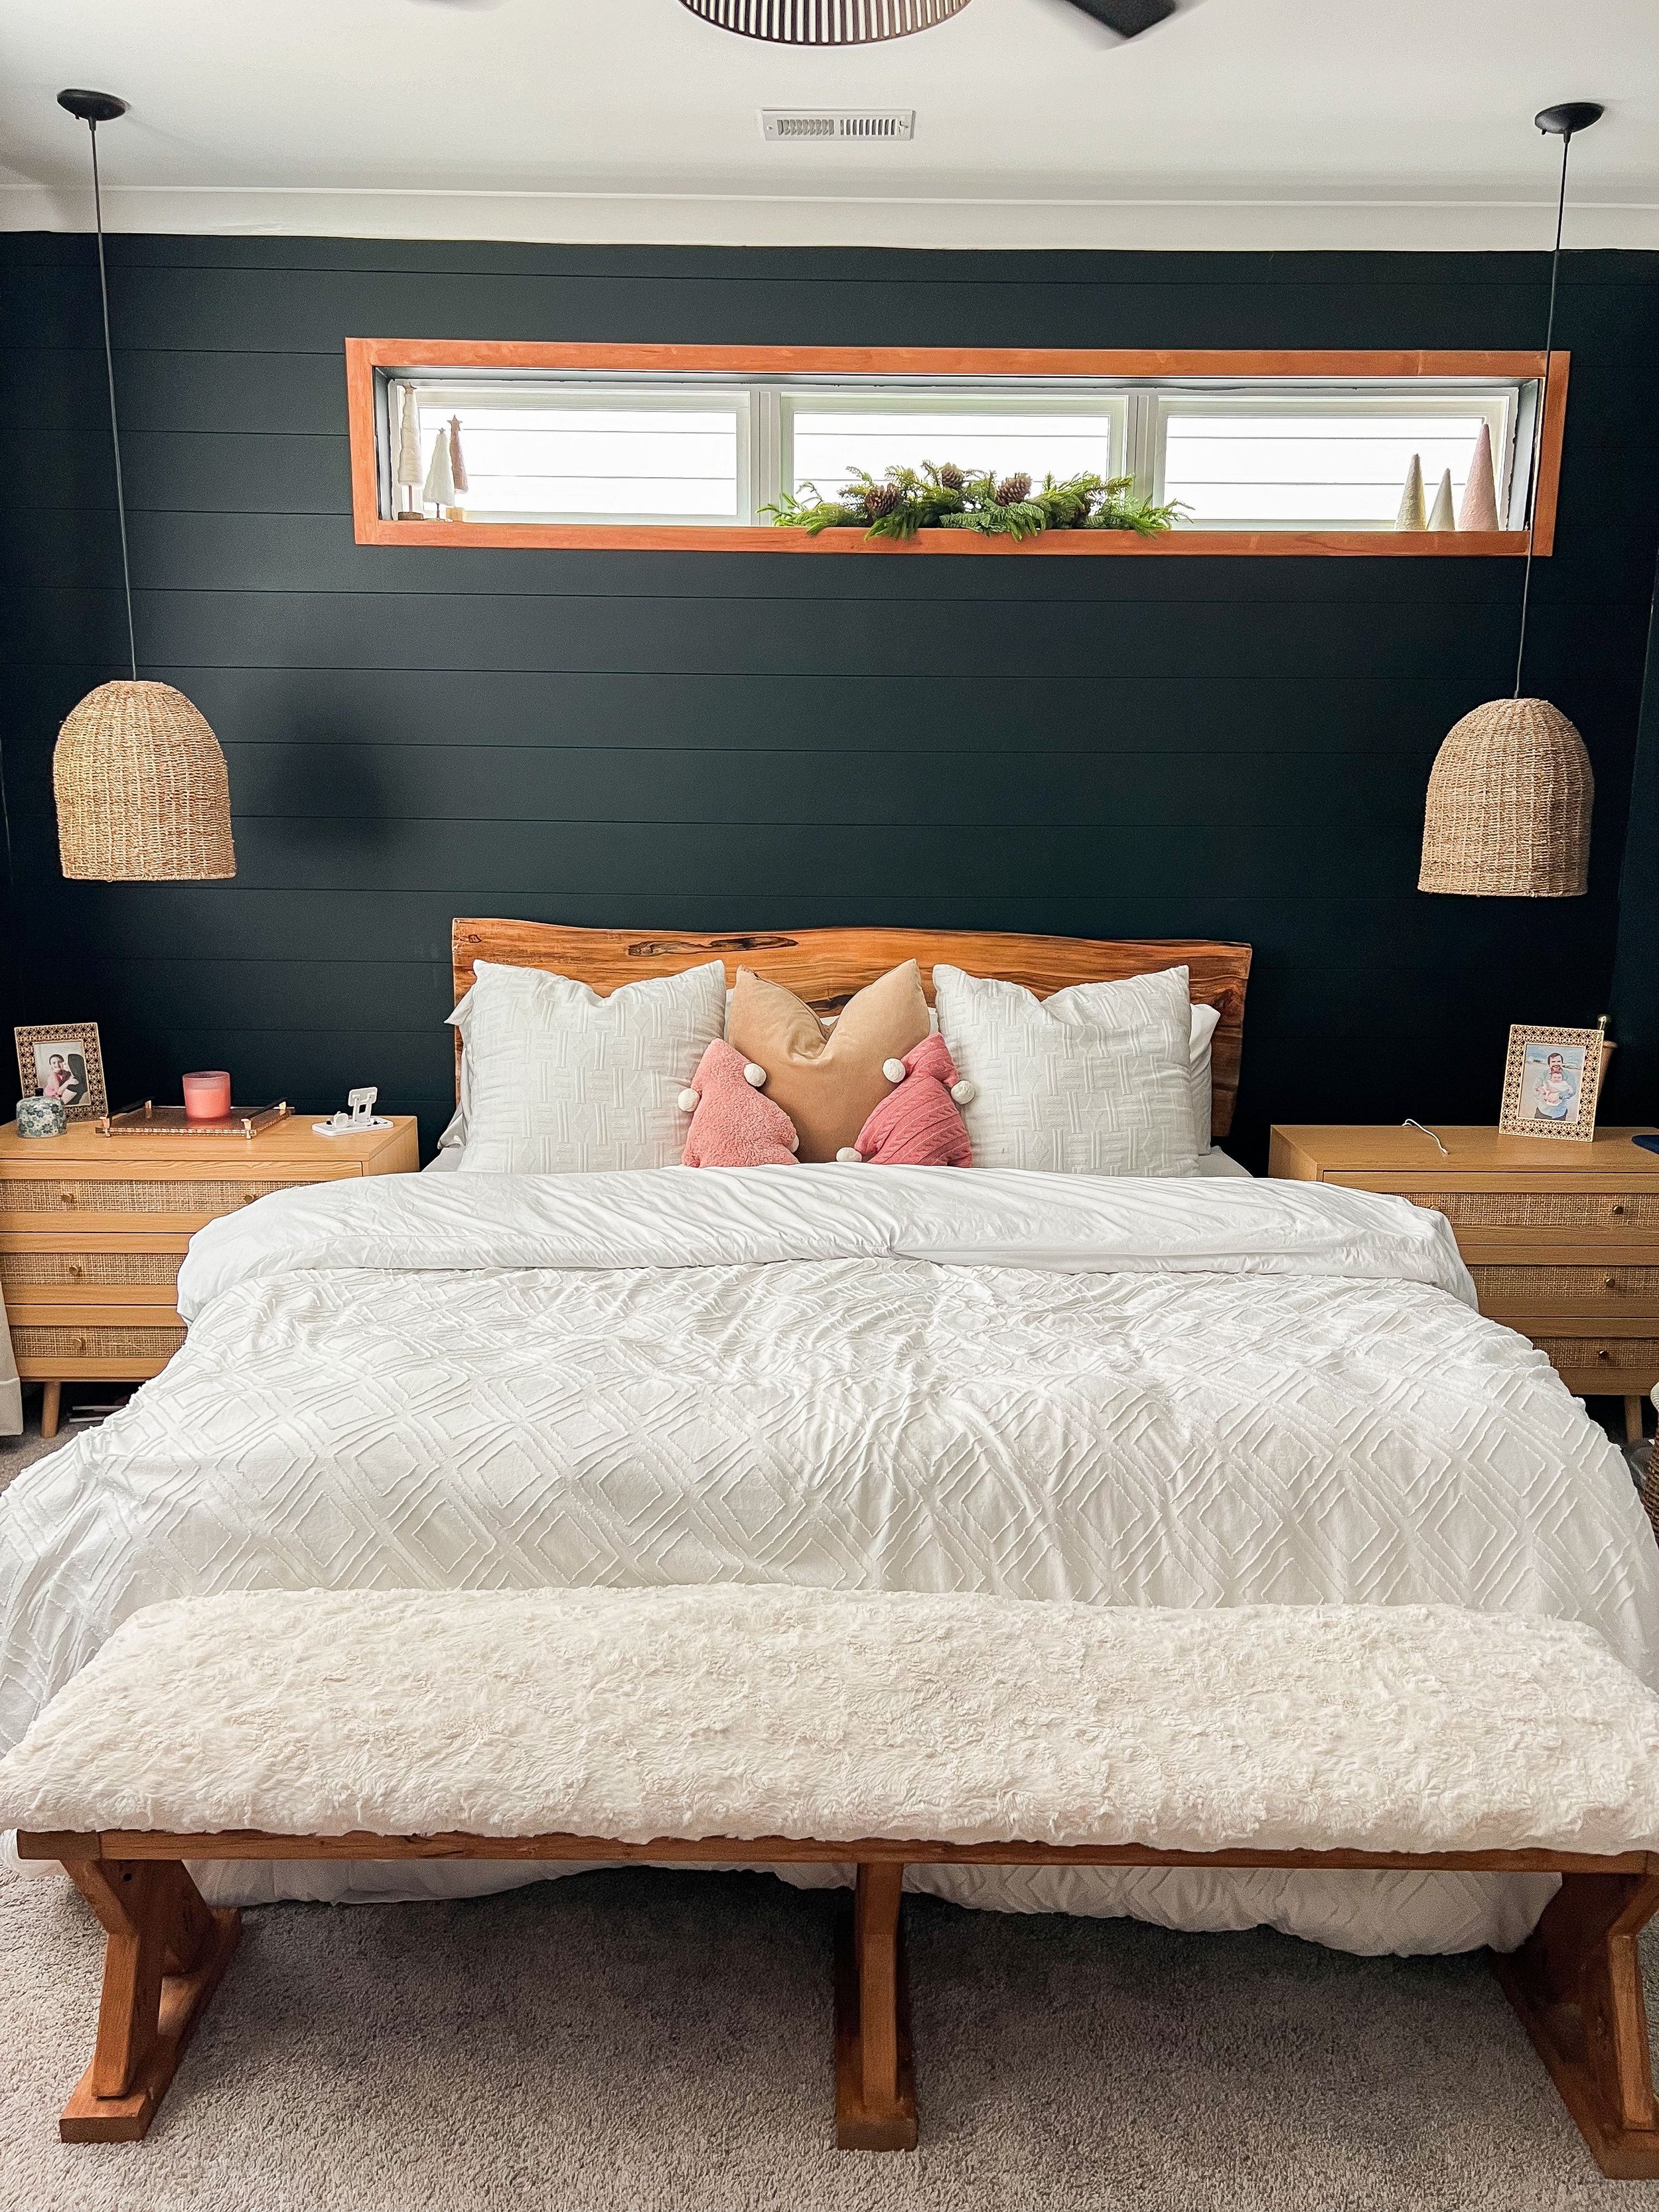
When we moved into our house in 2020, we upgraded from a queen to a king sized bed. At the time, I bought the cheapest bed frame I could find that I was moderately okay with and, honestly, it has not held up well. So, I went to a local lumber yard, found a gorgeous piece of wormy maple and decided to build a headboard I actually loved.

DIY King Bed Frame | Prep Work
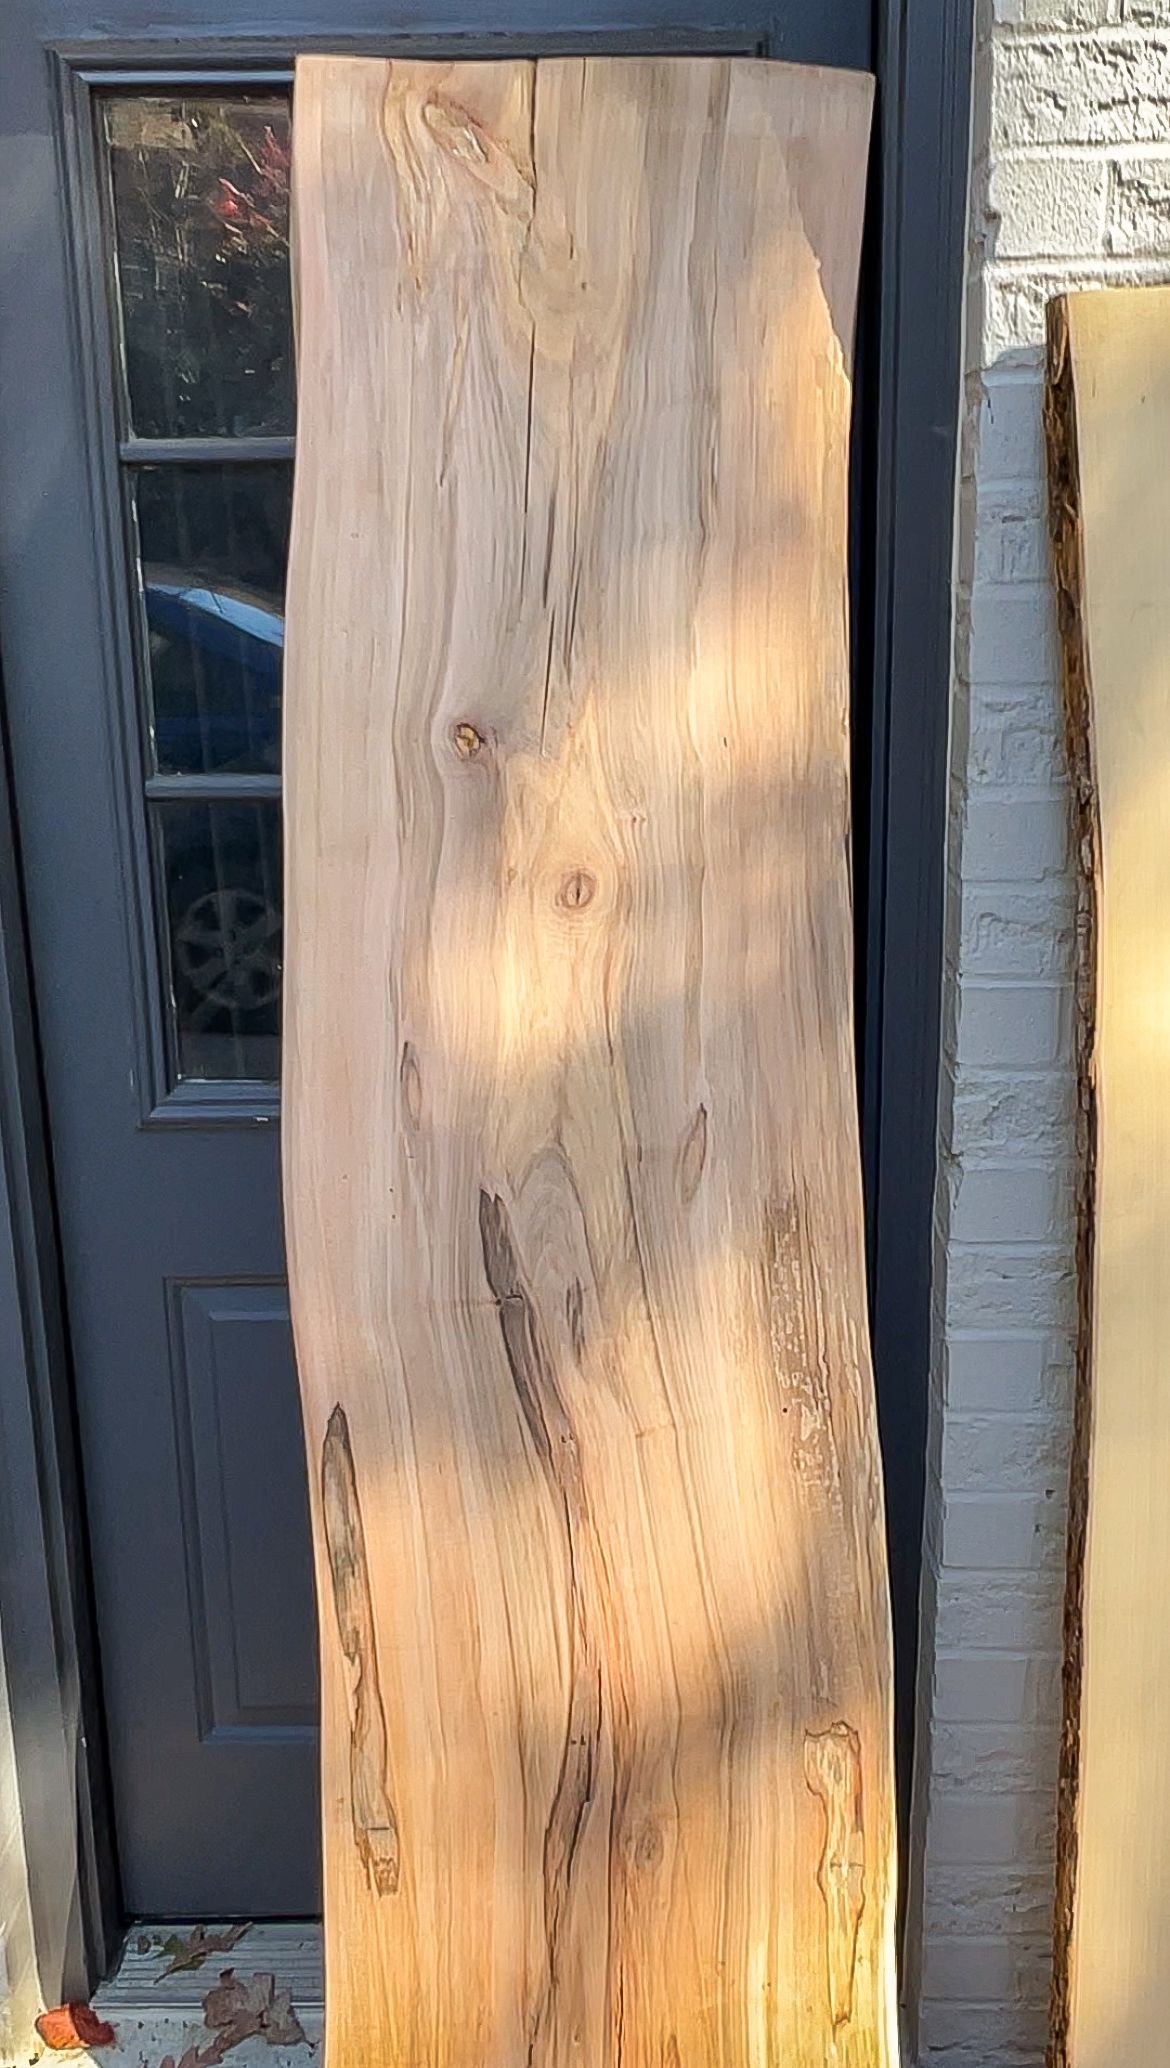
In case you don't know, live edge wood means that there is still bark on the edges. It's gorgeous and the final product gives you really pretty lines and curves. However, that means there's a lot of work to get it to a place where it's ready to be used. I also got live edge pieces of cottonwood that I'll use for the actual bed frame.

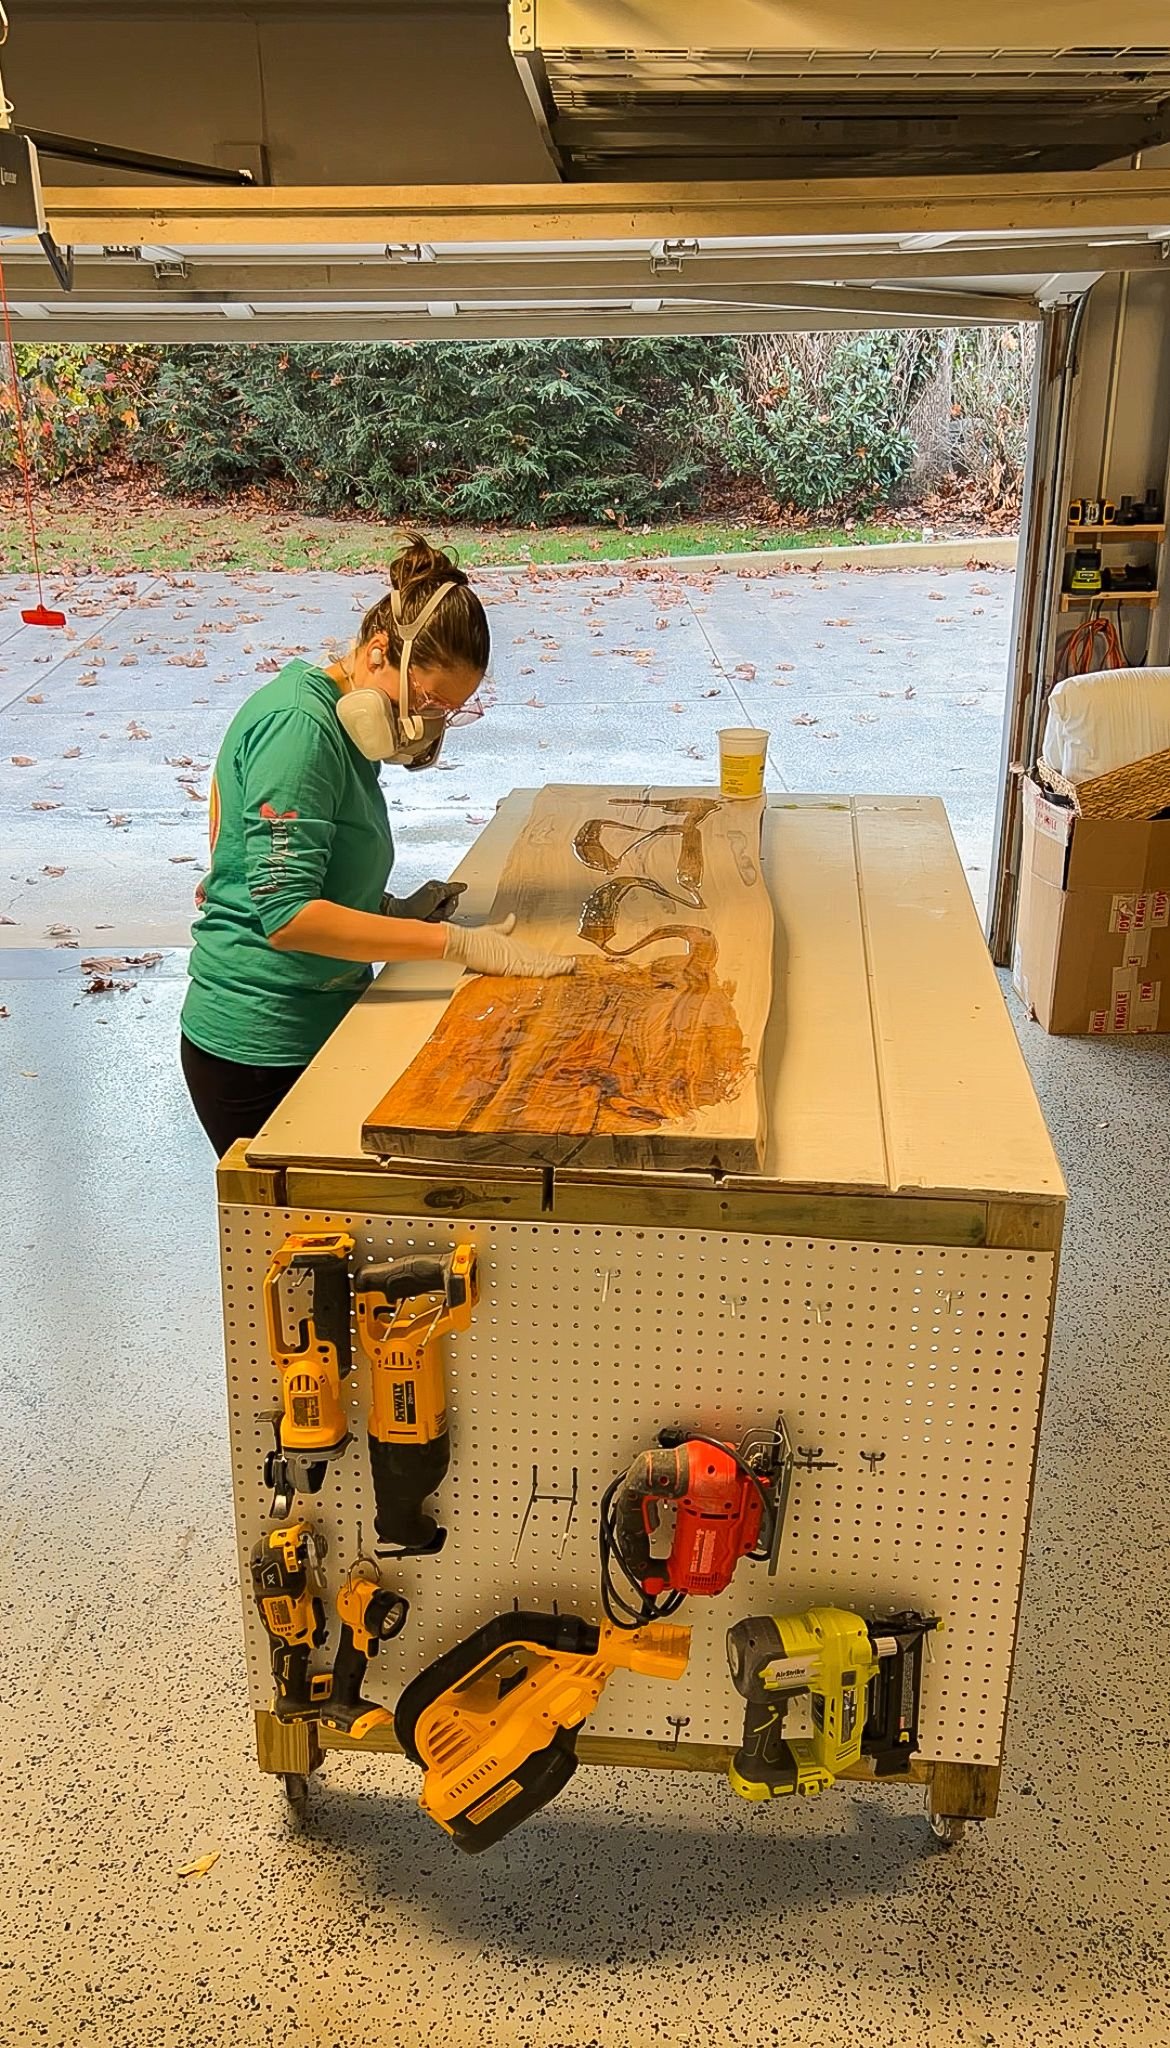
First, I removed all of the bark on the edges of the headboard piece and sanded all of the wood down so it was nice and smooth ready to be worked with. As I worked on it, I seriously could not get over how pretty this headboard piece was going to be!

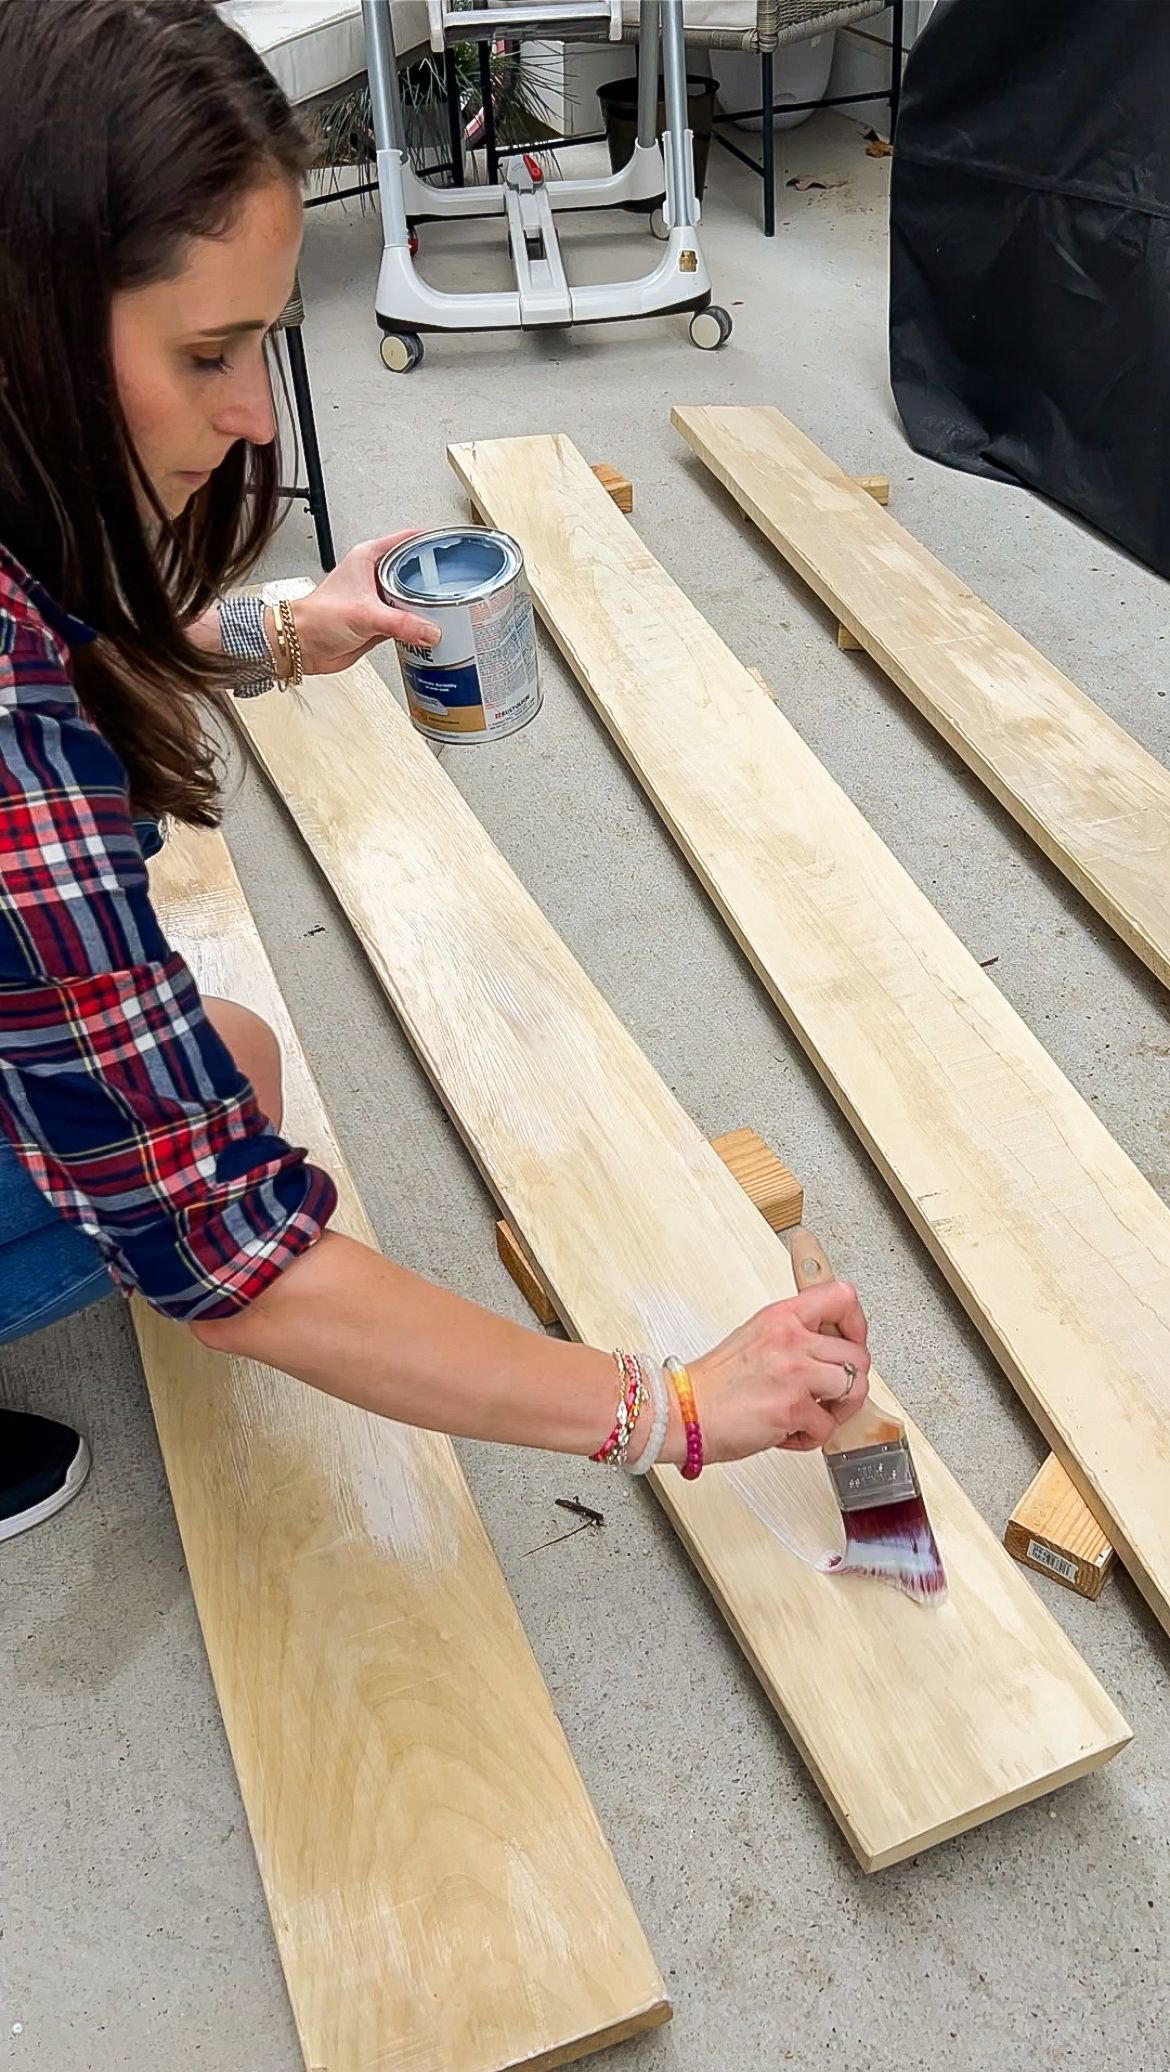
Then I started working on the bed frame prep. I had already cut the pieces before I sanded them so I was able to go straight into using my favorite top coat to add two coats on each side. The top coat did darken the pieces just a little bit which is common with any clear top coat you use on any piece of wood. Once both sets of top coats were on, I left them to cure for 48 hours.
DIY King Bed Frame | Epoxy
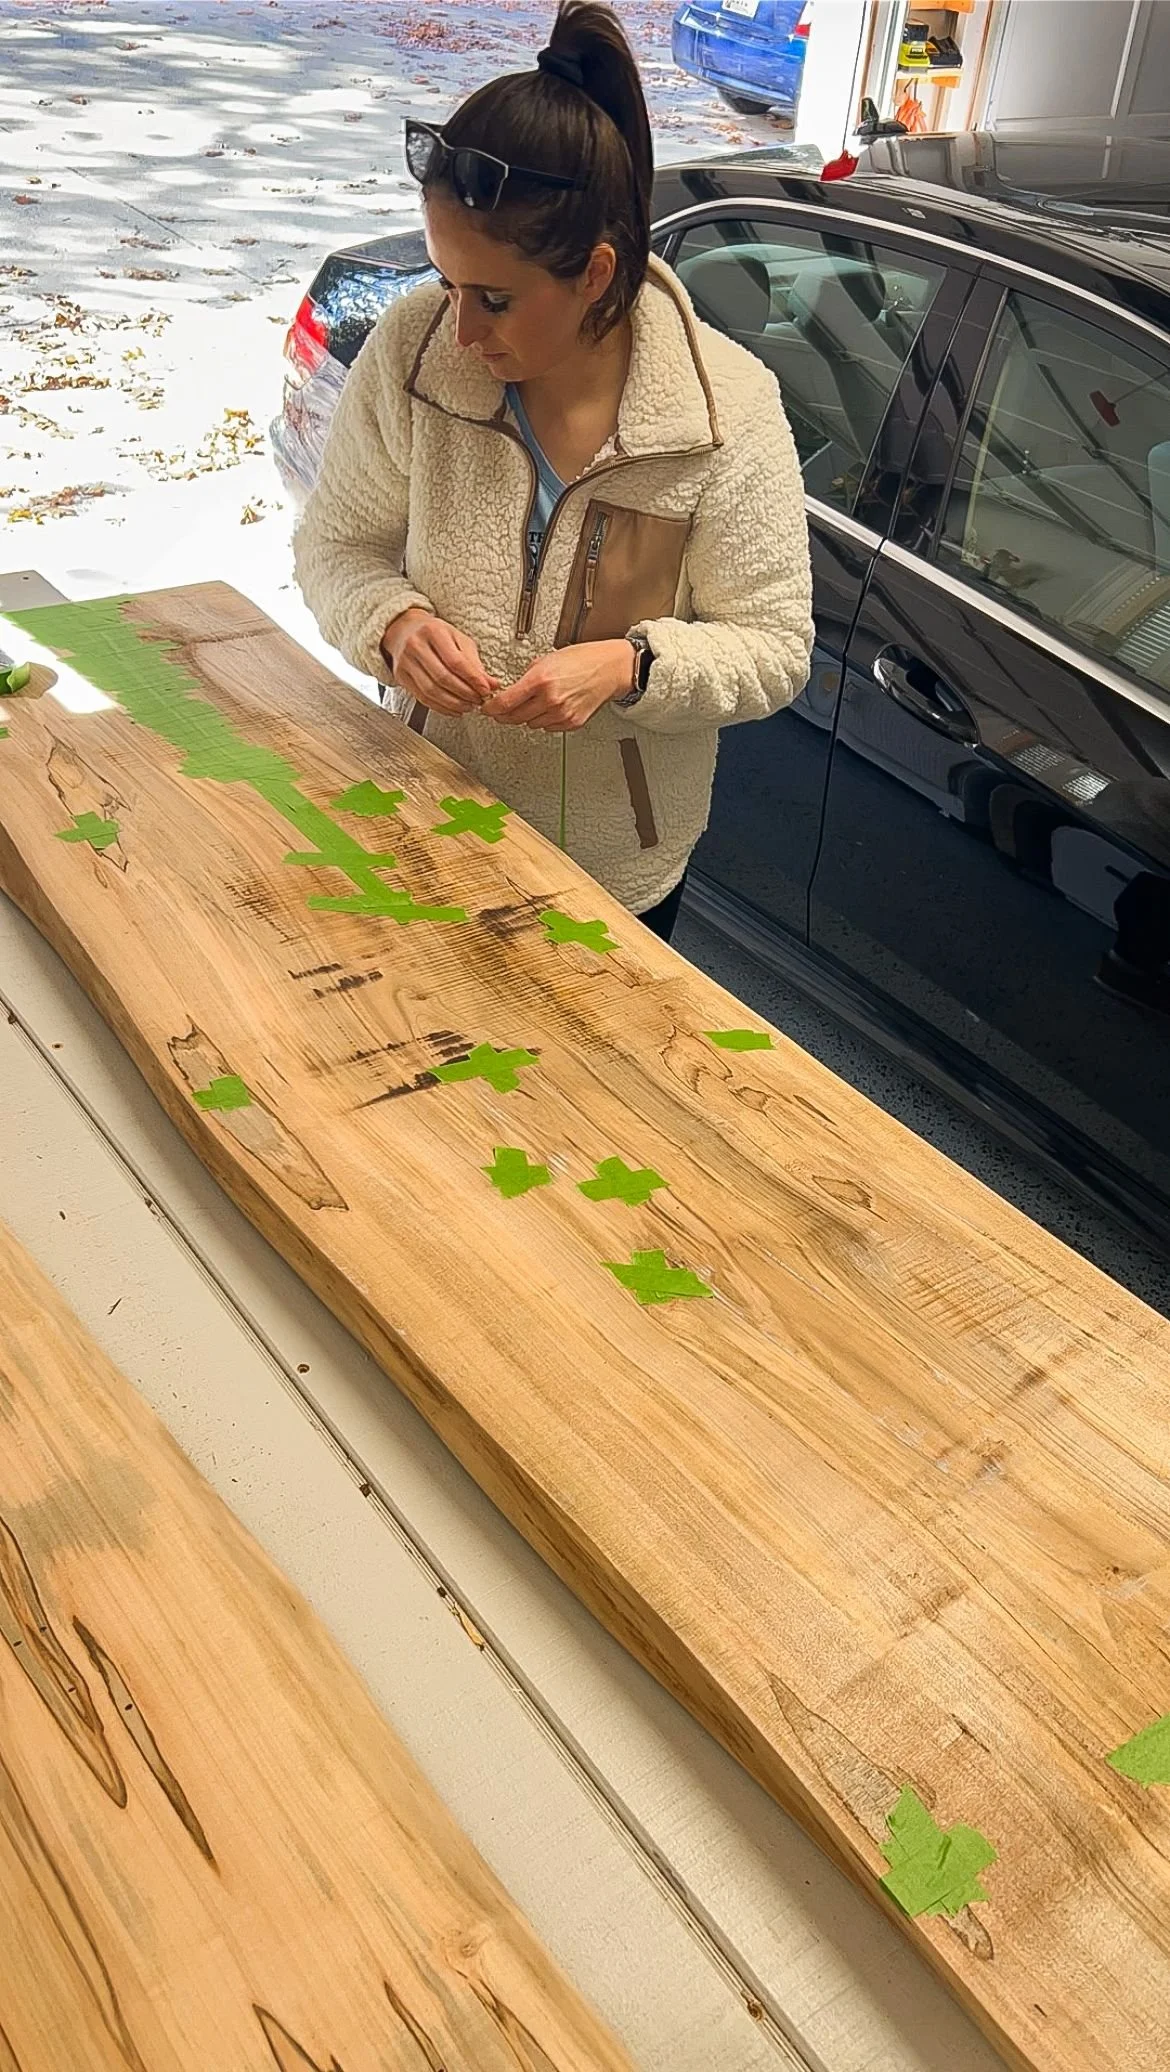
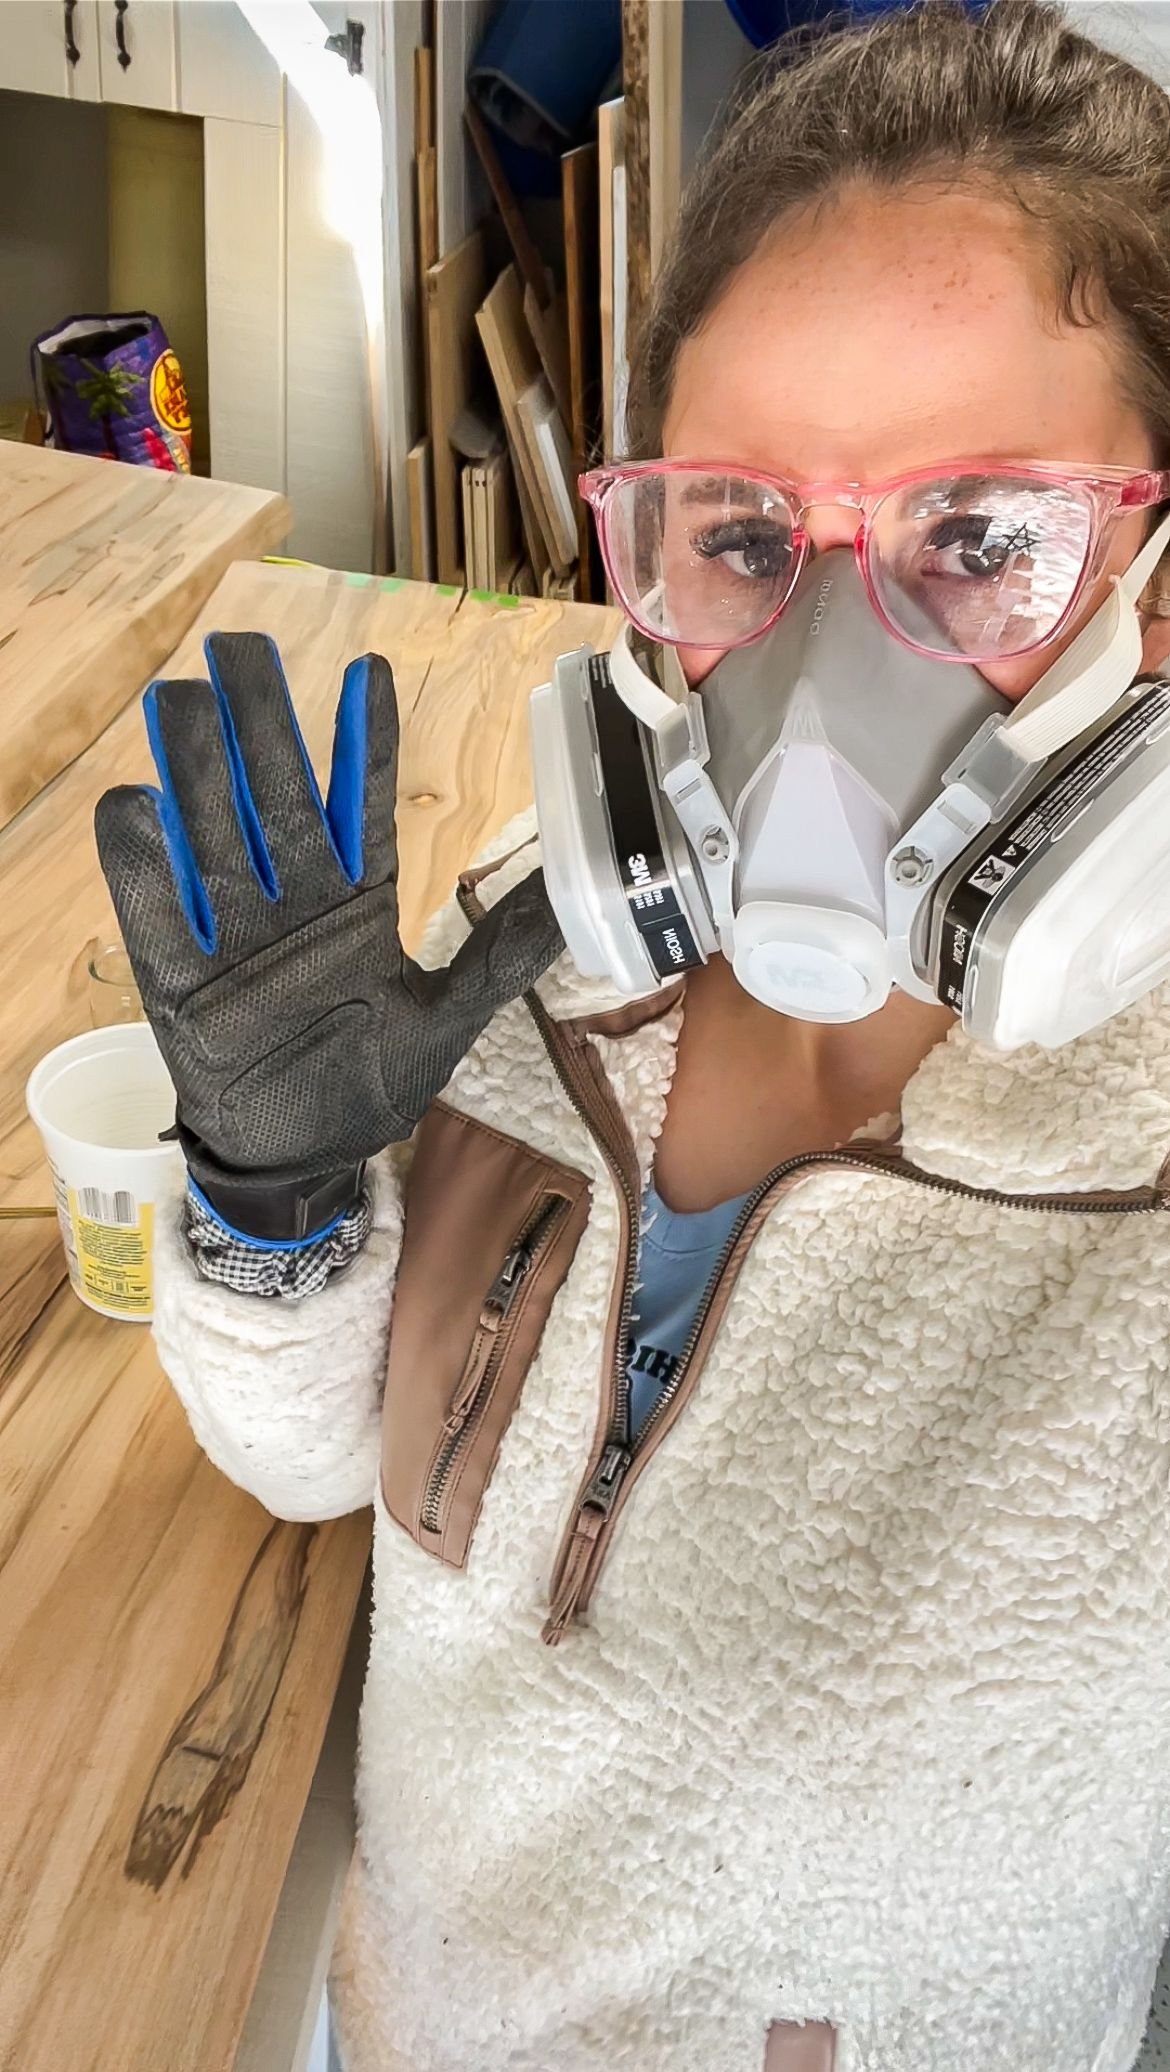
I had never used epoxy on a big furniture piece before so this step was super exciting while also being super intimidating. The piece had quite a few cracks and some holes in it because it is wormy maple. I needed to use an epoxy resin to seal it all and make it one gorgeous piece with no gaps or edges. In order to prep, I needed to flip it over and use painter's tape to tape off anywhere epoxy might seep through. I taped off the cracks on the edges and the sides the epoxy wouldn't leak out and I would keep the desired shape. Once it was all prepped, I put on my personal protection equipment (goggles gloves, and a respirator) because epoxy can be nasty.
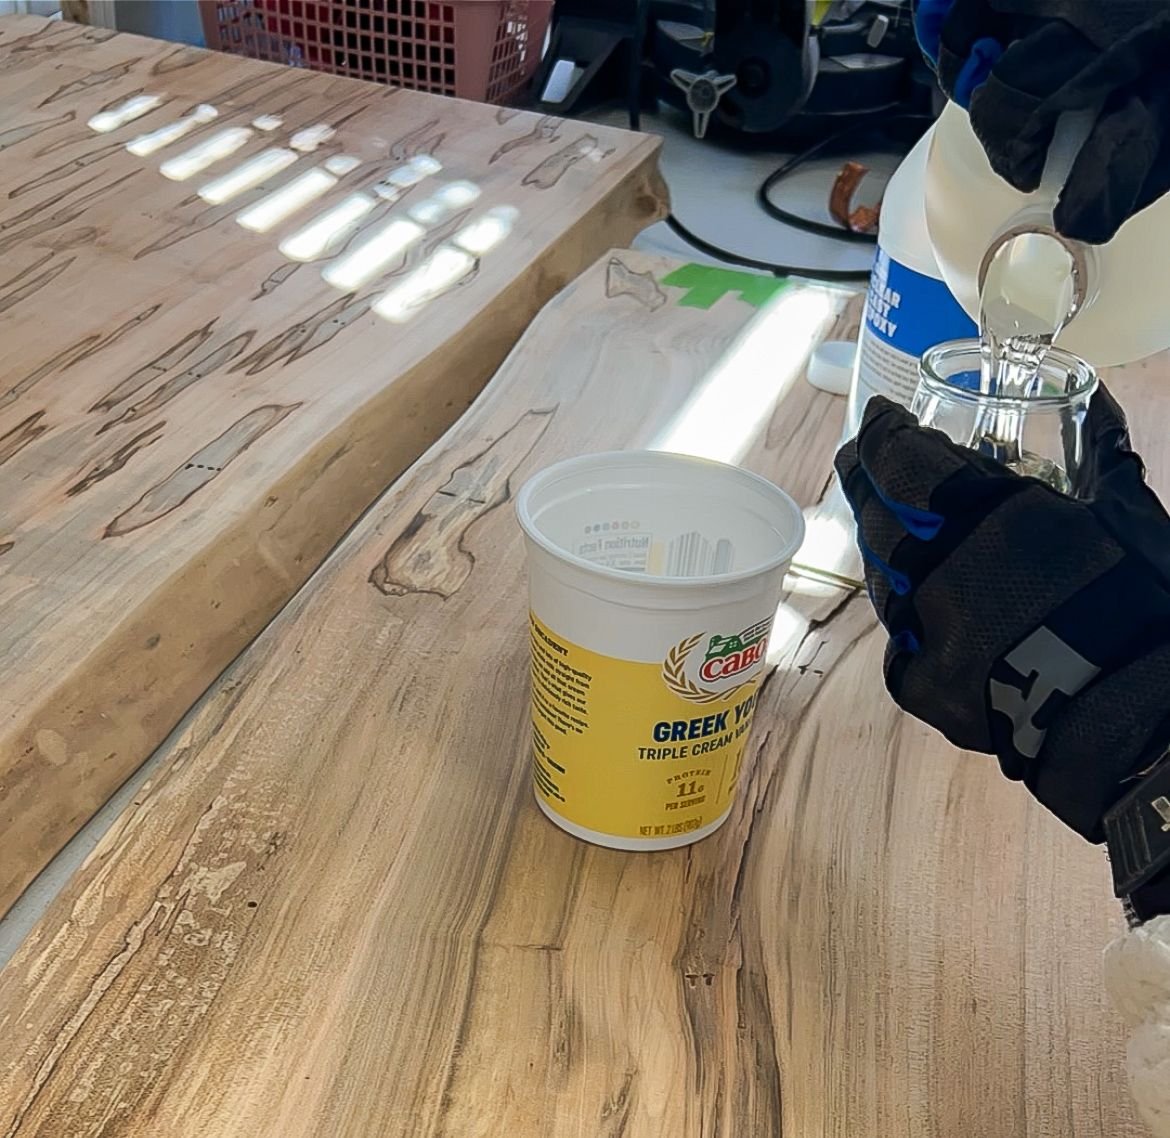
I then started mixing the epoxy. The epoxy I used was equal parts of each container, and then you mix it for three to five minutes. The instructions even cautioned that once you think you've mixed enough, you haven't, so mix for longer, so I made time to err on the side of more time. When it was done, you could see that the epoxy was completely clear, as opposed to the cloudy it was when I started mixing.
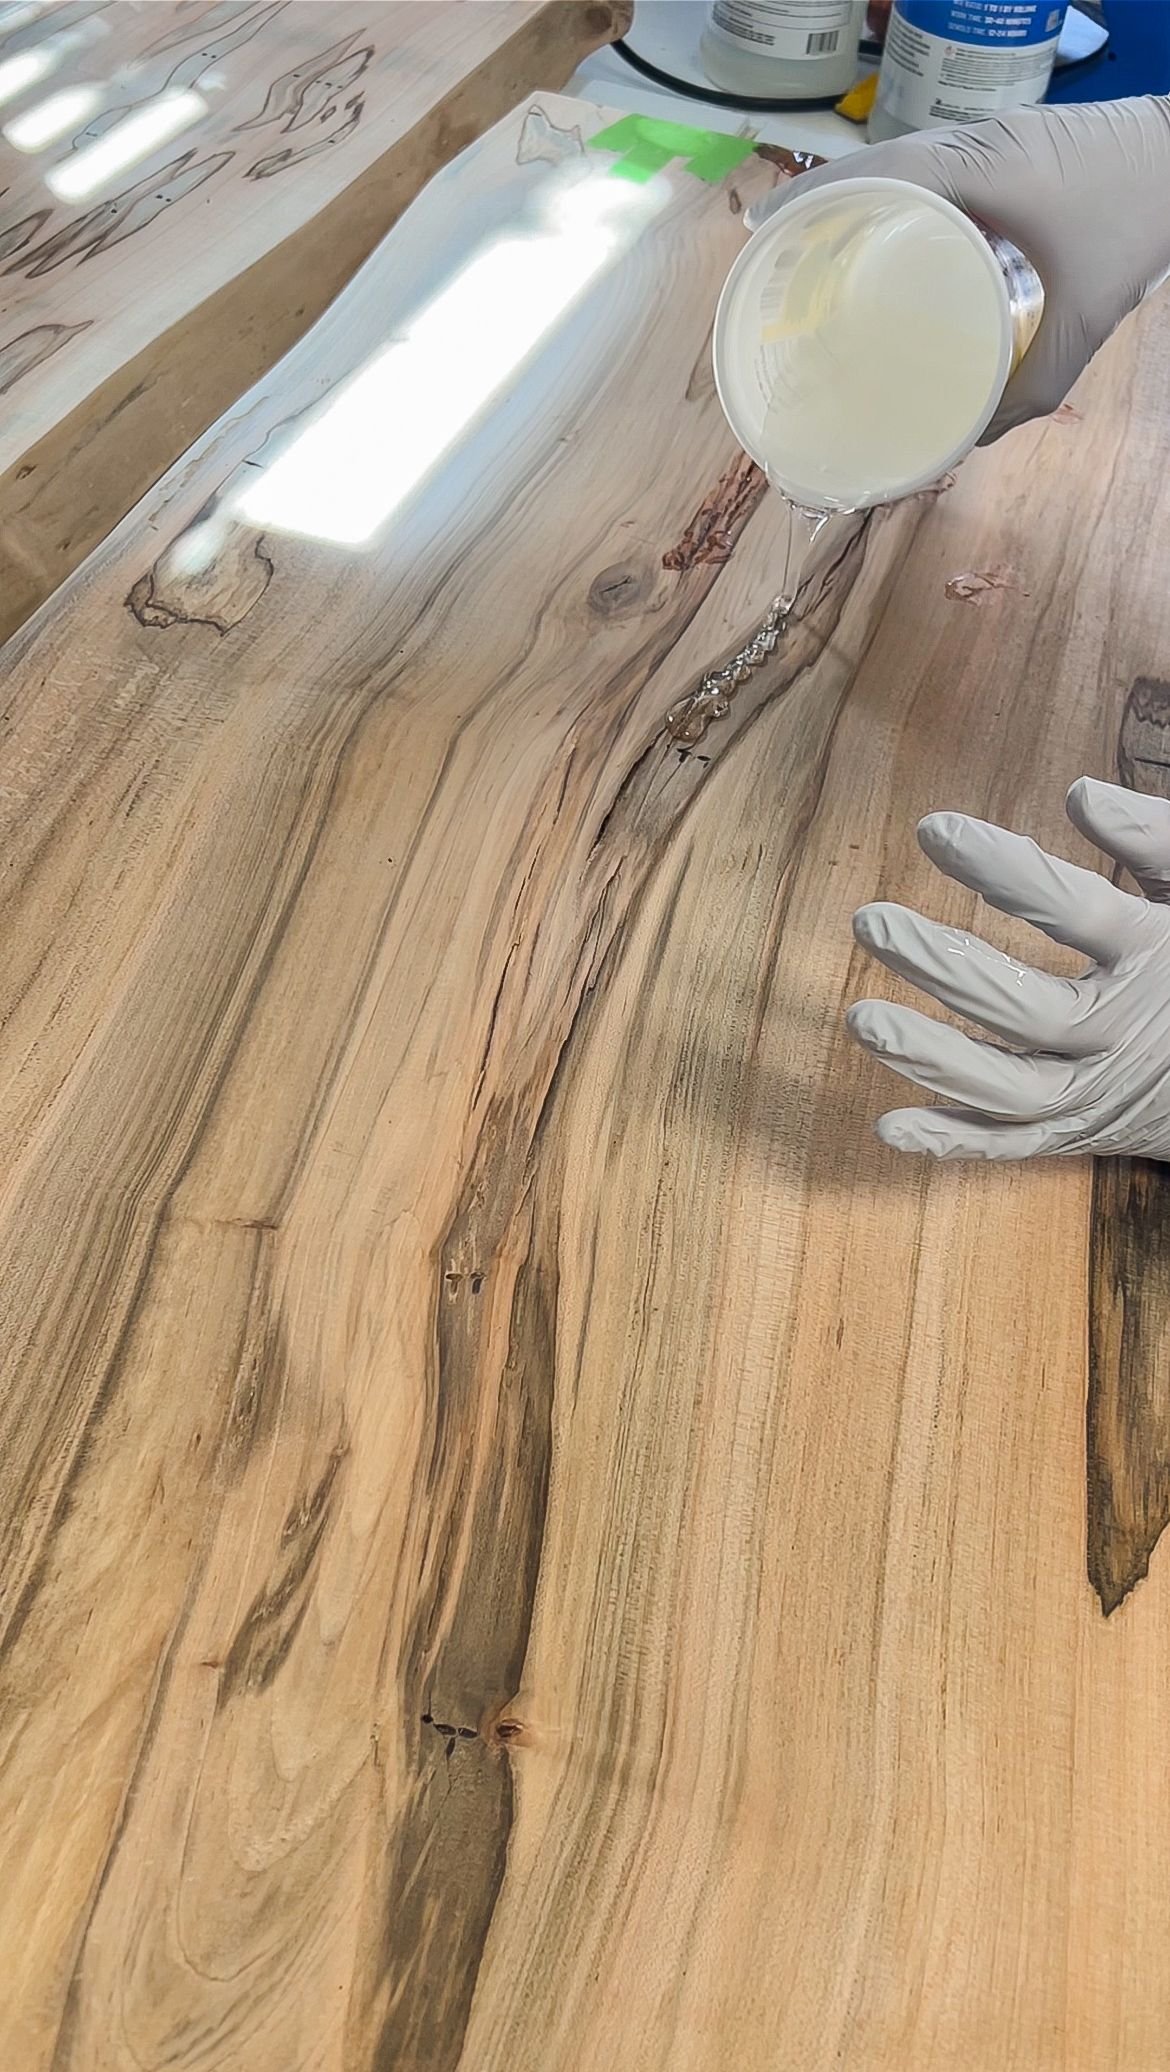
I learned a lot during the very first pour. I'd never worked with epoxy before, so this was a really interesting experience for me. I knew that I was going to have to do several pours, especially in the bigger cracks, because you have to let epoxy cure in small batches. Then I would do another pour on top of it otherwise, it will never cure. With that in mind, I actually tried to really spread the epoxy out on the first pour, which I should not have done. I should have just poured it and let it sit and seep into the wood. I learned that for the next pour, which was good. I'm glad epoxy is forgiving enough that I could build on my mistakes and fix them on the next go around. I also took a long time on the first pour to make sure that I was getting all of the details and every single divot and spot and hole that needed to be filled.
When the first poor was done it was a little messy looking but I knew I would be able to sand it down so I wasn't very worried. I let it cure for 24 hours and when I came back the cracks weren't completely filled. I knew I had to come back to a second pour 24 hours after that when the epoxy had cured enough that I could do another pour. I made sure to be a lot more heavy handed with this second pour and didn't make the mistake of trying to spread it out like I did with the first one.

I came back after 24 hours and realized I would need a third pour because some of those cracks still weren't completely filled. After another 24 hours of curing, I started the third pour, intentionally overfilling because I knew I was going to sand it down the next day. After yet another 24 hours of curing, I came back to sand all of the epoxy down I had done to patch up these holes. Then I poured final coat of epoxy across the entire piece of wood and on the sides and the edges to make it look beautiful and shiny and very cohesive. That needed to cure for another 24 hours. The waiting/curing time was definitely the hardest part of this project!

Bed Frame | DIY King Bed Frame
While everything cured I went back and removed my original bed frame. When I did, I was able to see that the frame was in even worse shape than I thought. Previously, I had to replace all of the wood slats that held the bed together and with just a metal frame supporting our mattress, which was the base that the new bed frame would be built around. When I took the bed frame apart, I kept all of the hardware because I was going to use it to assemble the new bed frame, since it was still in great shape. Normally I would repurpose or donate the rest of the bed, in this case, unfortunately, it was unsalvageable. So I took it to the dump and started to assemble the bed frame.
I took the four pieces of live edge cottonwood from earlier and, using the hardware from the old bed frame, secured them together. I used longer screws that I had in my stash instead of using the screws from the original hardware because I didn't feel like they were long enough and I wanted something that was going to be more secure and more sturdy.

I attached legs that I had as an option for a previous project and they worked perfectly here. I love how they look, and how cohesively they go with the rest of the room. Once that was done, it was time to start building the frame for the headboard because it needs to be held up by something that then attaches to the rest of the bed frame.
DIY King Bed Frame | Attaching the Headboard
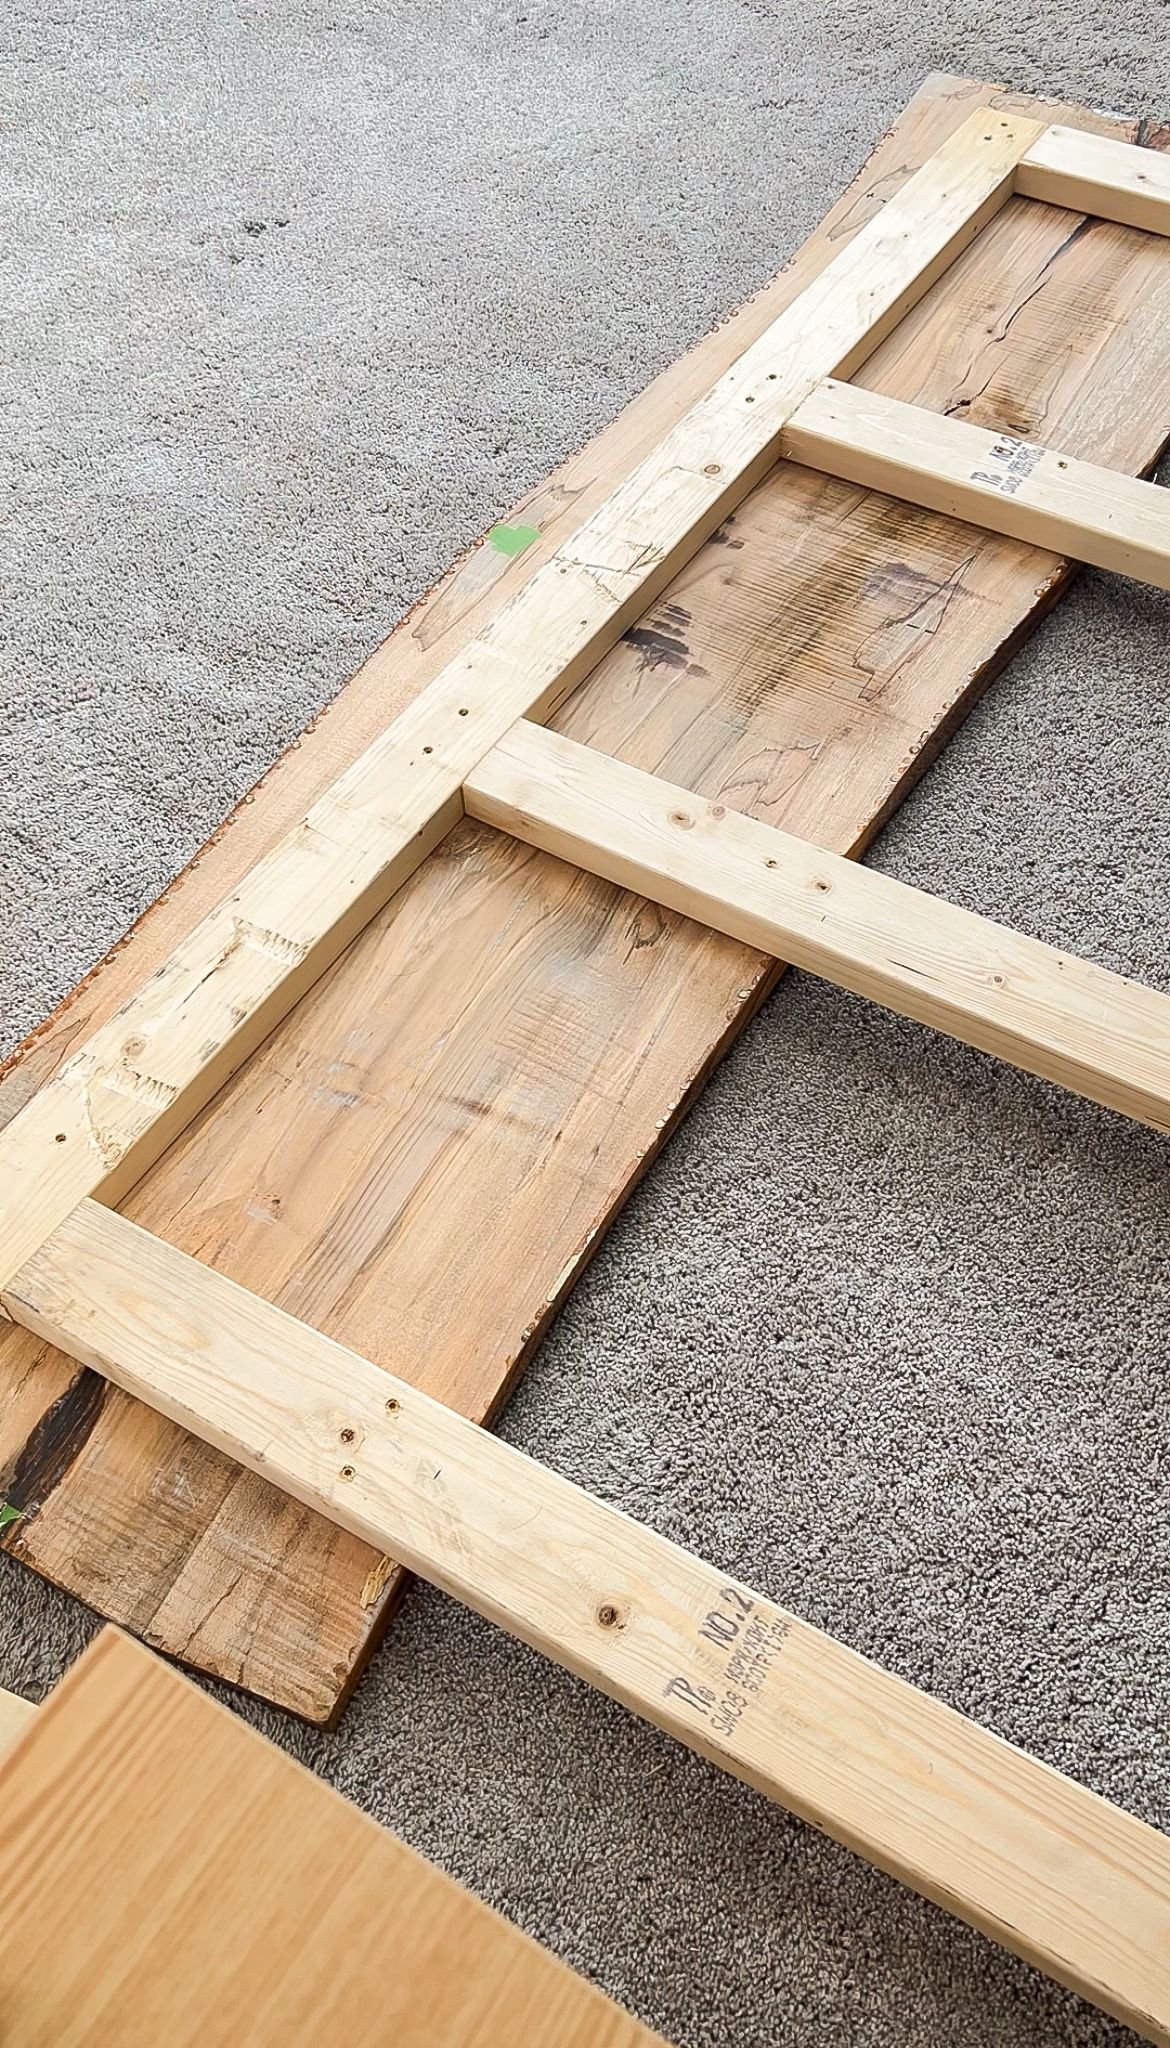
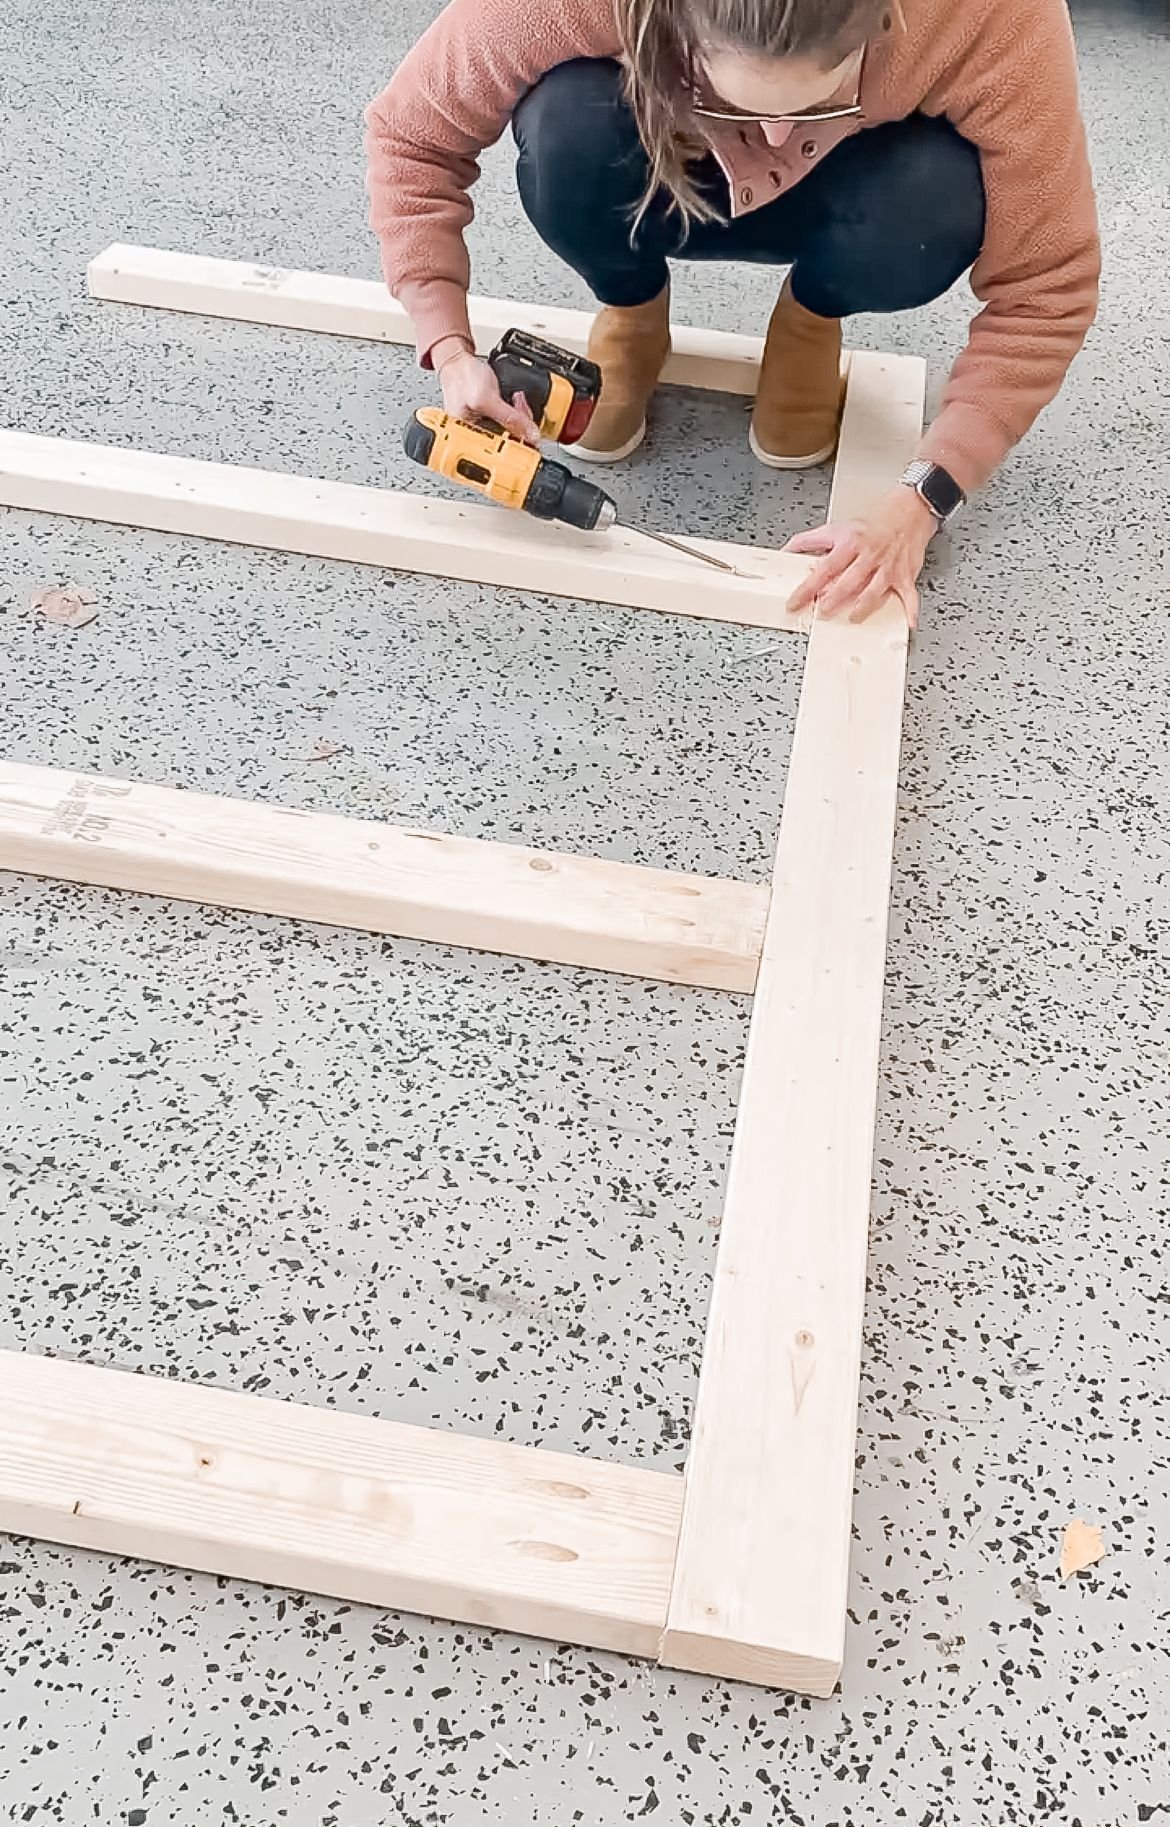
I'm not sure if you can tell or not, but the headboard is a very large piece of wood. It's really heavy and so I needed something that was going to be secure and stable that would keep it up. So, I got some 2x4s and created a frame. I took the 2x4 that was going to go the length of the headboard and then secured four more 2x4s going down vertically from the horizontal piece creating a sideways E.

This gave me something for the headboard to be screwed onto and then it gave it plenty of support for it to stand up on its own and then easily be attached to the frame when I was ready. I did in two separate pieces so that it would could be easily taken apart and moved in the future. When I was ready, I lined it up and attached it to the frame with a copious amount of wood screws. Once the headboard was finished curing, it was time to secure the frame to it and then secure the entire headboard to the rest of the bed frame. I did that using a lot of wood screws at all of the pressure points. I am SO thrilled with how this turned out. It is a very different look from the original and I love how the wood mixed with the lighter woods warms up the space, especially with the green that I have in here. This first epoxy resin project was so fun and I am thrilled with how it turned out. I am so excited to do more in the future so stay tuned for that!

DIY King Bed Frame | Shop
