DIY Halloween Decorations
Halloween is not really a big deal in Argentina, especially compared to what it is like in the States. So I decided to make some Halloween decorations this year since it's October and my kids love Halloween. I went to Pinterest and found some craft projects I really liked and were actual viable options I could get the materials for here in Buenos Aires.
Pinterest Board with all of the inspiration for these projects plus a few more!
DIY Halloween Decorations | Clay Ghosts
Supplies:
Molding clay
Water
Rolling Pin/cardboard tube
Toothpick
Cutting board
Aluminum Foil
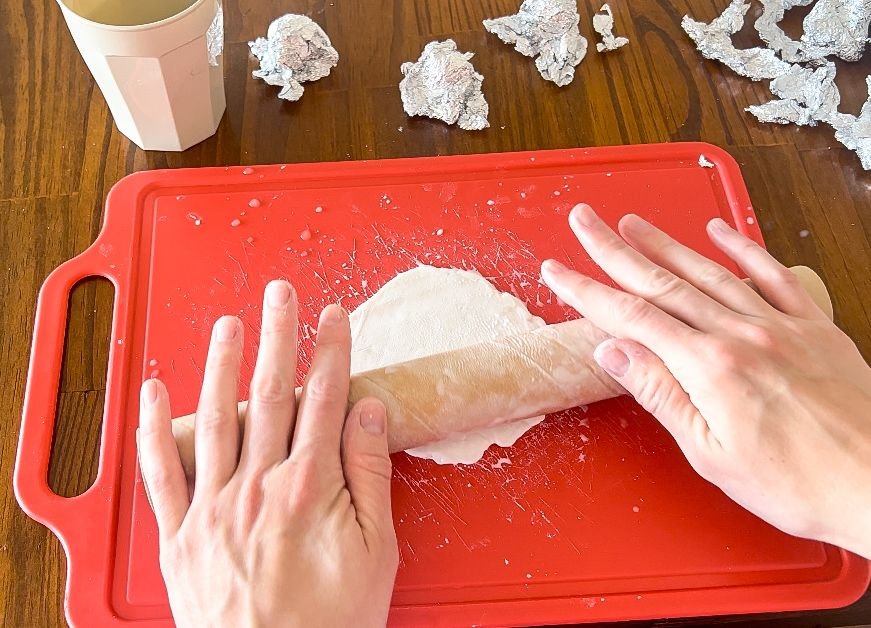
The first project I decided to do was air dry clay ghosts. I'm sure you've seen them all over the internet just like I have. Mine didn't turn out quite as pretty as some of the clay ghosts I've seen, but they are cute enough especially since I just used some air dry clay from a local hardware store. I started playing with the clay a little bit, rolled it into balls and then rolled it out. I don't actually have a rolling pin here in Argentina so I used the cardboard tube that the aluminum foil came on and it worked pretty well!
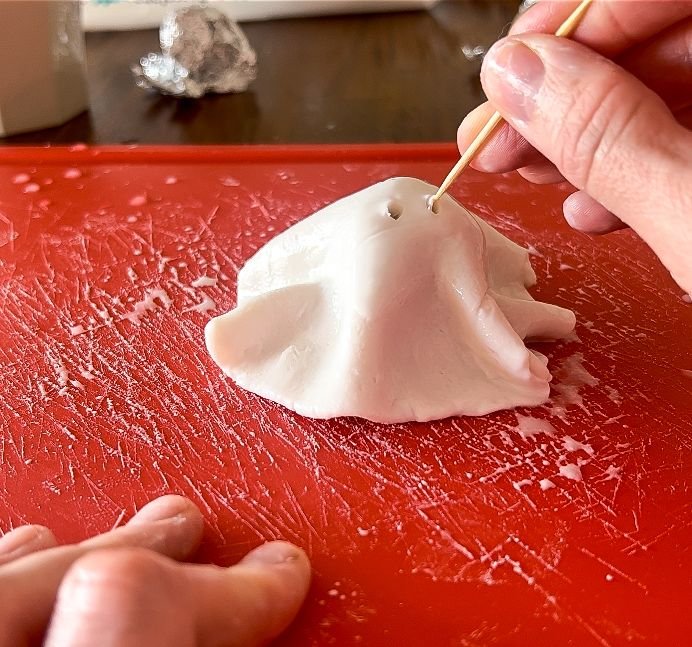
I had to use some water to help soften up the clay a little bit, and I experimented with the amount of clay I needed to get the size I was going for. Once I got the clay rolled out and the edges smooth, I draped it over the tinfoil form that I made, and pinched the sides to make the little folds in the ghost. I found that thin layers tend to crack so finding a happy medium of thin enough to drape but not too thin was key. When all of the ghosts were ready I got toothpicks and made eye holes and a mouth in each. Then I let those air dry on the forms on a piece of cardboard for 24 hours.
Once they were done drying I took out the foil molds. Having the clay piece in the molds made it easier to get the foil out. The foil kept the clay from hardening too much so it was a pliable ball that was easy to work with. If I was back in the States, I would probably put a glaze on these, but since I don't have that available I’ll keep them like this. I really love how these turned out and the kids love them.
DIY Halloween Decorations | Glowing Ghost Lights
Supplies:
LED String lights
Toilet Paper
Glue
Water
Toothpicks
Aluminum Foil
Egg carton or other item to hold toothpicks
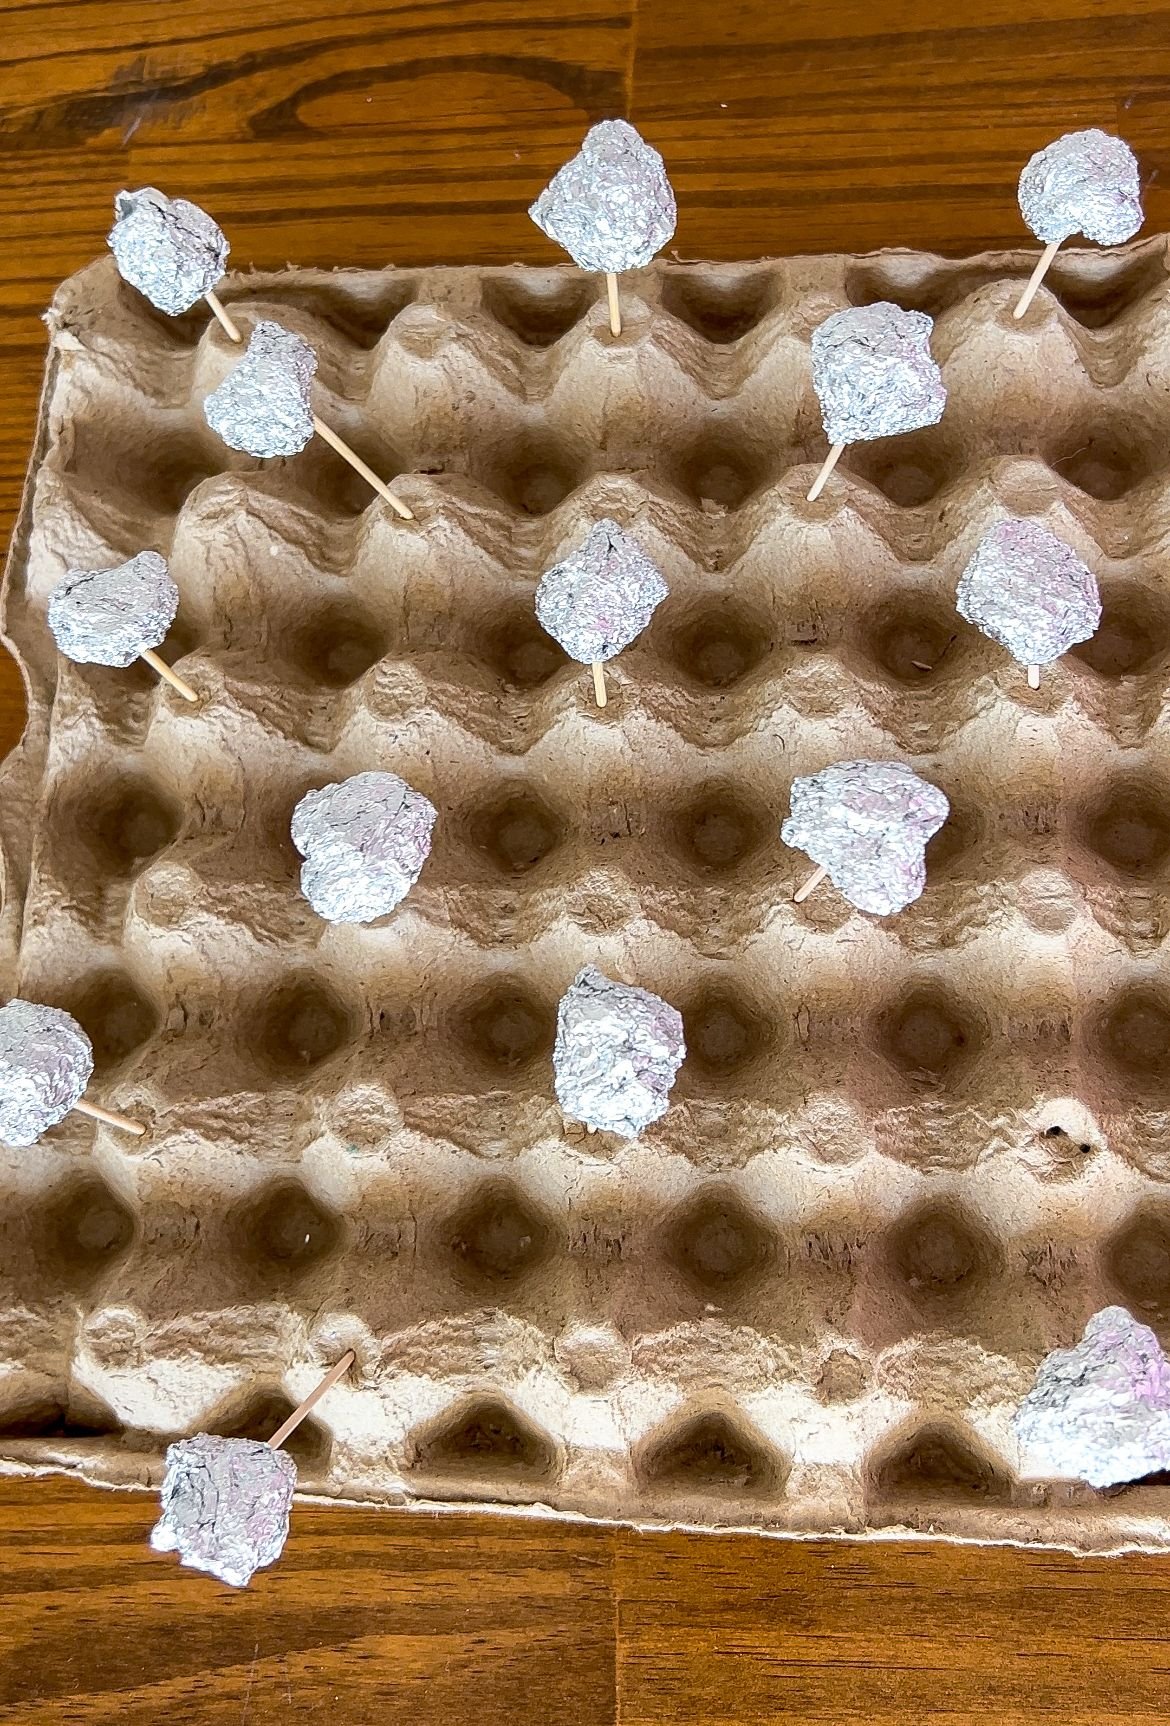
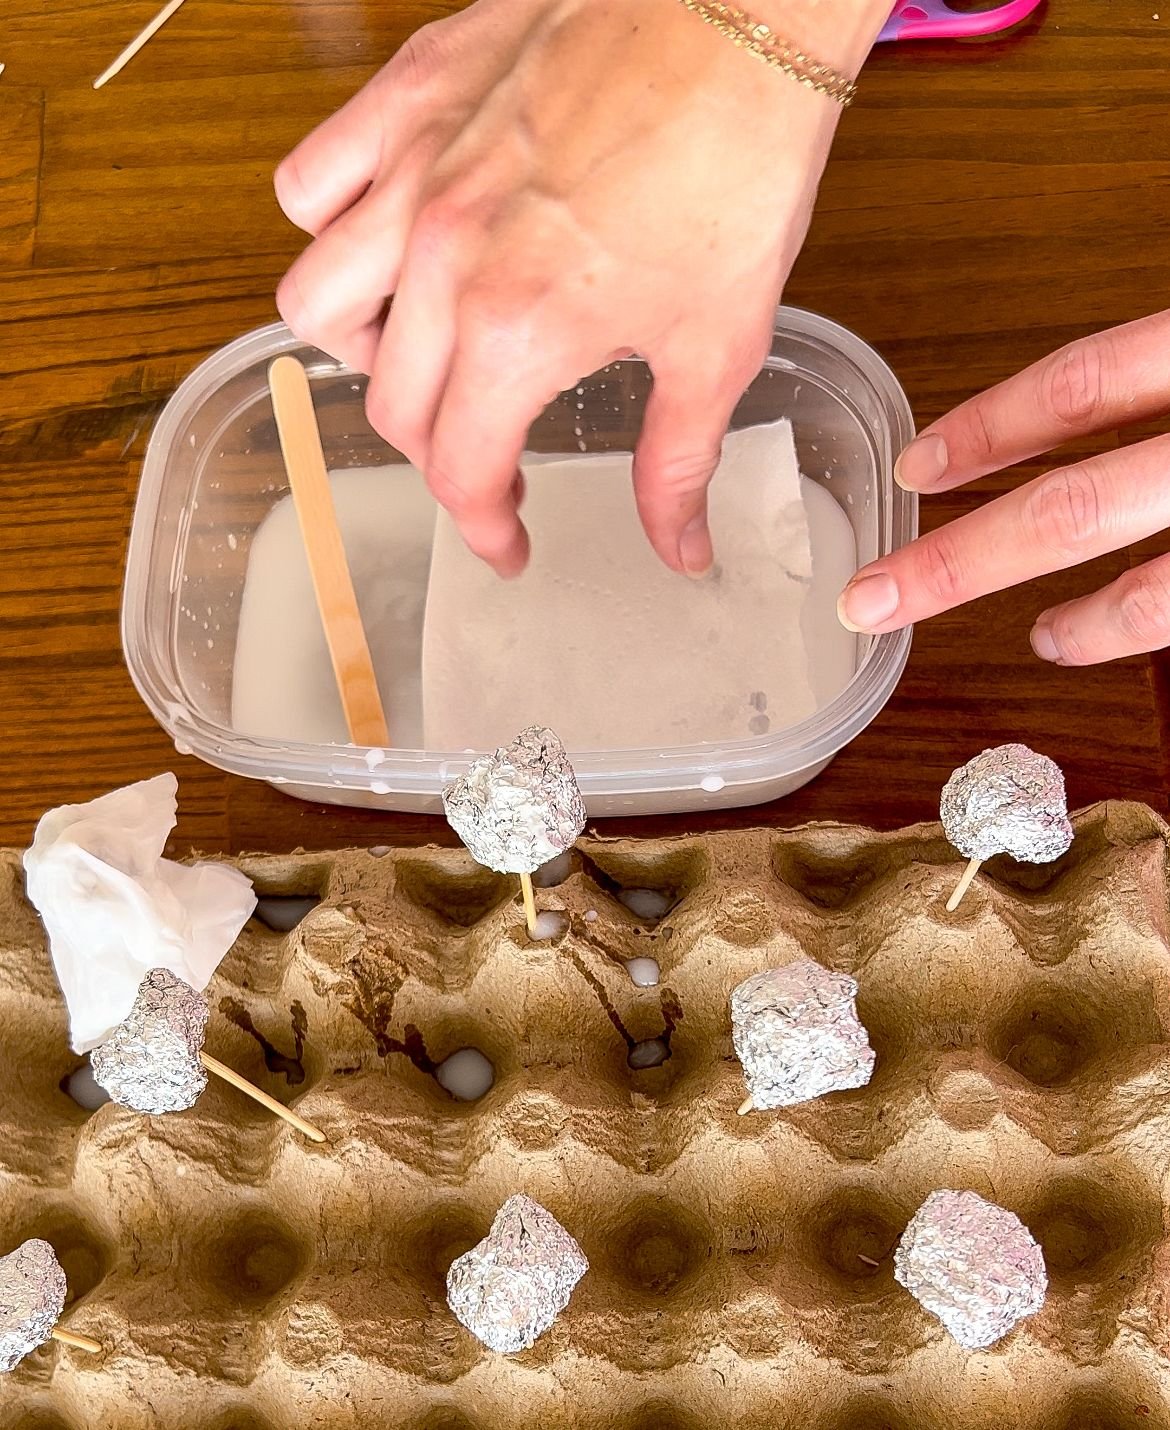
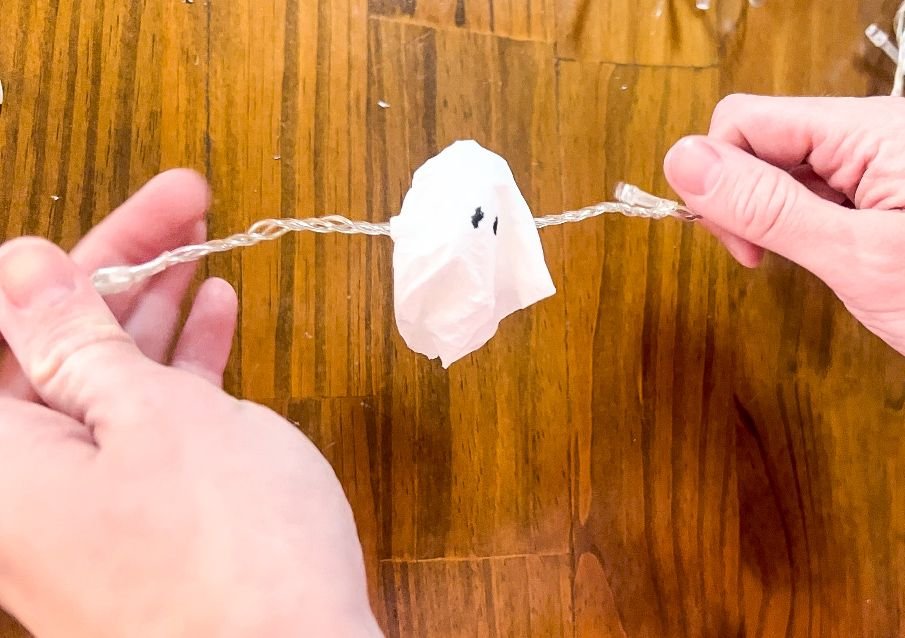
The next project I did was a glowing ghost garland. I rolled tin foil into balls, put a toothpick in the ball, and put that whole thing into the egg carton so it was standing up. I originally tried putting the toothpick inside the tinfoil first, and then creating the ball, but that did not work as well. I repeated this process about 15 times, because I wanted to make sure I had enough ghosts. I made a mixture of about 1 parts glue and 2 parts water and then started experimenting to see how much toilet paper I needed to drape without it making a mess.
I found that one piece of toilet paper did not work it ended up being a gloppy mess. However, when I took two pieces of toilet paper, folded them on top of each other, and then dipped that in the glue mixture it held up well enough that it wasn't tearing. I draped the folded and glued pieces over the tinfoil toothpick forms.
I let those again air dry overnight because I discovered later that if they are not dry enough they will tear and you'll have a mess. Once they were completely dry, I put little eyes on each one of them and started threading them onto my lights. I took the end of the LED light strand I had and I poked them through each side of the ghost, so that the ghost could thread through the whole strand of lights. It's relatively small since it is just a little garland that goes over my kid's door frame. Pro tip for this project: be very, very gentle when you're handling this craft, or it will tear. I love this one. It's really cute and both of my kids loved it!
DIY Halloween Decorations | Eyeball Lanterns
Supplies:
Paper Lanterns
Paint
Paint Brushes
Black Paper
Black Marker
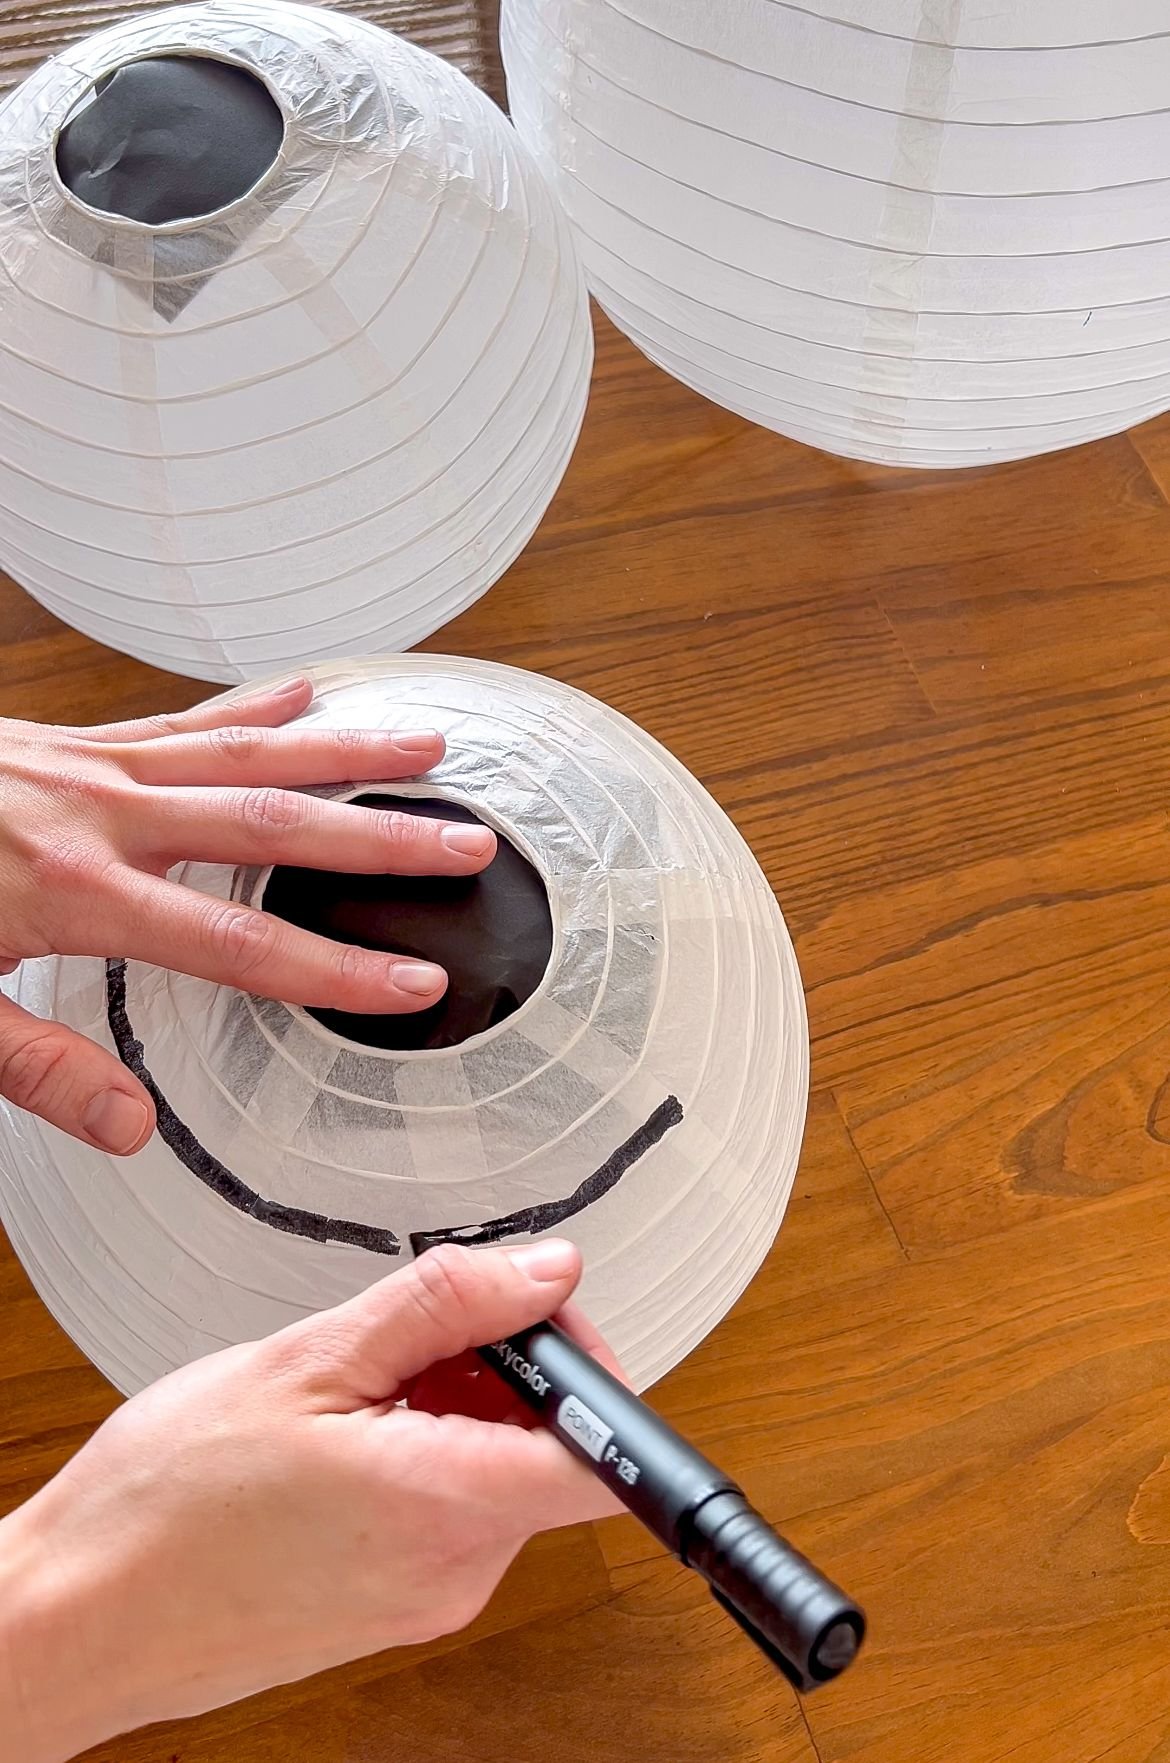
Next up are lantern eyeballs. I went to one of our local stores, picked up two different size paper lanterns, and then put them together. When assembling these I have to put the wire piece inside of the lantern to make it hold its shape. After doing this, I noticed that the top hole was larger than the bottom hole, so used the bottom hole for the pupil of the eye. I used black squares in the bottom of each lantern to be the pupil. I just put it in from the top of the lantern and moved the wire frame around a little bit to make sure that the paper was secure and had no gaps. I took a black marker and drew a circle around where I wanted the iris to be. I started to use markers to color in the irises of the eyes and my daughter was excited to help. The markers, though, turned out to be not vibrant enough so I pulled the paint out. Even though I was hesitant to use paint because of the mess, it turned out to not be bad at all and the paint make a big difference.
If you want to be more creative and more detailed, you of course can make your irises look more like actual eyes. I was really surprised at how these turned out and I kind of love them. Everyone that has come to the house has enjoyed their spooky vibe. We secured them to the wall with masking tape and they turned out great! We've gotten a lot of compliments about these and may be adding more throughout the rest of October because of how fun and easy to make they are!
DIY Halloween Decorations | Juice Carton Haunted Houses
Supplies:
Juice Carton or Milk Carton
Black Paint
Paint for details
Paint Brushes
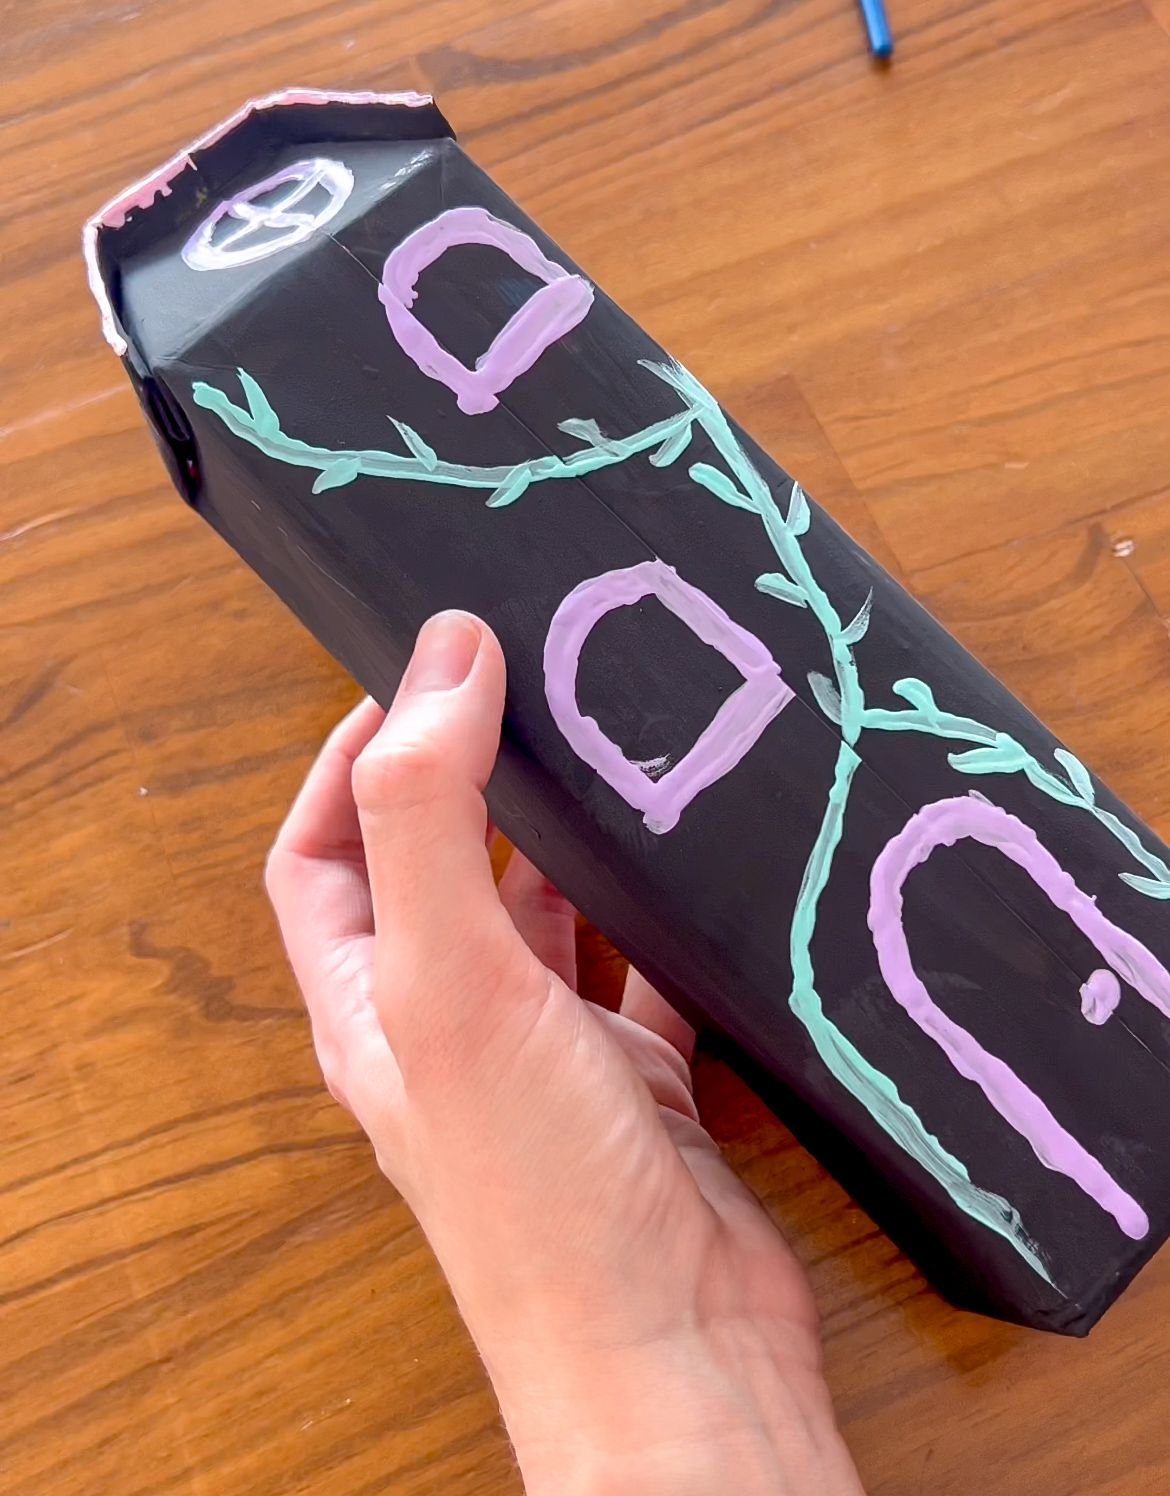
Juice is something we drink daily at my house so I knew I wanted to reuse some of these juice boxes for a project. I started by painting them black using paint that I already had on hand. I love when I don’t have to buy anything for it because I had everything on hand already! I painted three sides of each juice carton, let those fully dry and then painted the fourth side. I let all of the paint dry overnight and came back to it the next day to do the details.
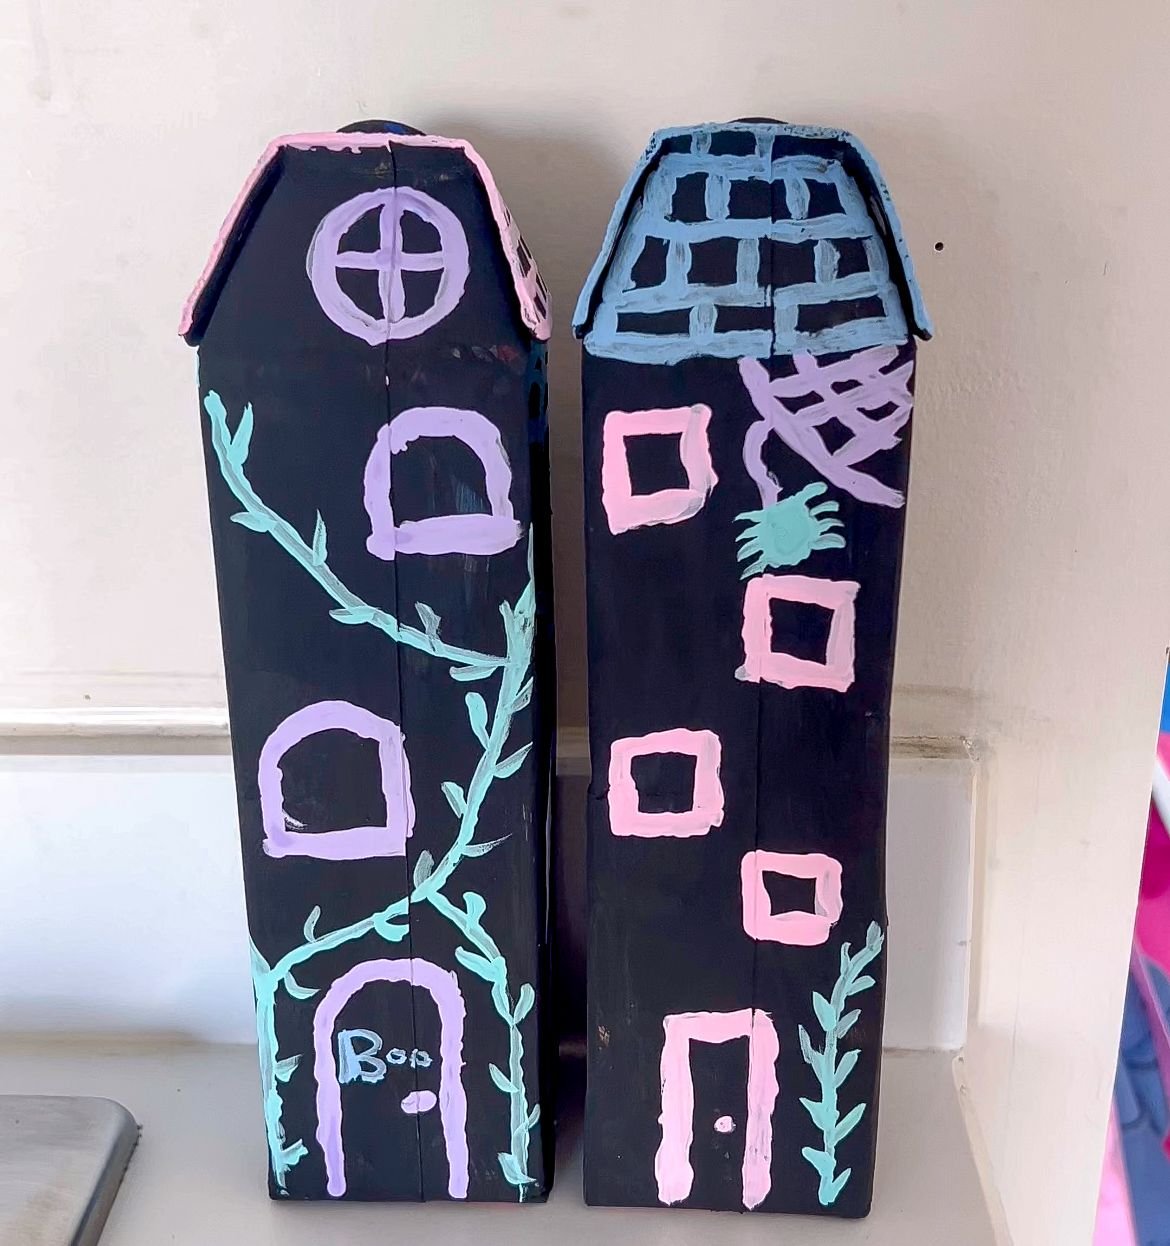
A lot of the inspiration photos that I saw on Pinterest showed detail work with white paint. I didn't have white paint, so I just used what I had on hand. I decided to go with a pastel color scheme because that's what I like for Halloween anyway. I did a different design on each house. I only ended up doing two houses because because the third my daughter wanted to use for a different craft. I added more details like spider webs and shingles on the roof. The other house I did had arched windows and an arched door and vines all over it and I added a cat to the side of that one too. These are also really cute and I will probably be doing more of these throughout the month of October as we drink more juice.
DIY Halloween Decorations | Paper Garlands
Get the templates from One Little Project
Supplies:
Colored Paper
Scissors
Clear Packing Tape
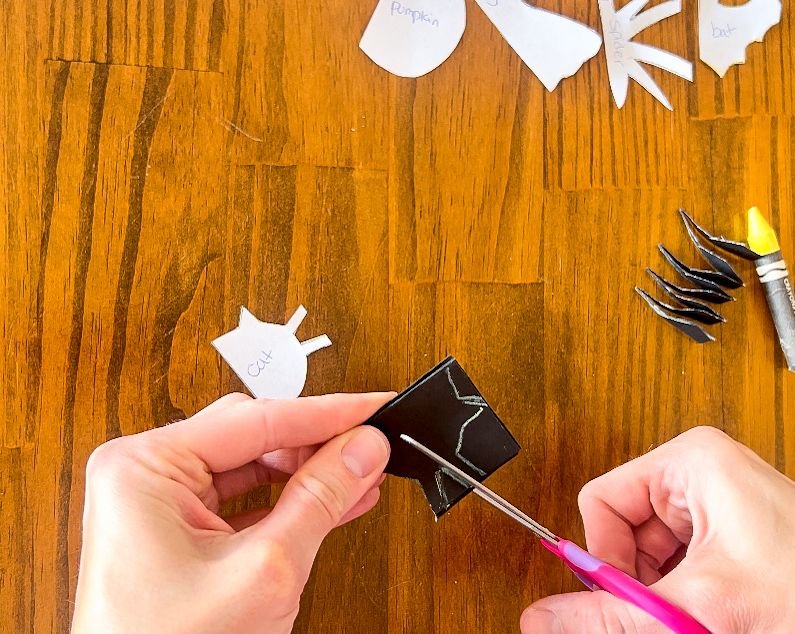
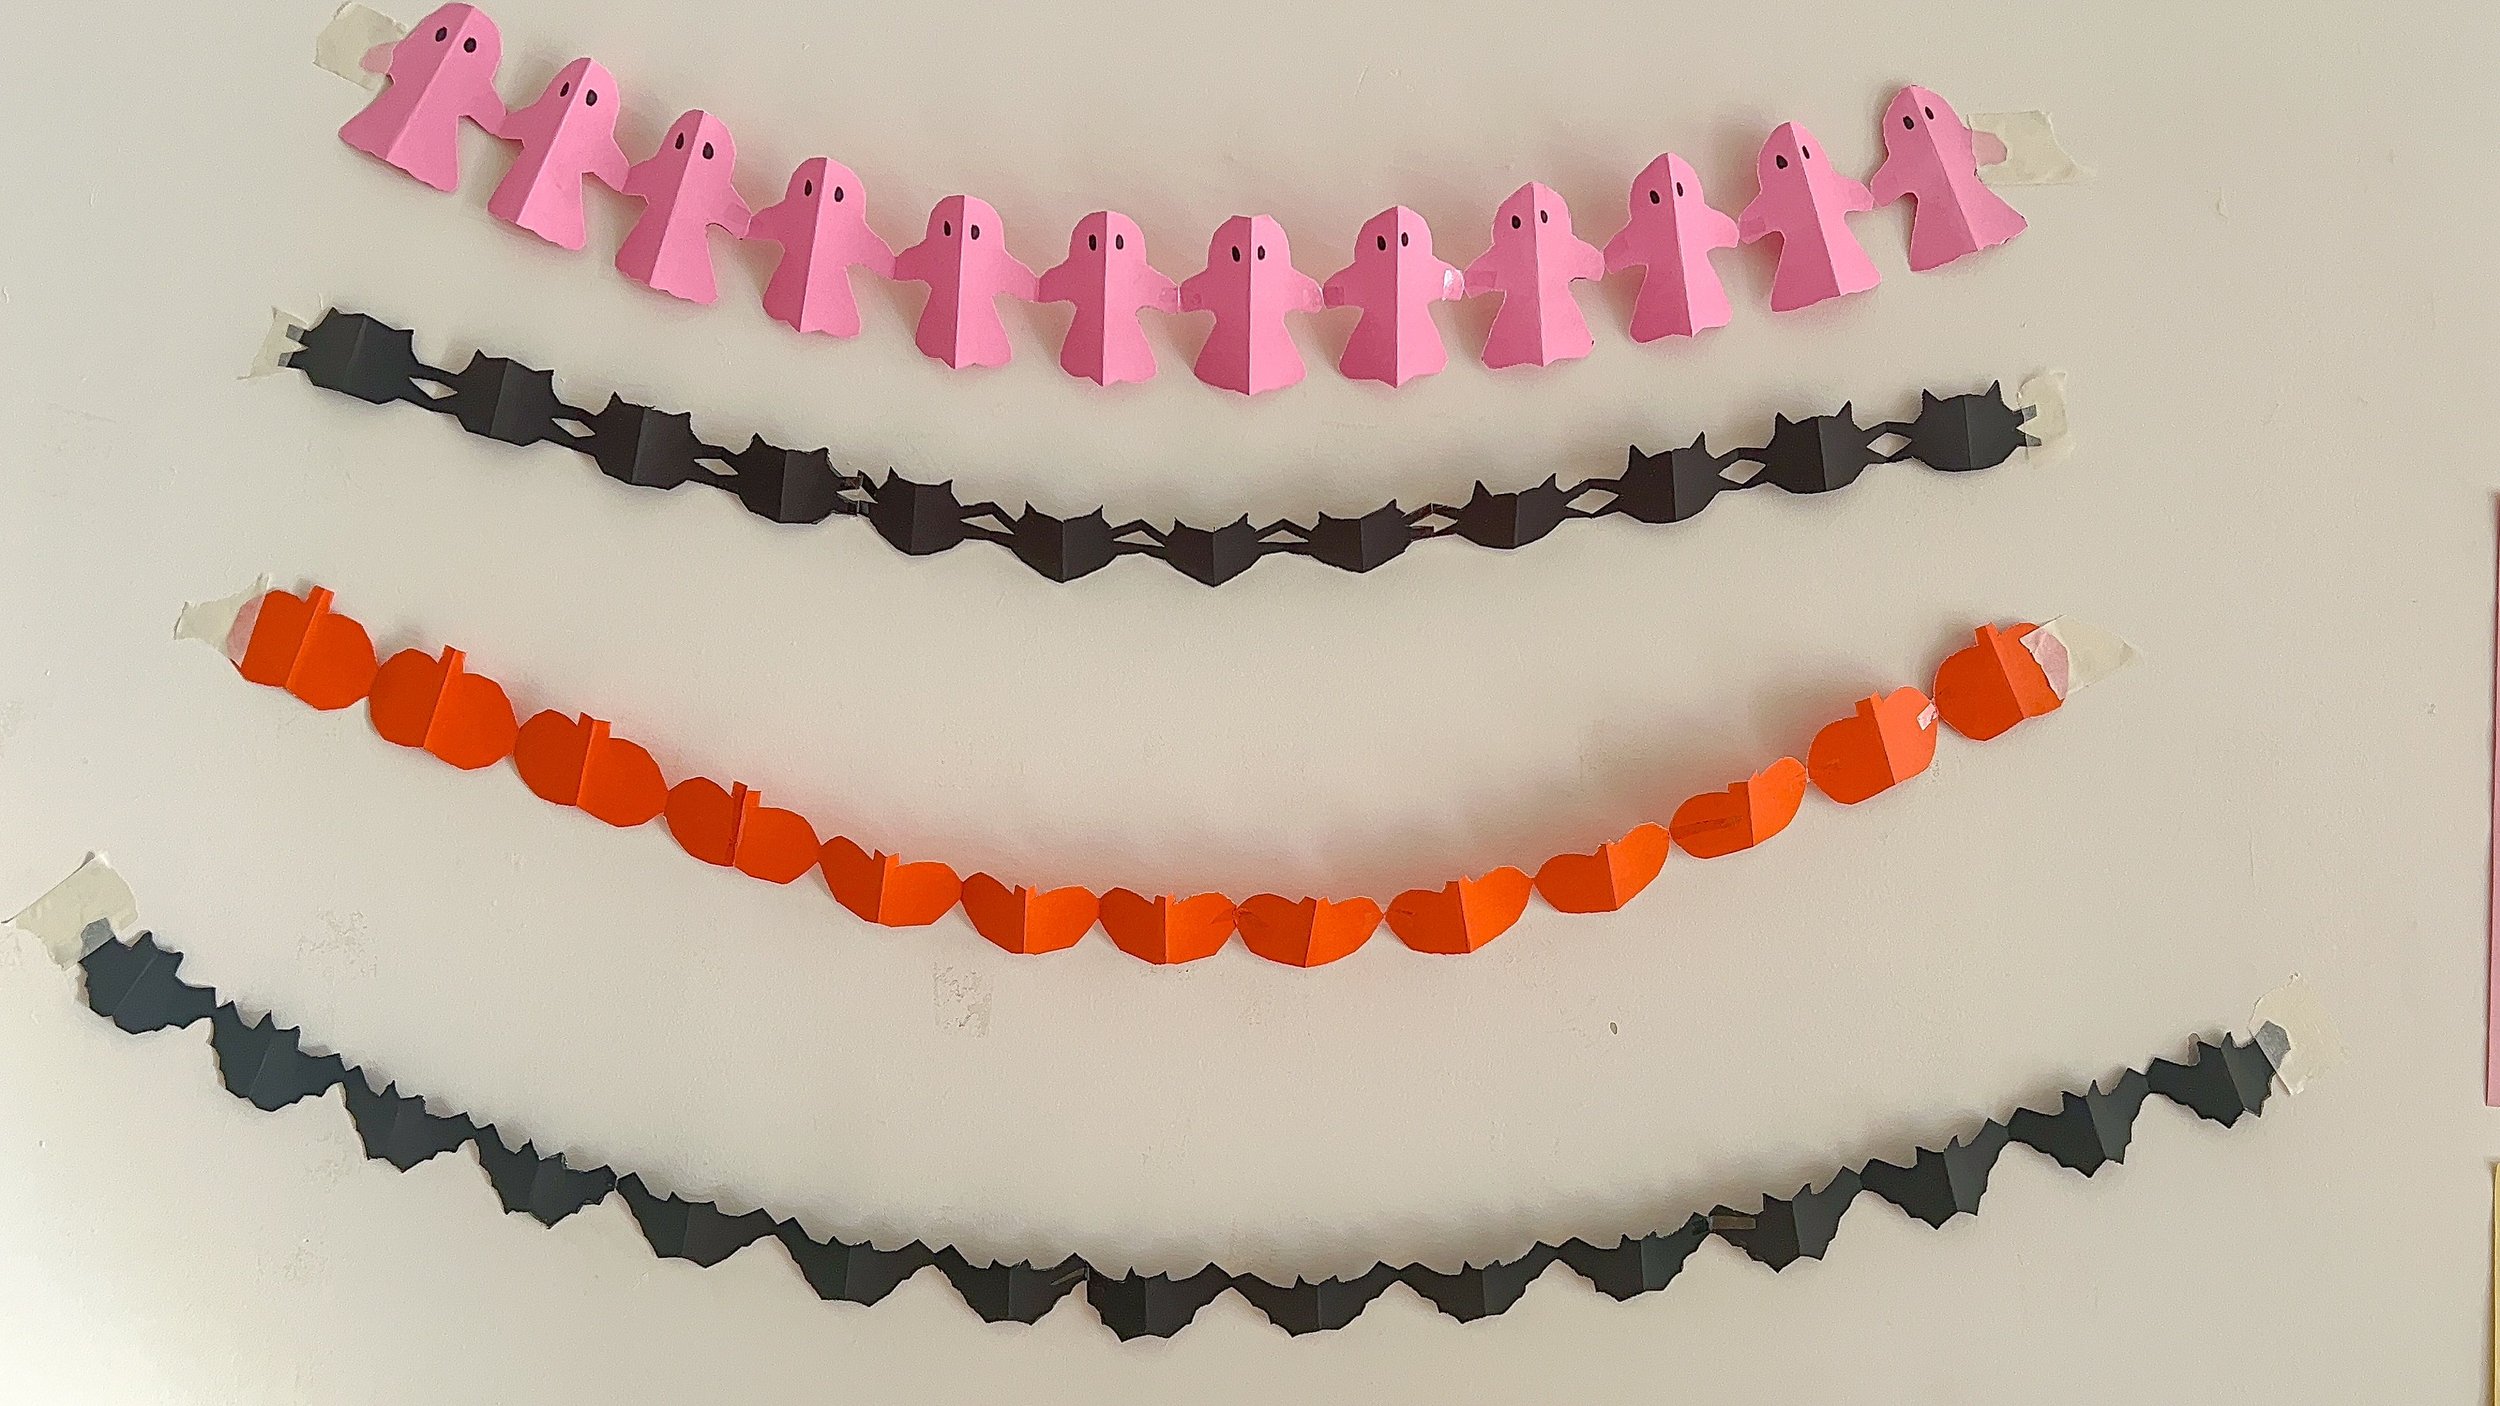
For some cute Halloween paper garlands, I used some colored paper from a local store and found a specific tutorial with templates to use on Pinterest. I was able to print them out and used them while I was cutting them which made it super easy. The creator I got the idea from had five templates. One of the designs was a spider with a lot of detail to it. I, however, didn't feel like doing the extra work to cut the details out. You can't do anymore that four of these at a time because It's just too hard, especially with the scissors I have.
In order to make long enough garlands, I cut three or four of each design and then taped them together with clear tape. There's the pumpkin design, a cat design, a bat, and a ghost. I did the cat and the bat with black tape and black paper, the pumpkin with orange paper, and the ghost with pink paper. Of all of these designs I feel like the bat was the most intricate. This is another one I'll probably be making more of because we're hosting a Halloween party for some friends so I want to make sure we have some simple and fun decorations for that.
DIY Halloween Decorations | Popsicle Stick Haunted Houses
Supplies:
Popsicle Sticks
Glue
Paint
Paint Brushes
Colored Paper for shapes
Scissors
Beads
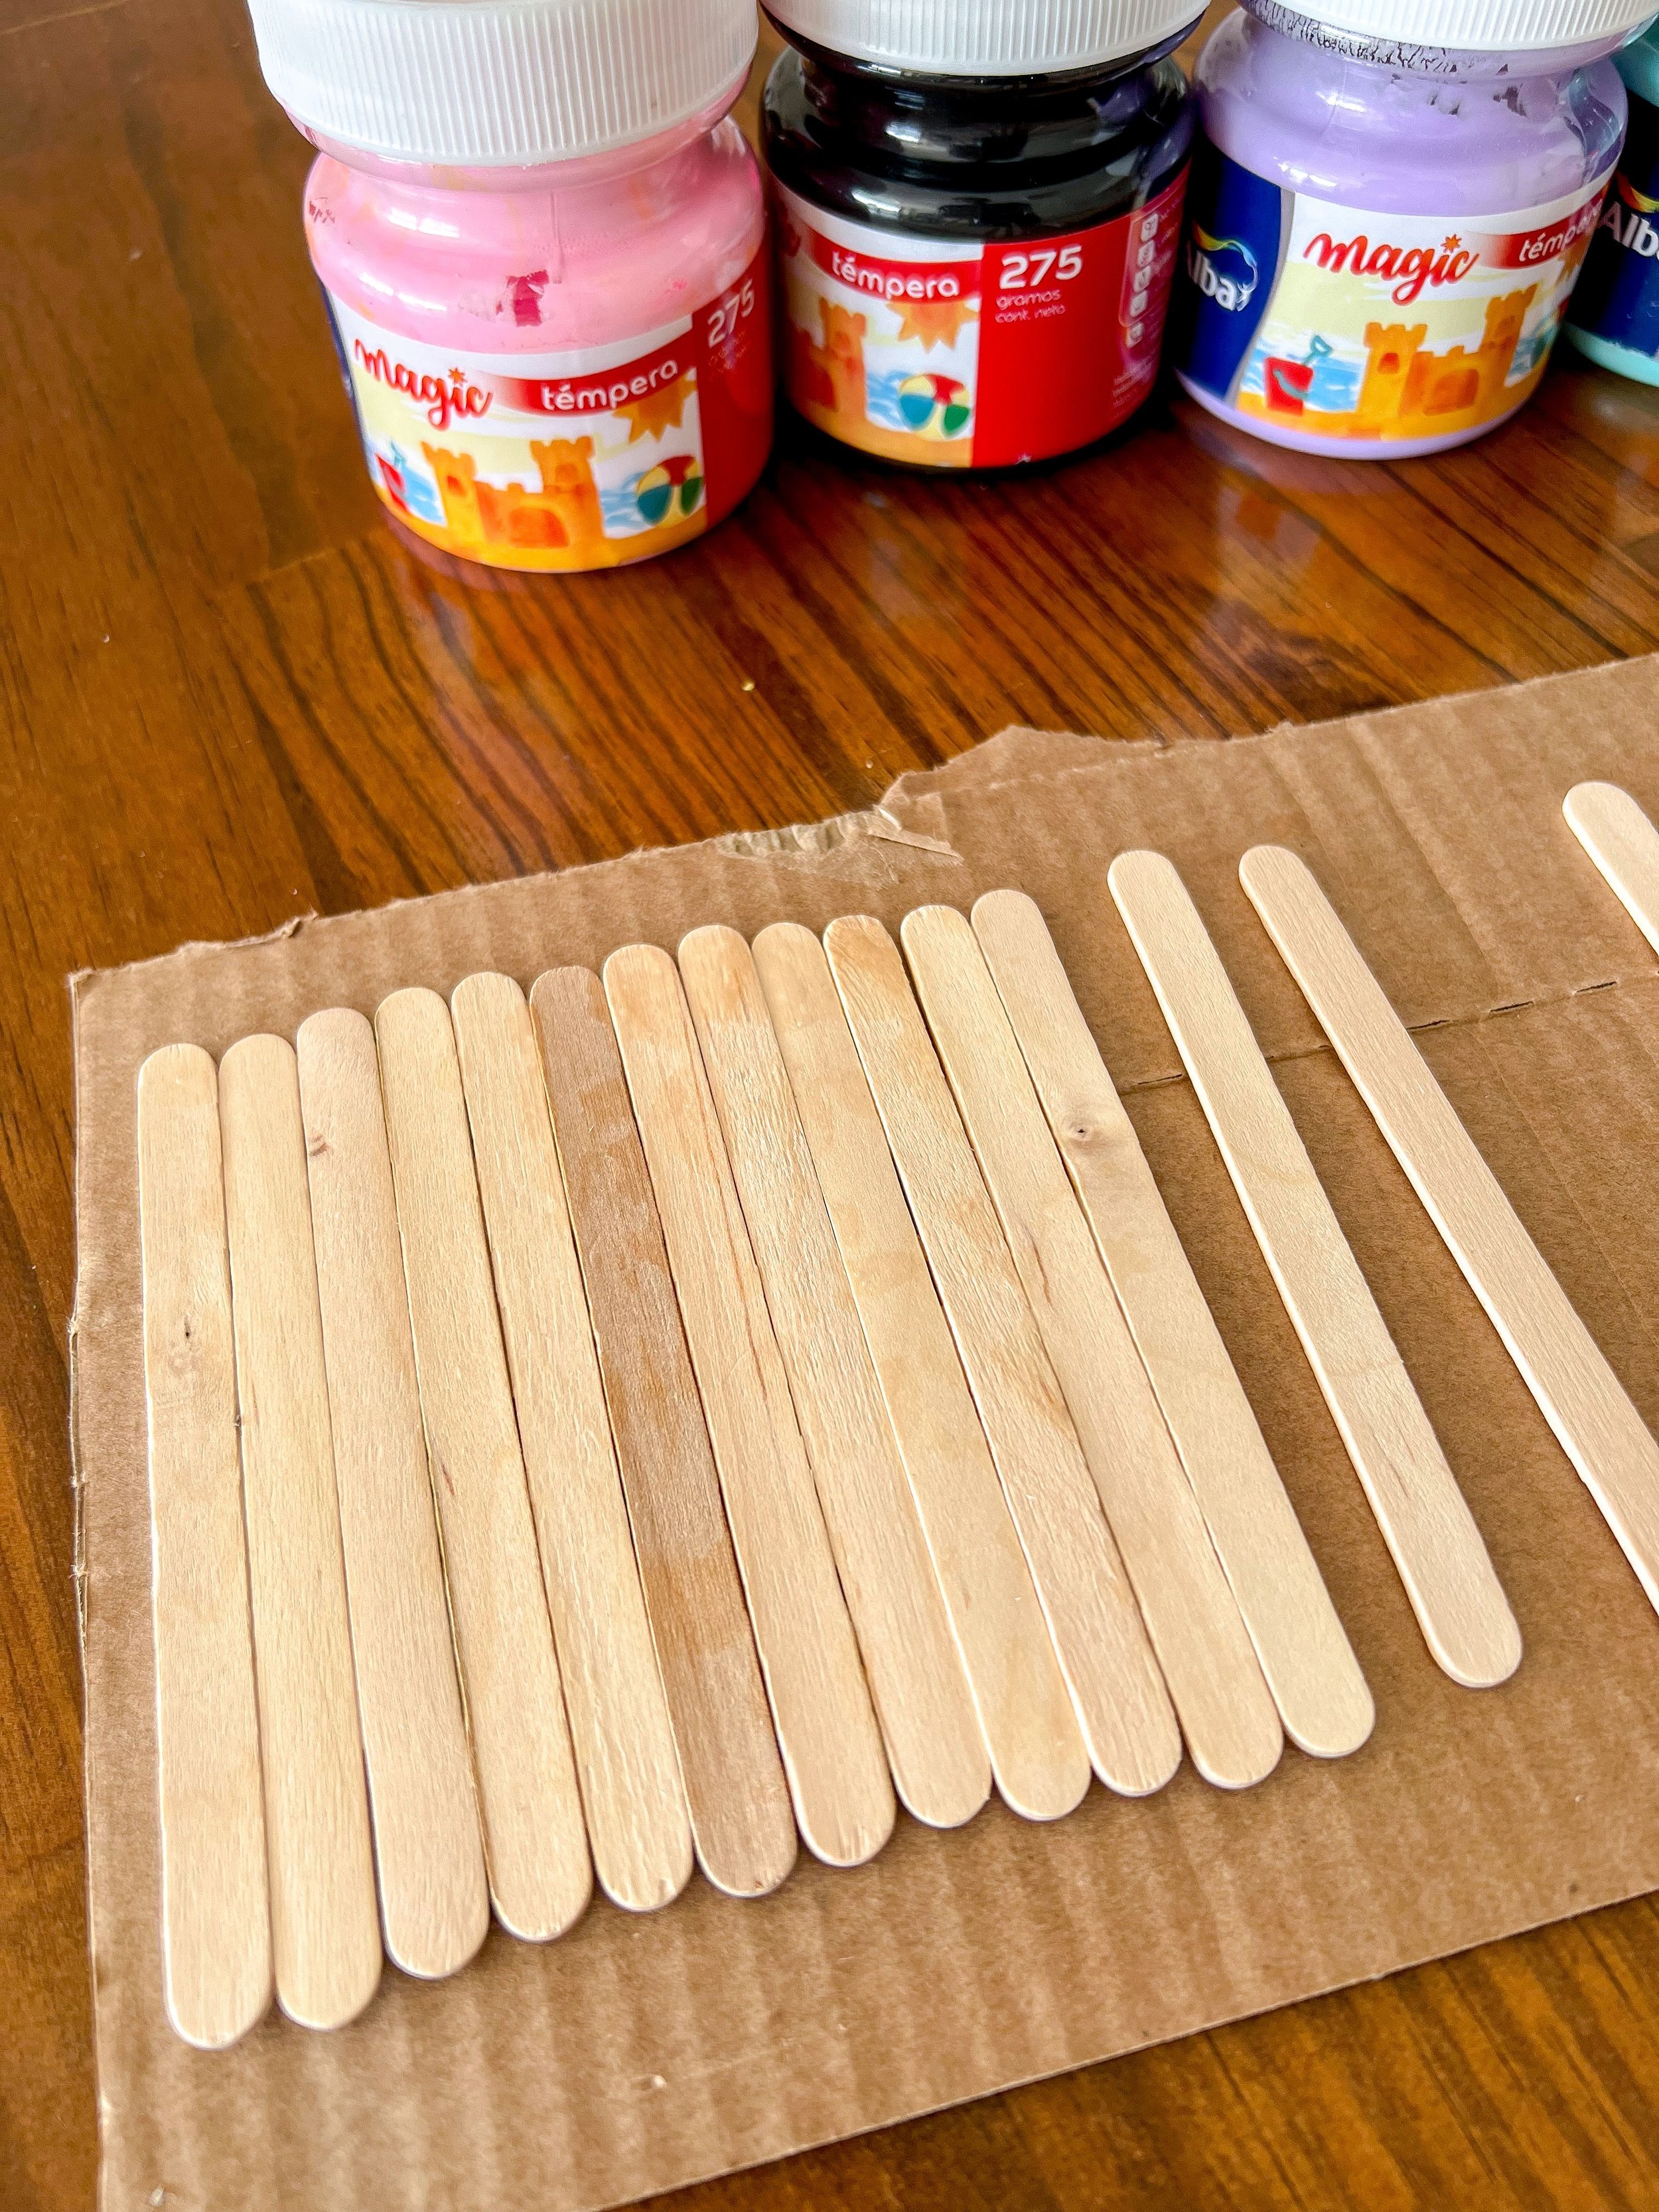
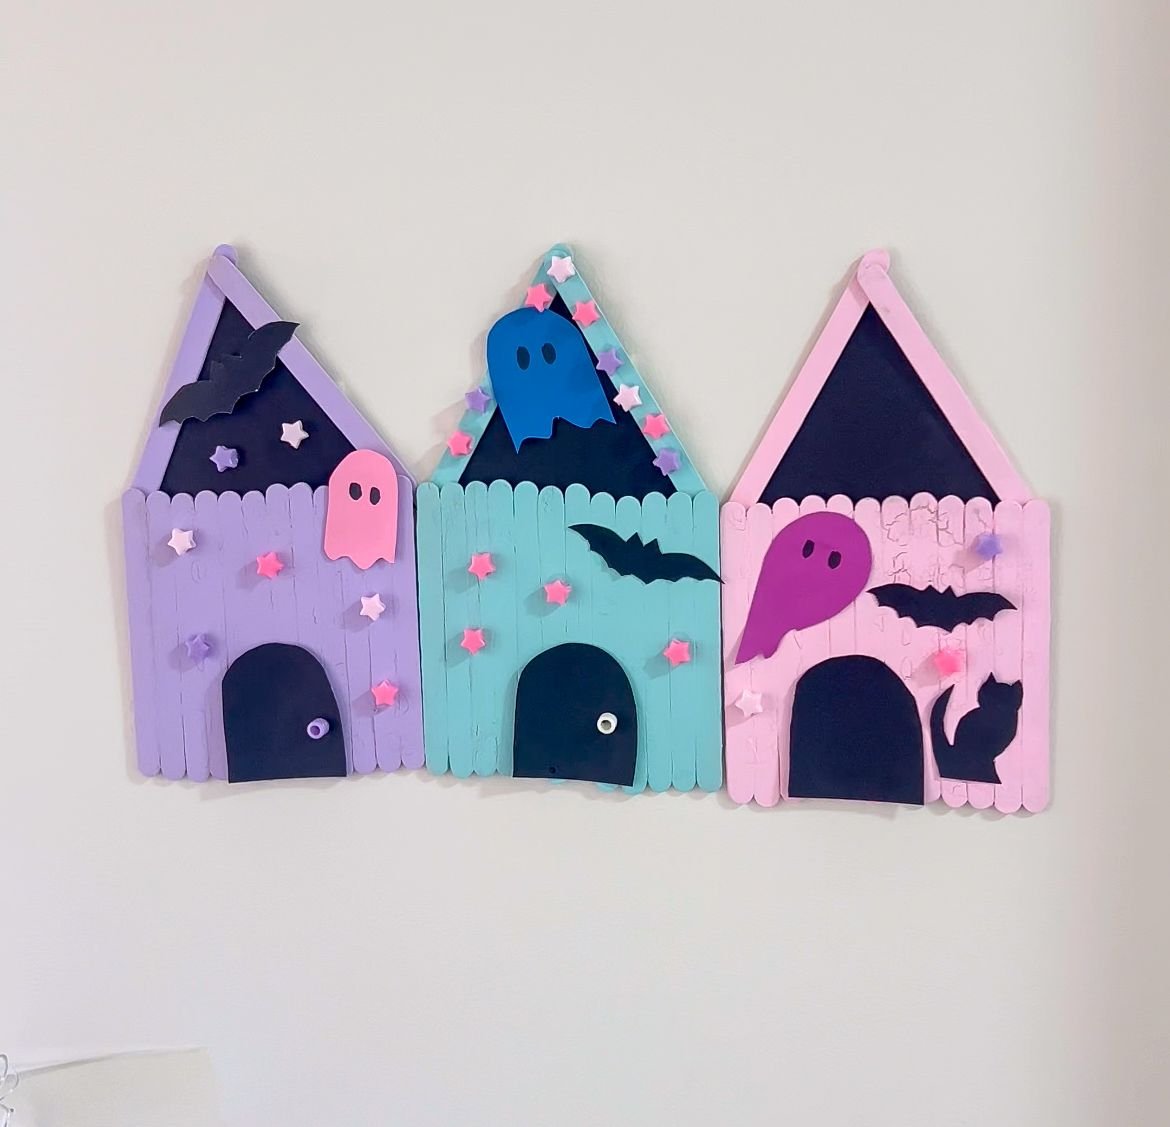
The last project ended up being my favorite one of all. I started off gluing plain popsicle sticks tougher. I glued 12 popsicle sticks together for the base of the house plus two more for the roof. Once the glue was dry I wiped the rest off and started painting. I used pastel pink, blue, and purple for my colors. I painted all sides of the popsicle stick, though this isn't necessary to do.
Everything I saw on Pinterest when I found this idea had cute fabric or paper on the back of the roofs. Well, here in Argentina I don't have cute fabric or paper. So I just used some black paper to finish off the roofs. I still like how it turned out though. I glued the black paper to the back of the roofs and then I cut out some shapes for each house. I added a door, a ghost, a bat, and a cat. I remembered that we had cute star beads and decided to add them to the house using glue. I used masking tape to hang the houses on the wall just outside of my kid's room.
My kids love the festive Halloween decorations and I love how all of these simple DIY things have kept it festive for the kids while we're away from home.


