
2023 Christmas Crafts
I've made a few fun DIY Christmas crafts to add to our Christmas decor this year that I want to share with you. Some are repurposing old things, some are adding to new things and some are taking a whole new idea and creating my own spin. Lets get started!
2023 Christmas Crafts | Scrap Wood Christmas Trees

For the last year, my mom has been asking me to make her scrap wood Christmas trees to use up some of the scrap wood we have, so I decided that it was time to do some this year. We decided to experiment a little bit and do two different kinds of trees in three sizes. There was really no measuring of this, since it was all scrap wood and we just went by what we wanted it to look like. To start off, I made an L-shaped base for each tree, and then a support in the back.
The first tree we did was a zigzag style. All I needed to secure them was my nail gun, and I secured the ends to each other and then each board to the center board. Next, I did a simple straight straight style. I preferred this one and ended up liking it so much that I made it in a giant version as well as a smaller one. All you have to do is secure the pieces of scrap wood to the center board. It's so simple! You could leave them raw, I think they're really pretty this way. However, my mom wanted to add some color to them. I had some leftover Black Forest Green by Benjamin Moore paint from when I painted my bedroom and was able to just use up the rest of it. I didn't worry about priming the wood or doing more than one coat because the trees are going to be outside and my mom wanted them to have an aged weathered look.
I also made little stars out of extra fluting I had when I did the doors on my workbench. I just glued pieces together, let them dry overnight, and then I had these really cute stars to add to the top of each tree. I used gold paint and glitter I had on hand because my mom wanted them to be glittery and sparkly and she's going to add lights to them. The last thing I did was add a clear top coat. I made sure to add a pot so they wouldn't tip over and then just sprayed everything while it was on the grass. The thing I loved about this project is I did not have to buy anything for it, not a paintbrush, not glitter, nothing! Everything I used for this project, I already had on hand, which is feels so good to not only use up leftover supplies, but also not having to buy anything new to make a new project.

2023 Christmas Crafts | Disney Princess Repurposed Ornaments
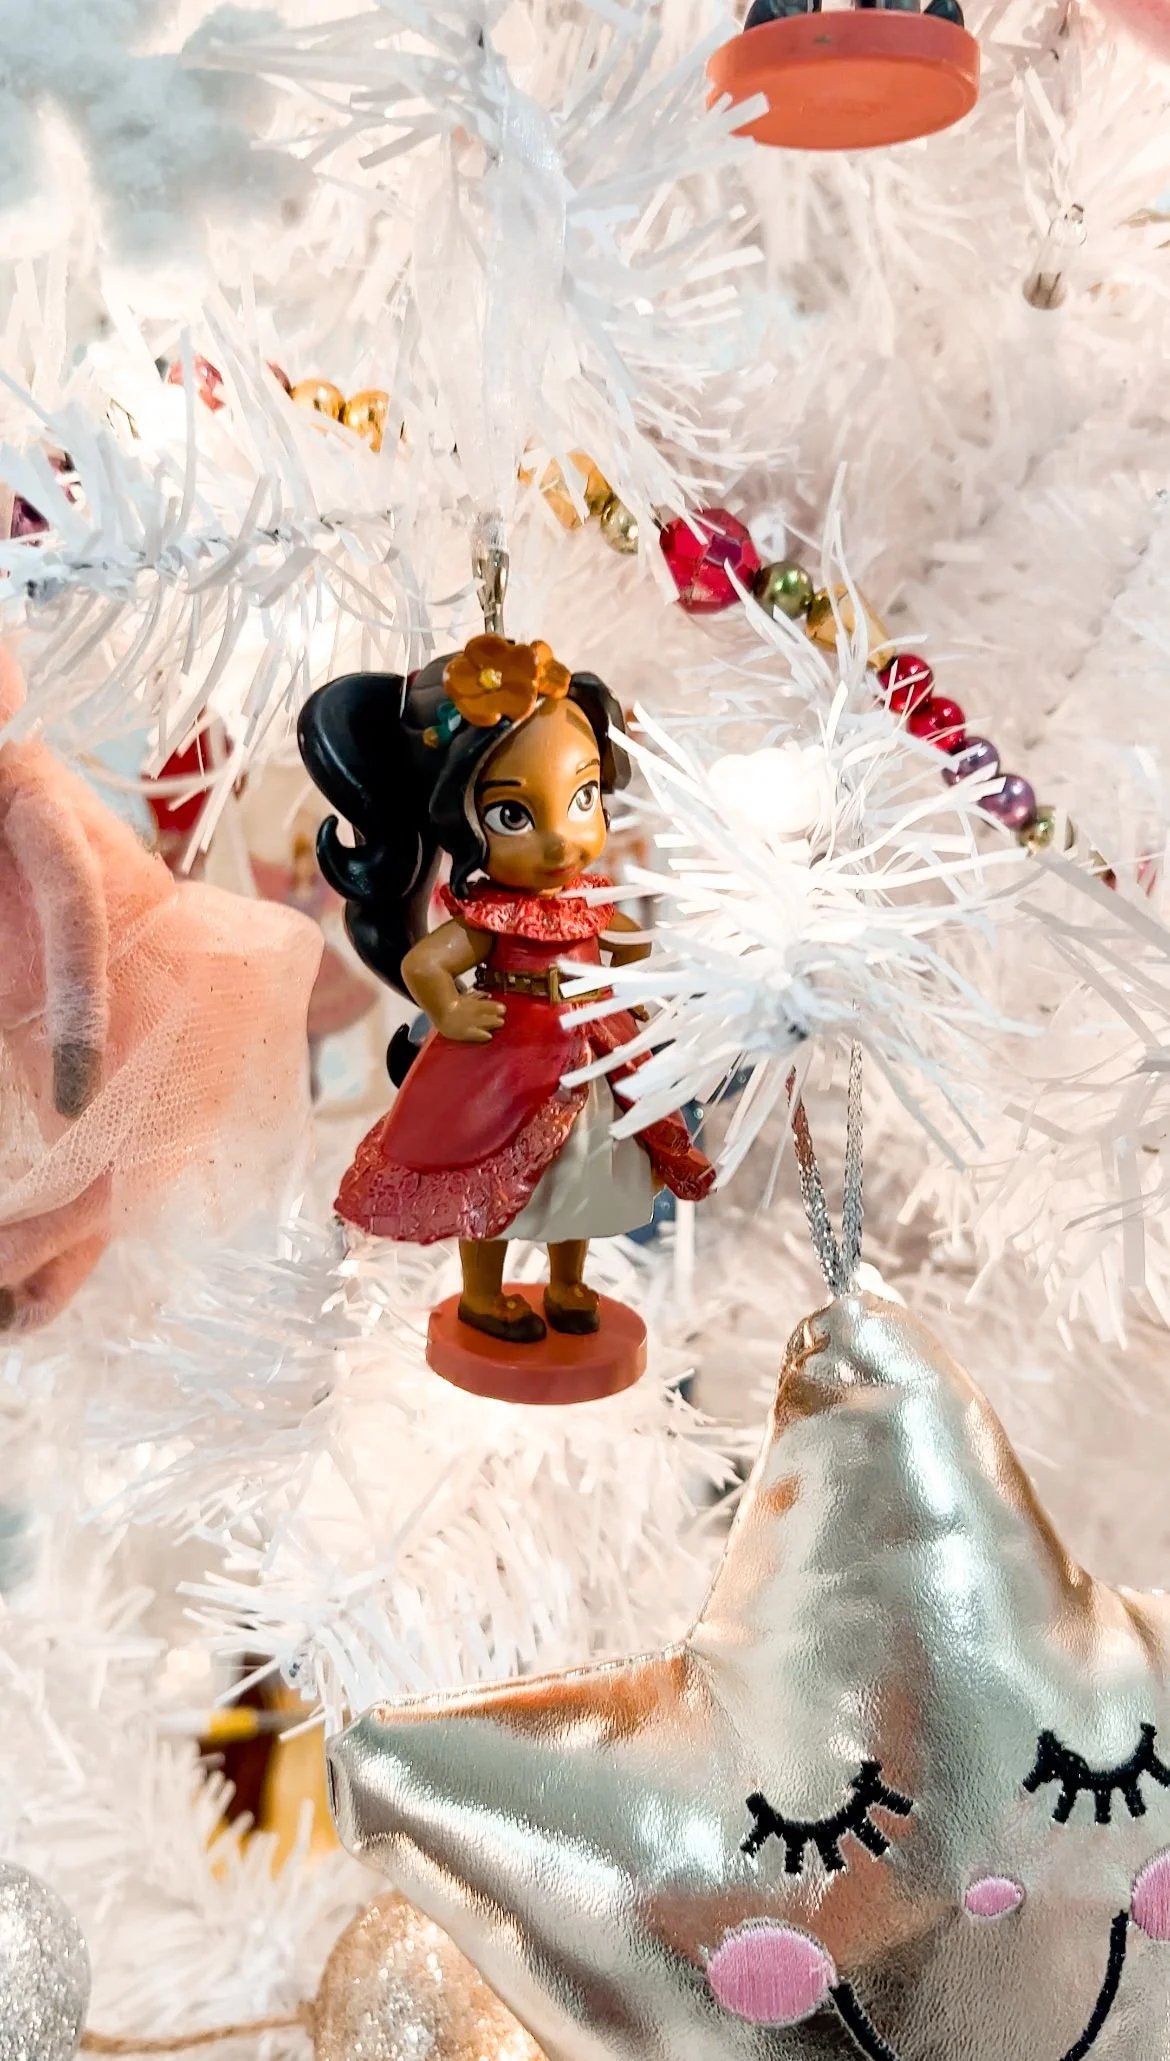
We bought our daughter the little Disney Princess Animators Collection figurines when she was little and she has loved them, but hasn't played with them in the last couple of years. They were a favorite for so long, though, amd I don't have the heart to get rid of them. A friend sent me an Instagram reel from "Disney and Denim" of her turning these figurines into ornaments which I feel like was the perfect solution for our situation!
All you have to do is take a small eye hook and screw it into the top of the head of each figurine. I did add was a bit of super glue to a few figurines that I didn't feel like were secure enough, and then screwed the eye hook back in. I just repeated that for all of the figurines. We had one of the bigger sets you actually can't buy anymore, but I've seen used sets if you keep your eye out. After I put the hooks in, I added some cute pink ribbon, put the two ends together, tie a know, loop one end through the eye hook and then hold the knot end through. Doing it this way makes it harder for the ribbon to come off. We added these to my daughters tree. Aren't they so cute?
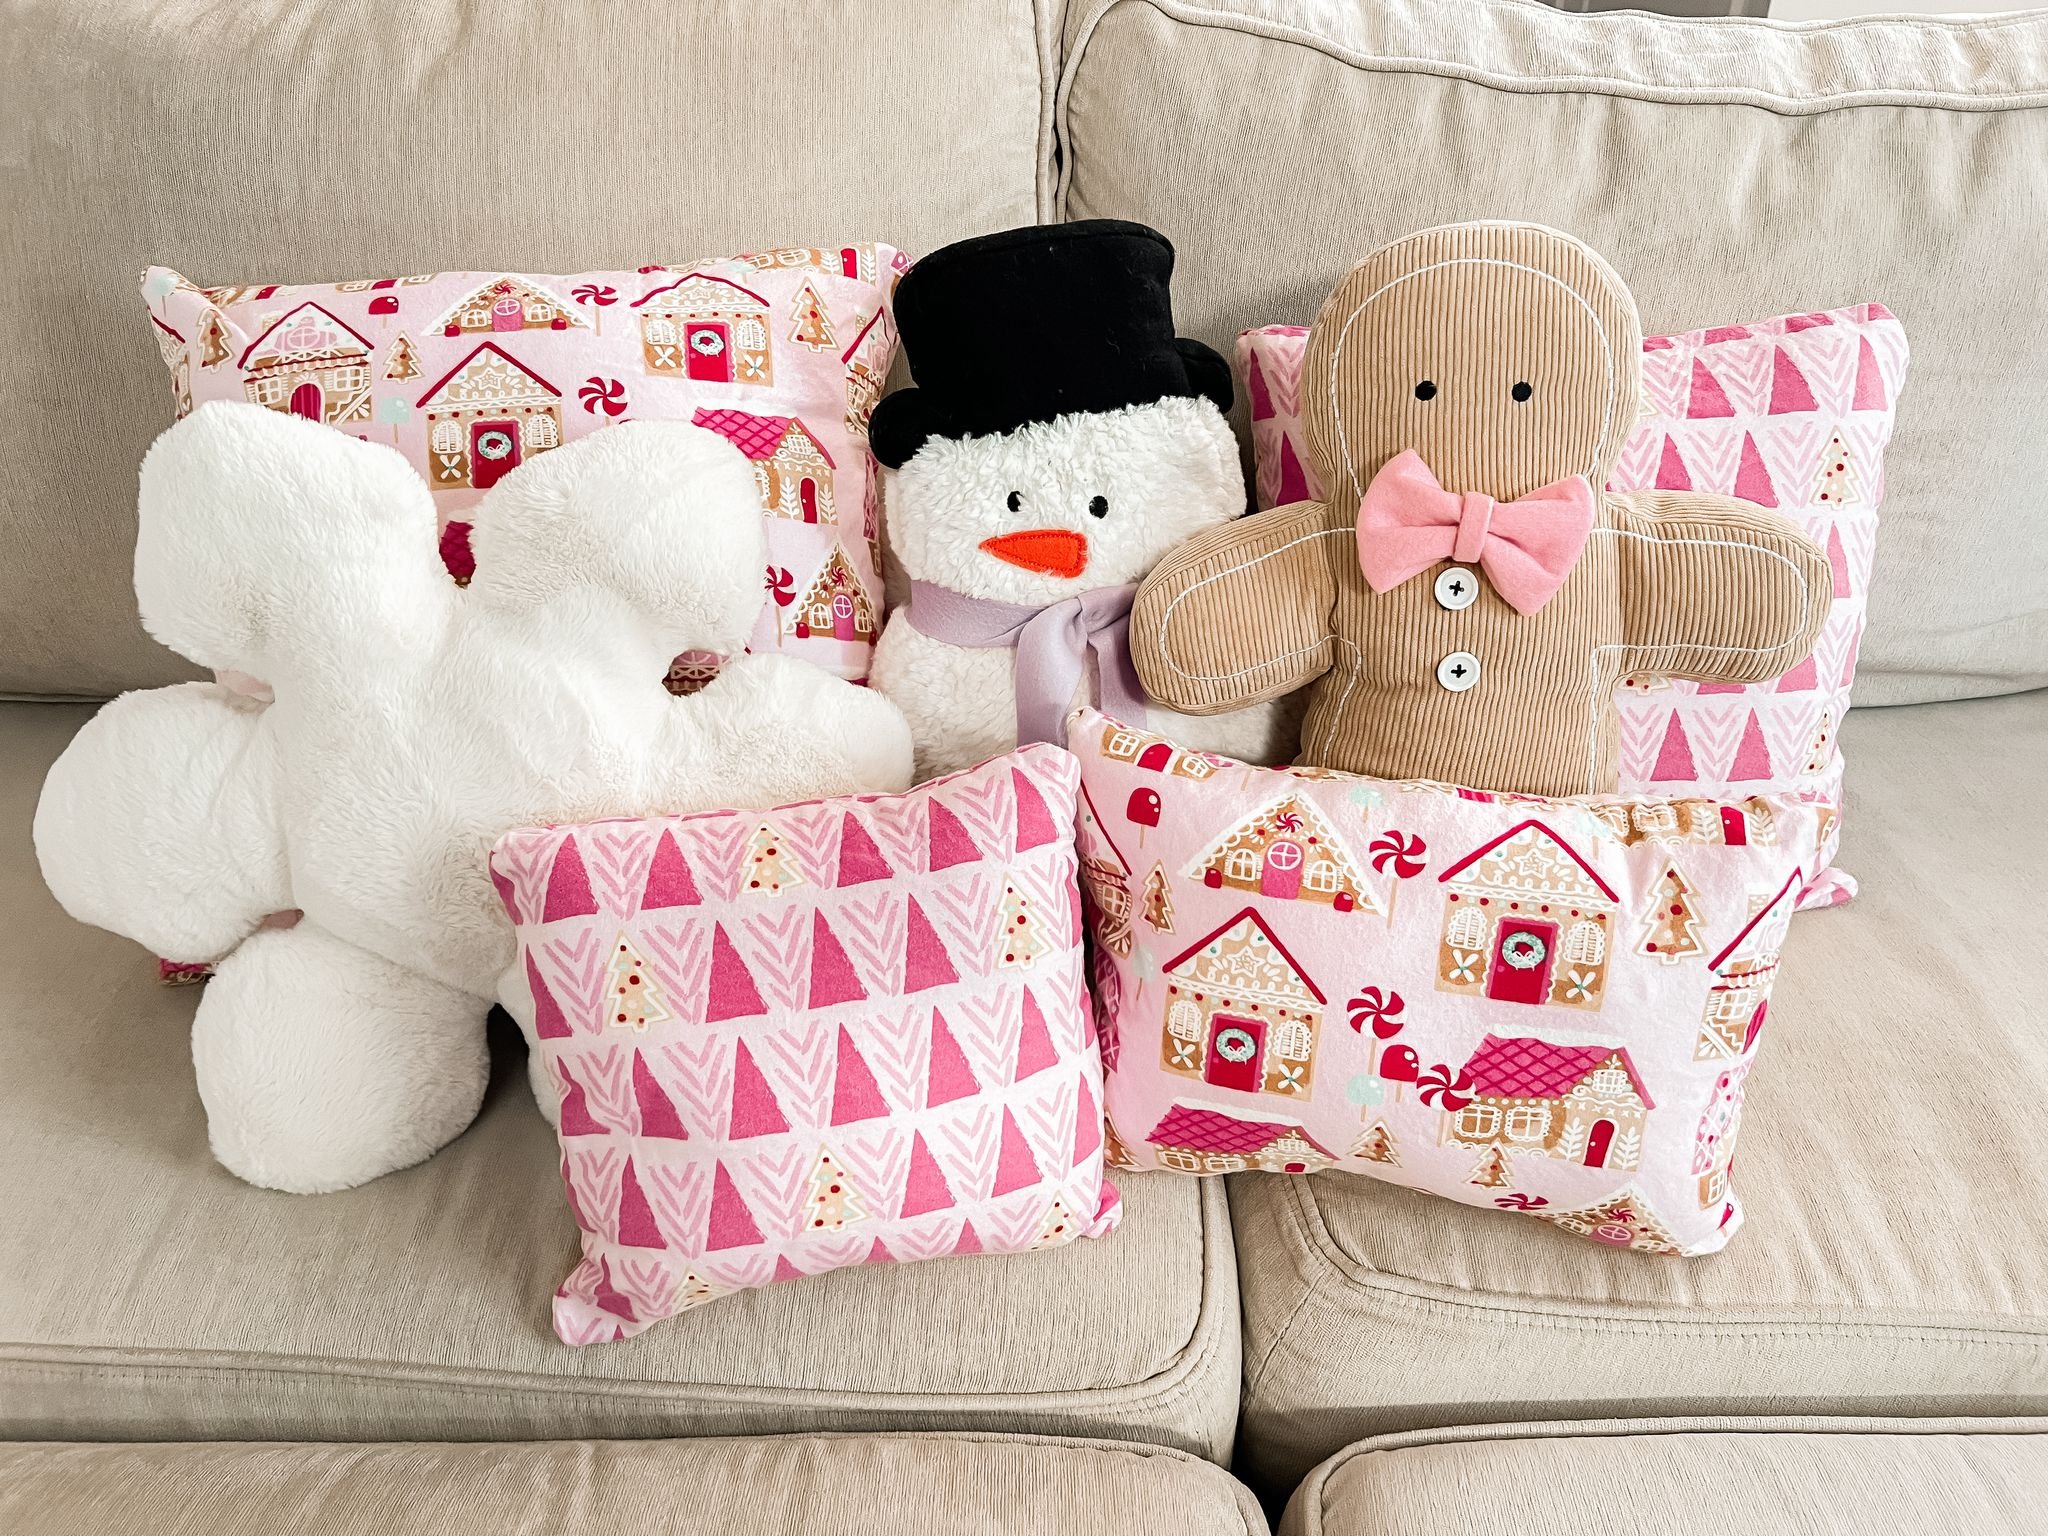
2023 Christmas Crafts | Snowmen/Gingerbread Pillow Accessories
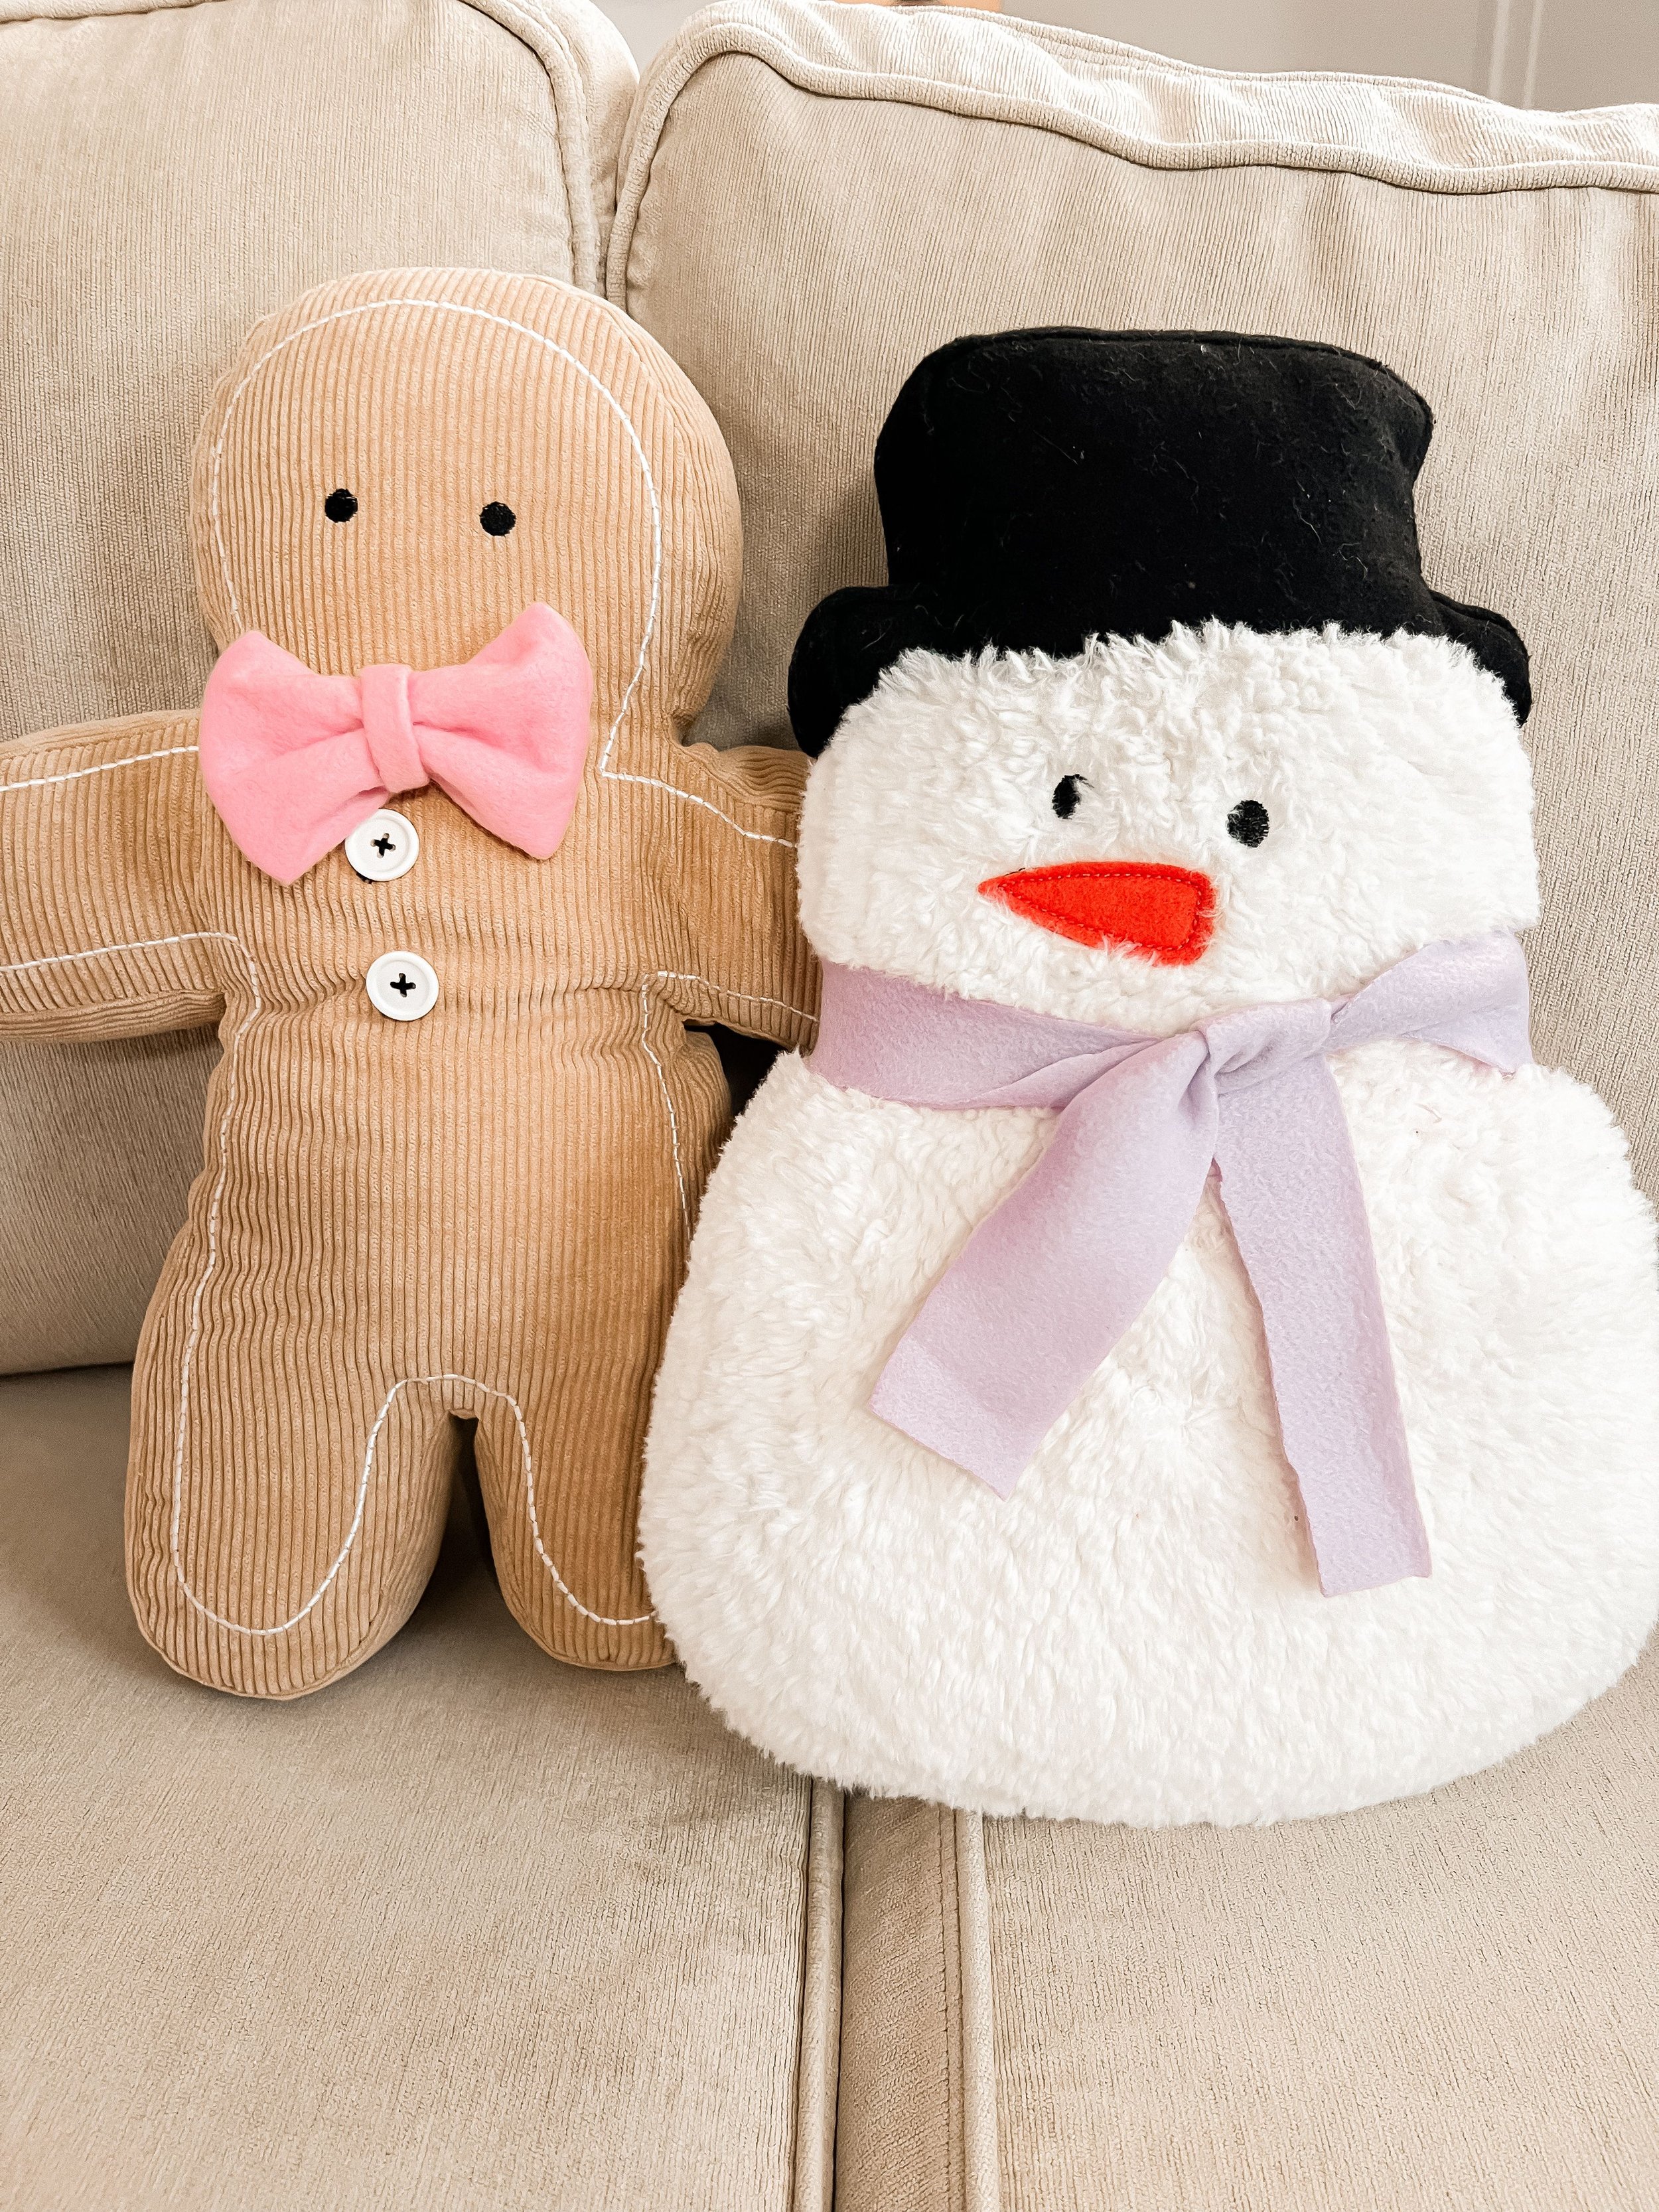
I got these pillows last year at TJ Maxx and while I absolutely love them, they didn't go with my Christmas decorations. I got two felt fabrics that I'm going to replace the red on the pillows with. I started with the snowman. First, I took off the old scarf and the buttons. Originally I was going to replace the buttons, but once I got the new scarf on him, I felt like the new buttons were adding too much to it, so I just stuck with the scarf. All I did was take a strip of the purple felt, tied it onto the snowman and then hand-sewed it on so it was secure.
For the gingerbread man, I took off the bow tie and took it apart so I could see how it was constructed. I then took the pink felt and cut out each of the parts for the bow. I pinned it all together and then sewed the edges together so that it would stay nice and clean and I would get nice little pleats. Then I sewed just one straight line down the middle of the part that would keep the bow together. After I sewed that on, I hand-sewed it to the gingerbread man. I think these turned out so cute and I love that I was able to completely change the look with a few simple changes.
2023 Christmas Crafts | Pink Pillows
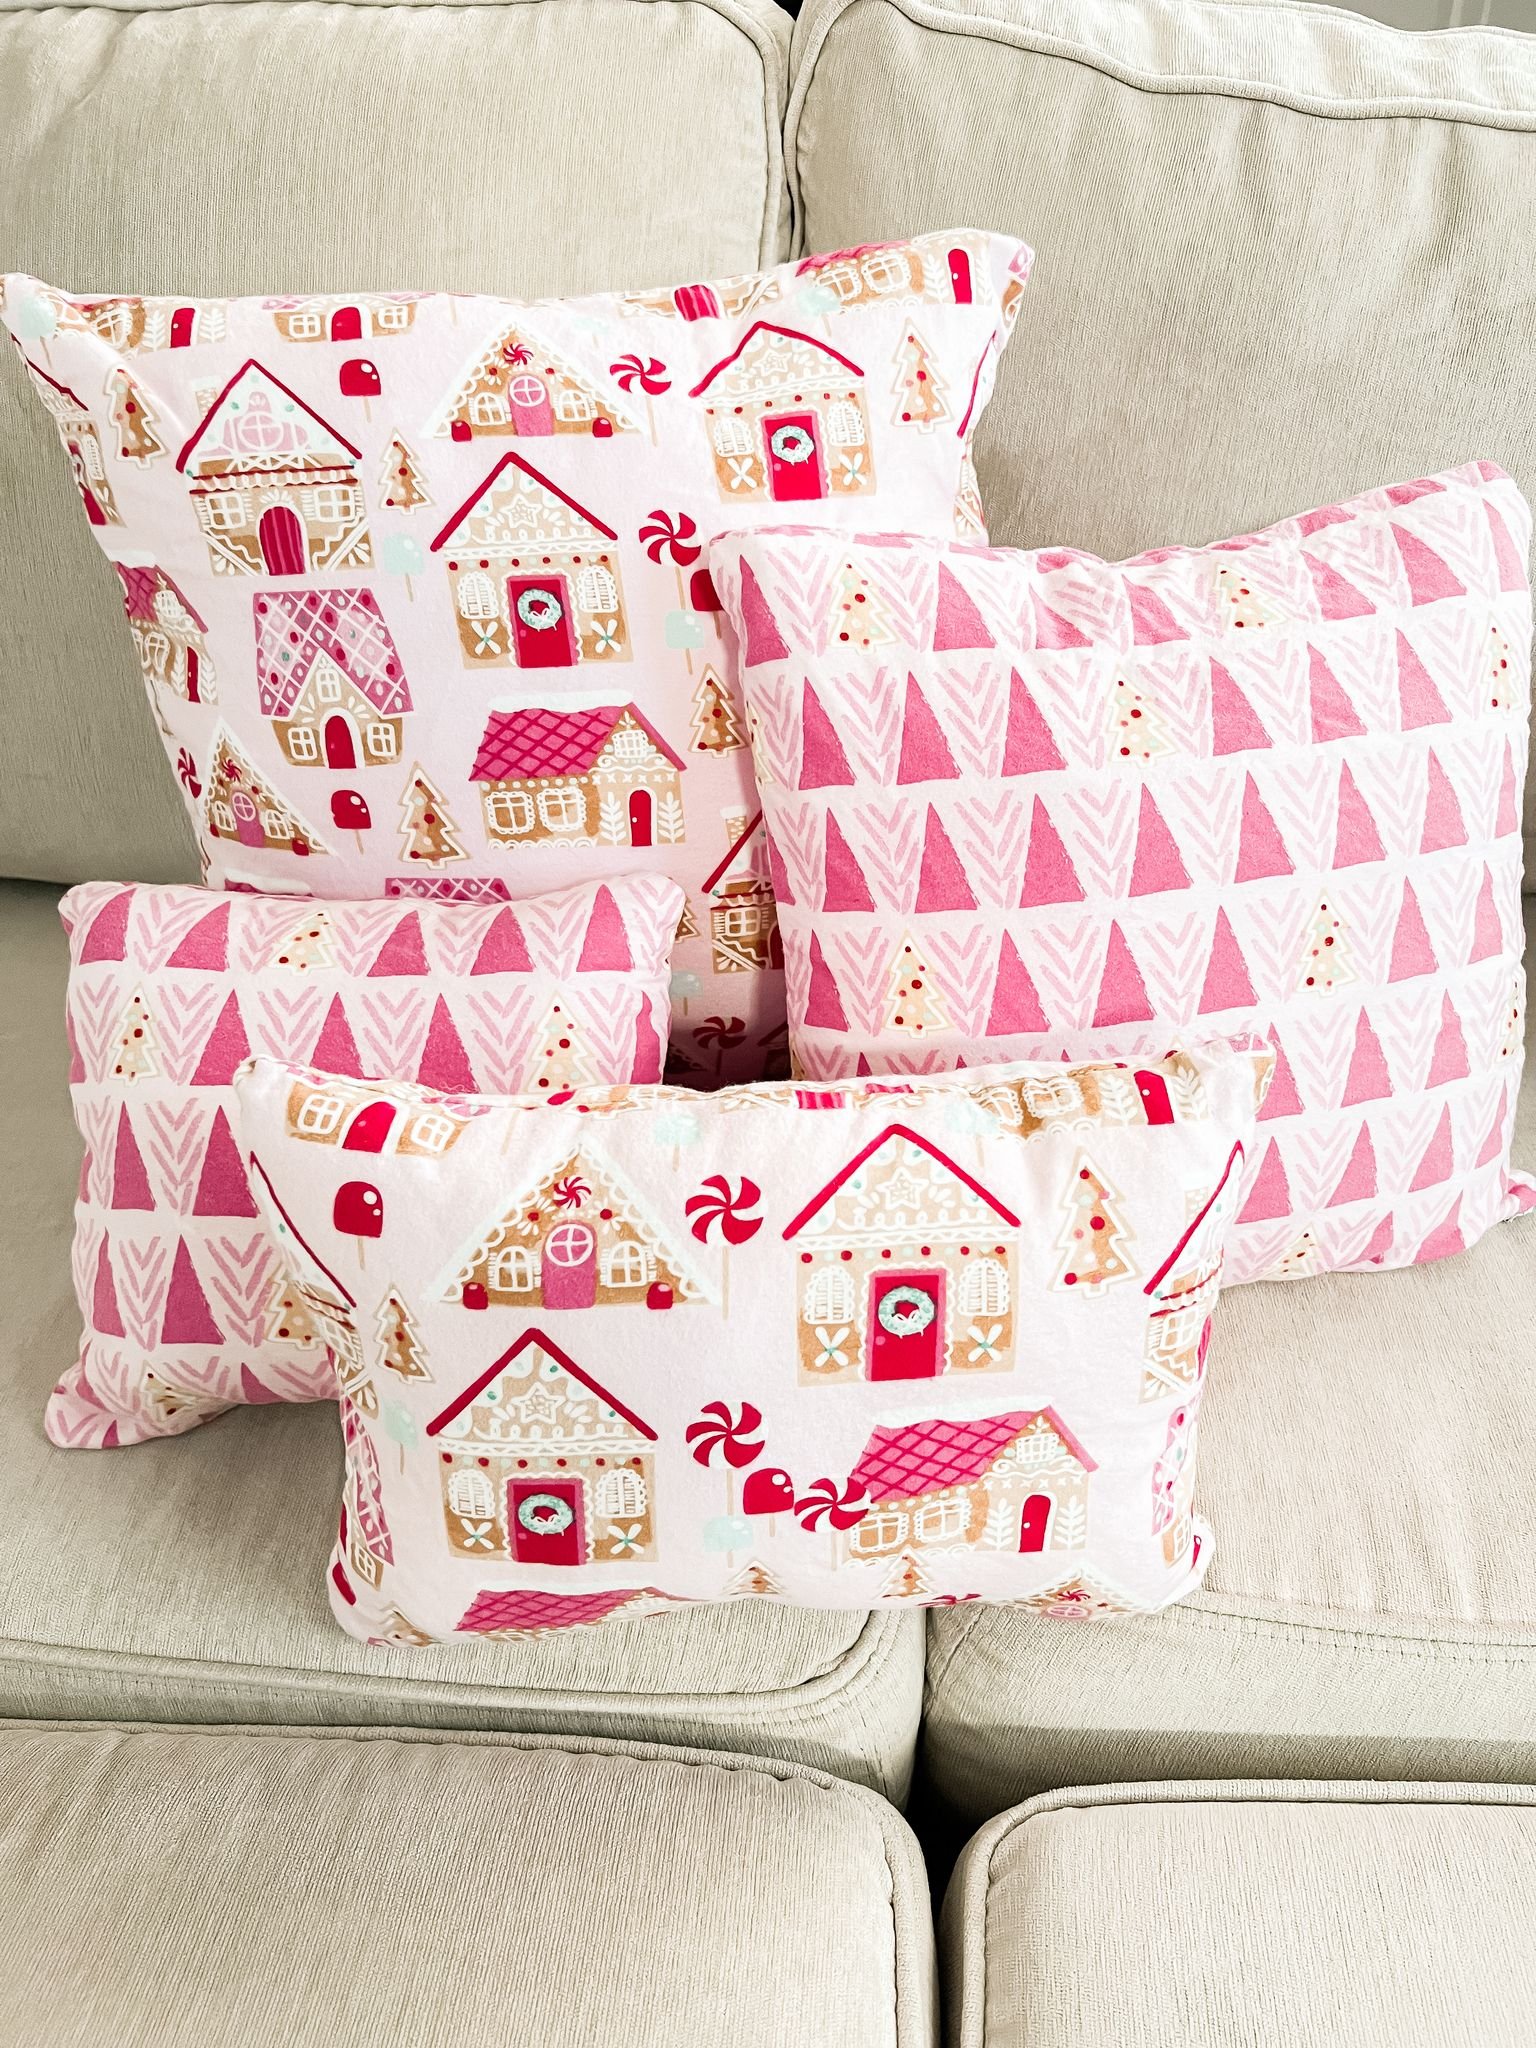
I found these really pretty pink Christmas fabrics at Joann's having no idea what I was going to do with it, but I decided to make some pillows out of it. I had some pillows from last year that the fabric just was not great and this fabric was a lot nicer and softer. So I took those pillowcases and some old pillows I've had for a long time and used those as a pattern for the new pillows.
I opted to use the zippers from the old pillowcases on the larger pillows because I love things you can use for multiple seasons, but the smaller ones I just decided to stuff and then hand sew shut because I didn't feel like buying new zippers for them. After cutting everything out, I just sewed these up using my sewing machine. For the smaller pillows, I sewed everything on the sewing machine but left a small hole so I could flip them inside out stuff them and then I hand stitched the gap. For the larger pillows, I sewed the zippers on and then sewed them all the way around and I was able to put the pillows in, then zip them shut.
2023 Christmas Crafts | PB Snowflake Pillow Dupe
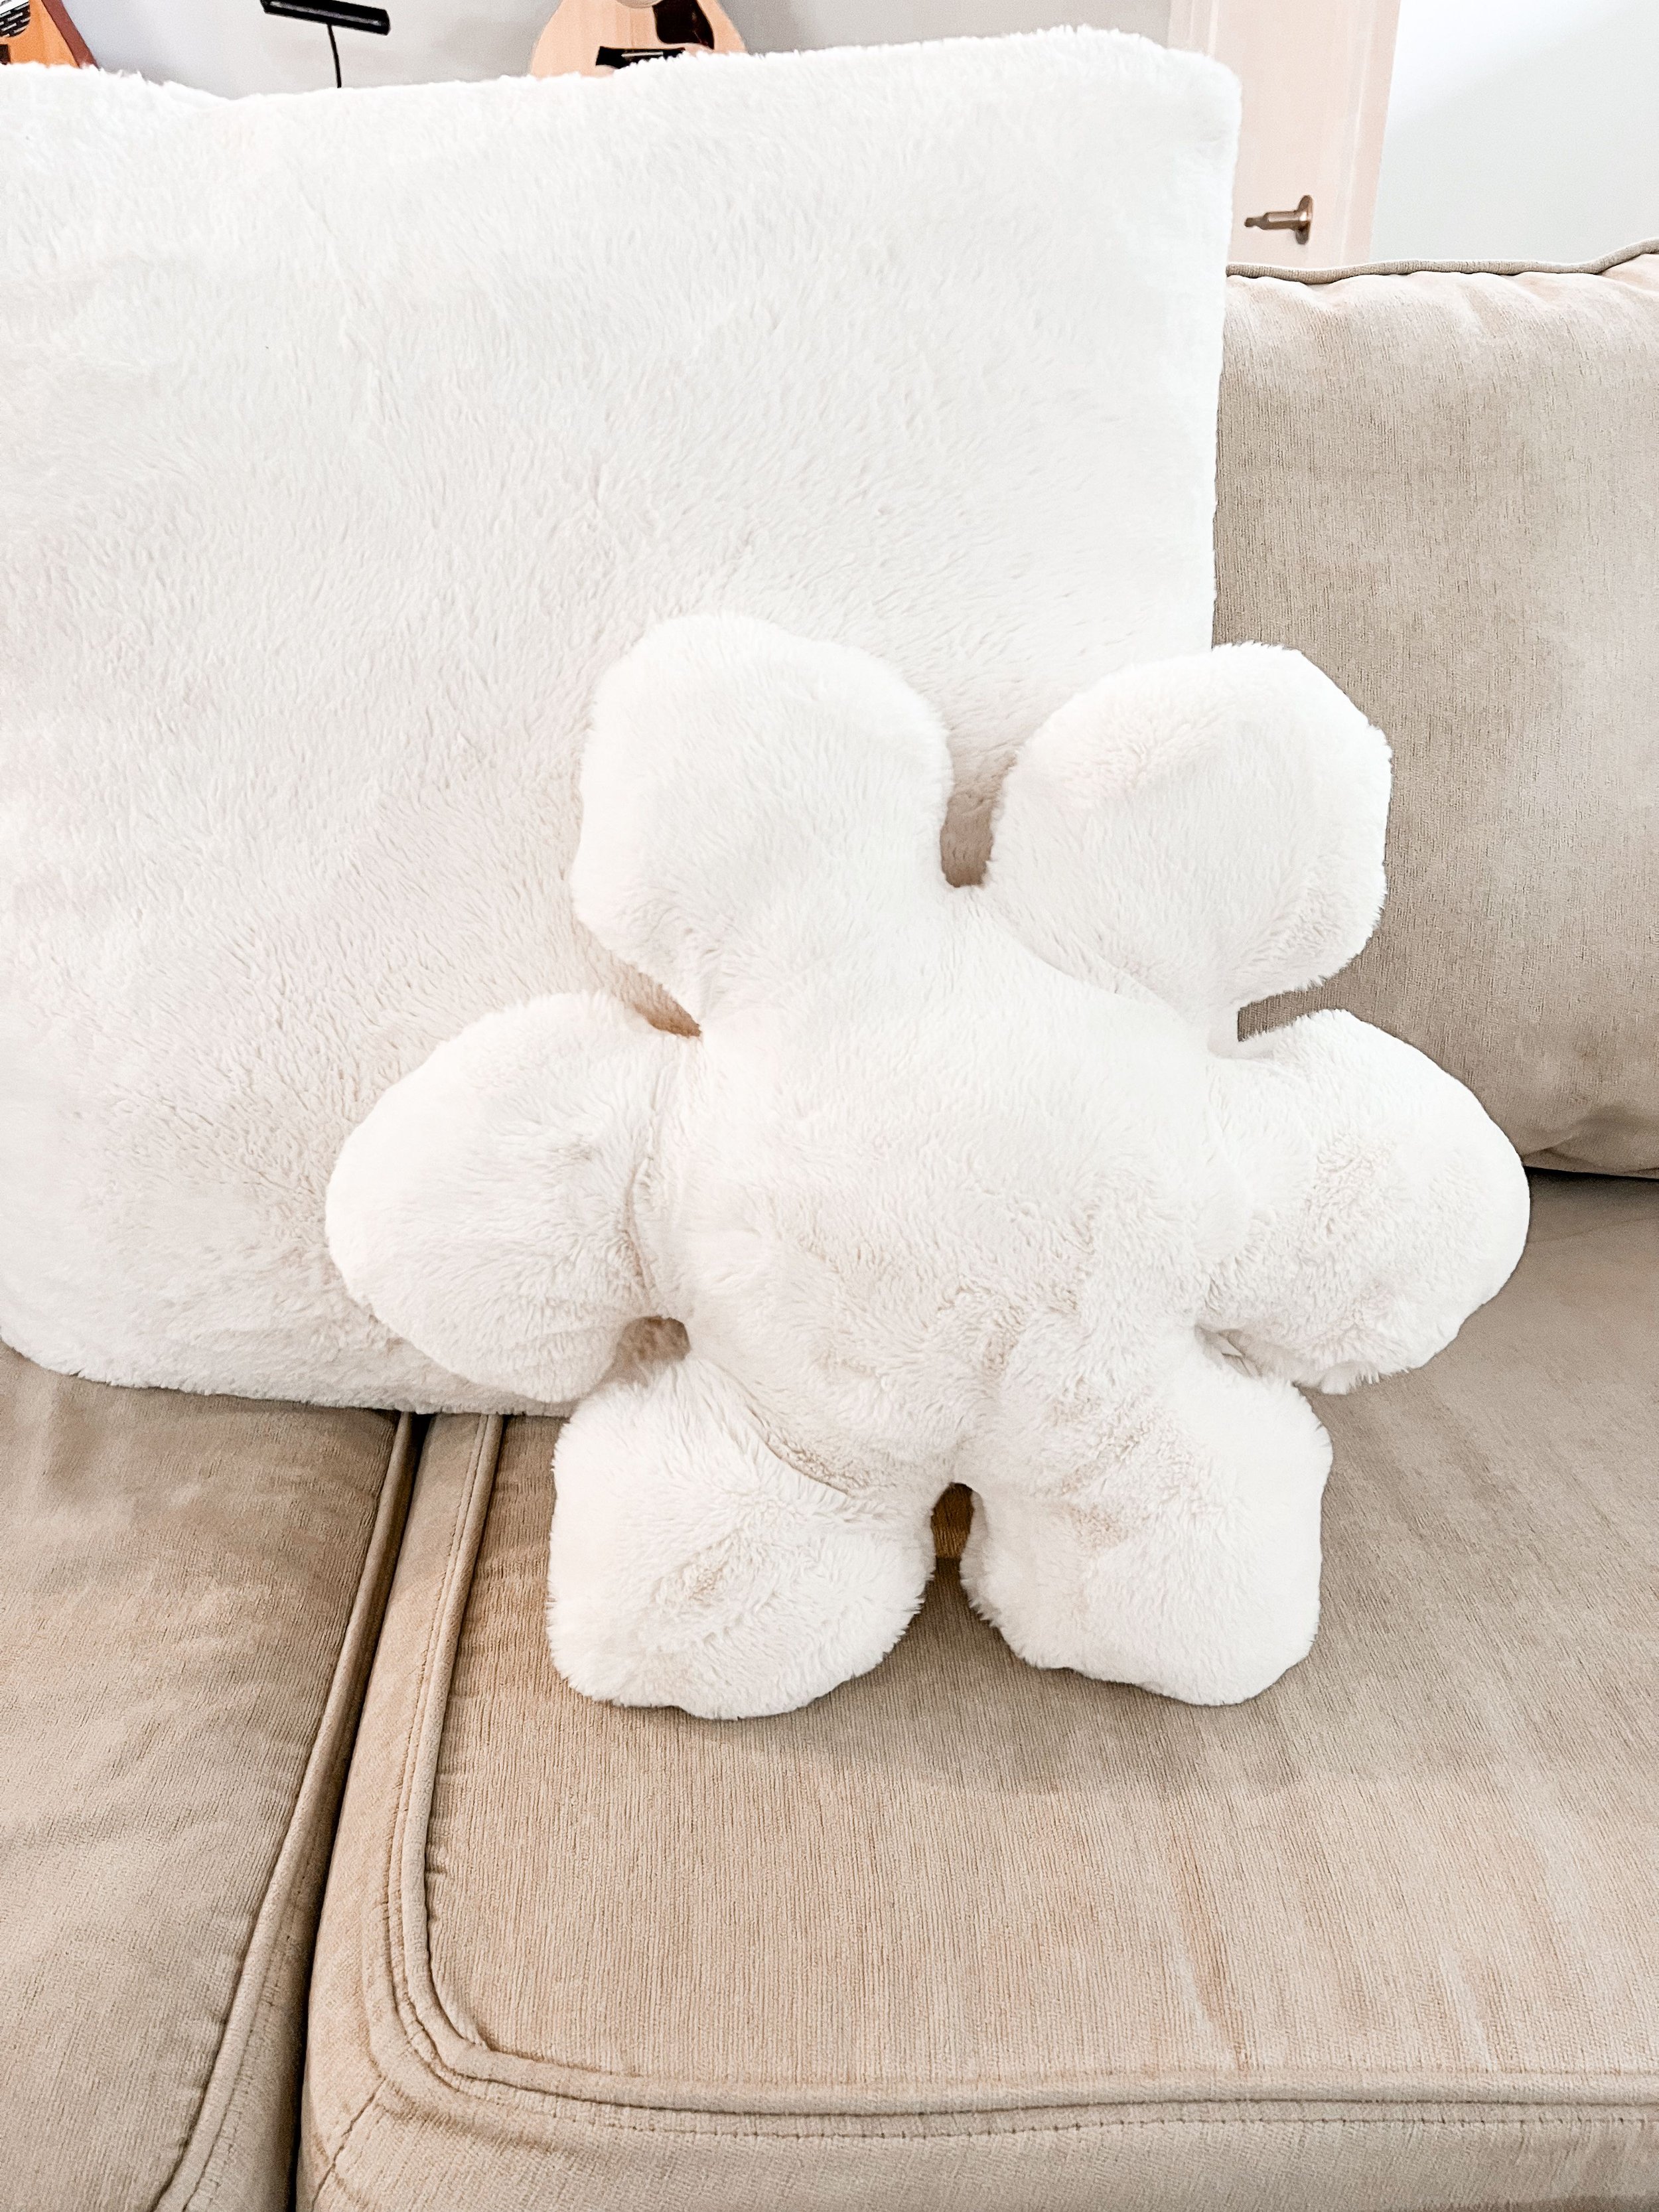
I fell in love with the Pottery Barn snowflake pillow last year, but it's 70 dollars!! Which, for me, is excessive for a pillow. I found a snowflake pillow when I was out, but I really didn't like the fabric for it. However, I had an old Saranoni pillowcase where the zipper is broken so I decided use this old pillowcase to make a new snowflake pillow. I took apart the snowflake pillow and used it as a pattern. I pinned that to the Saranoni pillowcase material and I cut out the two pieces so there is one for each side. Then I pinned them together inside out, meaning the faux fur parts faced each other when I pinned them together. Then I sewed the two pieces together. This was a little bit tricky, minky style material can be tough to work with and I am not a seamstress. Sewing is not something I do regularly or I would even consider myself good at, but I'm decent enough that I can do things like this.
Once I was done, I flipped it right side out, which was not exactly easy because the hole I left was not very big. Then I stuffed it with stuffing I had left over from another project and made sure it was nice and full. Then I finished it off by sewing the hole closed. My end goal for this was that it was going to feel nice, be comfortable, and we were actually going to use it, which I think I accomplished! This years batch of Christmas crafts have been so fun! Stay tuned for more crafts/DIY content coming soon!
2023 Christmas Crafts | Shop
