
Why You Need an Orbital Sander
An orbital sander is a handheld sander with a round continuously moving part that ensures a smooth finish when sanding. It is one of, in my opinion, the best tools a beginner DIYer can get. Let's talk about why an orbital sander is so important and why you need one in your DIY arsenal.
Why You Need an Orbital Sander | Helpful Tips
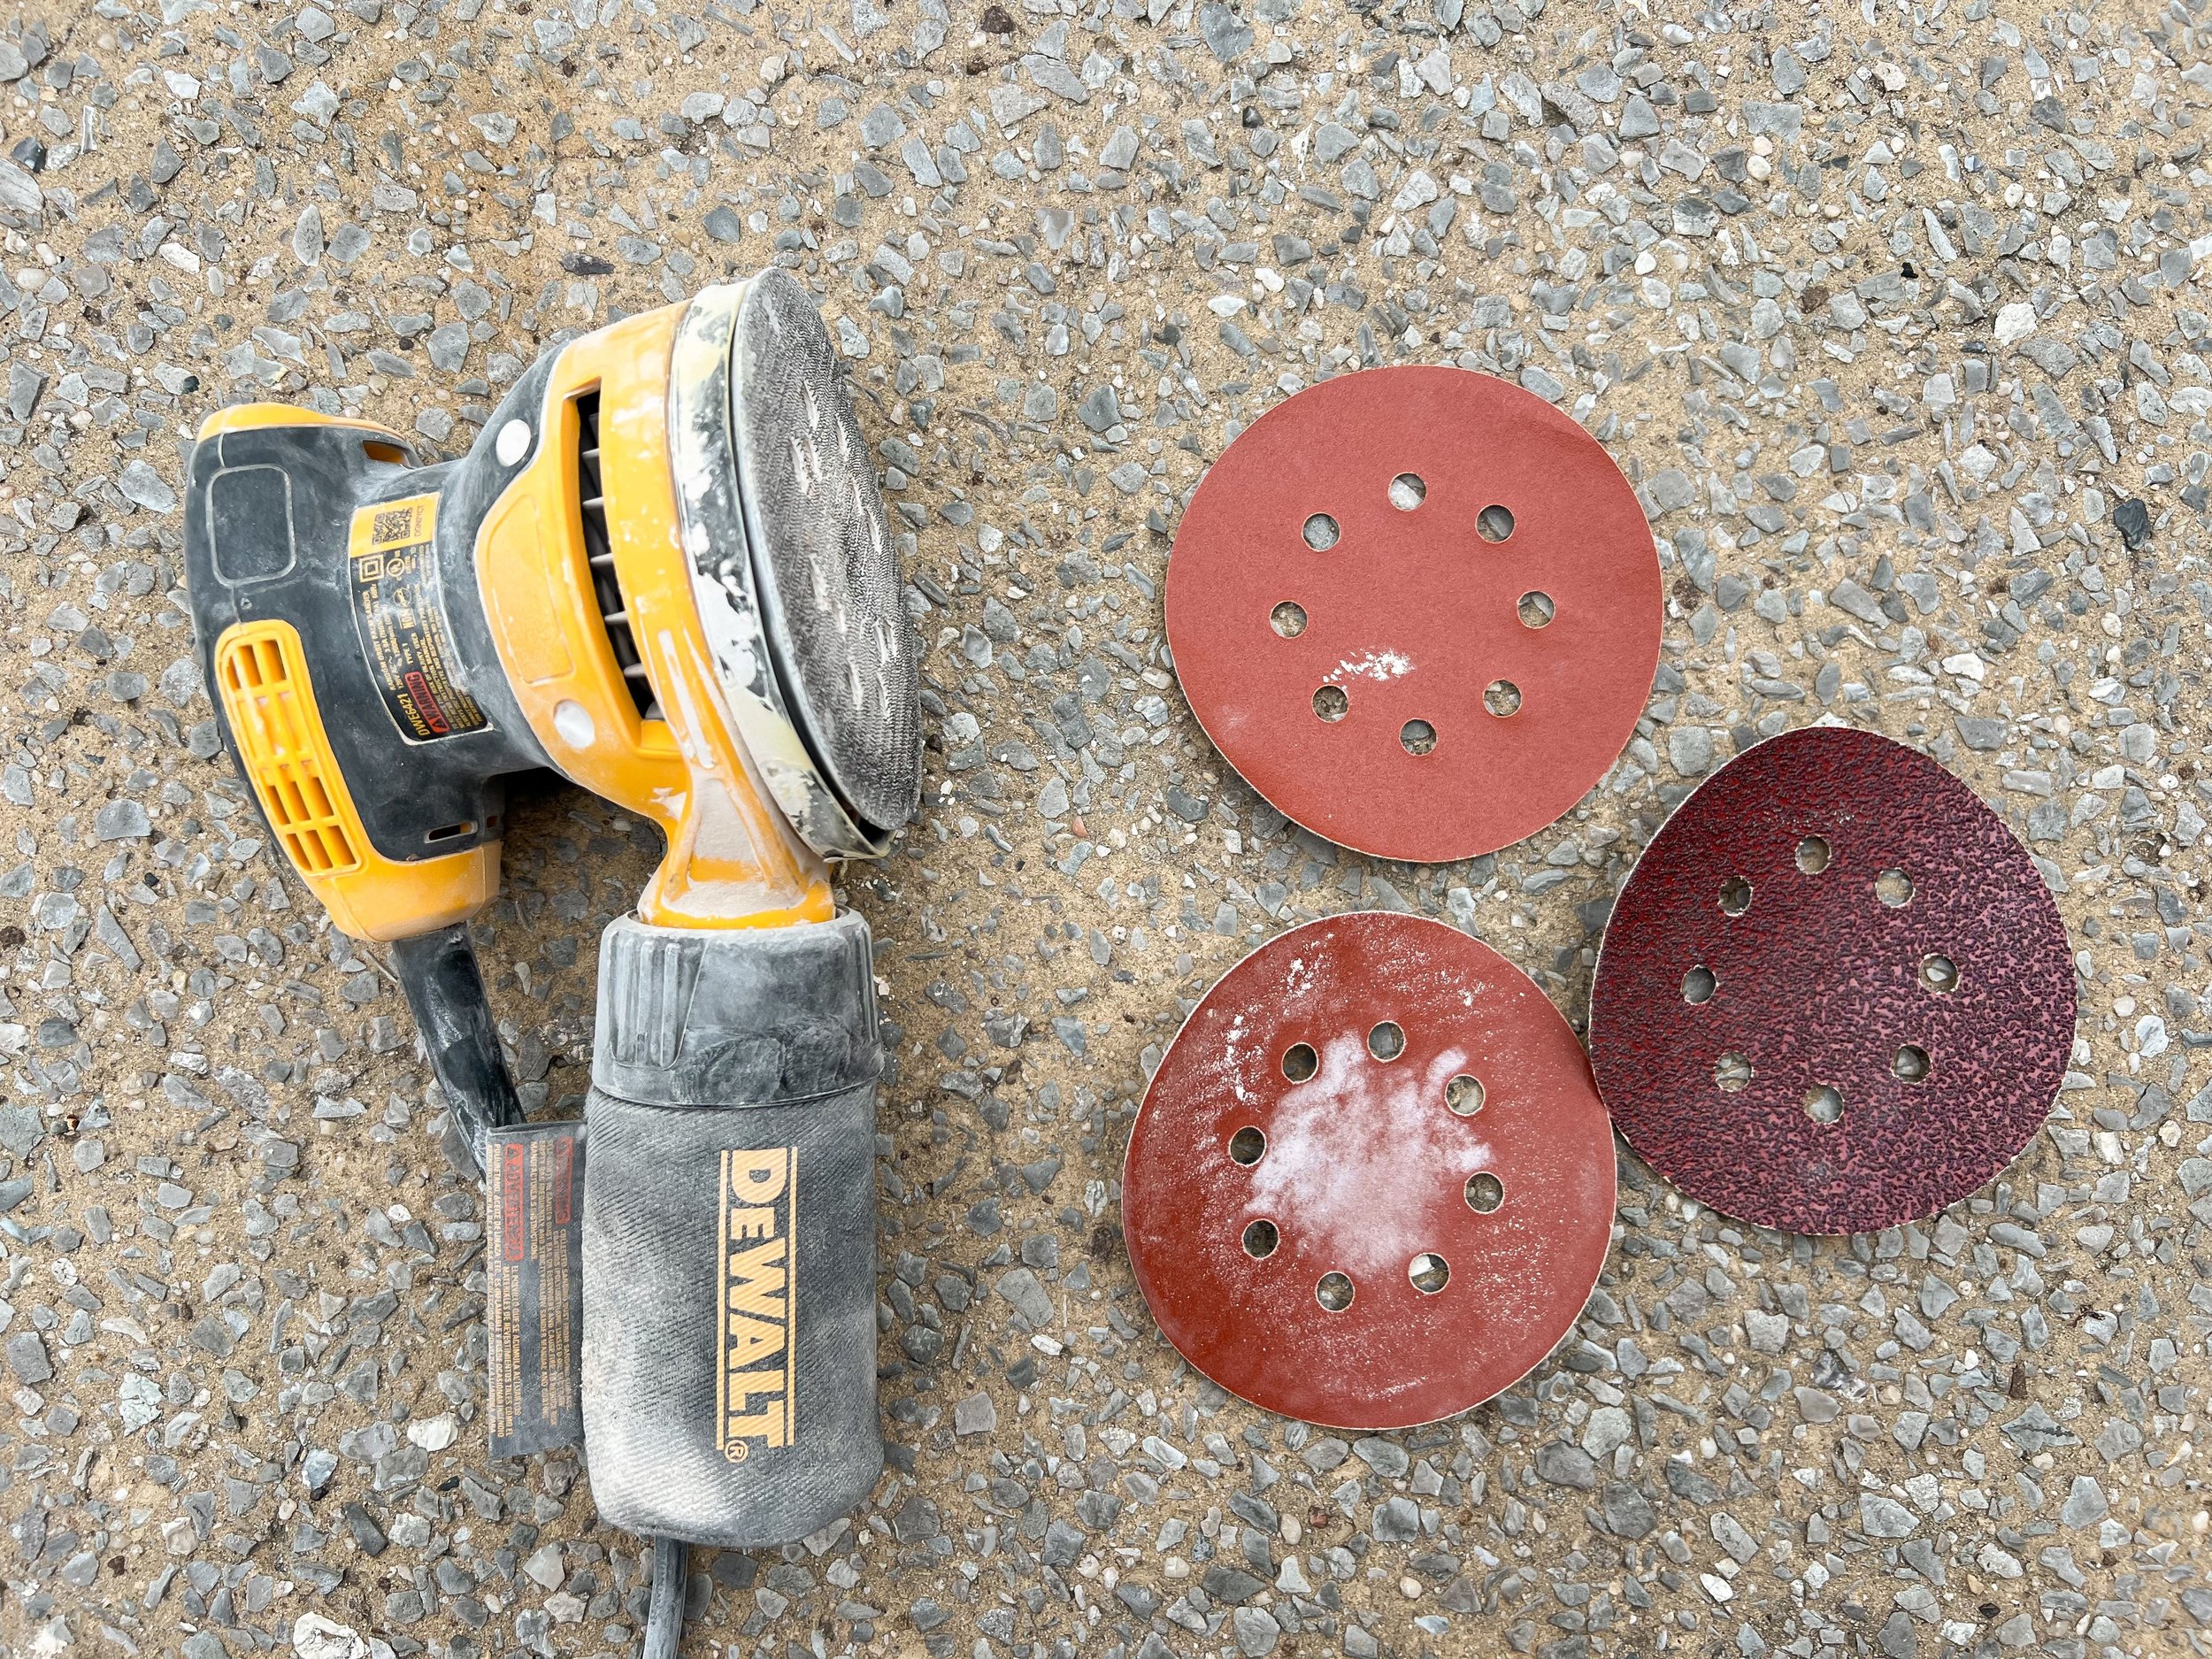
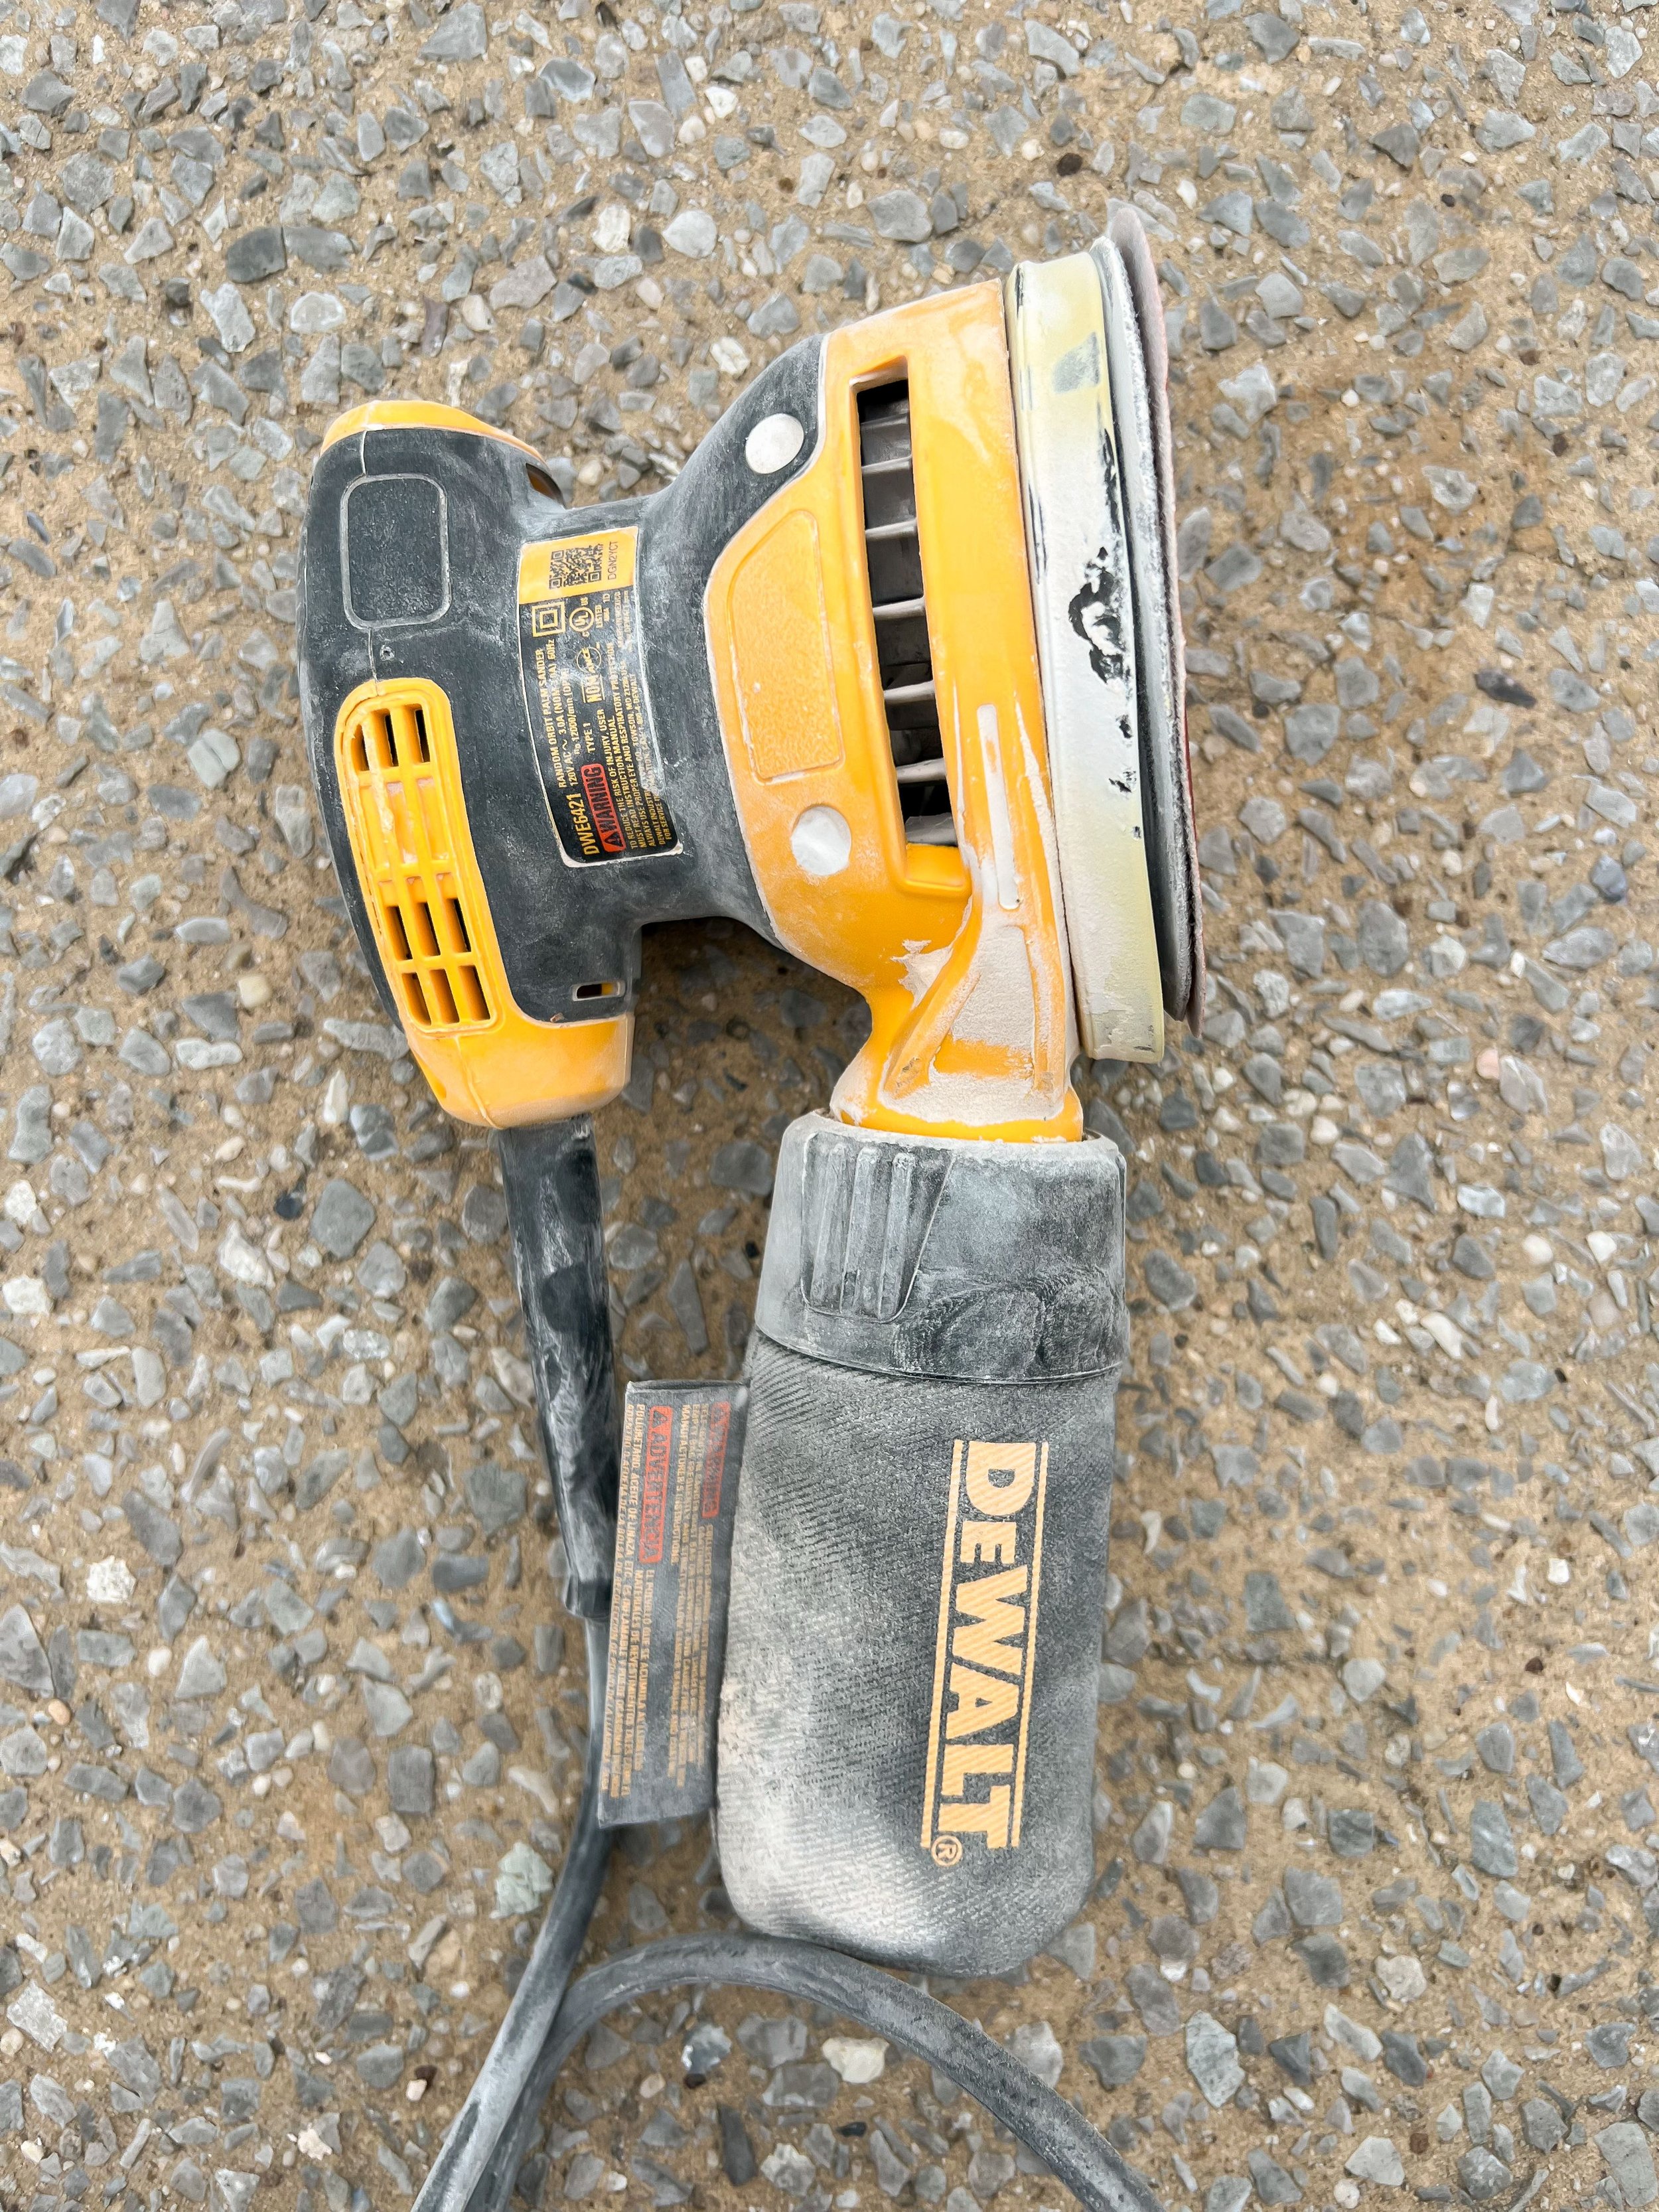
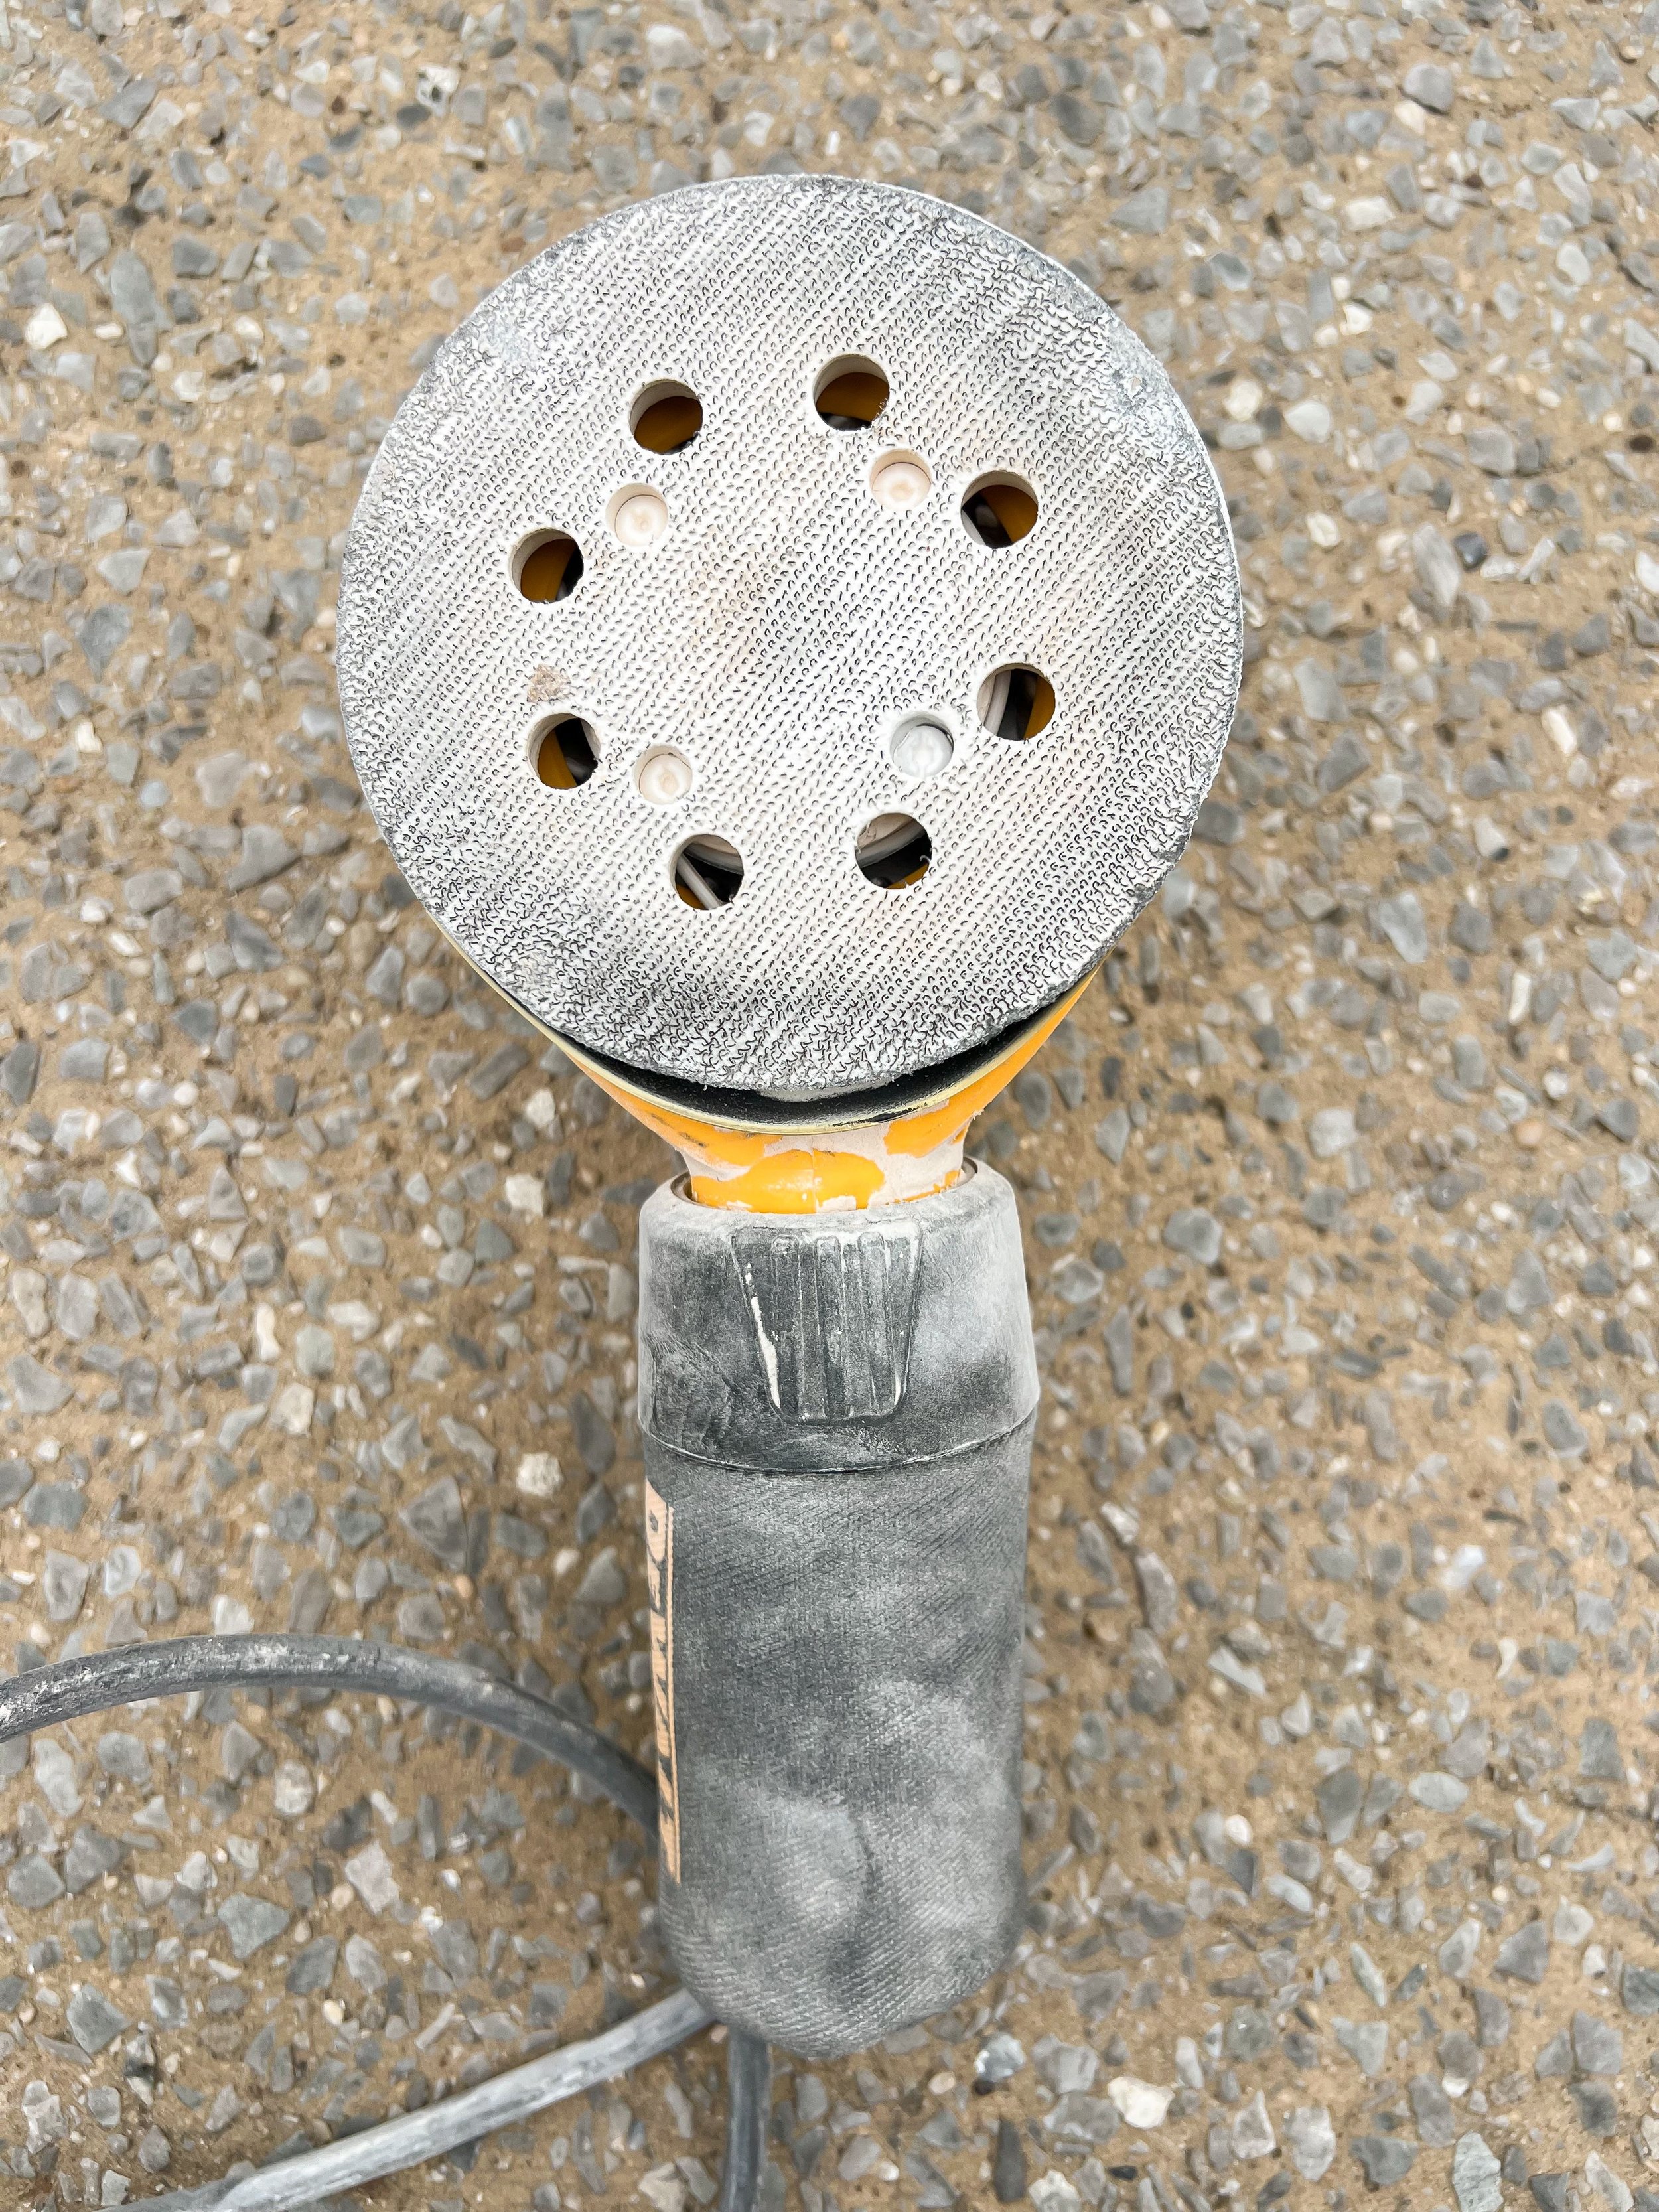
Orbital sanders come in both plugged in and battery operated models. They have a Velcro pad you can attach sanding pads to with different grits for different projects. They also usually have a bag attached to catch some of the particles that are sanded off but not a lot of it, so don't rely heavily on that.
A big disclaimer when it comes to using an orbital sander: Always, always, always wear safety glasses and a respirator mask when you are using an orbital sander. All that stuff you are sanding can end up in your lungs or irritate your eyes otherwise.
There are also a lot of orbital sanders that you can attach a shop vac to that will pick up a lot of the particles you're sanding off. If you're in an enclosed space when you're sanding, it's much better to attach a shop vac so you are keeping the particles contained. Regardless, I would strongly recommend still wearing a mask and eyeglasses though because you don't want any of that in your body. I actually try my absolute best to not sand inside and to only sand outside. I'll even delay projects so I can sand outside but that's me.
Once the dust bag is full, all you have to do is twist it off and you can dump it into a trash can or a trash bag. Make sure you're still wearing your mask and your glasses because some of it will come back out and you can still ingest it.
If you're doing lots of projects, I would highly recommend having one of these. It just makes your life so much easier.
Why You Need an Orbital Sander | Project Examples
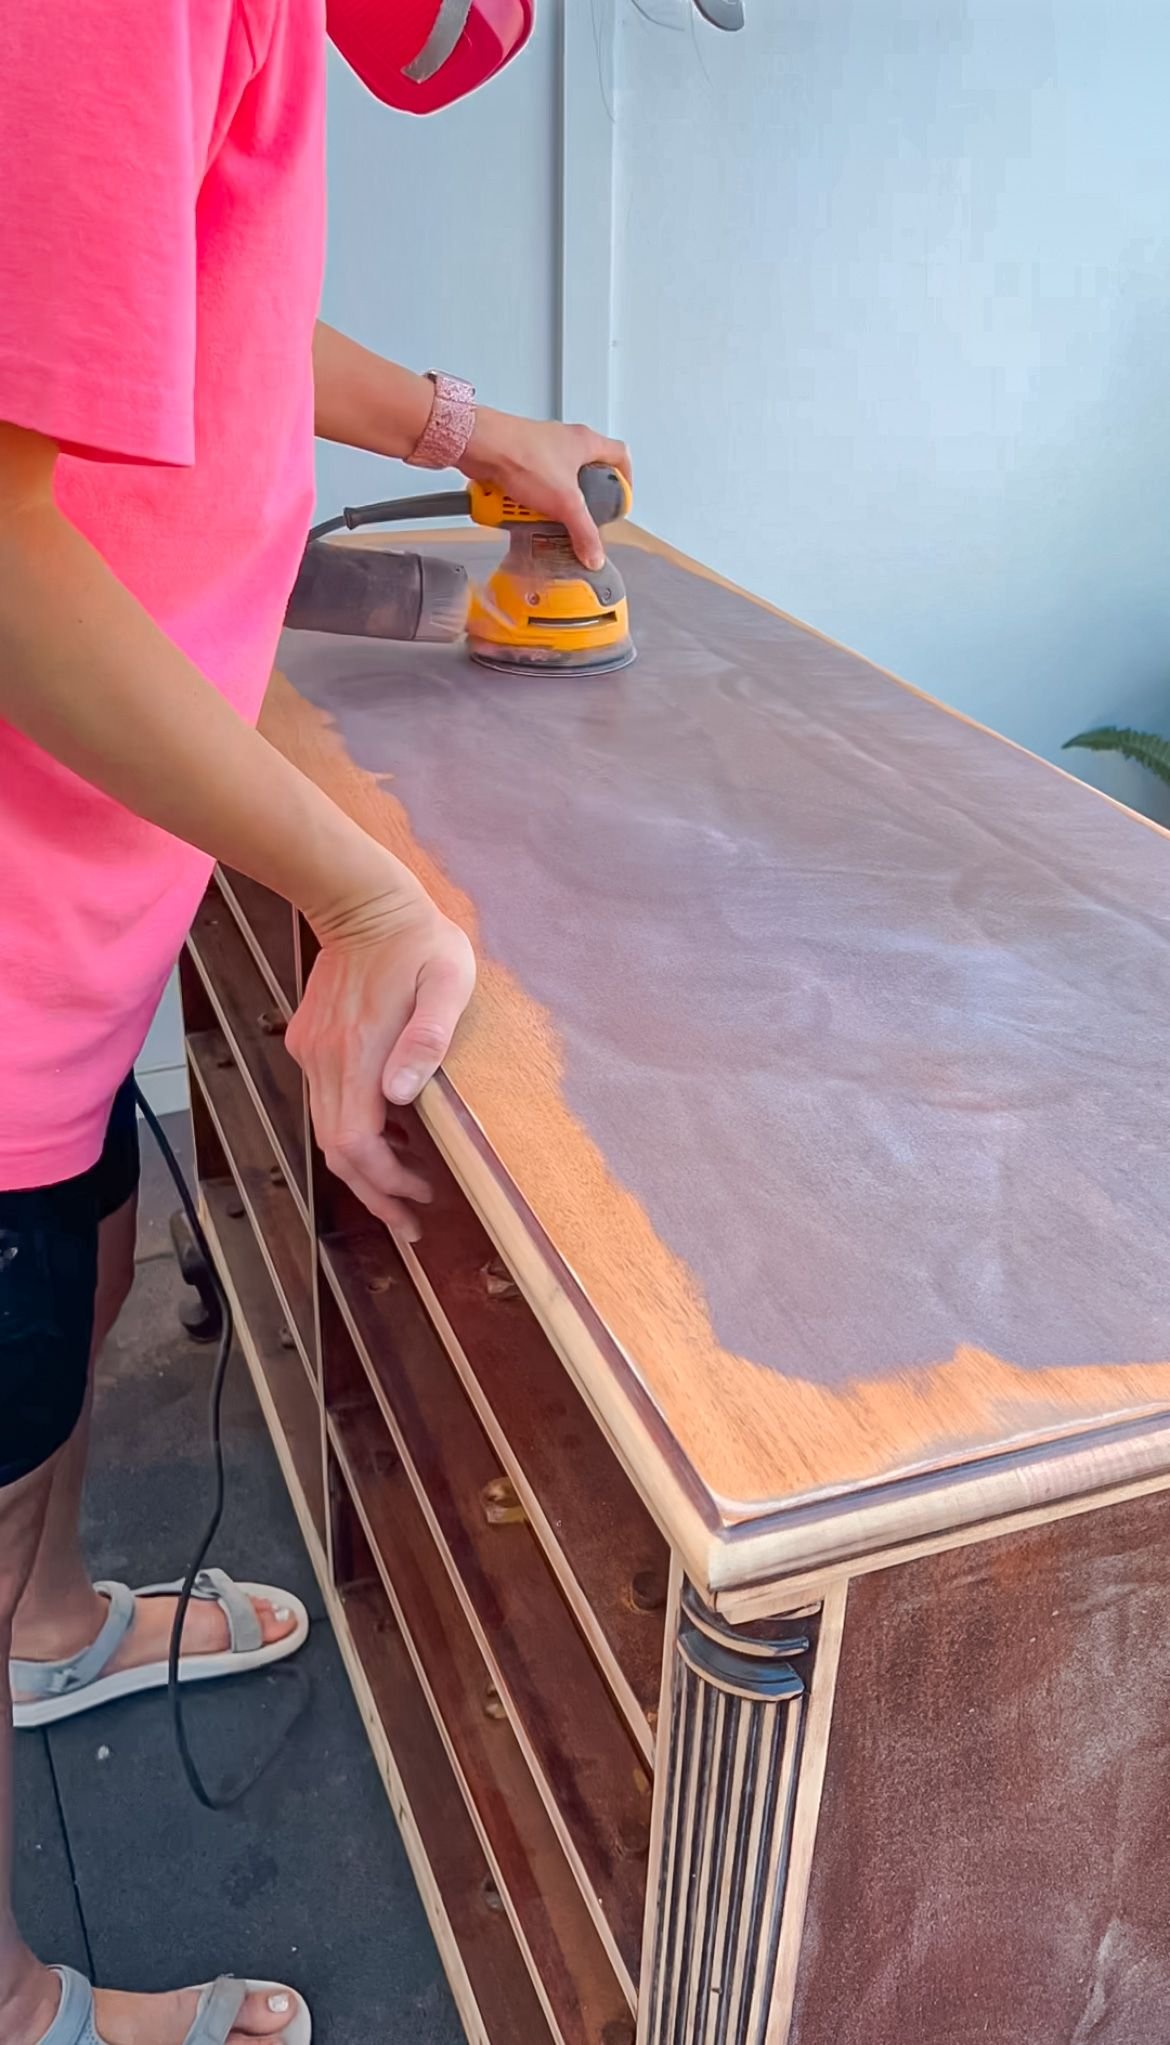
The great thing about an orbital sander versus sanding manually is you're going to get a lot more power because it is a power tool. It's great since it has the Velcro pad on it, you can put different grits of sandpaper on it and you really can customize the usage of it to the project you're doing. For example, when I was redoing the dressers for the nursery, I really needed to get the finish off. I used a really high grit on the top to remove the finish and then another when I wanted to scuff up the overall finish so I could paint it and there was something for the paint to adhere to. In this case, because I was trying to scuff up the piece of furniture so I could add paint to it, I was not looking for a super smooth finish when I was using the sander. That's why I only used the low grit sandpaper, an 80 grit, and it made all the difference.

Another example showing the useful swap out grits of the orbital sander is when I worked on the headboard project. When I was prepping the live edge wood, I was really working hard to get all of the extra bark off. I was using 60 grit sandpaper originally to get all of that off, then I followed it up with 80, then 120 and then a 220 to make sure the wood was really, really smooth. It was so easy to just swap out the different sanding pads as I went. It still took me a long time, I will admit that. Even with an orbital sander, it is going to take you a long time to sand stuff down to where you want it to be for a project, but it's so much faster than doing it by hand.
The moral of the story is you need an orbital sander. It will make SUCH a difference in your DIY game and cut your project times down in half. You can shop the sanders and accessories I recommend below.