
Kreg Cutting Guide Tool Tutorial

Last month, I went over the basics of how to use a circular saw. In that post, I promised I would show you how to use a cutting guide so you can get the perfect cuts every time. We will go over how to use two different Kreg cutting guides. Lets get started!

Kreg Cutting Guide Tool Tutorial | Overview
First, I’ll show you how to use the Kreg eight foot straight edge cutting guide. Once the cutting guide is assembled, line up the saw blade on the outside of a piece of wood and mark the furthest end of the saw. Do this at both the top and bottom of the wood. Line up the cutting guide with the two marks you made, and then extend the indicator arms to the edge of the wood. Using the screws on the ends of the indicator arms, secure them in place. Now the cutting guide is set up for your saw.
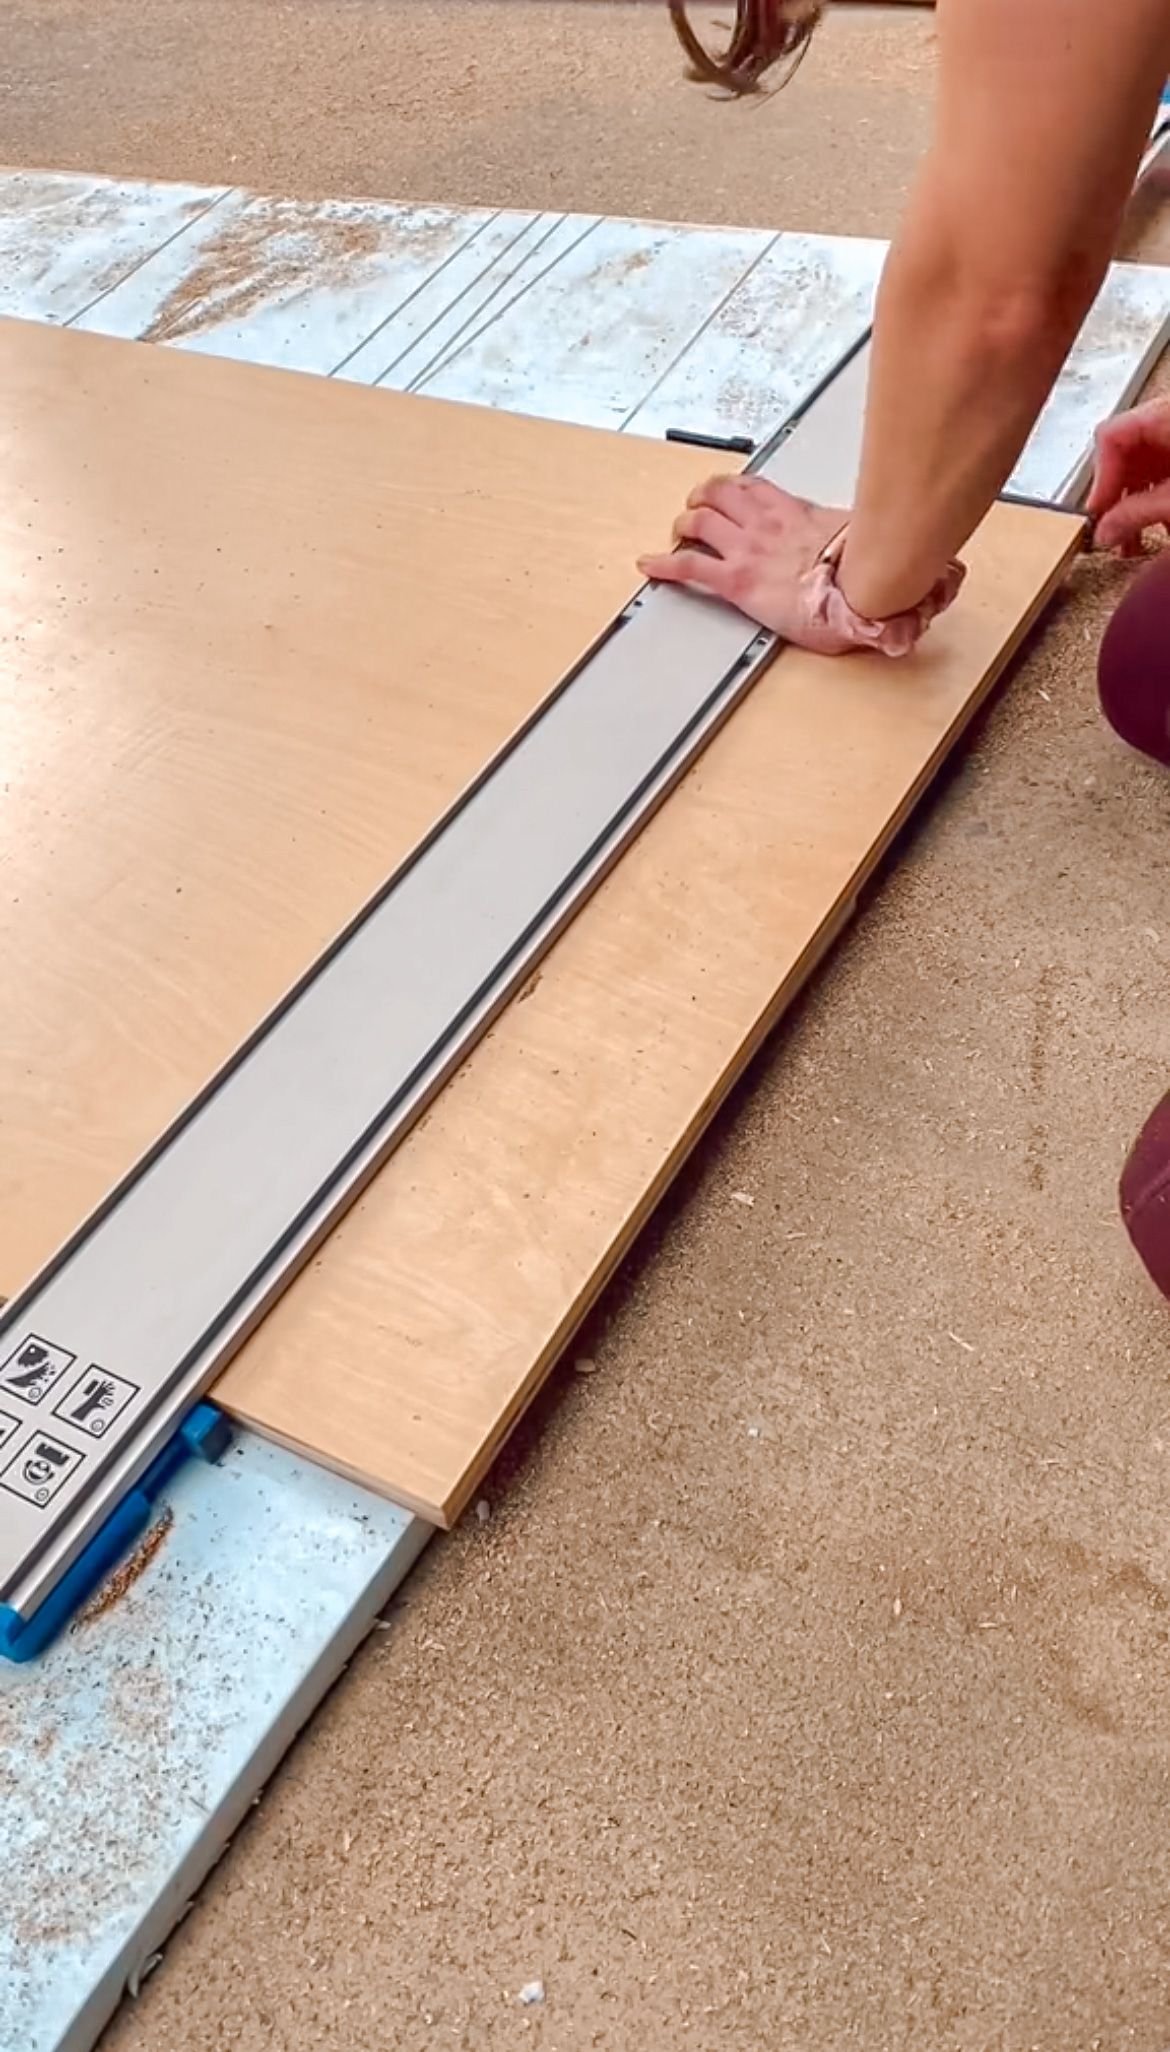
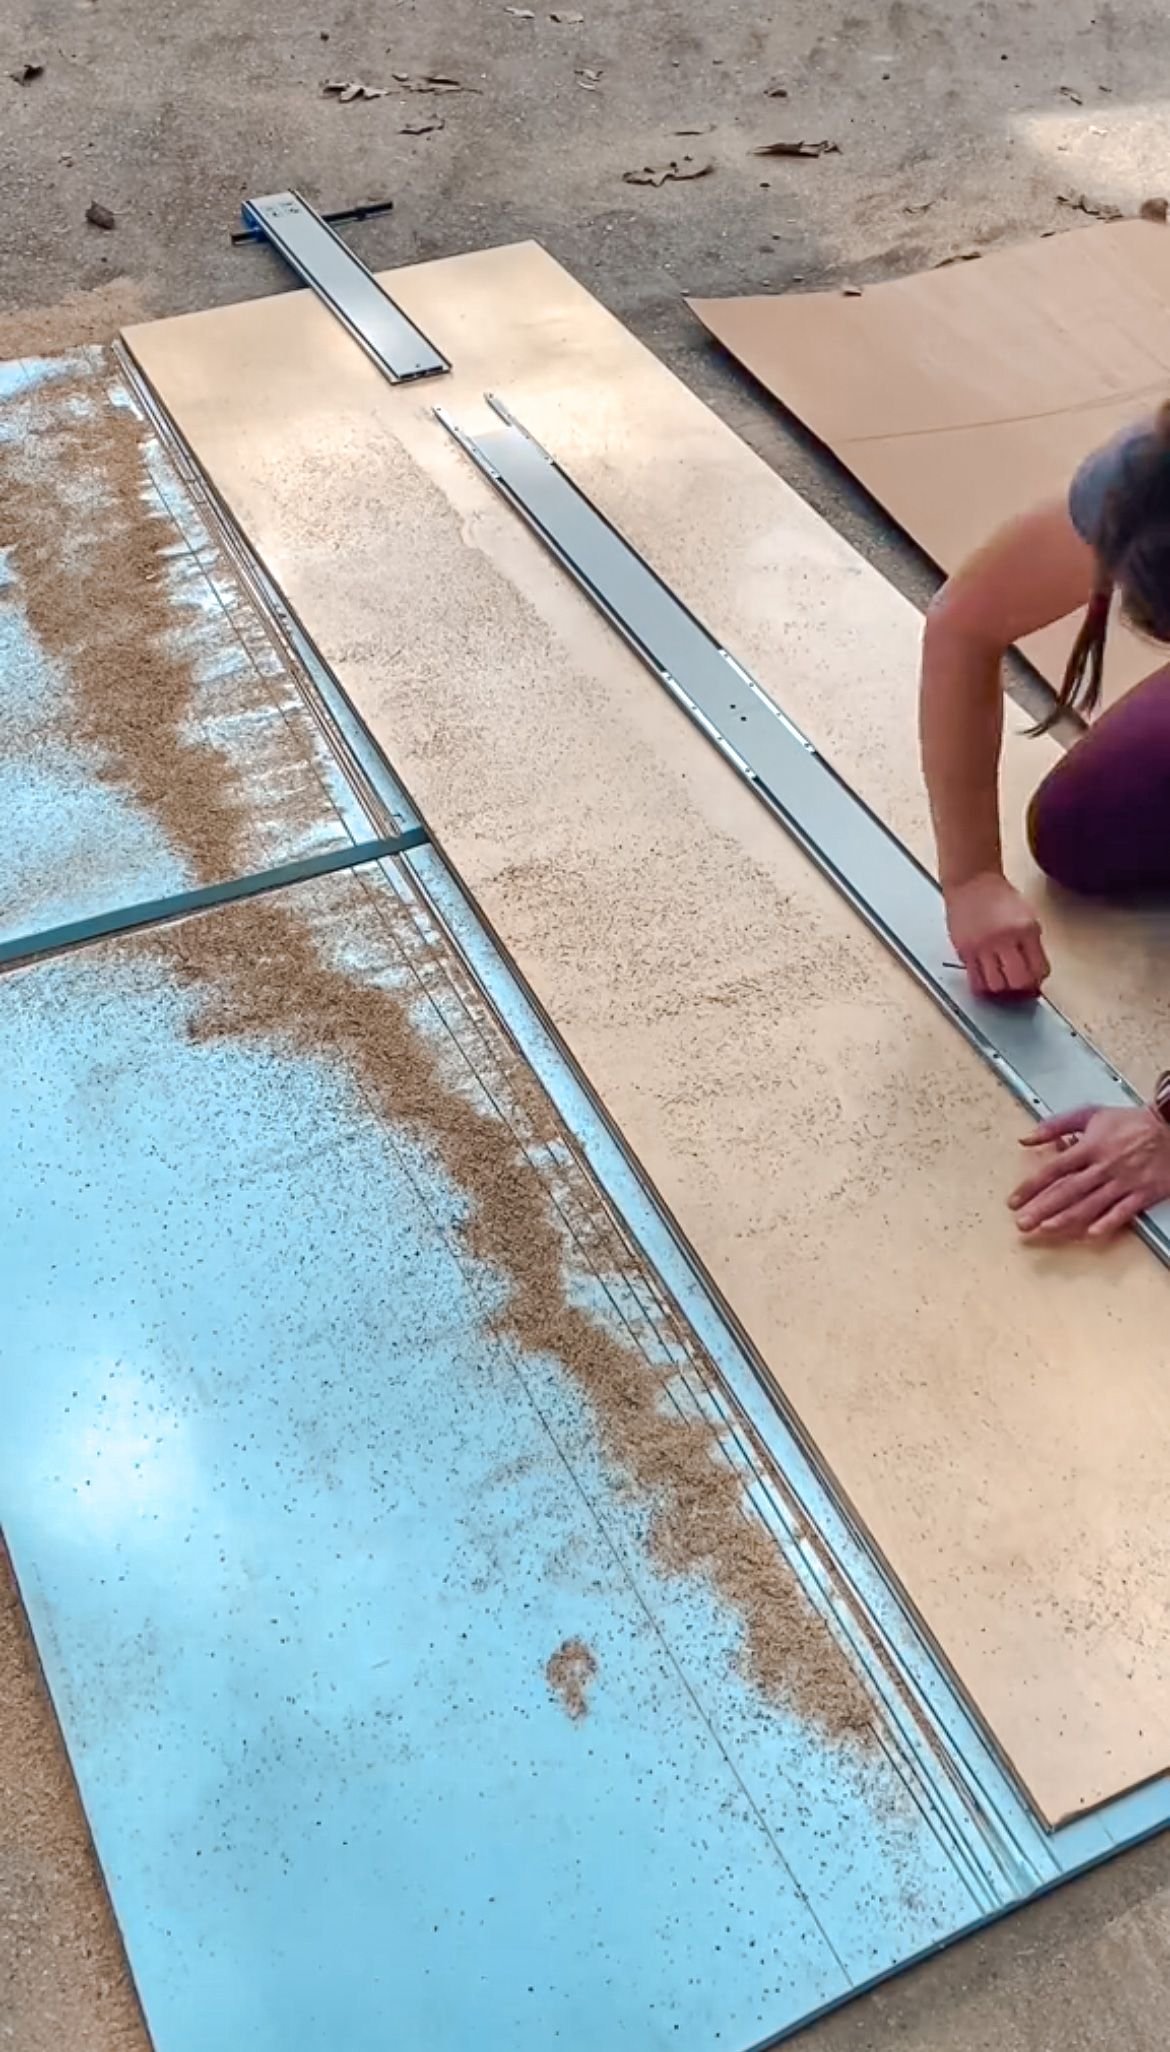
To make a cut, measure the length of the cut at both ends of the board. Position the cutting guide so the indicator arms line up with the two marks you made. Pull back on the handle to clamp the cutting guide into place. Make sure the wider side of your saw is coming up against the straight edge. Then, move your saw all the way down the board. If you notice that your cuts are not straight, be sure to check your indicator arms. The screws may have loosened and come out of position. The thing I really like about this specific cutting guide is you can change the length. So, while you can use it up to eight feet long, you can easily take out sections for shorter cuts.

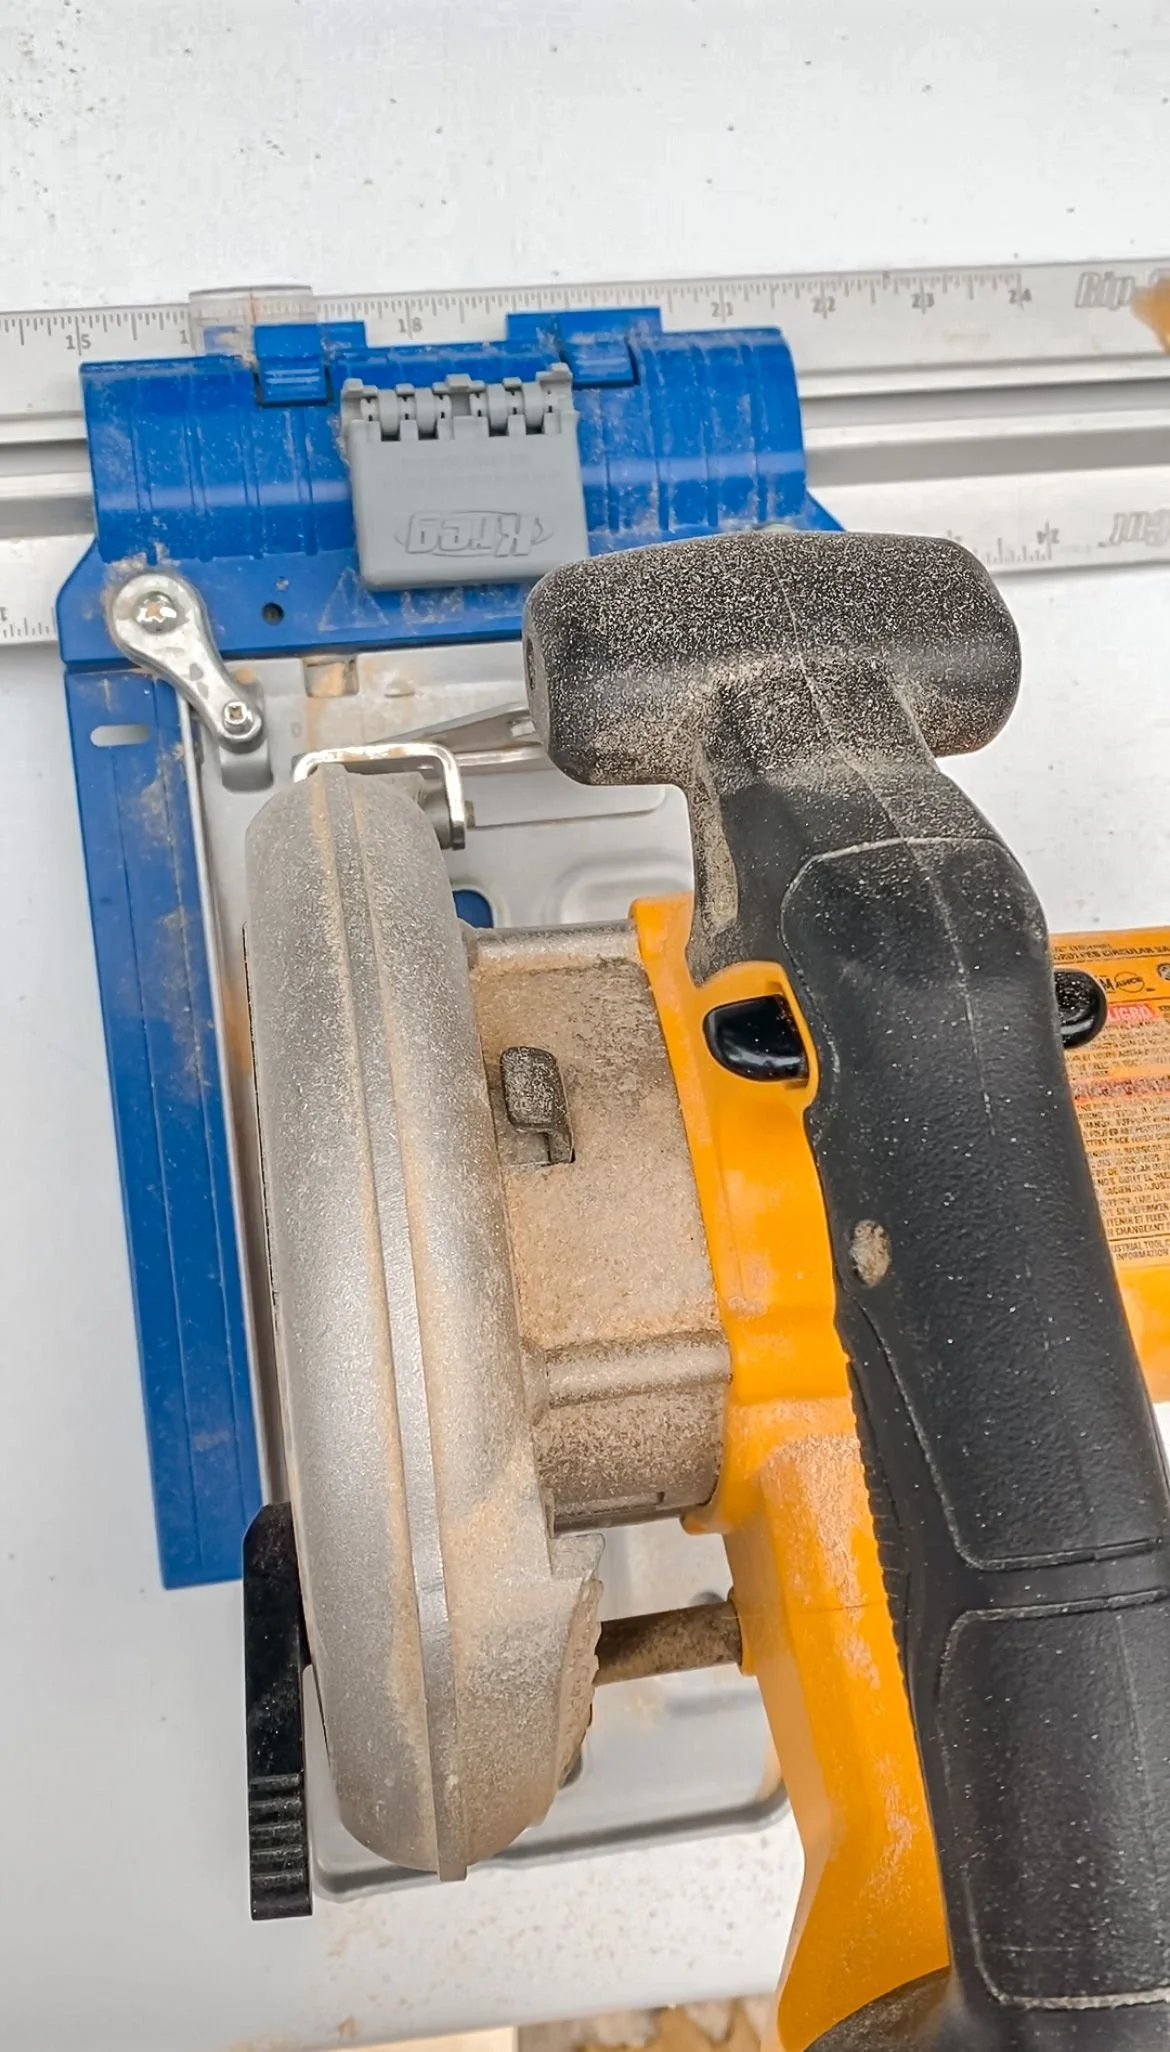
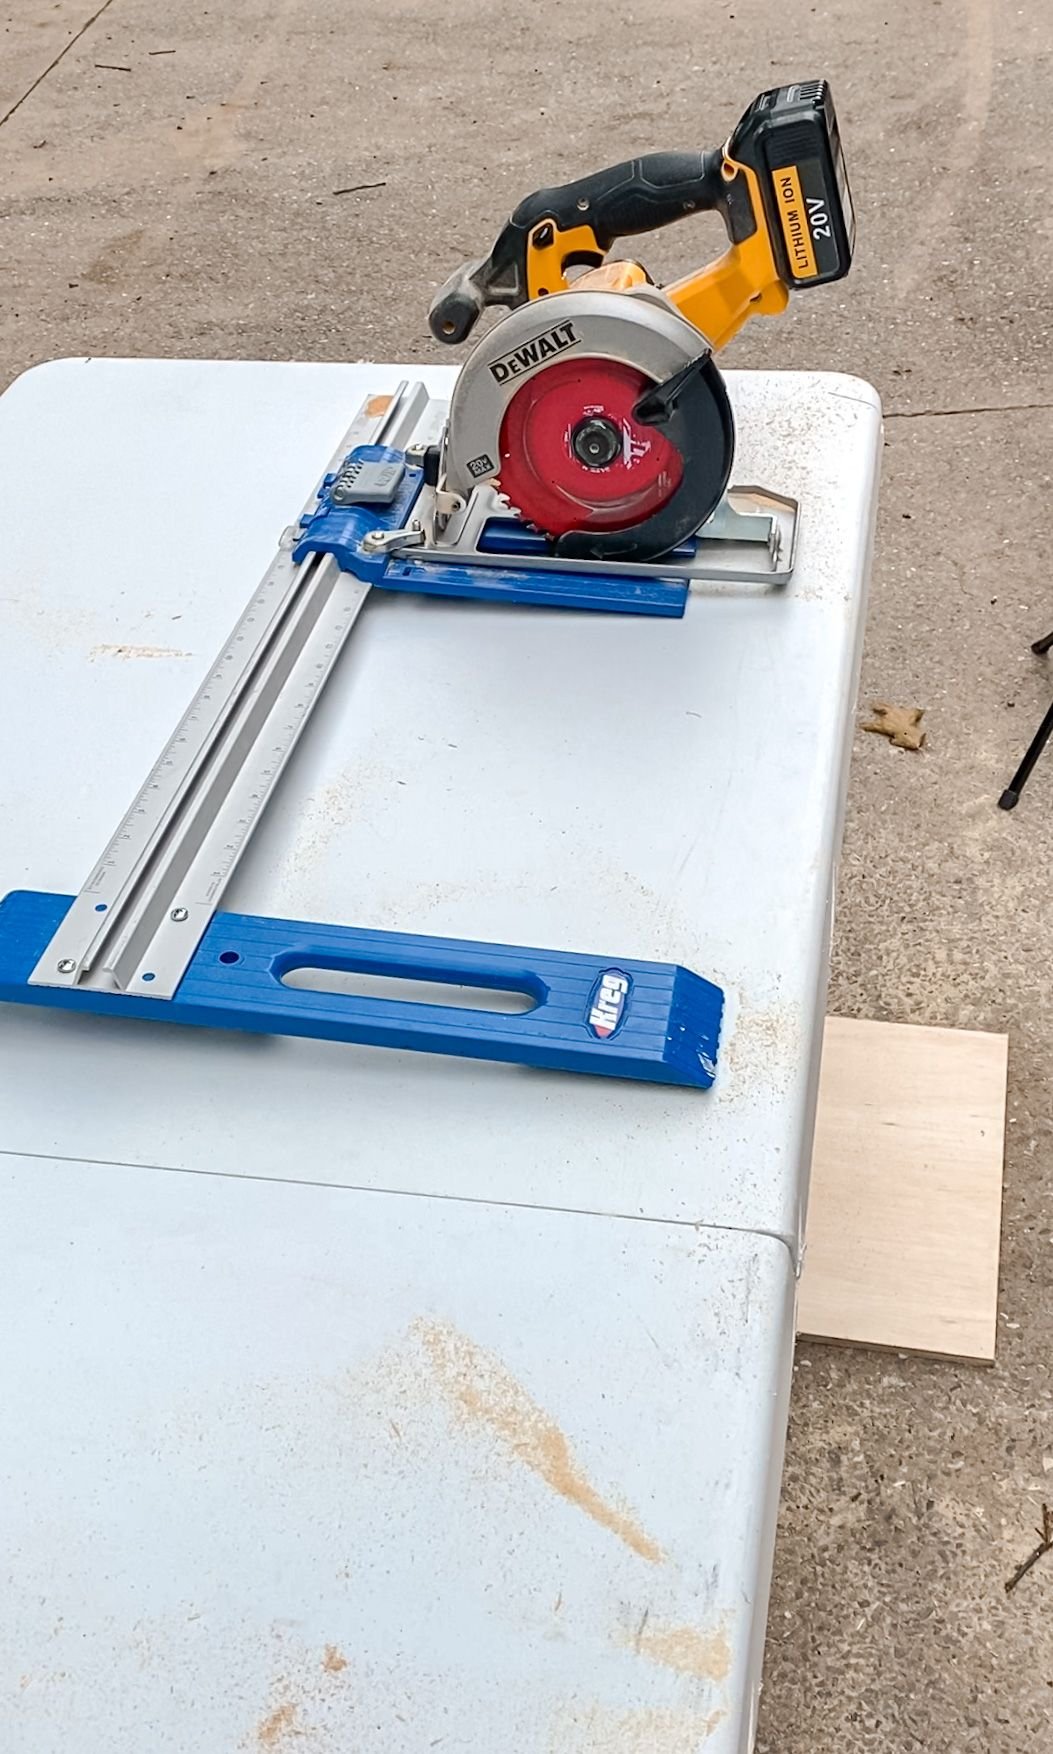
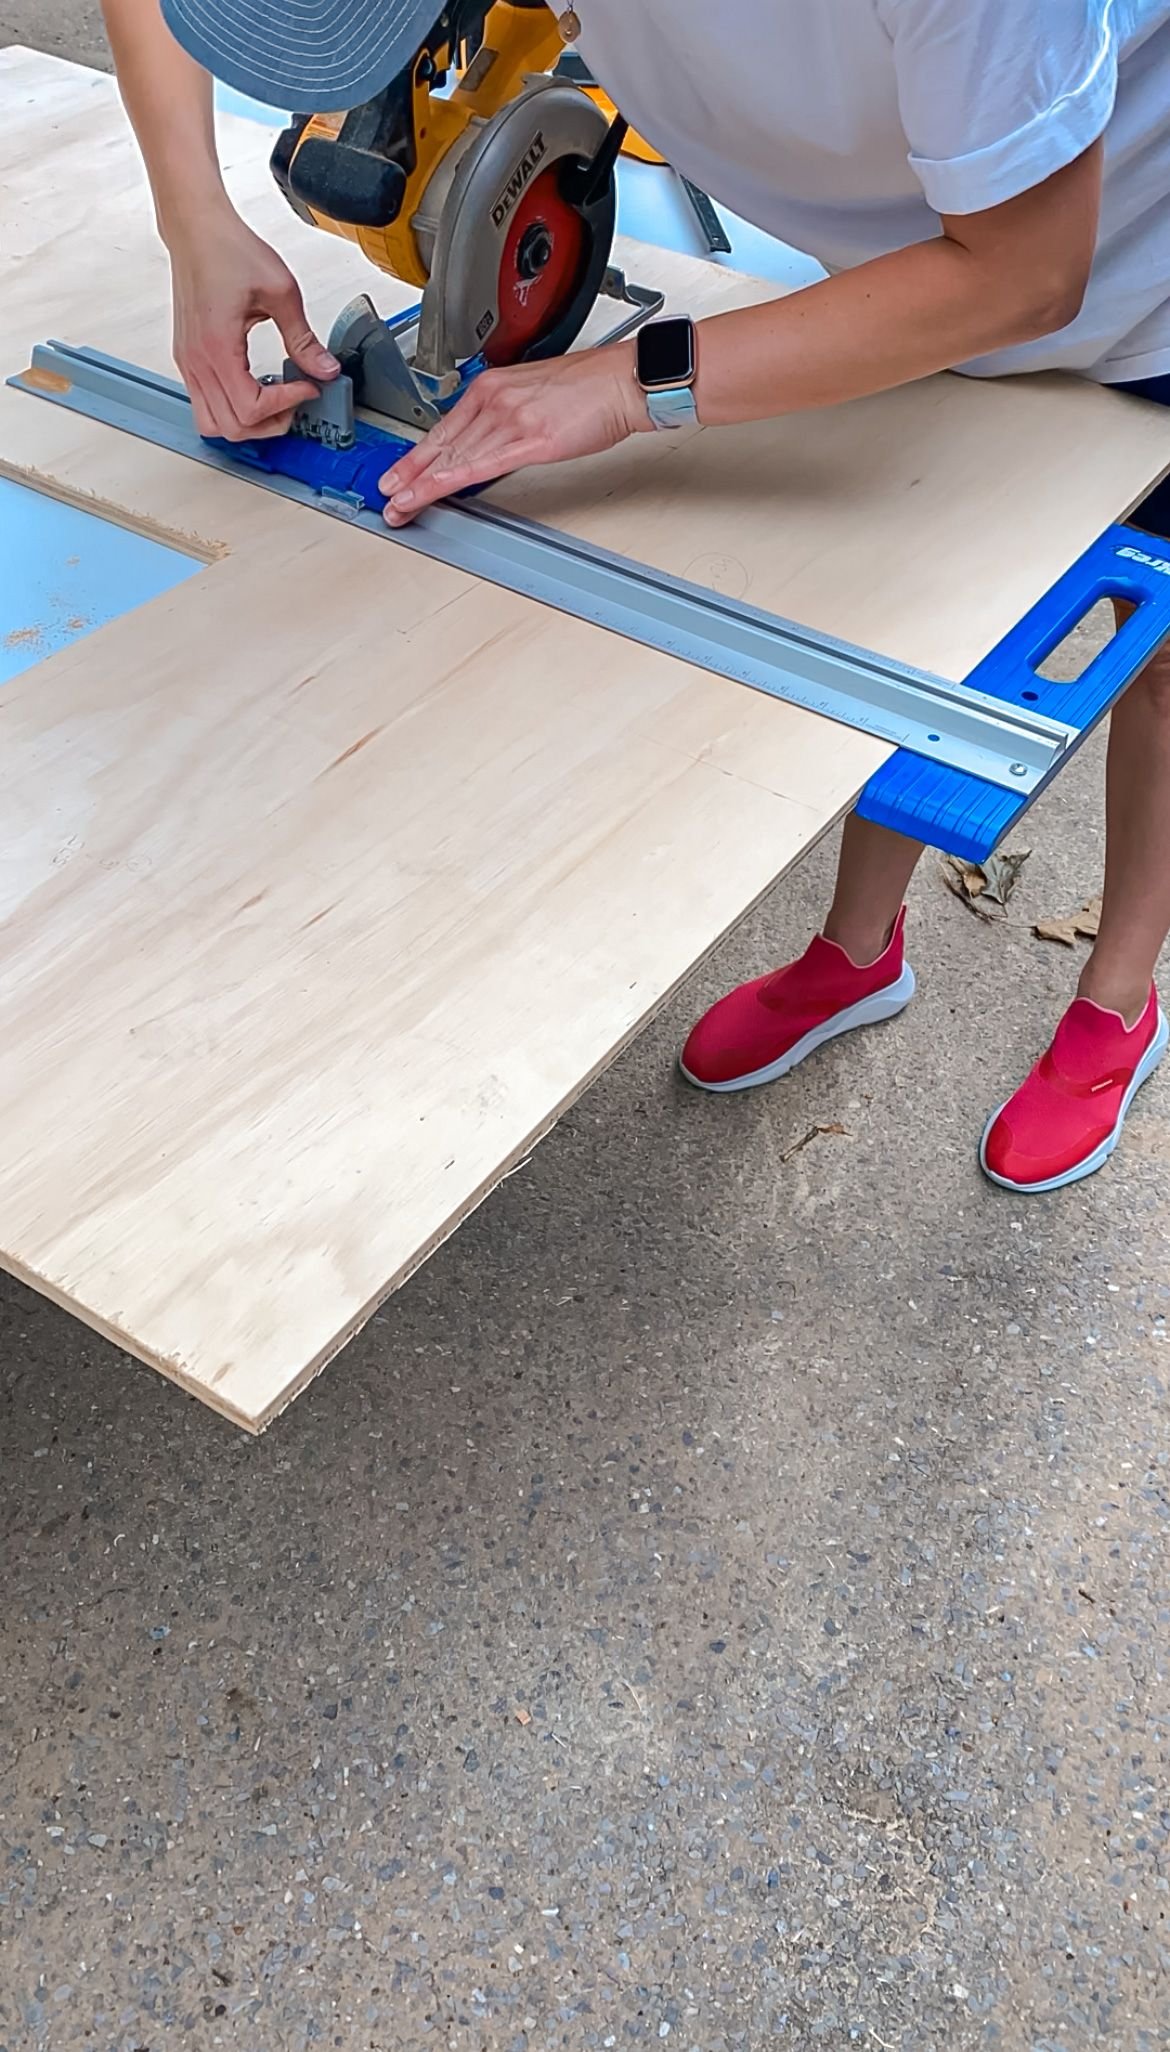
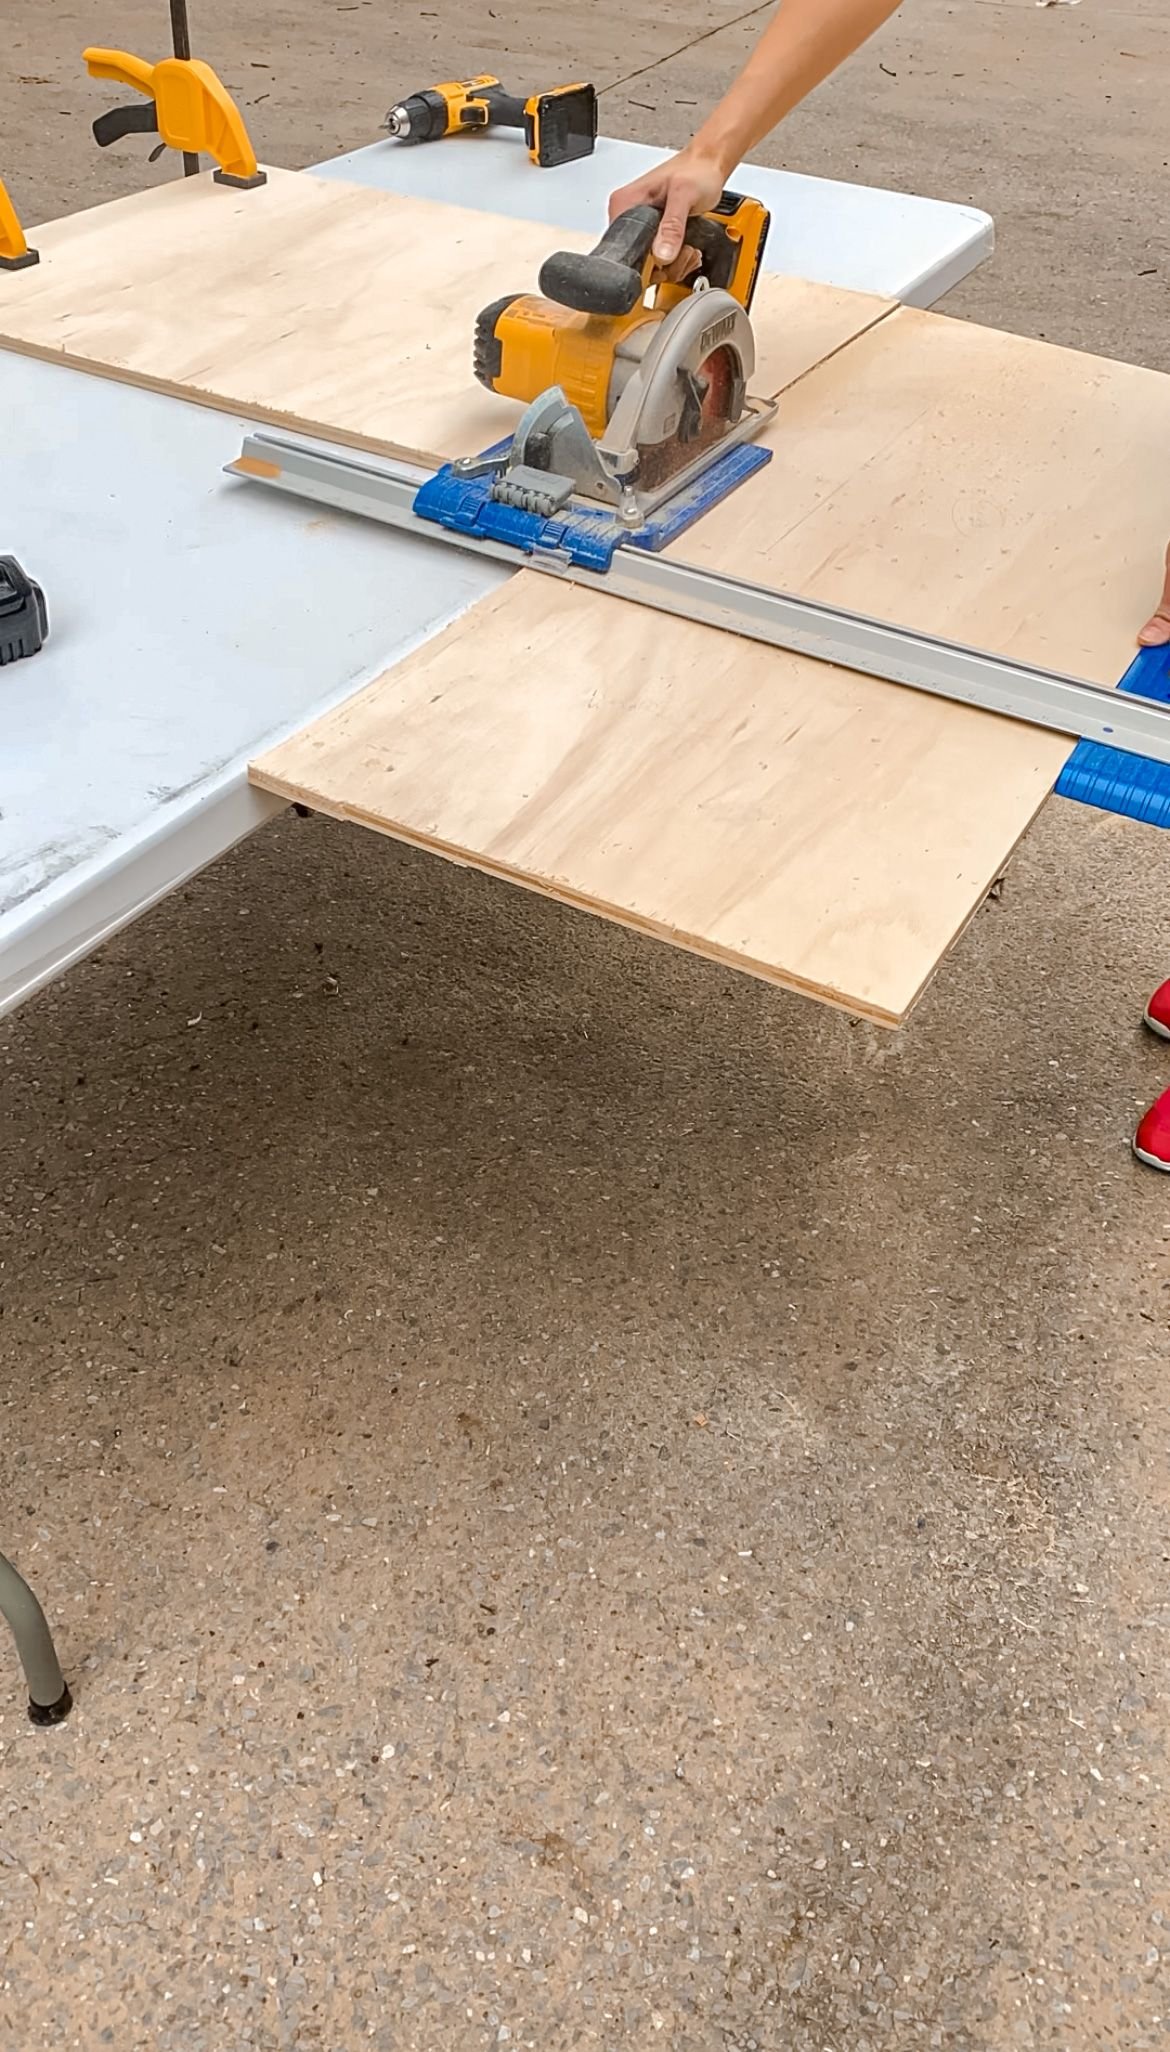
Now, for the other Kreg cutting guide. This one is great for when you are doing a lot of the same cut over and over again. Your circular saw attaches to a blue piece at the front, which then attaches onto a silver bar with measurements on it, which is really helpful. You can adjust where the saw is placed on the cutting guide depending on how big of a piece you're cutting. You just open up this clamp, adjust where the saw needs to be, and close the clamp again so it stays in place. You then use the outside piece with the handle to guide along the edge of the board you are cutting to keep everything straight. This is my go-to guide when I am cutting plywood that is too deep to cut with my miter saw.
These guides make make precise cuts with your circular saw so much easier. As I’ve said before, the number one DIY and tool tip I have is to get some scrap wood and practice using the tools over and over again. It can be really intimidating, but once you get comfortable with it, things will be a lot easier. Good luck!
Kreg Cutting Guide Tool Tutorial | Shop