
How to Use a Pocket Hole Jig
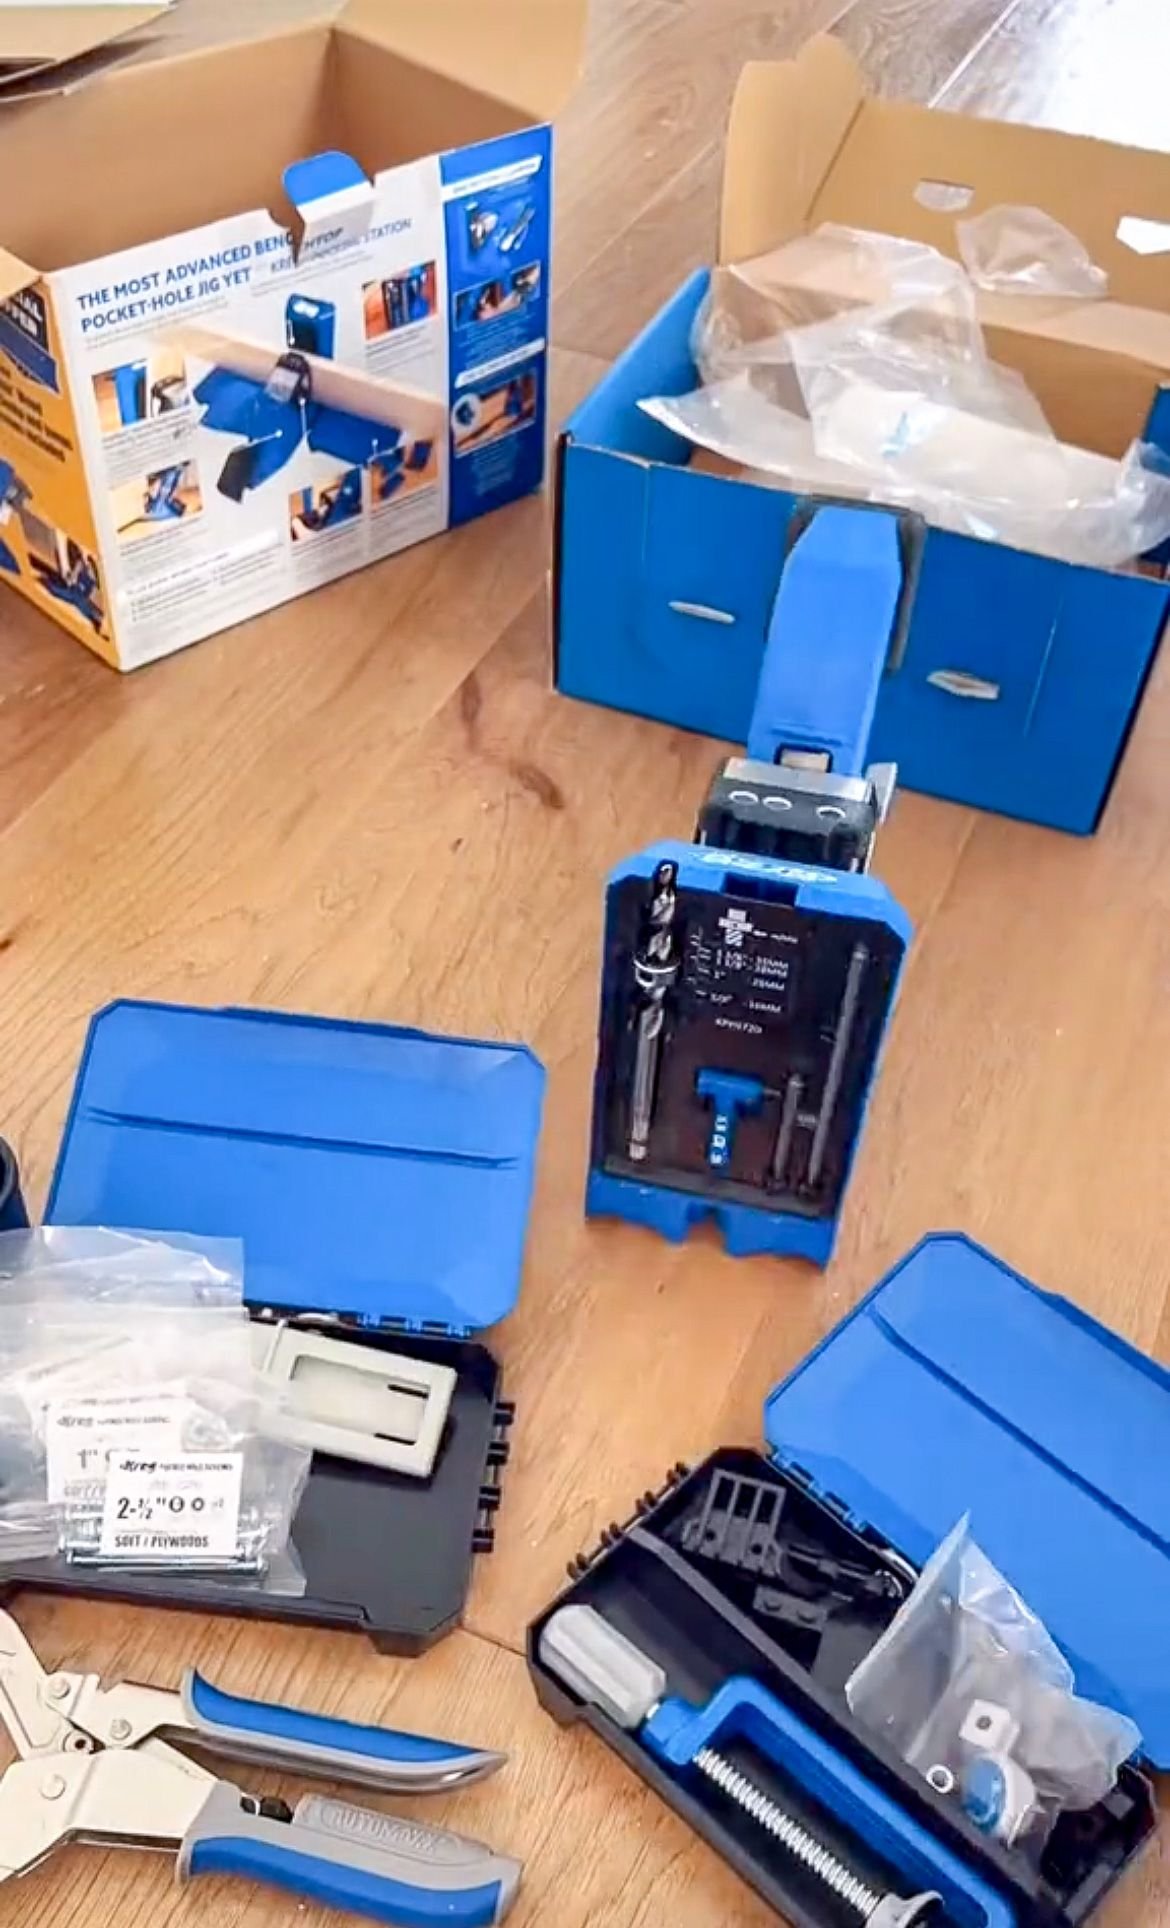
I love any tools that make my life easier, and a pocket hole jig is one of those tools. I've had my Kreg pocket hole jig for about seven years now, and it has been well-loved and well-used. However, it's missing a bit and I am doing much bigger projects now so it was time for a new tool. I'm so excited about it, so I'm going to assemble it and show you how it works. Let's get started!


Once you put this pocket hole jig together you set it up for use. First, you put the wings down for stability. These are such a neat feature because they double as storage! Next, you remove the bit from the bottom of the jig. It comes with a handy little tool to help you decide the width of the wood you're working with, and you can change the stopper on the bit to match the width of the wood.
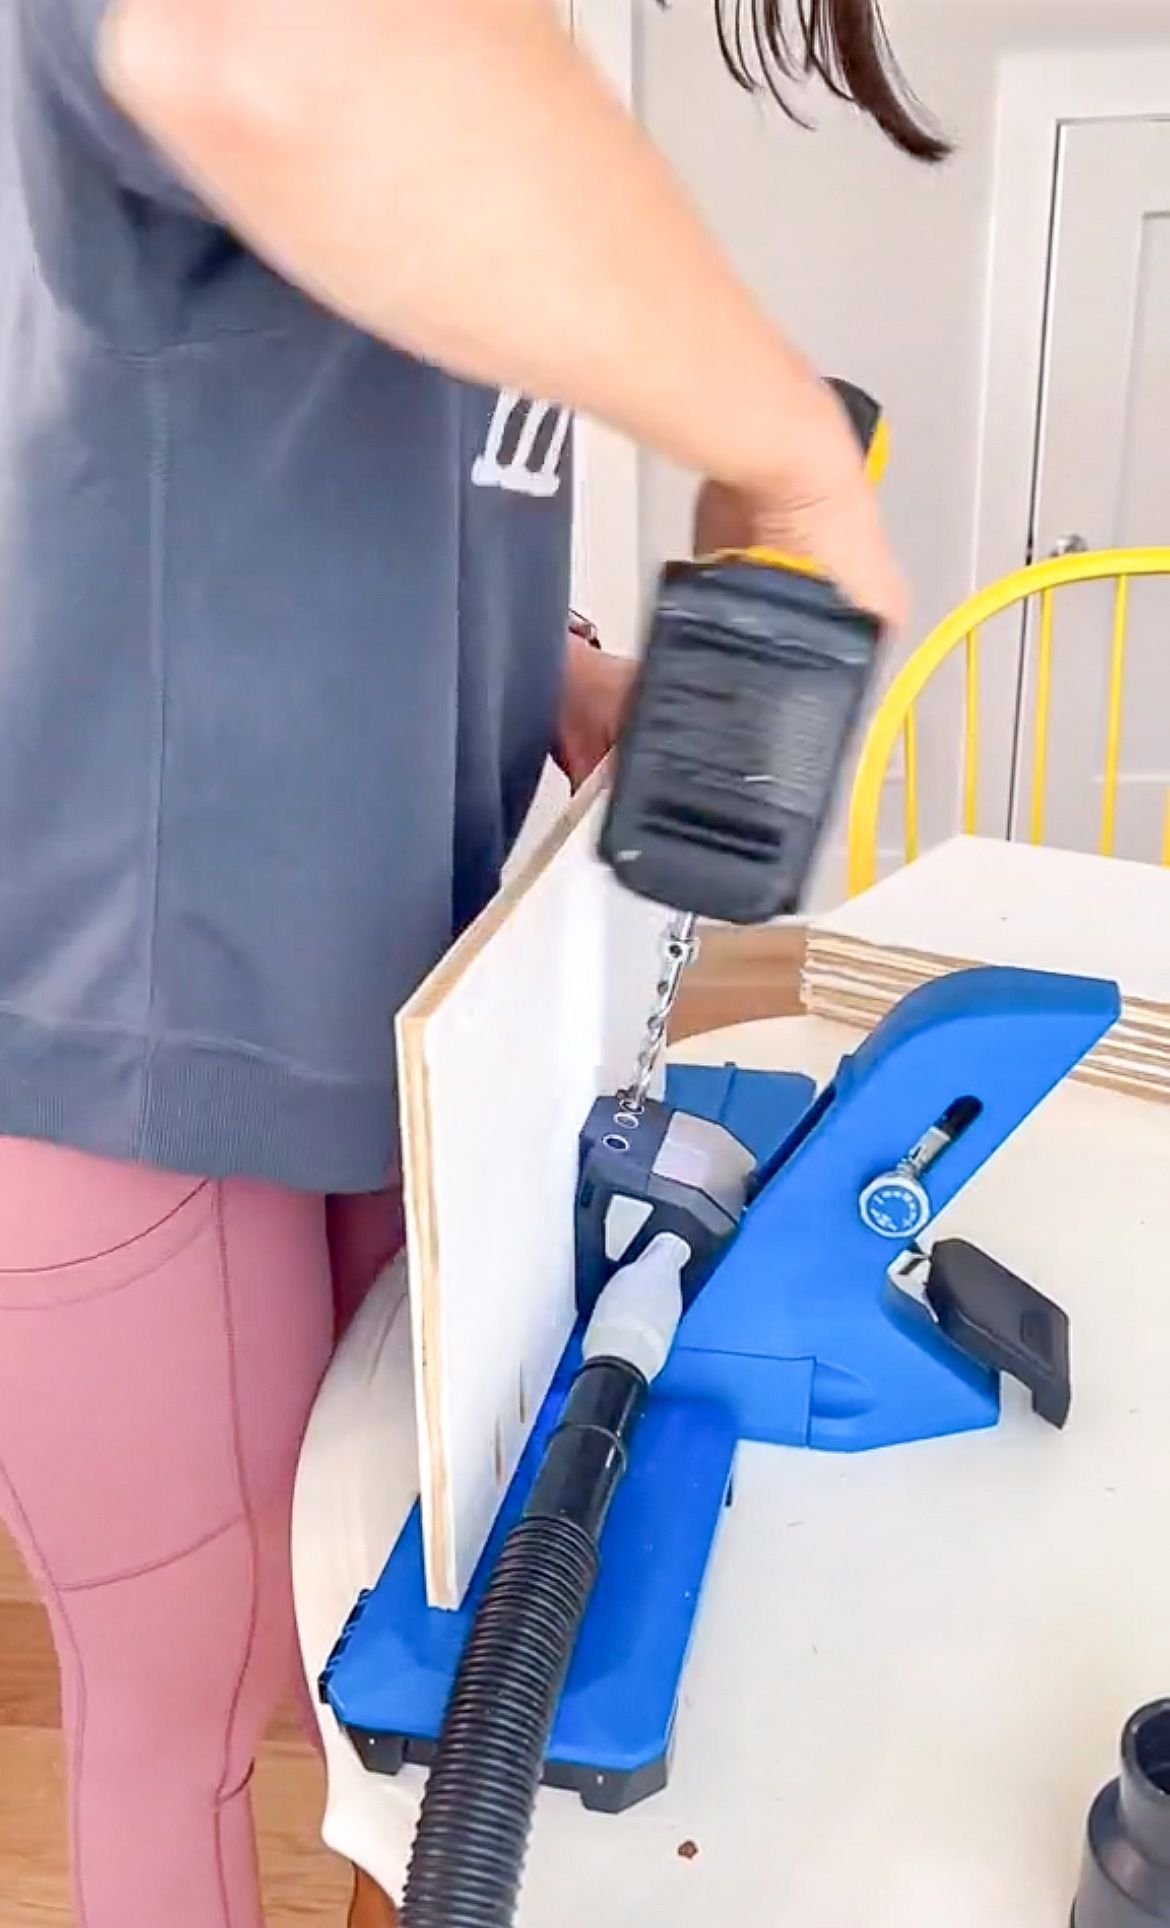
Next, place your piece of wood on the jig and push down on the black handle which clamps the wood onto the jig itself. This makes things so much easier. Lastly, you decide between the three options when you're deciding where to put your pocket holes. As an added bonus, there is a vacuum attachment you can put on either side of the jig so it's cleaning up the mess as you're drilling the holes. I am SO impressed by this tool. It makes drilling pocket holes so much faster and there was no mess when I was done. I've linked this jig below so you can get your hands on it too as well as a few other options.
How to Use a Pocket Hole Jig | Shop