Building Mobile Workbenches

My parents very graciously offered the unused part of their garage for storage of all of my tools. Considering my previous storage space consisted of the closet under my stairs, this was a huge upgrade. There was even room for a few workbenches, so I pulled out all of the rusty nails from some scrap wood I had, grabbed some hand-me-down cabinets and started assembling my custom workbenches!

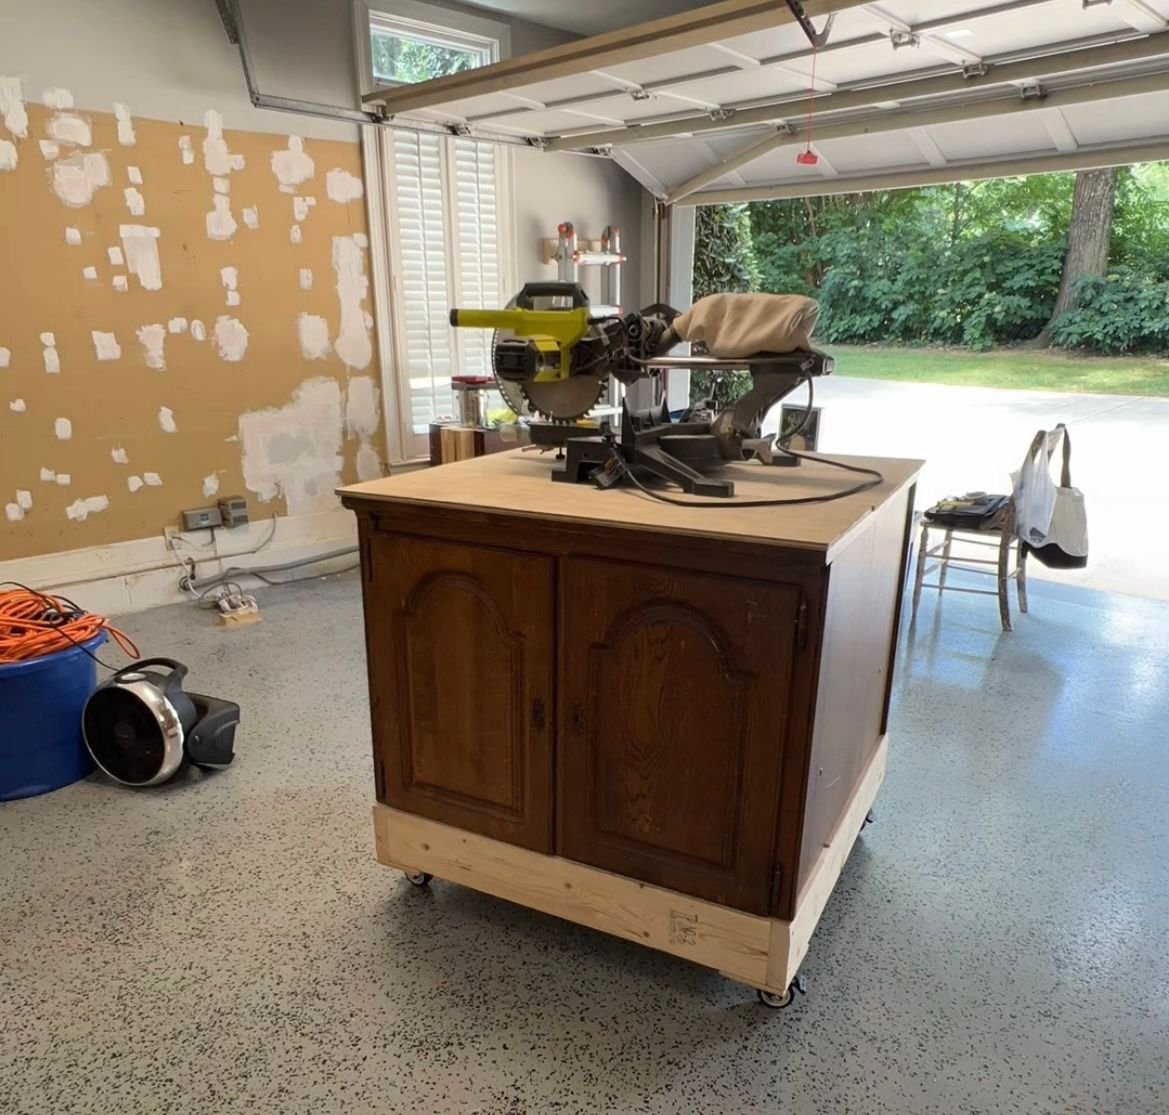
For the first workbench, I created a frame that had wheels on the bottom with cabinets on top for my miter saw. The cabinets belonged to my grandmother and I got them when she passed away. This is a great use for them because they're kind of a weird depth. Putting them back to back made them a lot more usable with two sets of cabinets and then a space for my miter saw on top.
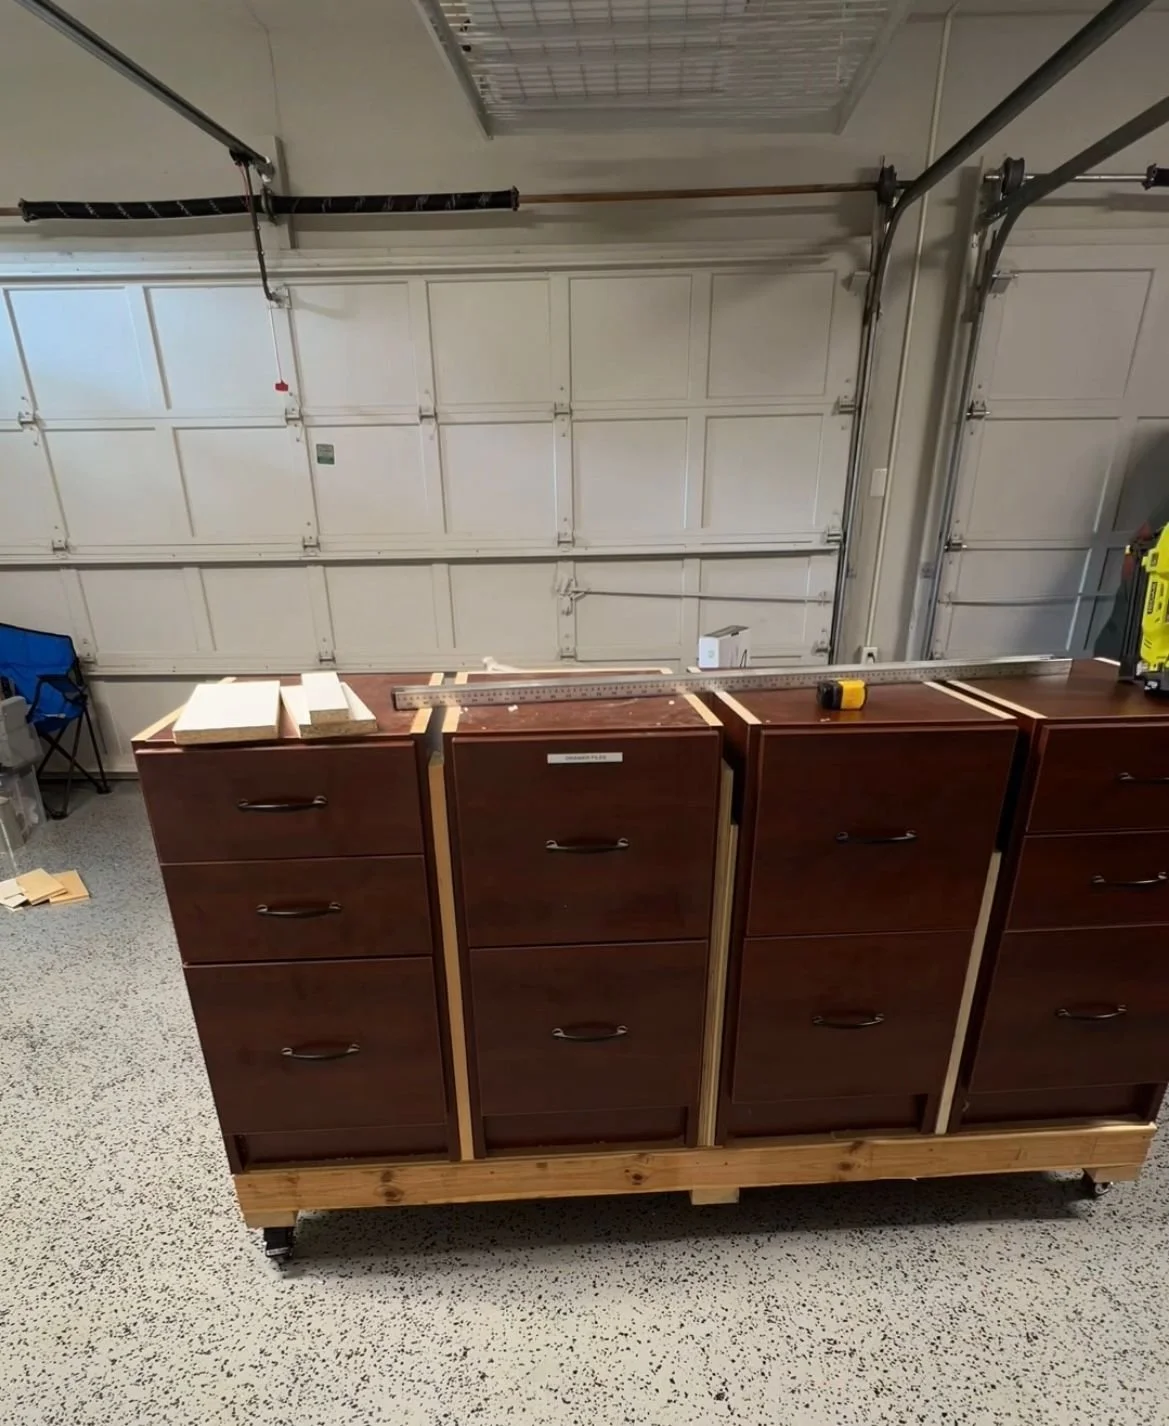
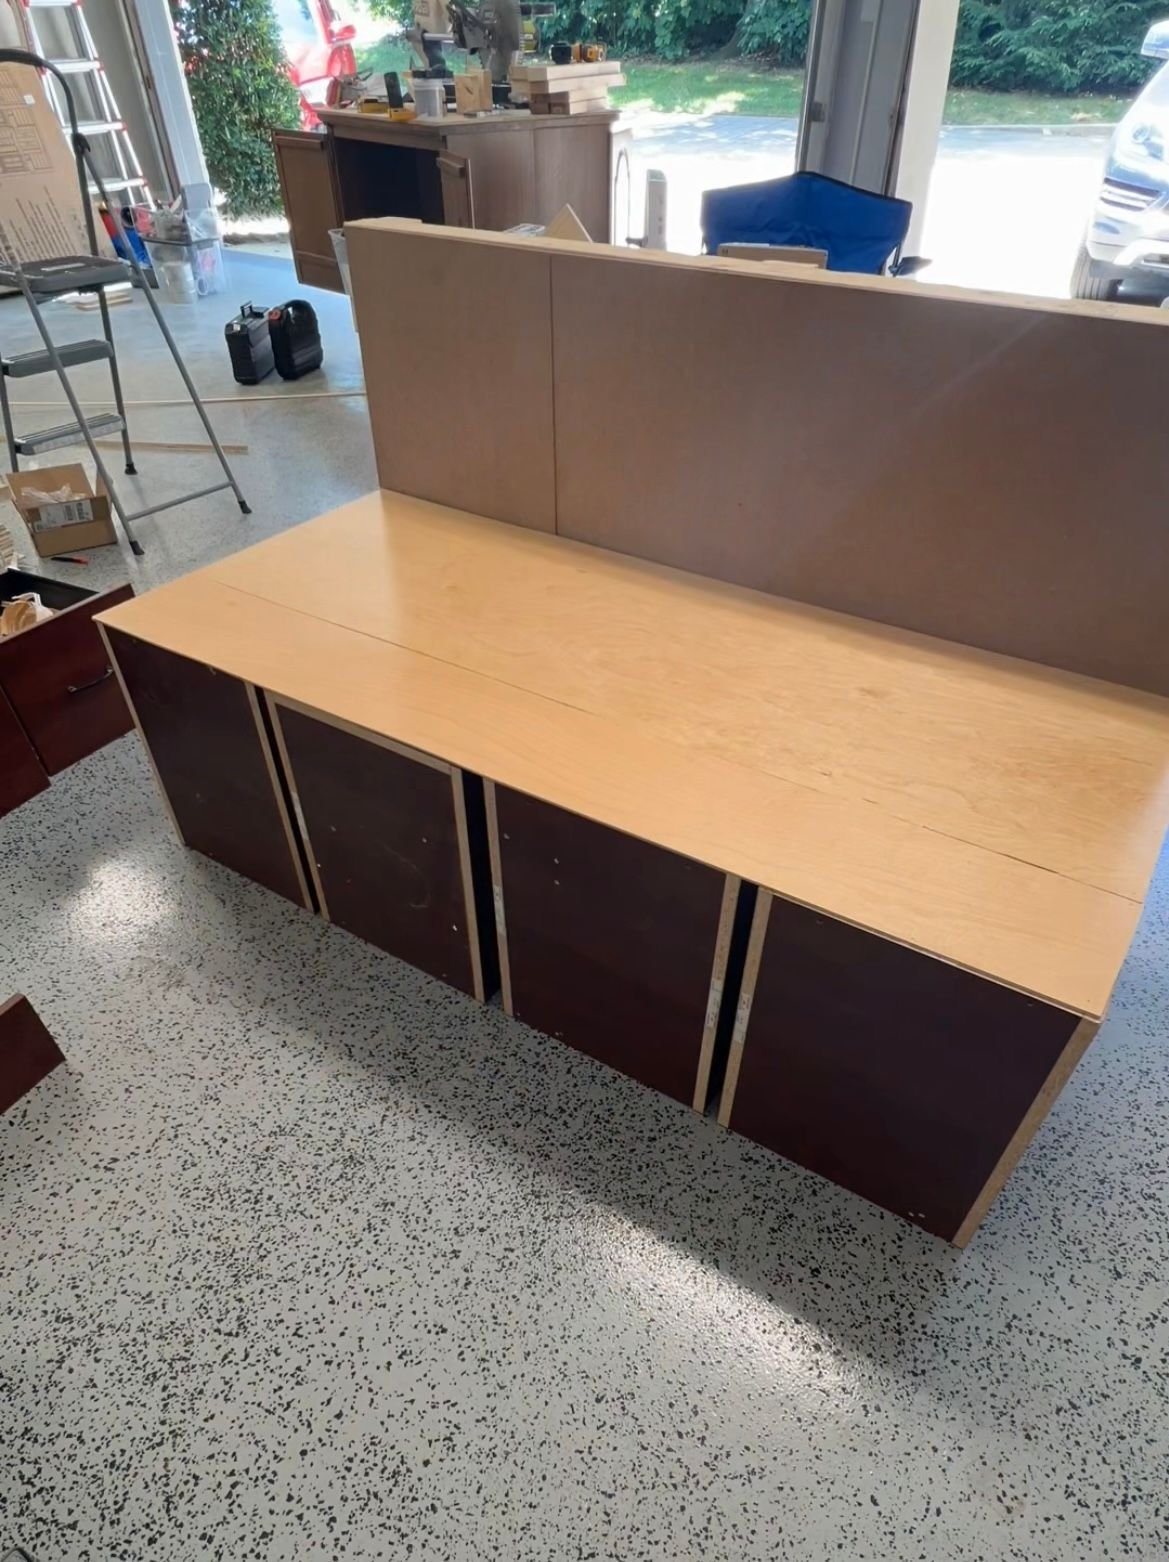
The second workbench was much, much larger. I felt like I needed a lot more support for this because I was putting cabinets and drawers on top of it on one side and then shelves on the other. I put scrap plywood underneath the drawers and the shelves so they were reinforced. I also used plywood against the back of the drawers so there wasn't a gap for anything to get lost in.

I went to work building the shelves from 2x4 scrap wood I had laying around. I made a basic frame that allowed me to have a table top I could cut on and then two sets of shelves. This is where I planned on putting my bigger power tools that weren't going to fit in any of the drawers or the cabinets. I cut out spots for the support and then slid the plywood in for the shelves and just nailed that in.

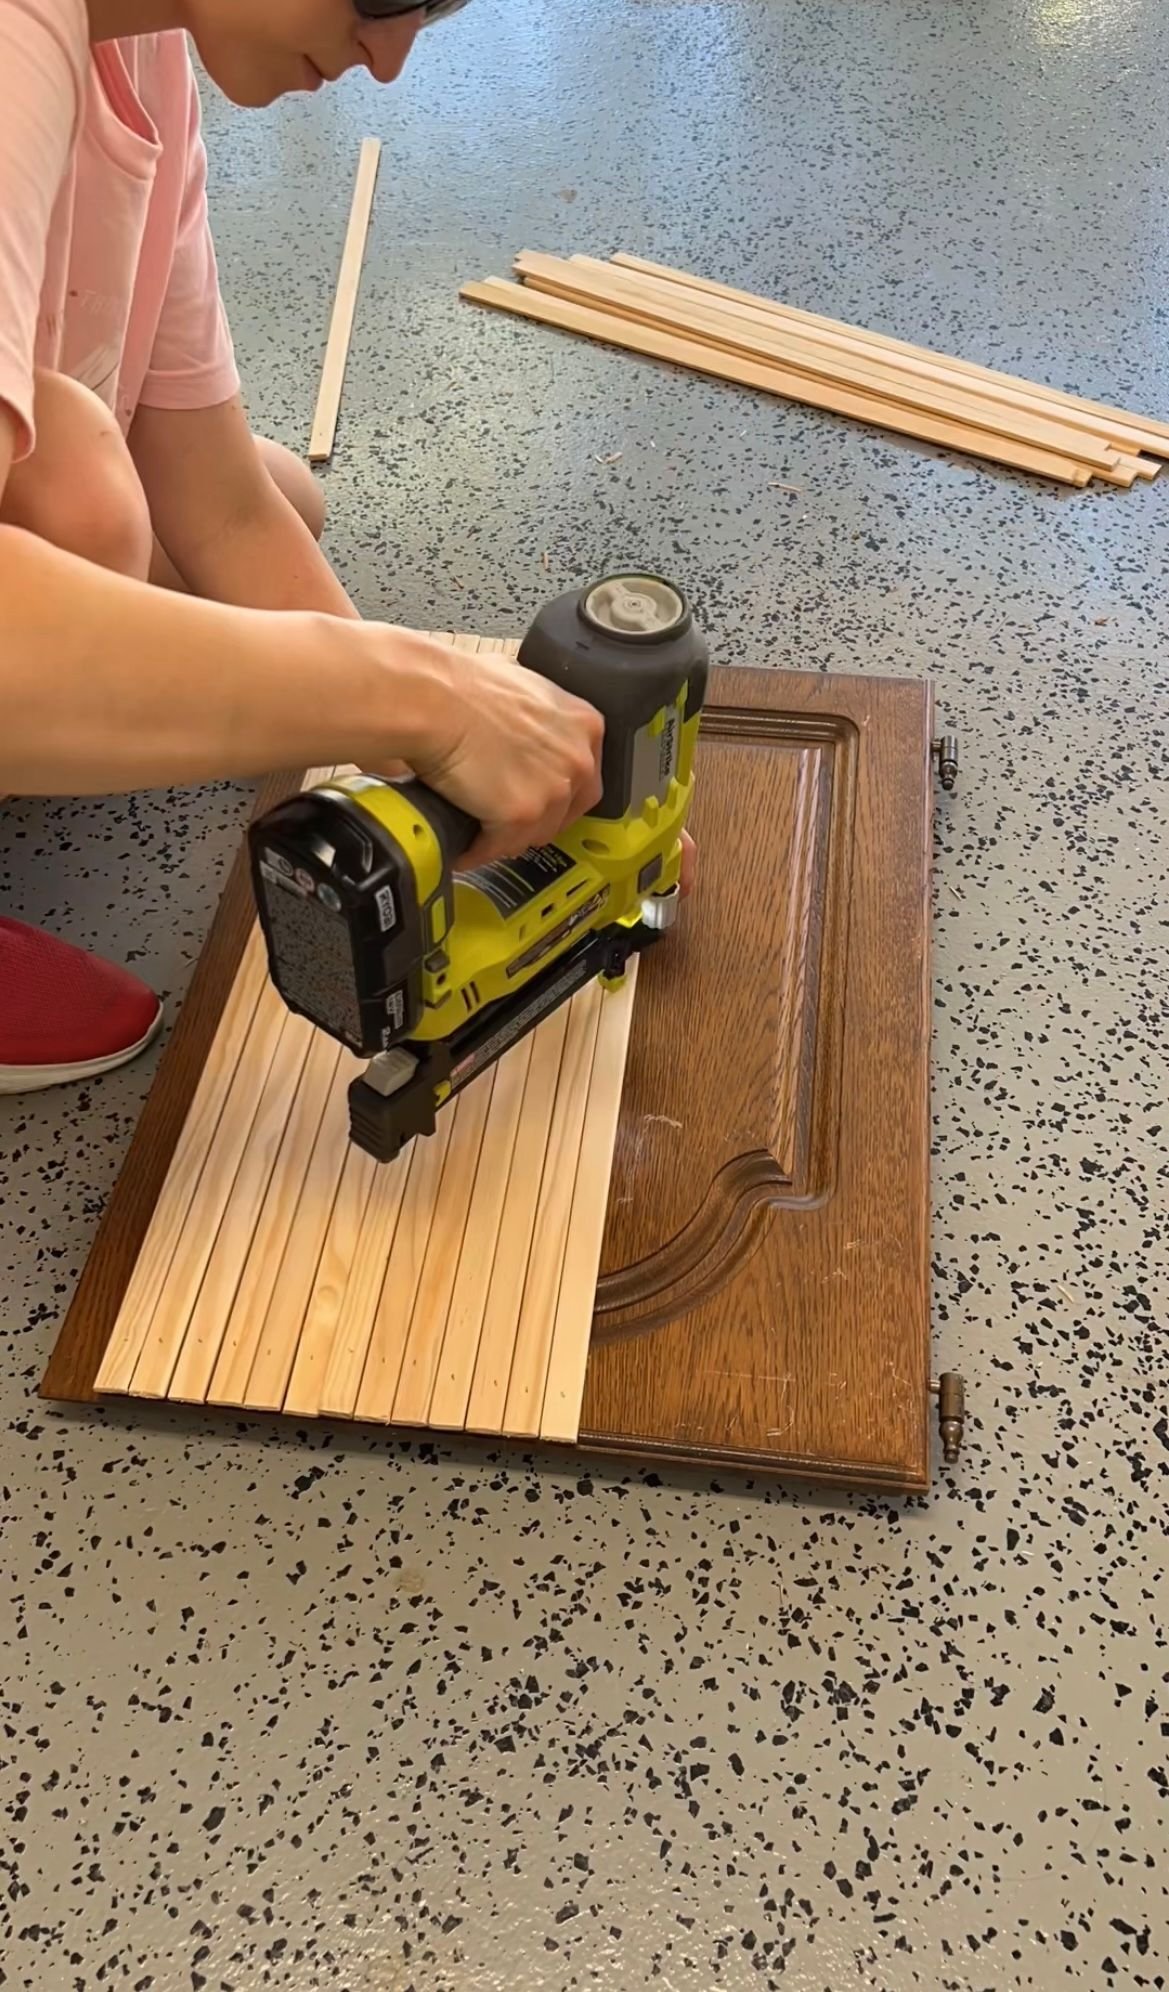
I realized I didn't really like the doors on my miter saw workbench. I got some pieces of trim and I cut them down to create this fluted look on each of the four doors. I secured them all with brad nails, filled in all the holes and sanded everything down. I added some trim to the work benches just so it looked a little bit better, and there was room for drawers and doors to open.
I started priming and painting everything. There were so many different colors of wood in this that painting it all one color was going to be the best option. I used my paint sprayer to paint the drawer fronts and the outside of both workbenches which made the whole process super fast and easy. I added a top coat of polyurethane to keep everything nice.
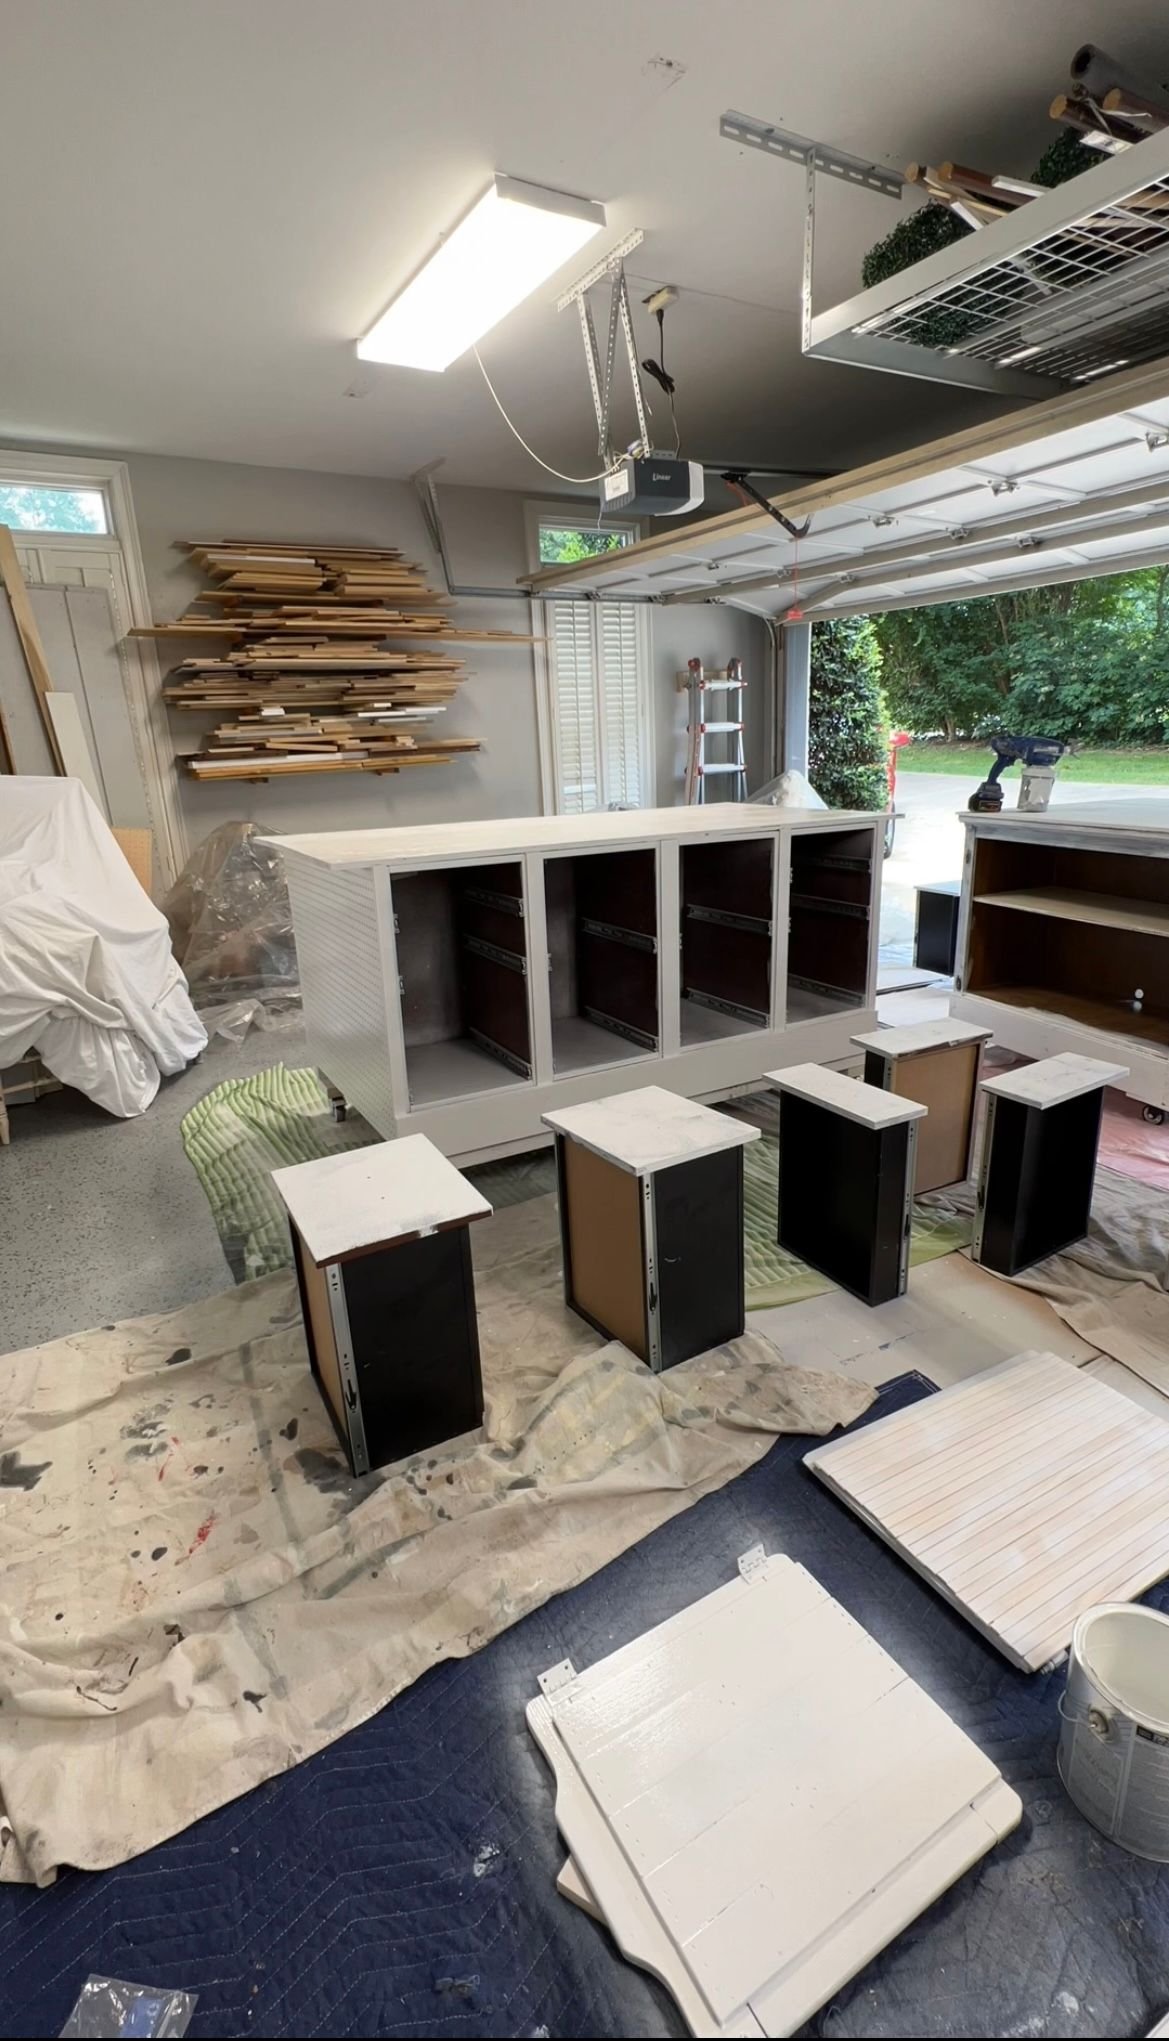
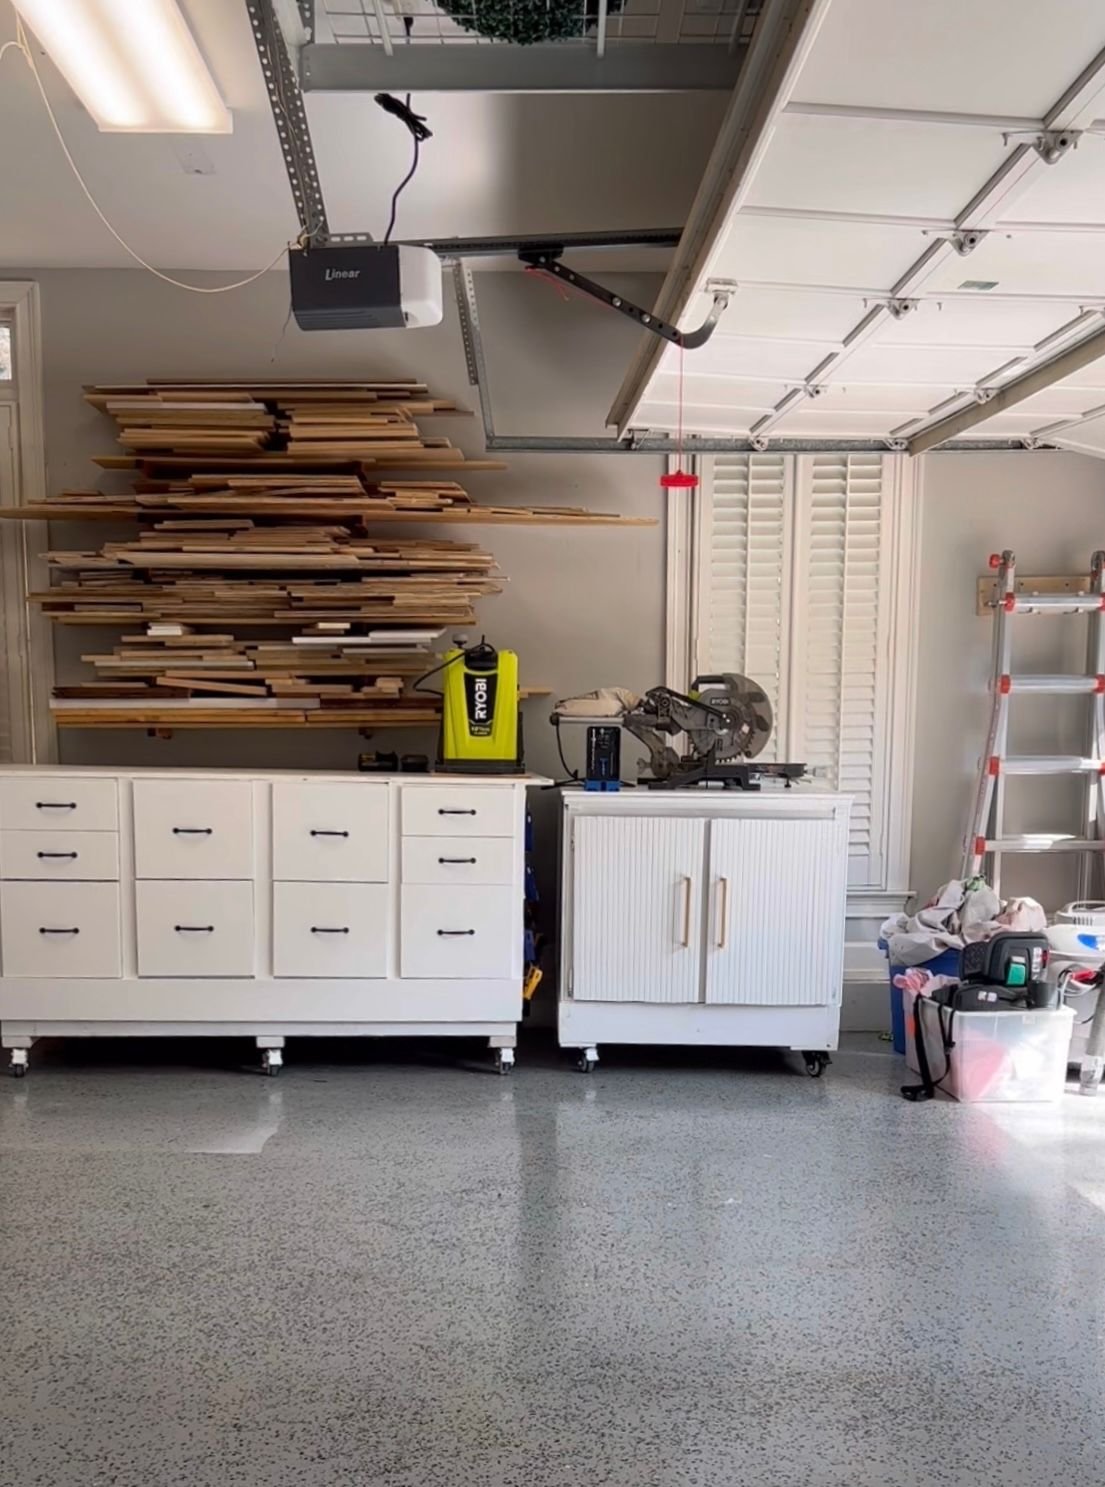
After that, I got to work organizing. Between my stuff and small tools, screws, and nails my parents wanted me to assimilate into my collection, there was a lot to go through. I put everything I'd been organizing into the drawers. Lastly, I added peg boards to the sides of the really big workbench so I could hang my bigger power tools. As an added bonus, I added locking wheels on the bottom so they don't move when I'm using tools.

I love how these workbenches turned out. They have been so amazing and I use them all of the time. There's so much storage and they work perfectly for my needs. Everything I used is linked below if you want to build your own workbenches.